Sewing Lessons: Curves & Corners
Welcome to this month’s Sewing Lesson! If you’re new here Sewing Lessons is a year long blog series brought to you by the Polka Dot Chair Blog in partnership with Bernina and WeAllSew.com!
Each month we will learn something that will help you to improve your sewing skills and hopefully make you happier with the end result of your sewing projects.
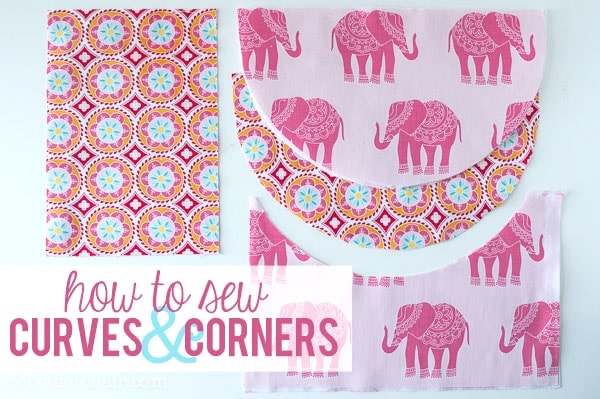
This months lesson is all about Curves and Corners. Many times when you are reading a sewing tutorial or a sewing pattern the instructions will say something like “clip curves” or “notch corners”. This is a VERY important step in getting your fabric to lay correctly when you are finished and should not be skipped.
But what does it mean to clip a curve?
Today I will talk about 3 different techniques. Inner Curves, Outer Curves and Corners. Up first Corners:
The first thing to remember when sewing corners is to make sure that you keep your seam allowances consistent. This will give you a sharp edge on your corner.
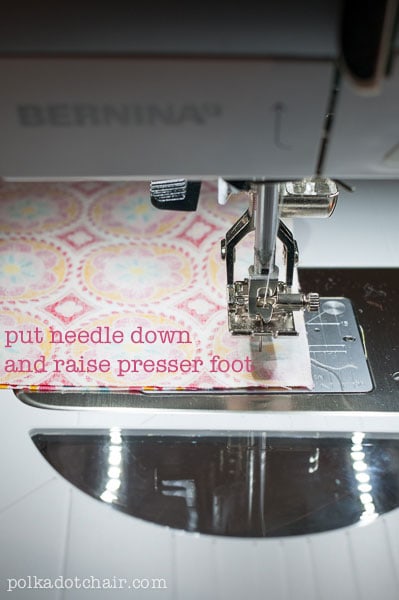
When you are sewing and you get to the point where you need to turn a corner,
Put your needle down and raise your presser foot. On my Bernina 710 I can set the machine to do this automatically for me when I tap on the back of my presser foot. It’s a huge time saver!
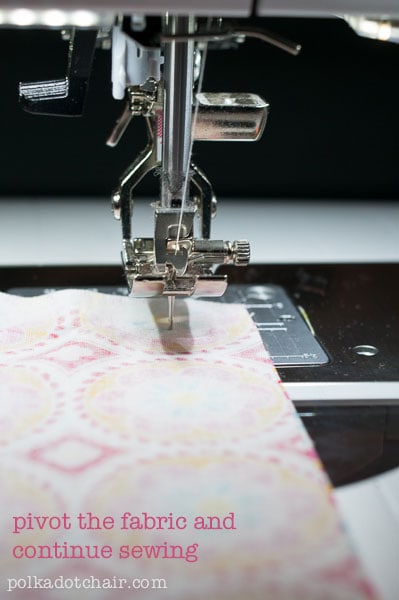
With your needle down pivot your fabric and continue sewing.
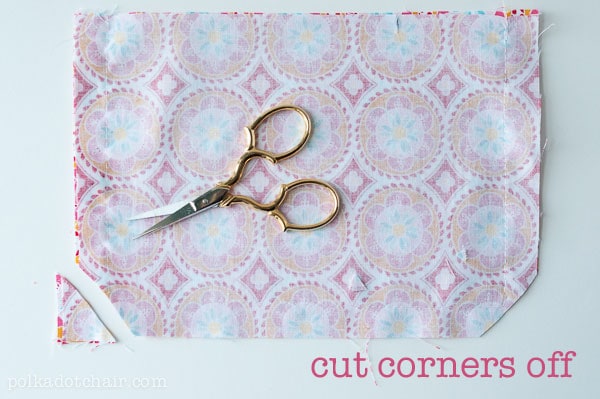
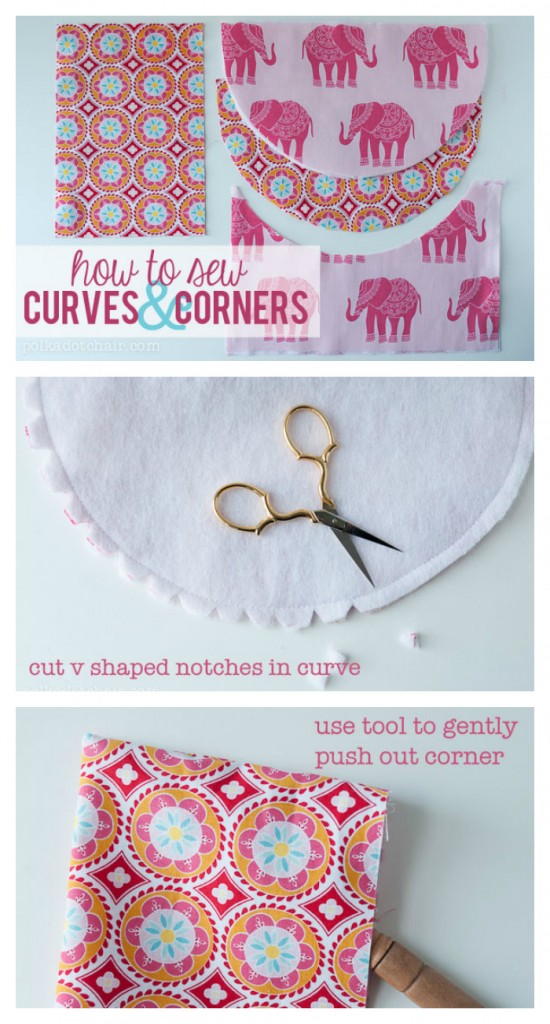
After you are done sewing cut off the corners of your fabric at 45 degree angles to your seams. This is necessary to reduce bulk in the corners so that they will lie flat.
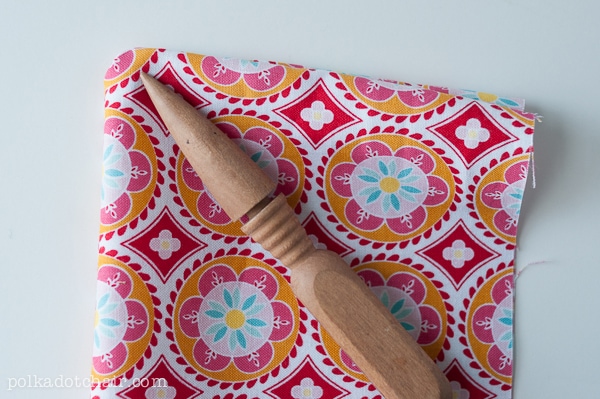
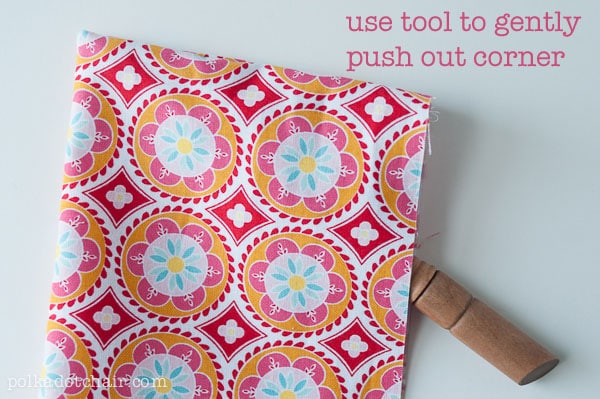
Next take a tool that has a pointed yet dull end and push it into the corner to push it out. You can also use a piece of cardboard cut in a square to push the corner out.
Once your corner is pushed out and squared up, press it well to hold it in place.
Next: Inner Curves
You will most likely find inner curves when sewing collars and some pockets.
First thing, make sure your seam allowance is consistent throughout the curve as you are sewing. I find it helpful to use my presser foot as a reference point.
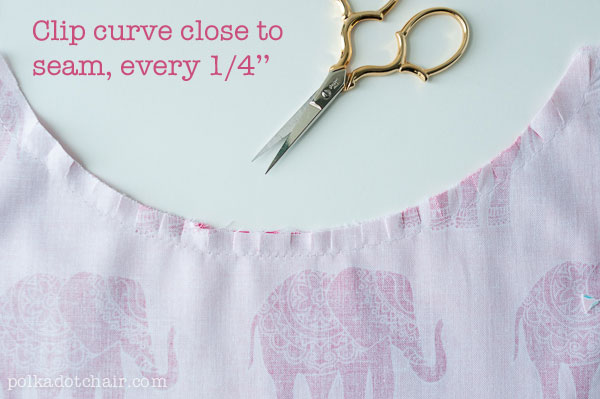
After you are done sewing, clip the curve close to the seam (but don’t clip the seam) about every 1/4”-1/2”. This will allow the fabric to fold over on itself when turned right side out.
Last up: Outer Curves.
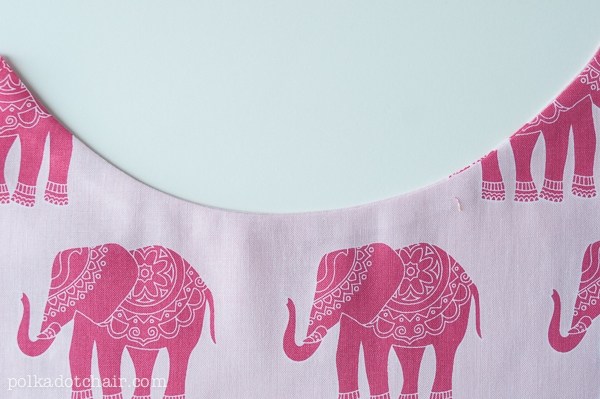
I think that we run into outer curves most frequently when sewing. You will find them in bags, curved corners on pockets, peter pan collars and many other places.
The example I’m showing you here is a curved seam on a simple zippered pouch.
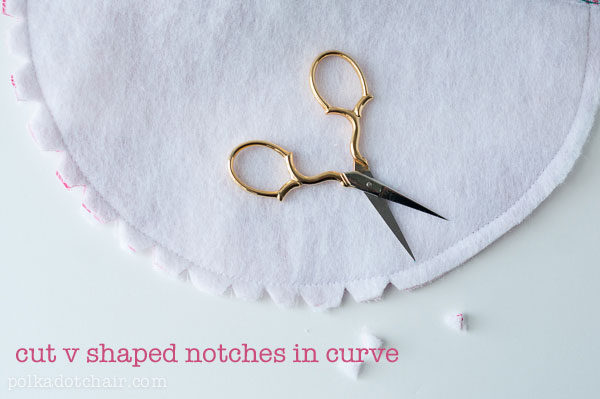
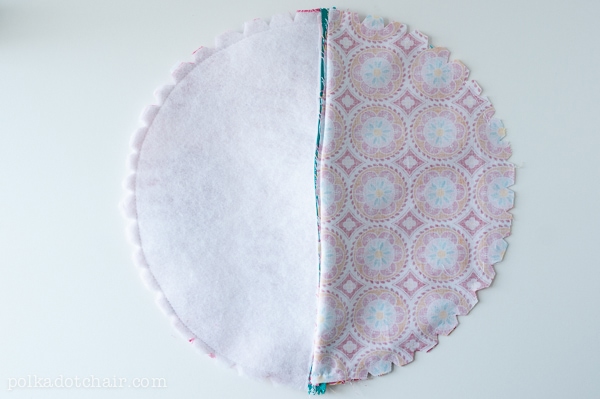
After you have sewn your seam, again being careful to keep your seam allowances consistent, clip v shaped notches into your seam allowance. Clip them about every 1/4”. Be careful not to clip through your seam but if you do don’t fret you can just sew over it again.
In the case of the zip pouch I made, I clipped notches around the entire perimeter before I turned it right side out.
Do not skip these steps!!! Otherwise your seam allowance will get in the way of your fabric lying flat and you will not have a nice curve, or any curve at all for that matter!
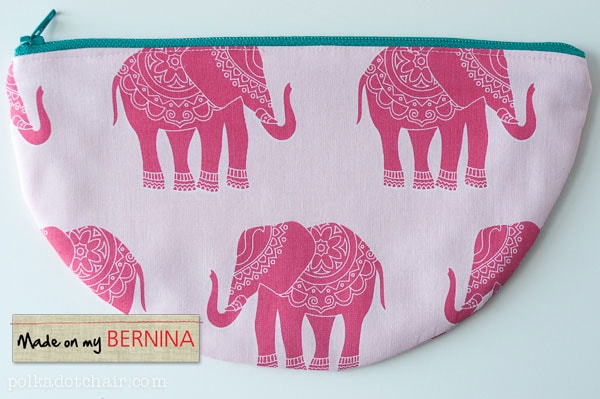
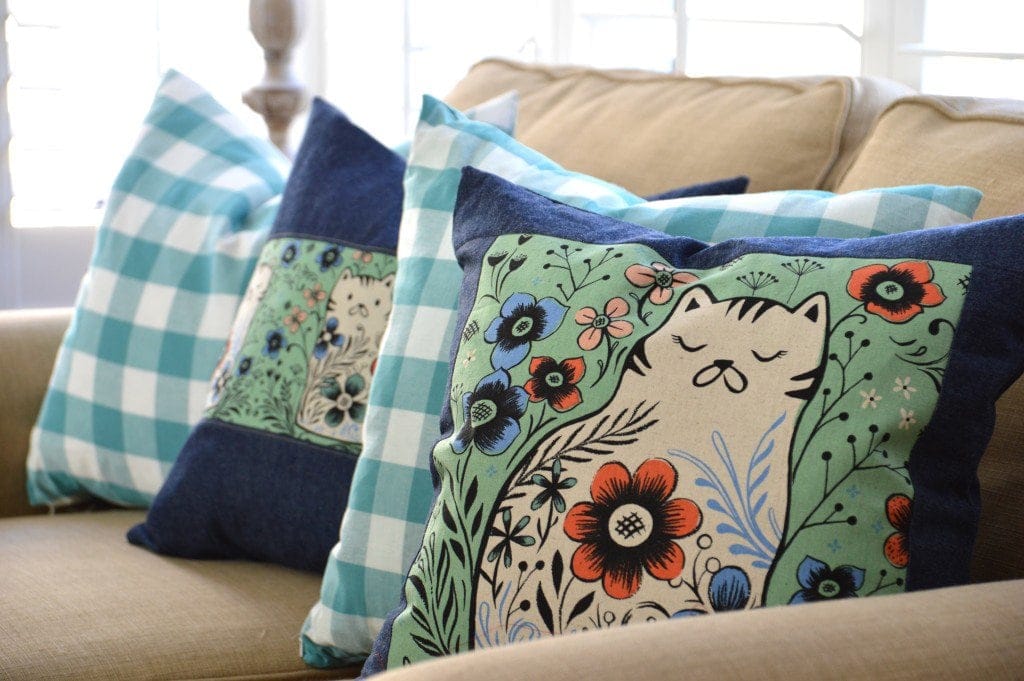
Here you can see the finished product!
Be sure to check back every month for a new lesson, last month we talked about zippers! If you want to make sure you don’t miss a lesson, just subscribe to this blog using one of the links to the right ———–>

