Easy DIY Planner & Sketchbook
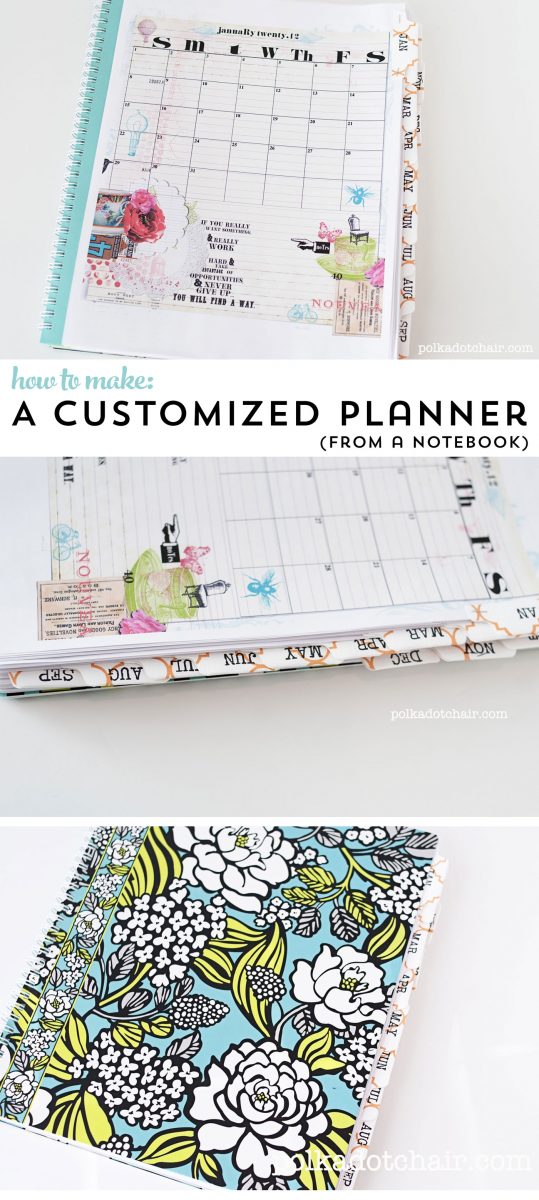
Turn a plan notebook into a DIY planner using printable calendar pages!
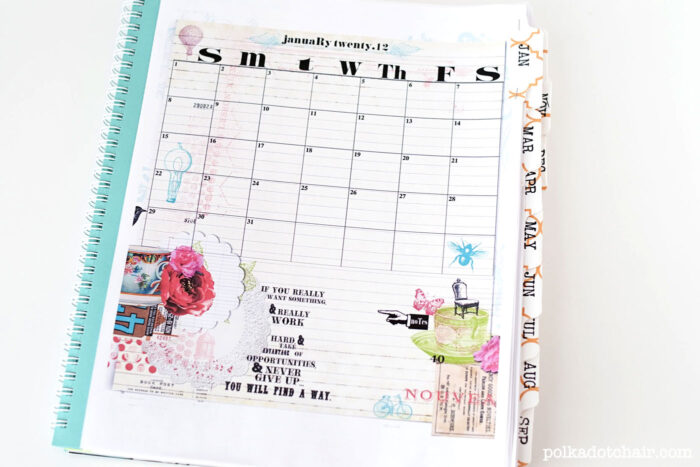
I like to use a desk calendar to keep track of my blogging commitments and content timing. I use my iPhone primarily for family scheduling, but I needed something to keep near my desk to keep track of projects, due dates, etc.
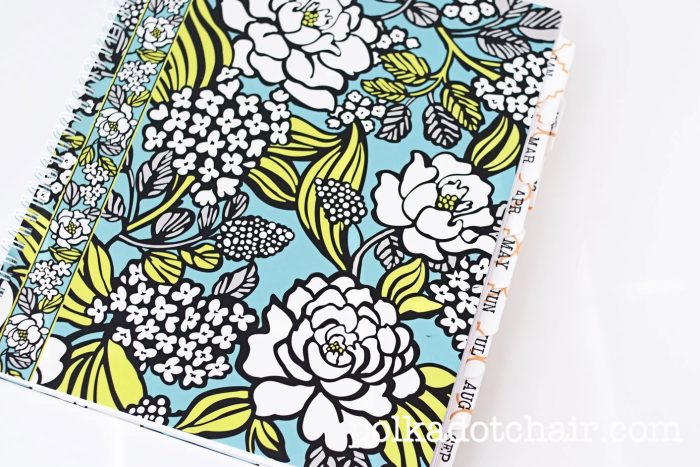
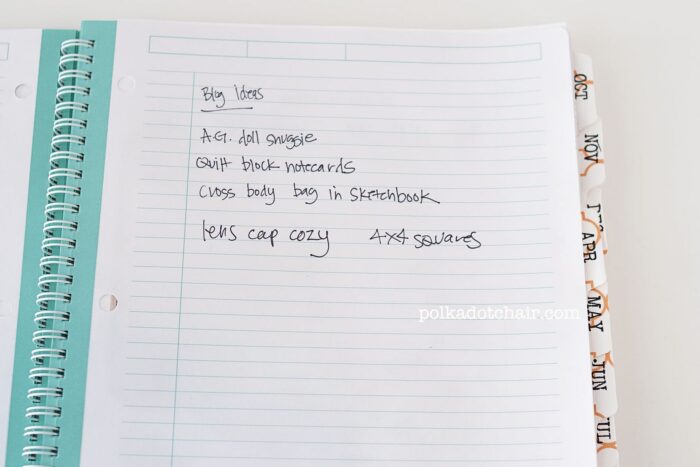
I also needed a sketch book to make notes about my projects as I make them. I decided this year to combine the two.
The calendar takes up the first quarter of the notebook, then the last part I have free for sketching and brainstorming. It’s been nice having everything in “one place”.
To make the book it was SOOO simple. I used a free printable calendar and added some graphics from Rhonna Designs.
Supplies
- Spiral notebook with a sturdy cover. I like to use Vera Bradley or Lilly Pulitzer Large Notebook
- Tab Punch – you can also use a Cricut Machine
- Tiny Attacher Stapler
How to Make the Planner
- Pick a Notebook: I chose Vera Bradley. I like their notebooks because they are very sturdy and spiral bind does not snag or catch. I’m pretty abusive to my notebooks so they need to hold up.
- Print out the calendar pages. I just used plain printer paper, nothing fancy.
- Adhere to the notebook pages. Using adhesive, glue the printed calendar right on top of a page in the notebook. I recommend UHU glue for this type of project.
Tips:
- Leave a few pages in between the months for notes and sketches. If you like to bullet journal this would be a great place to include some journaling.
- Glue the calendar pages in with UHU glue or with a double-stick tape on a roll (like a Tombow).
- You can download FREE calendar pages from our blog.
How to Add Tabs
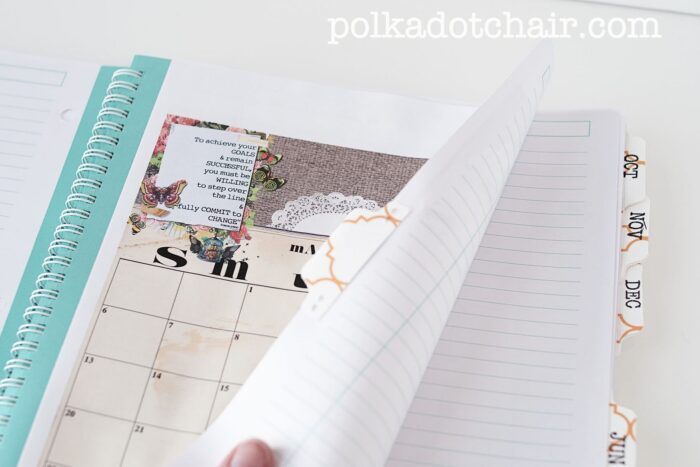
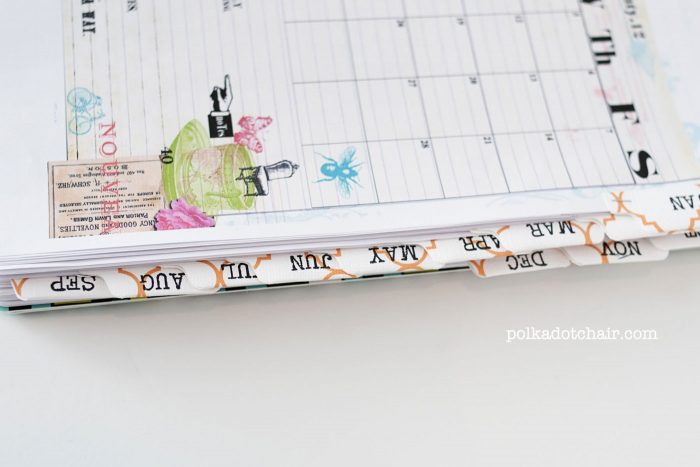
To make it easy to navigate between the months, I printed a page from a piece of scrapbook cardstock and simply used a punch to make tabs.
- Using a tab punch, punch out 12 tabs from the piece of printed cardstock.
- Stamp the month on each tab.
- Fold the tab in half and attach to the page using a tiny stapler.
- Make sure to stagger the tabs down the page for the months, so that you can see them all at the same time.
It’s a pretty simple project, but it solved a problem that I had and took less than 1 hour to make!

