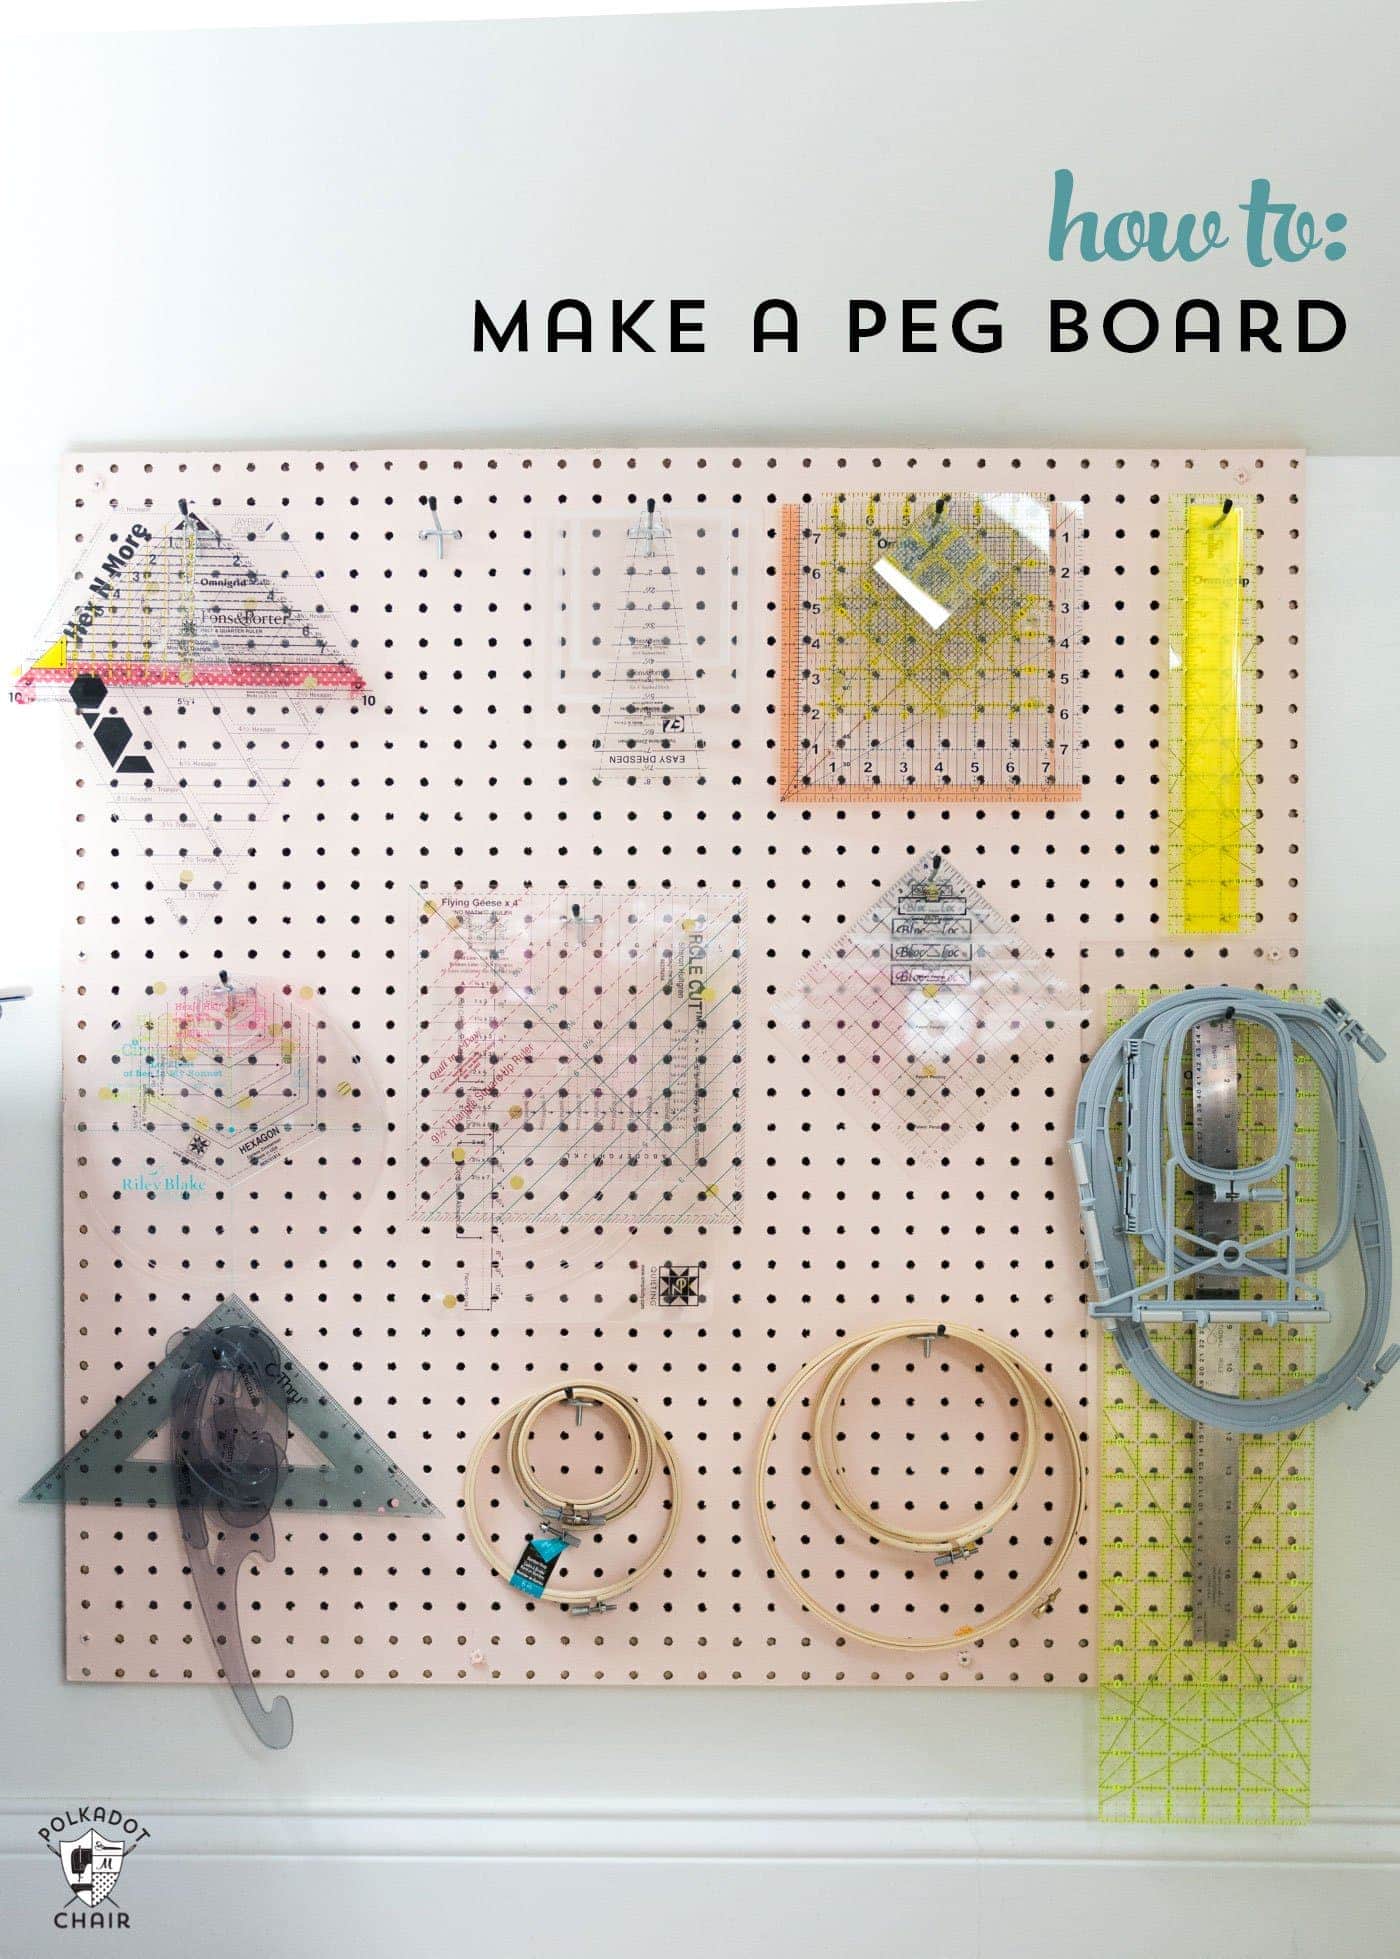
How to Make a Pegboard for Your Sewing Room
I’m sharing with you how to make a pegboard organizer. I have one in my sewing room that I use to store my quilt rulers, and I absolutely love it! If you would like to see more photos of my craft and sewing space, you can see part 1 and part 2 of my craft & sewing room tour.
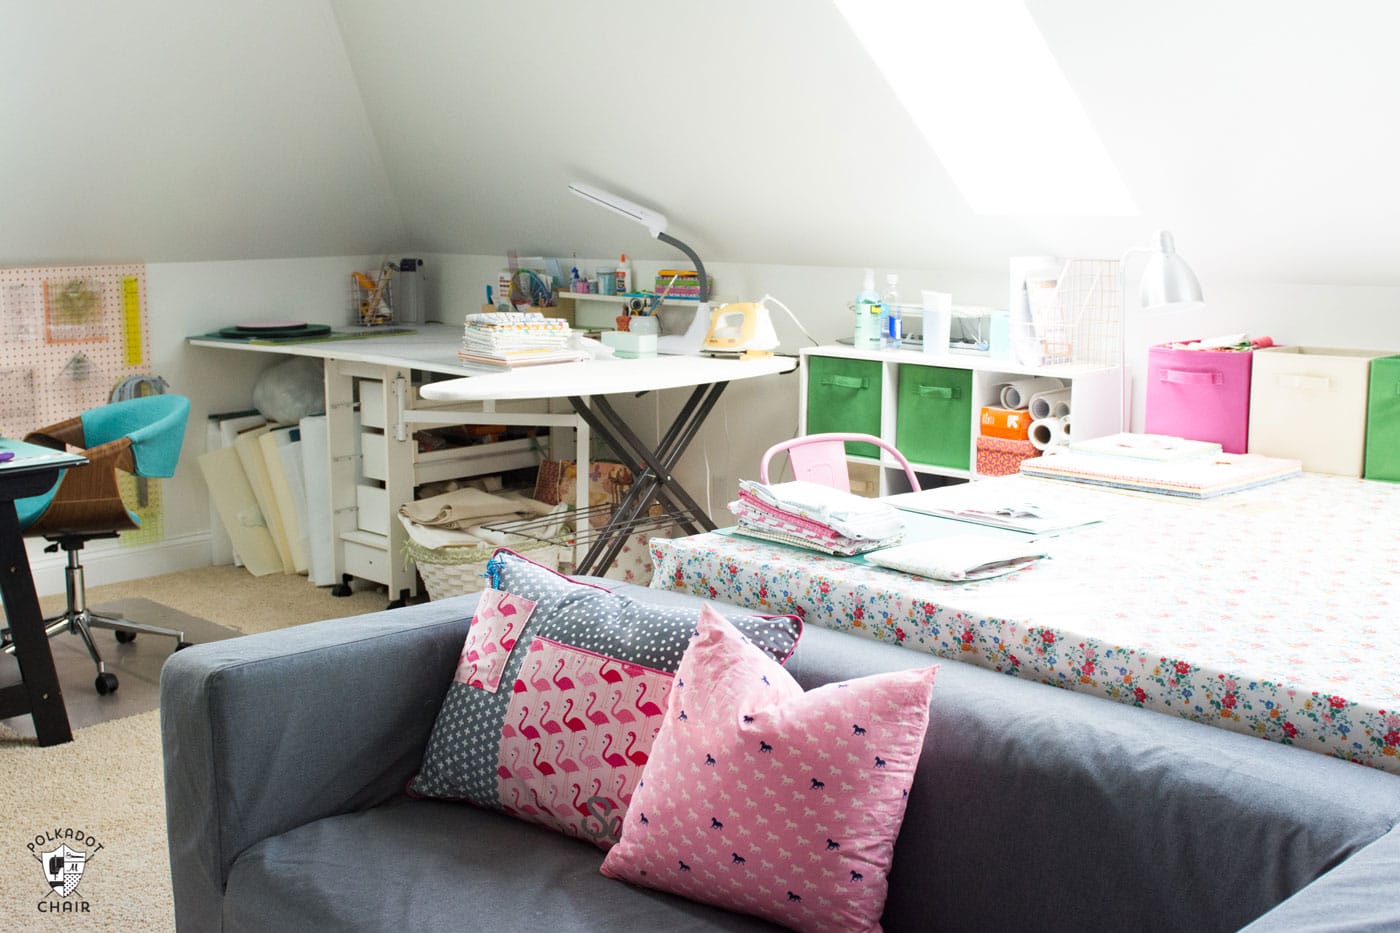
I moved my sewing and crafting space from a spare room in our basement to the bonus room above our garage a couple of years ago.
I debated about moving to the bonus room for a couple of reasons (aside from the daunting task of carrying a million pounds of fabric up 3 flights of stairs). Even though the bonus room was a much larger space, it didn’t have any windows (it now has skylights), and the ceilings are vaulted, leaving me very little wall space to organize supplies.
I eventually outgrew the room in the basement and ended up moving upstairs. After I moved everything upstairs, I knew I needed to figure out how to best use the limited wall space.
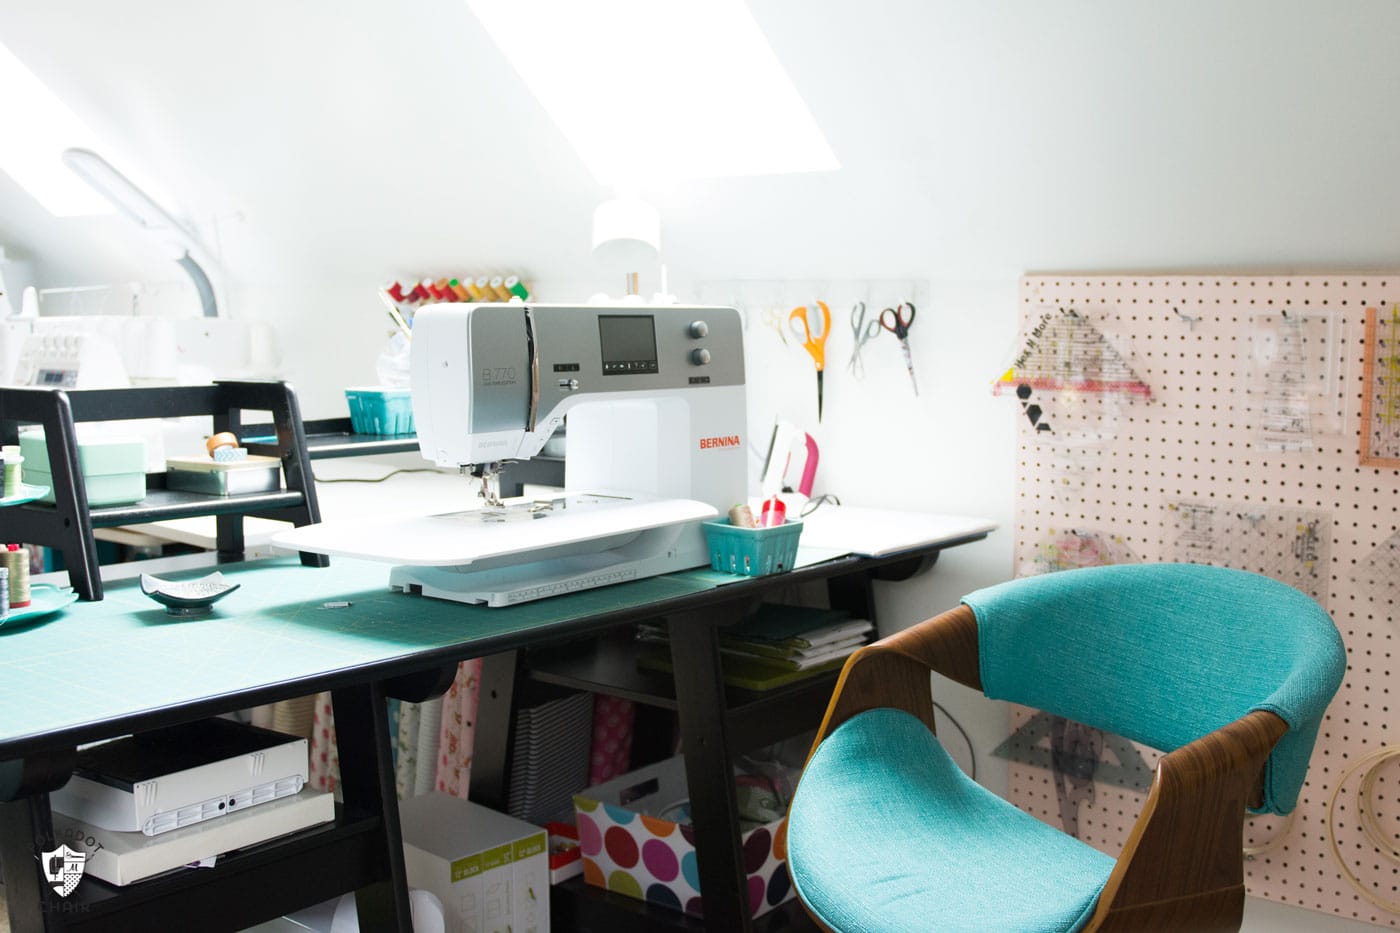
I had an empty space on the wall between my sewing table and my cutting table and decided that it would be a great space to hang a pegboard.
How I Organize My Quilt Rulers
Today, I’m going to share with you how we (and by we, I mean my husband, as he did most of the work) created and hung the peg board.
Craft Room Peg Board Supplies
- Peg Board – purchase from a home improvement store. I bought wood so I could paint it; we will talk more about the size of the board later.
- 1 x 1 wood boards
- Finishing Nails -not longer than 1″
- Wood Glue
- Wood Screws (longer than 1 1/2″)
- Drywall Anchors
- Paint
- Hand Saw (You do not need an electric saw)
- Drill
Before we get started, let me tell you that before we got started, I had a “plan” to do this, and it was all wrong. I was just going to hang the peg board on the wall; it seemed easy enough to me. Then my husband pointed out that if I did that, then I could not USE the peg board.
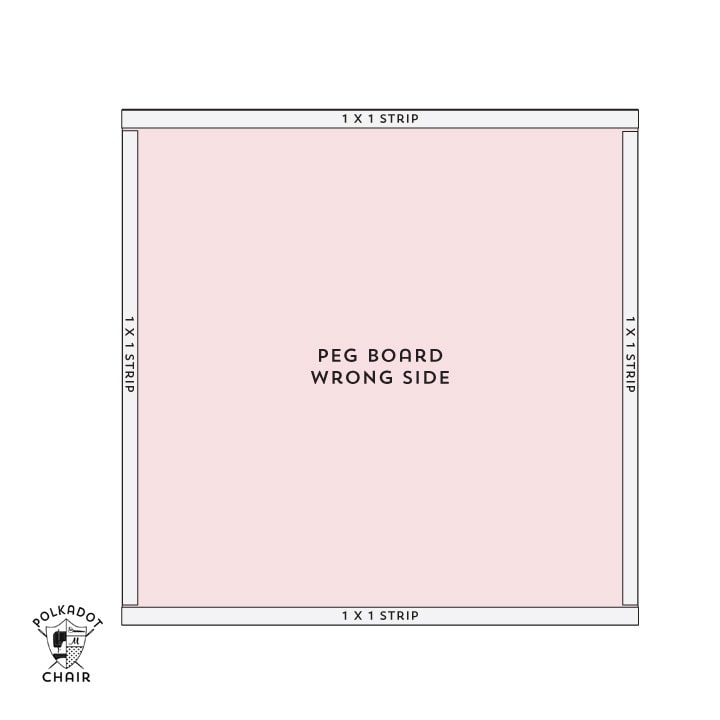
The board has to sit out from the wall in order to have space to insert the hangers into the peg board. DUH!
To solve this problem, we decided to frame the back of the board with 1×1 strips of wood. It was really easy, and the 1×1 boards were easily cut with a hand saw.
Step One: Measure the Space
First, measure the space where you would like to hang your peg board. When you know the size that you want your board, go to the home improvement store and buy it.
While you are at the store, but before you check out, have the store cut the board to size. Most stores will do this for free, saving you the need to own a table saw. You still have to buy the whole board, but you can use the extra pieces for smaller projects.
Step Two: Paint
Paint the board using a standard paint roller. You’re going to need 2-3 coats. I recommend using satin or semi-gloss paint, flat paint with show too many scuffs. For my board, I just used wall paint. I ended up using about a pint of paint.

Step Three: Add Wood Frame
After the paint is dry, turn the board over and cut two pieces of the 1×1 board to the same length as the top and bottom of the board.
Apply the wood glue to one side of the 1×1 board and glue it to the wrong side of the peg board. Then, using finishing nails, nail the 1×1 boards to the peg board, going through the front of the board to the back of the board.
You only need 3 nails per board. If desired, “sink” the finishing nails and putty over them and paint. (I didn’t do this; it didn’t bother me to have the nails showing.
Measure the other two sides of the peg board between the 1×1 boards. Cut two more 1×1 boards this size and attach them to the peg board using the same method.
Step Four: Hang on the Wall
To hang the board on the wall, you need to find the studs in your wall. You can use drywall anchors if you want, but since the peg board was a bit heavy, I felt more comfortable screwing into the studs.
After you have found the studs in your wall, mark those locations on the finished peg board. Then mark the location for a few more screws. You’ll want to use enough screws to anchor the board firmly to the wall (I recommend anchoring all 4 corners).
We ended up hanging our peg board on the wall using 4 wood screws. Two were sunk into the studs, and the other two were screwed into drywall anchors. (there ended up being a stud near the left edge of the board, which worked out perfectly).
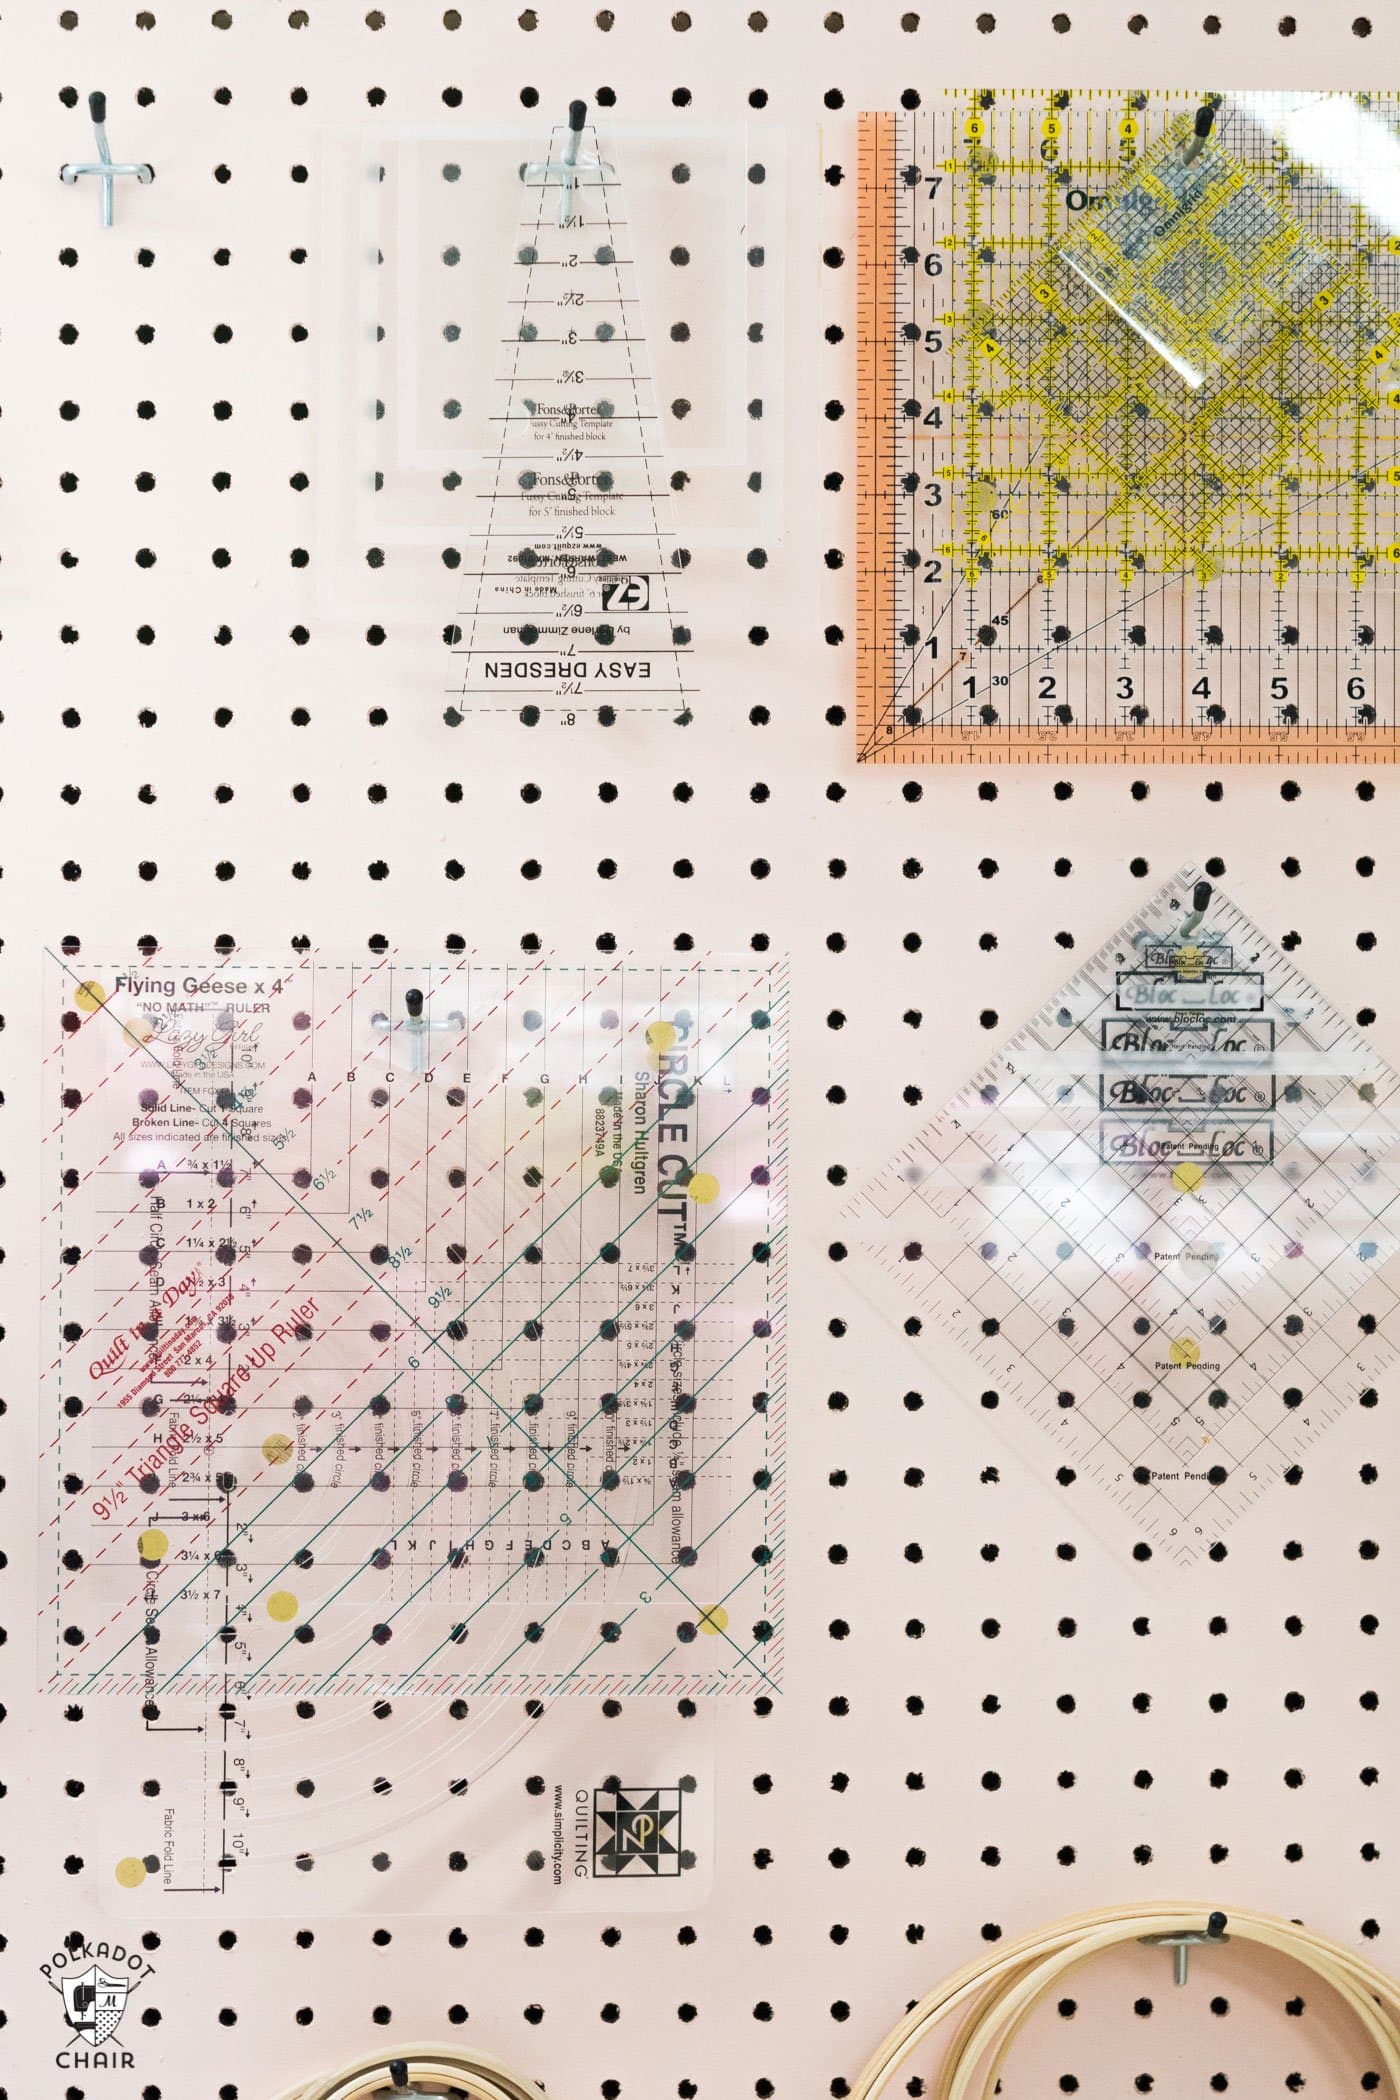
The last step is to hang items on your board using peg board hangers (you can also get those at the hardware store). I use my board to hang my quilt rulers and embroidery hoops. I kept them all in a box before and always lost my rulers; this method has worked much better for me!


I, too, often “speak as the queen” when describing how “we” did certain projects, haha. Thanks for the helpful post! I just started getting into some serious quilting and buying a few rulers.
Great post. I’m using pegboard inside my craft room closet. Additionally, I will paint and also stencil it to jazz it up a bit. Thanks
LOVE the desk chair!! Where’s it from?
I love this post. Very helpful, thank you so much.
My husband made me a a peg board several years ago with a frame around it like you see on a picture frame. Love it. Mine peg board holds holds thread racks, scissors, rulers, extra needles, tape measures and other odds and ends.
I am ready to turn a bedroom we have into an arts and craft room. I hope with your wonderful ideas I will soon be able to accomplish that.
Love it! Peg board really is such a great way to organize. Thanks for sharing as part of the blog hop.
Melissa great post. We put up peg board in my sewing room to hang the thread racks and rulers and embroidery hoops . They are wonderful. Also we (my husband and I) put them up not knowing they needed to go on another board to use the hooks, LOL. Thanks Jeanne