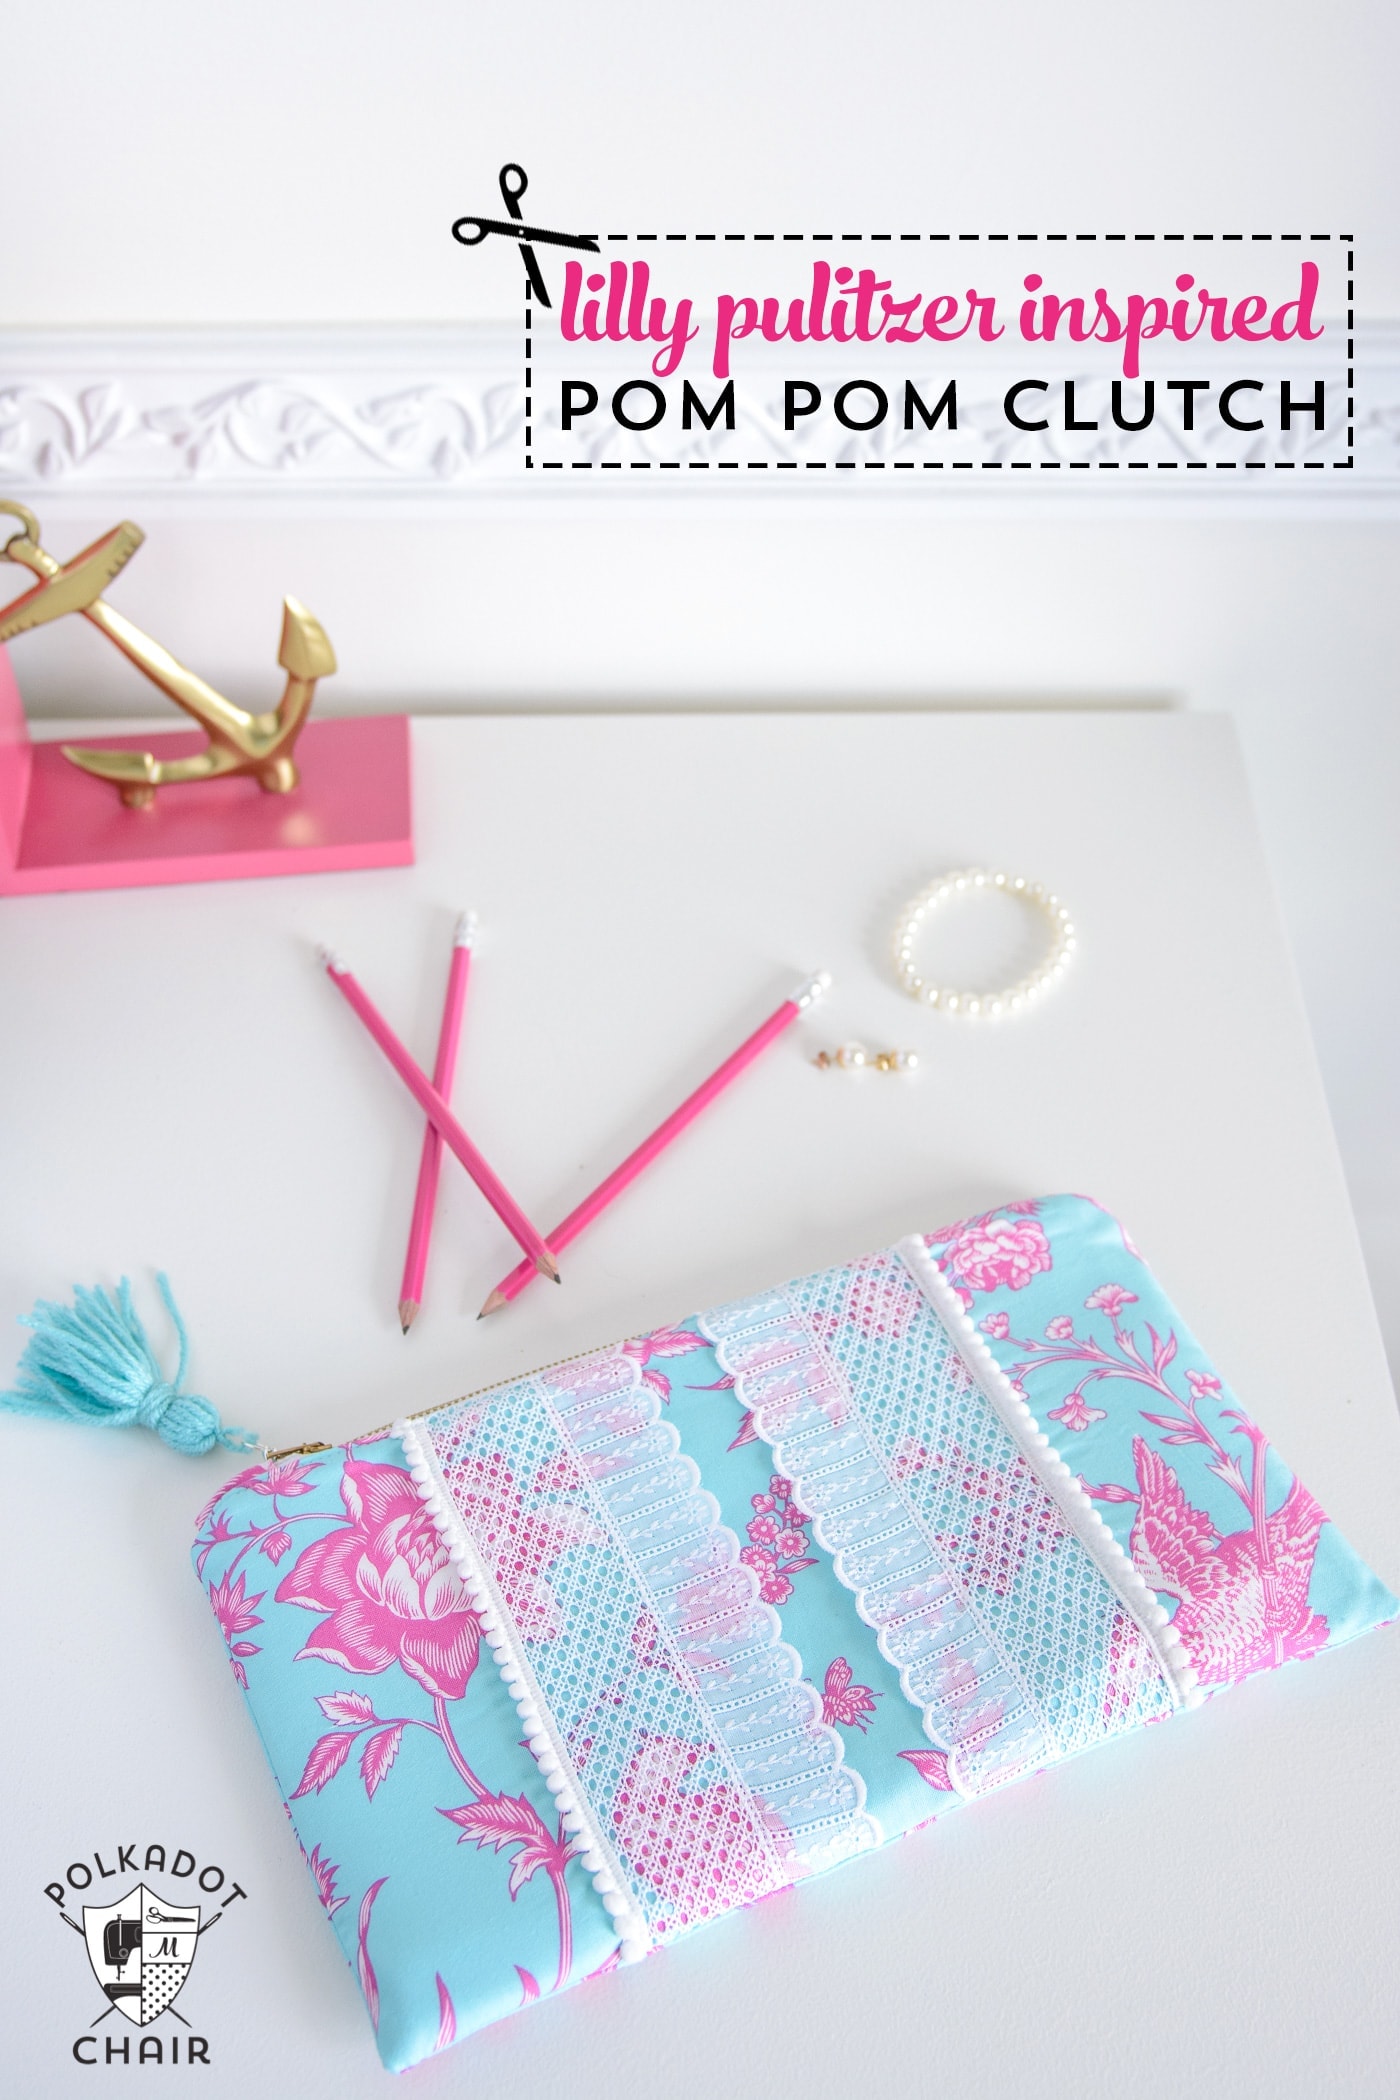
Lilly Pulitzer Inspired Pom Pom Clutch
I hope that you guys enjoy this Lilly Pulitzer Inspired Pom Pom Clutch DIY Sewing Pattern, it first appeared over at Tatertots and Jello. I’m posting it here incase you missed it! If you like this clutch you may also like this post with 20 Pom Pom Inspired Sewing Projects.
A few months ago there occurred an event that I call “Lilly-Gate”… people were lined up to buy fun summer designer items and the company that carried them didn’t deliver. Y’all know what I’m talking about. Although I wasn’t in the line of people to be first in the door that day, I did have a few Lilly items on my wish list.
After all of the hullabaloo over the whole launch, I decided I’d take my disappointment and turn it into a bit of creative inspiration.
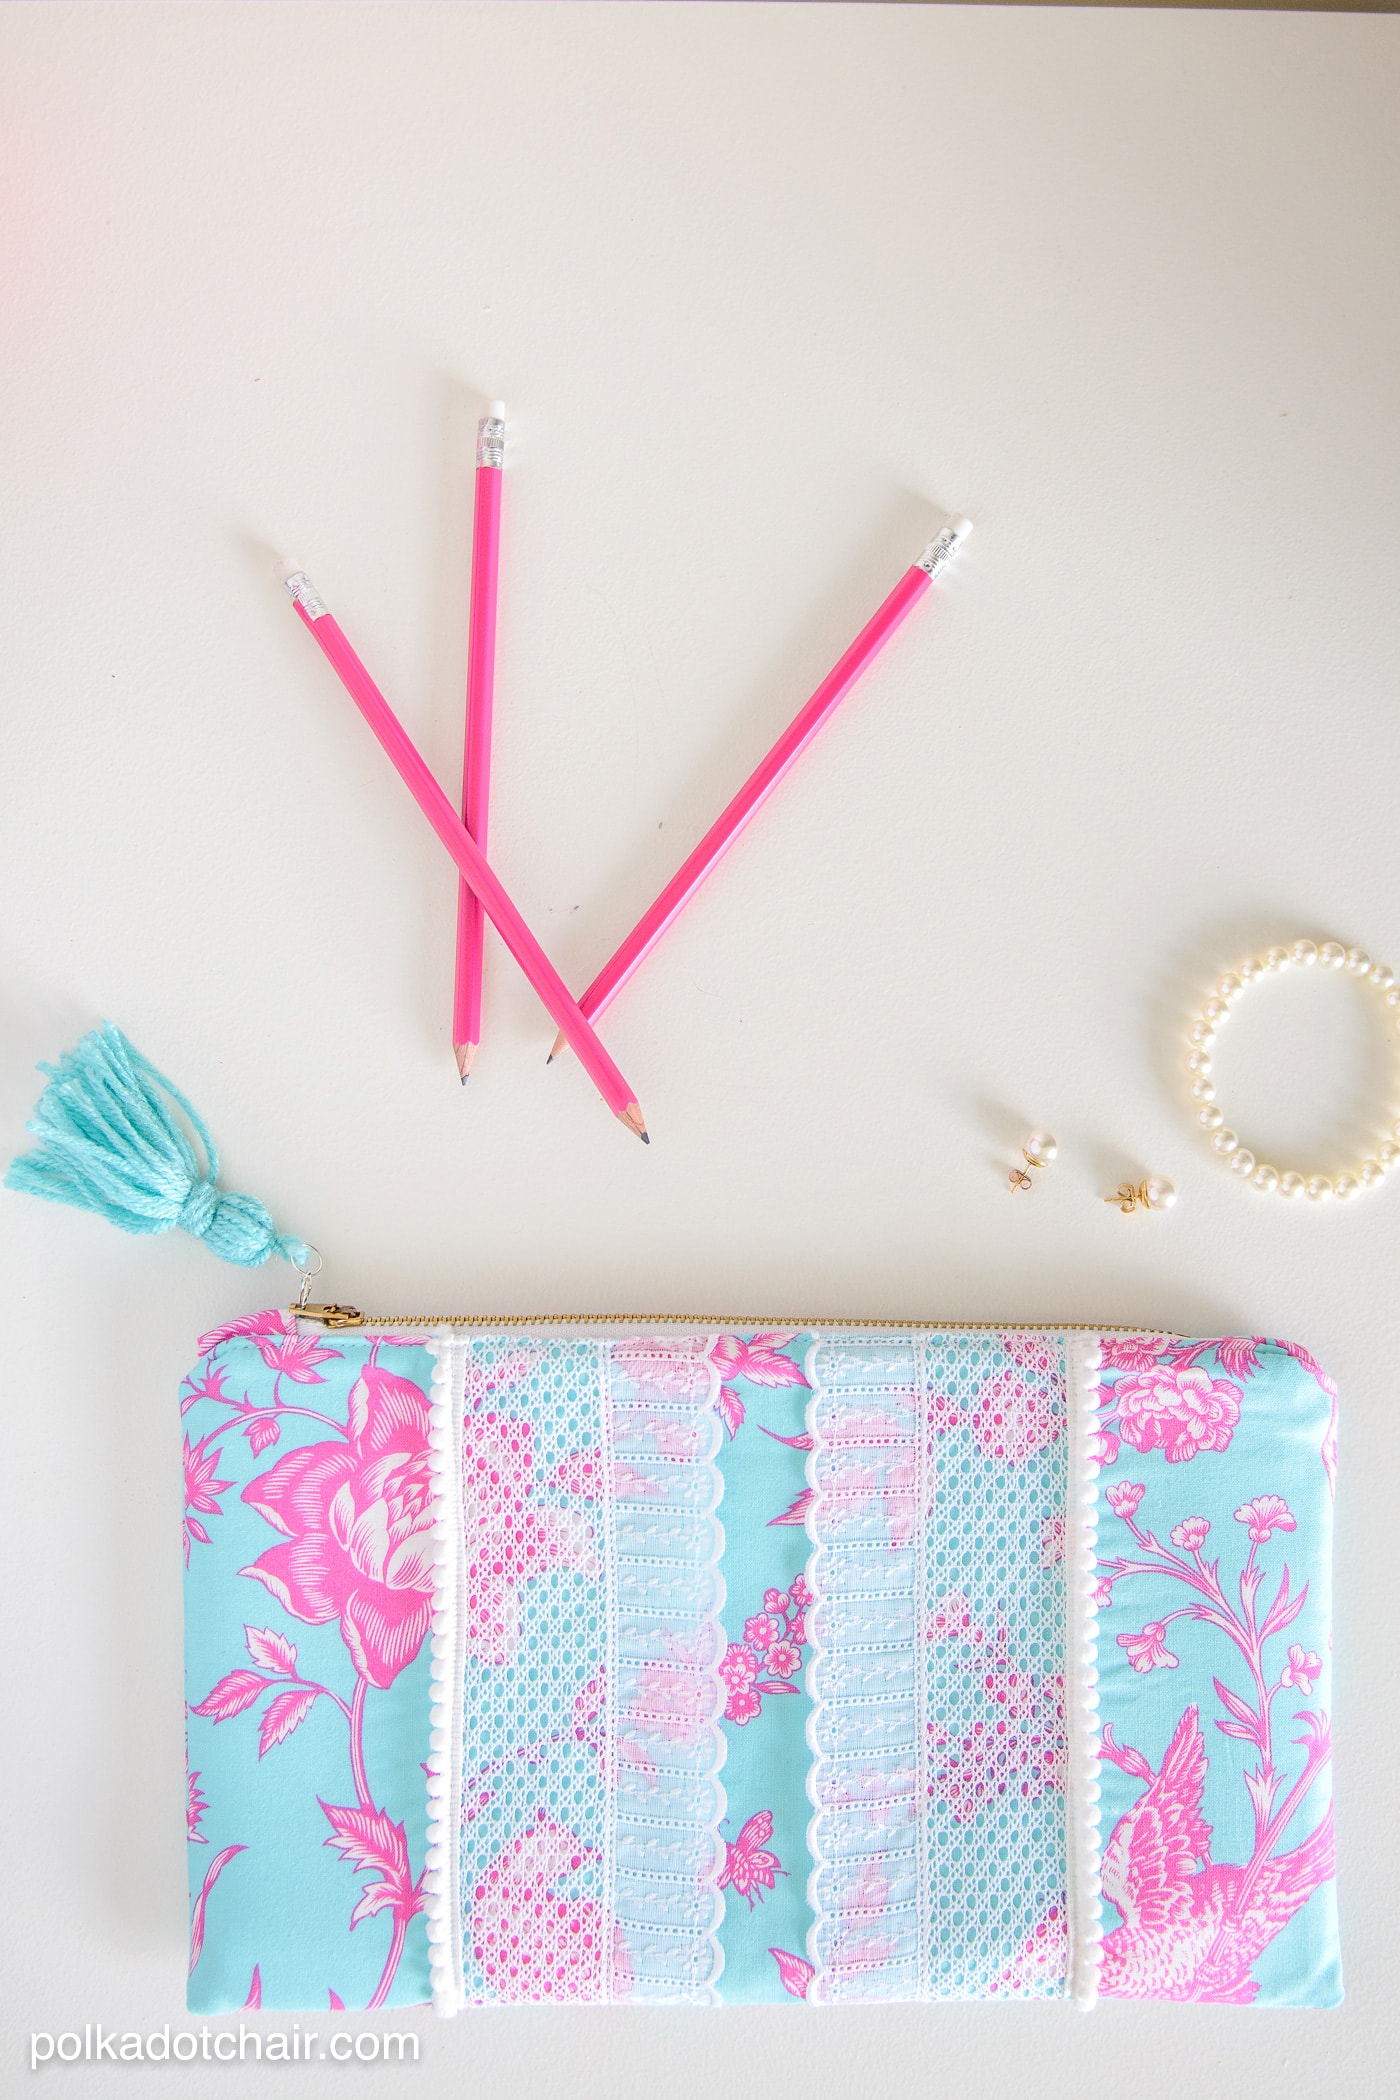
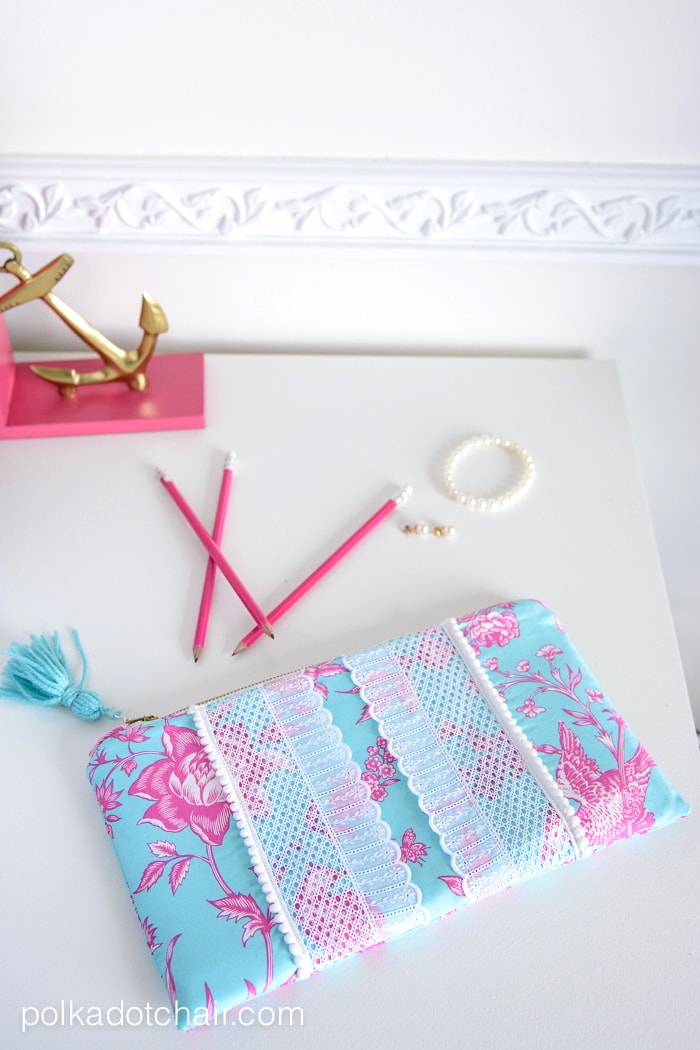
I searched my fabric stash for some fun and bright summer fabric, grabbed some lace an pom pom’s and stitched up this Lilly Pulitzer Inspired Pom Pom Clutch.
Want to make one??
Here’s what you’ll need:
- 2 Pieces of Fabric 8″ x 13″ for outside of clutch
- 2 Pieces of Fabric 8″ x 13″ for clutch lining
- 2 Pieces of fabric 3″ x 1 1/2″ for zipper tabs
- about 1 yard of pom pom trim
- about 1 yard of lace
- 9″ long metal zipper
- 2 pieces of SF-101 Interfacing cut to 13″ x 8″
- 2 pieces of Pellon Foam Interfacing cut to 13″ x 8″
Step One: Prepare the Zipper
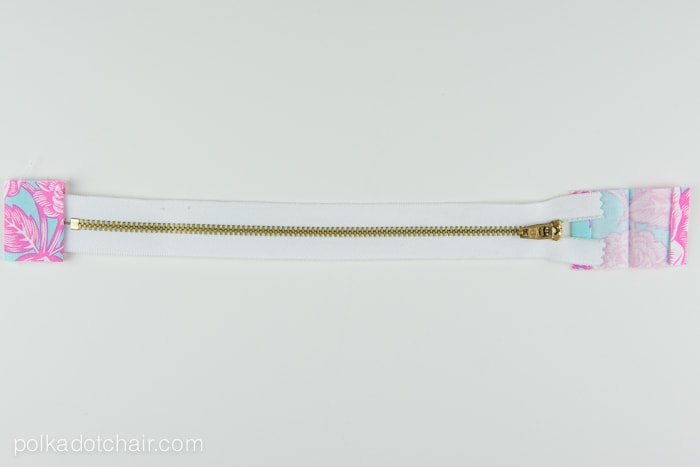
Fold each of the 3″ x 1 1/2″ pieces of fabric in half along the long side. Unfold and fold the two raw edges in 1/4″.
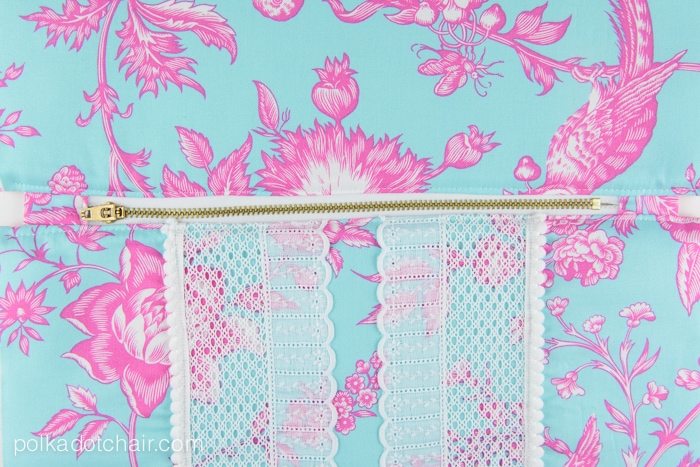
Pin the folded pieces on top of the ends of the zipper as shown in the photo. Stitch in place close to the edge of the fold.
Iron the SF-101 Interfacing on to the wrong side of both of the clutch outside pieces.
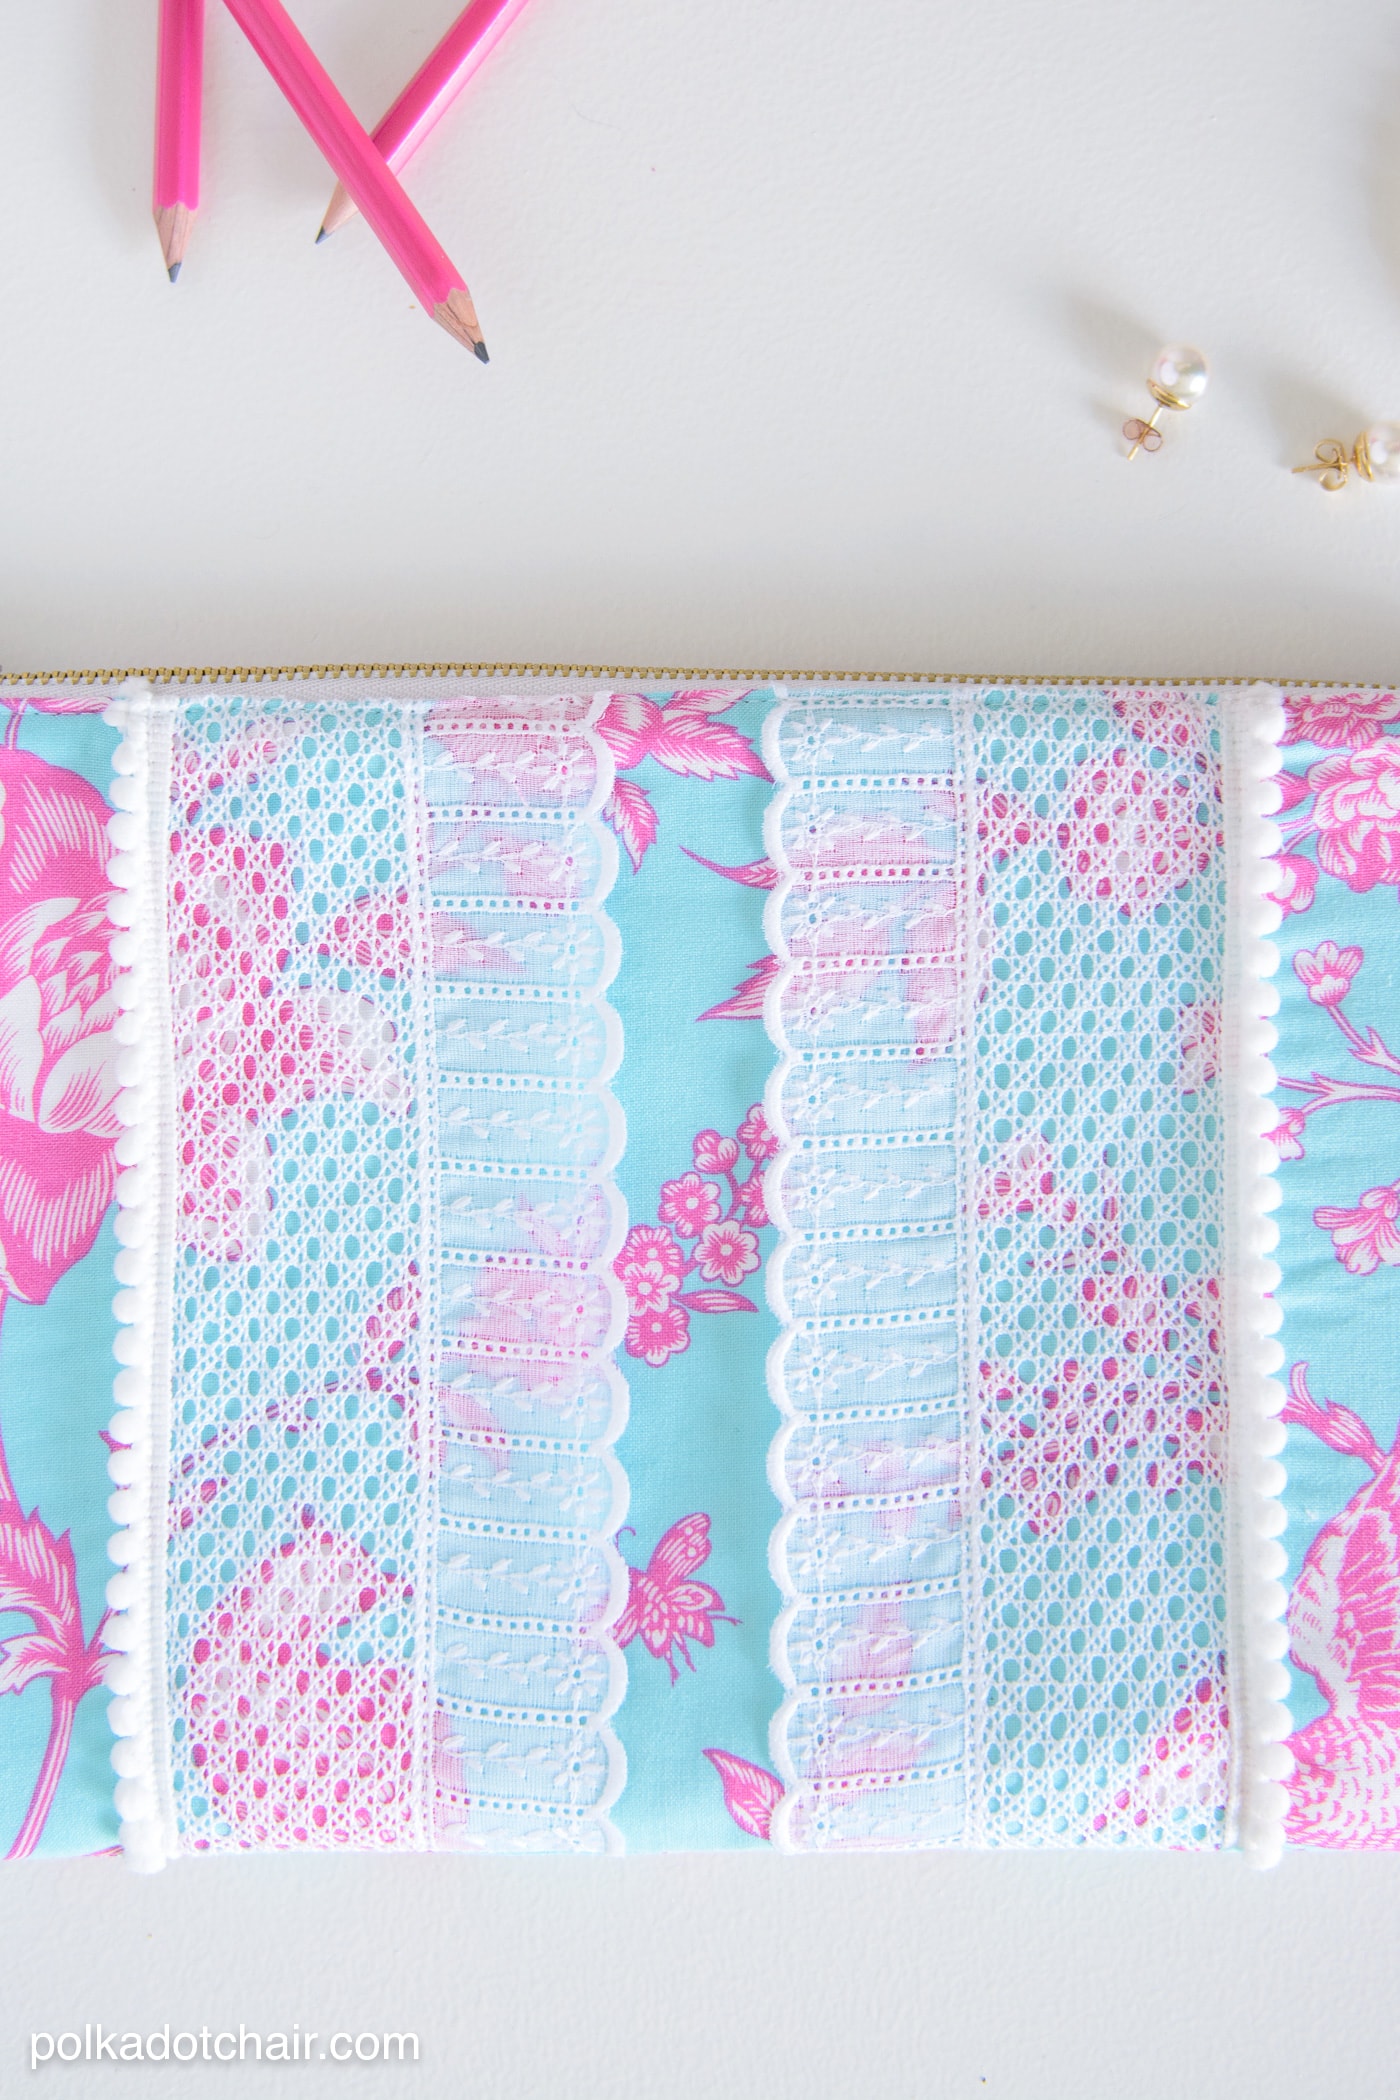
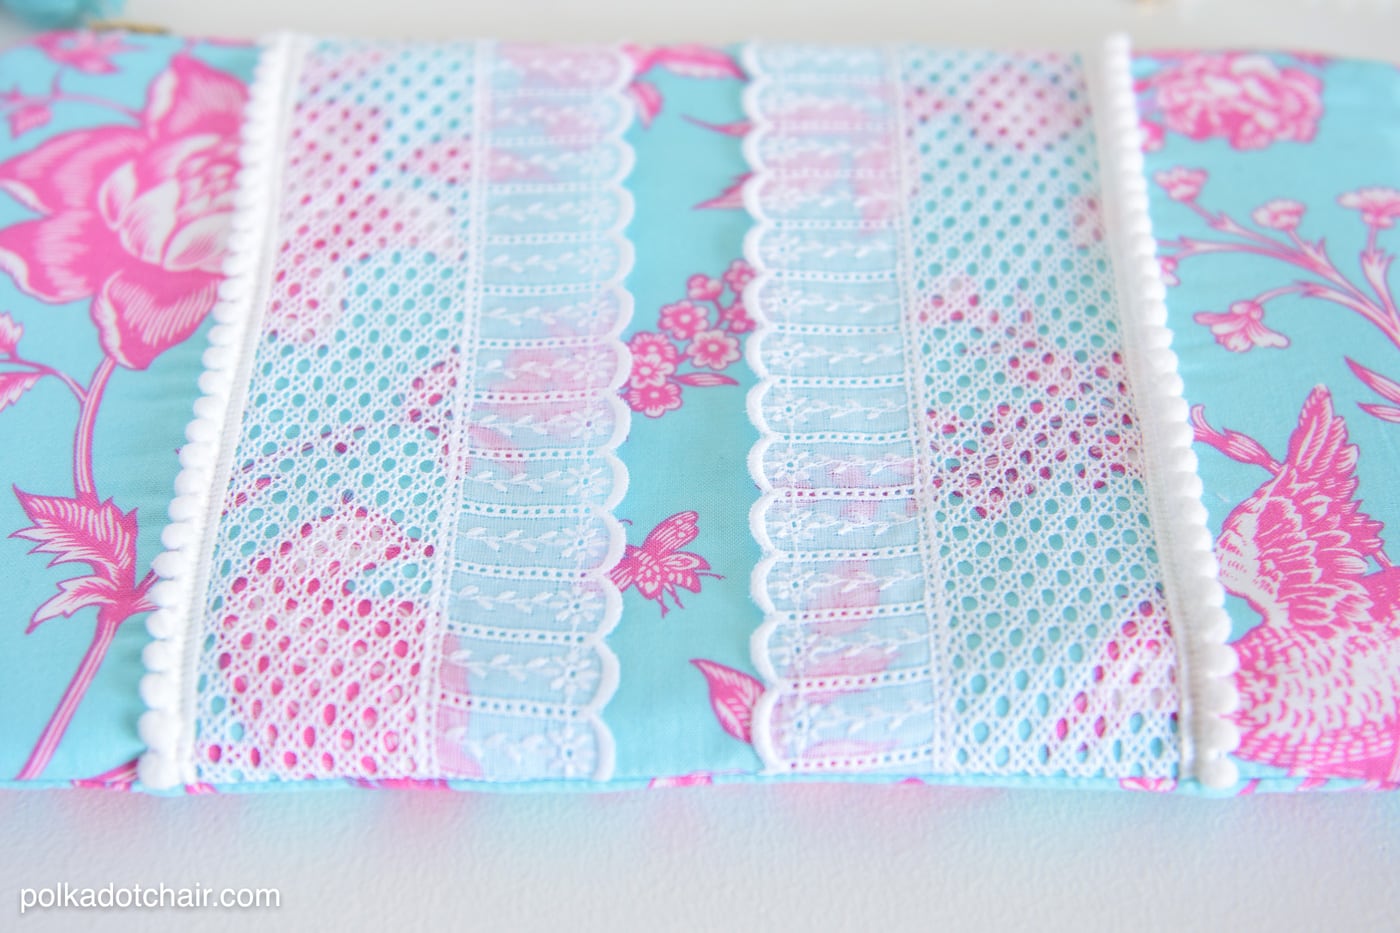
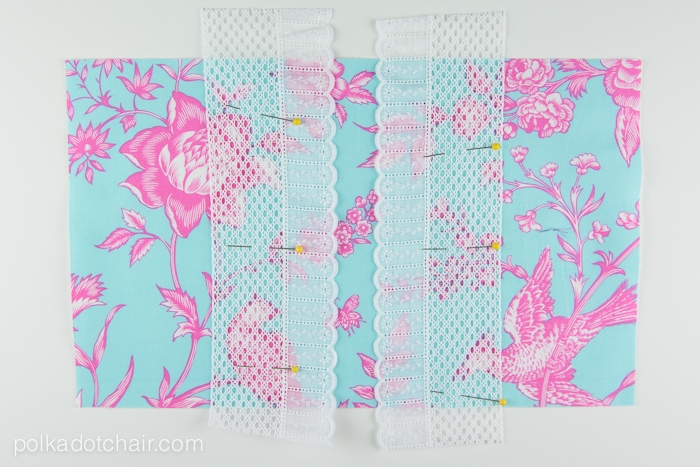
Pin the lace to the front of the clutch front piece, with 1″ in between the lace.
Stitch in place. Make sure you pick a spot on the lace to stitch that will not show too much. Look for a border on the lace or other flat spot.
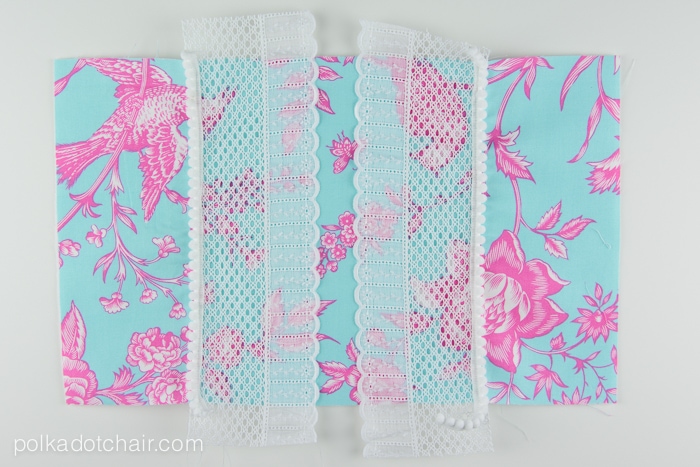
Pin the Pom Pom trim to the outside of the lace. Stitch in place. To sew the pom pom trim I think it’s easiest to use a cording foot or zipper foot on your sewing machine.
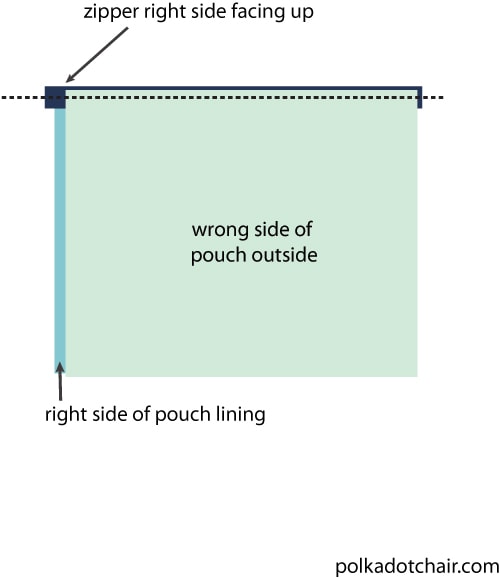
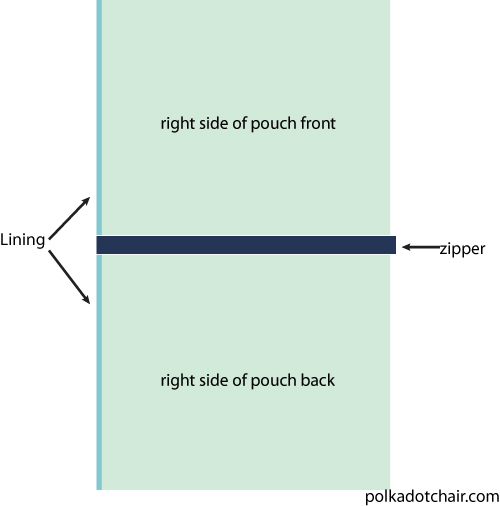
Now you will begin assembling your clutch. Pin the right side of the zipper to the right side of the pouch front piece. The zipper piece will not be as long as your clutch piece, just center it on the fabric.
Pin the wrong side of the zipper to the right side of one of the lining pieces. Pin the foam interfacing on top of this so that it’s facing the wrong side of the clutch lining. Stitch using a zipper foot. Repeat for other side of the zipper.
Press the clutch pieces away from the zipper and top stitch along both sides of the zipper (this will keep the lining from getting caught in the zipper).
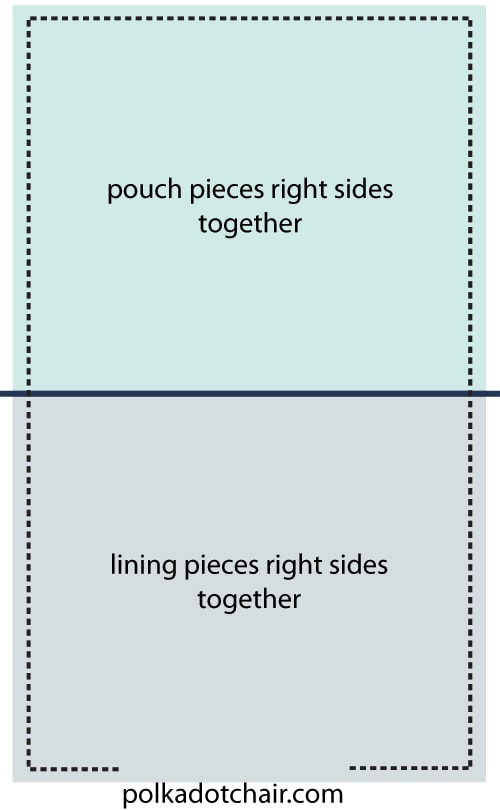
Unzip the zipper. Pin the clutch lining right sides together (the foam will be pinned in with the lining) and pouch front and back pieces are right sides together.
Stitch around the perimeter of the pouch leaving a 3″ opening in the bottom of the pouch to turn it right side out.
Clip the corners and turn right side out. Stitch the opening in the lining closed.
That’s it!! Enjoy!!

