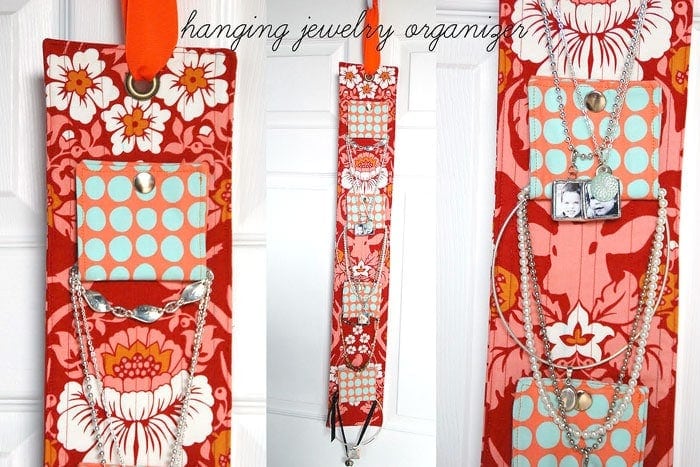
How to Sew a Hanging Jewelry Organizer
Keeping jewelry organized can be a challenge, especially when necklaces tangle, and smaller pieces get lost in drawers. A hanging jewelry organizer is a simple and practical solution that not only keeps everything in one place but also makes it easy to see and access your favorite pieces.
Hi – it’s Traci, I am lucky enough to be one of Melissa’s friends. We have known each other for over 10 years, ever since we both moved to the same area of Kentucky.
She is awesome, and I love bouncing ideas off of her, copying her ideas, and just sitting in her craft room to absorb all the creative juices.
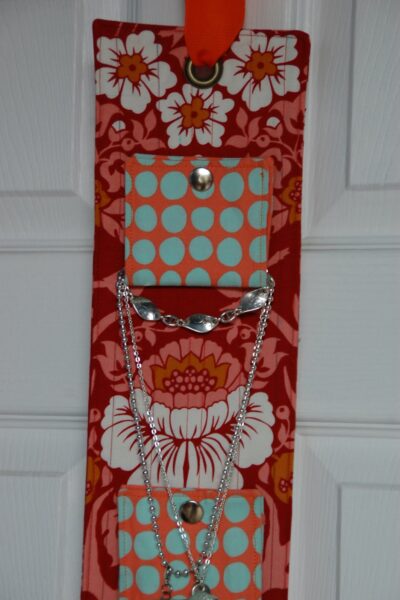
I am glad she asked me to do the Tuesday Tutorial because it got my slow juices flowing again. So, here is my version of the Tuesday Tutorial – the hanging jewelry organizer for your necklaces and bracelets. This is perfect for hanging on the back of the bathroom door, from a hook in your bedroom, or from a pretty nail. The loops snap, making it easy to get to a necklace/bracelet or to easily add more to the organizer!


How to Sew a Hanging Jewelry Organizer
Equipment
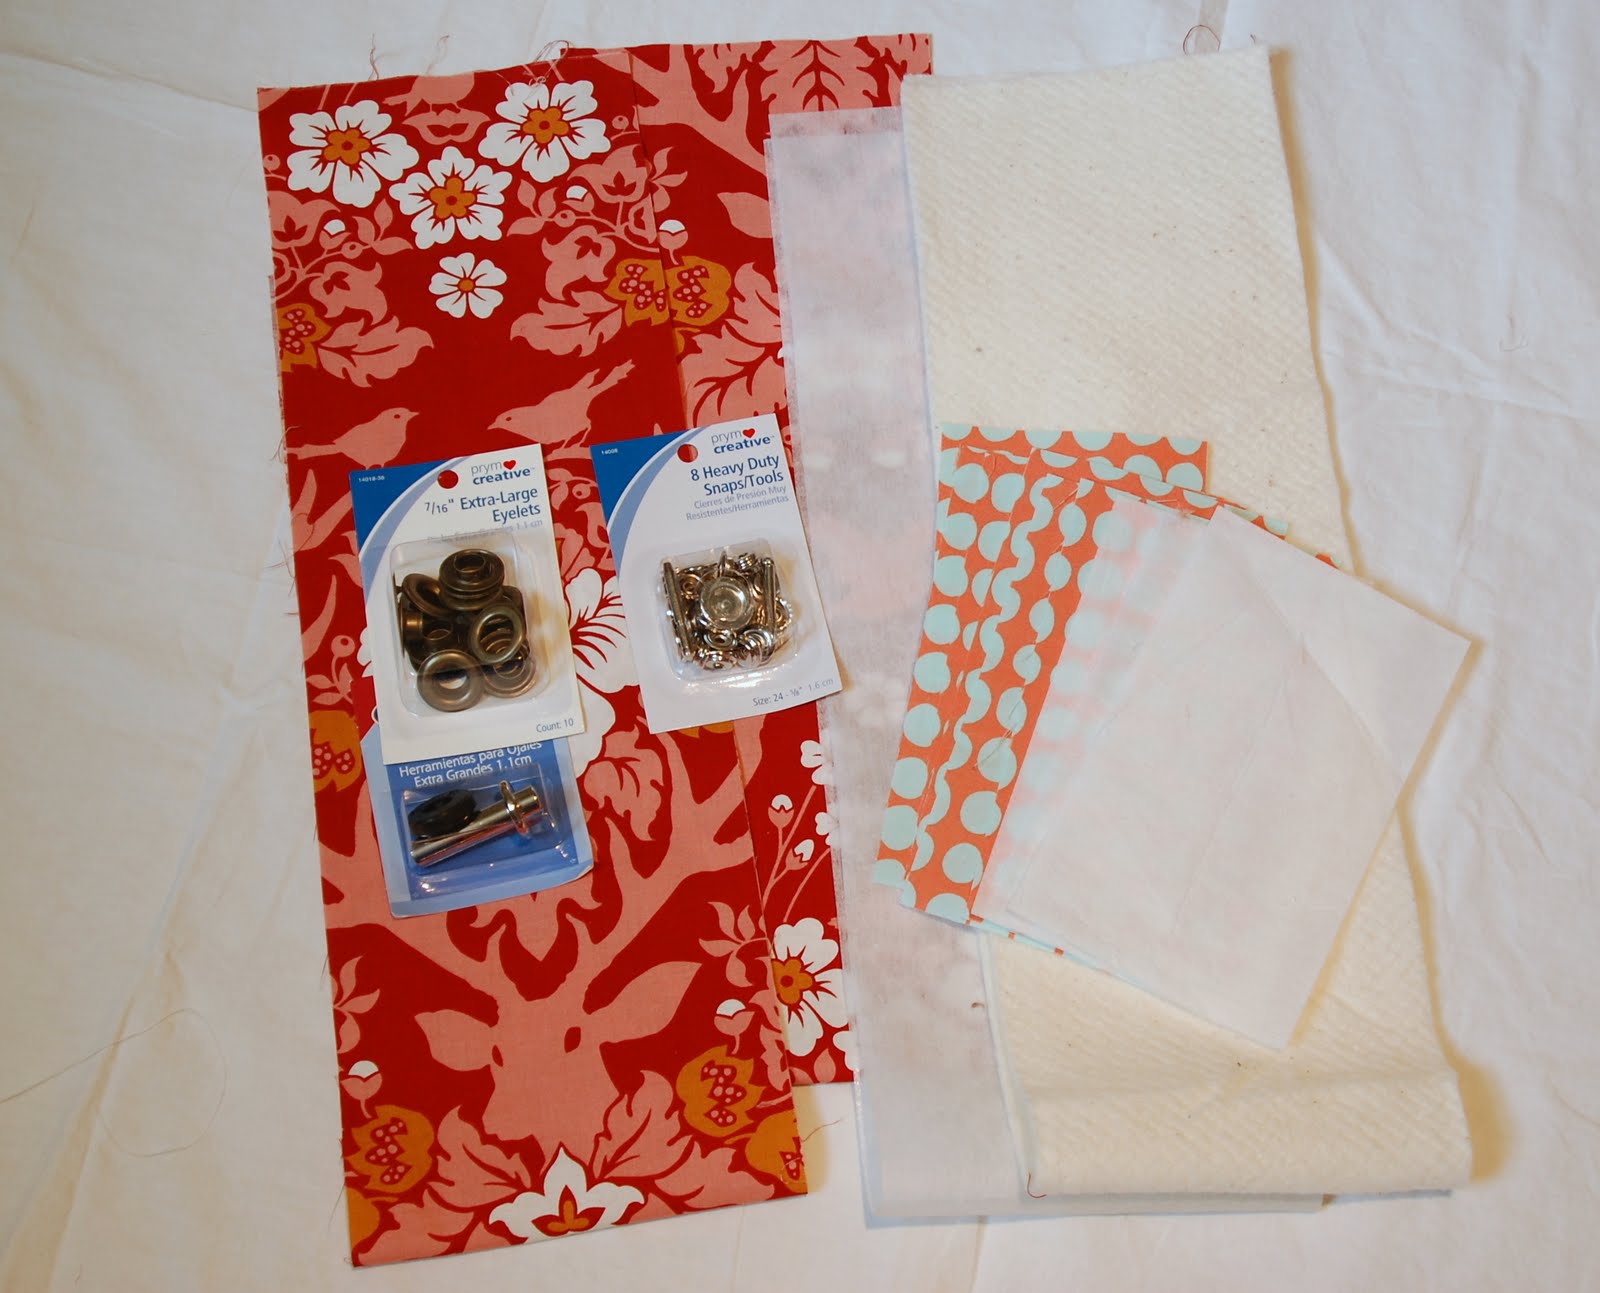
supplies
- 2 pieces of cotton quilter’s fabric 34″long X 6″wide
- 1 piece of medium-weight fusible interfacing 34″long X 6″wide
- 1 piece of Warm and Natural batting 34″long X 6″wide
- 8 pieces of cotton quilter’s fabric 7″long X 4″wide
- 4 pieces of medium-weight fusible interfacing 7″long X 4″wide
- 1 pack of heavy-duty snaps comes in a kit with tools to install
- 1 pack of 7/16″ extra large eyelets grommets and 7/16″ extra large eyelet tool
Instructions
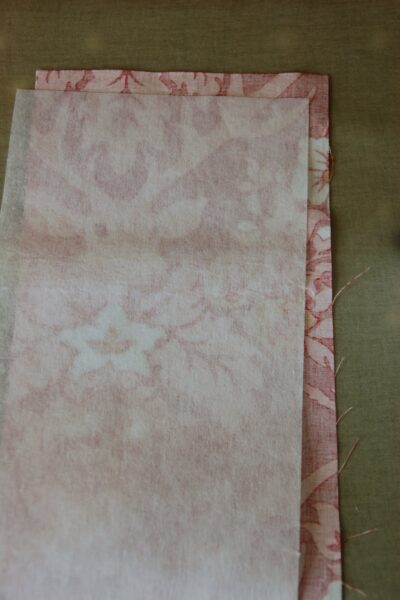
- Iron the fusible interfacing. You need to iron one 34″ X 6″ piece of interfacing to the wrong side of one of the 34″ X 6″ pieces of cute cotton quilter’s fabric.

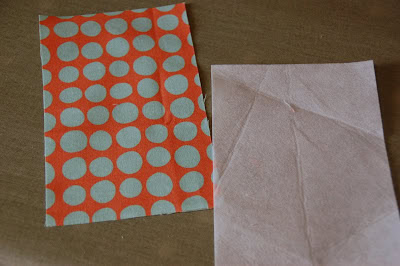
- Then, you will need to take the 4 pieces of 7″ X 4″ interfacing and iron them onto the wrong side of just 4 of the 7″ X 4″ pieces of cotton quilter’s fabric. You will have 4 pieces left without the interfacing fused.

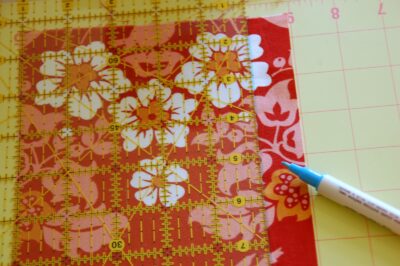
- Let’s (kind of) quilt! Take your other 34″ X 6″ piece of fabric and draw lines with a water-soluble marker where you want your lines. I did mine every inch with two in the middle, just 1/2″ apart, to add a bit of variety.
- Sew along the lines with a slightly longer stitch than usual.
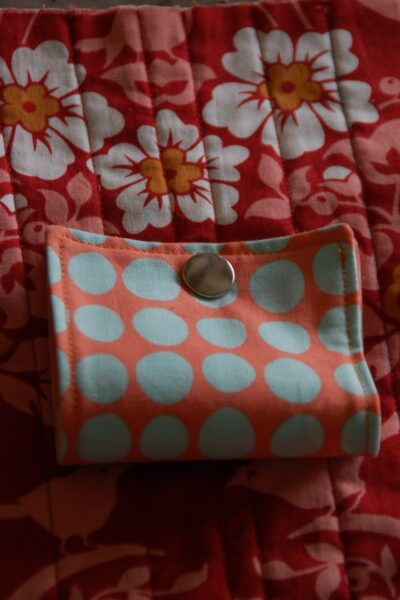
- Making the loops – what the jewelry is held by! Take your 8 pieces of 7X4 fabric; 4 with interfacing and 4 without. Pair them up, 1 piece with 1 piece, and face them wrong sides together.
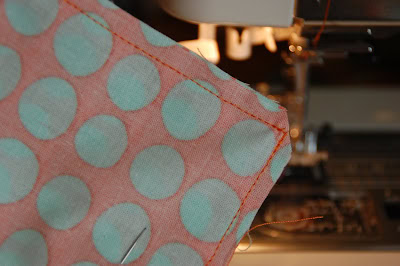
- Now sew around all four sides with a 1/4″ seam allowance, leaving about a 2″ opening to turn right side out.
- Cut the corners and turn right side out.
- Press the seams and sew a topstitch all the way around so the opening closes up.
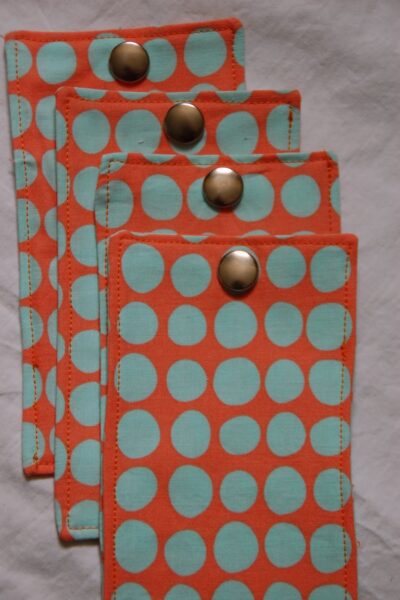
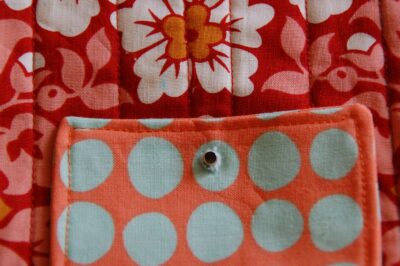
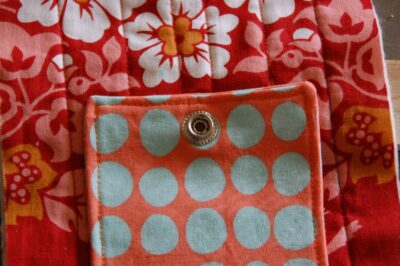
- Attaching the heavy-duty snaps – very easy to do. We need to attach them to the loops first. So, measure 1/2 ” from the top and 1.75″ from the sides, and that will be where you attach the top half of your snap. It’s the pretty half with the shiny silver button look. Follow the directions on the package to do this.
- They will look like this when you have the 4 top halves of the snaps attached.
- *Hint – the tool supplied to make the hole in the fabric might not work very well since you are going through about 3 layers. So, just get some small, sharp-tipped scissors and make a tiny hole with the point.
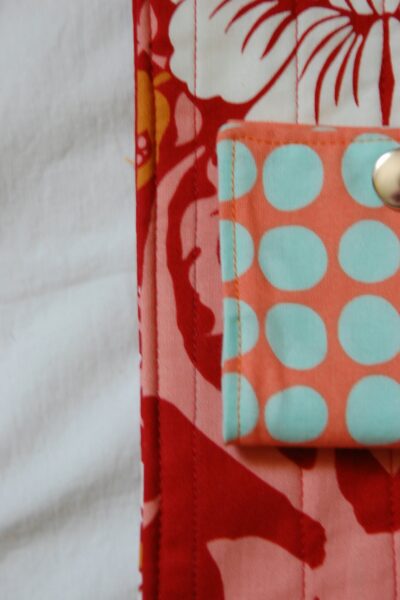
- Attach the loops to the long quilted piece of fabric with the other part of the snap. You will place these bottom snaps 4″, 12″, 20″, and 28″ from the top (all 8 inches apart). You will snip the small hole in the base fabric first, then put the back part of the snap.
- Then, cut a tiny hole on the opposite side of the loop (opposite the end where you already attached the first part of the snap). Lay this on top of the base fabric and make sure the snap goes through it as well.
- Attach the snap according to the package directions.
- Snap the snaps together to form the loops!!
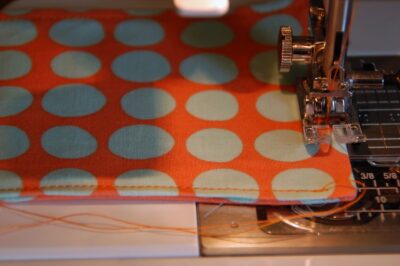
- Take your 34″X6″ piece with the interfacing, and this piece with all the loops and snaps, and put them right sides together. Sew all the way around with a 3/8″ seam, leaving about a 6″ opening on one of the long sides for turning.
- Press out the seams and topstitch all the way around to finish and close the turning opening.
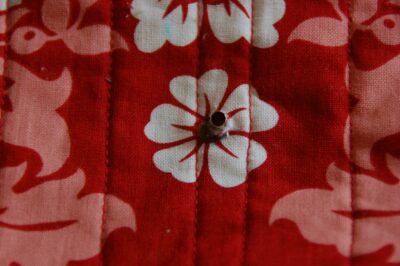
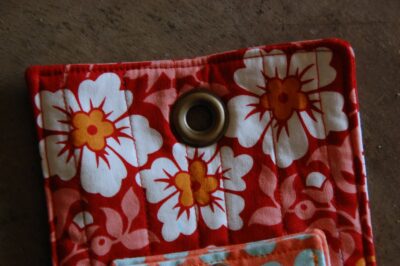
- It’s time to attach the extra-large eyelet/grommet. Please attach it following the directions on the package, placing it 1″ down from the top and in the center.
- It’s done now, but you can add a ribbon if you want to hang it from something larger than the grommet opening. I cut a 30″ piece of ribbon, ran it through the grommet, and tied a knot at the top. Hang your necklaces and bracelets from all the loops and hang them on the back of the bathroom door, from a hook in your room, or a pretty nail in the wall.
*This would be very cute in a teen’s room or in your daughter’s room to hang all her jewelry and headbands!!

Imposible encontrar un ordenador en esta tienda online me he podido hacer una pequeñisima idea
Its like you read my mind! You appear to know a
lot about this, like you wrote the book in it or something.
I think that you could do with a few pics to drive the message home a little bit, but other than that,
this is fantastic blog. A fantastic read. I’ll certainly be back.
What’s better than joining the web’s hottest up and coming adult dating community. Surprises on a first real date should always be good surprises. This happens in home, office and all business places that have an Internet connection.
Also visit my page; dating sites online
Love it, I linked it on my blog for my italian readers together with your other tutorials.
http://borsedigaya.com/?p=1747
Thanks
#3 says to put the two pieces of fabric WRONG SIDES together. Is this correct?
In the picture it shows Right Sides together and then later you say to turn it Right Side out.
If you put small necklaces or bracelets in the bottom section, you could roll it up and use the ribbon through the grommet to tie it up. It would be perfect to tuck in a suitcase when you’re travelling. When you reach your destination, you just take it out, unroll it and hang it up.
Hi! I just posted this to my blog at http://tarahutchjewelryblog.com/2011/03/16/lookie-what-i-found-online/
I love this project, and your beautiful photos and step-by-step instructions are great! I also LOVE your blog!
Tara
Awesome! And it would totally work for (empty) purses, or in boy fabrics for baseball hats.
Wow, thanks; this is an awesome project. I am going to link this to the holiday gift idea thread in arts and crafts at MDC. Because I know a lot of mamas on there will want to make these.
I have to wait a little while to go and buy snaps but after I make one I will post it on my blog and link to you from there, too. Thanks again for the tut!
I love it. But you beat me to it 🙂 I have had one of these on my list of things to make forever-although my design is a bit different. I really like this and definitely need it 🙂 The loop snap thing is a great idea! thanks for sharing!
I LURV it! And your instructions are just crystal clear. Niceley done! Now where’s my teenaged daughter…
What a lovely display! Those of us with fabric stashes will thank you. I have linked in this post :
http://www.beadinggem.com/2009/09/how-to-make-your-own-necklace-display.html
Love THIS!
Its perfect and very practical thanks for sharing 🙂
Mayya @ Sew Chic and Unique
http://www.sewchicandunique.com
Great idea Traci! How fun to see both of you on this blog.
Melissa,
Hope you got your stitches out and your finger is feeling better. I think its spring break there. Hope you are doing something fun.
Awesome!! Those snap-together loops are brilliant!
I linked to your tutorial on Craft Gossip Sewing:
http://sewing.craftgossip.com/tutorial-hanging-jewelry-organizer-for-necklaces-and-bracelets/2010/04/06/
–Anne
So cute! Thanks for the tutorial!
Fun idea. Thanks for sharing, Traci!
What a great idea and such a wonderful tutorial! Thank you, bedankt.