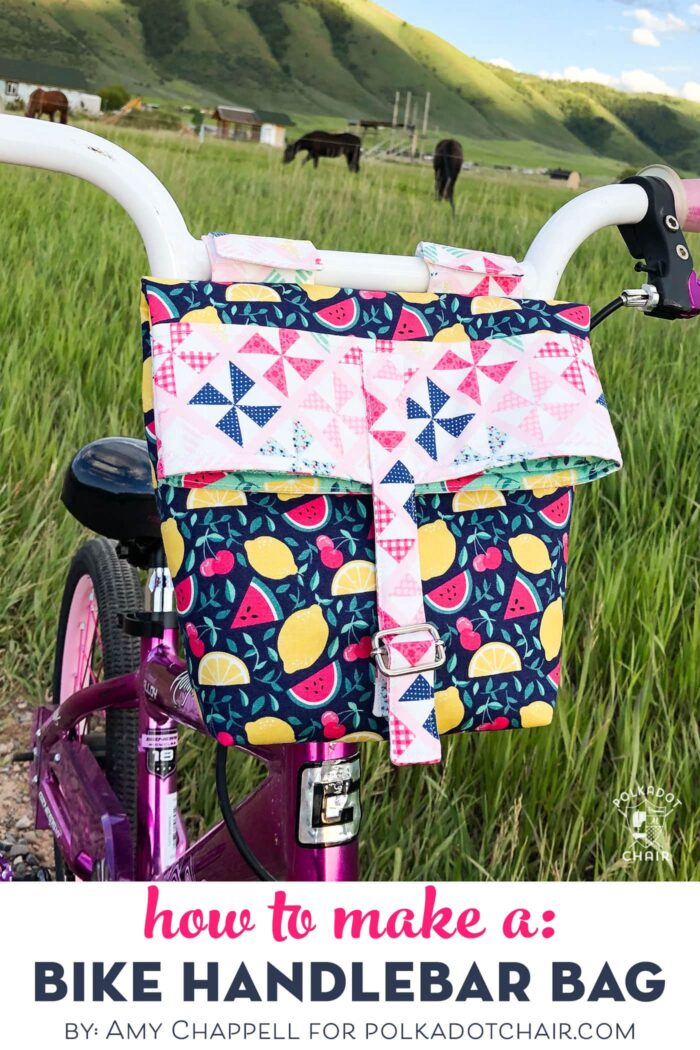
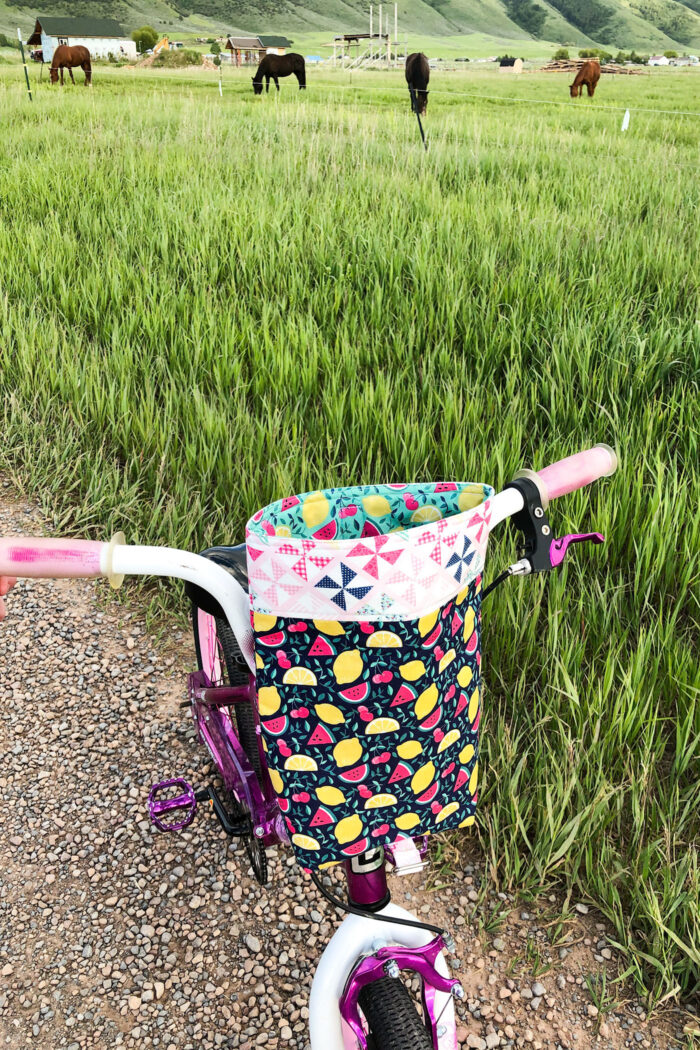
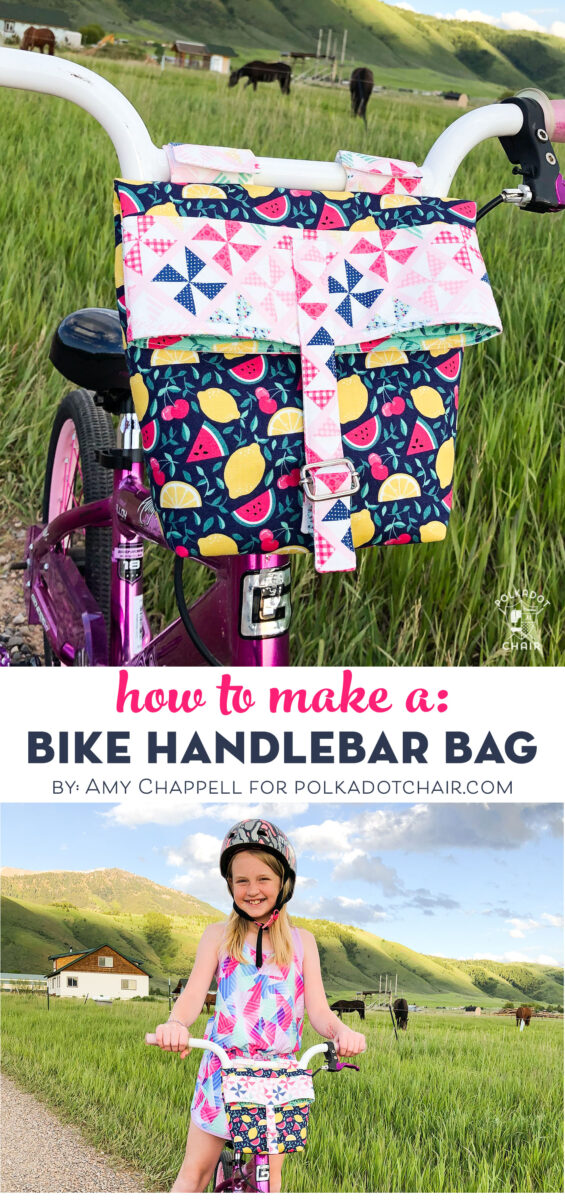
DIY Bike Handlebar Bag Pattern
Summer is in full swing and I find myself in the mood to tackle some fun summer sewing projects! Amy from Ameroonie Designs is here with us today sharing the perfect summer sewing pattern. Follow along and learn how to make these fun DIY Bike Handlebar Bags.
Summer break is always so much fun, long bike rides, trips to get ice cream and days with no schedules.
I love when my kids go out on adventures on their bikes. To make it easier for them to carry their treasures (or maybe some money for the ice cream), I designed this darling pouch to attach to the handlebars of their bikes.

DIY Bike Handlebar Bag Sewing Pattern:
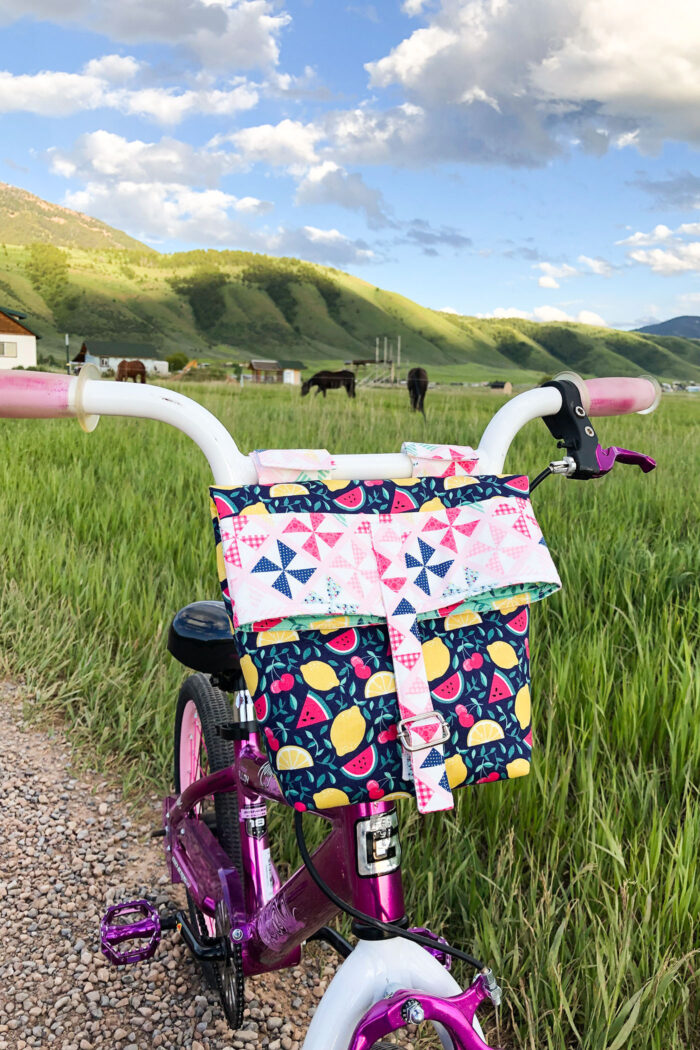
This Bike Pouch tutorial is fat quarter friendly and sews up in just a couple of hours.
You could swap out some laminated fabric in place of the exterior fabrics to make it a bit more weatherproof.
I’m so excited to share with you this tutorial so you can sew up some bike pouches for the kids in your life. Or maybe even for yourself!
If you want to add a coordinating mini wallet to your DIY bike handlebar bag or pouch to hold money, I have a fantastic beginner wallet tutorial.
Or a darling zipper pouch pattern.
DIY Bike Handlebar Bag Pattern
supplies
Fabric Requirements
- 3 fat quarters- I am using I’d Rather Be Glamping fabric by Riley Blake Designs
- Slide for closure I am using a ¾” slide, if you use a larger one, adjust the width of the slide holder and slide closure pieces accordingly
- Velcro
- Fusible fleece
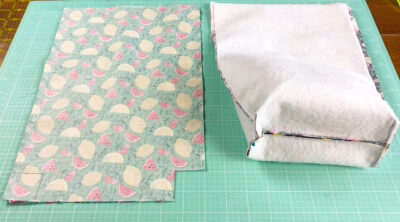
Cutting Directions
- 2 pieces 9 ½” X 11 ¼” from main exterior print (blue fruit print in pic)
- 2 pieces 9 ½” X 3 ¼” from exterior accent piece (pinwheel print)
- 2 pieces 9 ½” X 14” from lining print (mint fruit print)
- 2 pieces 1 ¼” X 3” from accent fabric (pinwheel print)
- 2 pieces 1 ¼” X 8” from accent fabric
- 4 pieces 2 ½” X 5” from accent fabric
- 2 pieces 9” X 13 ½” from fusible fleece
- 1 piece ¾” X 2 ½” from fusible fleece
- 1 piece ¾” X 7 ½” from fusible fleece
Instructions
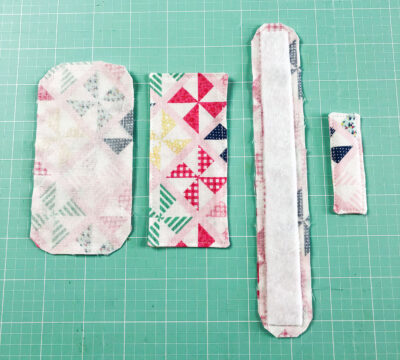
Assemble Straps
- Fuse fleece to the wrong side of one of the 1 ¼” X 3” and 1 ¼” X 8” rectangles

- Pair the 1 ¼” X 3” pieces, 1 ¼” X 8” pieces and 2 ½” X 5” into sets of two with wrong sides together.
- Sew around all four sides of each pair, leaving an opening for turning on one long side of each. Back stitch at beginning and ending of stitching.
- Clip corners and turn right side out.
- Press, turning under the seam allowance of the opening.
- Top stitch around all four sides of each piece.
- Cut 1 ¾” strips of both sides of Velcro (hook and loop) Sew the hook piece of Velcro on one short end of the 2” X 4 ½” pieces.
- Sew the loop piece of Velcro on the opposite end, AND other side of the pieces.
- *TIP: I recommend sewing around the Velcro a couple of times to ensure the pieces stay firmly in place.
- Sew the 2 ½” X ¾” strap around the center bar of the slide by folding over about ¾ to 1 inch of the strap and sliding the center bar in. *TIP I find it easiest to do this by using a zipper foot and moving my needle to the left to allow me to get as close as possible to the slide
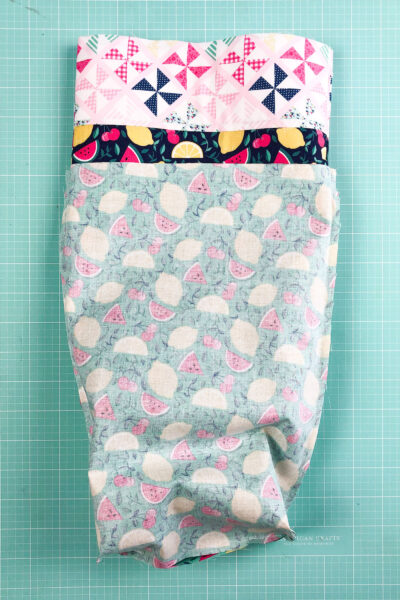
Create Pouch Exterior:
- Sew the 9 ½” X 3 ¼” rectangles to the top of the 9 ½” X 11 ¼” rectangles.
- Press seam toward the accent piece.
- Fuse the 9” X 13 ½” pieces of fleece to the wrong side of both exterior pieces
- Top stitch just to the side of the seam on the accent side of the exterior pieces.
- Take the strap with the slide and center it 2” from the bottom of one of the exterior pieces. Sew into place.
- Take the two handlebar straps and place them 1 ½” in from each side of the other exterior piece. The top of the strap should be lined up with the seam of the accent piece. Mark the strap 2” down from the top and sew along the line to hold in place on the exterior of the bag. I like to reinforce the straps by sewing over the stitches multiple times. *NOTE: you may need to position the straps differently depending on the kind of handlebar you are going to use it on. I recommend pinning the straps and place and testing it out on the bike before sewing down the straps.
Create Pouch:
- Take both exterior pieces and both lining pieces and put them right sides together.

- Sew around both long sides and the bottom of each piece- Make sure to leave a 2-3” opening on the bottom of the lining to turn the bag right side out.
- Mark the bottom corners of both lining and exterior pieces with a 1 ½” square.
- Cut out the marked square.
- Pull the corners of the cut out square and bring the side and bottom seams together. This will create a straight line. Pin in place and then sew along the line to box the bottom of the pouch. Repeat for both corners of the lining and exterior of the pouch.
- Turn the exterior of the pouch right side out.
- Slide the exterior of the pouch inside the lining, match up the side seams and pin around the top edges, lining them up as you go.

- Sew around the top of the pouch.
- Turn the bag right side out through the opening in the lining. Fold under the seam allowance of the opening of the lining and stitch it shut.
- Push the lining inside the exterior of the pouch and press the top seam. Top stitch around the opening of the pouch.
- Center the ¾” X 7 ½” strap on the top of the back side of the pouch (the side with the handlebar straps), position it ½” from the seam between the accent piece and main body. Sew around the strap that overlaps the pouch (but only on the back side of the pouch)
- Fold over the top of the pouch about ½” above where the handlebar straps are attached. I like to press the fold to crease it.

Notes
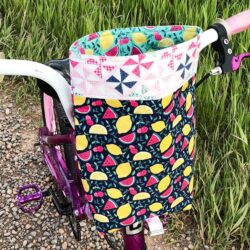
The final step is to attach the pouch to the handlebars of your kiddos bike and watch them smile!
About the Maker:

Hello! I’m Amy Chappell, the person behind Ameroonie Designs. I’m a sewing and quilt pattern designer, and I’m proud to say that my work has been featured in several print publications and popular DIY websites.
I am the mom of six kids- which is a big reason I create and sew. I find that I am happiest when I am making things, and taking time to be happy makes me a better mom.
Join me in my exclusive Let’s Sew Friends membership, where you’ll find small, manageable monthly sewing patterns, live classes, and lots of video tutorials!
Other projects you may enjoy sewing for or even with your kids:
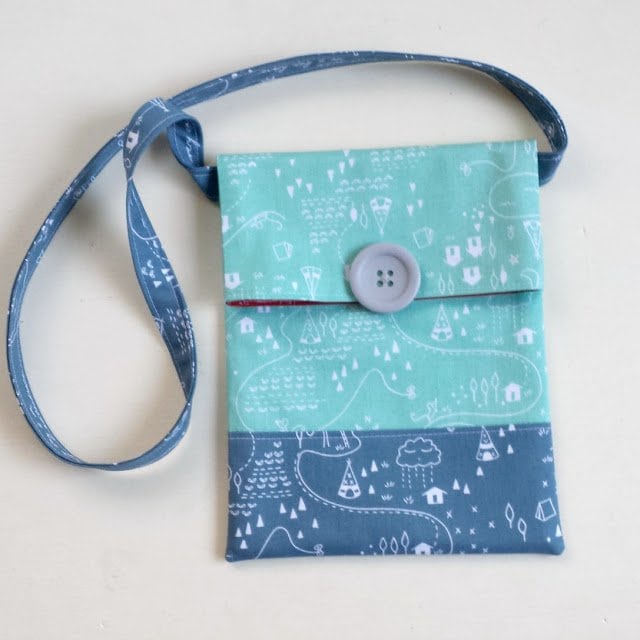
Summer Sling Pouch: https://amerooniedesigns.com/how-to-sew-a-simple-sling-bag-for-kids/
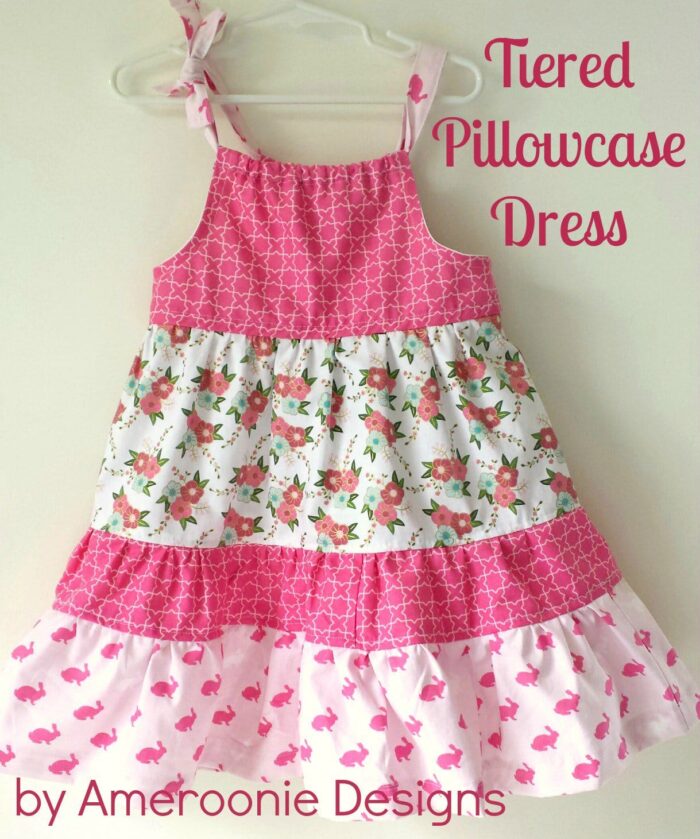
Tiered Pillowcase dress: https://amerooniedesigns.com/wonderland-tiered-pillowcase-dress/
More Summer Sewing Projects to Try:
Free Toddler Backpack Sewing Pattern
How to Make Drawstring Backpacks
Splash Proof Phone Case Sewing Pattern
What is a slide? Is it a zipper? If not where is a source?
hi. was wandering what size seam allowance you use for the bike bag. thank you
I am trying to make the bike handlebar bag for my niece as a gift.
I’m confused about where you state to pair up 3 of the pieces “wrong sides together “and sew around then turn inside out. But the picture looks like “right side ” are together. What should it be?
By the way love getting your newsletters.
It’s right sides together. Those steps are always counter-intuitive and can be confusing. But it is right sides.
Amei conhecer sua arte. Parabéns! Muito obrigada por esse prazer.