Navy + Gold Guest Bedroom
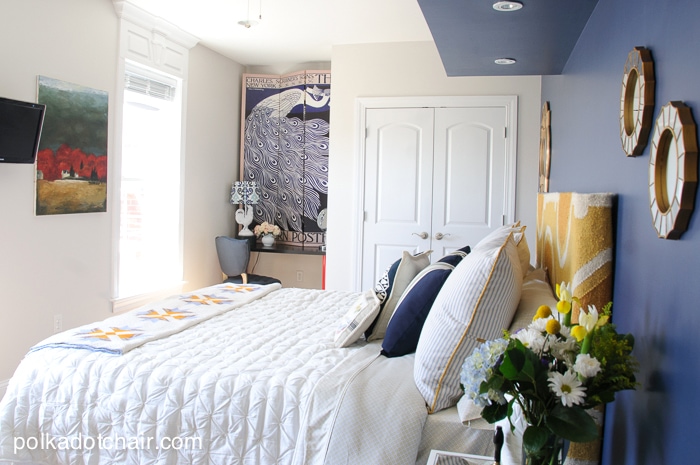
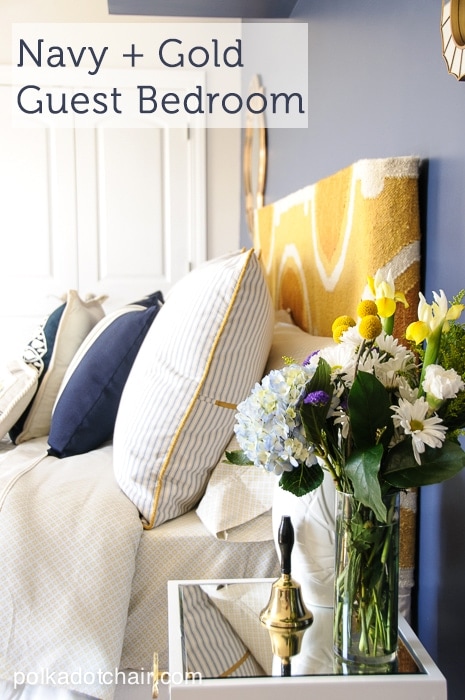 I am so excited to reveal our Guest Bedroom Redo!! We (and when I say we, I mean my husband and me as he did just about as much as I did for this project) have been working very hard to turn this room into something that we hope our guests will love! We decided to go with a Navy and Gold color scheme and now that it’s done, I can say that I love how the colors work together. You can read about my inspiration and design process for the room here.
 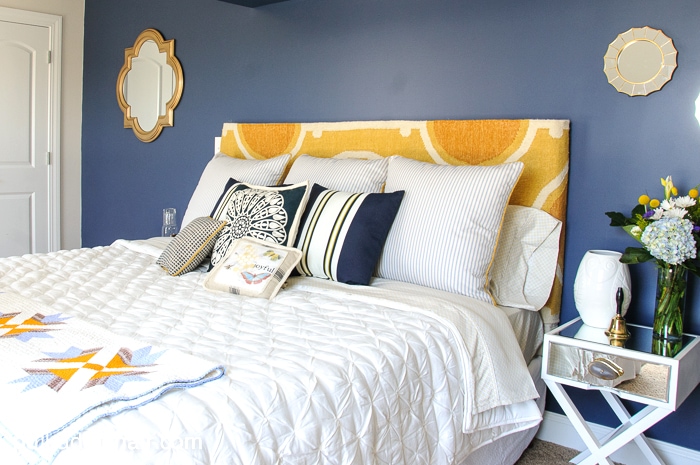 I can honestly say now that we are finished that the paint was BY FAR the easiest part of this room. Ever have a project where it seems nothing is going your way? Well that’s how this one felt. Odd-sized furniture, broken drill bits, clogged spray paint cans, droopy headboards, I could go on. I don’t know if we took on too many DIY’s or if the time frame was too short- but it seemed like so many things required 100 more steps than I thought- but more on that later… First let’s talk about the colors:
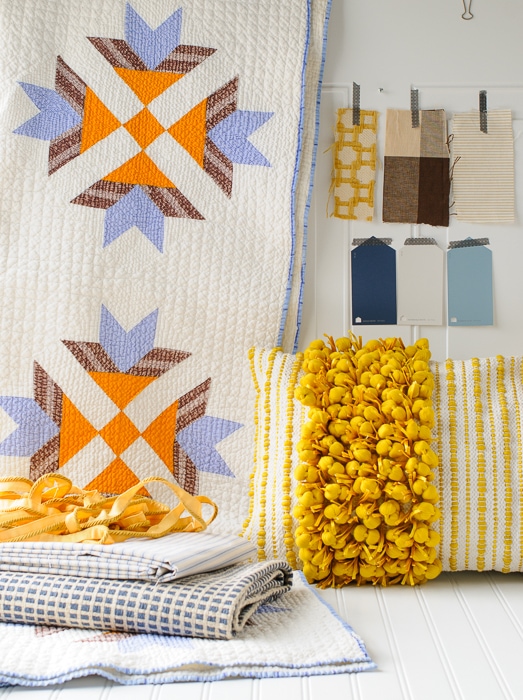
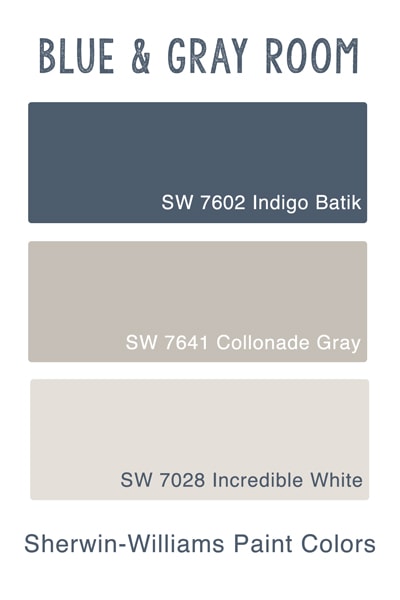 The idea for the colors of the room came from an antique quilt that I found at a local shop last fall. I loved the blue and gold tones and thought it would make a great jumping off point for the room. I honed in on the HGTV HOME™ by Sherwin-Williams Traditional Twist color collection and between using that and the Chip It!® tool (you can see a full write-up of how it works on my previous post here), I was able to quickly settle paint colors.
 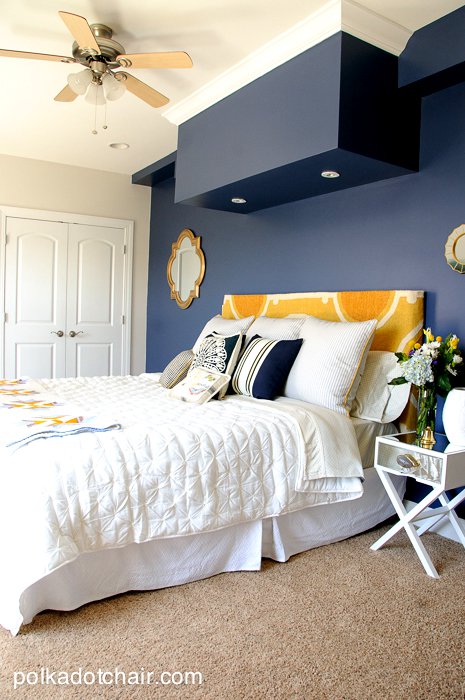 We painted the main wall in the guest room, SW 7602 Indigo Batik, then chose SW 7028 Incredible White for the rest of the room. Incredible White is actually a very light gray, and I think it gives the room a warm touch, as opposed to a very bright white.
  The paint was so easy to use. Two coats and it was done!! Even that dark navy color, I thought for sure that one would have taken several coats. We ended up buying 1 gallon of each color of paint and one quart of each color also.
 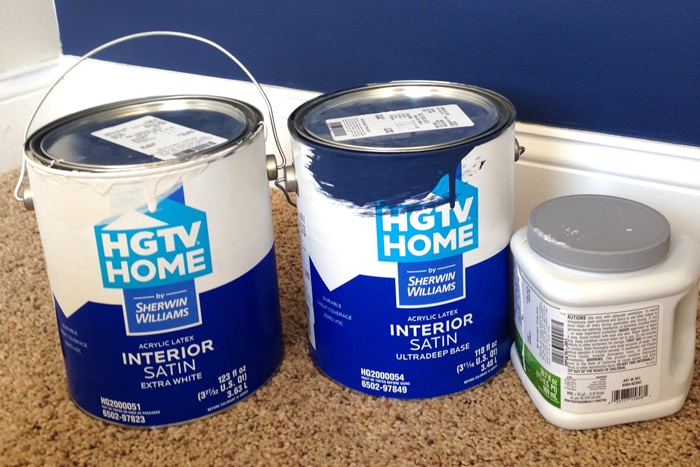 The quart paint can was perfect for cutting in and small detail work. It has a handle which makes it really easy to hold, which was great for cutting and detail work – it’s also great if you only want to buy a small amount of paint to test colors before you commit to a paint color.
 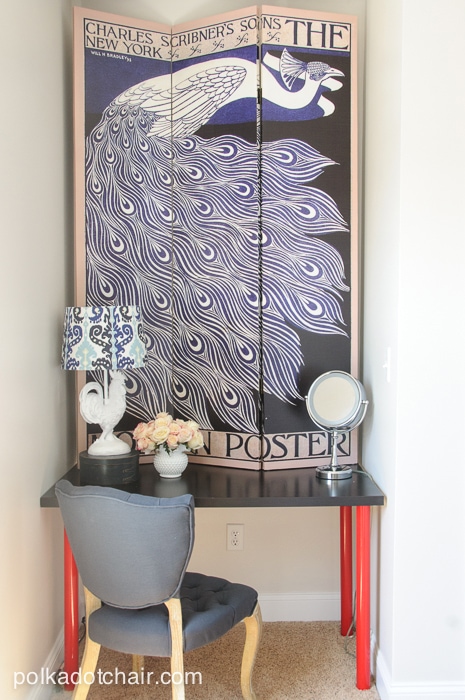 After the paint, things got a bit hairy as it seemed like nothing was working… We moved a desk from an awkward corner to another room. I measured it twice, but then we brought it downstairs and it didn’t fit… it was 1/2 too big!!! We cut a bit off of one end to get the desk to fit. To cover the electrical box in the room I used a large screen- we needed something that was easy to move in case we have to get to the electrical box in a hurry.
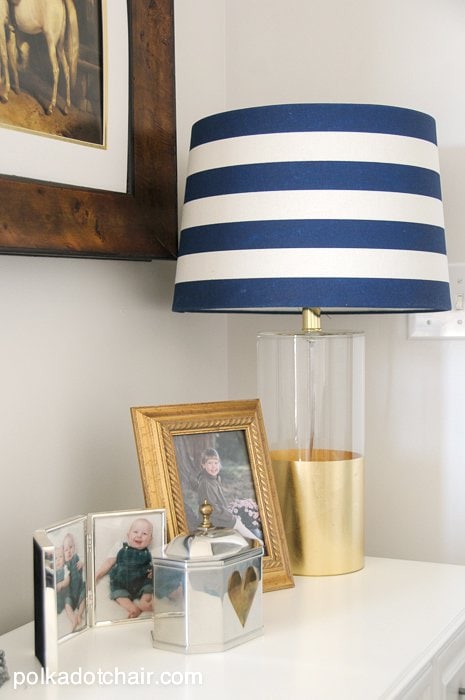
 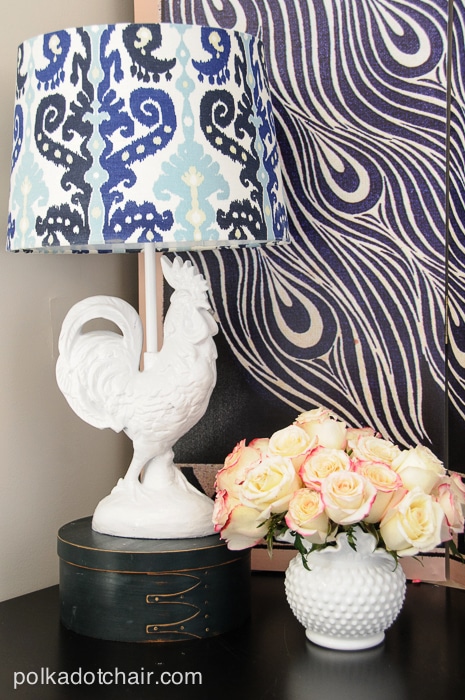 For accessories, we ended up pulling from what we had around the house… I spray painted this lamp (previously brown) a glossy white and I hunted all over my house for white, navy and gold pieces.
 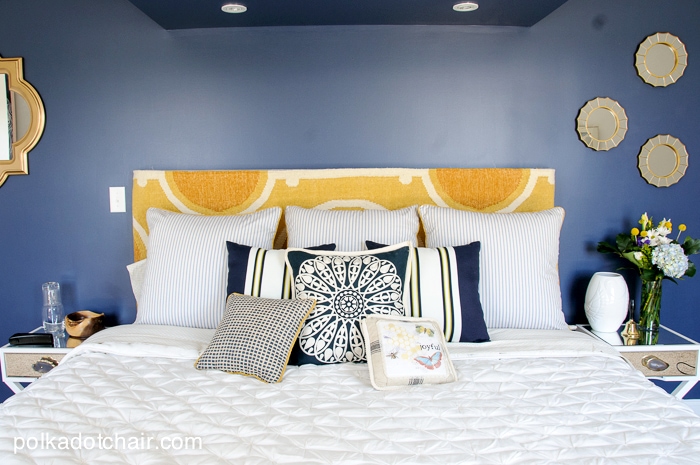 To build the bed we ended up using our two existing twin mattresses and buying a combo King bed frame and box springs. The two twin mattresses ended up being 5” shorter than the box springs. After a few days of thinking, we fixed this problem by building our own headboard.
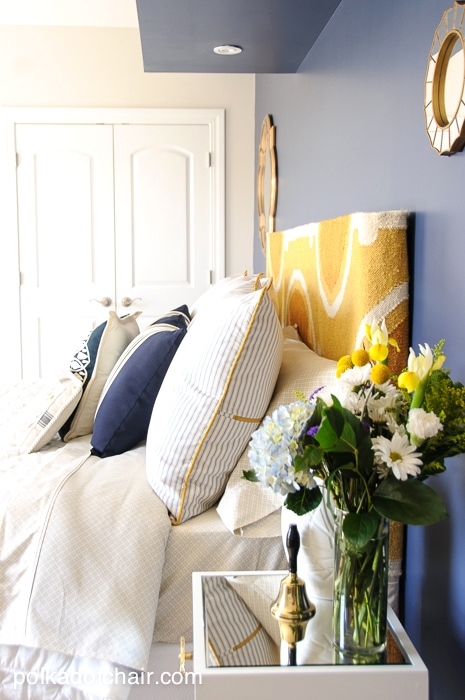
 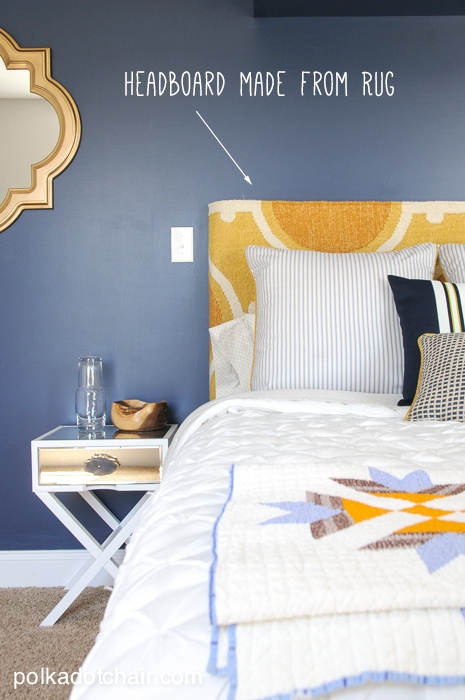 The foam of the headboard extends down behind the mattress and rests on the box springs, thus making the mattresses extend to the end of the box springs. For added comfort we put a memory foam topper on the two mattresses, in all we saved HUNDREDS of dollars building the bed this way… although it did require some extra effort (and lots of MATH!) The headboard (a DIY for that is coming soon!!) was made by covering a piece of foam with a rug runner. Most rug runners are 7 ft long and 2 and 1/2 feet wide, the perfect size for a headboard — And I LOVE the graphic pop the rug gives the room.
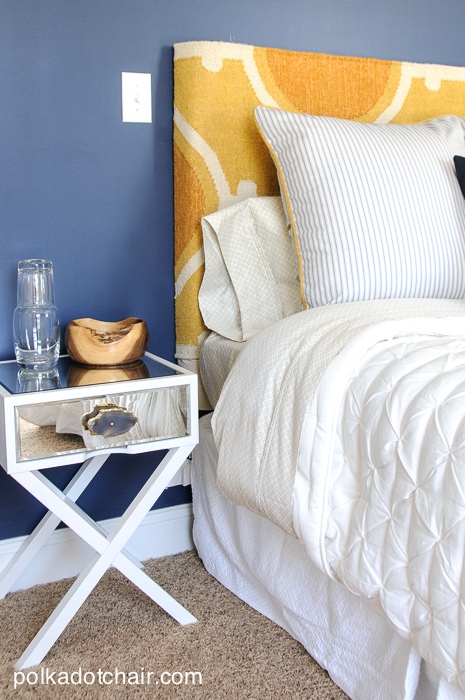
 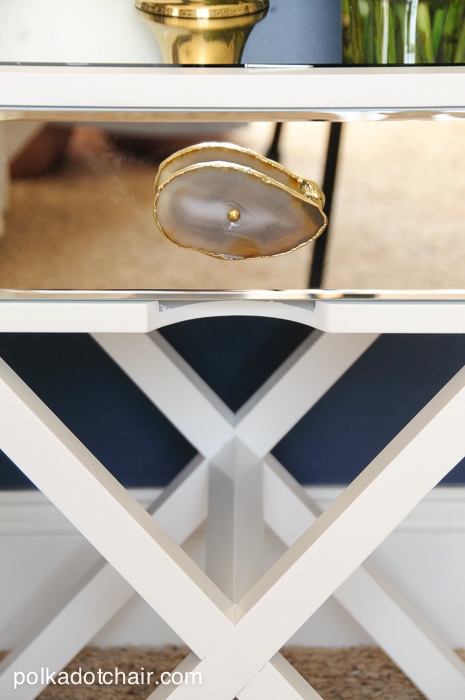 We purchased inexpensive nightstands then added decorative knobs to the front. This project also turned out to be a bit more work than we initially thought- FYI, you need a special drill bit to drill through a mirror!
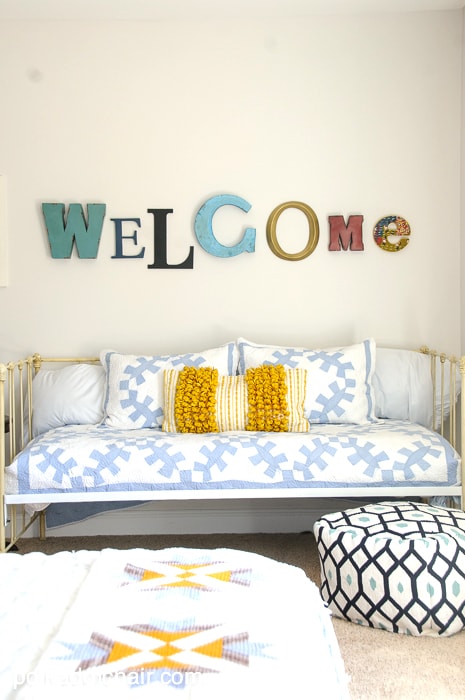 The day bed got moved to another corner of the room (we frequently have multiple guests staying and decided that keeping the bed would be a good idea)… above it is one of my favorite features of the room. We spelled out WELCOME with a hodgepodge of letters that I have been collecting the last few months.
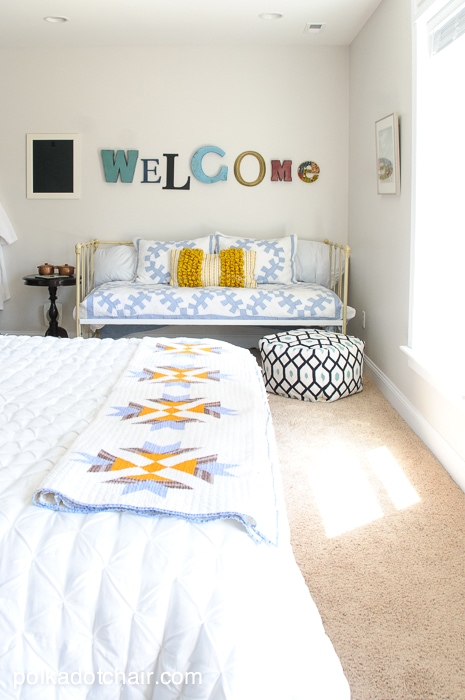
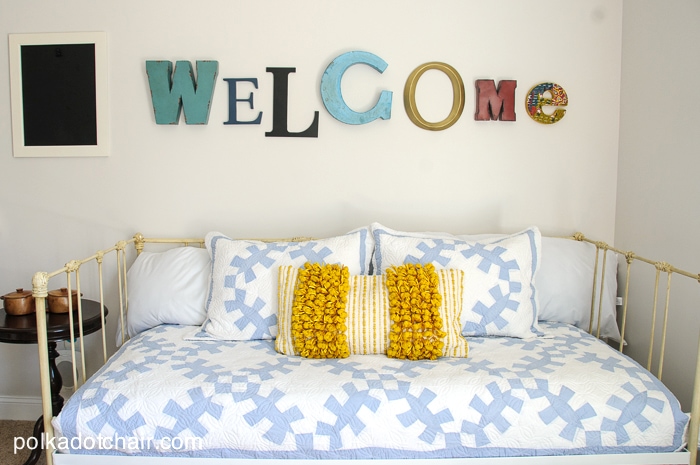 Next to the WELCOME letters I added a chalkboard so we can leave notes for guests. Here are a few other shots of the room:
 Who’s coming to visit ??? Now it’s your turn: What room would you makeover with Sherwin-Williams? Leave a comment here to enter to win a $50 gift card to Sherwin Williams!!! Connect with Sherwin-Williams Facebook Twitter Pinterest Instagram
Connect with me:

Sweepstakes Rules:
No duplicate comments.
You may receive (2) total entries by selecting from the following entry methods:
1. Leave a comment in response to the sweepstakes prompt on this post
2. Tweet (public message) about this promotion; including exactly the following unique term in your tweet message: “#SweepstakesEntry”; and leave the URL to that tweet in a comment on this post
3. Blog about this promotion, including a disclosure that you are receiving a sweepstakes entry in exchange for writing the blog post, and leave the URL to that post in a comment on this post
4. For those with no Twitter or blog, read the official rules to learn about an alternate form of entry.
This giveaway is open to US Residents age 18 or older. Winners will be selected via random draw, and will be notified by e-mail. The notification email will come directly from BlogHer via the sweeps@blogher email address. You will have 72 hours to respond; otherwise a new winner will be selected.
The Official Rules are available here.
This sweepstakes runs from 6/2/2014-6/22/2014.
Be sure to visit the Sherwin-Williams brand page on BlogHer.com where you can read other bloggers’ posts!

