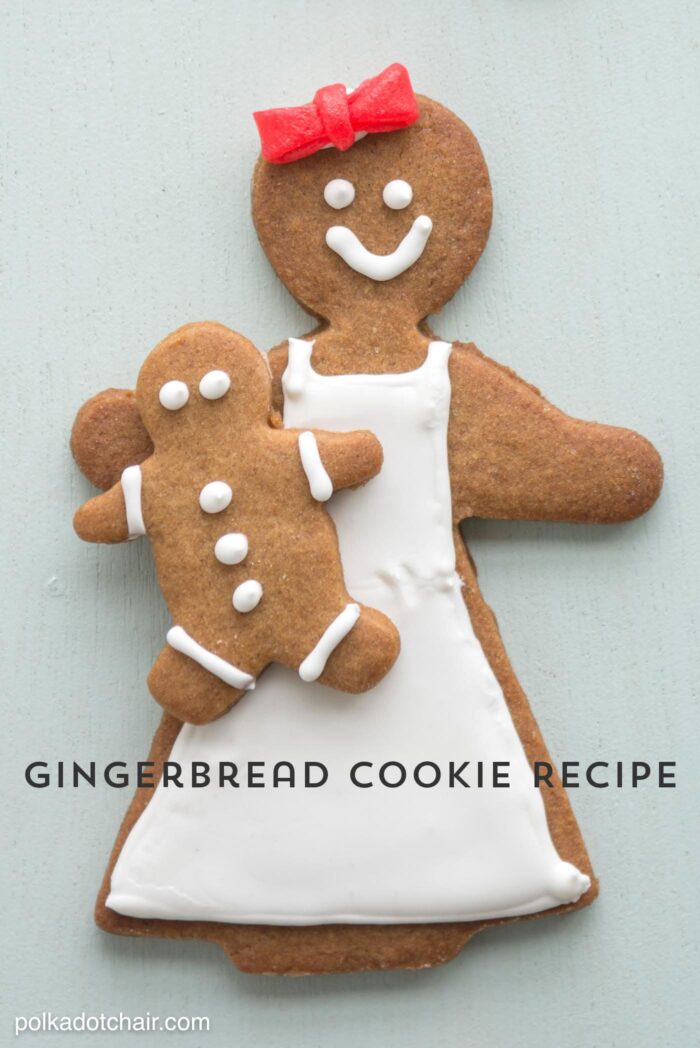
Our Favorite Gingerbread Cookie Recipe
Hey there! If you’ve stopped by from the Riley Blake Stitchin’ Kitchen project WELCOME! I hope you enjoy our family’s favorite Gingerbread Cookie Recipe! We make them every December and eat them all ourselves!
I like my gingerbread cookies to taste like a gingerbread cookie, not like a sugar cookie that you added a bit of spice too. I want the flavor to have that “snap” when you put it in your mouth.
That’s what I like so much about this gingerbread cookie recipe. It has just enough spice in it so you know you’re eating gingerbread but not so much that you’re overwhelmed by the flavor.
We make these cookies every December. I try to make them a few days before Christmas to allow the Royal Icing plenty of time to set, plus I think the flavor of the cookies is better after a couple of days.
These cookies are crisp but not hard, and still have enough “give” to them to make them ever so slightly chewy in the center. If you want them softer store them in an airtight zip loc bag, if you want them crisper, set them on the counter for a day or two to “dry”.
The recipe I use is from Martha Stewart’s Baking Handbook (I highly recommend this book, I’ve made several of the recipes in it and they always come out great).
Family Favorite Gingerbread Cookie Recipe:

Our Favorite Gingerbread Cookie Recipe
Ingredients
- For Cookies:
- 3 1/2 C All Purpose Flour plus extra for dusting
- 1 1/2 t Baking Soda
- 1/4 t Salt
- 1 1/4 t Cinnamon
- 1 1/4 t Ginger
- 1 1/4 t Allspice
- 1/4 t Cloves
- 2 Sticks 1 Cup Unsalted Butter at Room Temp
- 3/4 C Sugar
- 3/4 C Dark Brown Sugar packed
- 1 Large Egg
- 1/4 C Unsulfured Mollasses
- For Royal Icing:
- 1 box confectioners' sugar 1 pound
- 5 tablespoons meringue powder
Instructions
- In a large bowl whisk together flour, baking soda, salt, & spices. Set aside. In a mixer fitted with the paddle attachment, beat butter and both sugars on medium speed until light and fluffy. Reduce speed and beat in egg and molasses.
- With the mixer on lowest speed gradually add in the flour mixture a little at a time until completely incorporated. Scrape down the edges of the bowl as necessary. Turn the dough onto a clean work surface and knead gently. Form into a disk and wrap in plastic wrap. Refrigerate overnight.
- Remove dough from fridge and let it soften slightly. Roll out on a lightly dusted surface, apply flour to the rolling pin as necessary to keep the dough from sticking. Don't let the dough get too warm.
- If it gets too warm, place the rolled out sheet back in the fridge to chill before cutting out shapes.
- Cut out the shapes and using a metal spatula place them on a baking sheet. Be careful not to distort the shapes. Place the baking sheet in a freezer for about 10 min.
- Preheat oven to 350.
- Remove from freezer and place directly in warmed oven. Bake 12 minutes. Rotate the cookie sheet at the halfway point of baking.
- Remove from baking sheet and let cool on wire rack.
- After completely cool, decorate with Royal Icing.
- To make Royal Icing:
- In the bowl of an electric mixer fitted with the paddle attachment, combine sugar and meringue powder. Mixing on low speed, add a scant 1/2 cup water. For a thinner consistency, usually used for flooding, add more water. A thicker consistency is generally used for outlining and adding details. Mix until icing holds a ribbonlike trail on the surface of the mixture for 5 seconds when you raise the paddle.
A few Cookie Decorating Tips:
I find it easiest to use Piping Bottles to frost the cookies. This is also a great way for kids to decorate the cookies as the bottles are easy for their hands to hold. To fill the bottles just use a spoon, don’t bother with a funnel, it won’t work.
I bake my cookies on a silpat and I also roll them out on a special baking silpat that I have. It keeps all of the flour in one place.
Don’t forget to freeze the cookies before you bake them. This is the #1 thing you can do to ensure they keep their shape (don’t spread a lot) while baking.
For more tips on decorating the cookies, just click HERE

