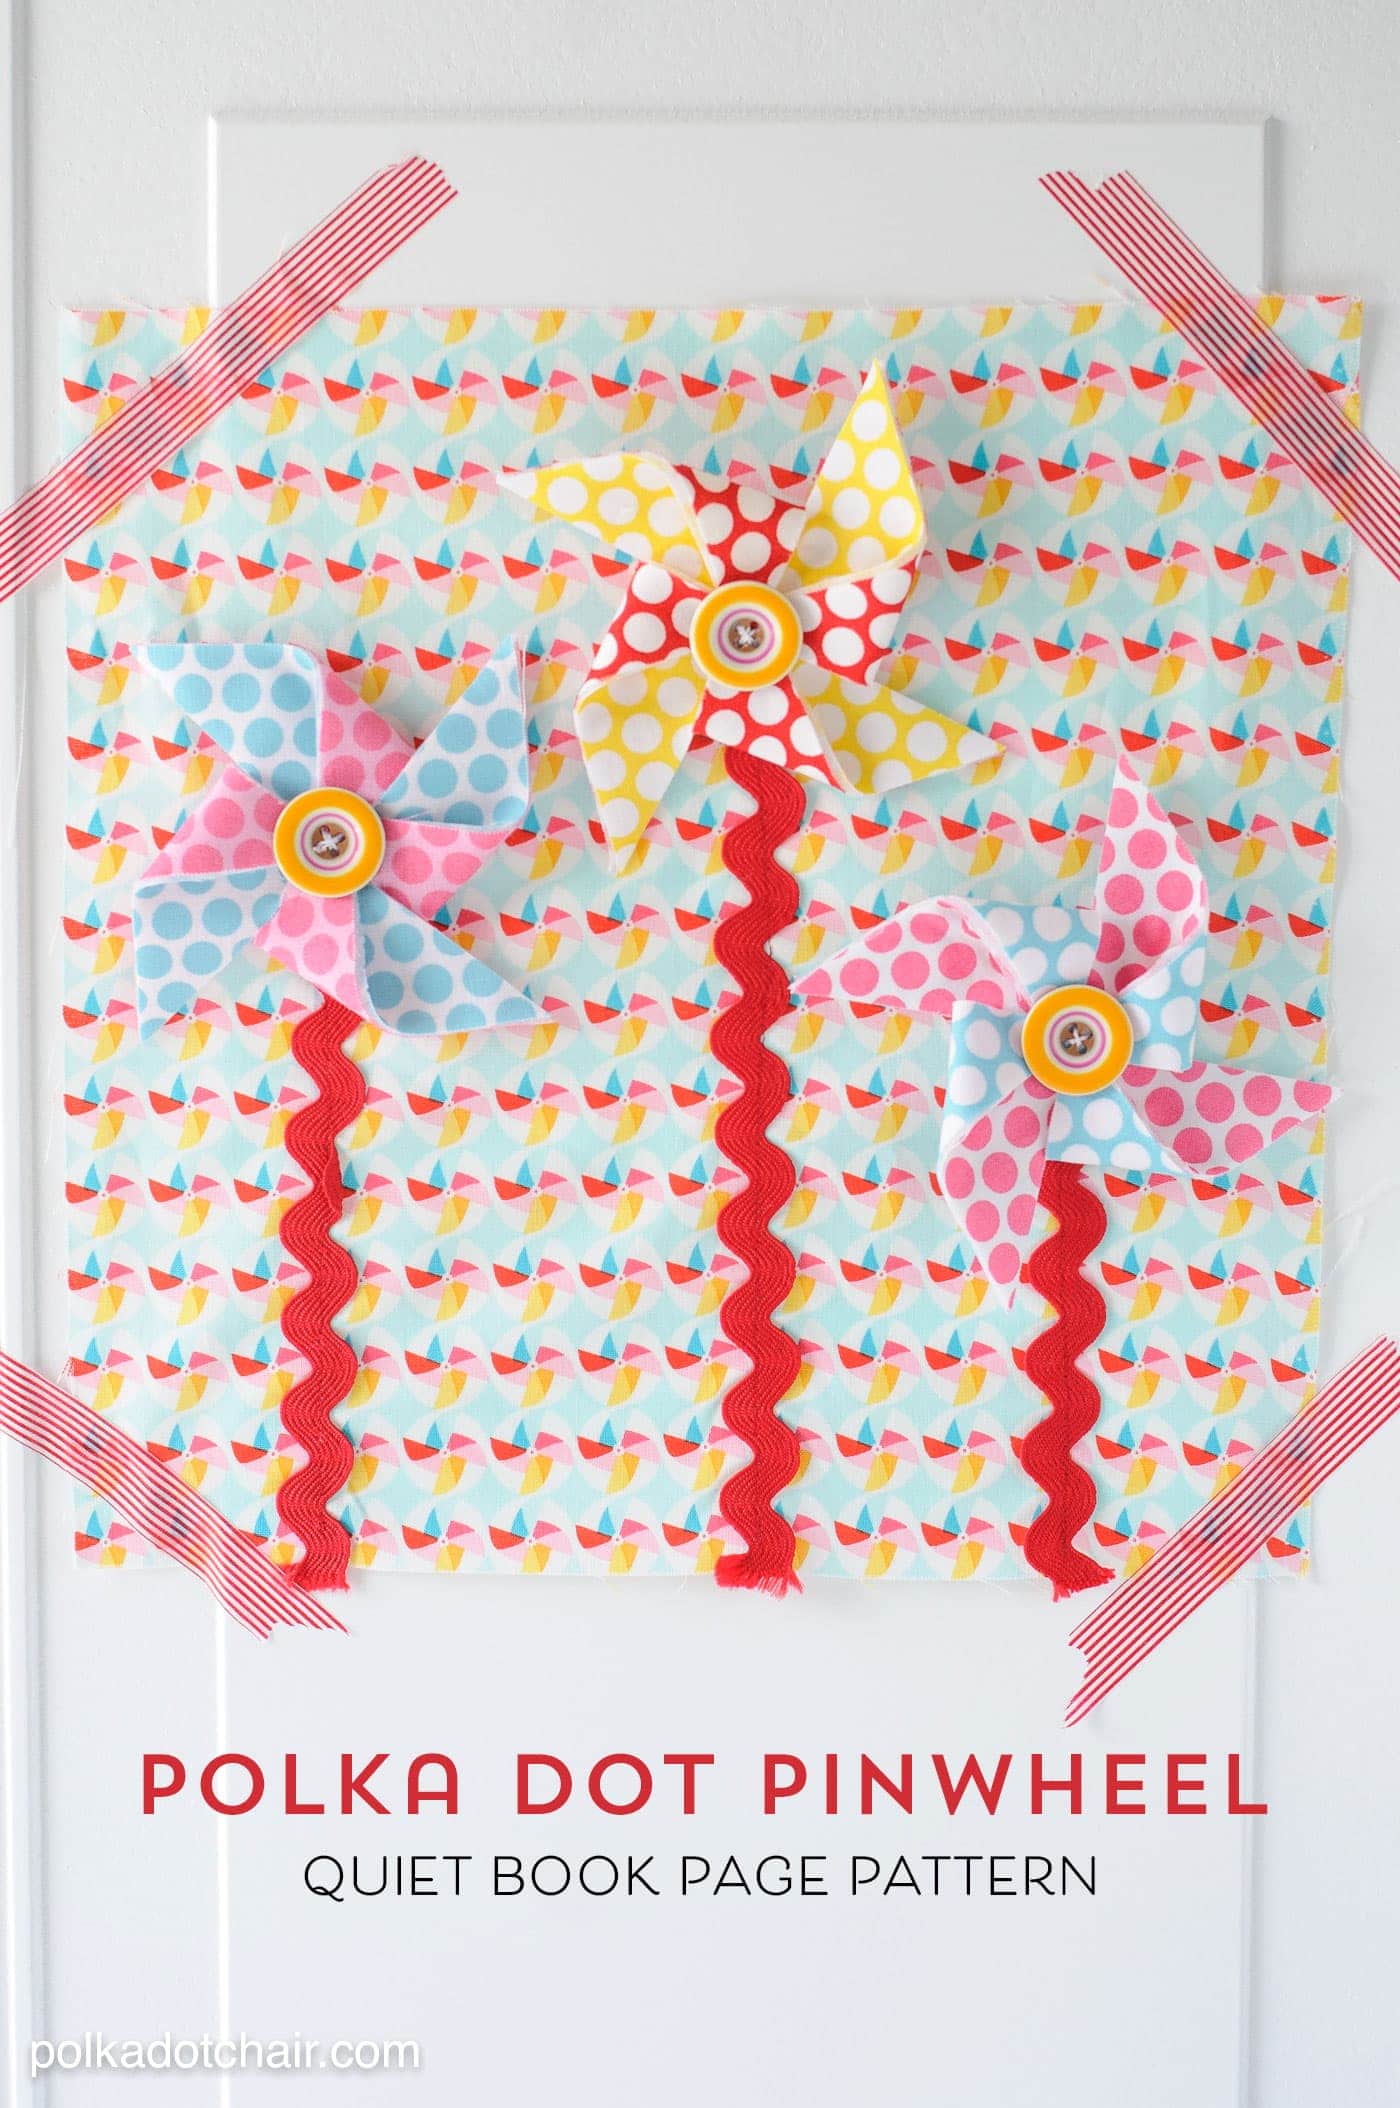
Pinwheel Quiet Book Page Sewing Pattern
Quiet Books make great gifts for new moms and babies. They are a fun way to keep little hands entertained when you’re out and about. I designed this Pinwheel Quiet Book Page Sewing tutorial as a part of a series for Riley Blake Designs. If you like this project you may also like this baby blanket made from upcycled t-shirts.
A few weeks ago I had a conversation with a friend about quiet books. I joked that my kids had to use quiet books and not iPads, since all of the new technology came along after my kids were passed the toddler phase (but oh man, would I have LOVED to have an iPad when my twins were toddlers!!) She was asking me if I knew of any cute sewing patterns for quiet books and I told her about the one that I designed for Riley Blake a couple of years ago. I told her it was a part of a whole series and there were some really cute ideas and free patterns that were featured over on the Riley Blake site. I thought since she was interested in making a quiet book, that maybe a few of you guys might be also. So I’m sharing the tutorial for the page today.
This is just one page in the book, to see all of the other pages in the book and get instructions on how to put the whole book together, just click the link at the bottom of this post.
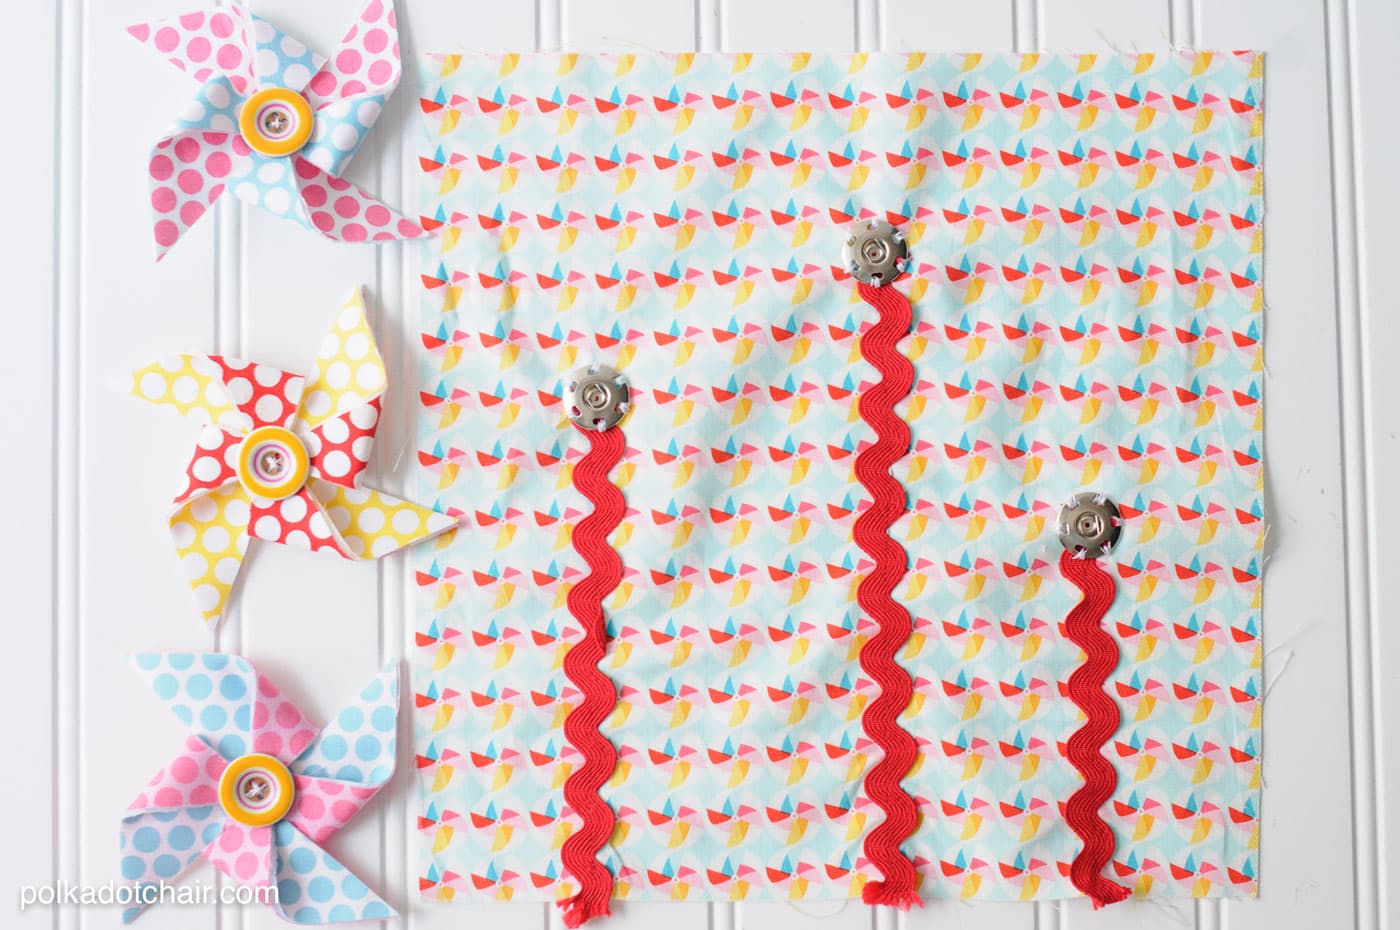
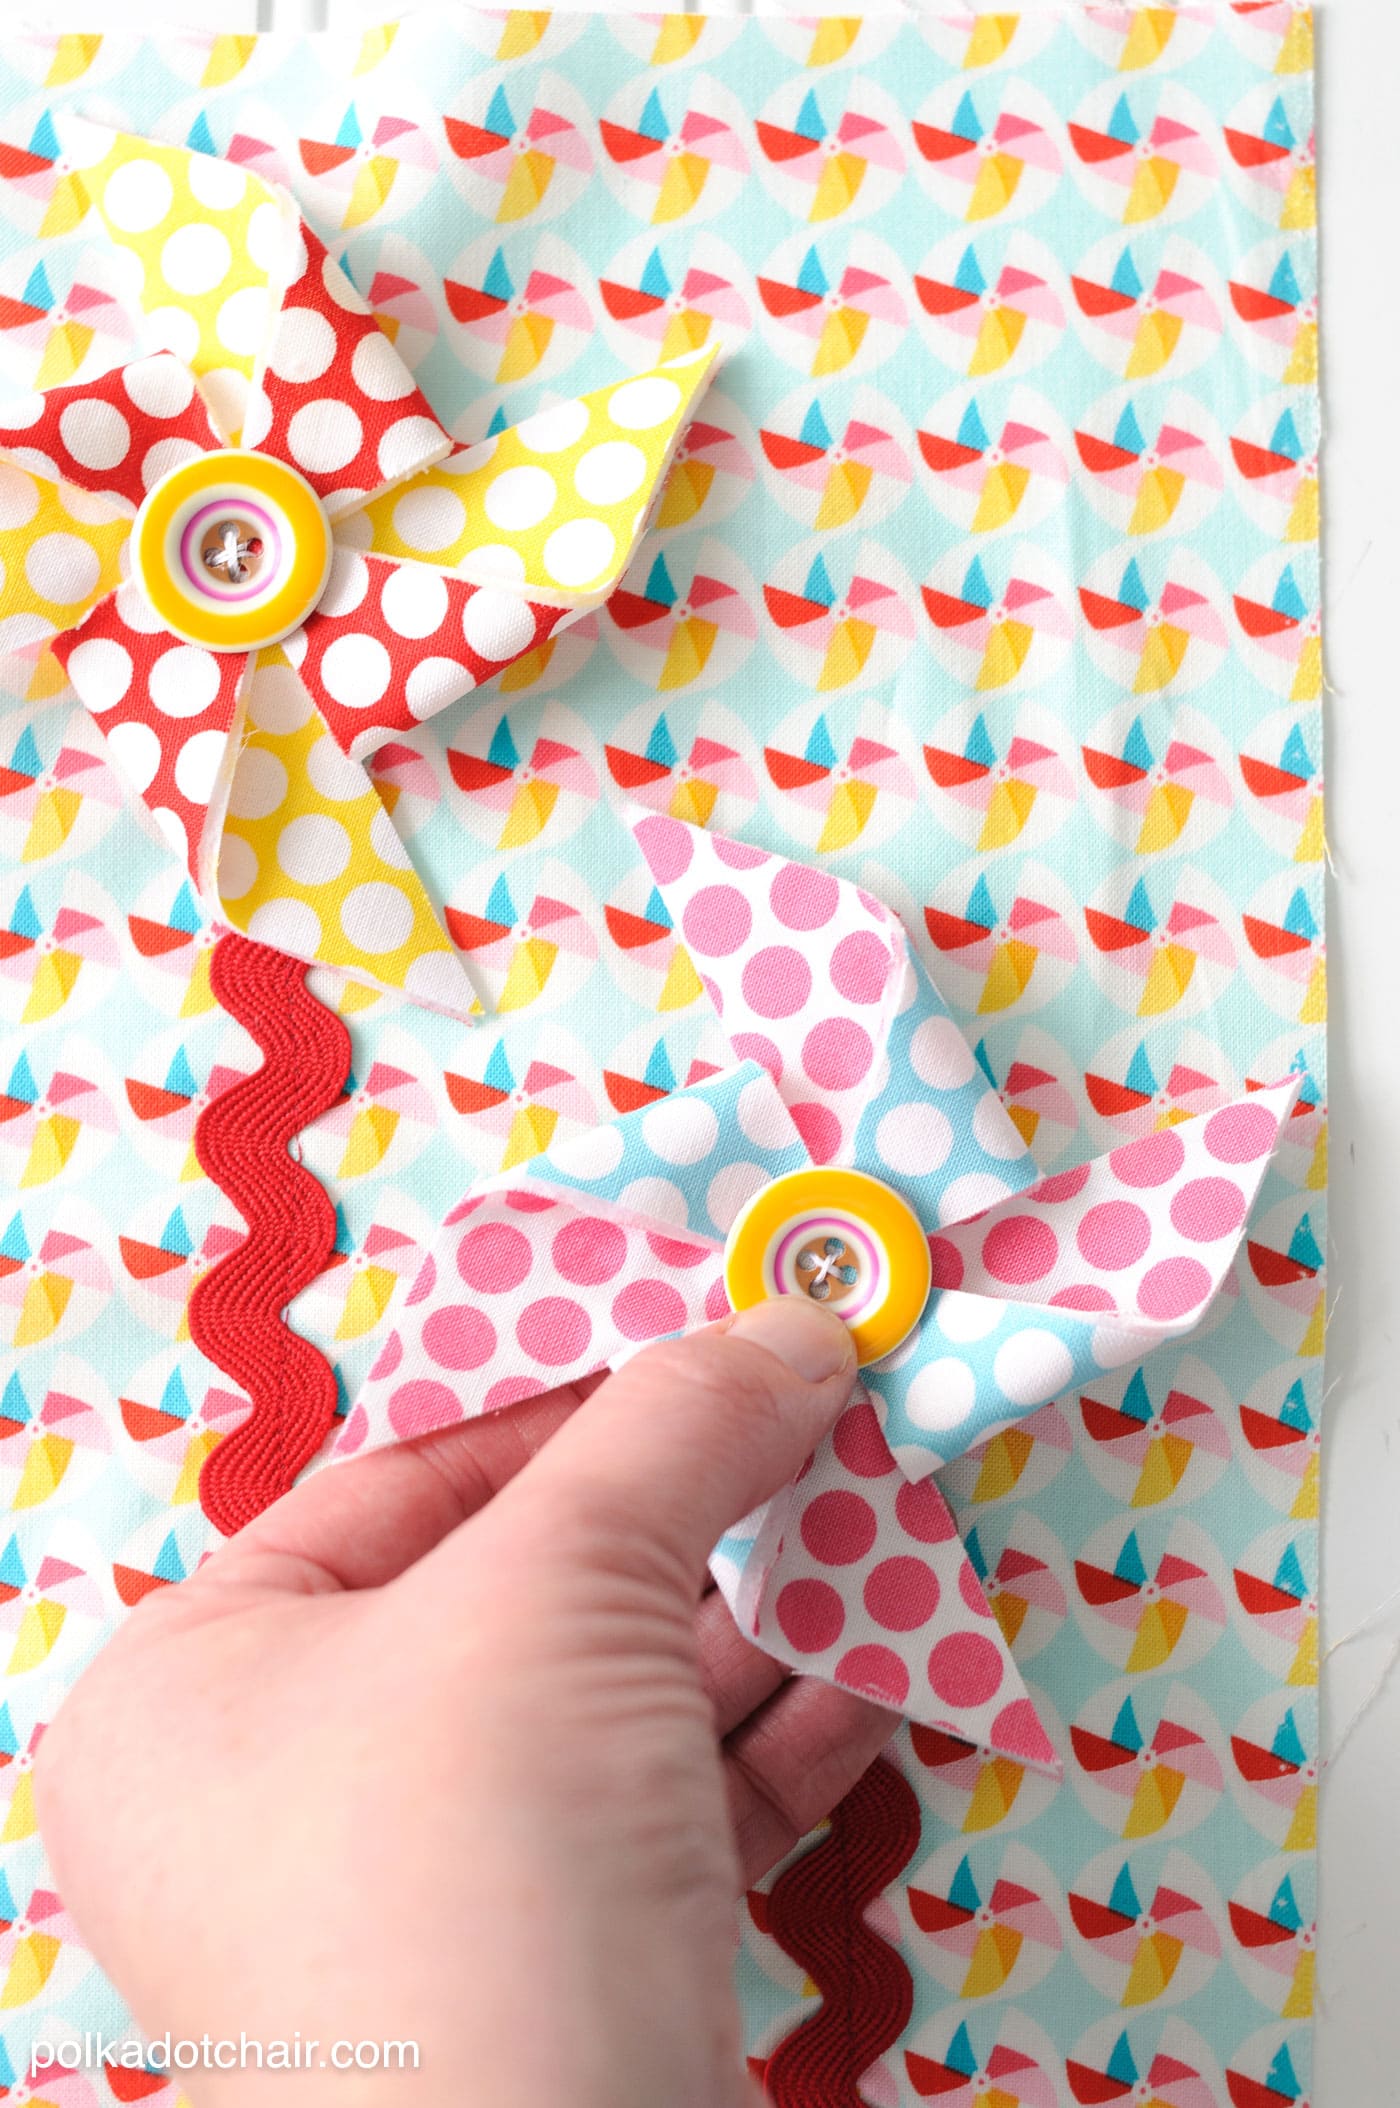
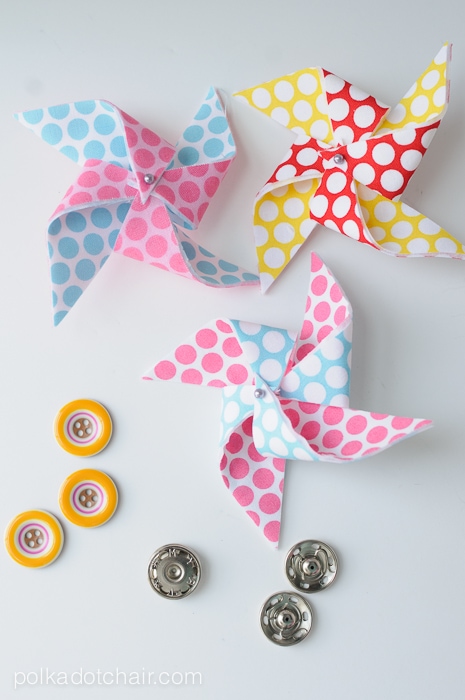
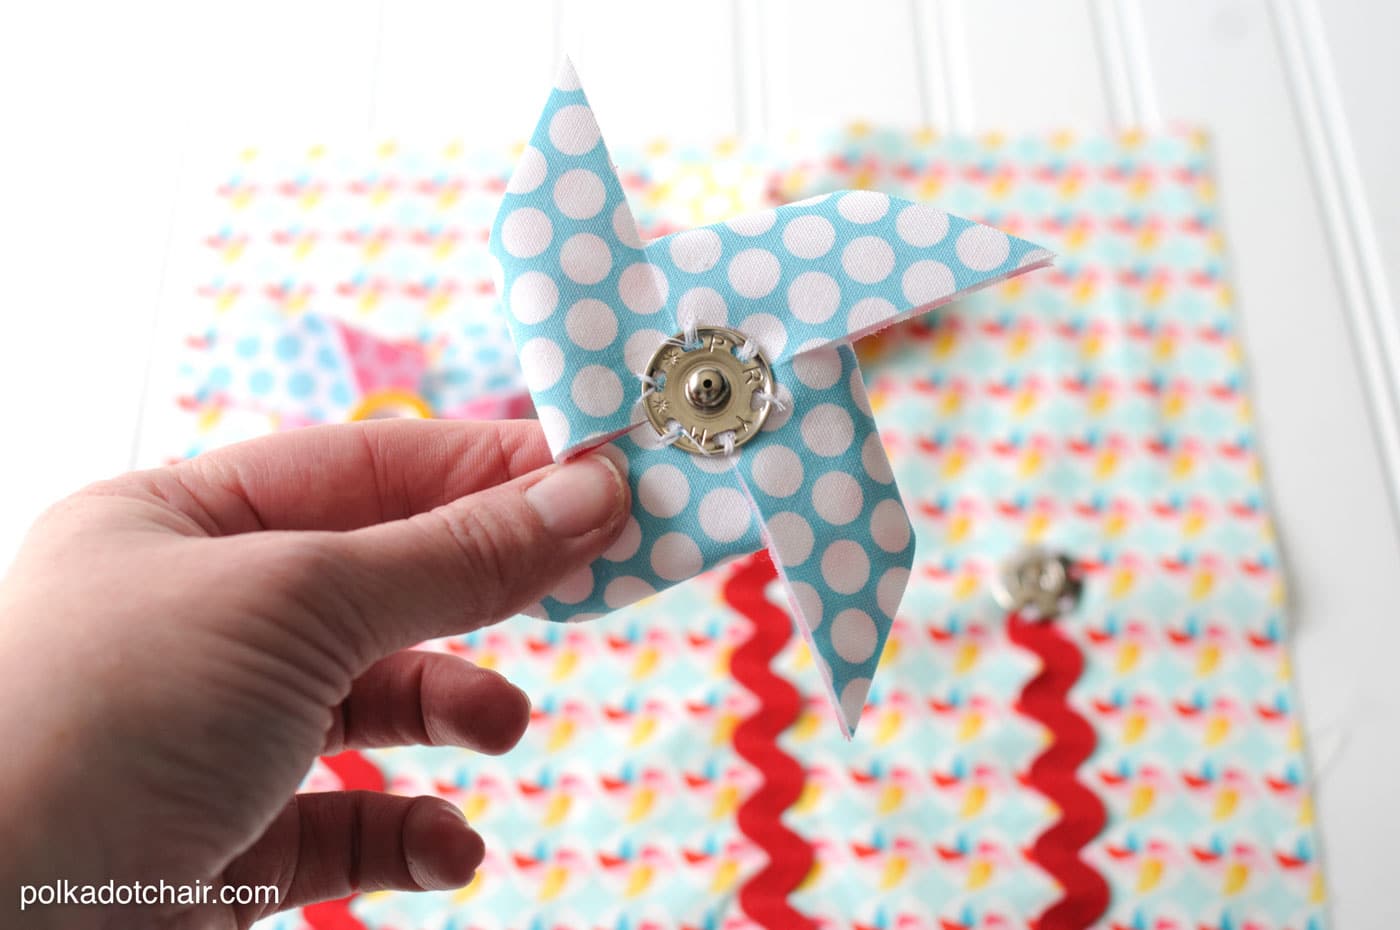
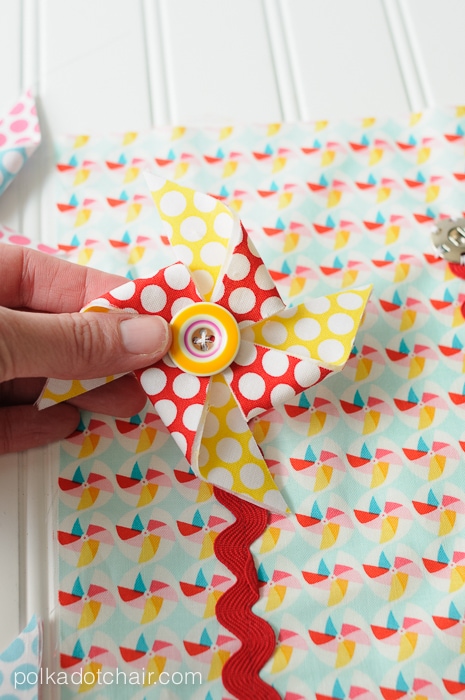
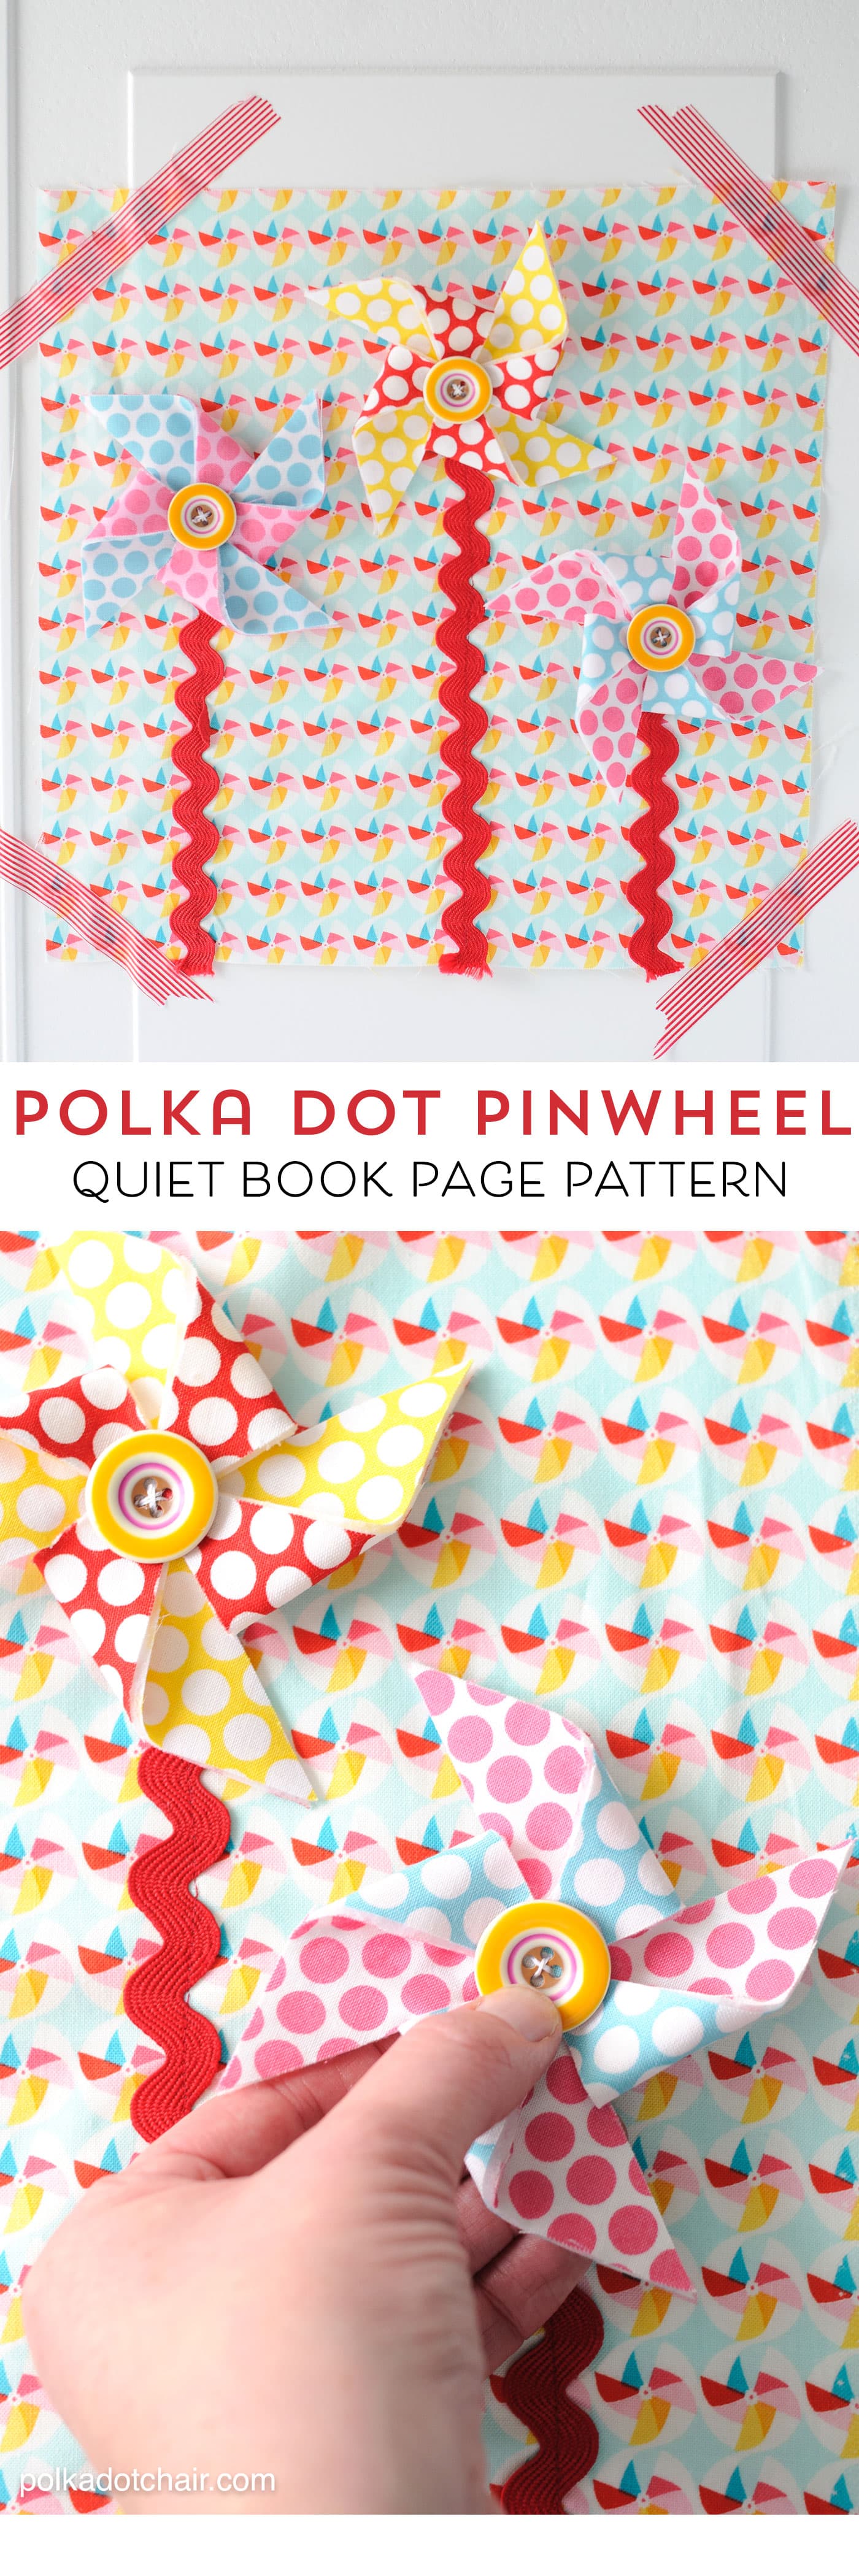
This quiet book page features 3 different pinwheels that can be snapped on and off the page. You could even make a bunch if you want extra for little hands to play with.
The page is easy to make you’re going to need:
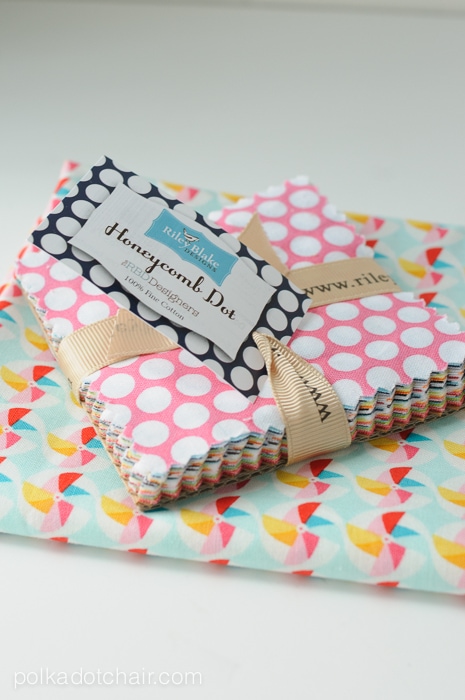
1 3 1/2″ Honeycomb Dots Stacker by Riley Blake
1 10 1/2” x 10 1/2” piece of fabric for the page
Package of Riley Blake Ric Rack
3 Buttons
3 snaps
Fusible Fleece
Heat N Bond Lite
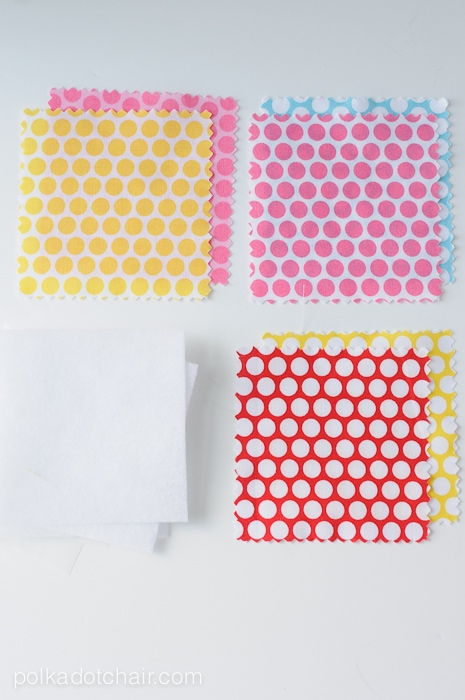
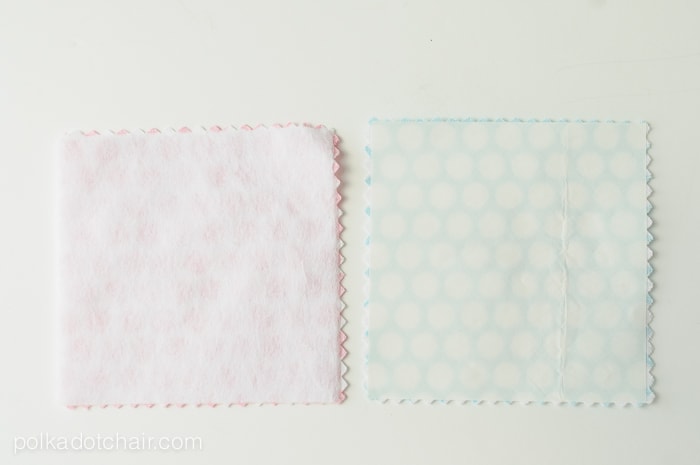
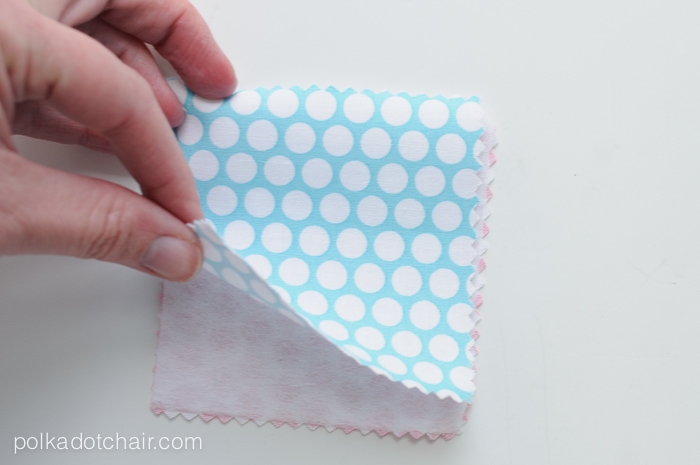
Cut 3 3 1/2” x 3 1/2″ squares of both fusible fleece and heat n bond lite Iron one piece of fusible fleece to the back of one 3 1/2” piece of fabric Iron one piece of heat n bond lite to another 3 1/2″ piece of fabric
Peel the backing off of the heat n bond lite and iron it to the piece of fabric with the fusible fleece.
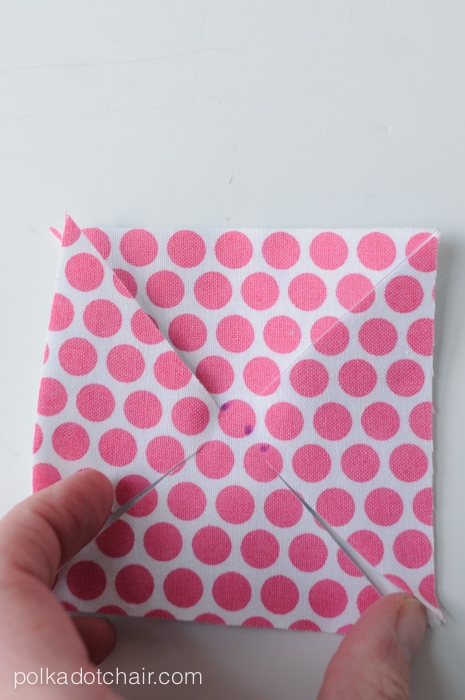
You now have a double sided square Mark the center of the square Cut a diagonal line leaving 1/2″ from the center dot uncut. Repeat for the other diagonal.
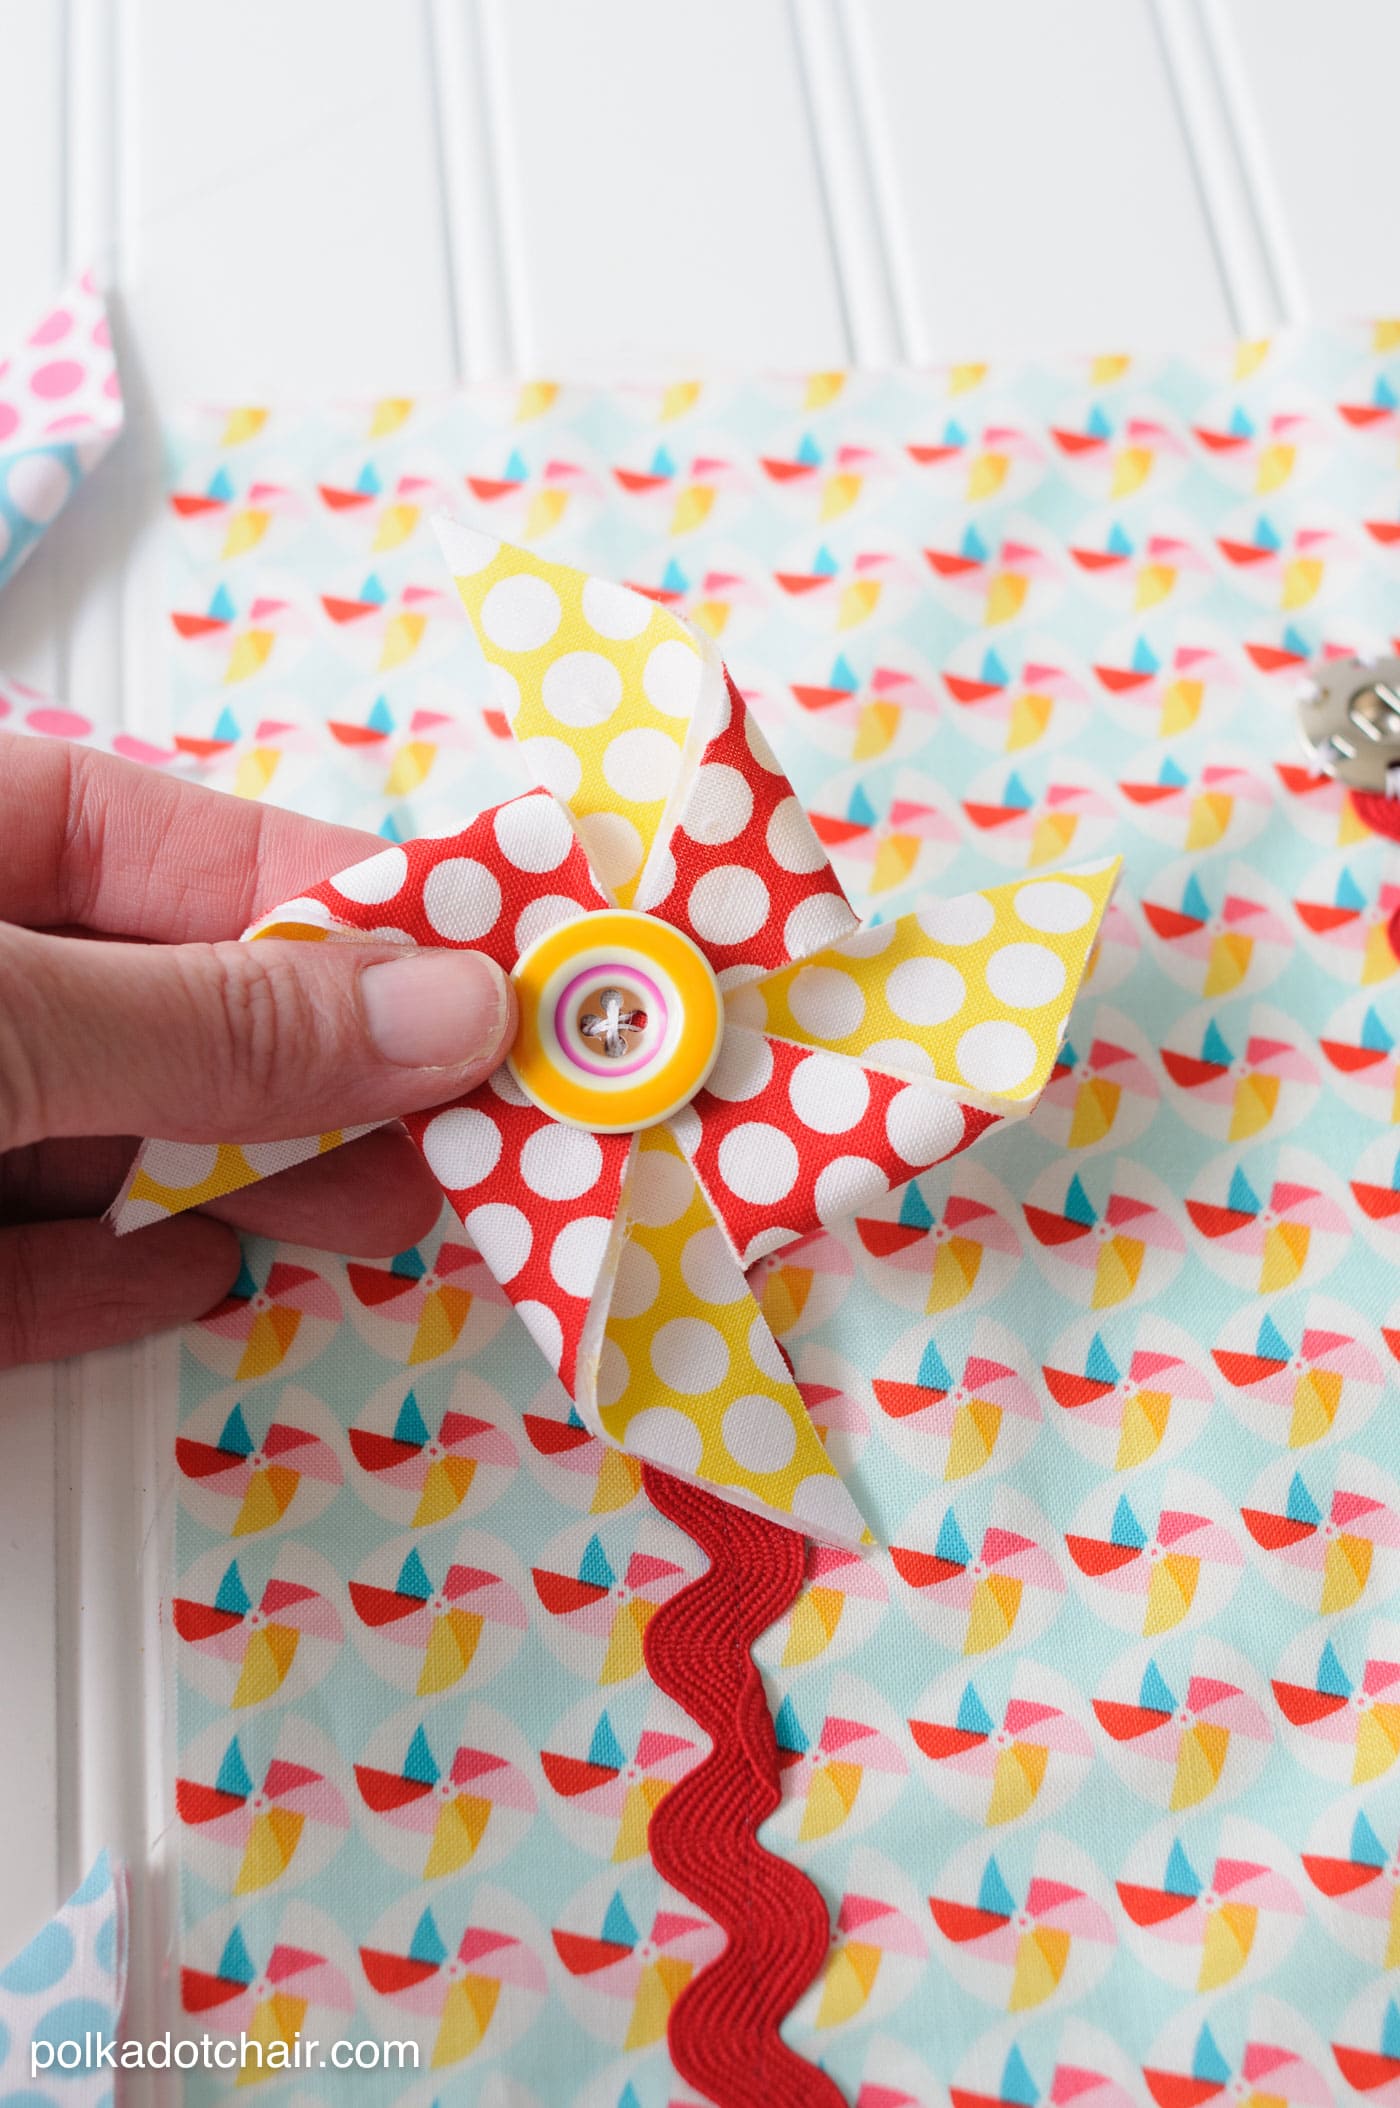
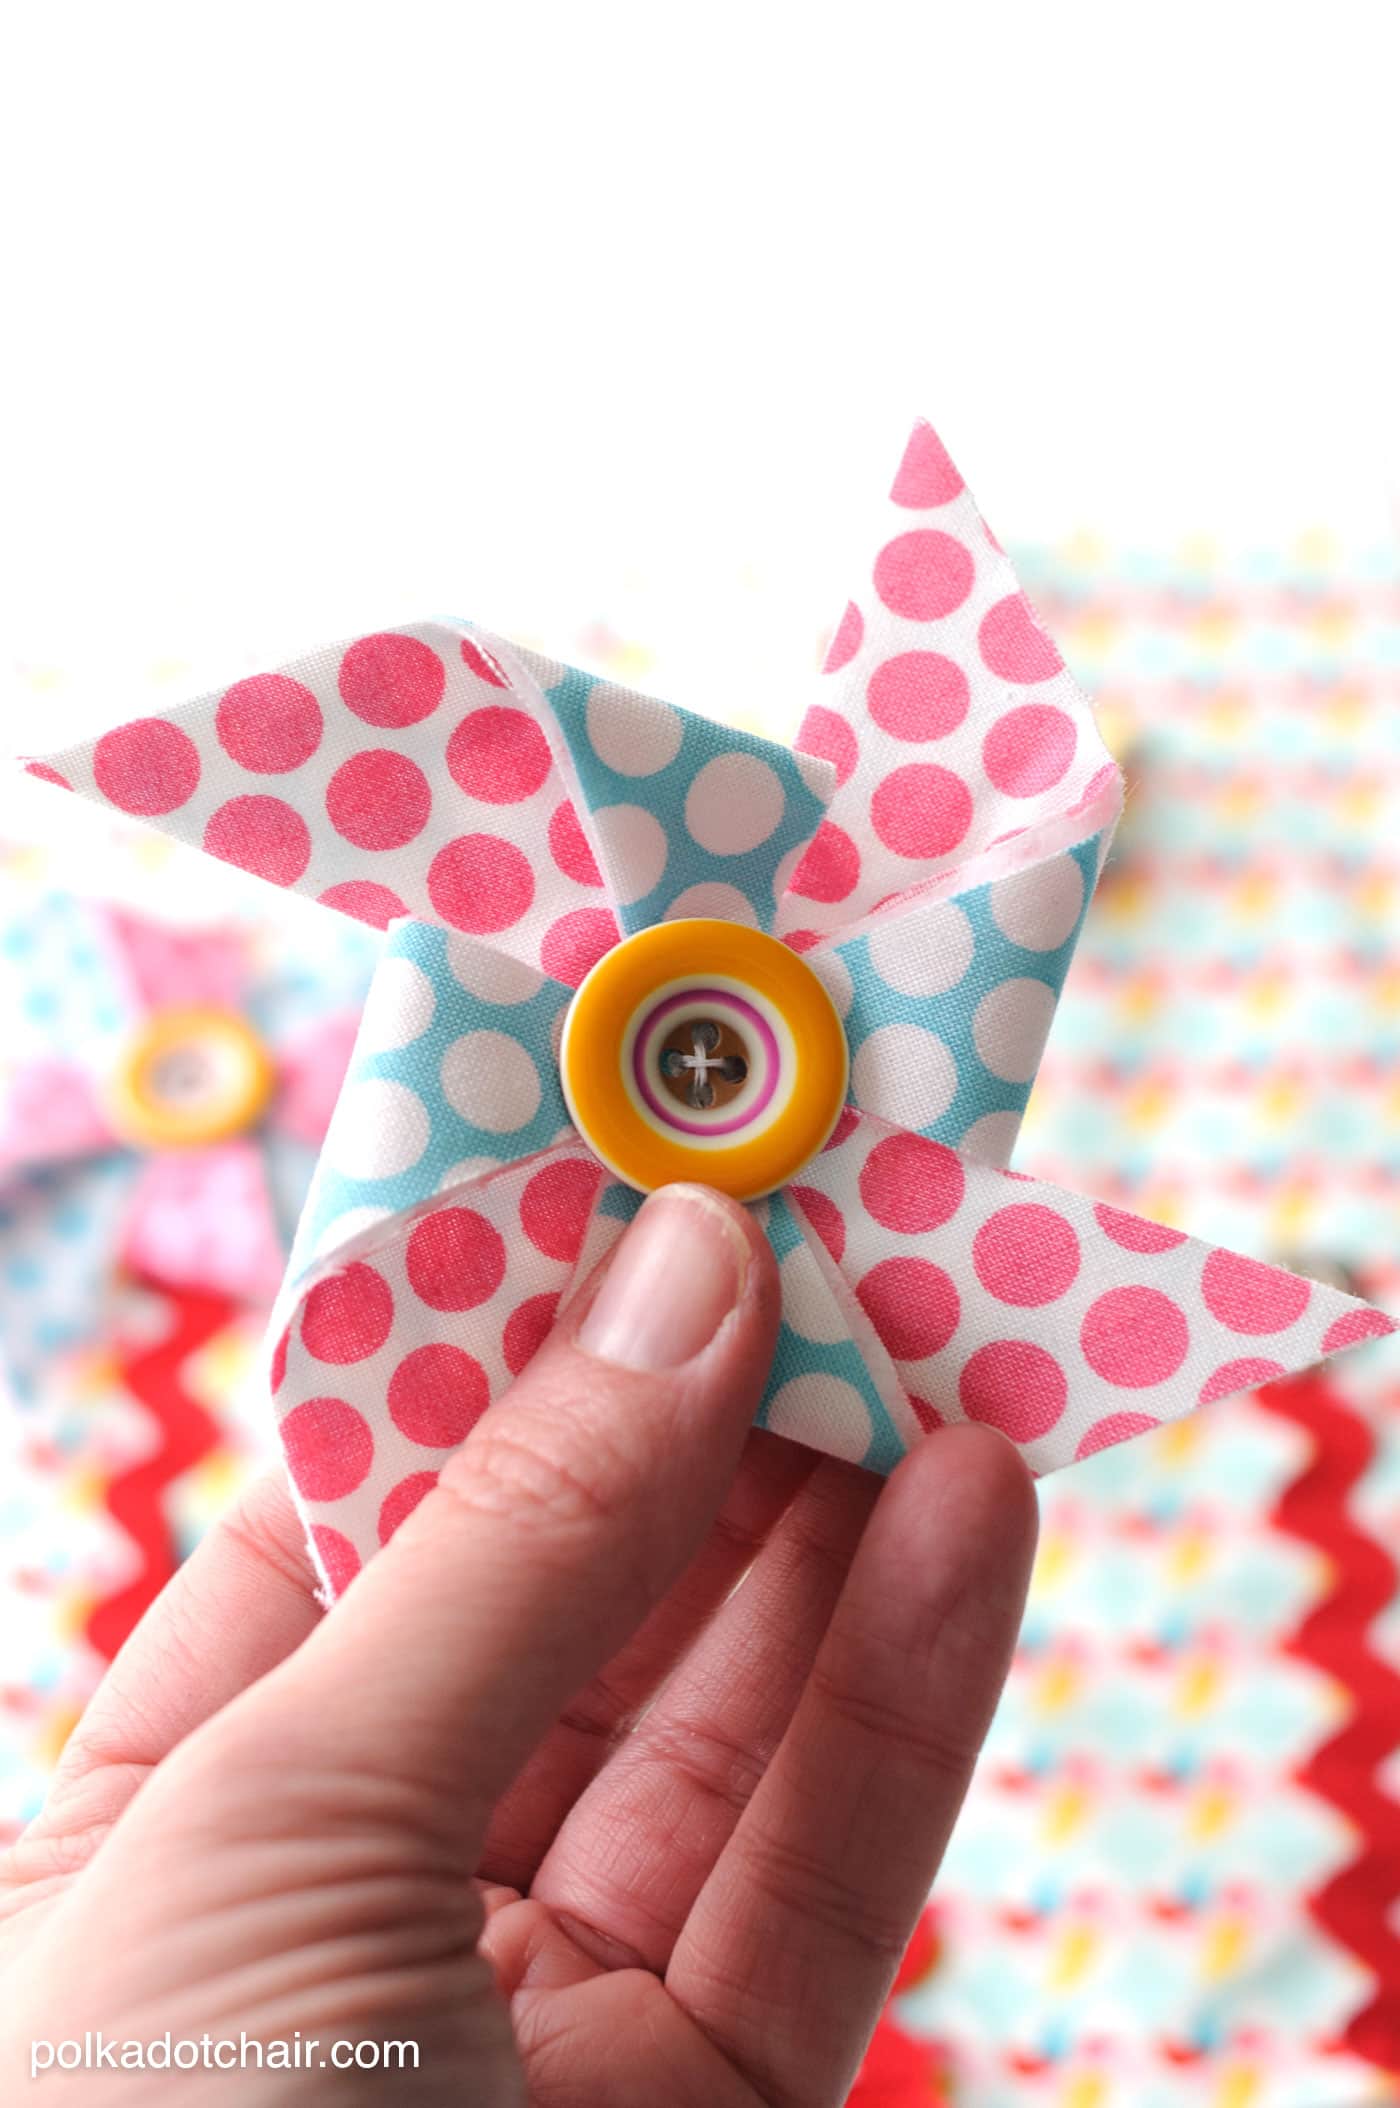
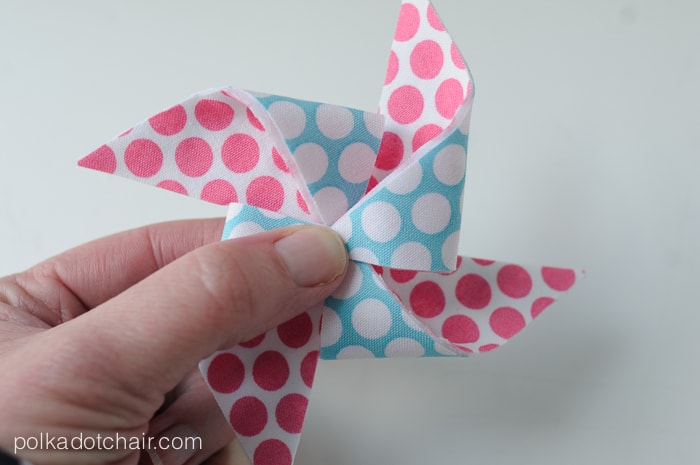
Fold 4 of the corners in and pin to make a pinwheel.
Repeat to make a total of 3 pinwheels.
Handstitch the pinwheel at the center, sew a button to the center and sew 1/2 of a snap to the back of the pinwheel.
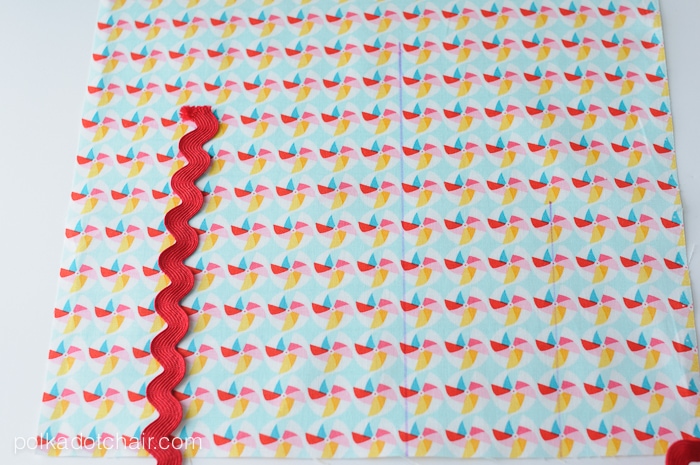
Lay out the pinwheels where to you like on your 10 1/2″ square of fabric. Draw a line where you want the pinwheel stems. Sew ric rack to the lines you just drew.
Sew the other half of the snaps to the quiet book page.
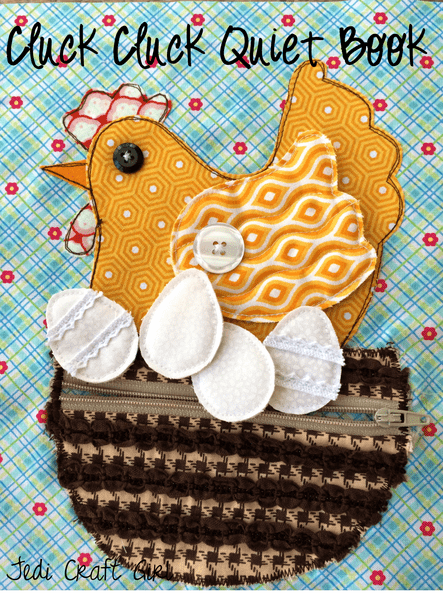
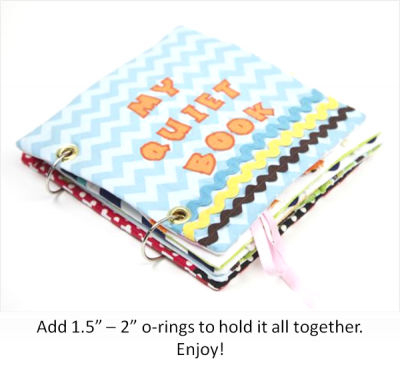
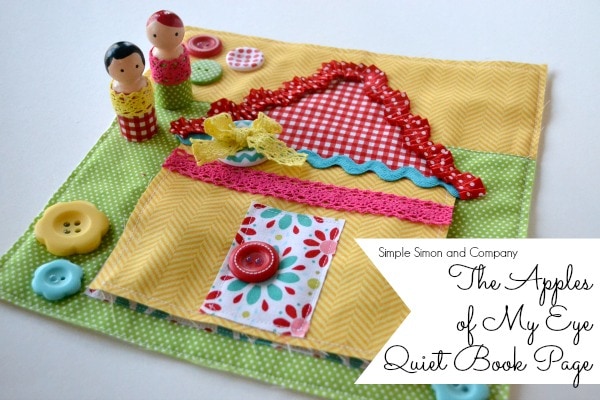
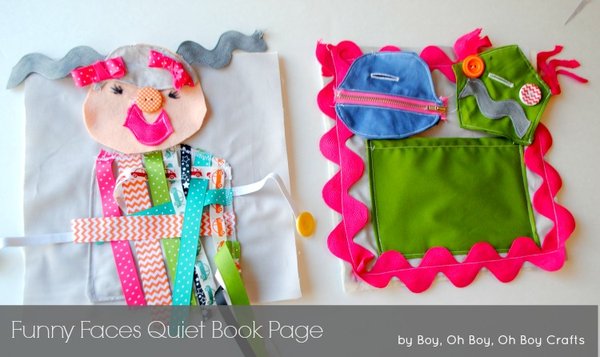
Here are a few other quiet book pages that were made from the series. You can see tutorials for all of them (and instructions for how to assemble the books on the Riley Blake Cutting Corners Blog.

