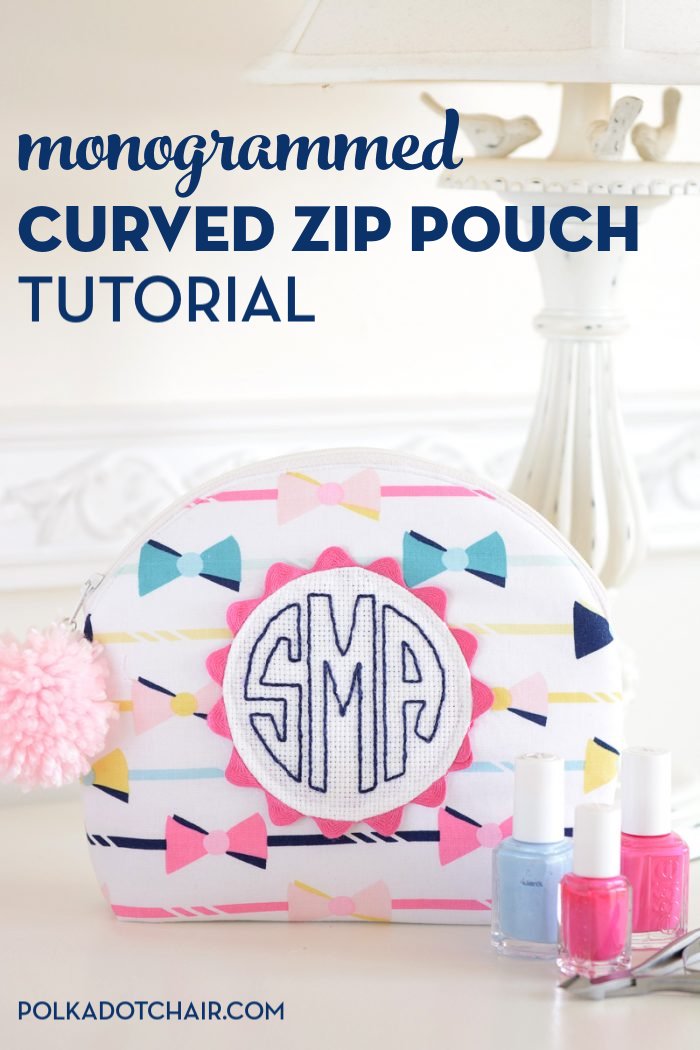
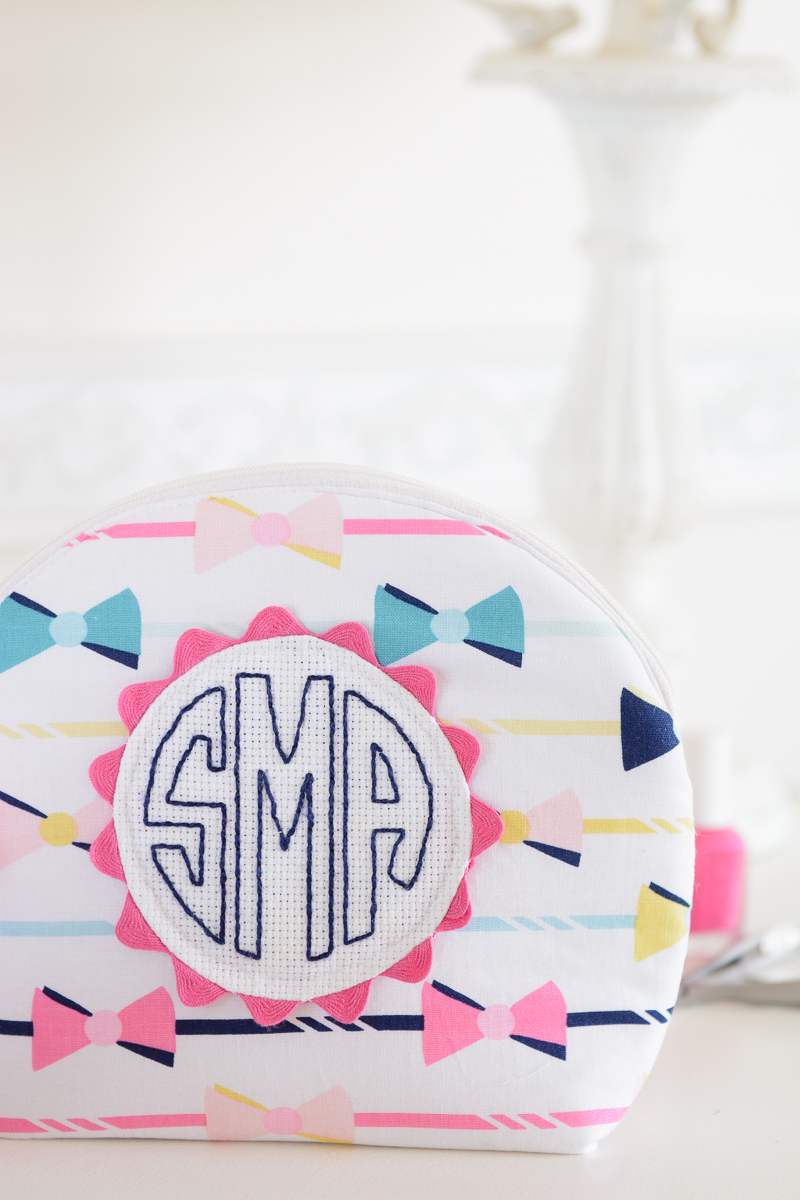
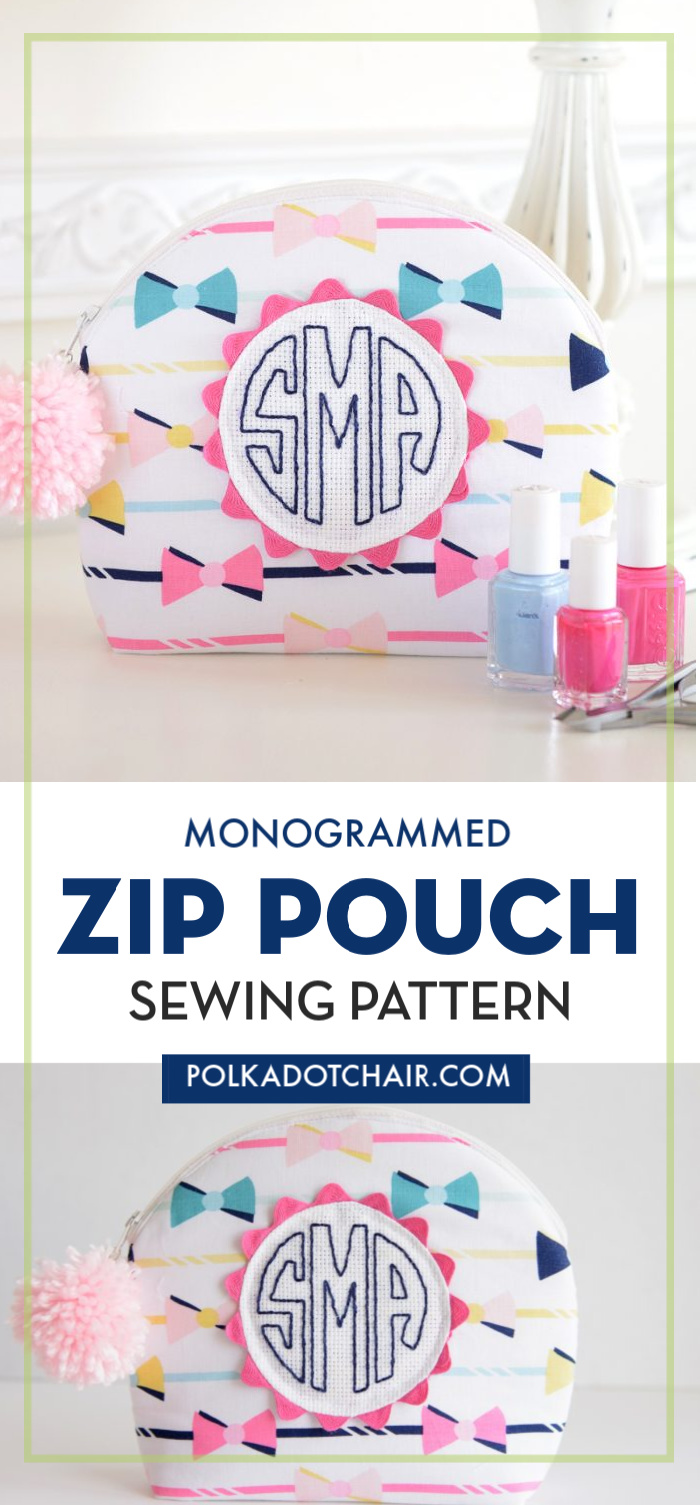
Monogrammed Curved Zipper Pouch Sewing Tutorial
Y’all know how much I love making zippered pouches. Please enjoy this free sewing pattern for Curved Zipper Pouch Sewing Tutorial with a hand-stitched monogram. If you like this post, you may also like this embellished zippered pouch sewing pattern.
I love to share the items I’ve sewn for my kids, hoping to help others who are also trying to sew for older kids and teens. My daughter used to be obsessed with nail polish, and I thought it would be fun to stitch her up a little pouch to hold some of her supplies.
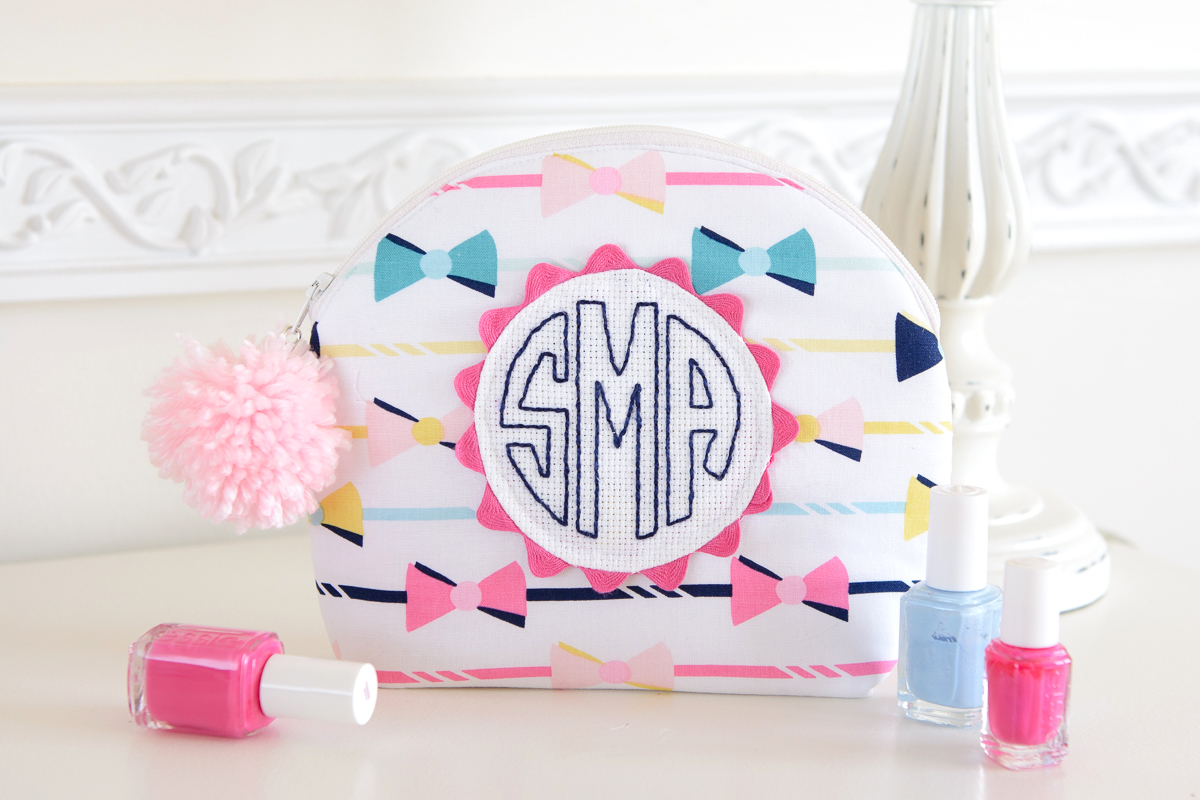
I love a good monogram! It’s such a fun way to personalize a gift. I wanted to add a monogram to the front of my zip pouch, but I know that not all of you have an embroidery machine, so I decided to hand-stitch a monogram for the front of the case.
How to Get the Pattern Piece
Fill out this form, and we will email you a copy of the zip bag pattern piece.
How to Add a Monogram if You Don’t Have an Embroidery Machine
If you don’t have an embroidery sewing machine, you can still create the monogrammed element on this bag. In the tutorial I walk you though how to use cross stitch fabric and embroidery floss to hand sew the monogram.
Monogrammed Curved Zipper Pouch Sewing Pattern
Equipment
- Cotton Embroidery Floss
- Cross Stitch Needle
- Package of Jumbo Ric Rack
- Fabric Safe Pen
supplies
- 1/2 yard fabric for the pouch outside
- 1/2 yard fabric for the pouch lining
- 1 14″ zipper polyester
- 1/2 yard Pellon Flex-Foam
- 1 package Ric Rack
- 1 6″ x 6″ or larger square of cross-stitch fabric
Instructions
- All seam allowances are 1/2″ unless otherwise noted.

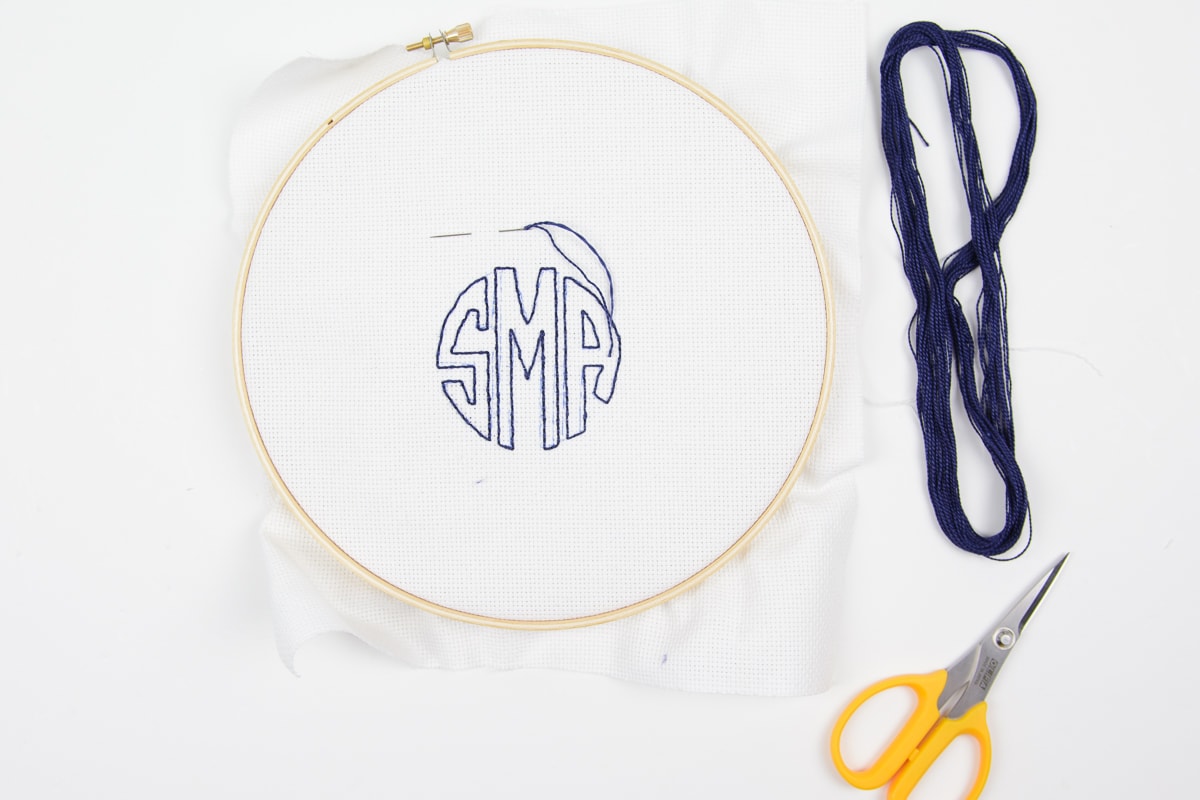
Step One: Create Your Cross Stitch Monogram
- I chose to create a circle monogram for my zip pouch. I used a circle monogram font (you can find them for free online) and printed it out so that it was 3″ x 3″. You’ll need to use a word processing program or free editing software like PicMonkey or Canva to make this.
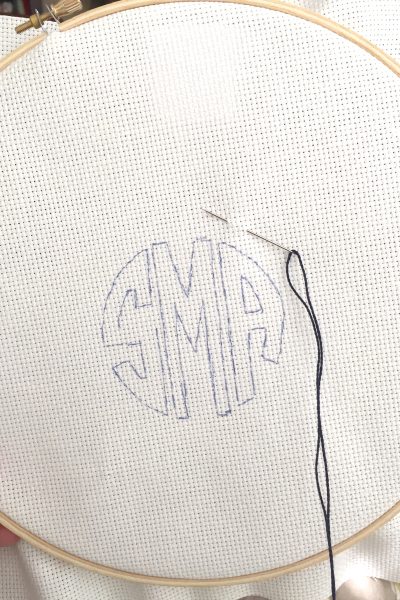
- I then placed the placed-out monogram and cross-stitch fabric on a lightbox (you can also use a window) and traced the monogram onto the fabric with a fabric pen (the ink disappears with heat).
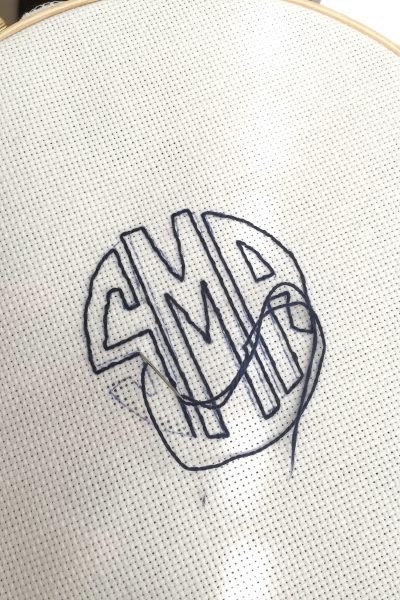
- After you have created your monogram, stitch the outline. I did not use a cross-stitch but rather a simple backstitch. I also tried to stay within the “holes” in the fabric as much as possible. I could not do this on the curves, so I just stitched where I needed to.
A few things to note:
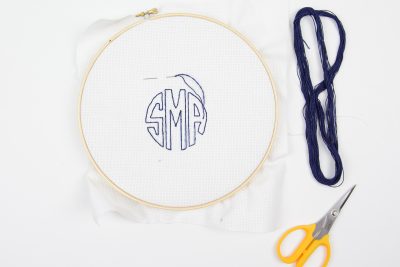
- You don’t have to use cross-stitch fabric; you can use regular cotton fabric, but I liked the texture that the cross-stitch fabric added to the project. You also don’t need as large a piece of fabric as I used. I only had one embroidery hoop and had to cut the fabric to fit inside of it. If you buy a smaller hoop, you can use less fabric.

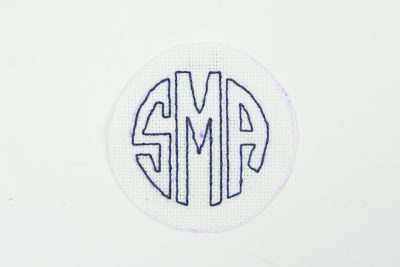
- After you have finished your monogram, cut it out in a circle, leaving a 3/4″ border around all of the stitches. I think it’s best to find a circle at your house that you can trace for this step. Make sure you keep the monogram in the center of the circle, trace a larger circle around it, and cut it out.
Step Two: Finish the Monogram
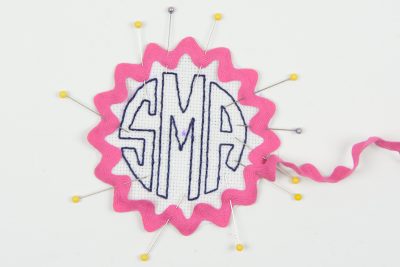
- Next, pin your ric rack to the circle’s exterior. The center of the ric rack will touch the raw edge of the monogram (as shown below).
- Stitch the ric rack to the monogram by stitching right down the center of the ric rack. Pivot frequently and go slowly to get a nice circle as you stitch.
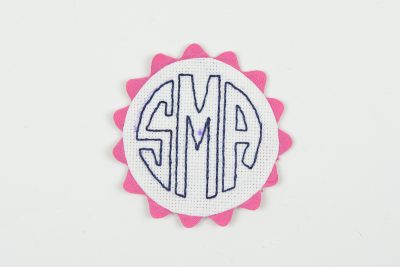
- Fold the ric rack to the back and press. Set aside.
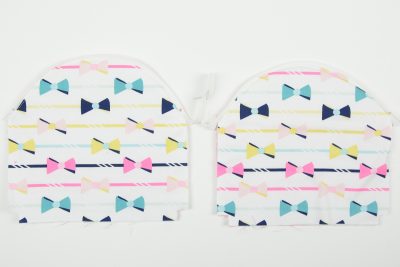
Step Three: Cut Out the Fabric Pieces for the Pouch
- From your pattern piece, cut out:
- From fabric, two pieces for the pouch outside
- From fabric, two pieces for the pouch lining
- From the foam, two pieces for the pouch interfacing
- Stitch the Sewn Monogram to the Pouch:
- Stitch the monogram to the center front of one of your pouch outside pieces approx 2″ down from the top of the arch.
Step Four: Sew the Zipper to the Pouch
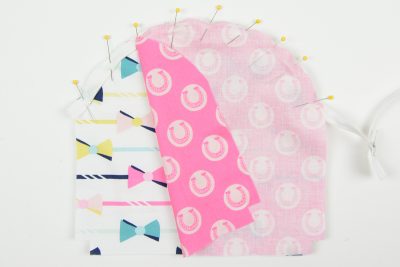
- Place the cut foam piece behind the cut pouch outside piece. Pin the zipper’s right side to the pouch’s right side along the top arch. The zipper is longer than the pouch, but that is okay.
- Next, place the pouch lining piece on top so that the right side of the lining faces the wrong side of the zipper. Pin in place. (You’ll have lots of pins.)
- Next, stitch through all the layers using your zipper foot. Use the width of your zipper foot as a guide, and your seam allowance should be between 1/4″ and 3/8″. Stitch with the foam side up so that the feed dogs on your machine will help feed the lining piece evenly.
- Clip the curve.
- Repeat for the other side of the zipper.
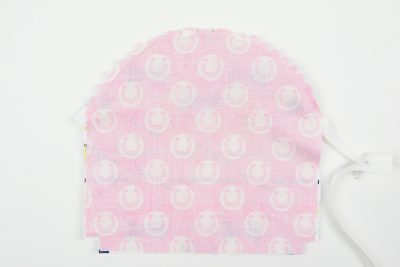
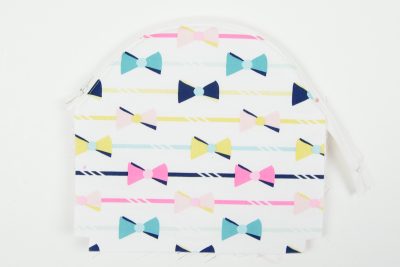
- When you’re done, your piece will look like this. Top stitch along both sides of the zipper.
- Take a second and zip it up to ensure you’ve inserted the zipper correctly.
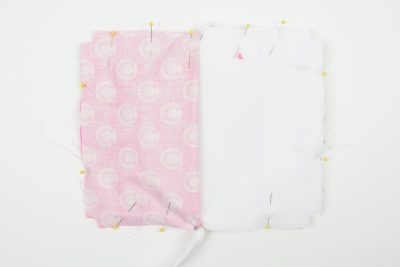
Step Five: Assemble the Pouch
- Unzip the zipper halfway.
- Pin the right sides of the pouch outside piece together (including the foam) and pin the right sides of the pouch lining together.
- Stitch around the perimeter of the pouch, leaving a 3″ opening in the lining piece so that you can turn the pouch right side out. Leave the cut-out square shapes in the corners unstitched.
- Create the Bottom Corners:
- Pinch all four pouch corners and stitch 1″ from the cut raw edges. Cut off the extra part of the zipper.
- Turn the pouch’s right side out. Stitch the opening in the lining closed, and you’re DONE!

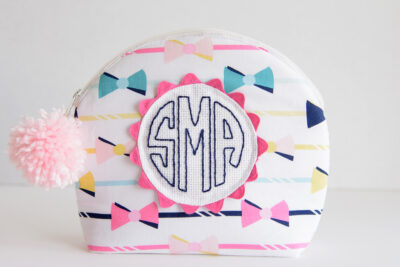
How to Make the Pom Pom Zip Pull
A tutorial explains how to make the pom-pom to attach to the zipper.
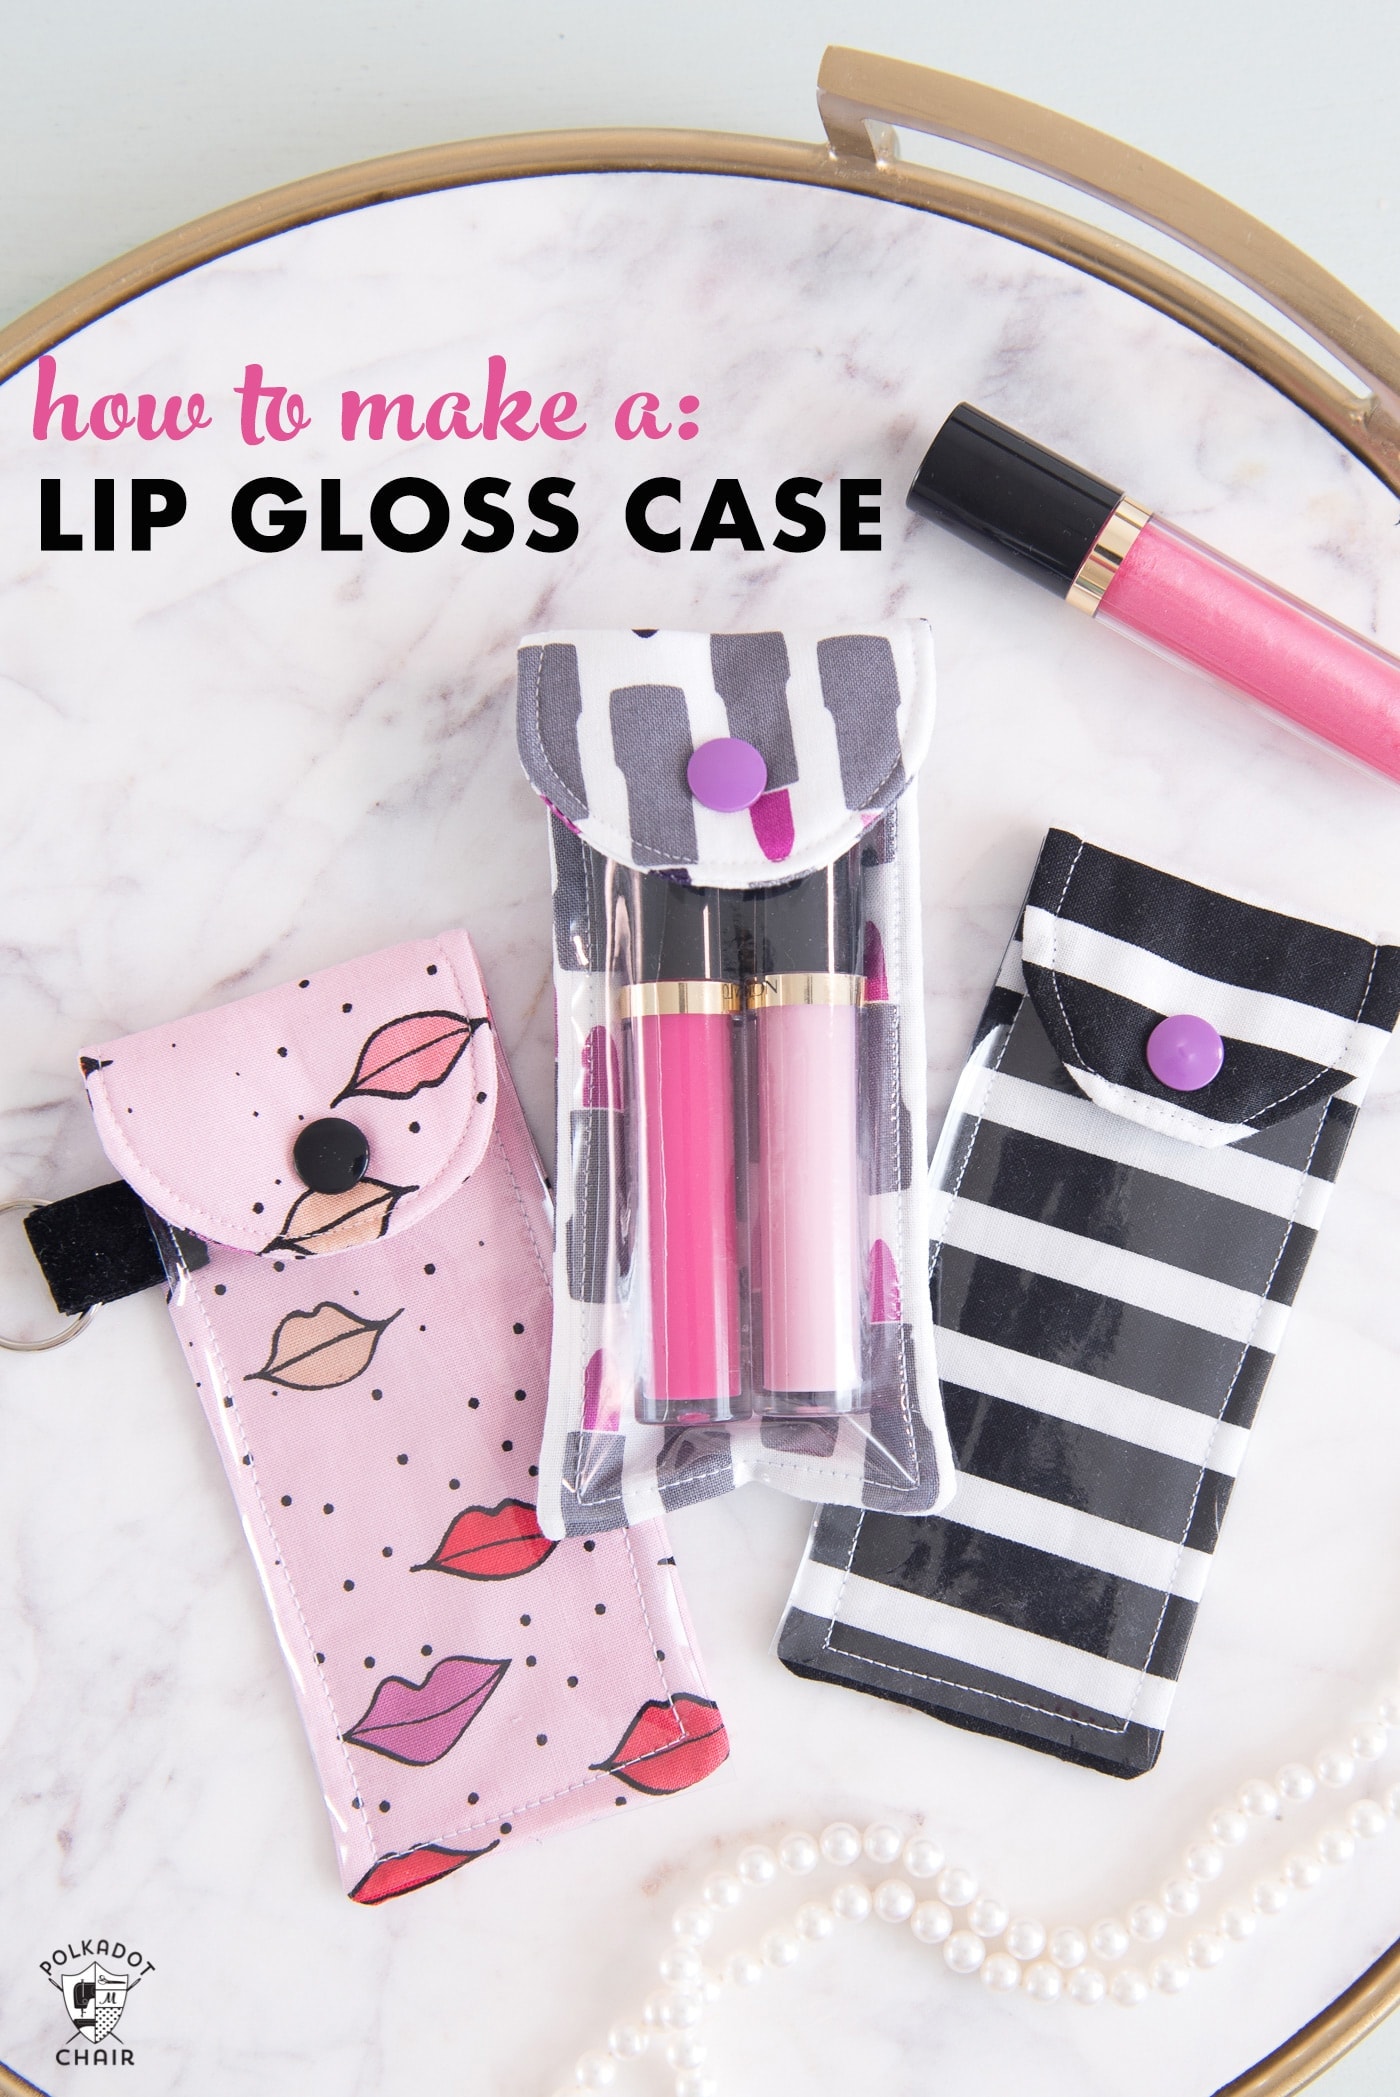
You May Also Like:

Can you please disclose the name of the fabric you used? It’s so fun!!!
It’s from my Derby Style line with Riley Blake, I don’t think it’s available any longer.
Love this pouch and would love to make it for my daughters wedding party, the link to sewmamasew is no longer active where can I find the pattern?
Let me see if I can find it in the archives and republish it here.
I absolutely adore your fabric and I’m so excited about this project!! I’m going to make one tomorrow! Thanks!
this pouch has a unique shape- and who wouldn’t love to have something personalized especially for you? you don’t have to be a teenager to love this gift!
Where can I find circle monogram letters for the pouch?
It’s a font called Circle Monogram, you should be able to download it online