DIY Classroom Door Decorations; Cute Fabric Pennant Tutorial
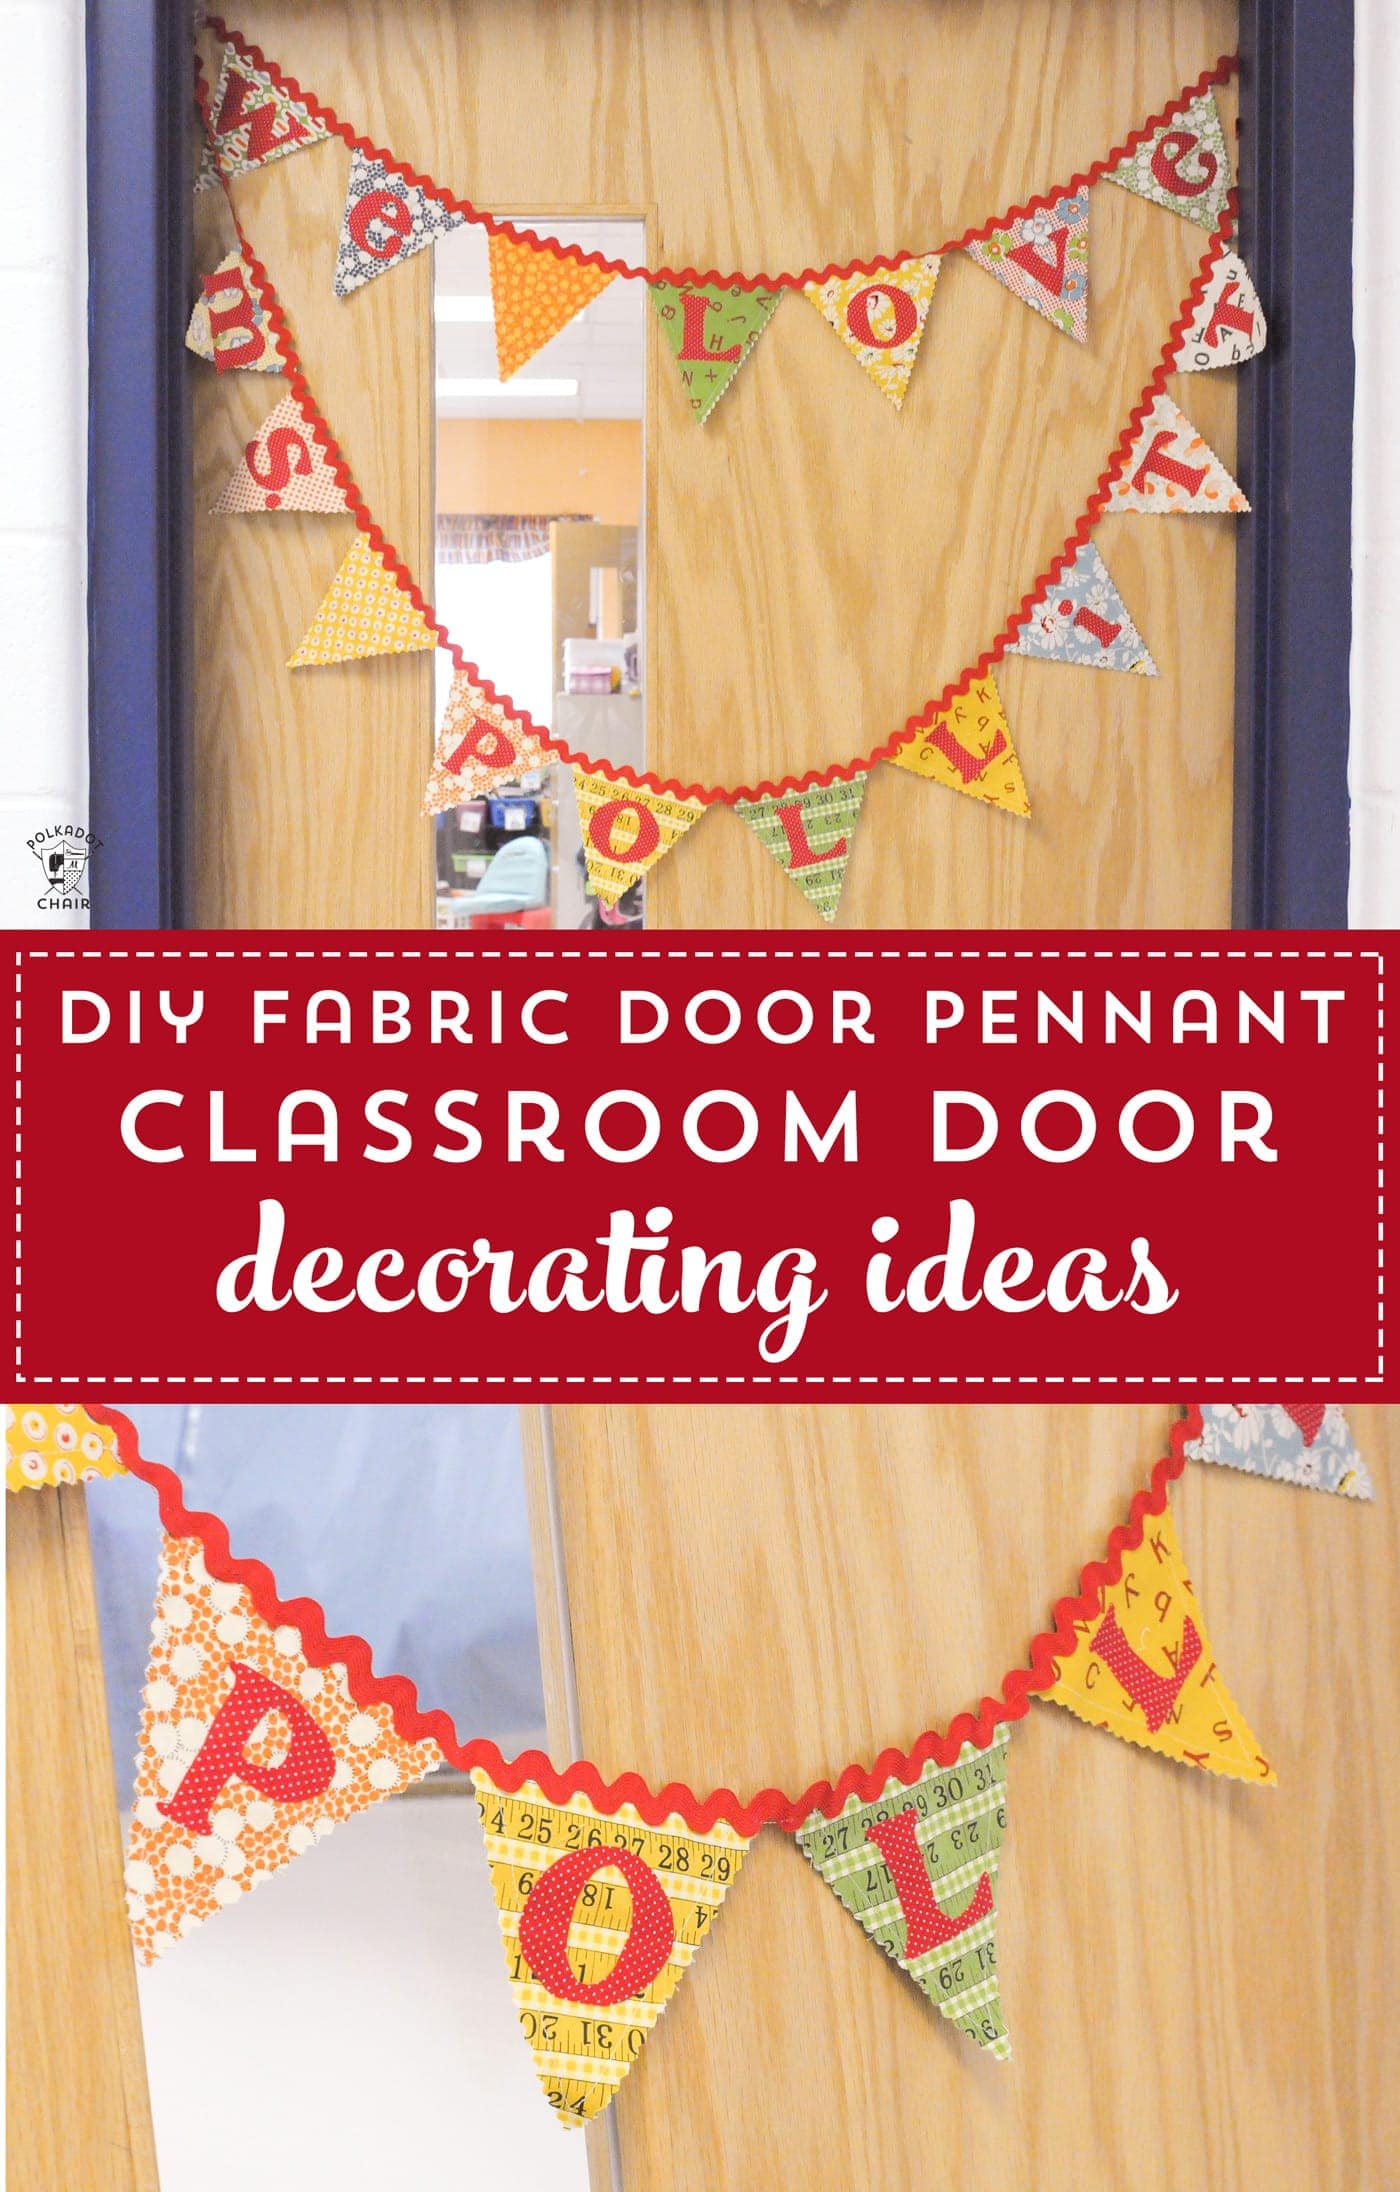
When my kids were little and still in elementary school, I found myself many times in charge of one of my kid’s classes for Teacher Appreciation last week. One of the tasks that I was frequently given was decorating the classroom door for teacher appreciation week. I’ve seen SO many cute ideas for classroom door decorations online and on Pinterest, but many times wanted to do something more permanent than just using butcher paper. I thought it would be great to make something that their teachers could keep from year to year, so the door decoration could double as a teacher gift.
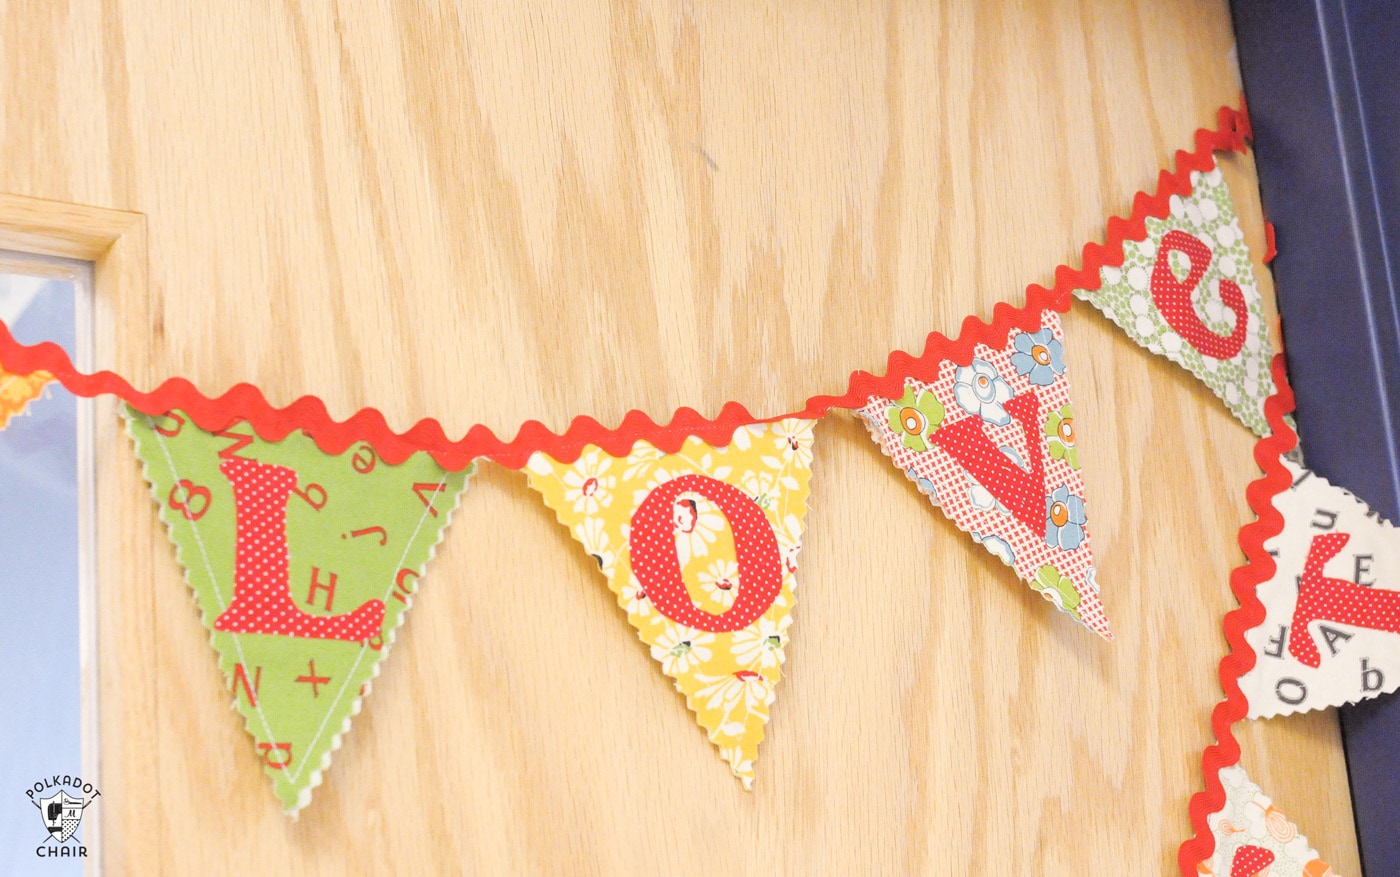
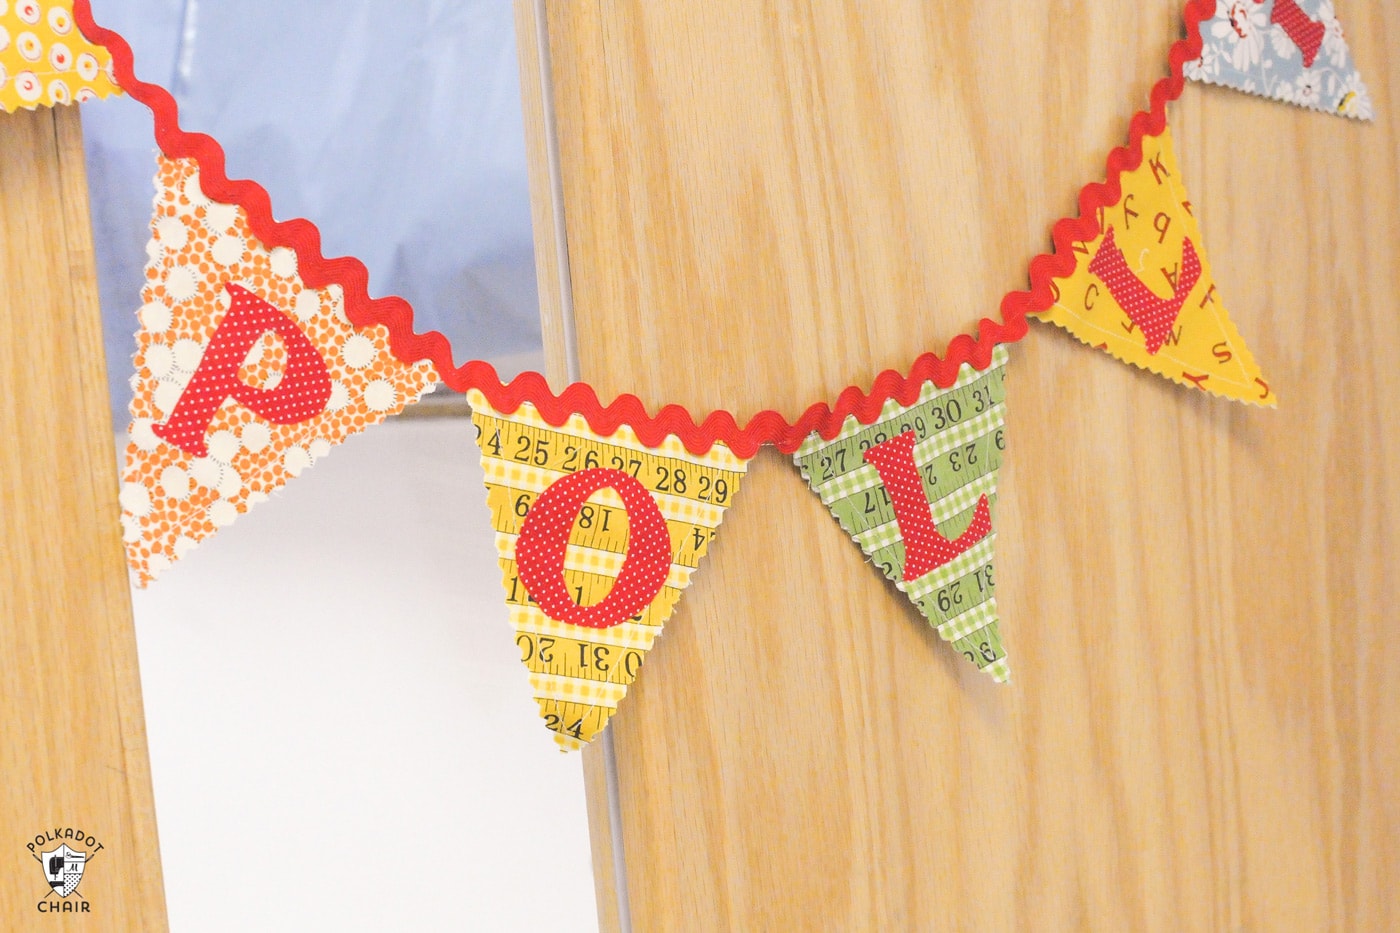
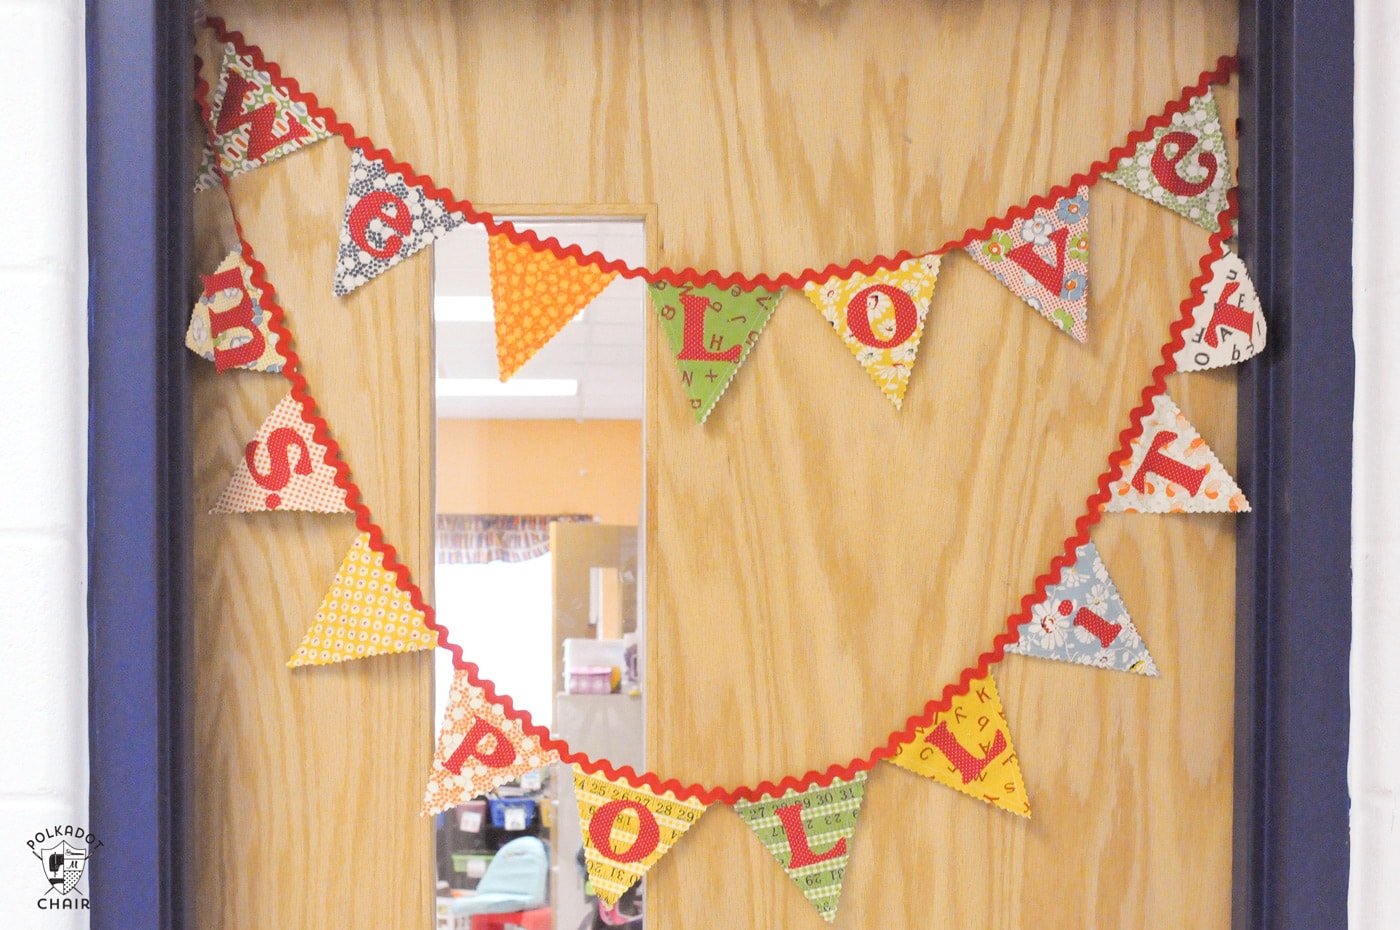
This Fabric Pennant tutorial is just that. I created one that said “we love” then the teacher’s name. You can get creative and use any phrase that you’d like. It would be fun to make a “Welcome to our Classroom” one for Back to School.
This project does involve a sewing machine. If you don’t want to sew at all, just use seam tape and fabric glue in place of the stitches. Use the fabric glue to attach the ric rack and the seam tape to attach the fabric front and back pieces to each other.
Classroom Door Decorating Idea: Fabric Pennant Tutorial
Supplies to Make the Fabric Pennant:
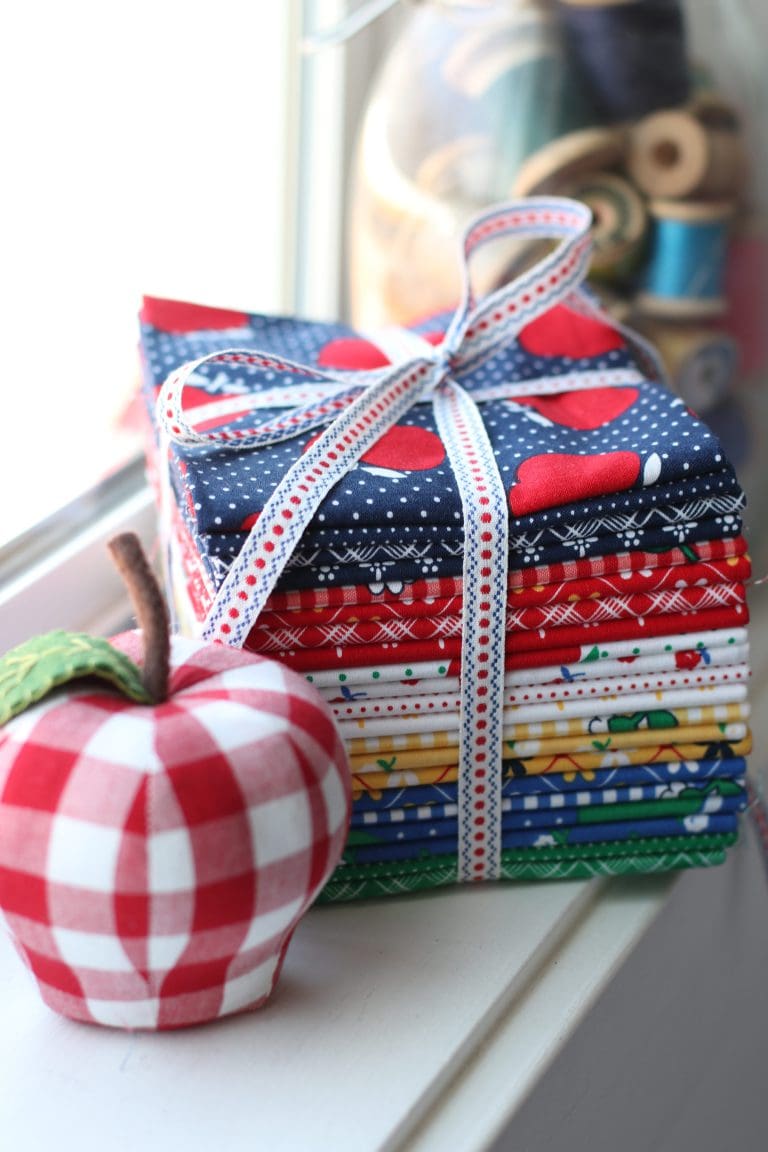
One 5″ Stacker, sometimes called a Charm Pack
1/4 Yard of Fabric for Letters – or a 5″ stacker of solid or almost solid fabric that is all the same print.
One Package of Ric Rack
Heat N Bond Lite
Rotary Cutter with Pinking Blade
Computer and Word Processing Program (you can use google docs if you don’t have a word program on your computer)
Simple Block Font
Note:
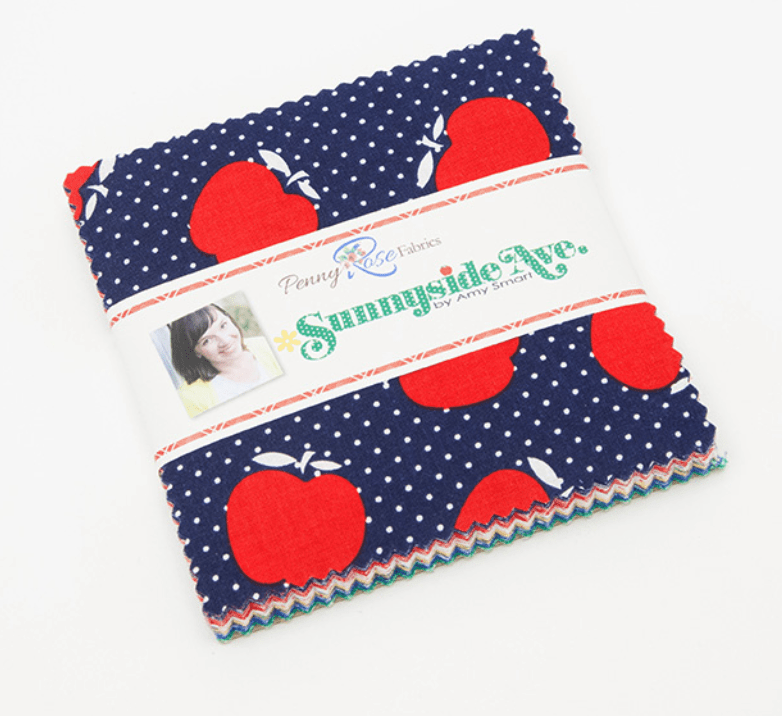
A 5″ stacker is sometimes called a charm pack and is made up of a pre-cut stack of 5″ squares. They are basically 1-2 squares of each fabric in a designers particular collection. For this banner. I used the Wee Play charm pack by American Jane. It’s no longer for sale and has not been for a while.
Instead, I recommend making it from a Sunnyside Ave 5″ stacker, which is currently available.
To Create the Pennant:
Step One: Cut out the Triangles
Figure out what you want to say so that you know how many pieces of 5″ square fabric that you need.
You will need two 5″ squares for each pennant piece (the pennant is double-sided).
Lay two 5″ square pieces directly on top of each other wrong sides together.
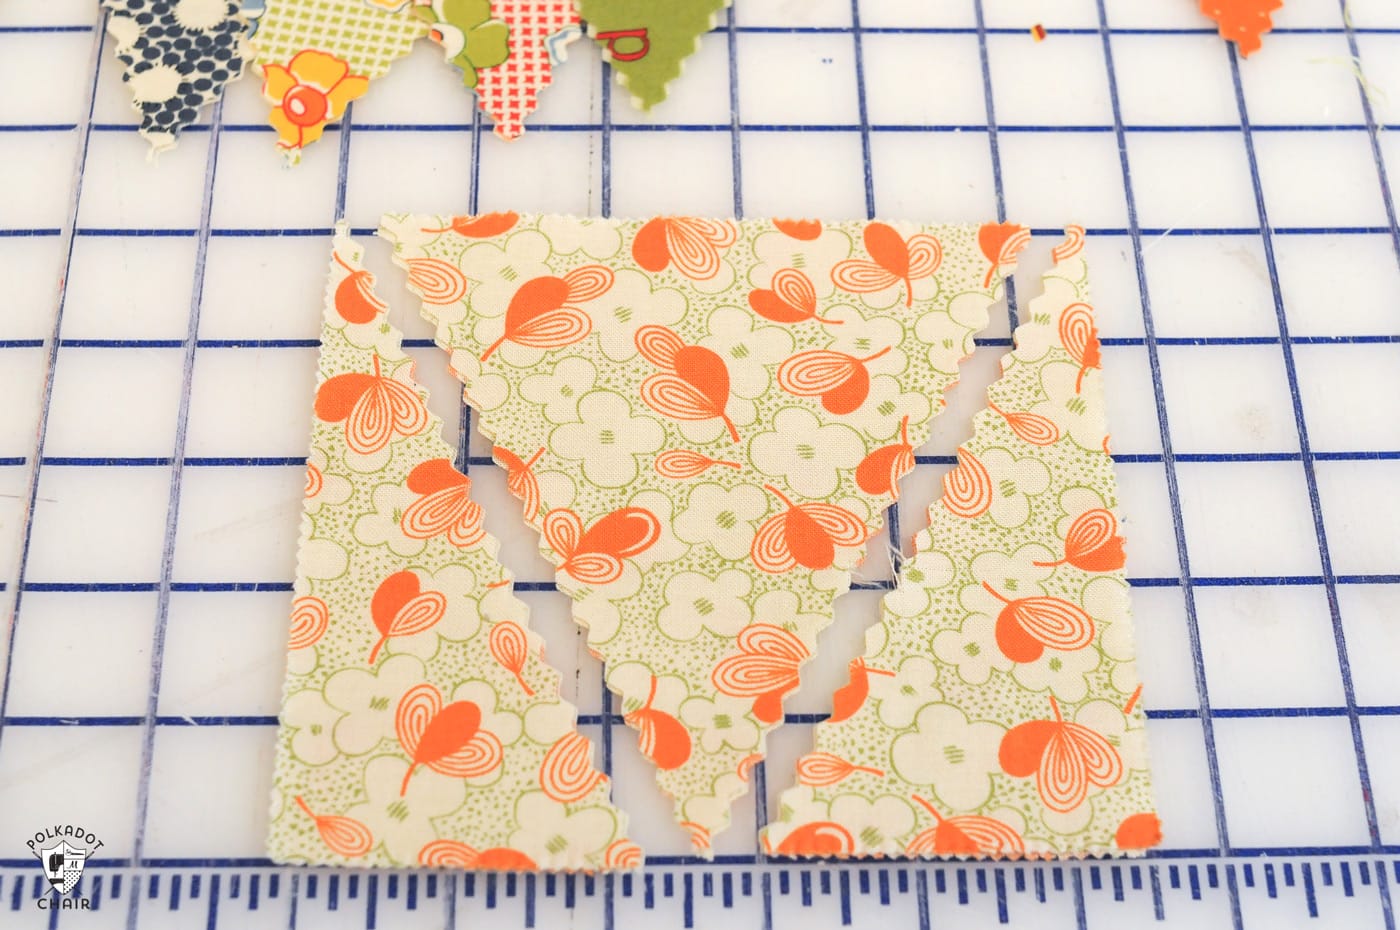
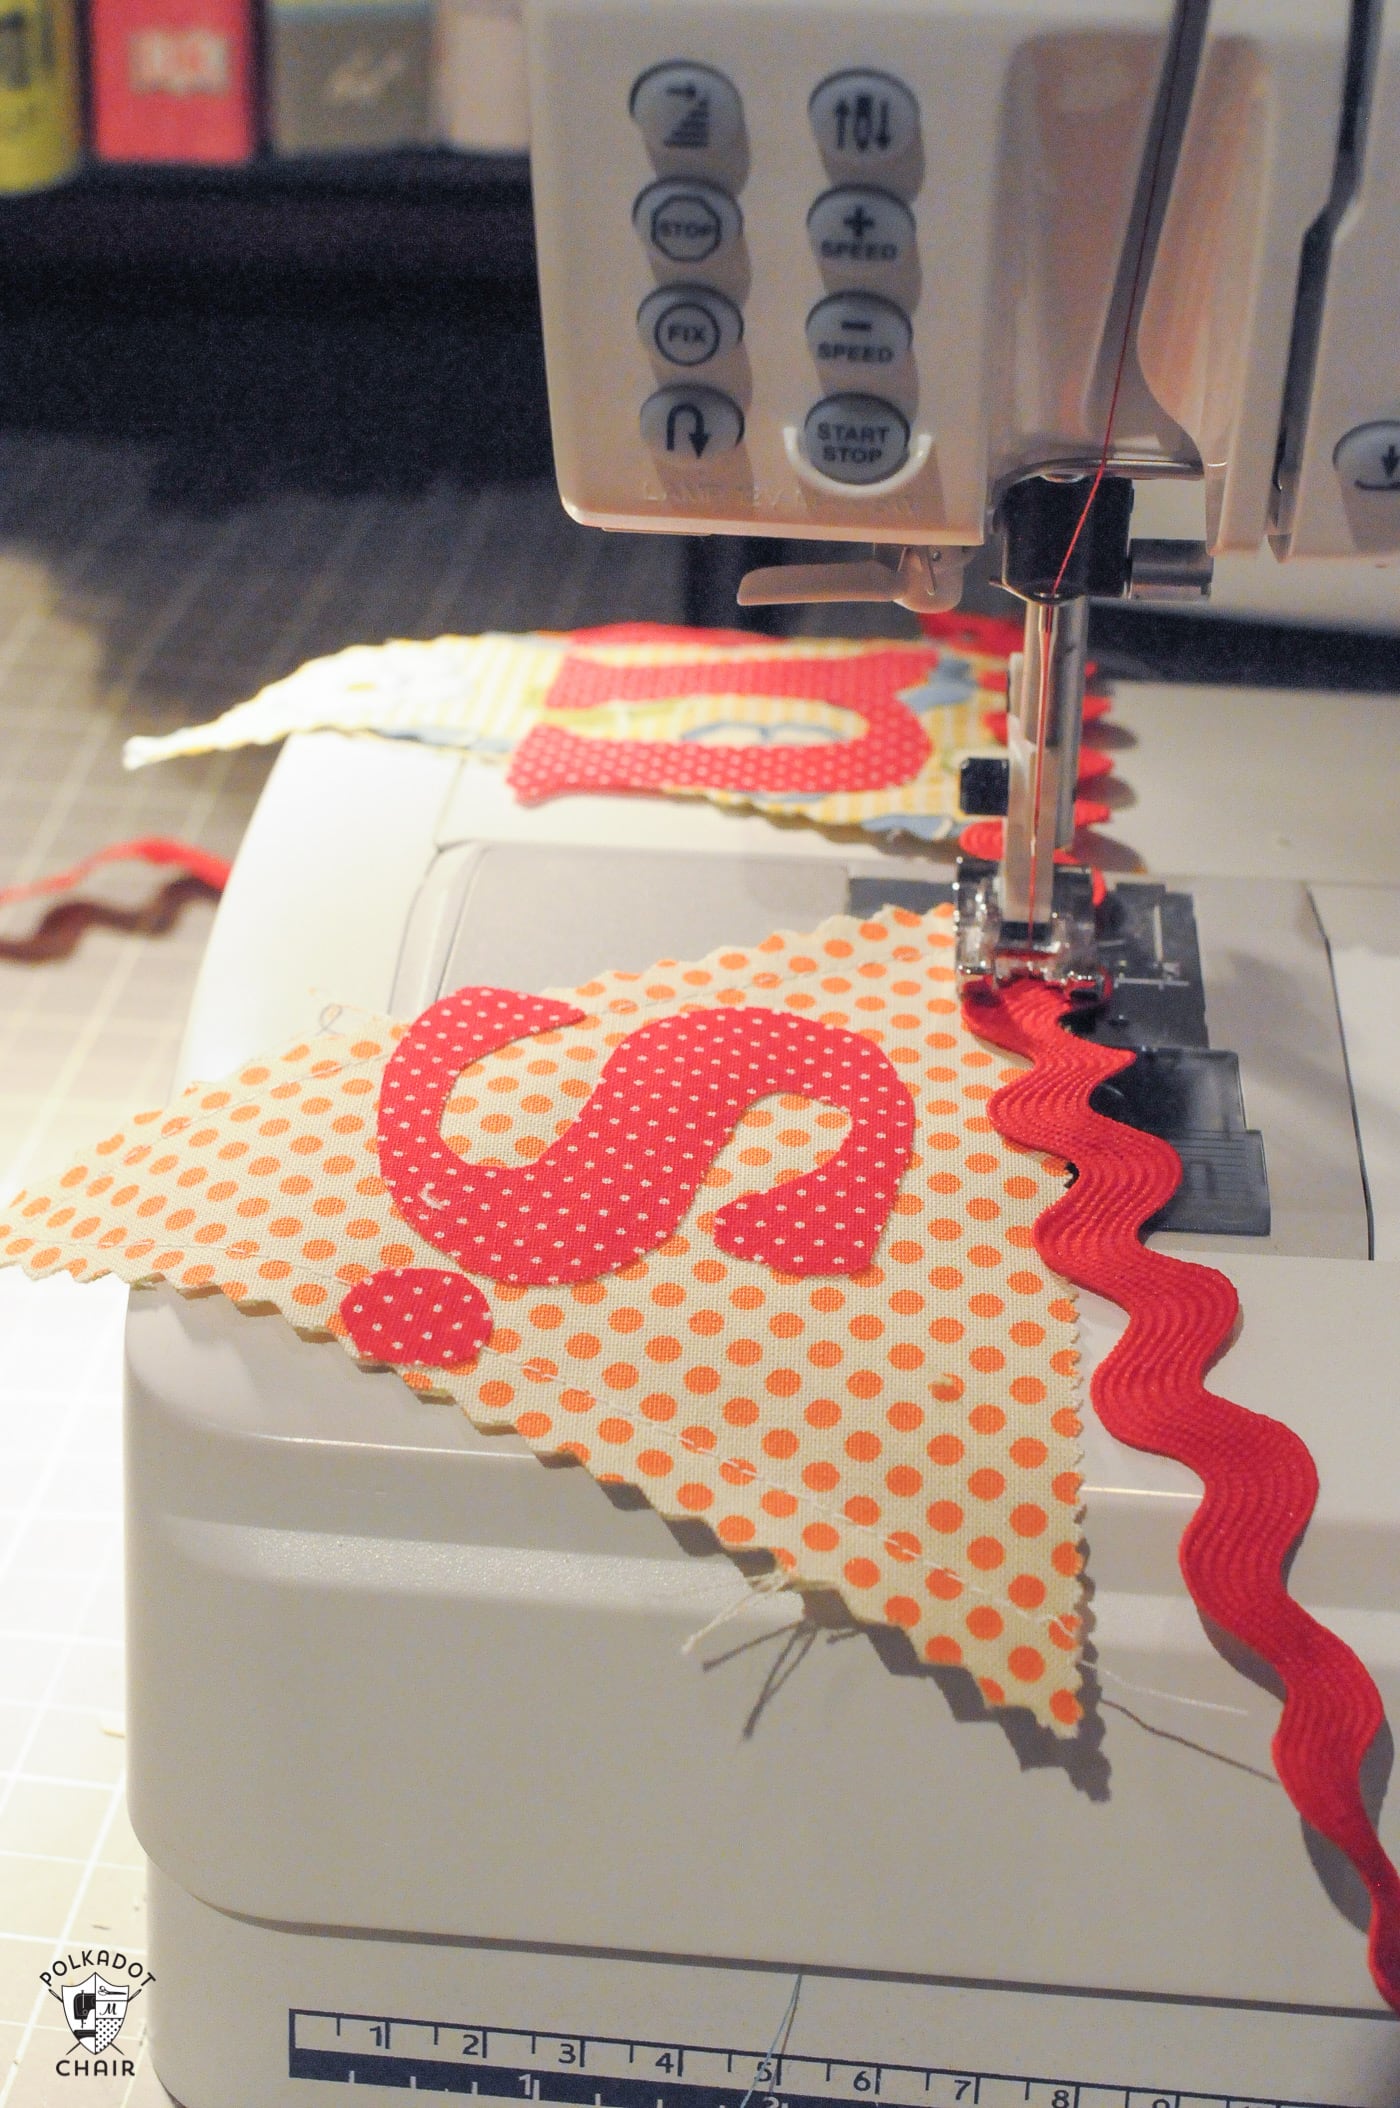
Using a zig zag attachment to your rotary cutter, cut the square into a triangle. Do this by finding the center of the bottom of the square and cutting to the corers on both sides. (see photo)
Repeat this step for each pennant piece.
Step Two: Attach the pieces to each other
With the pennant pieces still wrong sides together, using a straight stitch, stitch around the pennant piece 1/4″ in from each edge. You don’t need to stitch around the top of the triangle.
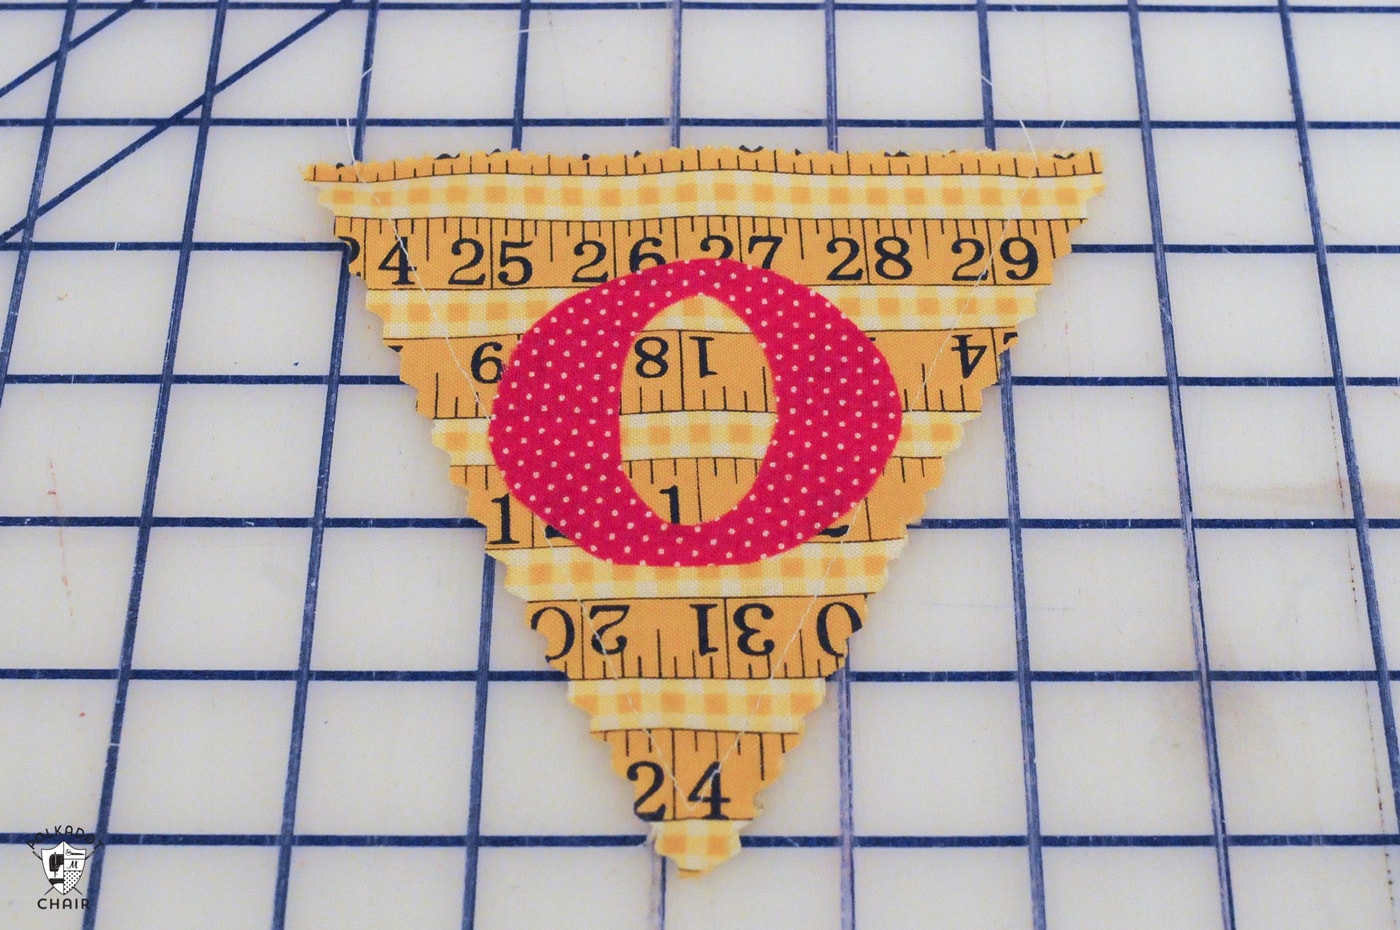
Step Three: Create the Fabric Letters
On your computer type out the letters, you want on your pennant. I recommend a simple block font. Size them to the size you’d like (I recommend 3″ tall) then print out the letters onto a piece of plain printer paper.
Trace the letters onto the paper side of a piece of heat n bond lite. The letters will be reversed. Cut out loosely. Press the cut-out letters onto the wrong side of your letter fabric. Cut out precisely. For FULL a tutorial on how to cut out letters out of fabric for the pennant, see this post.
You can also use a Cricut Maker for this step. Just follow the technique outlined in this project.
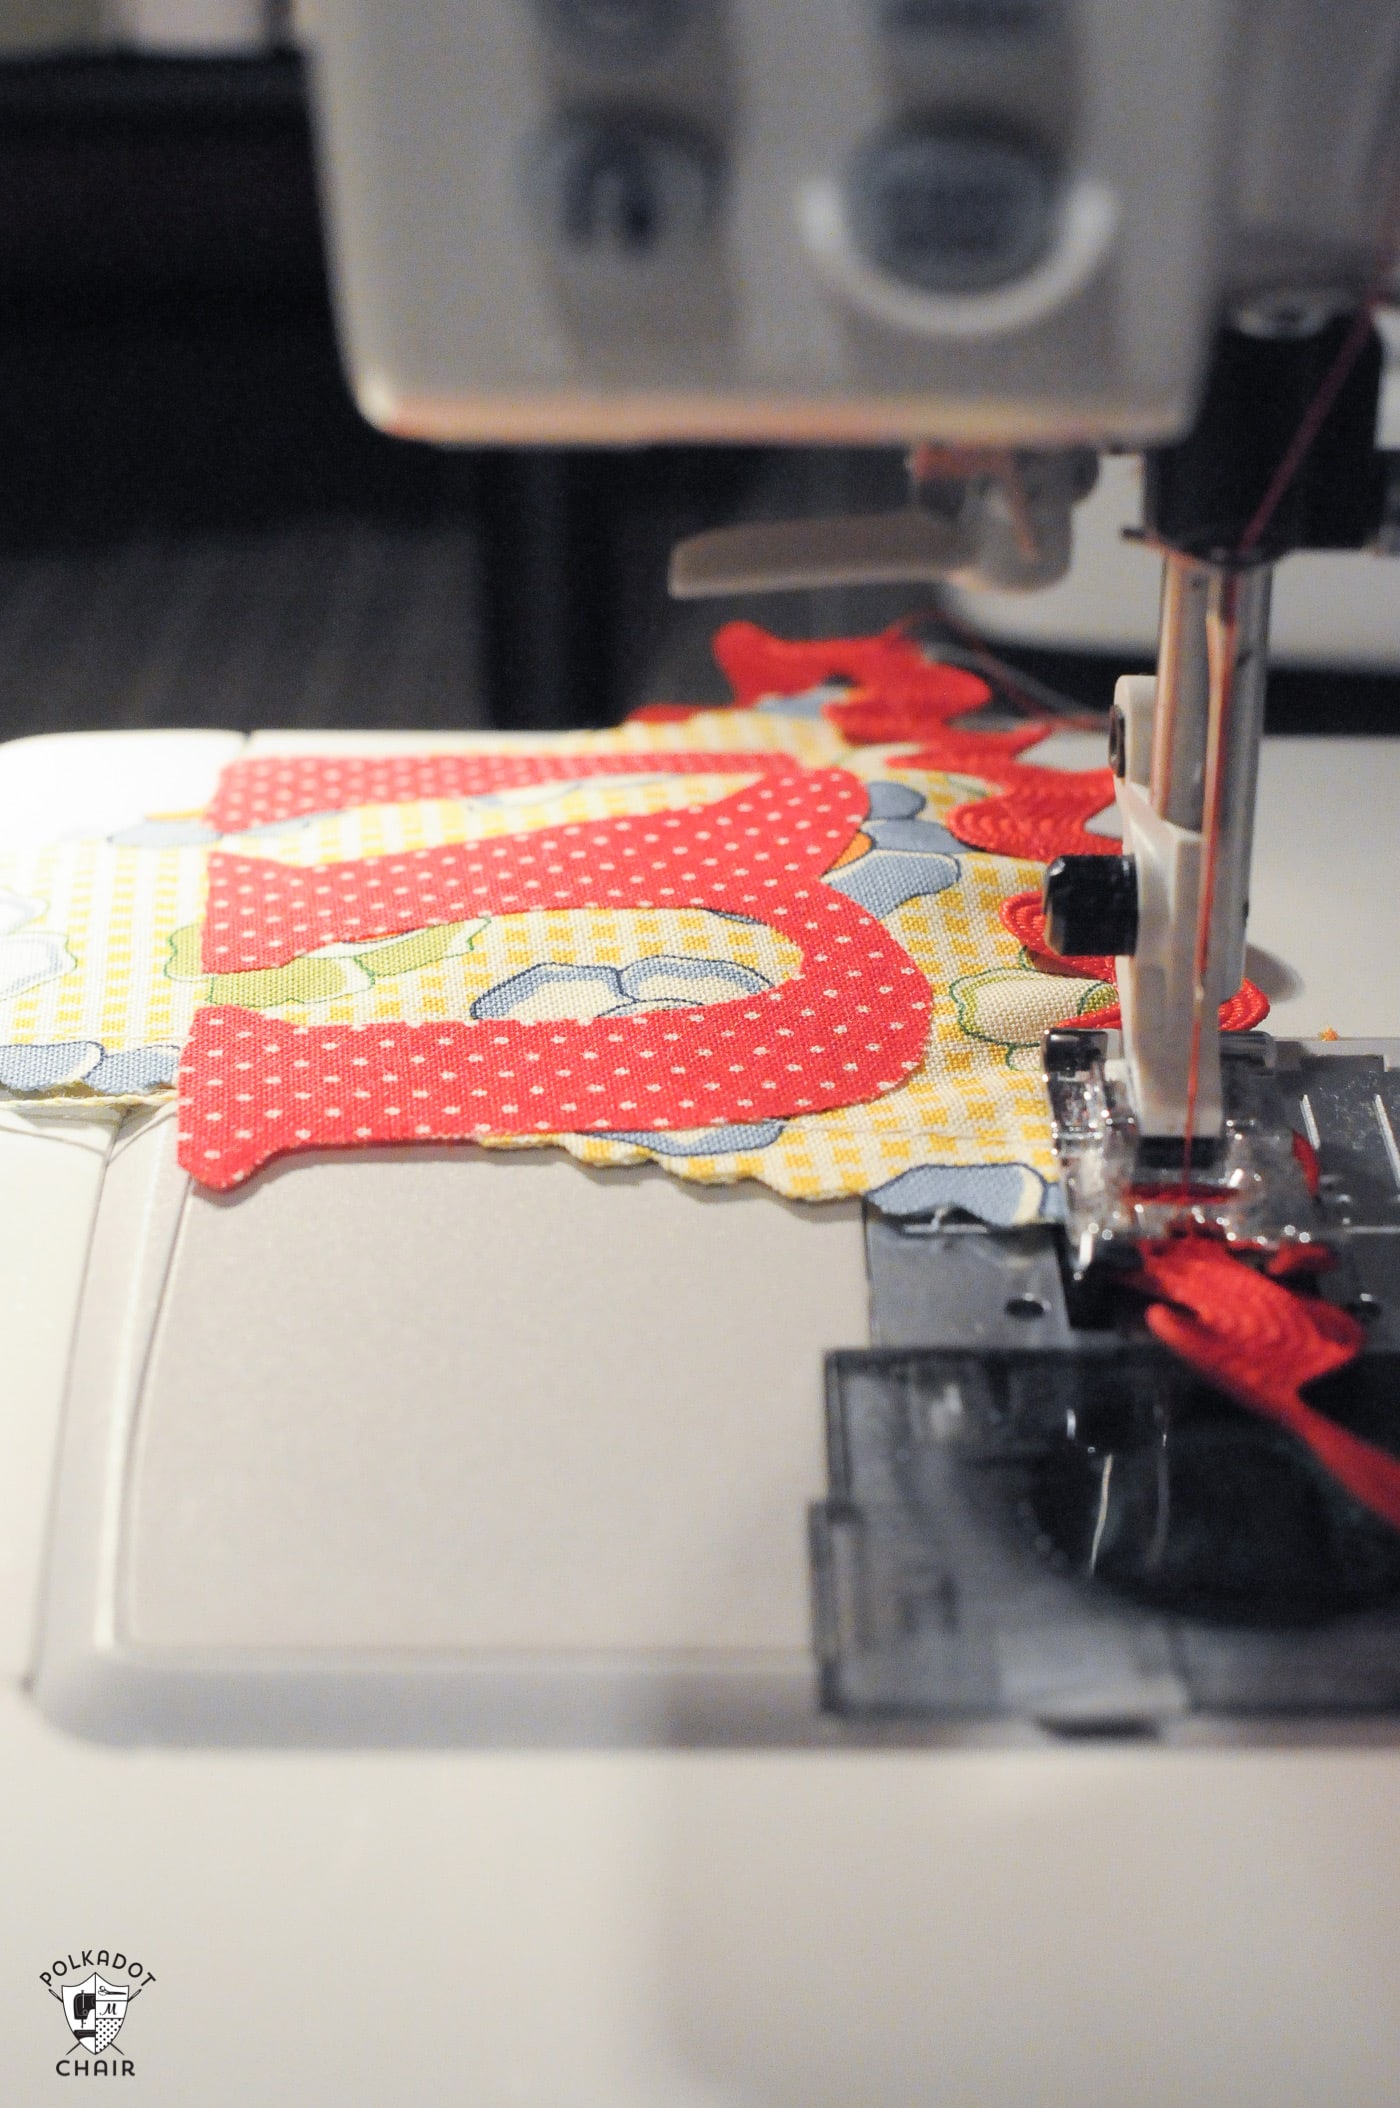
Step Four: Assemble the Pennant
You’re done!! That’s it!
**note: the We Love & name pennants are 2 separate pennants not attached to each other***
If you don’t want to sew as much, you could use a bit of seam tape to iron the fabric front and back pieces together. You do not need to stitch around the letters. They will stick in place just fine.
Be creative! You could make pennants from other fun “back to school” or “school” phrases like:
- Welcome to our Class
- We Love School
- Be Kind
- Smile
- We Love Our School
- Back to School
Other Classroom Door Decoration DIY’s that you might like:
- Ruler Wreath Tutorial – Back to School Wreath made from Rulers
- DIY Canvas Banner Tutorial
- Chenille Star-Banner Tutorial


Thanks. I just made these for my sister for Christmas, she just got her teaching credentials. She’s going to be so excited because they are so cute.
Hi Melissa, just wanted to say I linked your awesome tutorial up at my blog redrustyrooster. Stop by if you have a sec.
Cute Cute Cute!! I have seen a few of your other pennants but always thought they were made out of paper, how great that they are made out of fabric! It seems like it would last forever. Thanks for the tutorial, I’ll be linking this one!
great project– the teacher will love it!
What a lucky teacher!
I love your blog and come here everyday…
Come visit me when you have a couple of minutes.
XOXO
That is so cute! What a thoughtful project for a teacher. Thanks so much for this, I’ll be linking.
How cute! Thanks for the tutorial on cutting letters from fabric, also.
Love your banners , fantastic colours !
so cute melissa, this is a great gifty!
I love pennants! I really need to just make one. I’ve never seen one with the ric-rac though. SO CUTE!
Your creations are always so cute. Love that fabric. And thanks for reading my blog! You inspired me
That is really simple and cute! I love triangle banners. A small one like this is really sweet!
you make it look so easy… I want to make one for my sons graduation. Thanks for the tutorial!