DIY Blown Egg Ornaments
Learn how to create a blown egg ornament perfect for Christmas, Easter, or any other holiday!
Please enjoy our March “Ornament of the Month” tutorial! This month Julia is teaching us how to make blown egg ornaments. These little ornaments are perfect for Easter!
Handmade Ornament Tutorials
- July: Paper Poinsettia Ornaments
- August: Paper Memory Christmas Ornaments
- September: Kimekomi Fabric Ornaments
- November: Granny Rocker Christmas Ornaments
- December: String Christmas Ornaments
- January: Retro Diorama Ornaments
- February: DIY Splatter Paint Glass Ornaments
- March: Blown Egg Ornament
- April: Retro Photo Ornament Tutorial
- May: Vintage Folded Fabric Ornament
- June: Patchwork Heart Ornament
- July: Improv Pieced Heart Ornaments
- October: Plastic Canvas Gift Card Holder
- November: Yarn Stitched Jingle Bell Ornament
Hello, friends! It’s Julia from Bayhill Studio. When I was in middle school, my mom bought a lovely set of blown egg ornaments that had been personalized with her children’s names on each egg.
How to Make Blown Egg Ornaments
They were beautifully hand-painted, and I absolutely had to figure out how they were made. I was so enamored with them I picked up the box and dropped several of the eggs, breaking them before they ever had a chance to hang on our tree. Yikes!
I was surprised at how calm and cool my mom’s reaction was. Instead of getting upset, she ordered new ones (this time not personalized — probably due to time constraints), and then she taught me how the eggs were made.
At that moment, I learned that things aren’t really important; people are. And I learned about the delicate craft of blown egg ornaments. I’m not an expert, but I know just enough to pass on to you.
Blowing eggs for decoration is an art form that goes back to the beginning of time. The eggs can be decorated with paint, gold leaf, decoupage, pom moms, flowers, and more. The options are endless.
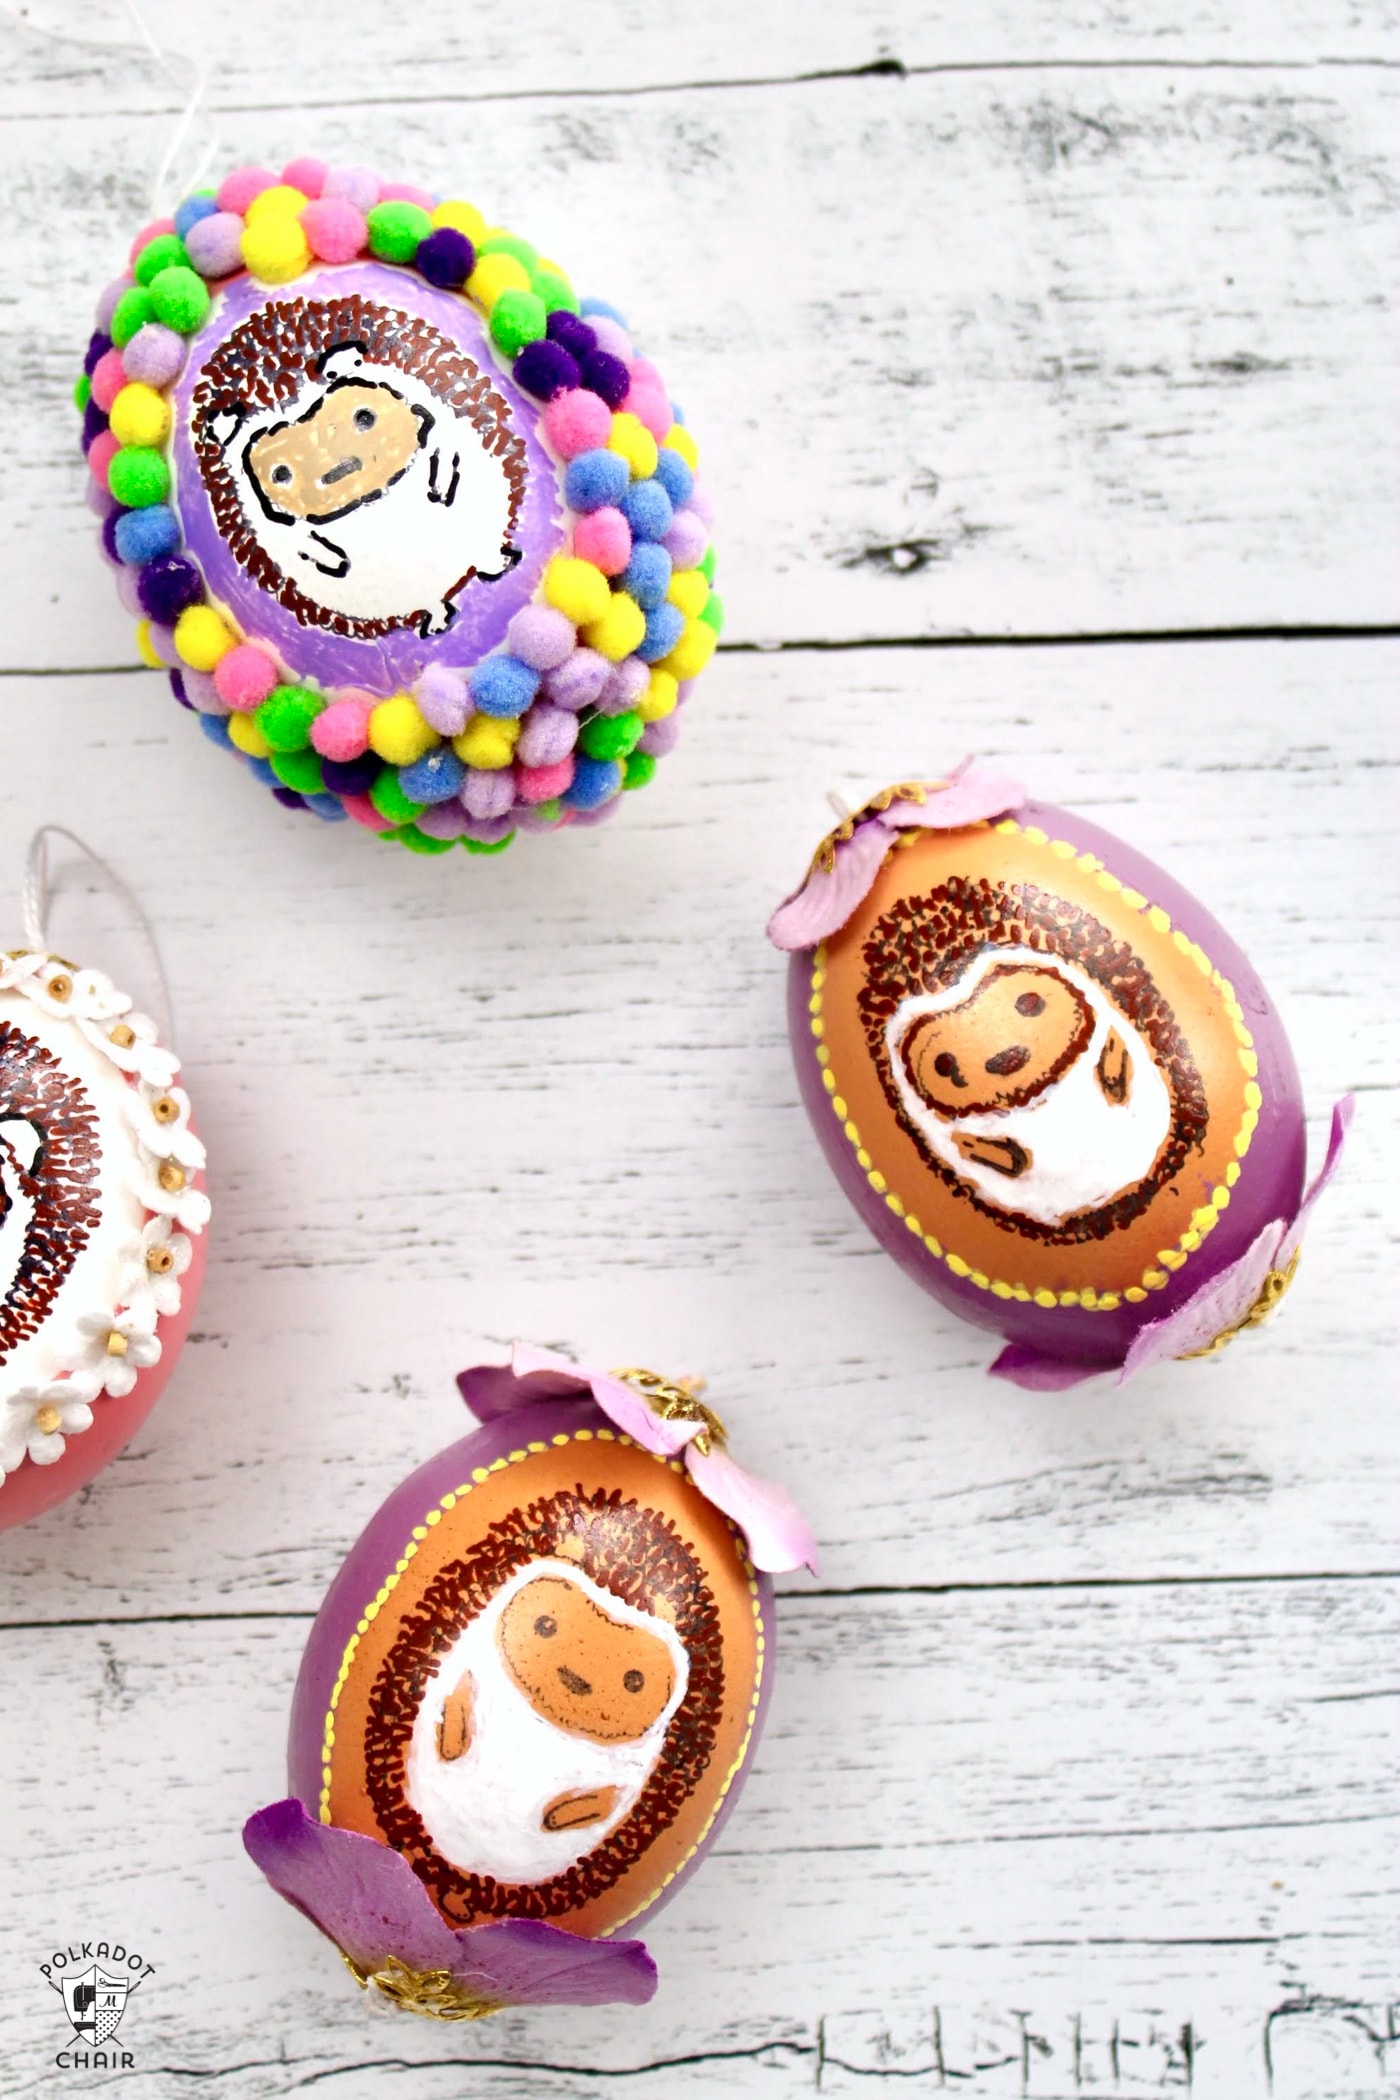
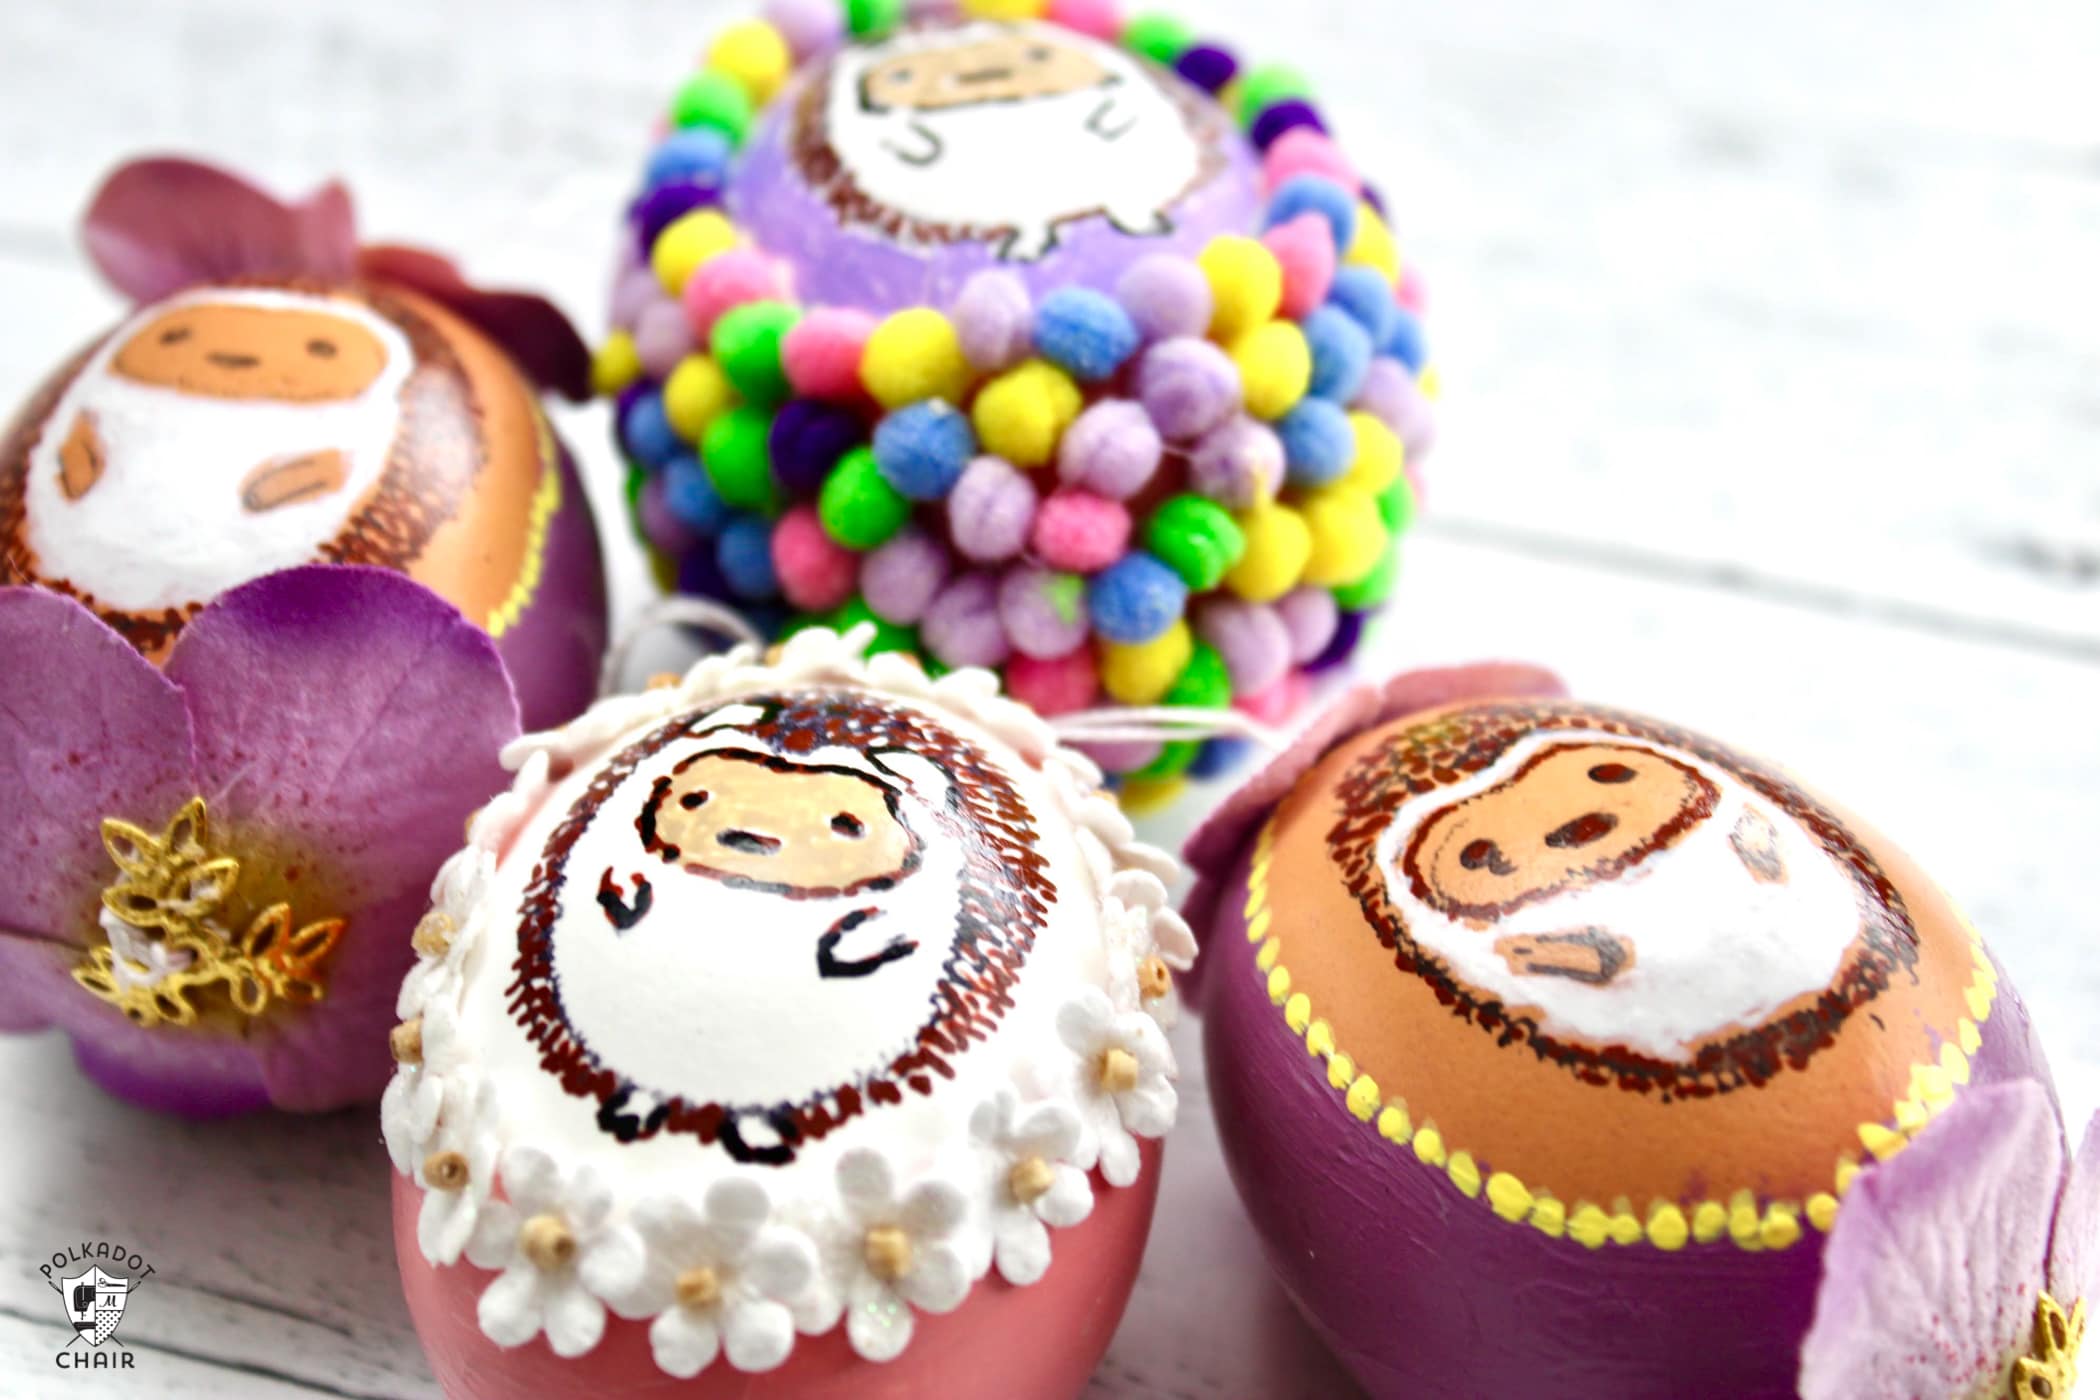
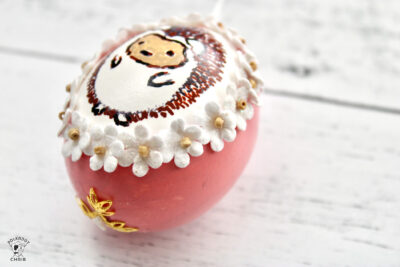
Today, I’m going to walk you through the steps of making these adorable little hedgehog-stamped ornaments. If you don’t feel confident with your hand-painting skills, using a stamp is a great option.
Before we start, I want to emphasize that there is more than one way to do just about anything, and this is just one way to go about making these eggs. As you go along, you might figure out a better method for you or a different design you like. All of those are fantastic and will make your eggs unique to you, so get creative and go for it!
Instructions
DIY Hedgehog Blown Egg Ornaments
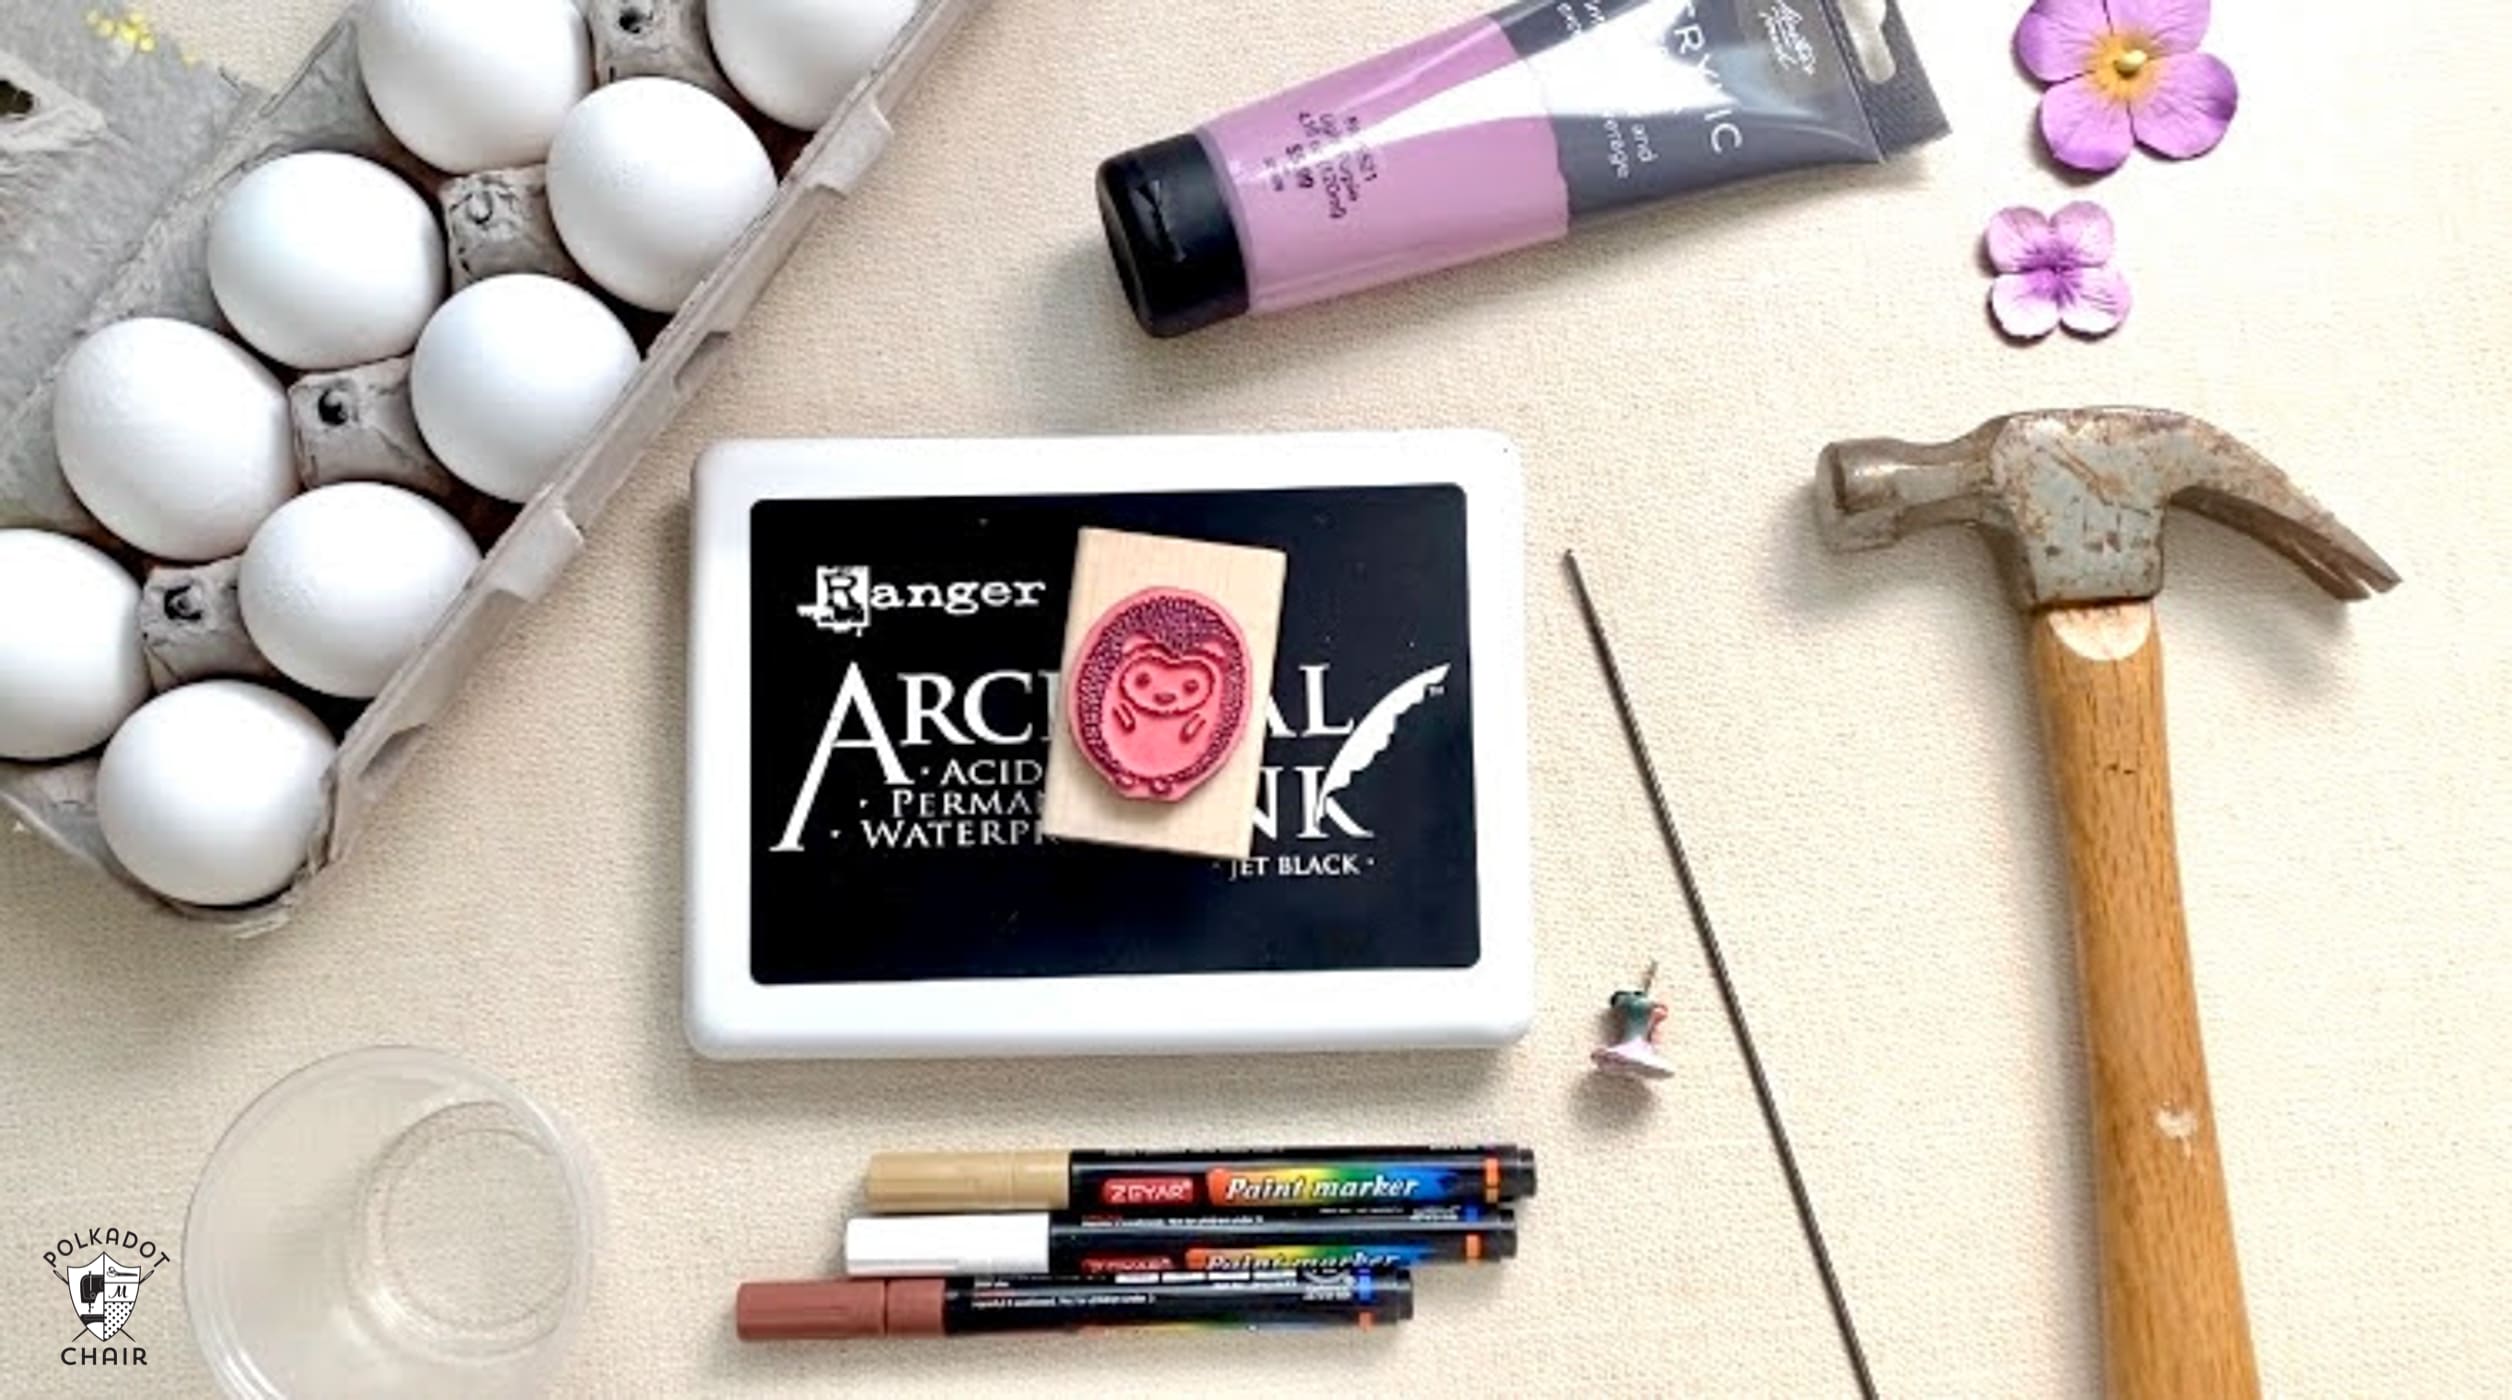
supplies
- 1 Eggs (Note: with eggs currently being expensive keep in mind you can use the contents for cooking if the egg-blowing process doesn’t too gross you out. My eggs were expired. I hated just to throw them out so I made this art out of them instead.)
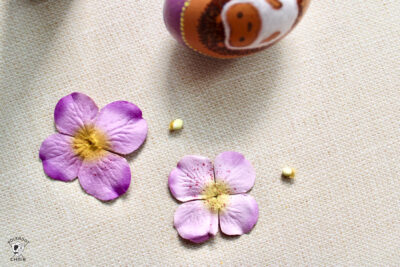
- Faux flowers For these eggs I used purple pansies found in the scrapbook aisle of my local craft store.
- Craft Paint in any colors you choose.
- Optional: Acrylic Paint Pens
- Jewelry Findings End Caps Note: I used caps I already had at home. Any end cap with a hole in it will work
- String
- A needle longer than the length of the egg. *I used two separate needles which I will explain later in the tutorial.
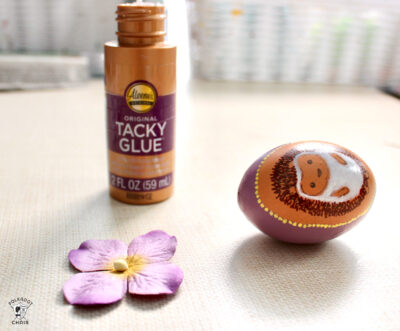
- Tacky Craft Glue
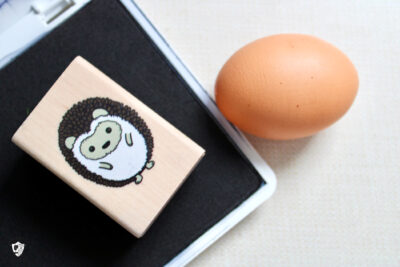
- Hedgehog Stamp (I don’t have a link to the exact stamp I used but this one is close. Any small stamp will work. My hedgehog stamp measures approx 1” x 1.5”
Instructions
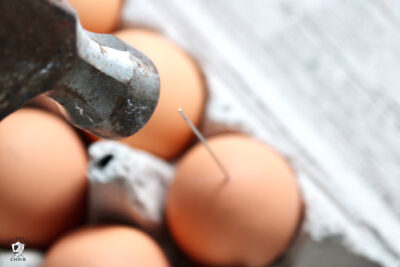
- Using a needle or thumb tack, or other small, sharp object, tap a small hole in the top of the egg. Tap with a hammer, the back of a spoon, or any object you have good control over. You need to be very gentle so you don’t create a large crack in the egg. We just want a pin-size hole to start with.

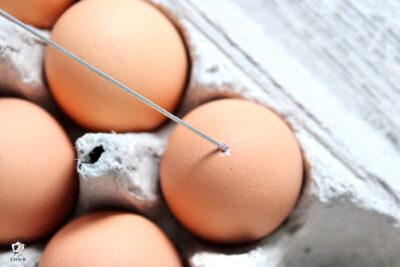
- Take a larger needle, wooden skewer, or another sharp object, and very carefully chip around the hole to make it just a bit larger than the original hole. The trick here is to make the hole just large enough to blow the egg contents through but small enough to conceal later on.
- After you have made one hole, repeat steps 1 & 2 on the opposite end. Now take the needle or skewer and move it up and down and all around the inside of the egg to break up the egg yolk. This will make blowing the contents out much easier.
- Now for the gross part! Put your mouth over one of the holes and blow the contents out of the opposite hole. Be very careful here as you handle the egg carefully so as not to break it.
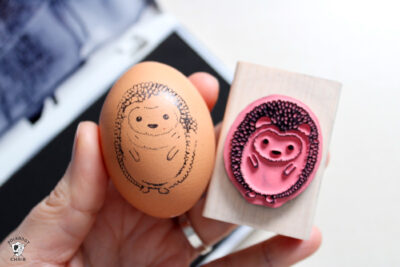
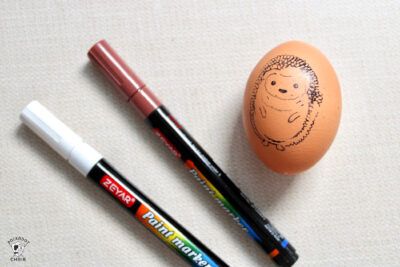
- Press the rubber side of the stamp onto the ink pad, then lightly and slowly press it onto the egg. I use the impression the stamp leaves as an outline, so it doesn’t need to transfer perfectly. I like to press very lightly so the ink is barely there.
- I like to press very lightly, so the ink is barely there. You’ll notice my design got printed twice, so there is a faint copy of his face. That’s completely okay. I’ll paint over it in the next step.
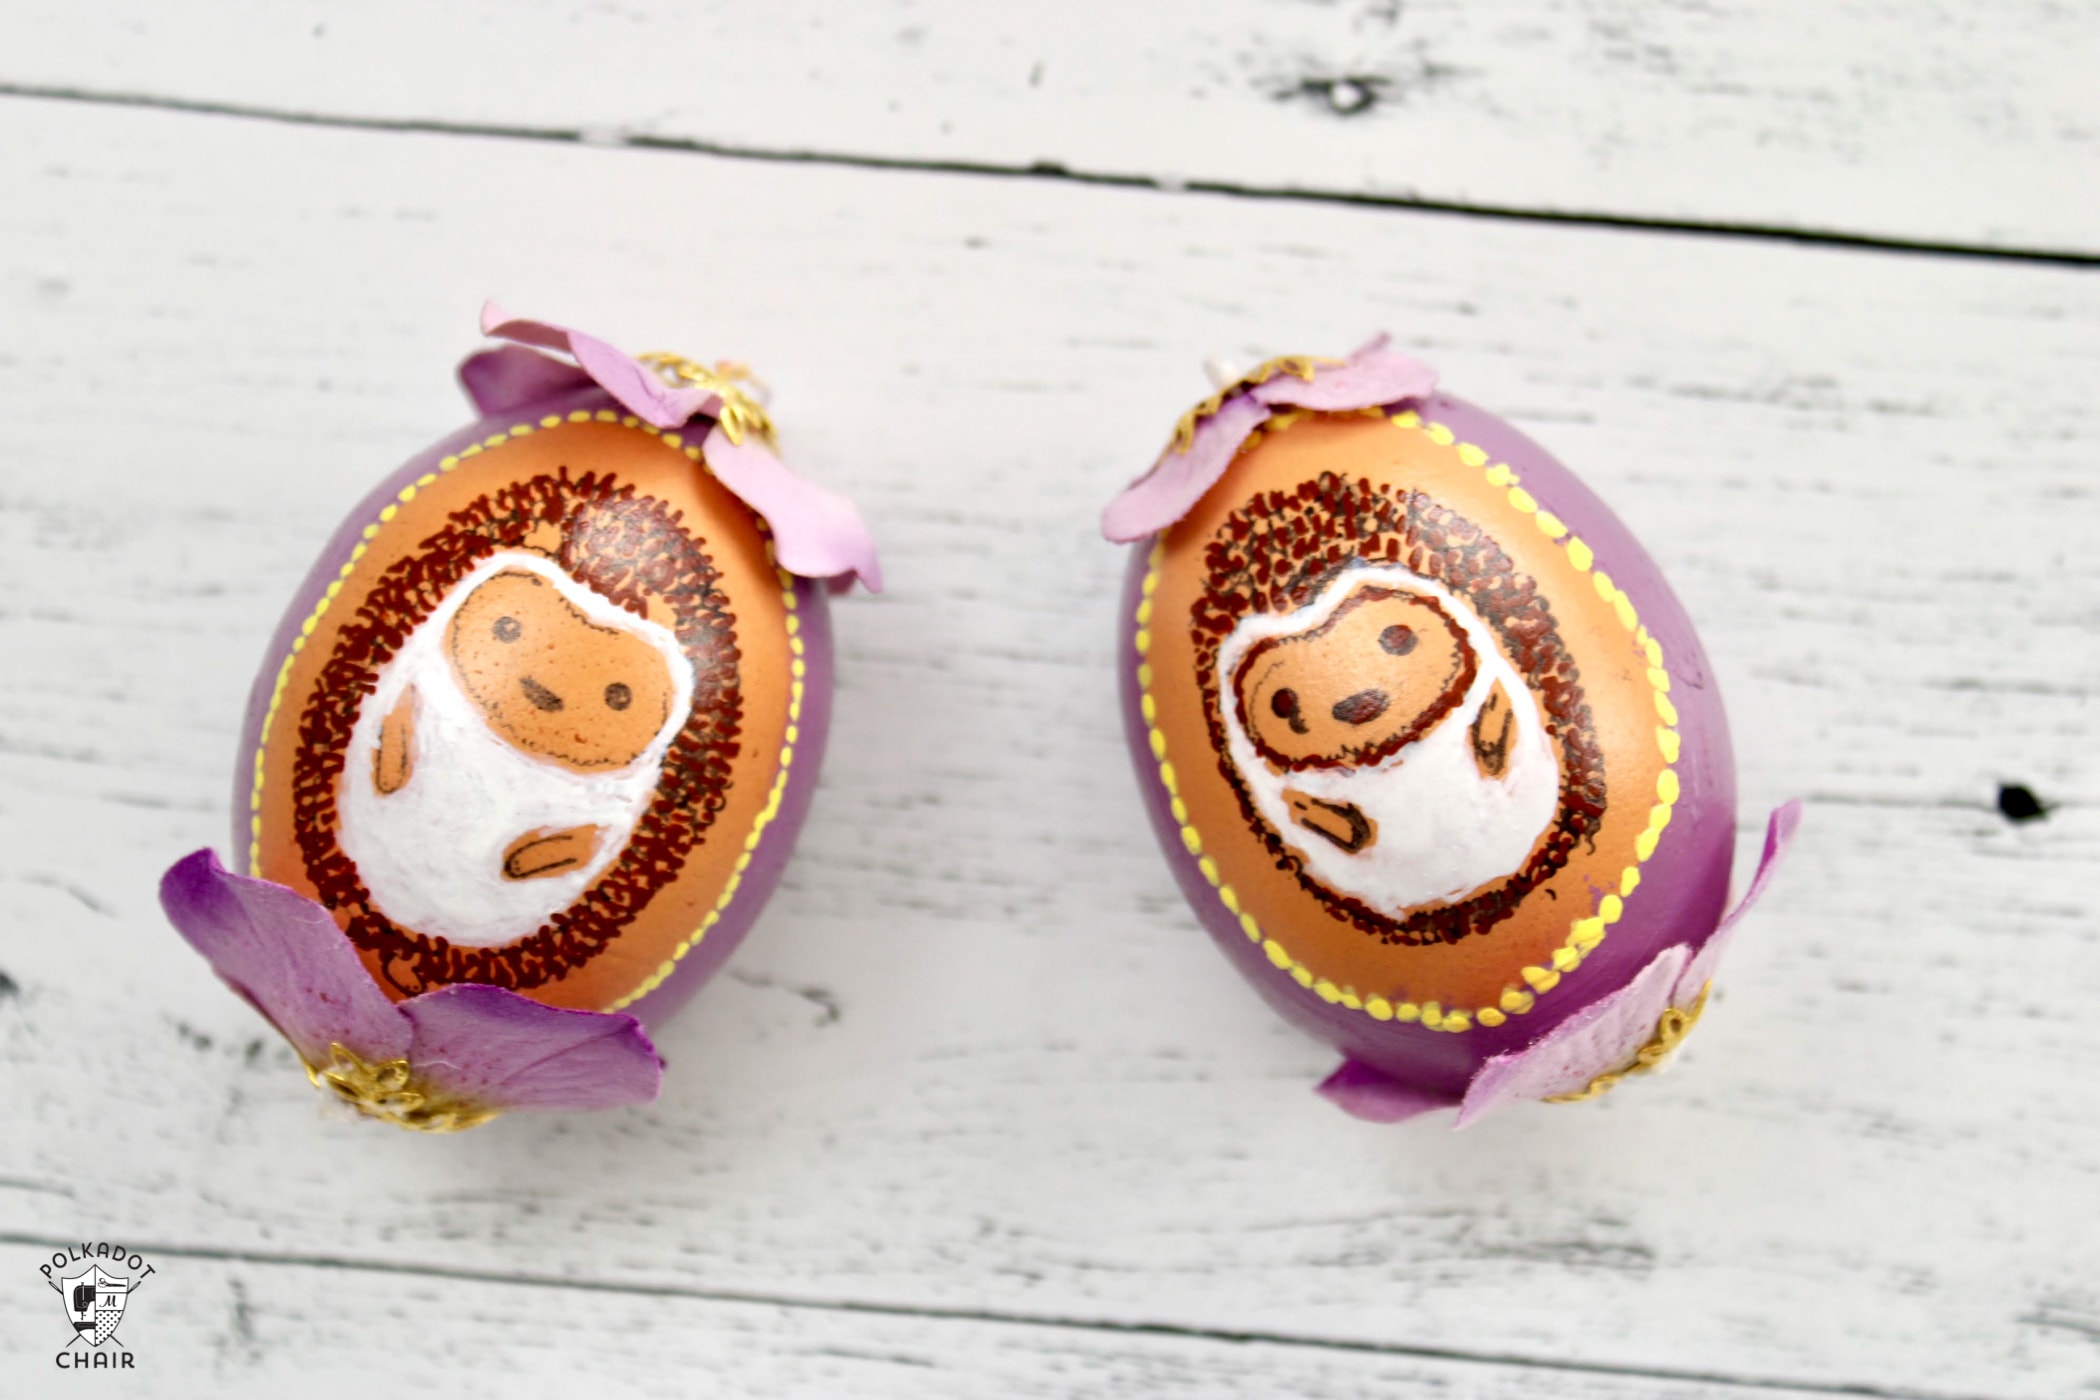
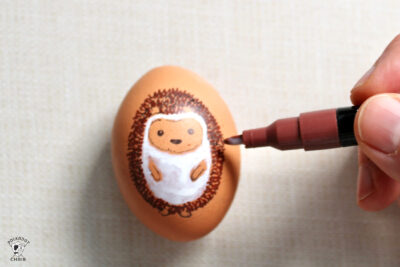
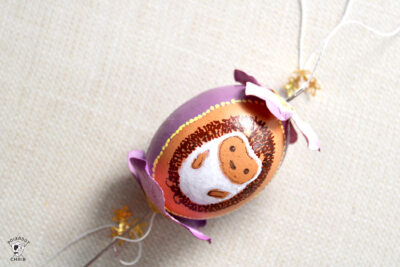
- To paint the hedgehog, you can use regular craft paint and a fine-point paintbrush. I prefer to use these acrylic paint pens because they are easy to use in small areas, and there is no cleanup. I am using white for the body and brown for the spikes for this hedgehog.
- I fill in the color. I am not trying to fill every space because I do like the look of the brown eggshell peeking through.
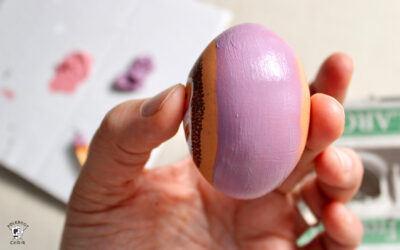
- Paint an oval frame around the hedgehog, then continue painting the entire back of the egg. I paint a strip, as you see above, around the entire egg so my fingers aren’t touching wet paint. I let that dry completely; then I finish painting the back. I usually follow up with a second coat. Let the paint dry completely before moving on to the next step.

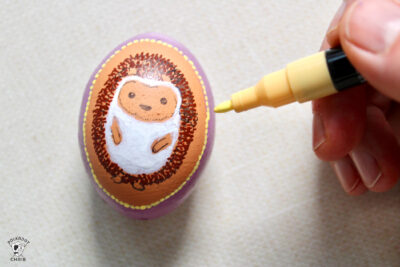
- Using yellow paint or a yellow paint marker (or any color you like) paint tiny dots around the border for added interest.
- If you want to varnish your ornament, now is a good time to do so.
- For the next steps, you will need Tacky craft glue and two fake flowers – one for the top of the egg and one for the bottom.

- My flowers had tiny foam ball centers. I was able to remove them easily. Whether or not you remove your flower centers will depend on the flowers you have, and on whether or not you want to incorporate the jewelry-finding end caps that I use in the next steps. If using the end caps, you’ll want a relatively smooth surface for them to rest on.
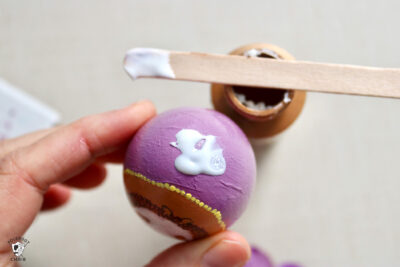
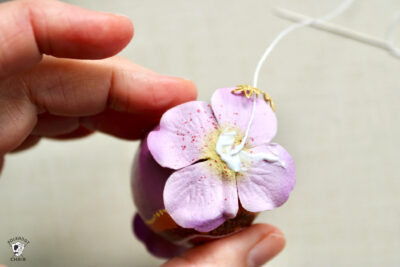
- Add a dollop of glue directly over the hole in the bottom side of the egg.
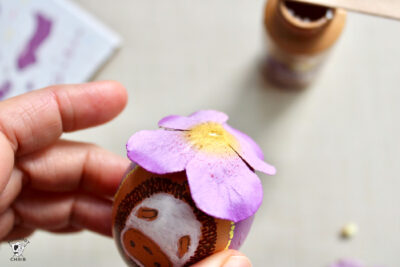
- Place the flower on the glue so the right side of the flower is facing outward.
- I told you earlier I used two needles for this project. The reason is that my end cap had a very small hole that only a regular sewing needle could pass through. However, I needed a long needle to thread the string through the entire egg, so from here on out; I will be switching needles back and forth. If you have an end cap with a larger opening, you will only need one long needle.

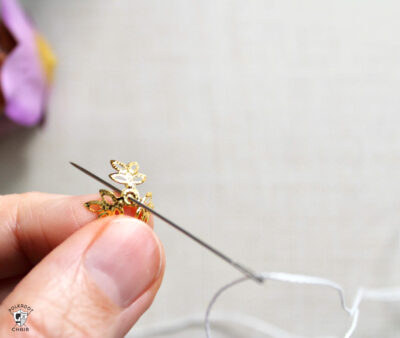
- To add the end caps, I start with the bottom end cap. Thread the string through the right side of the end cap, leaving a good size tail, about 5-6”.
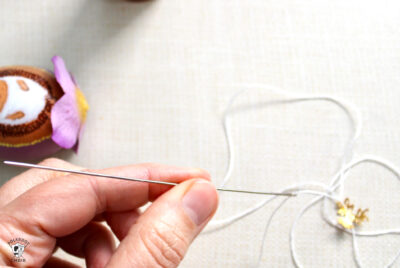
- Now I need to pass the string through the opposite ends of the egg, so I switch to the longer needle. Note that the string is still threaded through the end cap. The only change here is the needle.

- Use the long needle to thread the string through both ends of the egg.
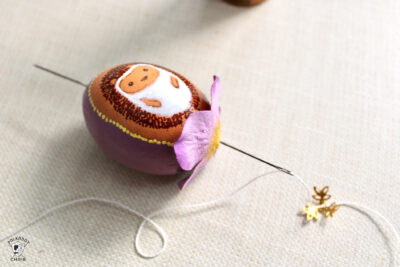
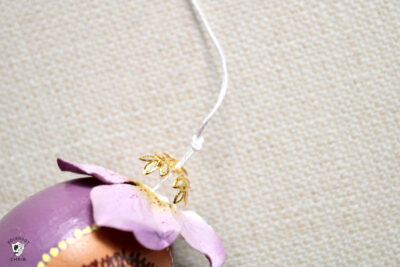
- Now pass the string through the center of the top flower (add a dollop of glue between the egg and flower).
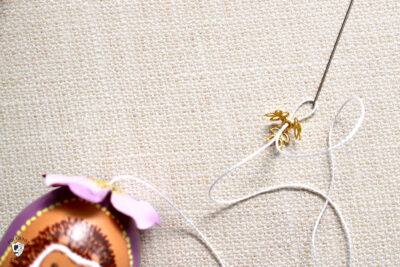
- Switch to the smaller needle, and pass the needle through the wrong side of the end cap.
- Add a dollop of glue between the flower and the end cap.
- Pass the small needle back through the end cap. Now switch to the larger needle.
- Pass the larger needle through the holes on each end of the egg. At the top of the egg, leave a loop for hanging the ornament — about 3”.
- Tie a knot to secure the loop.
- Tie a knot at the bottom of the ornament to secure the ends. I like to trim the string about ¼” away from the knot, then tuck the extra string under the end cap. Once the glue dries, it will be firmly in place.
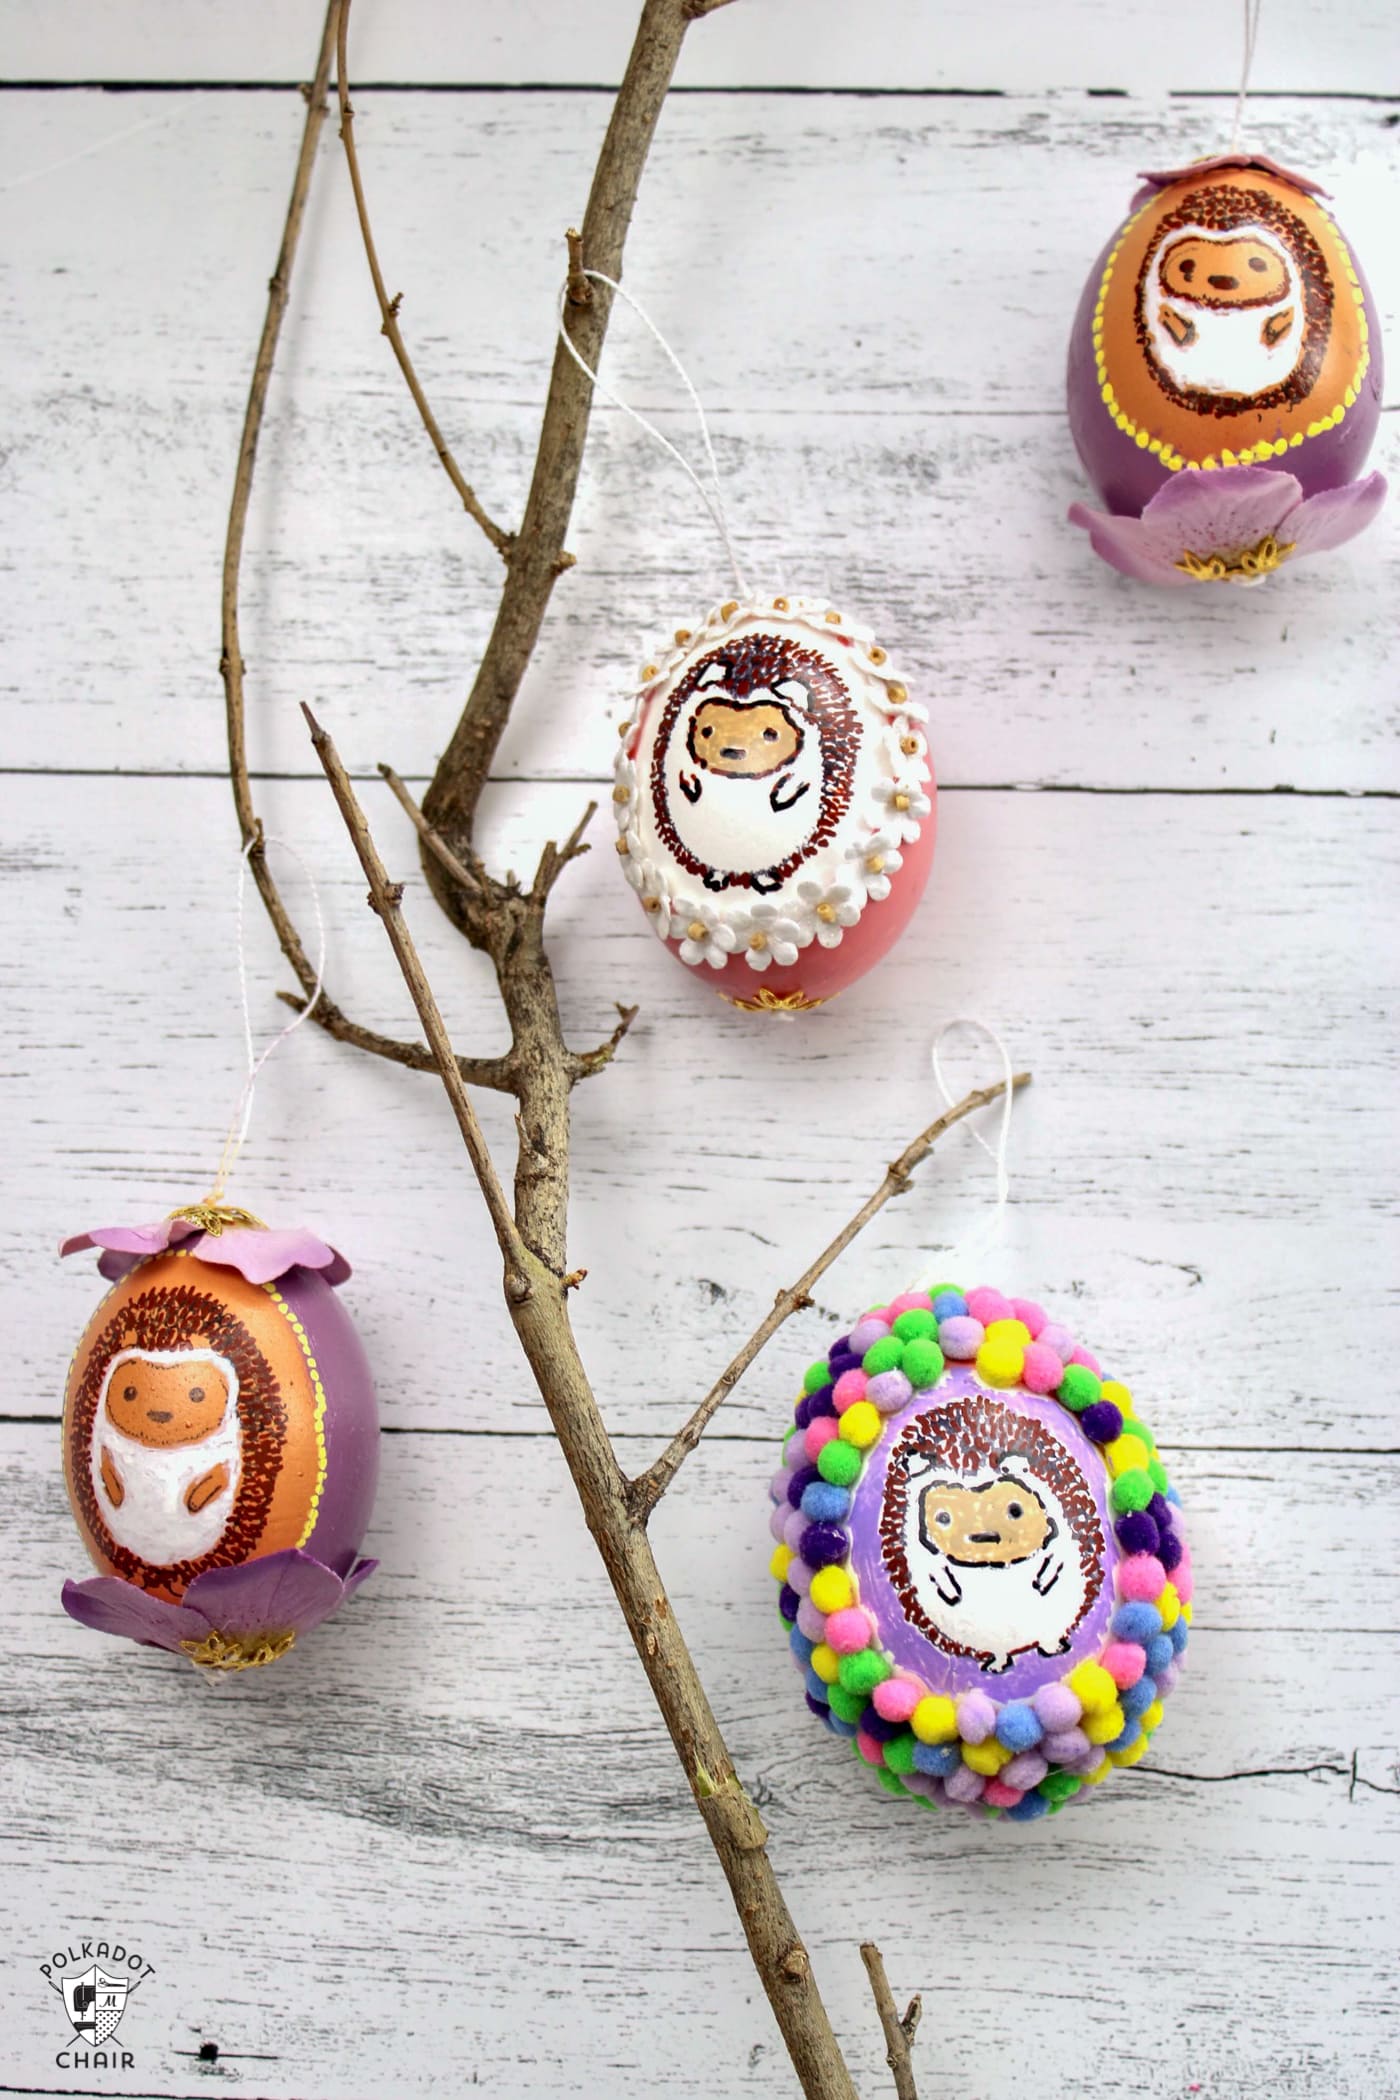
- So adorable! If you don’t want these to hang, you can skip all of the steps where I add the string and simply add the flowers alone or the flowers and gold end caps.
- There are so many options for decorating these little hedgehog eggs. I showed you just one idea, but feel free to get creative with your own ideas. Watch my quick YouTube video, where I show two other variations.
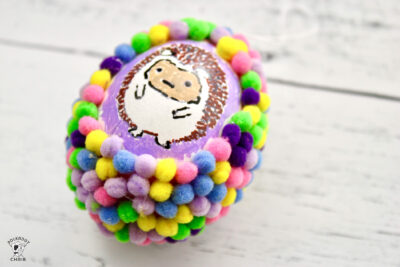
- The first is this freakin’ cute pom pom ornament. I started out thinking I would just add a pom pom border, but at the last minute decided to cover the whole egg in pom poms. And at the very, very last minute, I decided the little guy needed a purple backdrop, so I quickly added that with my paint marker. LOVE this!
- Another option is to glue tiny flowers around the border edge. I love the delicate, sweet aesthetic of this version. Precious!

Video
About the Designer
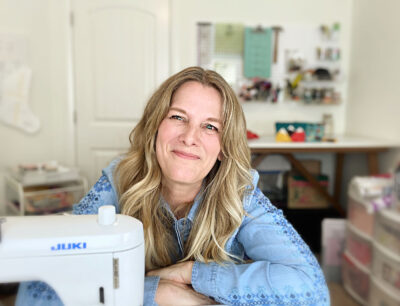
Julia Frazier is the founder of Bayhill Studio. Julia designs quilts and projects geared toward beginner quilters and crafters. You’ll usually find her at her sewing machine or hiking in the nearby mountains. Follow Julia on Instagram @bayhillstudio, and subscribe to her YouTube channel for new and exciting projects and tutorials. Be sure to check out her Bayhill Studio website for a growing list of tutorials and patterns.
Also, By Julia:
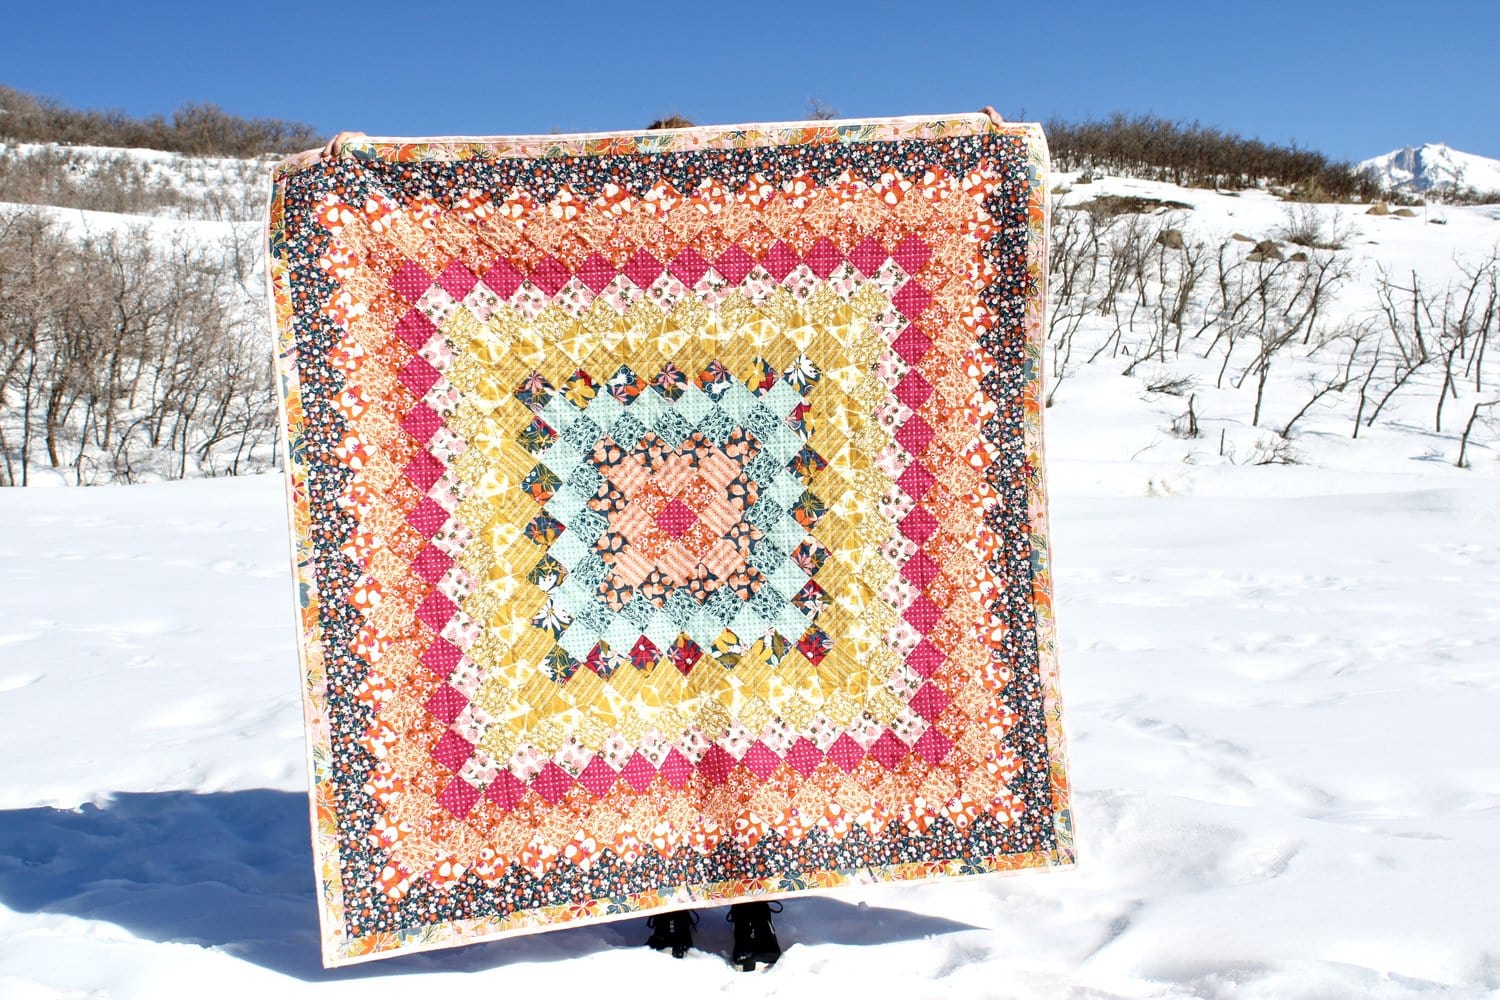
Granny Square Trip Around the World Quilt
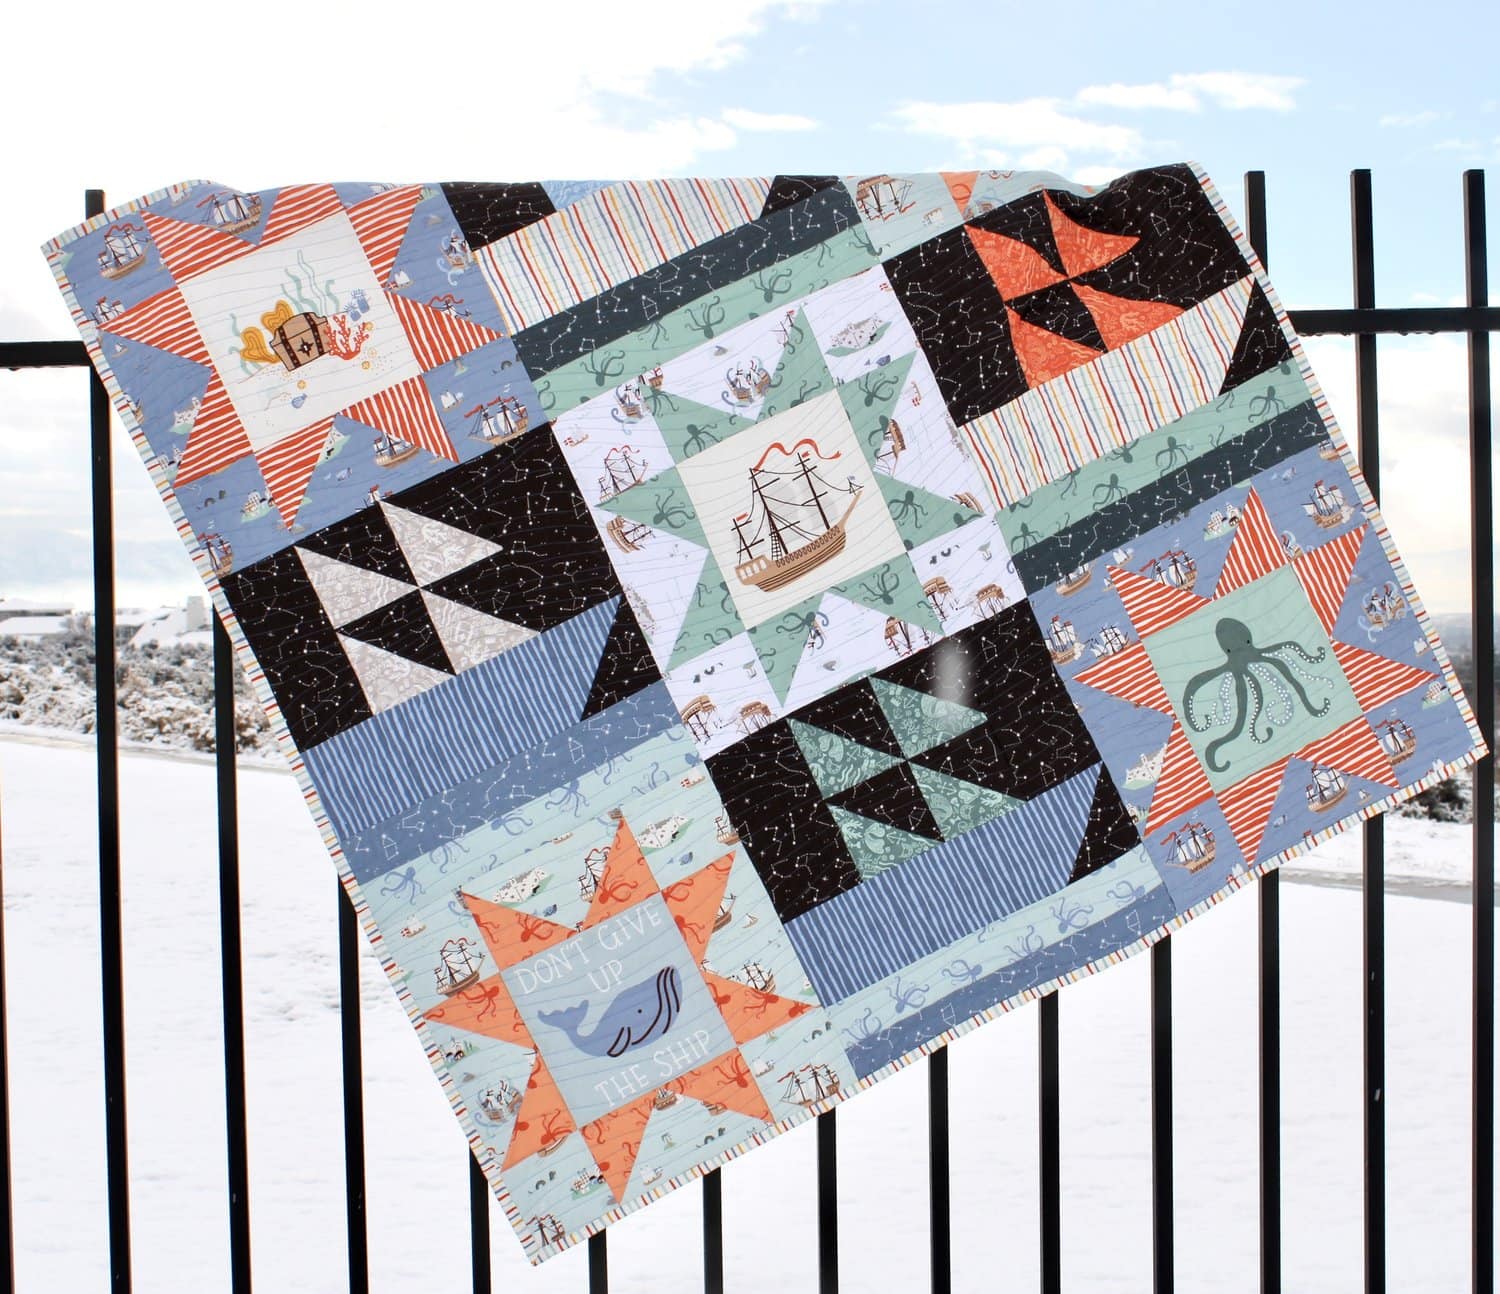
Baby or Toddler Quilt Tutorial