Quick and Easy DIY Cat Costume – {including tutu tutorial!}
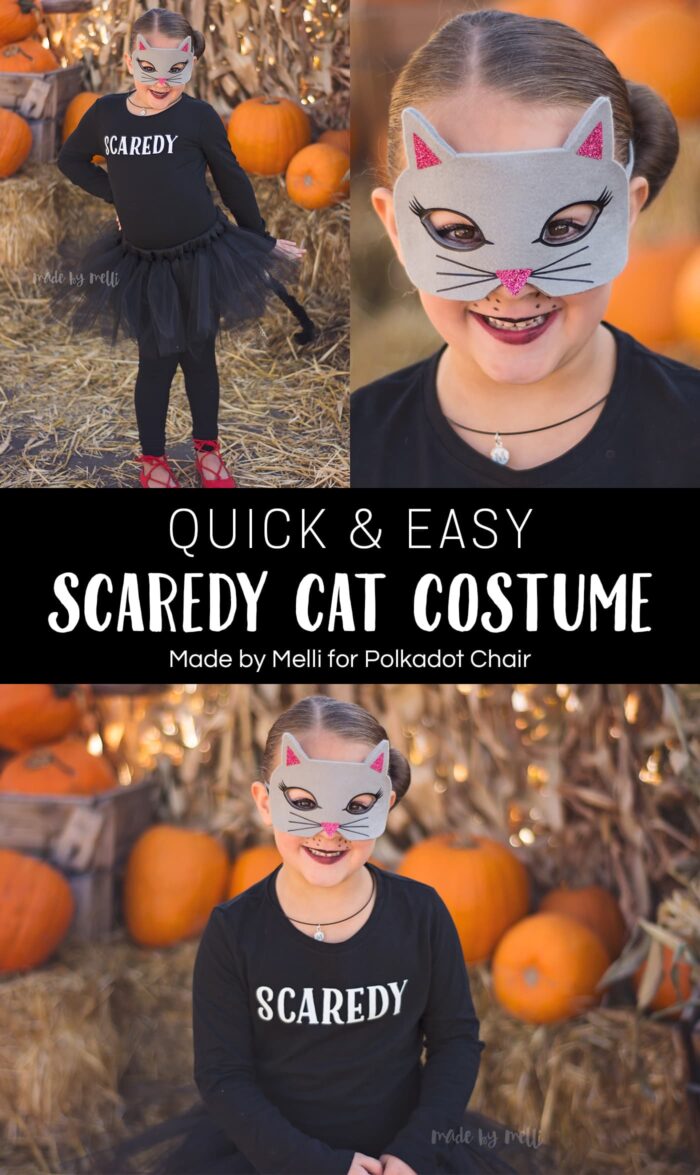
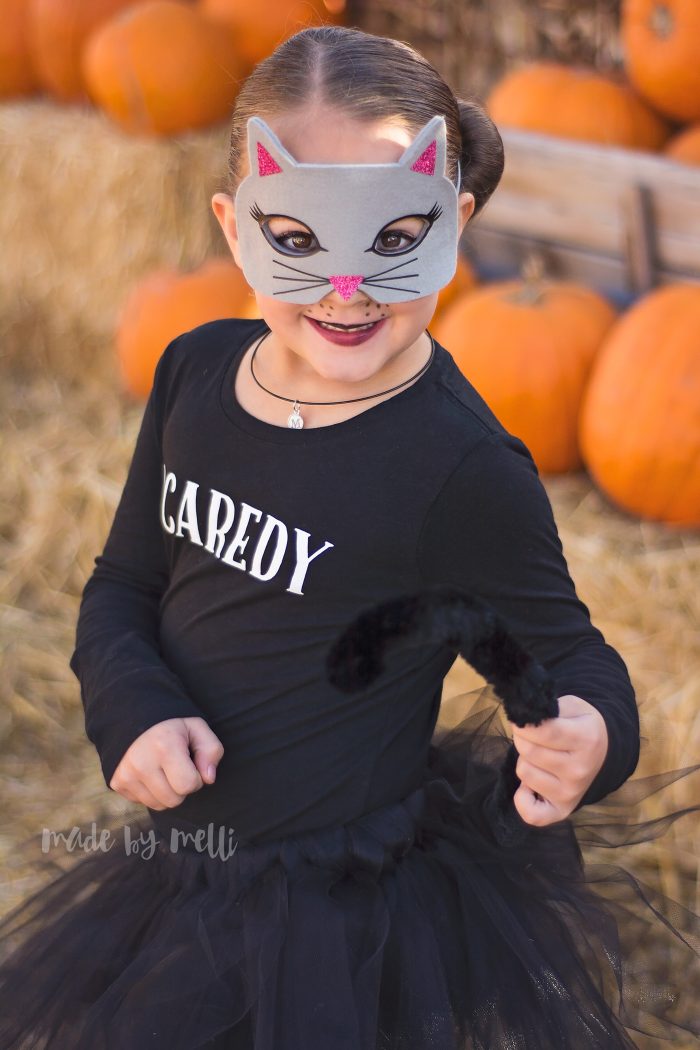
Today I have a fun tutorial for this simple and easy DIY Cat Costume! It would be a fantastic last-minute Halloween costume! This costume is no-sew and features a very simple tutu pattern. If you like this project you may also like this Ariel Costume Tutorial.
Hello! I’m Melissa and I blog over at Made by Melli, where I love sharing DIY sewing & craft projects, tutorials, and reviews. I’m really excited to share this quick & easy (last minute!) Halloween Cat costume tutorial with you.
Easy Cat Costume Tutorial
Holidays tend to sneak up on me, and I’m usually scrambling at the last minute to put costumes together! This adorable little costume came together so quickly and was super easy to make!
To top it off, my daughter loved it so much that she decided she wanted to wear it for Halloween instead of the costume we already bought her from Target! It’s pretty simple to make, and the tutu skirt is totally optional (but adds quite a bit of “cuteness factor”).
Let’s get started with the mask & shirt! Tutu tutorial will follow.
Supplies needed for the Cat Mask & Scaredy Cat shirt
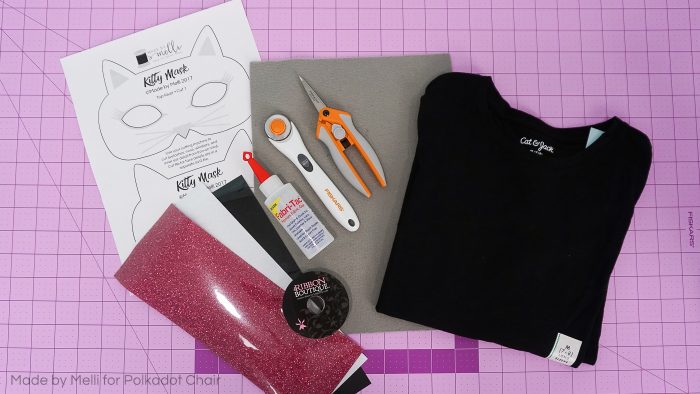
- Download your Printable PDF & SVG cut files below
- Felt – I like to use the premium from JoAnn or the 2mm felt from Hobby Lobby. 1 sheet is enough for both pieces.
- Blank shirt
- Iron-on Vinyl in your choice of colors
- 1 yard of ribbon – I used 5/8″ ribbon from Hobby Lobby
- Fabric Glue – I like Beacon Fabri-Tac
- Sharp scissors and/or rotary cutter
- Cutting Machine – I used my Cricut Maker
- Iron or Heat Press – I used my Cricut Easy Press
- Teflon Sheet or pressing cloth to prevent your felt from melting
- Weeding tool of your choice
How to get the Cricut Files
Fill out this form, and we will email you the SVG files for the mask and t-shirt.
DIY Cat Costume Mask Instructions
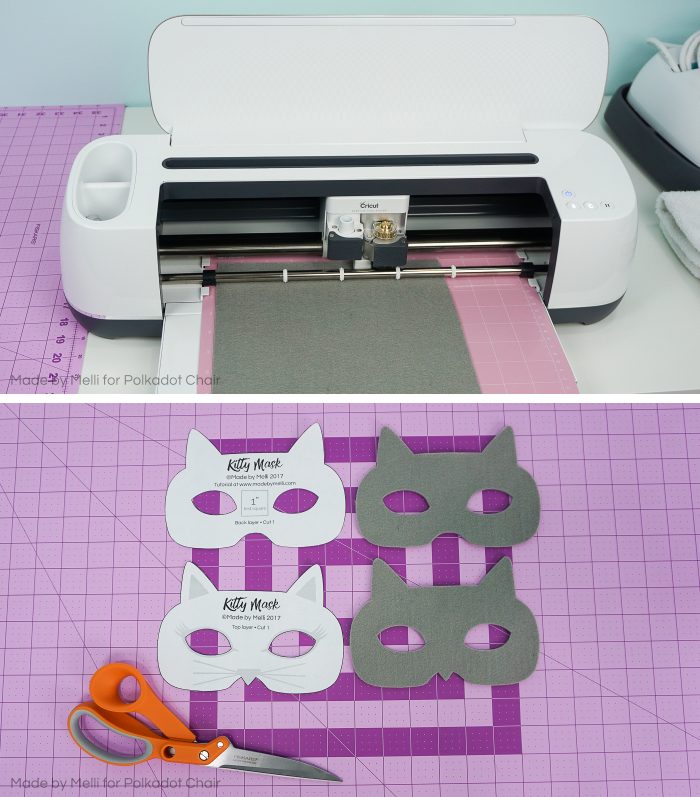
If you are cutting your felt by hand, print out the PDF template (no scaling, measure the 1″ box to check the scale once printed) and cut out your pattern. Trace it onto the backside of your felt and cut it out with scissors.
Cut out the Mask:
If you are cutting your felt with your Cricut Maker, upload the SVG file into Cricut Design Space. Be sure not to resize the mask. For the 2mm Hobby Lobby felt, I had to use the “Extra Heavy Fabrics” setting with the pressure adjusted to “More”. It’s really thick felt!
Add the Vinyl Detail:
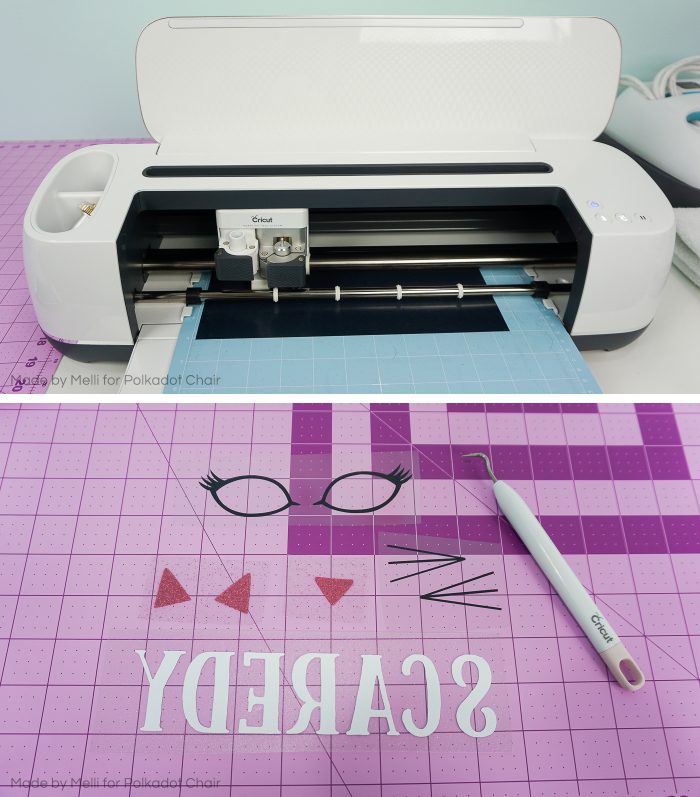
Now, you need to cut your iron-on vinyl for the facial details and the shirt. Upload the SVG cut files into your cutting machine software. Make sure you don’t change the sizing of the facial details, otherwise they won’t fit on your mask properly! The design for the shirt can be resized to fit your shirt!
Make sure you mirror the “Scaredy” design before cutting! Once all of your iron-on vinyl is cut, use your preferred tool to weed the designs (remove excess vinyl).
Cat Mask Assembly:
Now, we will press the iron-on vinyl onto our mask in layers. First, lay your top layer felt (with the pointed nose) right side up.
Take the iron-on vinyl for the eyes and stick them in place. Cover with a Teflon sheet or pressing cloth, and press for HALF of the pressing time. (Pressing time will vary depending on the type of vinyl and type of material you’re pressing to. Check manufacturer instructions for the products you’re using.)
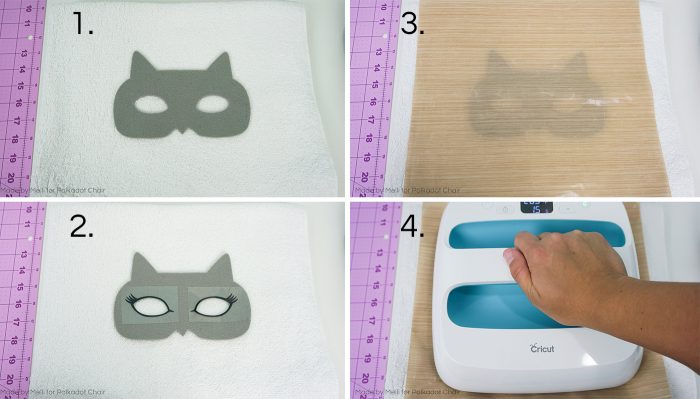
Peel the plastic carrier sheet away while hot. Continue to iron on the facial details, being sure to cover with the Teflon sheet & pressing for HALF the time for each layer.
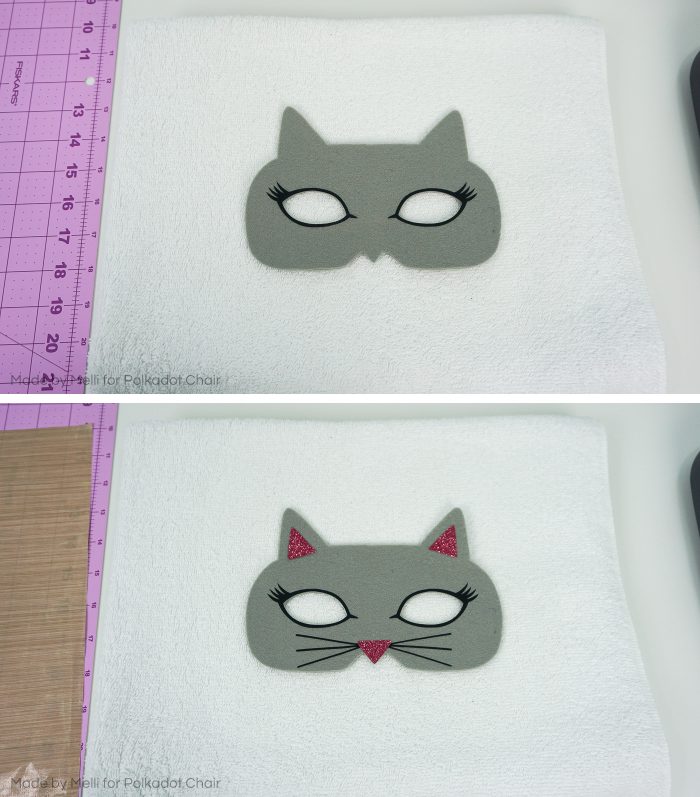
Once all your details are pressed on, cover the mask with the Teflon sheet and press for the full time.
Now we will assemble the mask. Take the bottom layer of felt and cut a slit on each side to thread the ribbon through. Cut your ribbon into 2 pieces, about 18″ each. Thread one end of each piece of ribbon into the slits you just cut.
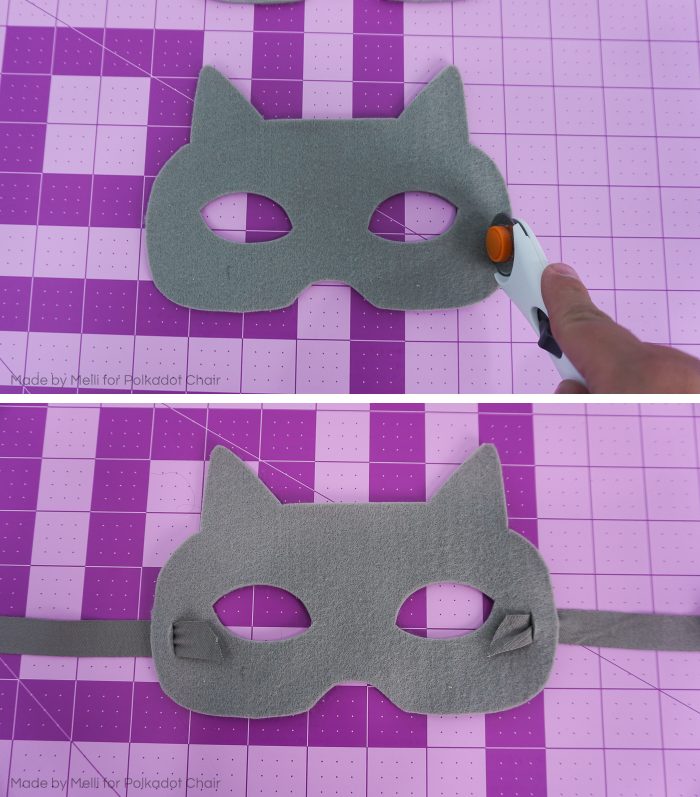
Apply some Fabri-Tac glue under the ends of the ribbon to secure. Then apply fabric glue all over the mask, being sure to get close enough to the edges of the mask and the eye cut-outs.
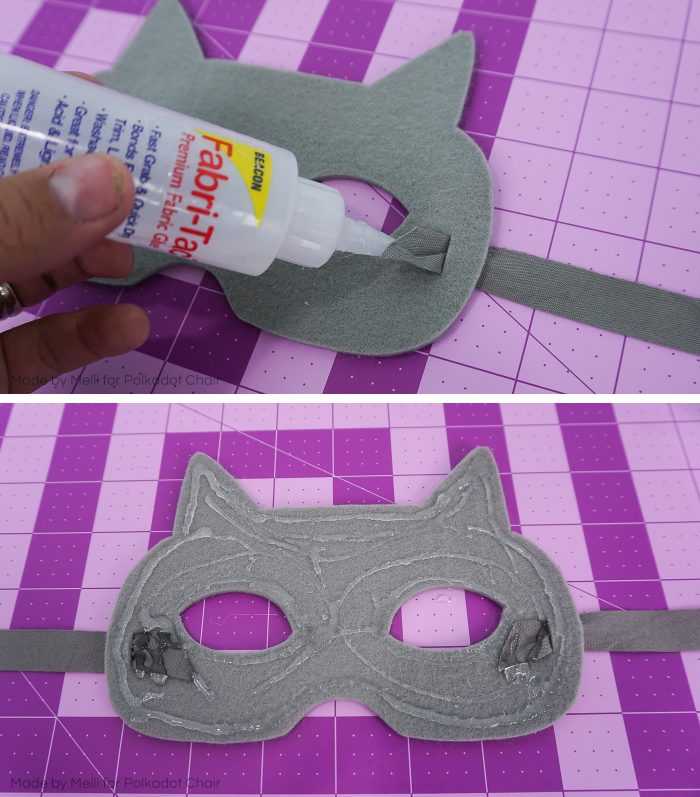
Place the top layer mask on top of the glue, enclosing the ribbon securely inside. Let the glue dry for at least an hour before use.
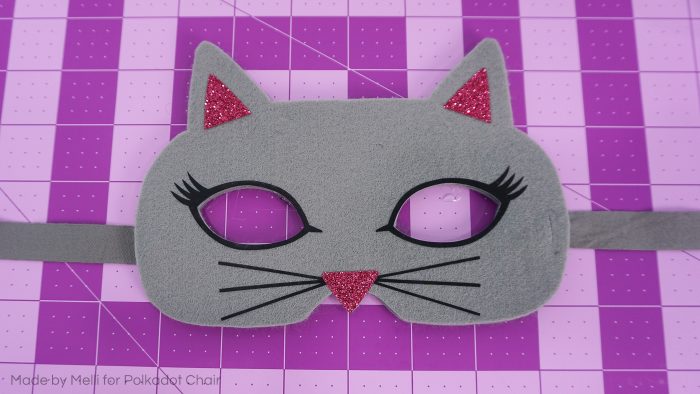
DIY Scardey Cat T-Shirt Instructions
Now we need to press the word “Scaredy” to the shirt. Lay your shirt out and pre-heat the material for 3-4 seconds to take any wrinkles or extra moisture out from the shirt.
Then position your iron-on vinyl on the shirt, and use your iron or Easy Press to adhere it to it. (pressing time & temp vary based on the type of iron-on and the material you’re adhering to. Check manufacturer instructions for the product you’re using).
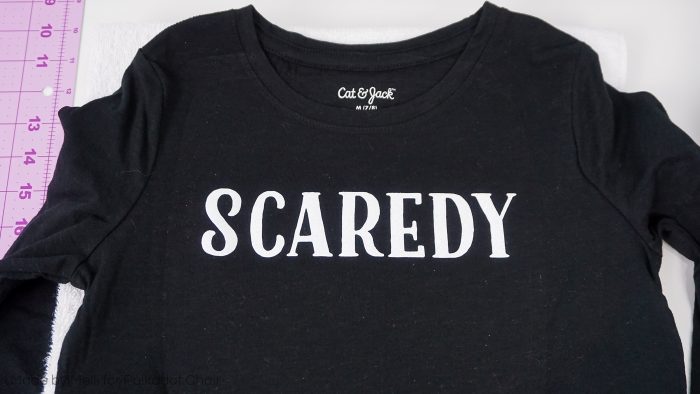
Once I have my design pressed to the shirt, I like to flip it inside-out and press again for the full-time. This helps the design adhere to the shirt really well!
Our shirt and mask are done! This would work as-is for a super quick costume, but if you want to go the extra mile, you can continue below to create a tutu with a tail!
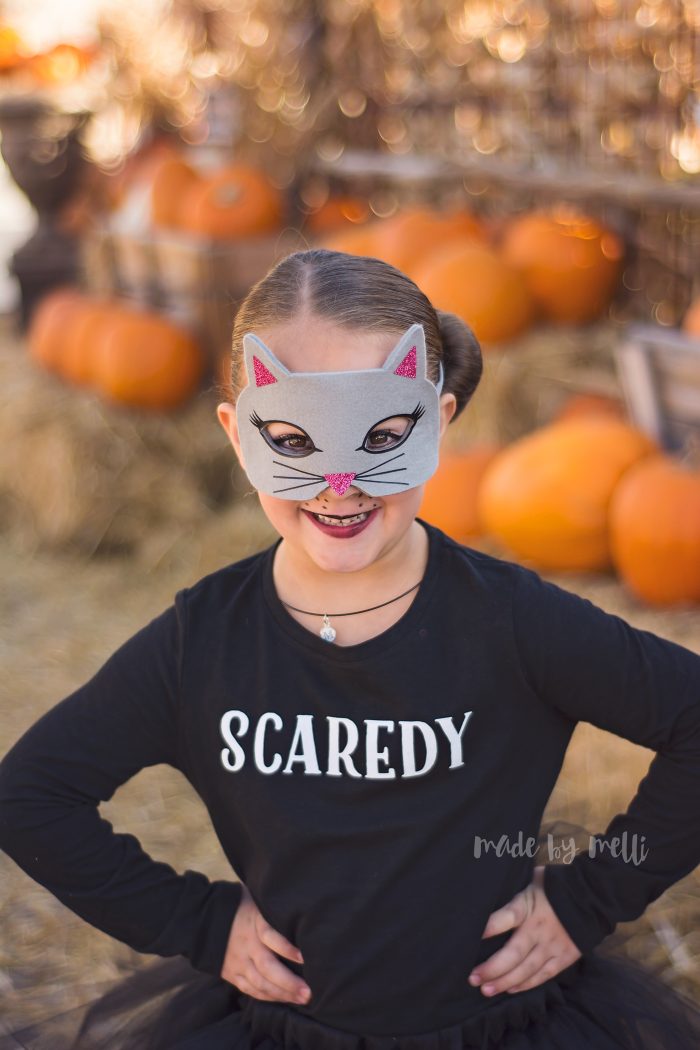
DIY Easy No Sew Tutu Tutorial
Supplies needed for the no-sew tutu:
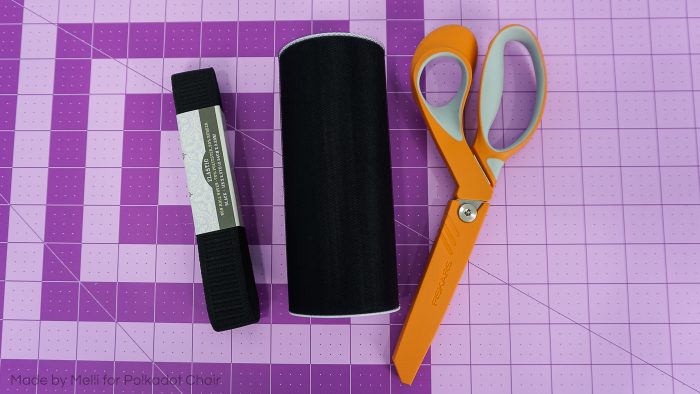
- 3/4″ waistband elastic
- 6″ roll of tulle (I used two 25-yard rolls)
- Scissors
- Wired chenille stem (not pictured, I got mine at Hobby Lobby)
- Safety Pin (not pictured)
- Soft measuring tape to measure your child’s waist
Note: If you’re unable to find a wired chenille stem, you can use a feather boa instead. It just won’t hold its shape like the wired stem.
Cat Costume Tutu Directions:
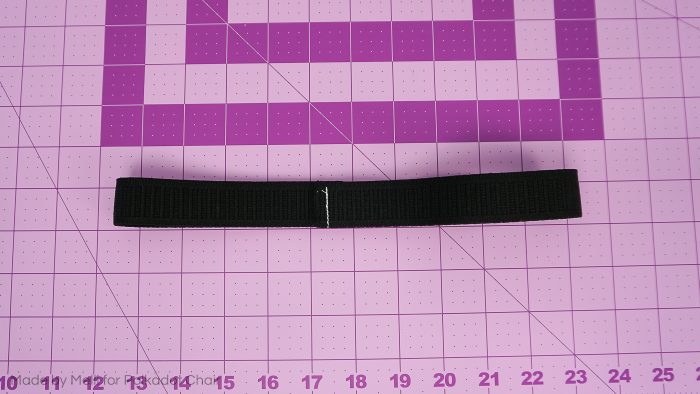
First, measure your child’s waist where they will wear the tutu. Subtract 1″ from that measurement, and cut your elastic to that length. (Example: My daughter’s waist is 24″. Subtract 1″ to get 23″. I cut my elastic to 23″)
Overlap the ends of the elastic by about 1/2″ and sew them together to form a loop. Set aside.
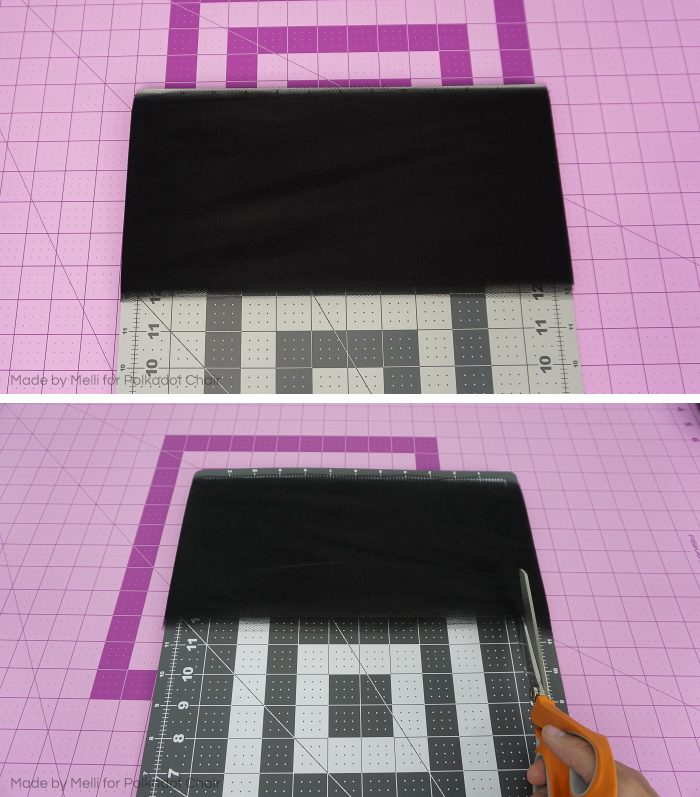
Now we will cut our tulle. I wanted the skirt to be about 12″ long, so I cut my strips to about 24″ long. They will be folded in half to attach to the waistband. Decide how long you want your skirt to be, and cut the tulle into strips that are DOUBLE that length.
I wrapped the entire roll of tulle around a cutting mat that is about 12″ wide. (you could also use a piece of cardboard) Then I made 1 cut through all of the layers and ended up with my 24″ long strips.
Take two strips at a time, fold them in half, and hold them so there’s a little loop just above the elastic.
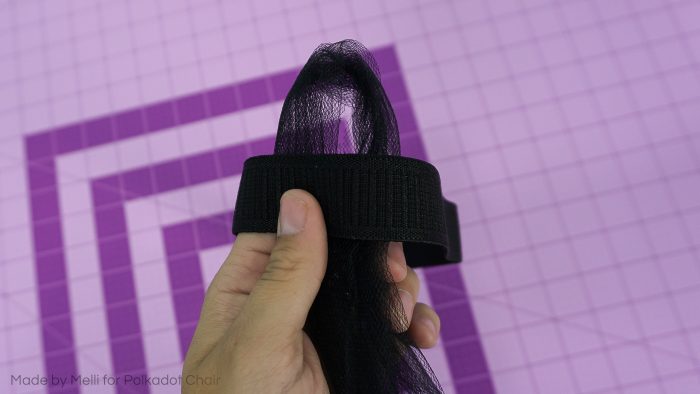
Thread the loose ends of the tulle through the loop and tighten the loop down so the tails of the tulle are sticking straight down.
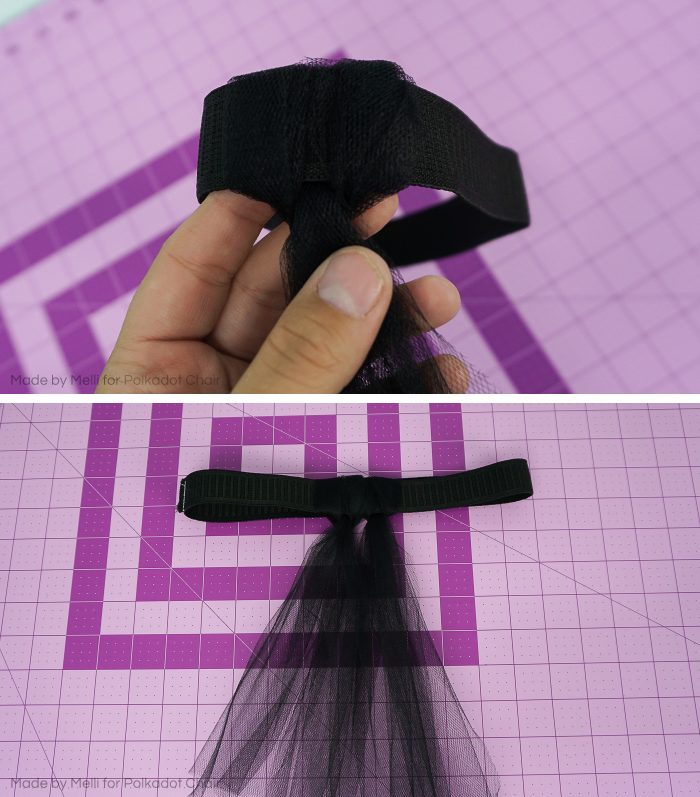
Continue to add your tulle in this manner all the way around your waistband elastic.
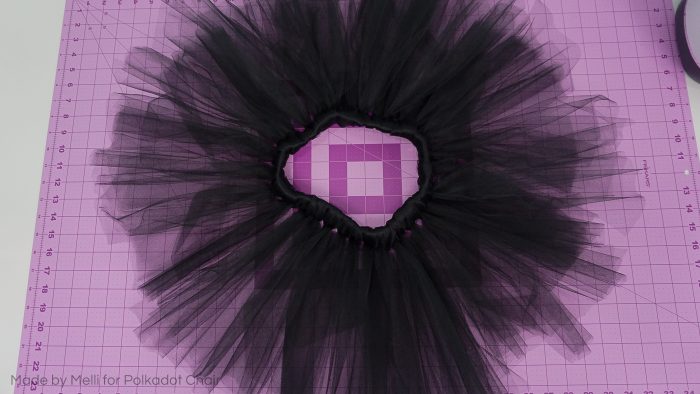
Now, take your wired chenille stem and use wire cutters to trim down to your desired length. Fold the cut edge up once or twice to keep the chenille from falling off. Use a safety pin to attach your tail to the waistband elastic.
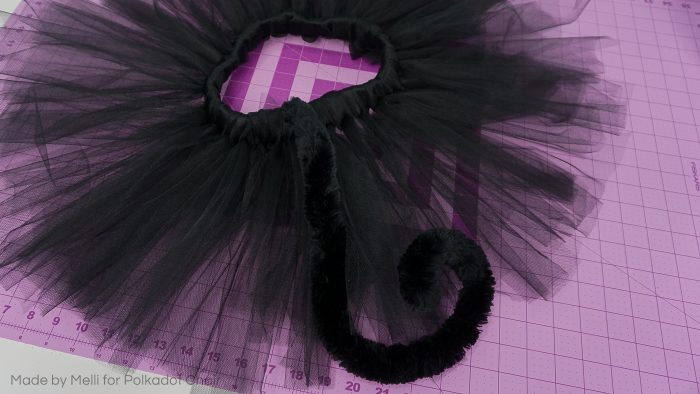
All finished! The skirt will not offer full coverage, so I had my daughter throw on some black fleece-lined leggings (we’ll have a chilly Halloween here in Utah!) to offer some coverage and warmth!
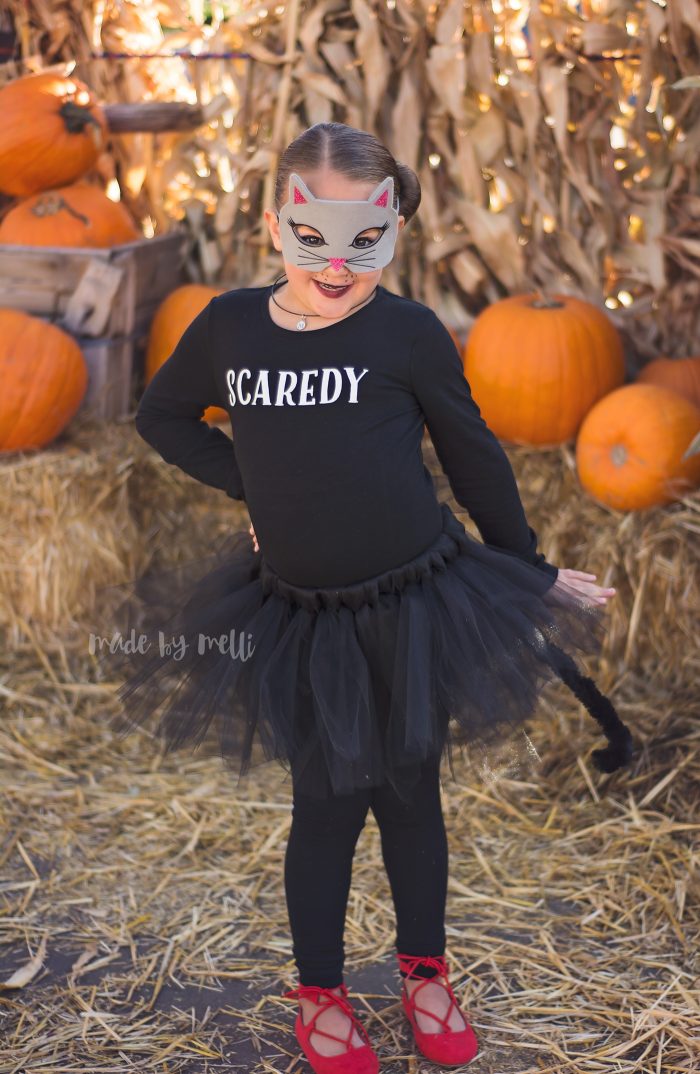
How’s that for a super cute, fast, last-minute “Scaredy Cat” Halloween costume!? Add in a little kitty-inspired makeup and you’re set! My daughter was so excited and I hope you love it as much as she does!
About the Maker:

Hi! I’m Melissa of Made by Melli. By day, I’m a stay-at-home wife & mom to 3. Once the kids are in bed, I let my creativity out – usually in the form of sewing & crafting. Sewing has helped me through my journey of finding and staying true to myself in the midst of (never-ending) mom, wife, and household duties, and helps keep me sane. Being able to create something gives me a sense of joy and satisfaction, and I hope to share that with you!
More Simple Kids Costume Tutorials:
Alice in Wonderland White Rabbit Costume
25+ Easy DIY Halloween Costumes
More Fun Costume Ideas for Girls that you can DIY!
How to Make a Tutu Skirt – Sew What Alicia
No-Sew Fairy Costume – Sugar Bee Crafts
Unicorn Hoodie – Unoriginal Mom
Scrappy Unicorn – Twin Dragonfly Designs
Homemade Witch Costume – Sew Simple Home
Shopkins Shoppie – Made by a Princess Parties
Captain Marvel – Tried and True
No Sew Minnie Mouse – Girl Loves Glam
Princess Leia – Fleece Fun
Rock Star – Over the Big Moon
Bee Witch – The Celebration Shoppe
No Sew Skeleton – Creatively Beth
DIY Octopus – Giggles Galore
Greek Goddess – Make it Love it
Cupcake Baker – Design Dazzle
Lego Friends – Simple Practical Beautiful


