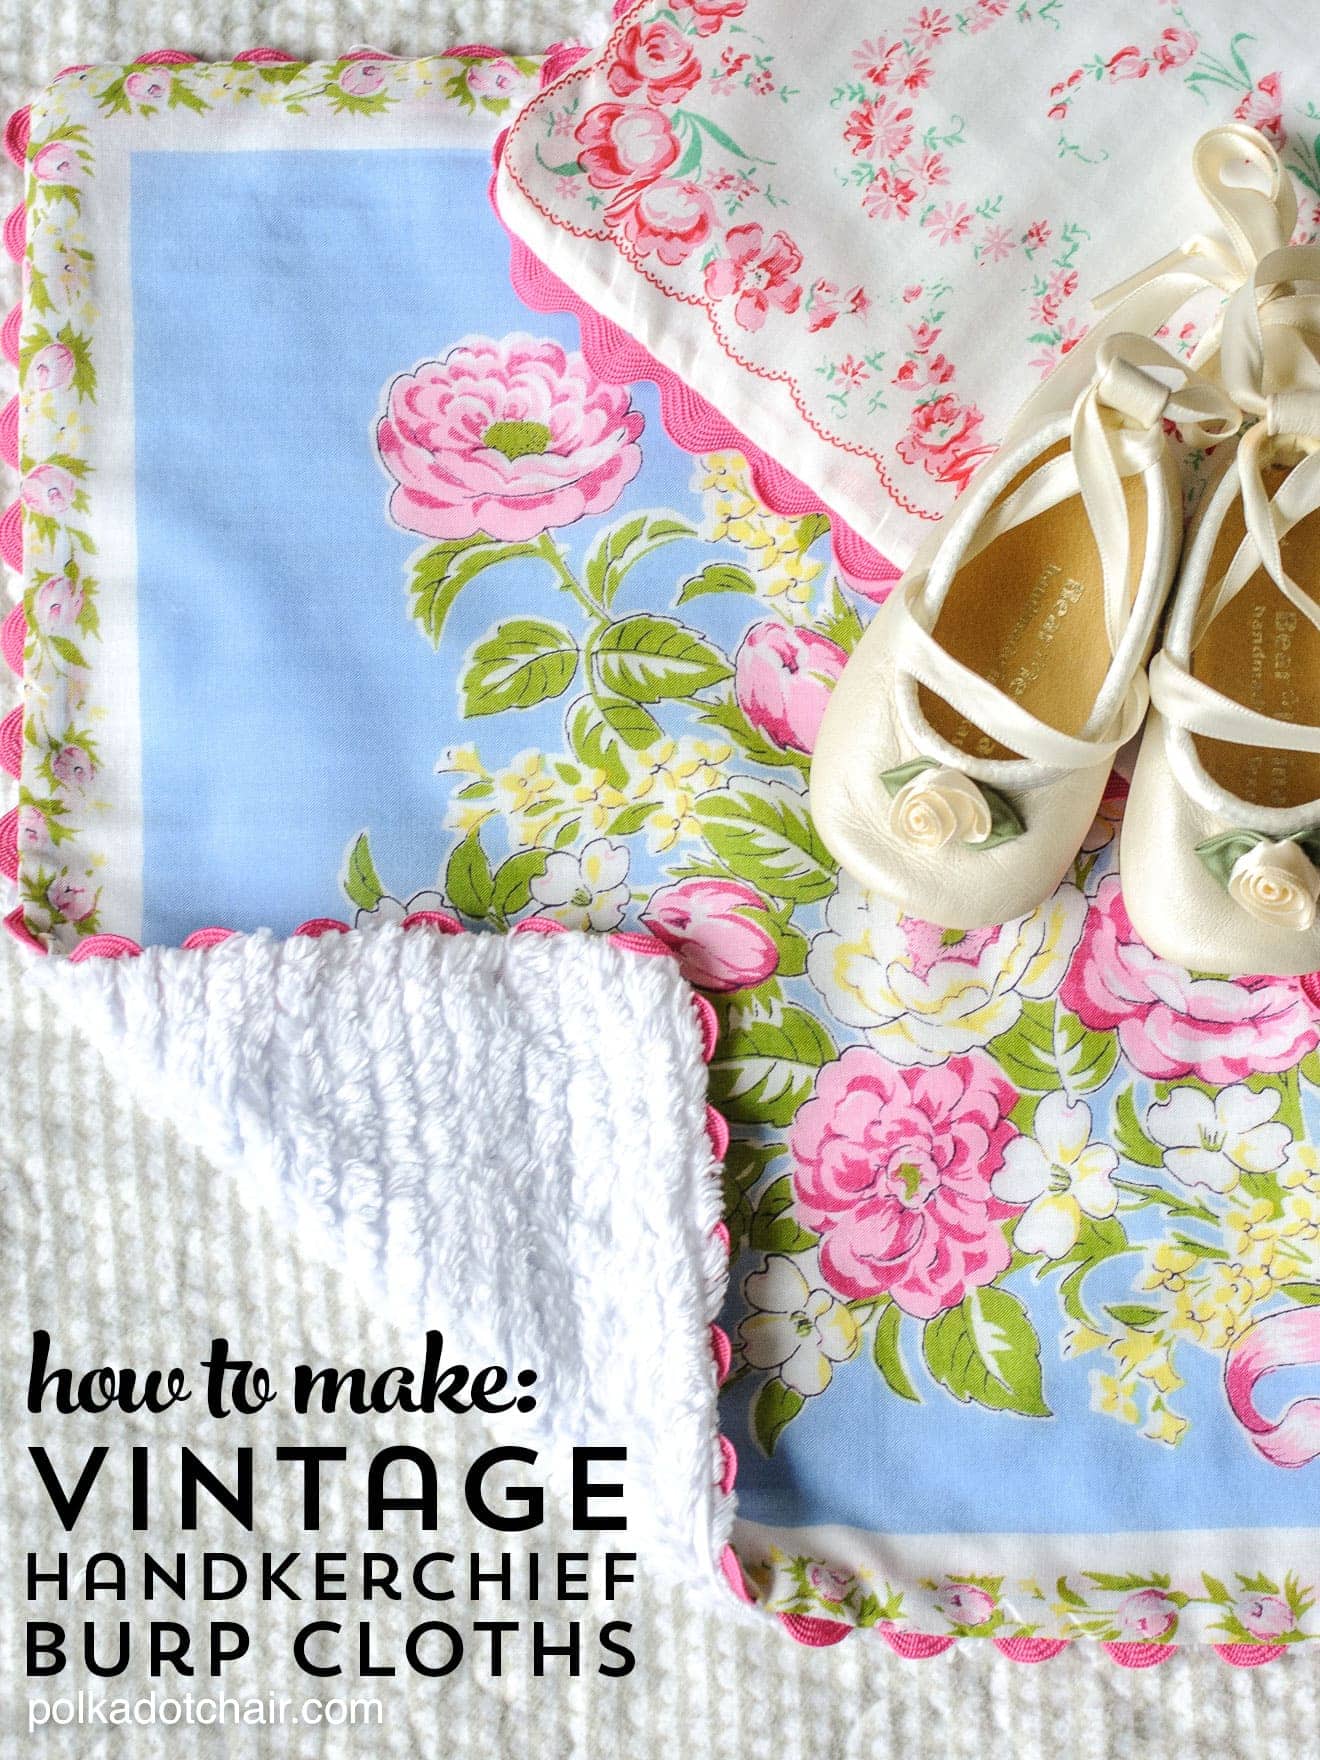
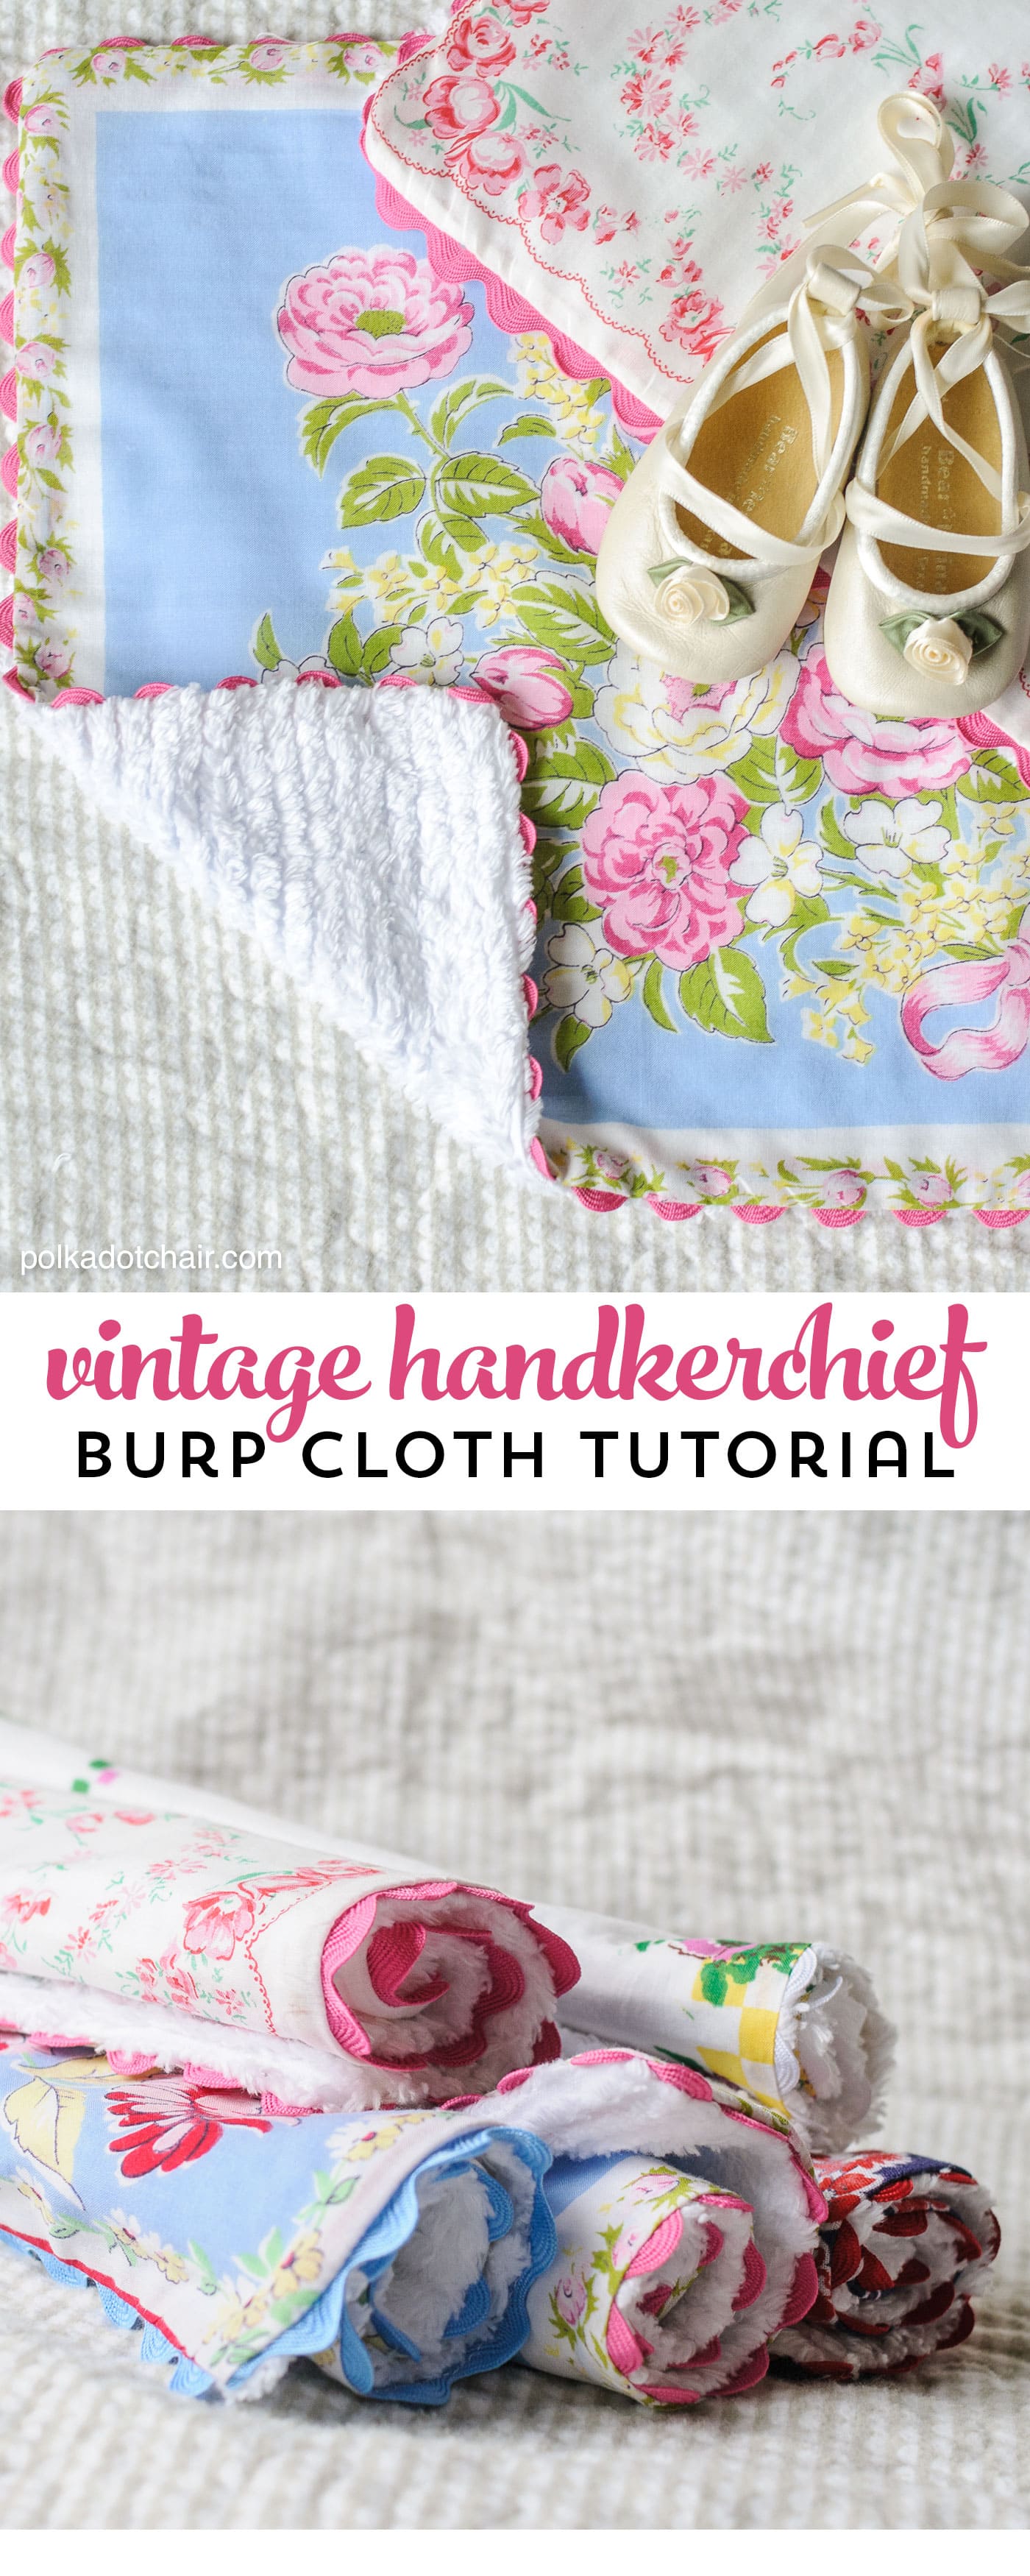
How to Make Baby Burp Cloths from Vintage Handkerchiefs
This sewing tutorial showing you how to make baby burp cloths from vintage handkerchiefs first appeared on this blog a few years ago, long before many of you were readers. I’m reposting it today because it’s one of my favorites and I hope that you enjoy it too! If you like this project you may also like this Vintage Handkerchief Baby Quilt tutorial.
Oh, how I love vintage hankies!!! I like to throw them into projects when I get the chance… One day while I was thinking about what else I could make with a vintage hankie… it dawned on me… “a burp cloth”… I mean, they are designed for cleaning up messy faces, right???
When I first posted this project, I got a few “how dare you” emails because I was cutting up and repurposing vintage handkerchiefs… Let’s say I’m afraid I have to disagree with those emails.
These hankies were in a box in my closet, sitting there doing nothing. They were not hand-me-downs from a relative and had NO sentimental value to me. In my opinion, these burp cloths for a sweet new baby are a much better use of the hankies than sitting in a box in my closet.
About the Baby Burp Cloths
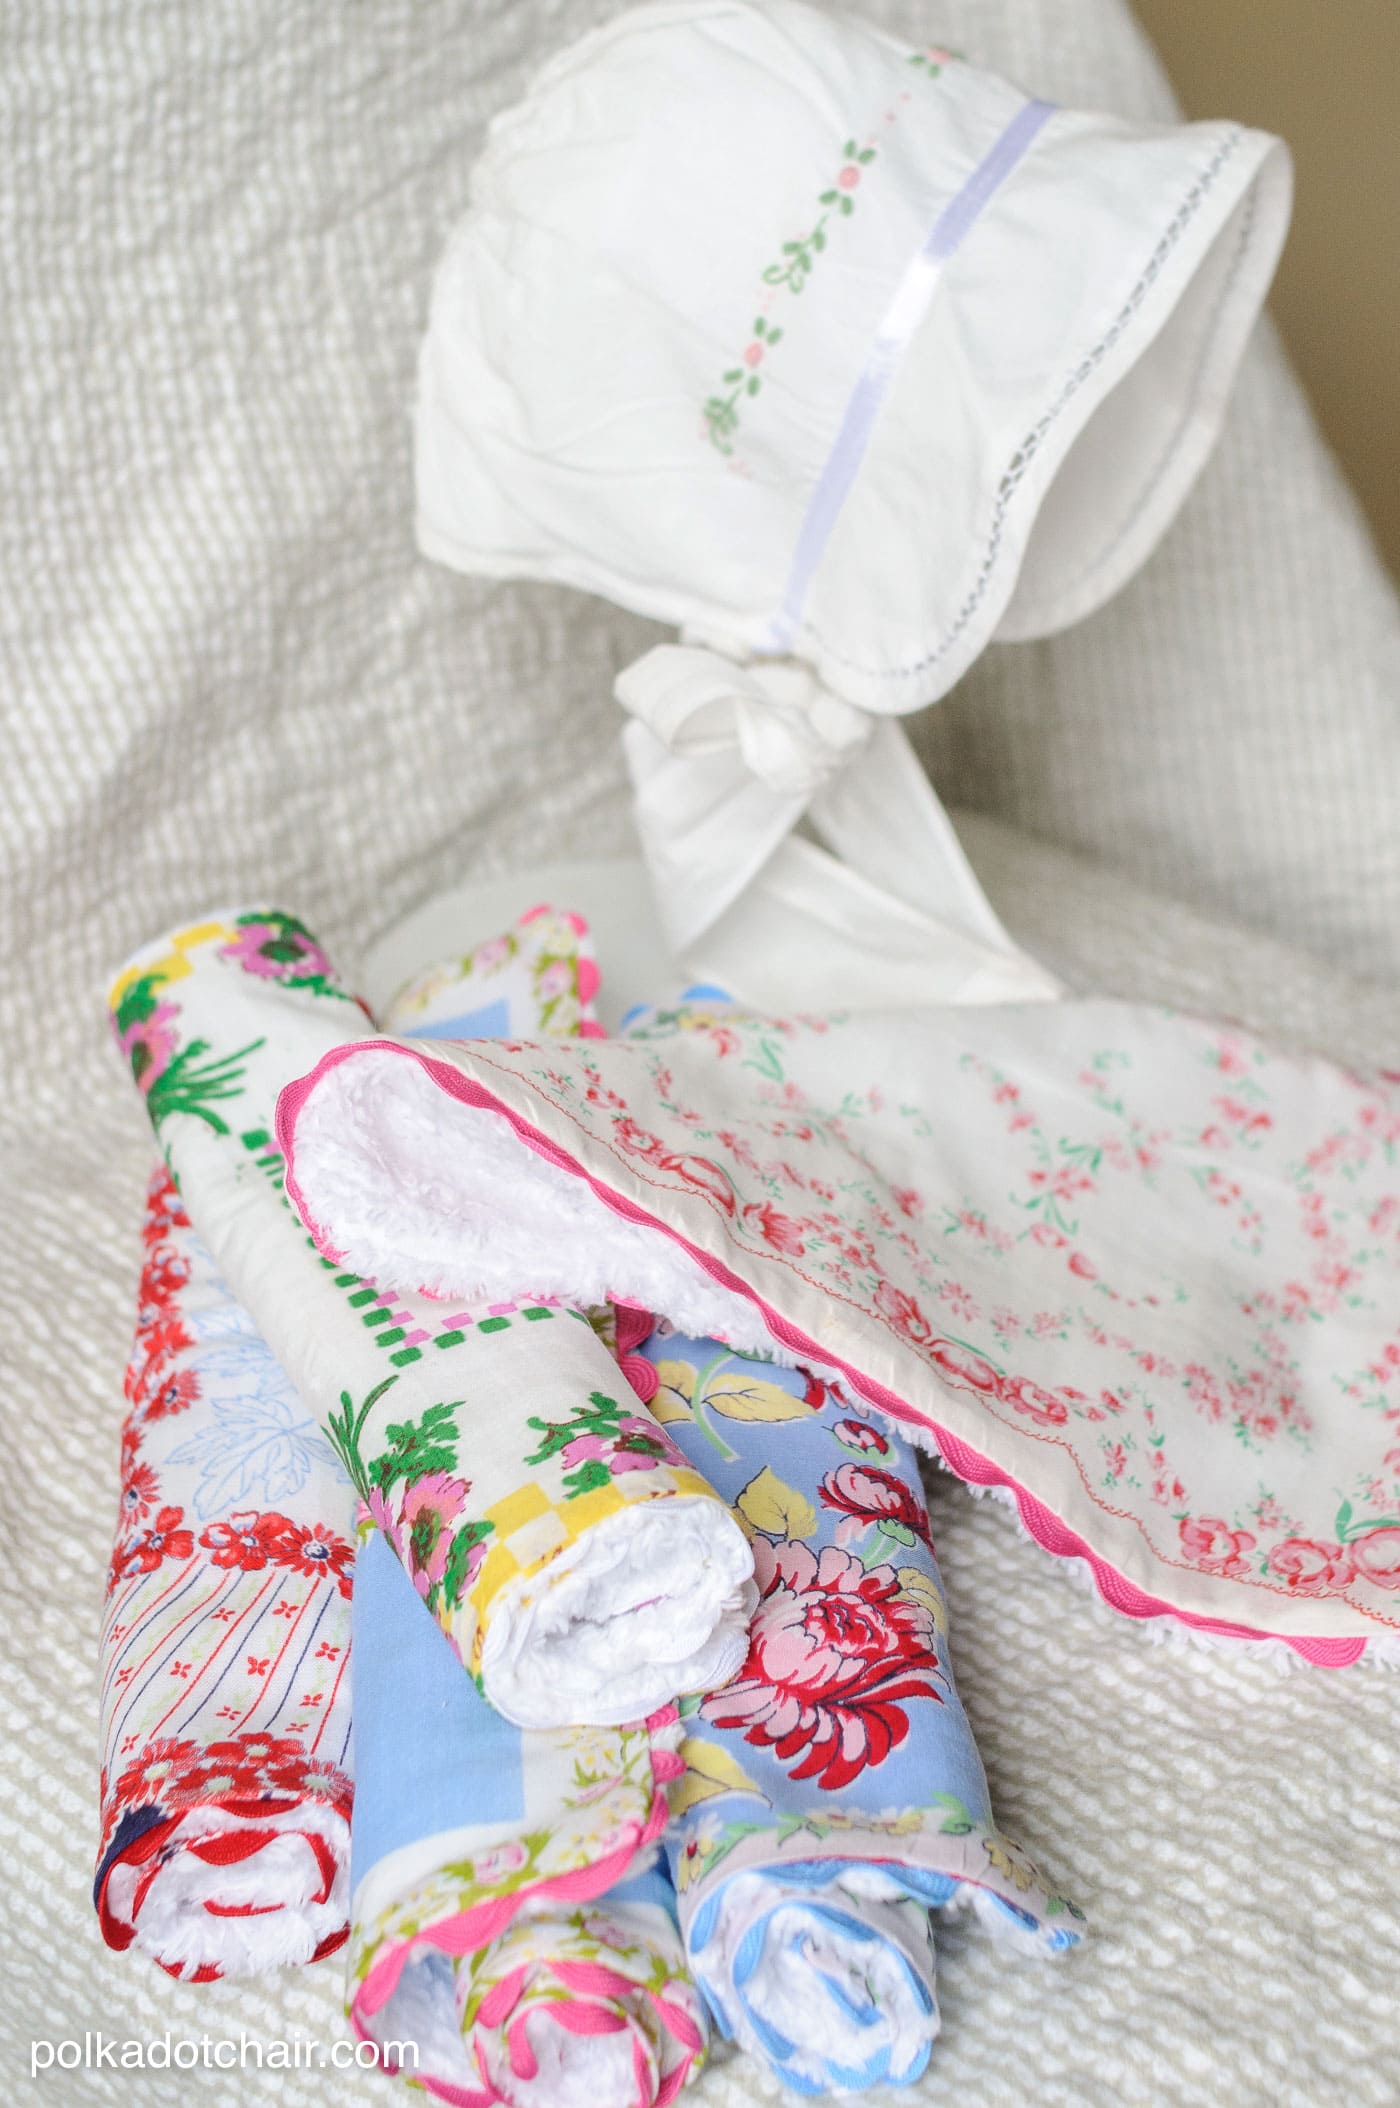
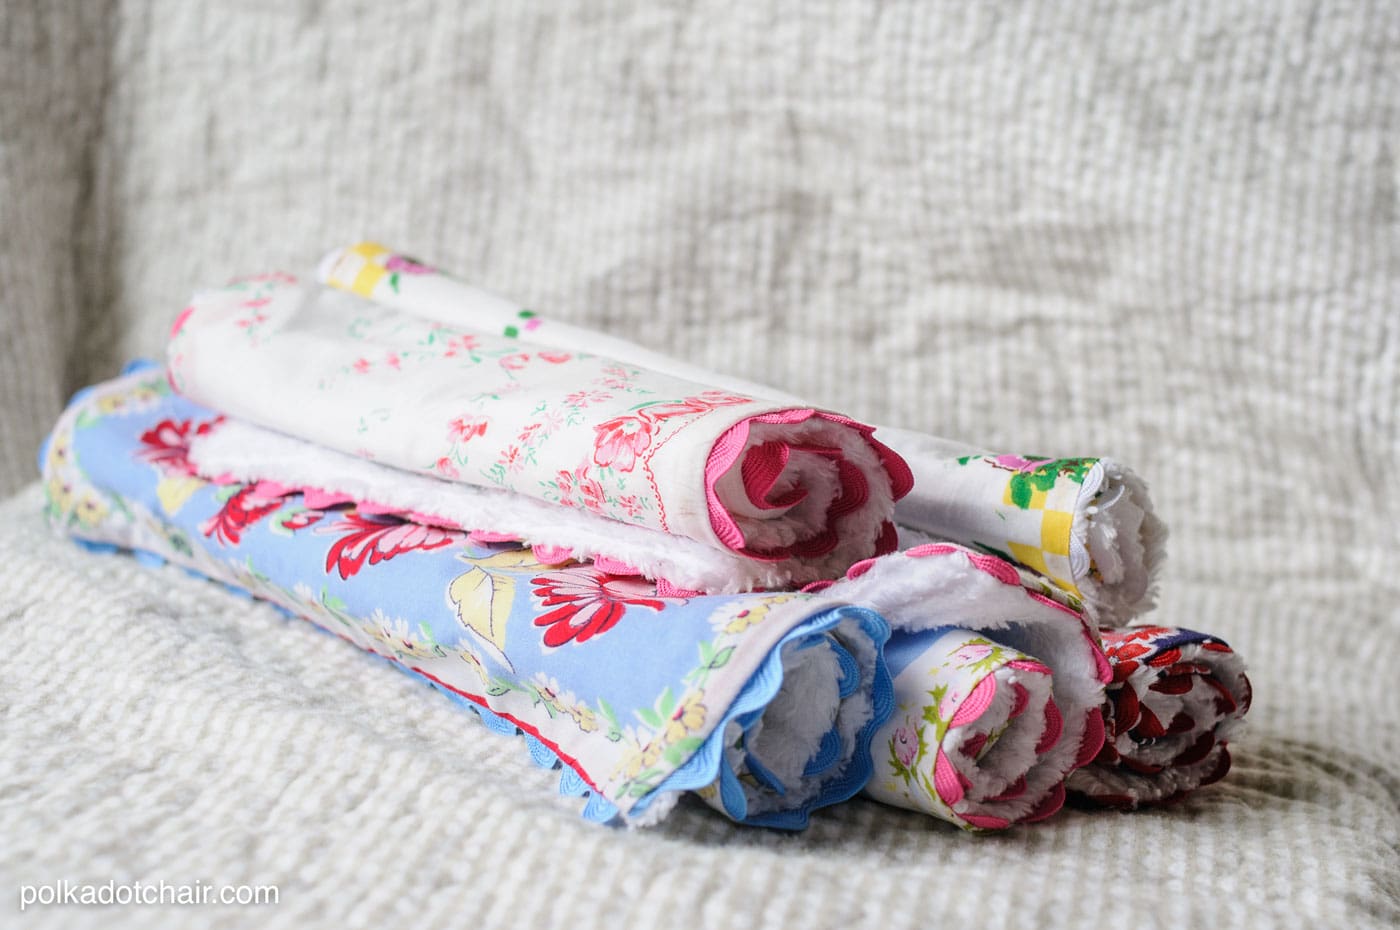
To make the burp cloths a bit more absorbent I backed them with chenille. It only takes small squares of chenille so it was a great use of some scraps I had.

Here’s what you need to make them!! They are SOOO easy, this is a good project for a beginning sewer.
Supplies
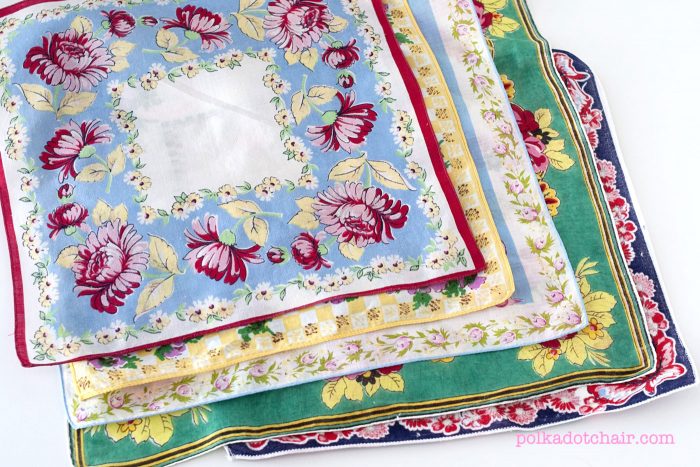
- Vintage Handkerchiefs- to find some in your area, try antique stores, junk stores and thrift shops. Many stains can be removed after a good soaking, but many can’t- judge accordingly.
- Chenille – you’ll need to prewash it
- Ric Rac
Preparation
Okay, I’m lazy and normally don’t pre wash ANYTHING… This project is an exception… besides the obvious germ issue with a used hankie, you need to pre wash and dry (in the dryer) the chenille. TRUST ME. If you don’t you’ll have a hot mess on your hands.
Sewing Instructions
After you’ve pre-washed your hankies and chenille, you need to cut your chenille to the size of the hankie you are working with.
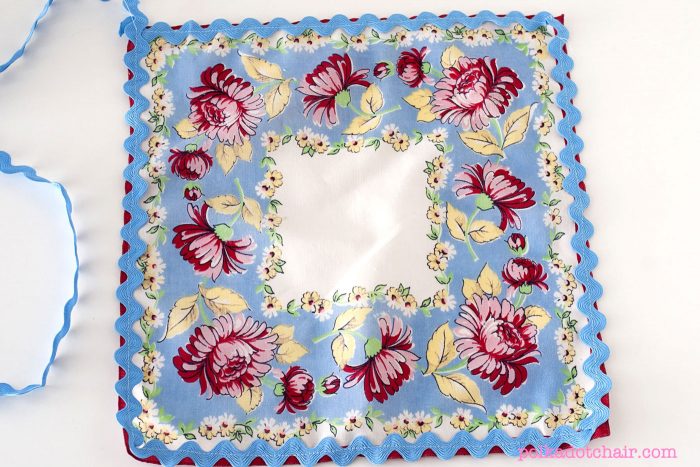
Next, stitch your ric rac to the edge of the right side of the hankie. Pin as you go. Stitch right down the middle of the ric rac.
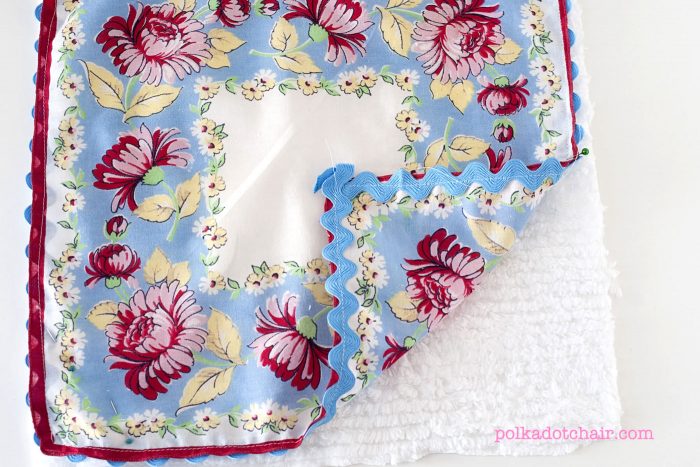
Lay your hankie on top of your cut piece of chenille, right sides together. Stitch together along the stitching line you just made to attach the ric rac. Leave a 2″ opening on one side to turn the hankie right side out.
Clip corners and turn right side out.

Press well and pin opening closed. Hand stitch or use seam tape to close the opening.
This is such a fabulous idea!! I have very sentimental hankies sitting in a cedar chest that my children will not want. But, little precious burp cloths tucked away for my great grandchildren, everyone will want!! Thank you for this tutorial!
I have a bag of hankies that belonged to my great Aunt Alma. When I was young and visiting, which was often, she would get out the box of hankies and I would go through them with zeal as if I had never seen them before. I have thought about these hankies for many years, and when her daughter-in-law, my aunt, passed away I was delighted to receive them. They have been in my closet for years because I didn’t know what I wanted to do with them – I didn’t want to “cut them up”, but thought I wanted to make a quilt. I finally found a pattern that I would not need to cut them for. A week ago I became a great grandmother to twin girls – now I know what I will do with these hankies. I was probably six or seven years old when I spent time with my great aunt, I am now 77 years old – I think this idea for burp cloths is an excellent way to use these hankies and I know that my daughter will, the babies’ grandmother, will appreciate the sentimental value of them. Thank you for this pattern.
Just came across your tutorial. It is clear and concise, especially the past about applying rick rack. While a font have vintage hankies, I snagged 7×10 FABRIC teddy bear cut outs,BUT not enough for a quilt. This idea is great for the pieces. Once could also use flannel or thin toweling for the other sod if on hand. Thanks again.
What a lovely idea! I am 80 years old and have a few left from my mother. I’m thinking of making bibs for myself. After an extensive cervical fusion, my neck is rather stiff and I often drop food when I’m eating. One of these beautiful bibs would be wonderful to use when eating out. No more stained clothing. Thank you for the idea.
I glad that you talked about where you got you handkerchiefs. If we own them, we can enjoy them in any form.
My grandma had a large drawer full of them.She would be proud to see me make burp clothe with them.
Love it. I love you blog.
Pamela
Is this cotton chenille? I’ve only been able to find polyester. Where can you find cotton chenille?
I honestly don’t know. I bought it at JoAnn if that helps any.
Love these!!! Could you use old chenille blankets for the back ?? I have a white one ( I’m making a baby quilt with now ) I will have scrape pieces left over !!! just wondering!!! Thank you
So beautiful and feminine. I’ll have to keep this in mind for the next baby girl that comes into my life. Thank you for reposting.
I absolutely adore these!!! Thank you so much for re-posting. Now I am inspired to go spelunking further in your old blog posts.
What a cute idea! And i have a bunch of vintage hankies and chenille so I’d better get busy. ✂
I love your idea! What a sweet way to repurpose the hankies.
I love this so much!!! I would love to make a whole quilt this way. Guess I’m haunting some antique shops this weekend! Awesome idea, they are wonderful!!