• Skip to primary navigation
  • Skip to main content
  • Skip to primary sidebar

The Polka Dot Chair logo

  • SEWING
    • Free Sewing Patterns
    • Bag Patterns
    • Costumes
    • Apparel
    • Learn to Sew
    • Beginner Friendly
    • Embroidery Projects
    • Tips & Techniques
    • All Sewing
  • QUILTING
    • Quilt Blocks
    • Learn to Quilt
    • Free Patterns
    • Quilt Patterns
    • All Quilting
  • CRAFTS
    • Disney
    • Cricut
    • Printables
    • All Crafts
  • HOLIDAYS
    • Seasonal Projects
    • Valentine’s Day
    • Easter
    • 4th of July
    • Halloween
    • Thanksgiving
    • Christmas
    • All Holidays
  • TUTORIALS
  • ABOUT
    • About Me
    • My Fabric Collections
    • Published Books
    • Press
    • FAQ’s
    • Contact
  • SUBSCRIBE
  • SHOP
menu icon
go to homepage
  • SHOP
  • TUTORIALS
  • SEWING
  • QUILTING
  • SUBSCRIBE
  • CRAFTS
  • HOLIDAY PROJECTS
  • ABOUT
    • Published Books
    • My Fabric Collections
  • CONTACT
    • Facebook
    • Instagram
    • Pinterest
    • YouTube
  • subscribe
    search icon
    Homepage link
    • SHOP
    • TUTORIALS
    • SEWING
    • QUILTING
    • SUBSCRIBE
    • CRAFTS
    • HOLIDAY PROJECTS
    • ABOUT
      • Published Books
      • My Fabric Collections
    • CONTACT
    • Facebook
    • Instagram
    • Pinterest
    • YouTube
  • ×

    Home » Sewing

    How to Make Baby Burp Cloths from Vintage Handkerchiefs

    Updated: Mar 16, 2021 by Melissa Mortenson · This post may contain affiliate links · This blog generates income via ads · 13 Comments

    This sewing tutorial showing you how to make baby burp cloths from vintage handkerchiefs first appeared on this blog a few years ago, long before many of you were readers. I’m reposting it today because it’s one of my favorites and I hope that you enjoy it too! If you like this project you may also like this Vintage Handkerchief Baby Quilt tutorial.  
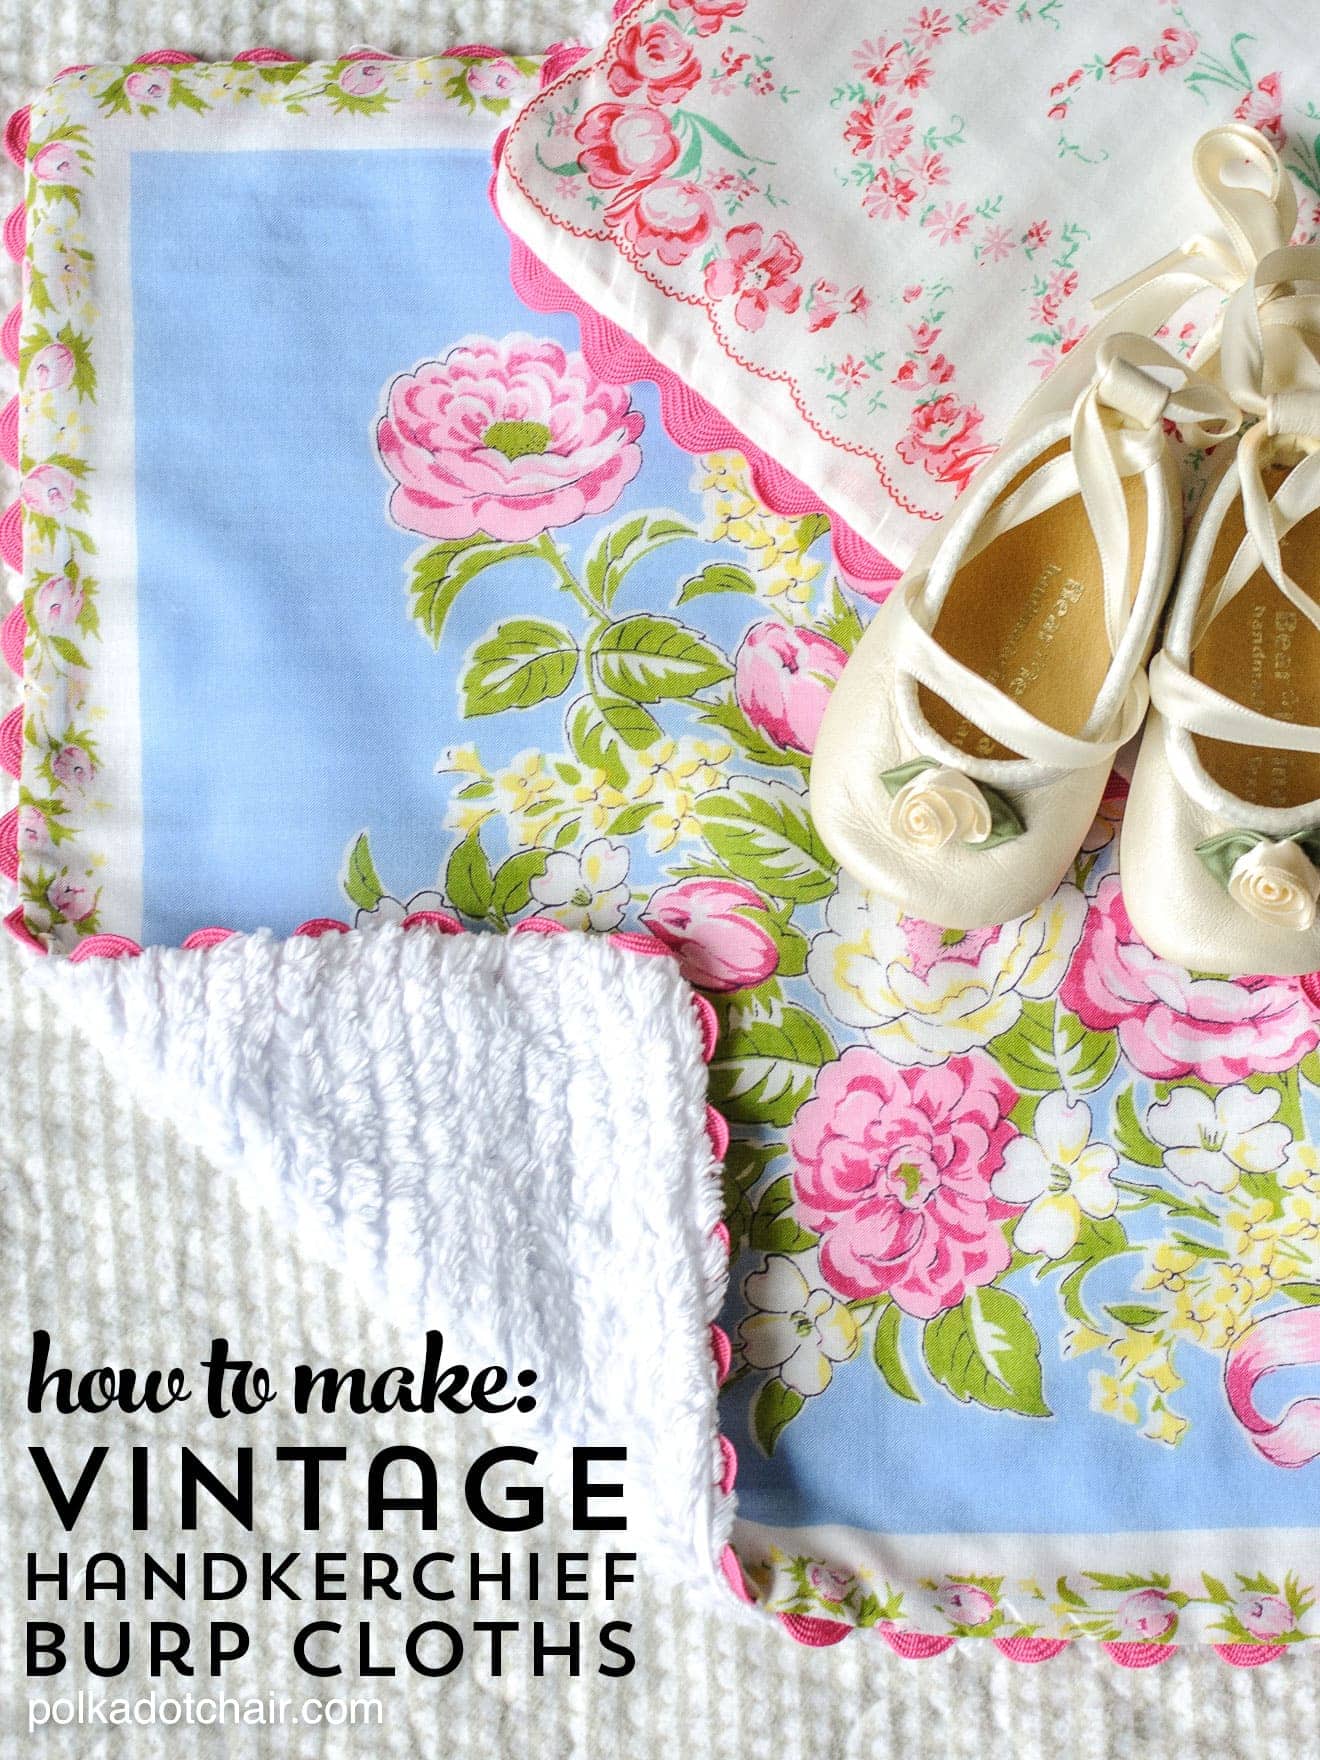
    Sewing tutorial showing how to make baby burp cloths from vintage hankies

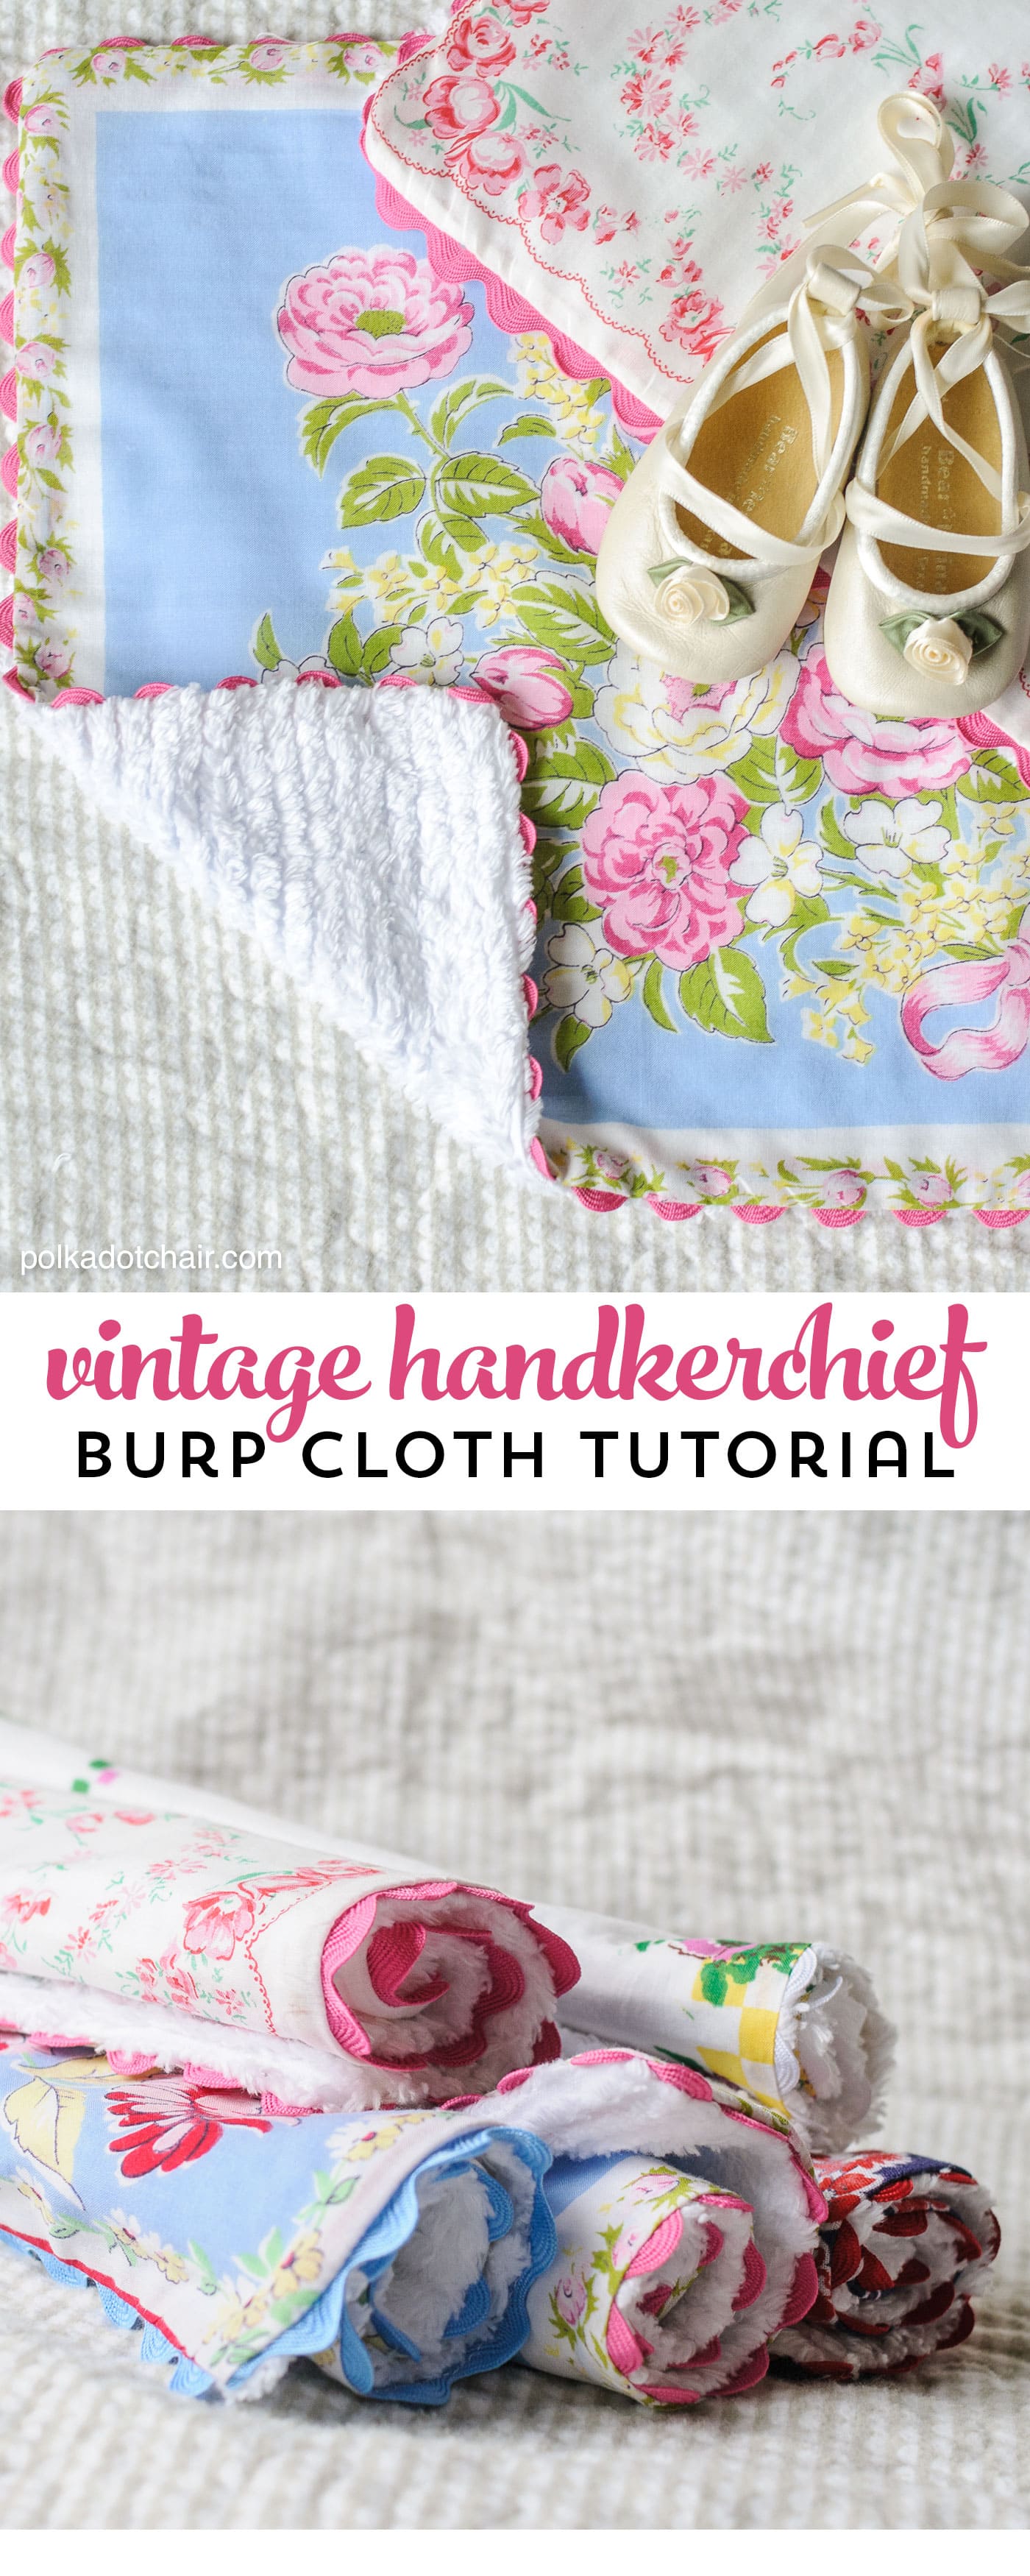
    Oh, how I love vintage hankies!!! I like to throw them into projects when I get the chance… One day while I was thinking about what else I could make with a vintage hankie… it dawned on me… “a burp cloth”… I mean, they are designed for cleaning up messy faces, right???
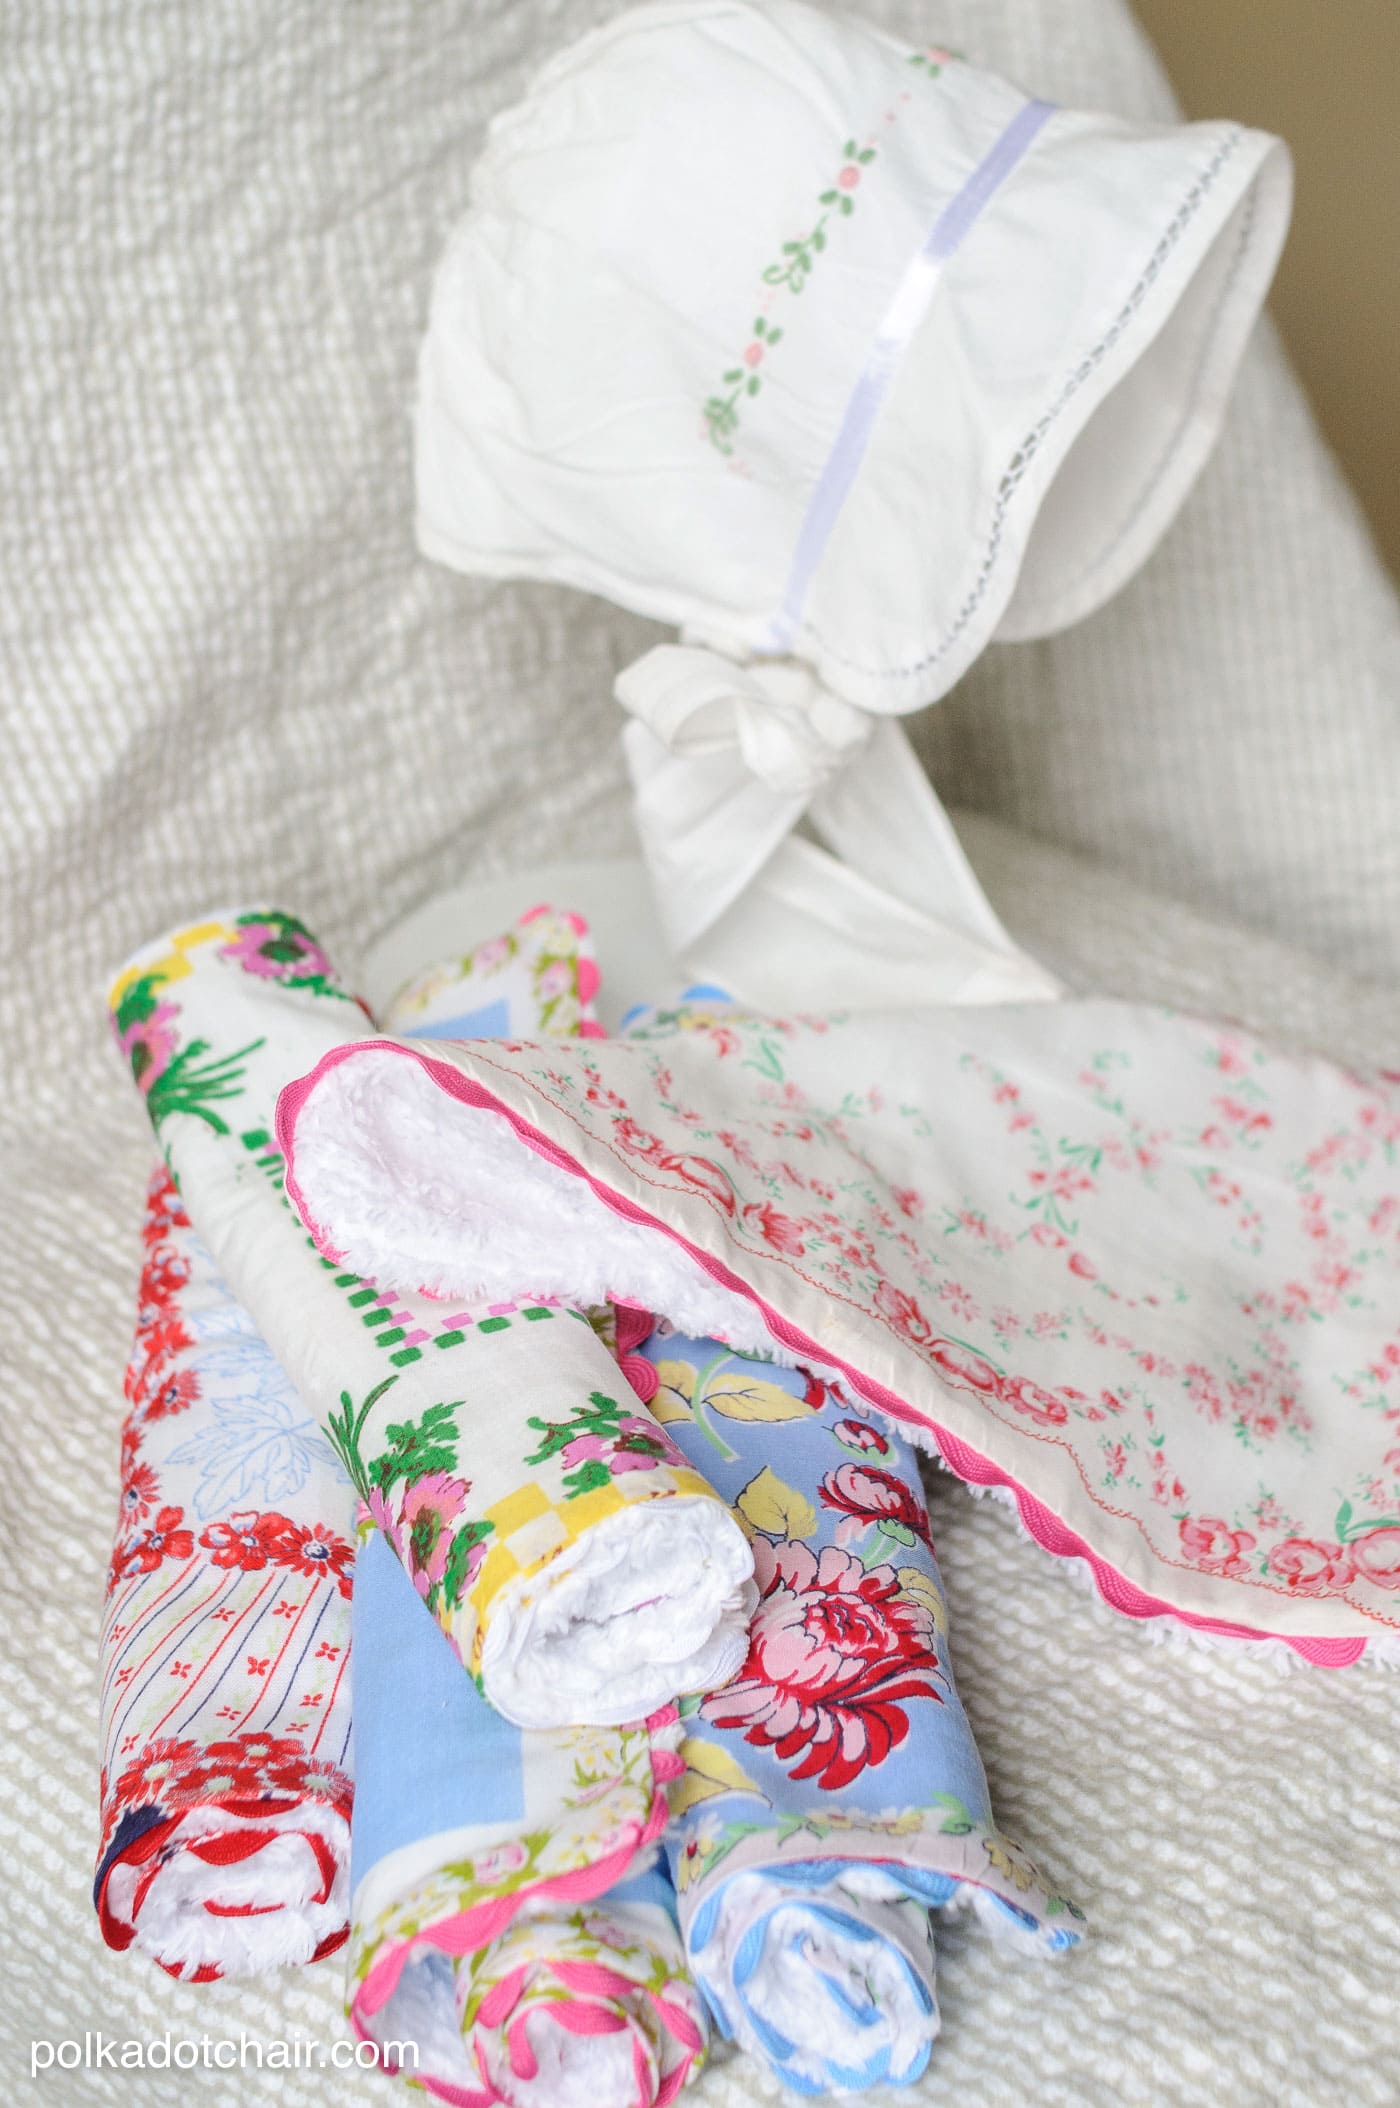
    Sewing tutorial showing how to make baby burp cloths from vintage hankies

    When I first posted this project, I got a few “how dare you” emails because I was cutting up and repurposing vintage handkerchiefs… Let’s say I’m afraid I have to disagree with those emails.

    These hankies were in a box in my closet, sitting there doing nothing. They were not hand-me-downs from a relative and had NO sentimental value to me.  In my opinion, these burp cloths for a sweet new baby are a much better use of the hankies than sitting in a box in my closet.
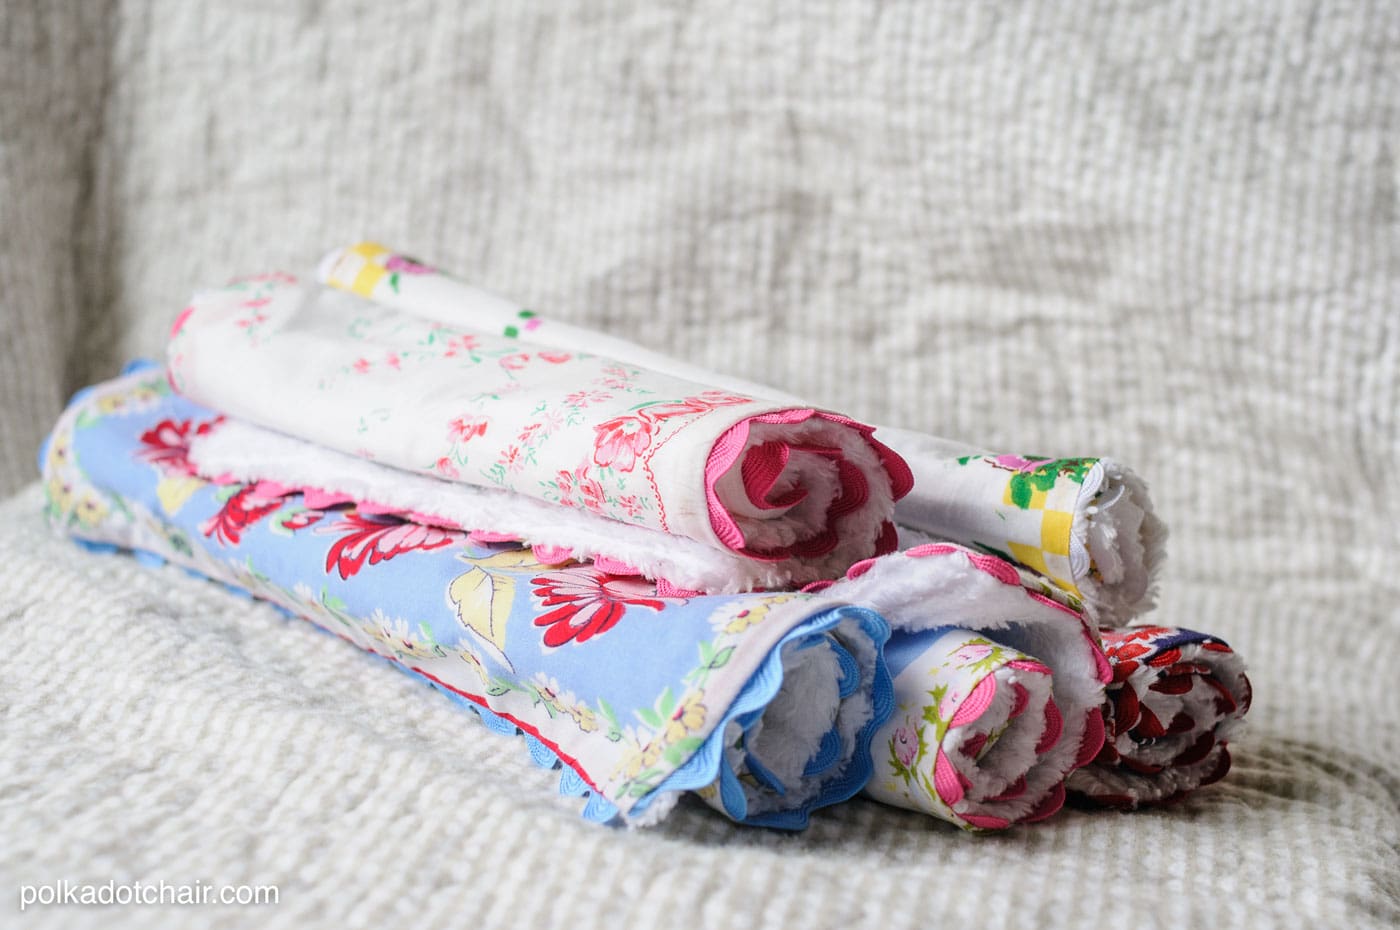
    Sewing tutorial showing how to make baby burp cloths from vintage hankies

    About the Baby Burp Cloths

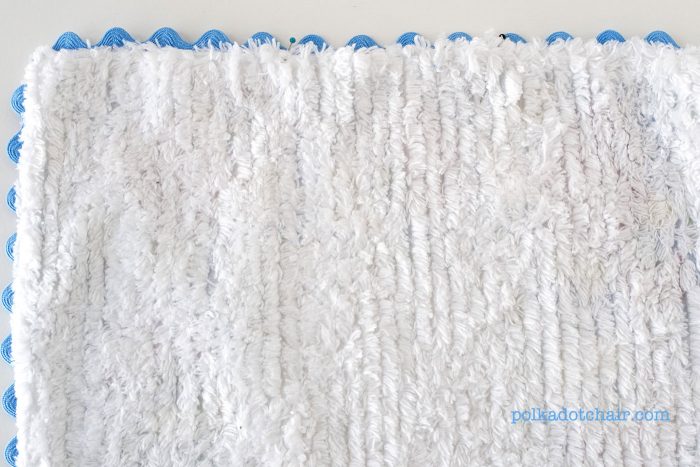
    To make the burp cloths a bit more absorbent I backed them with chenille. It only takes small squares of chenille so it was a great use of some scraps I had.
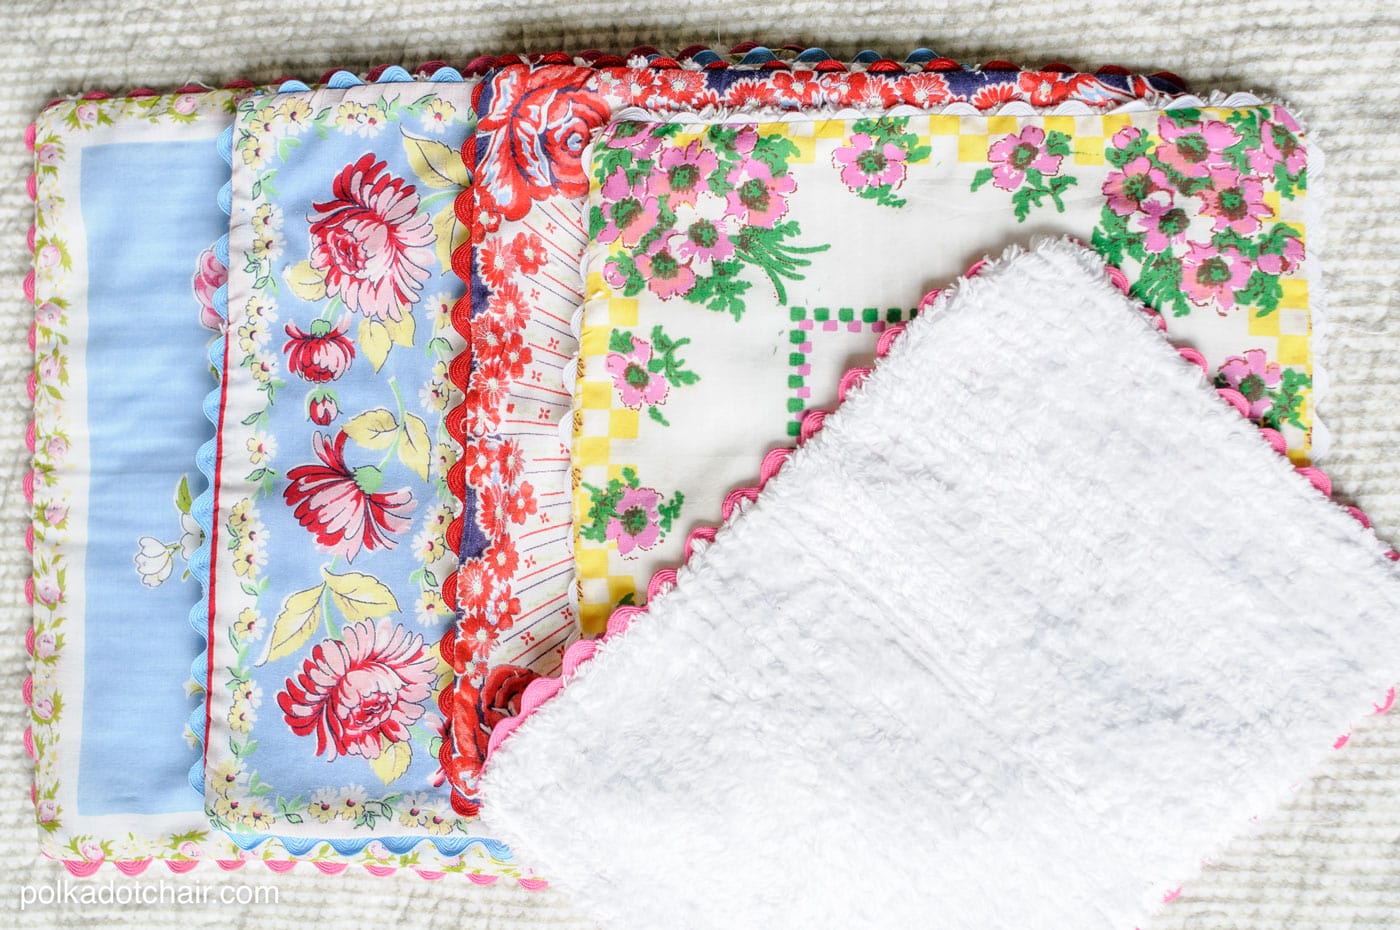
    Sewing tutorial showing how to make baby burp cloths from vintage hankies

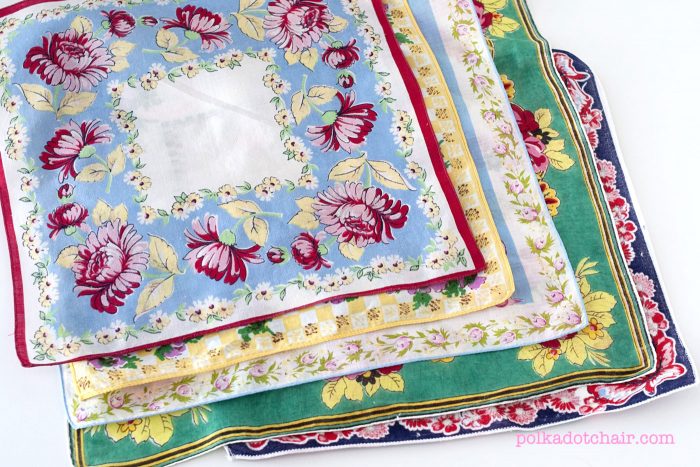
    Here’s what you need to make them!! They are SOOO easy, this is a good project for a beginning sewer.

    Supplies

    • Vintage Handkerchiefs- to find some in your area, try antique stores, junk stores and thrift shops.  Many stains can be removed after a good soaking, but many can’t-  judge accordingly.
    • Chenille – you’ll need to prewash it
    • Ric Rac
    Sewing tutorial showing how to make baby burp cloths from vintage hankies

    Preparation

    Okay, I’m lazy and normally don’t pre wash ANYTHING… This project is an exception… besides the obvious germ issue with a used hankie, you need to pre wash and dry (in the dryer) the chenille.  TRUST ME.  If you don’t you’ll have a hot mess on your hands.

    Sewing Instructions

    After you’ve pre-washed your hankies and chenille, you need to cut your chenille to the size of the hankie you are working with.
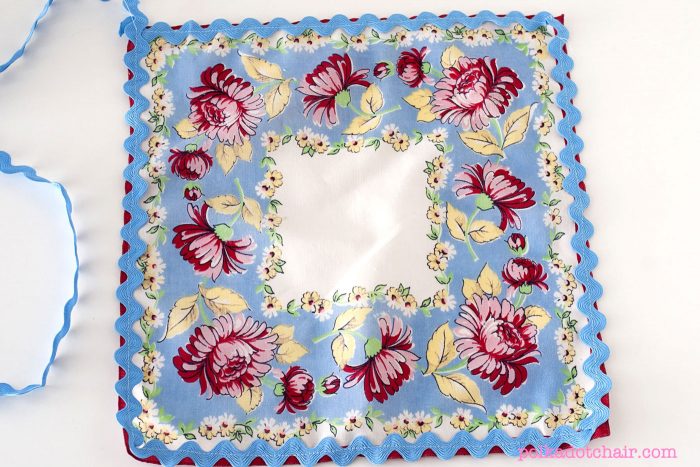
    Sewing tutorial showing how to make baby burp cloths from vintage hankies

    Next, stitch your ric rac to the edge of the right side of the hankie.  Pin as you go. Stitch right down the middle of the ric rac.
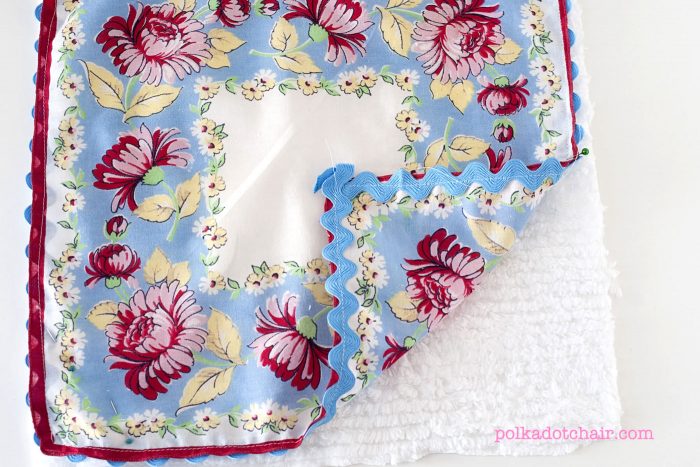
    Sewing tutorial showing how to make baby burp cloths from vintage hankies

    Lay your hankie on top of your cut piece of chenille, right sides together.   Stitch together along the stitching line you just made to attach the ric rac.  Leave a 2″ opening on one side to turn the hankie right side out.

    Clip corners and turn right side out.

    Sewing tutorial showing how to make baby burp cloths from vintage hankies

    Press well and pin opening closed.  Hand stitch or use seam tape to close the opening.
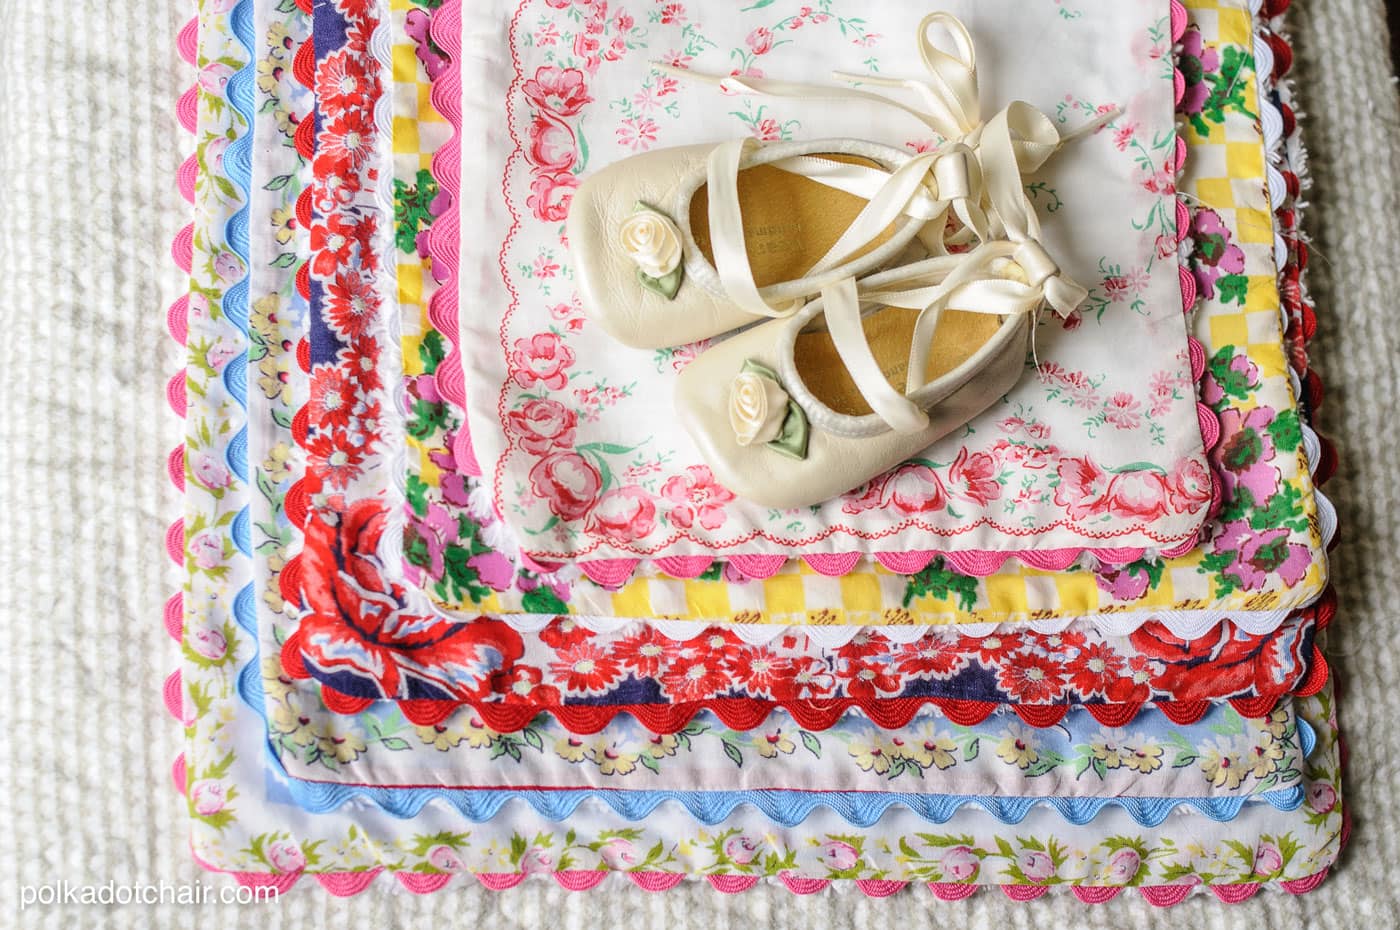
    Sewing tutorial showing how to make baby burp cloths from vintage hankies
    Sewing tutorial showing how to make baby burp cloths from vintage hankies

    More Projects You May Enjoy

    • New! All Ears Pouch Pattern & Sew Along
    • Sewing Machine Needles Explained & Printable Guide
    • Color Combination Ideas for your Next Quilt or Sewing Project
    • 25 Free Patchwork Quilted Pillow Patterns

    • Share
    • Email

    About Author

    Melissa Mortenson

    Melissa Mortenson is a blogger, designer, and content creator. She is the Polka Dot Chair blog founder and has been sharing fresh and creative ideas with readers since 2008. She is the author of “Project Teen, Handmade Gifts your Teen will Actually Love.” Her work and designs have been featured on HuffPost, TODAY, Pioneer Woman, HGTV, BuzzFeed, Better Homes & Gardens, and many other established publications. Her first fabric line, “Derby Style,” debuted in January 2015 through Riley Blake Designs.  Additional fabric collections have followed it in subsequent years. A mom of 3, she considers herself lucky to be living in Kentucky.

    Reader Interactions

    Comments

    1. Bethaany Kindel says

      July 29, 2015 at 10:51 pm

      I love this so much!!! I would love to make a whole quilt this way. Guess I’m haunting some antique shops this weekend! Awesome idea, they are wonderful!!

      Reply
    2. Linda says

      July 30, 2015 at 11:31 am

      I love your idea! What a sweet way to repurpose the hankies.

      Reply
    3. Barbara says

      July 30, 2015 at 2:53 pm

      What a cute idea! And i have a bunch of vintage hankies and chenille so I’d better get busy. ✂

      Reply
    4. Colleen Bell says

      July 30, 2015 at 5:06 pm

      I absolutely adore these!!! Thank you so much for re-posting. Now I am inspired to go spelunking further in your old blog posts.

      Reply
    5. Andrea says

      July 30, 2015 at 8:19 pm

      So beautiful and feminine. I’ll have to keep this in mind for the next baby girl that comes into my life. Thank you for reposting.

      Reply
    6. Barbara Jones says

      June 15, 2016 at 8:40 pm

      Love these!!! Could you use old chenille blankets for the back ?? I have a white one ( I’m making a baby quilt with now ) I will have scrape pieces left over !!! just wondering!!! Thank you

      Reply
    7. Phyllis says

      November 03, 2016 at 4:13 pm

      Is this cotton chenille? I’ve only been able to find polyester. Where can you find cotton chenille?

      Reply
      • Melissa Mortenson says

        November 09, 2016 at 1:16 pm

        I honestly don’t know. I bought it at JoAnn if that helps any.

        Reply
    8. Pqmela Boesch says

      June 20, 2018 at 11:32 pm

      I glad that you talked about where you got you handkerchiefs. If we own them, we can enjoy them in any form.
      My grandma had a large drawer full of them.She would be proud to see me make burp clothe with them.
      Love it. I love you blog.
      Pamela

      Reply
    9. Donna says

      February 13, 2019 at 12:28 am

      What a lovely idea! I am 80 years old and have a few left from my mother. I’m thinking of making bibs for myself. After an extensive cervical fusion, my neck is rather stiff and I often drop food when I’m eating. One of these beautiful bibs would be wonderful to use when eating out. No more stained clothing. Thank you for the idea.

      Reply
    10. Shirley Rauen says

      February 22, 2020 at 11:06 am

      Just came across your tutorial. It is clear and concise, especially the past about applying rick rack. While a font have vintage hankies, I snagged 7×10 FABRIC teddy bear cut outs,BUT not enough for a quilt. This idea is great for the pieces. Once could also use flannel or thin toweling for the other sod if on hand. Thanks again.

      Reply
    11. Karen Morgan says

      March 28, 2021 at 12:08 am

      I have a bag of hankies that belonged to my great Aunt Alma. When I was young and visiting, which was often, she would get out the box of hankies and I would go through them with zeal as if I had never seen them before. I have thought about these hankies for many years, and when her daughter-in-law, my aunt, passed away I was delighted to receive them. They have been in my closet for years because I didn’t know what I wanted to do with them – I didn’t want to “cut them up”, but thought I wanted to make a quilt. I finally found a pattern that I would not need to cut them for. A week ago I became a great grandmother to twin girls – now I know what I will do with these hankies. I was probably six or seven years old when I spent time with my great aunt, I am now 77 years old – I think this idea for burp cloths is an excellent way to use these hankies and I know that my daughter will, the babies’ grandmother, will appreciate the sentimental value of them. Thank you for this pattern.

      Reply

    Leave a Reply Cancel reply

    Your email address will not be published. Required fields are marked *

    This site uses Akismet to reduce spam. Learn how your comment data is processed.

    Primary Sidebar

    Hello! It’s nice to meet you.

    I’m Melissa. I like to design things, like fabric, printables, and projects.

    I’m also a Mom and a Maker. I am like most of you, just trying to do my best every day. Some days I succeed, many days I fail.  I find joy in creating, if you do too, then I hope that you find something here bring a little “happy” to your life.  Find out more about me here.

    COPYRIGHT POLICY

    All my images and text are copyrighted. You may NOT use any images from this site in any kind of Video (this includes YouTube). If you would like to feature my work, you may use ONE (1) NON-COLLAGED image and must “follow” link back to my original blog post. You may NOT edit, crop, or change my images in any way without written permission. You MAY NOT print out or copy and distribute any text, images or patterns from this site. All patterns, content, instructions, and templates are for personal use ONLY! Thank you! Violators will be reported.

    Footer

    ↑ back to top

    About

    • Privacy Policy
    • Disclaimers
    • About Melissa
    • Instagram
    • Facebook
    • YouTube
    • Pinterest

    Newsletter

    • Sign Up! for emails and updates

    Contact

    • Contact
    • FAQ
    • Press
    • Published Books
    • Fabric Collections

    Welcome to the Polka Dot Chair! Here you’ll find easy, step-by-step, sewing, quilting, and crafting projects. We design projects for Makers of all skill levels. Beginners are welcome!

    DISCLAIMER:

    While every effort has been made to ensure the accuracy of the content on this website, the information is made available without warranty of any kind. The Polka Dot Chair accepts no responsibility or liability, whether direct or indirect, as to the currency or accuracy of the information, nor any consequence of its uses. This website is not intended to substitute the advice of a professional.

    Copyright © 2022 Polka Dot Chair

    [ Placeholder content for popup link ] WordPress Download Manager - Best Download Management Plugin