Cute & Easy DIY 4th of July Shirts
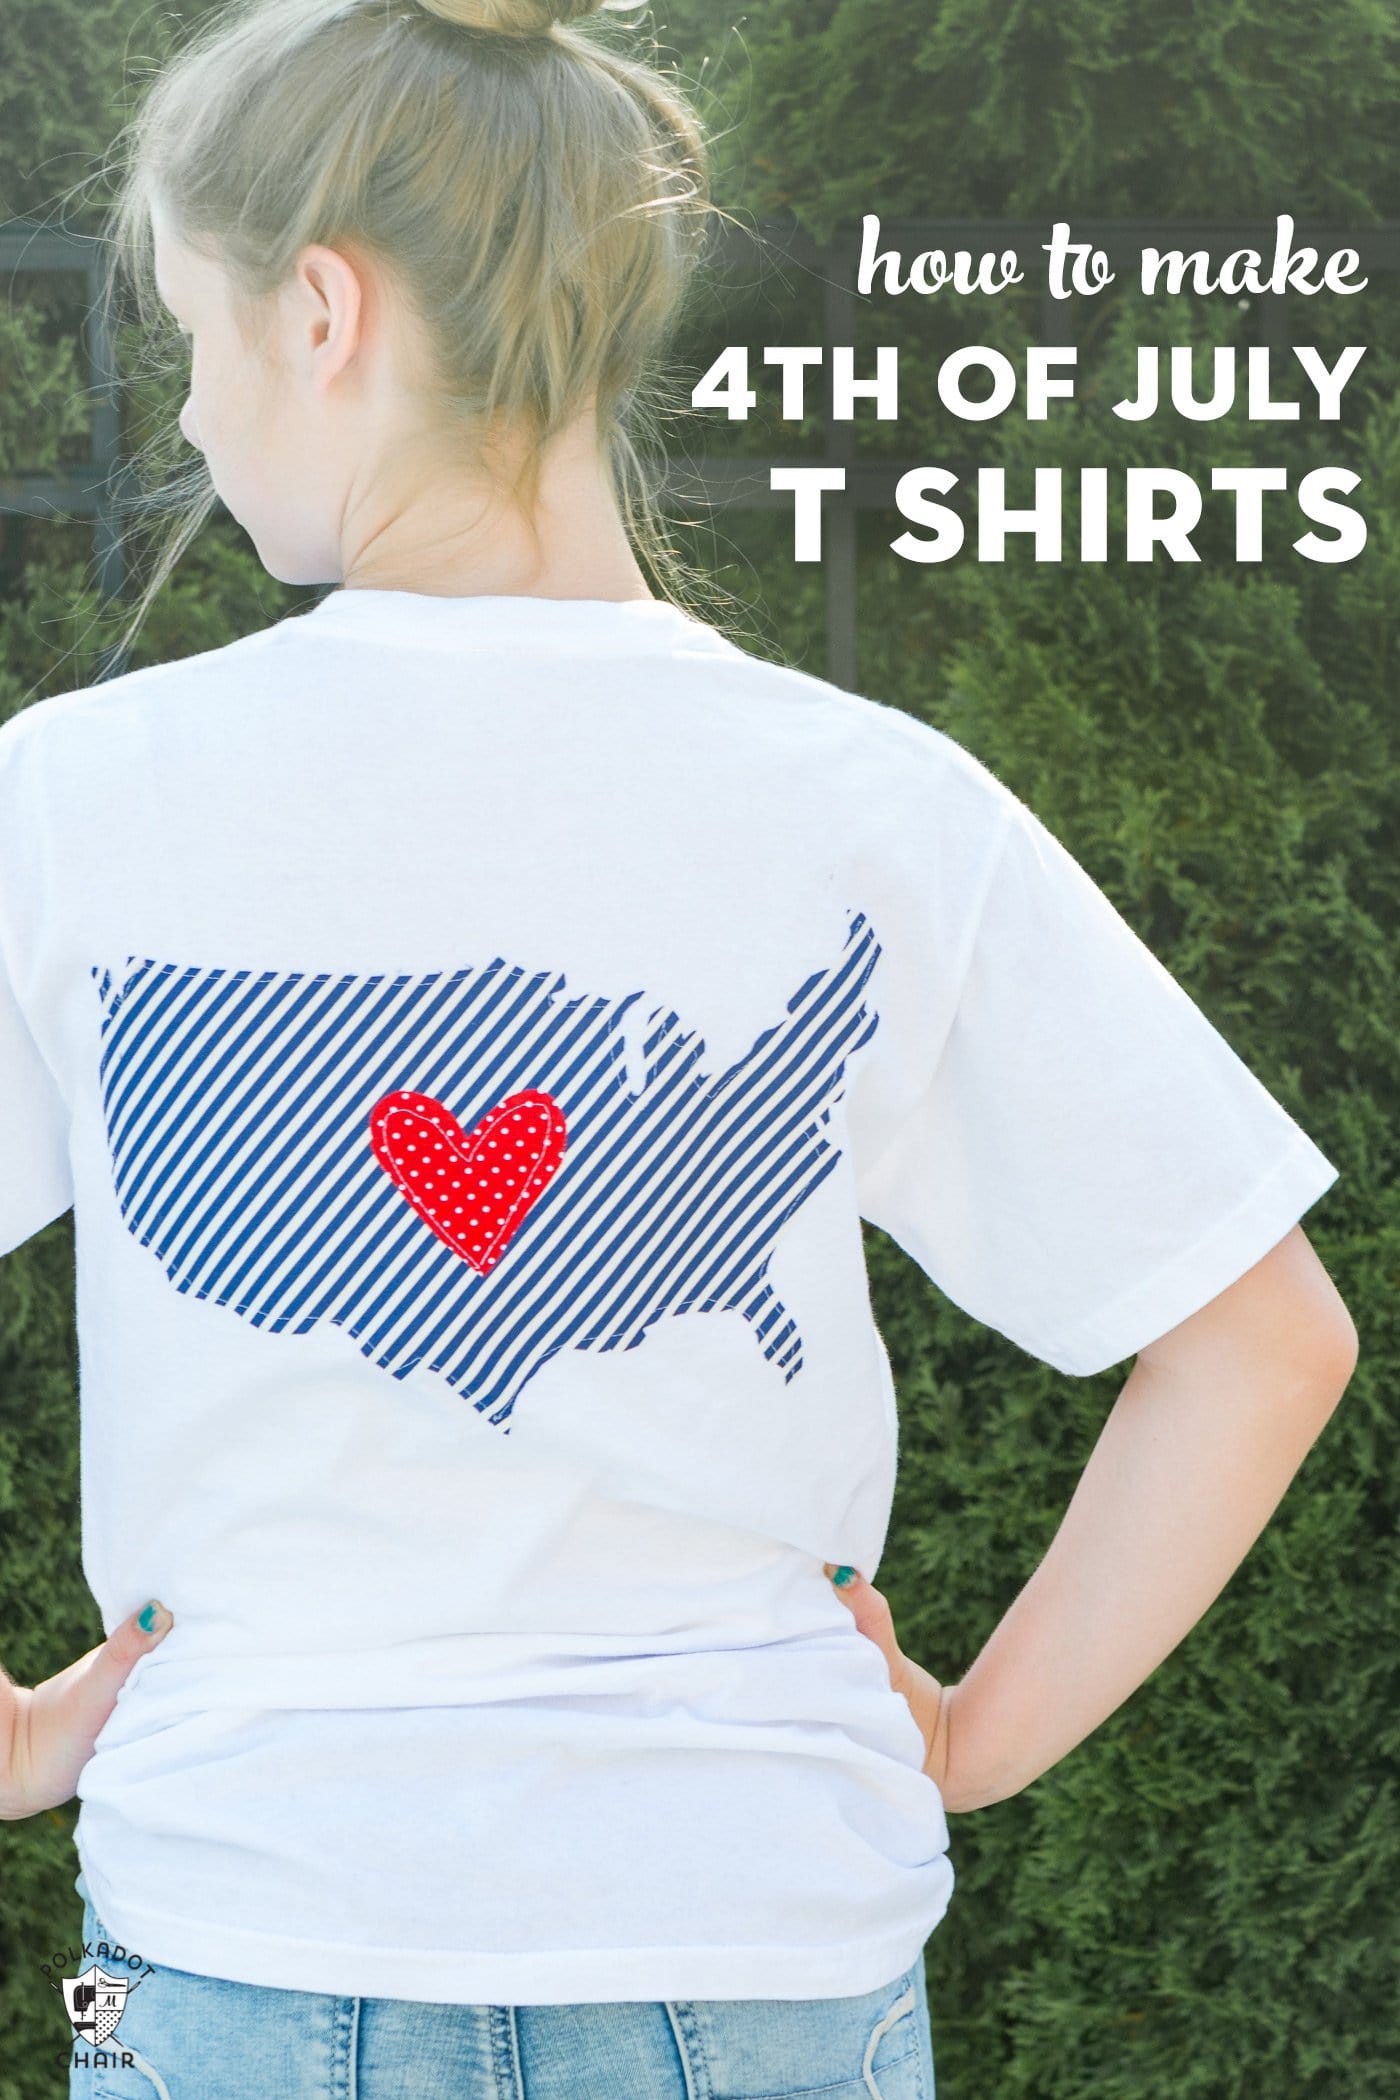
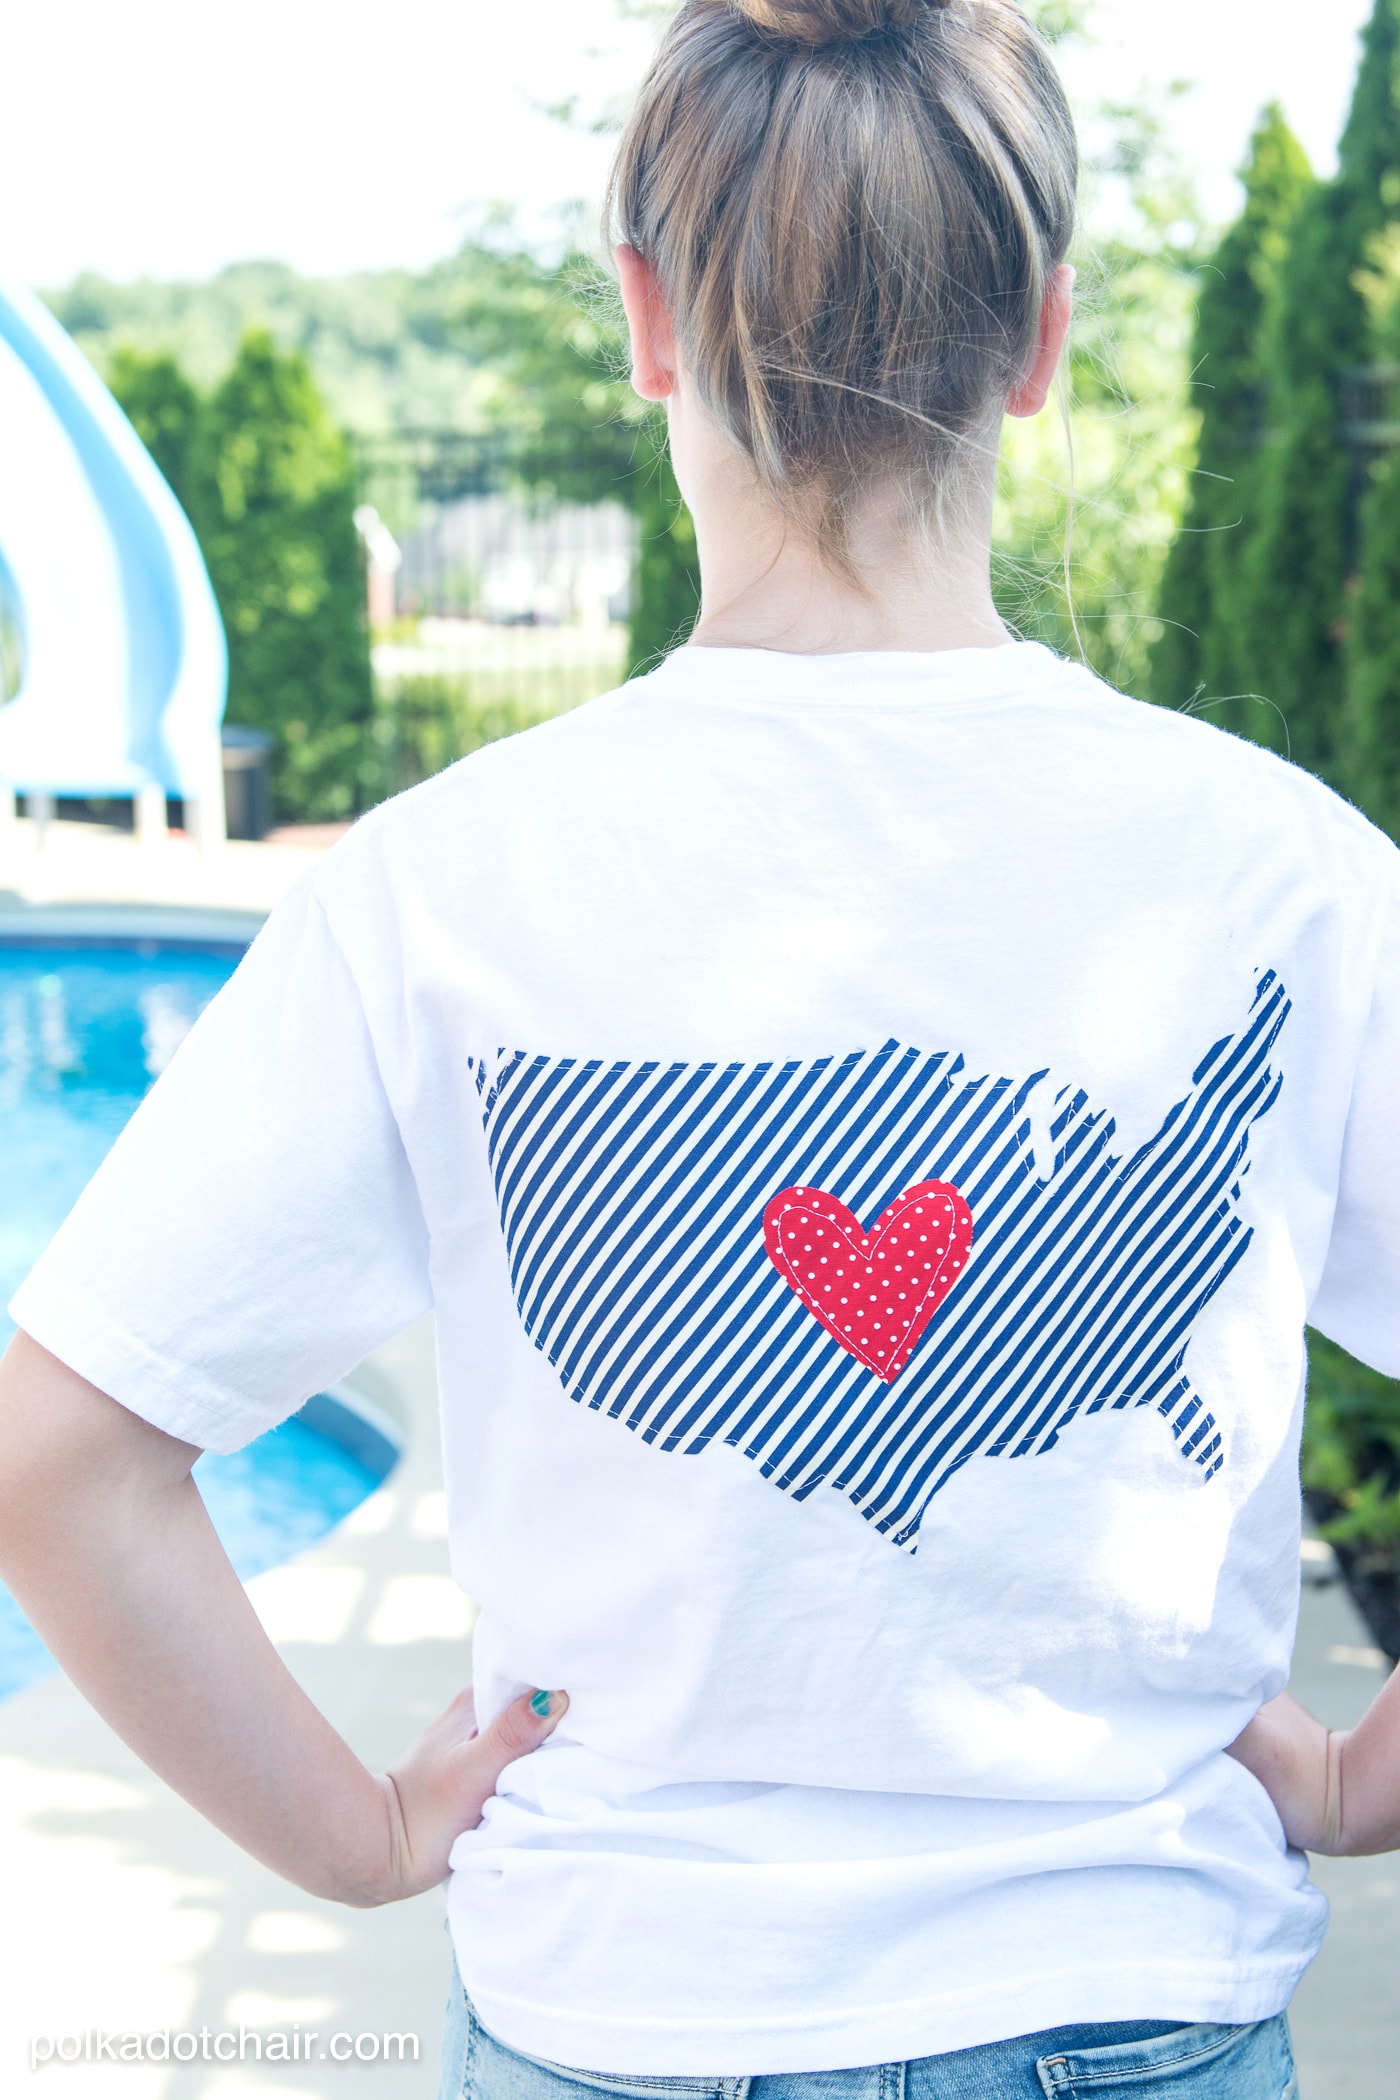
To celebrate the 4th of July, I made some cute shirts for my kids and want to show you how to make Pocket Tees. They’re easy to create using fabric scraps. I’ll guide you through two styles: a pocket tee and an American silhouette T-shirt.
When my kids were little, I loved picking out matching 4th of July family t-shirts to celebrate. Now that they are all teenagers, I know that the possibility of them all wearing matching tees on the fourth is, at best, slim to none. So, I’m trying a new approach.
I made them all patriotic pocket tees that I hope they will wear sometime during the week of the fourth *wink*.
Fun Shirts to Make for the 4th of July
We are headed south for the holiday, and I thought I’d take some inspiration from the southern prep shirts my college daughter loves. I started with simple, plain t-shirts and added pockets and embellishments to make them cute 4th of July shirts.
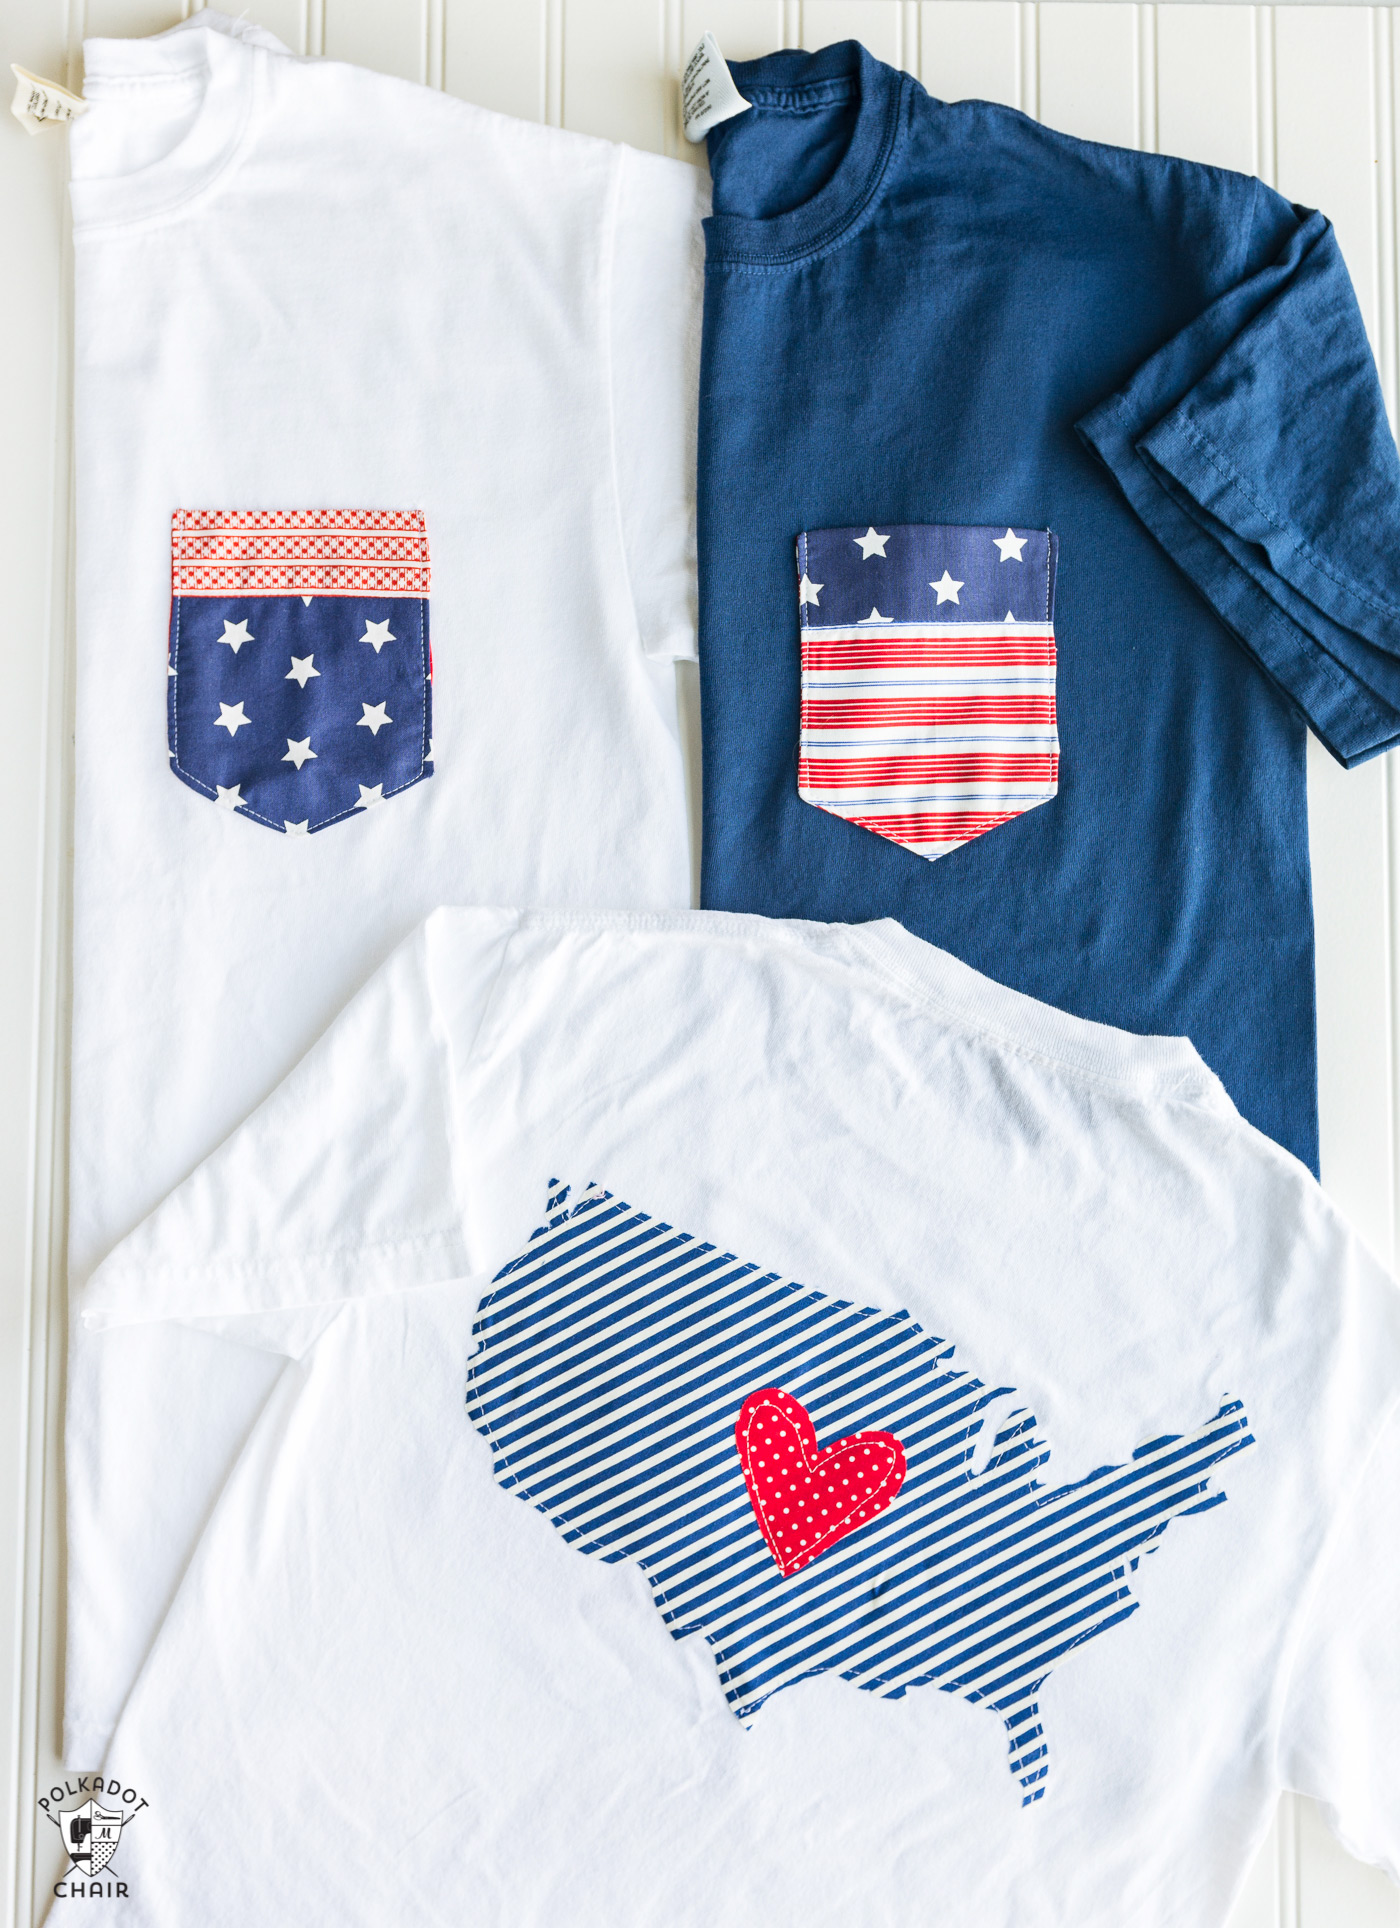
Today, I have two T-shirt ideas for the 4th of July to share with you. You can wear both of them in one shirt or pick and choose as you like. It’s up to you!
Two 4th of July DIY T-Shirt Ideas
One:
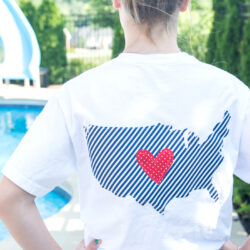
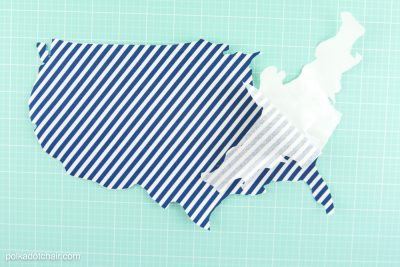
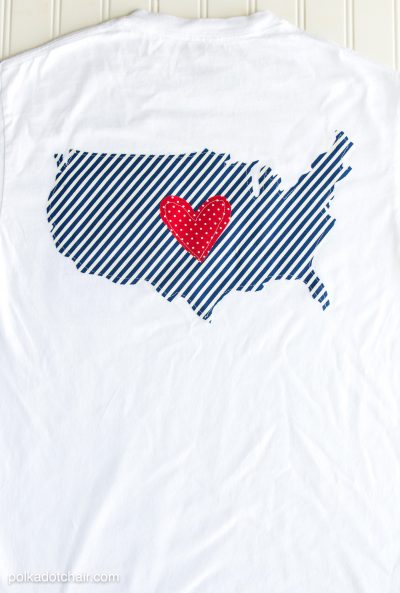
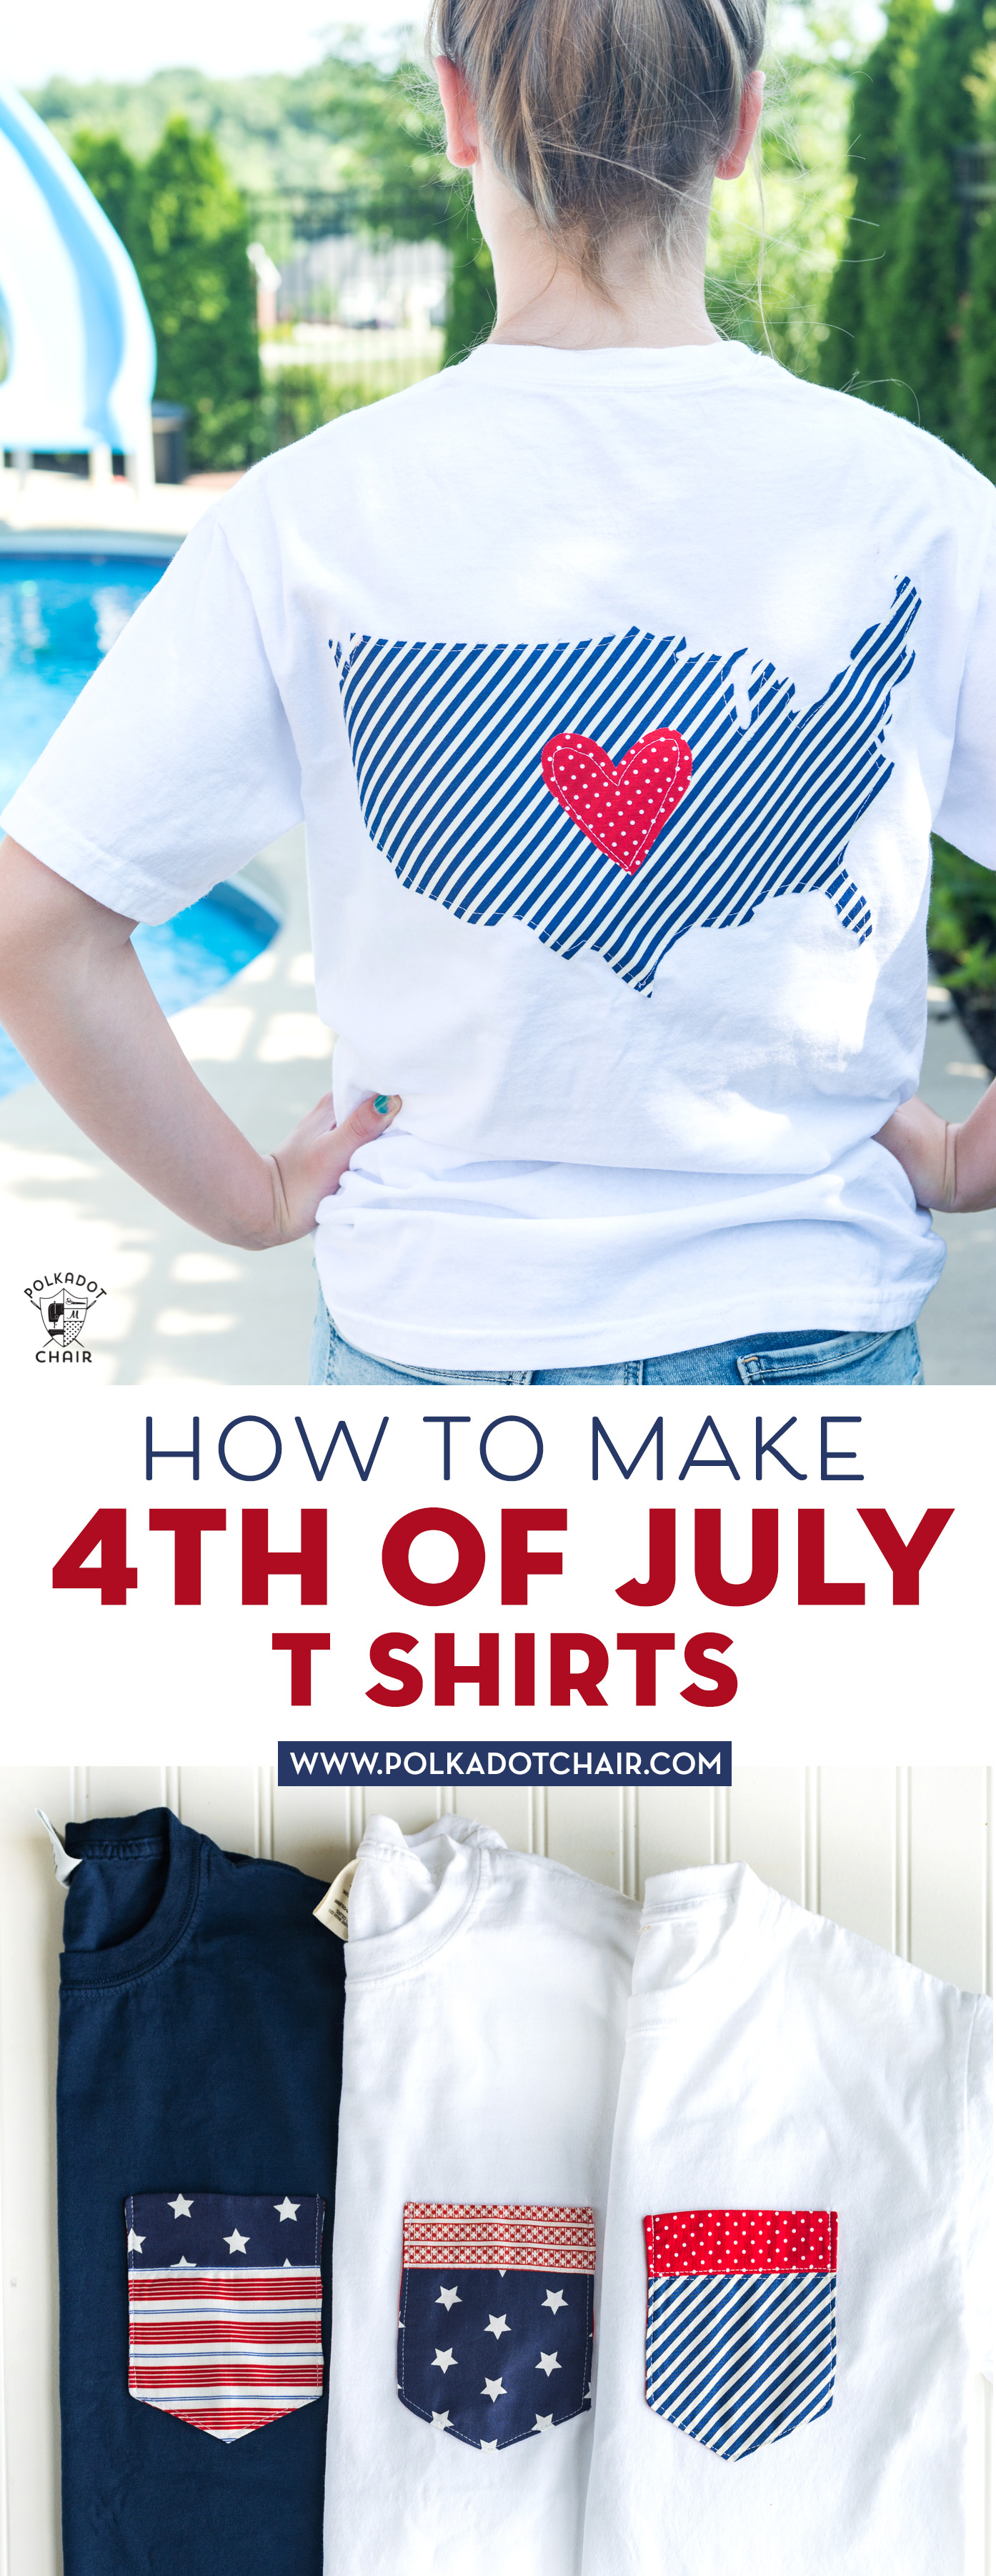
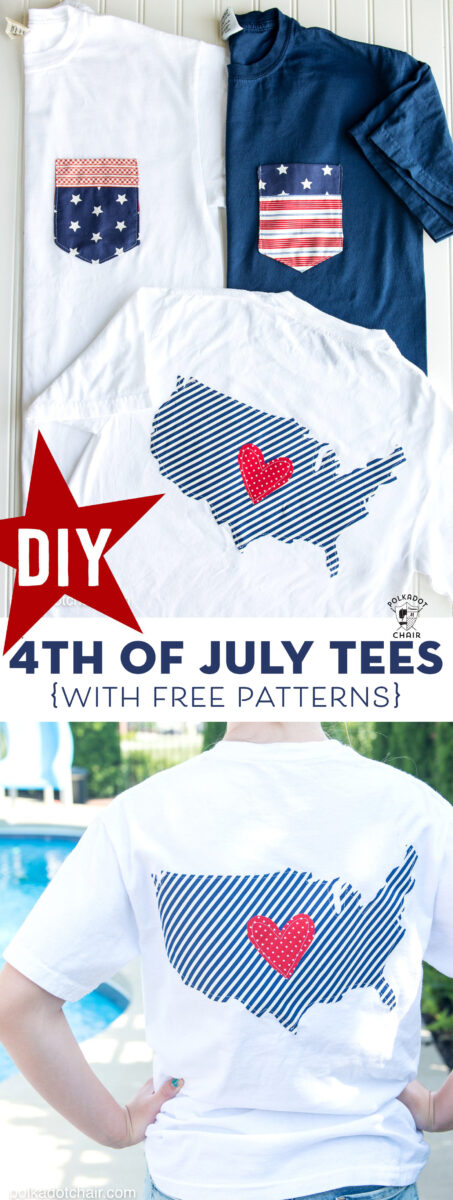
Create a silhouette of the United States and apply it to the back of a t-shirt.
Two:
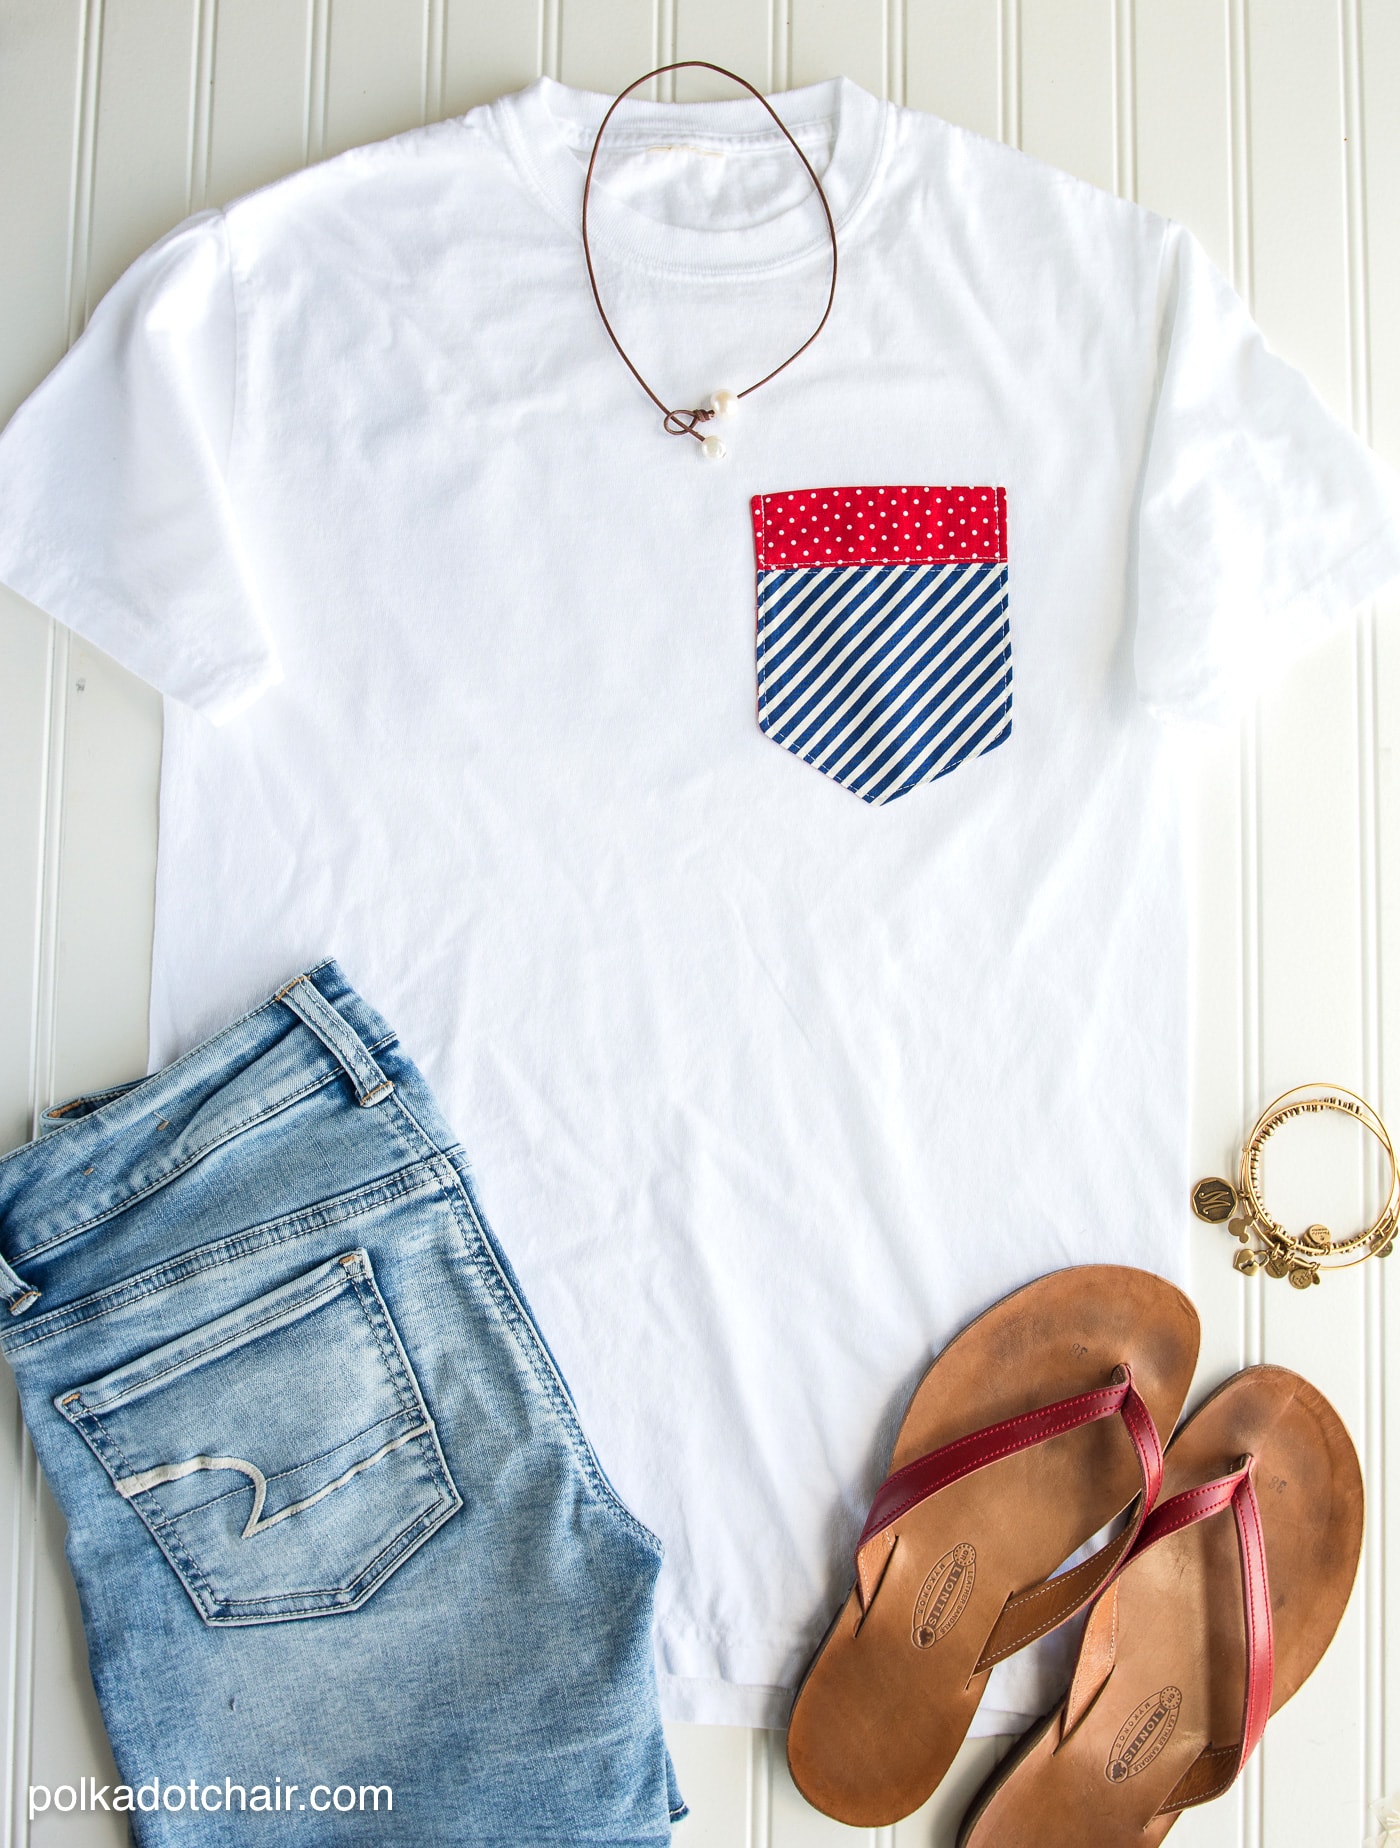
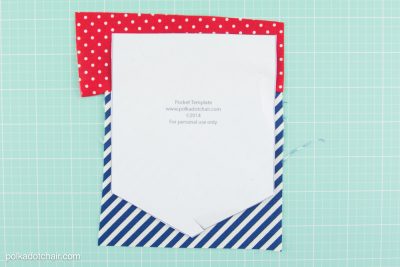
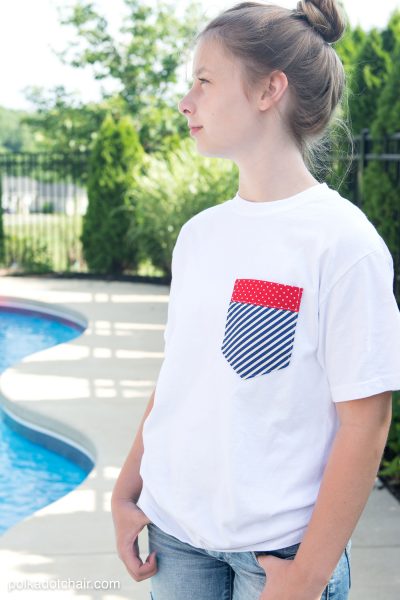
Add a red, white, and blue pocket to the front of a t-shirt.
TIP: You can combine both of the ideas into one shirt (e.g., a pocket on the front and a silhouette applique on the back).

How to Get the Printable Pattern Pieces
Fill out this form, and we will email you a copy of the USA outline and the pocket for the t-shirt.
4th of July Pocket & USA T-Shirt Instructions
supplies
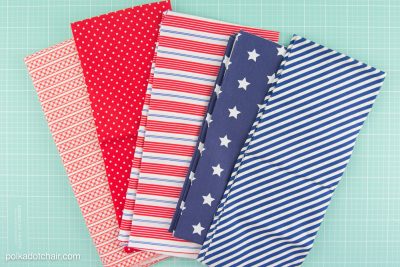
- 1 Fat Quarter Fabric; Red White and Blue fabric, try to find some stripes and stars. For the USA outline, you’ll need almost an entire fat quarter. The pockets can be made from smaller pieces or scraps of fabric.
- 1 Plain tees I like to use the Comfort Colors brand; I buy them on Amazon. They are extra thick and are great to stitch onto.
- 1 package Paper Backed Fusible Web
Instructions
Directions for the USA Silhouette Applique Tee
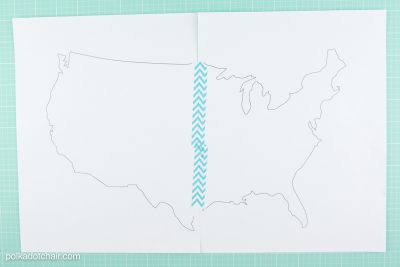
- Print out the outline of the US and tape the pieces together.

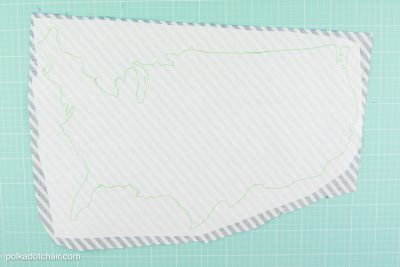
- Flip over and trace onto the paper side of the fusible web.
- Cut out loosely around the shape. Iron onto the wrong side of a piece of fabric.
- Cut it out more precisely and peel off the paper.
- Iron onto the back of the t-shirt. Stitch around the edges to secure.

How to Make a Pocket Tee
- From your supply of fat quarters, cut a 3″ x 7″ piece of fabric and a 7″ x 7″ piece of fabric.
- Stitch the two pieces together along the 7″ sides using a 1/2″ seam allowance. Press the seam open.
- Place the pocket template over the top of the seam between the two pieces and cut out. Cut out a second piece the same size from another piece of fabric for the pocket lining.
- Next, combine the right sides of your two pocket pieces and stitch with a 1/2″ seam allowance. Leave a 2″ opening in one side of the pocket to turn it right side out.
- Clip the corners, turn the right side out, and press.
- For extra detail, top-stitch along the seam between the two pieces of fabric on the pocket front.

- The photo is from a previous project; the construction steps are the same.
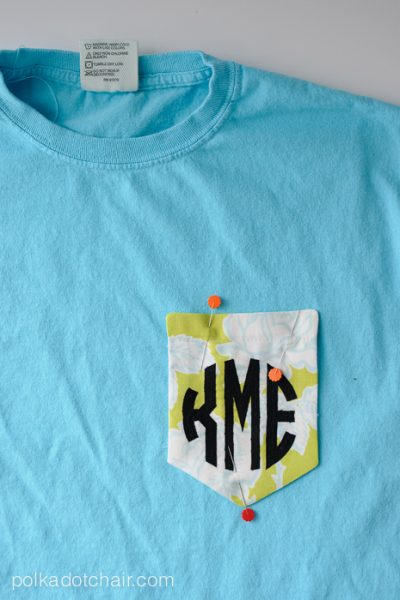
- Pin the pocket to the T-shirt in the desired location and stitch it in place. Be sure to backstitch a few times at the top of the pocket.
- That’s it!! You’re done, easy peasy lemon squeezy!

I am having difficulty finding the US Outline Template on the Template page. Please advise.
Thank you!
Suzy
Hi! It’s there, try using the search box on the page, just type in USA
https://www.polkadotchair.com/sewing-pattern-pieces/
it says the content is password protected.
where are you getting this message? there’s not a password on this post.
When I copy the link from above https://www.polkadotchair.com/sewing-pattern-pieces/
it says it is password protected. I tried it on two different browsers.
Yes,
That’s correct, if you look on the page it will give you directions to get the password. Also if you’re a newsletter subscriber already the password is at the bottom of each of our weekly emails.
How, exactly, did you stitch around the U.S. shape? Its on a t-shirt! I’d end up sewing the shirt shut
Oh I’m sorry! Most sewing machines have an arm that you can take off. Then you can feed the other side of the t-shirt under the arm and sew just the side of the shirt with the US shape.
Thank you, just like you said……Easy Peasy diy 4th of July Shirt! Love making me one ❤️
So cute! I must make one! I recently got on a pocket hype!
I love this idea. Can you tell me what color the blue shirt is?
Sure it’s the dyed Navy…
I am trying to find the US Outline Template on the Template page and it isnt there that I can see. Am I just not finding it or is it really missing? Thanks for any help you might have for me.
Sorry about that! Try again, hit command (or control), shift, R to force a refresh of the page… it just updated…