Spooky & Simple: Reverse Stencil Wood Halloween Sign Tutorial
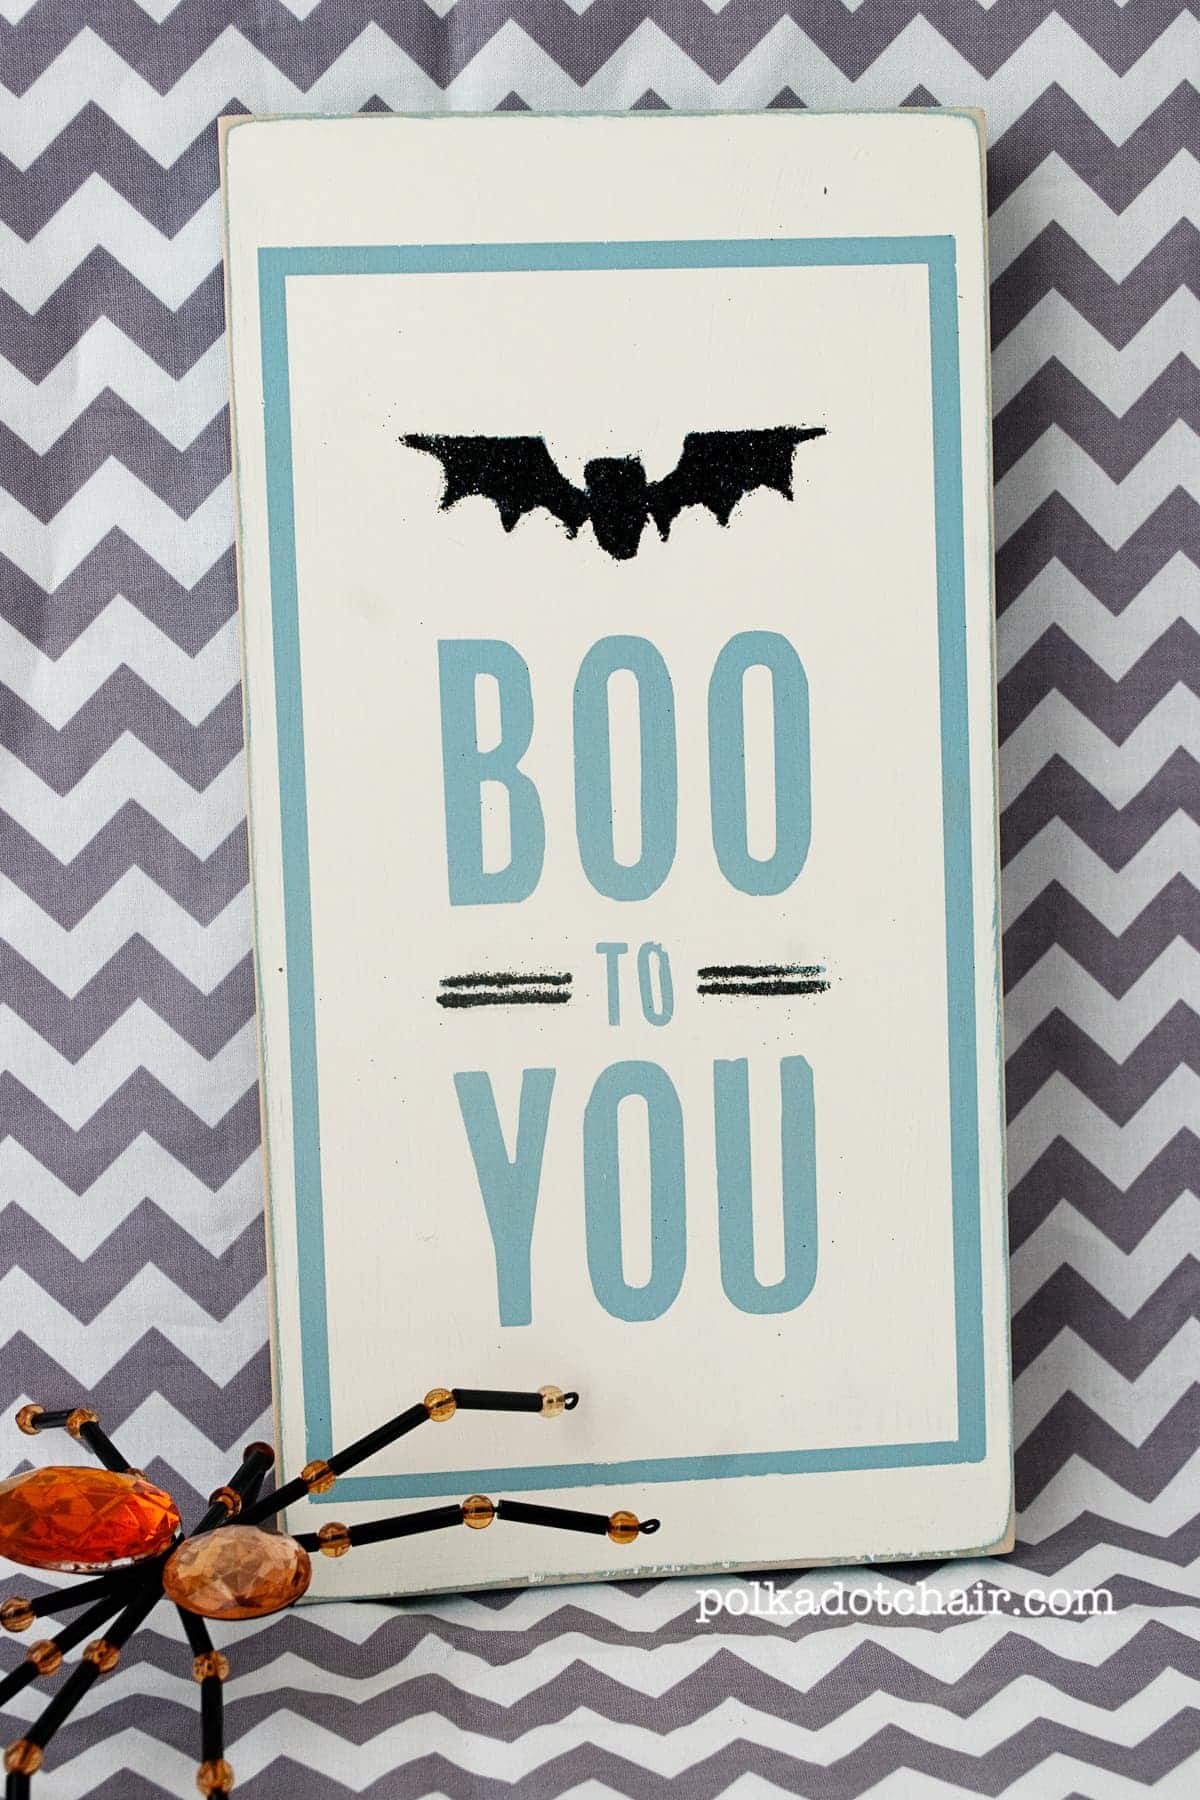
Looking for a quick and budget-friendly way to add a little spooky charm to your Halloween décor? Try making a reverse stencil sign! With just a scrap piece of wood, a bit of paint, and a vinyl stencil, you can create a festive piece that looks handmade yet polished. This technique is simple, fun, and easy to customize with your favorite Halloween motifs.
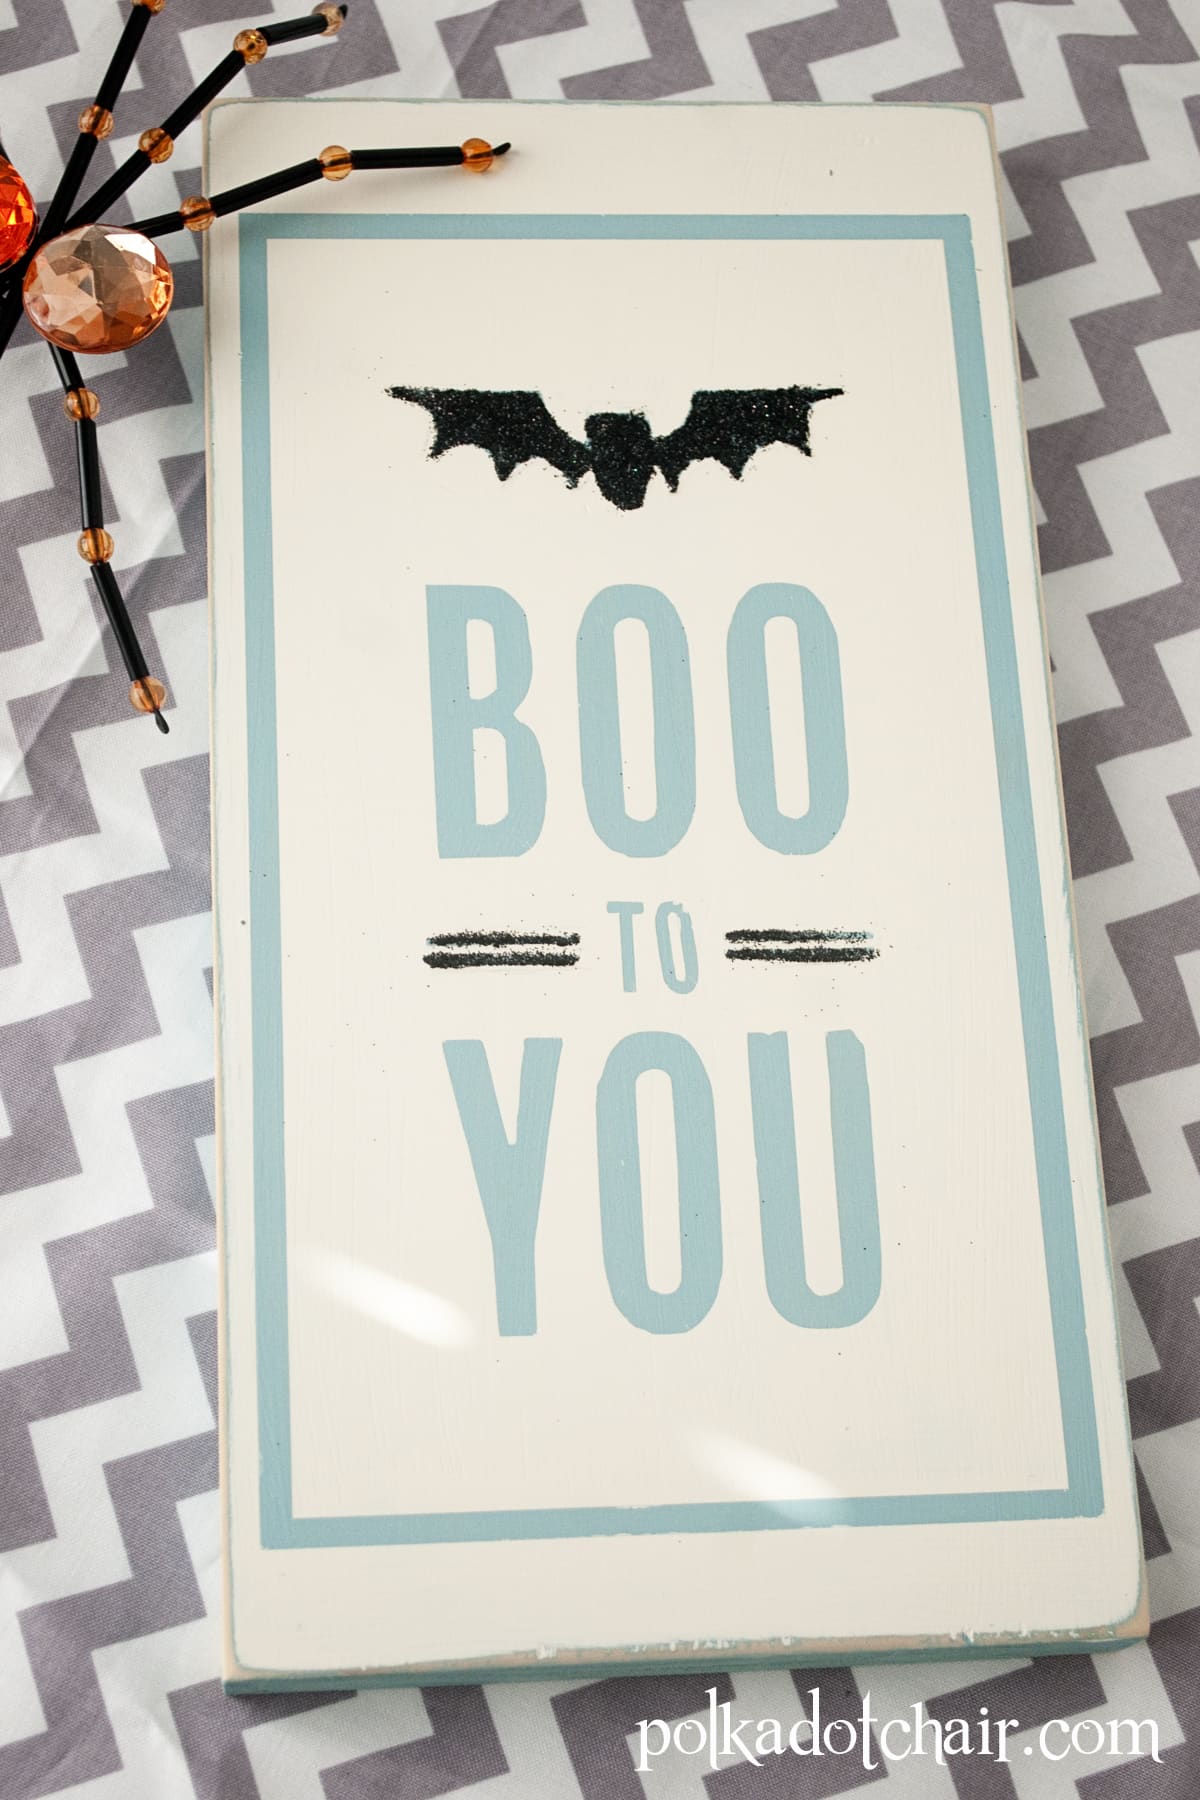
Using this technique, I made a fun little Halloween sign using some scrap wood and a stencil cut with my Cricut machine.
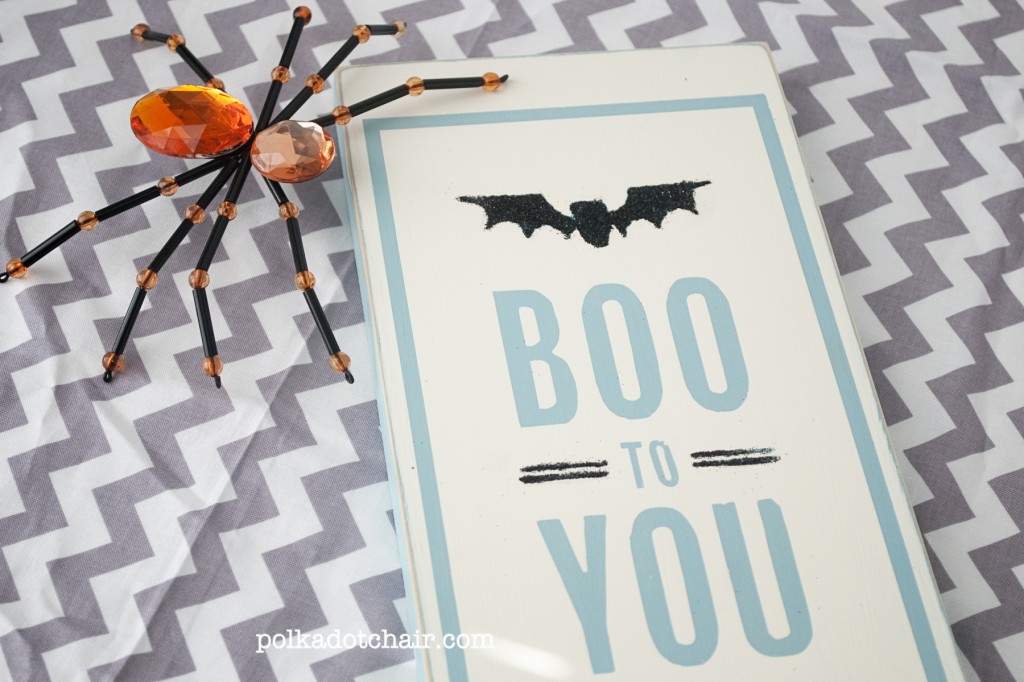
What is Reverse Stenciling?
When you reverse stencil, you start by painting your board the color you want your words to be, then use your vinyl as a stencil. It doesn’t matter what color your vinyl is because you’re going to rip it off at the end.
Materials You’ll Need
- Scrap wood board
- Sandpaper
- Light blue paint (or your choice of base color)
- Warm white paint (or topcoat color)
- Paintbrushes or a foam roller
- Vinyl stencil (cut with a Silhouette, Cricut, or pre-made)
- Craft glue
- Black glitter
- Cloth or paper towels for dusting
- Safety mask (optional, for sanding)
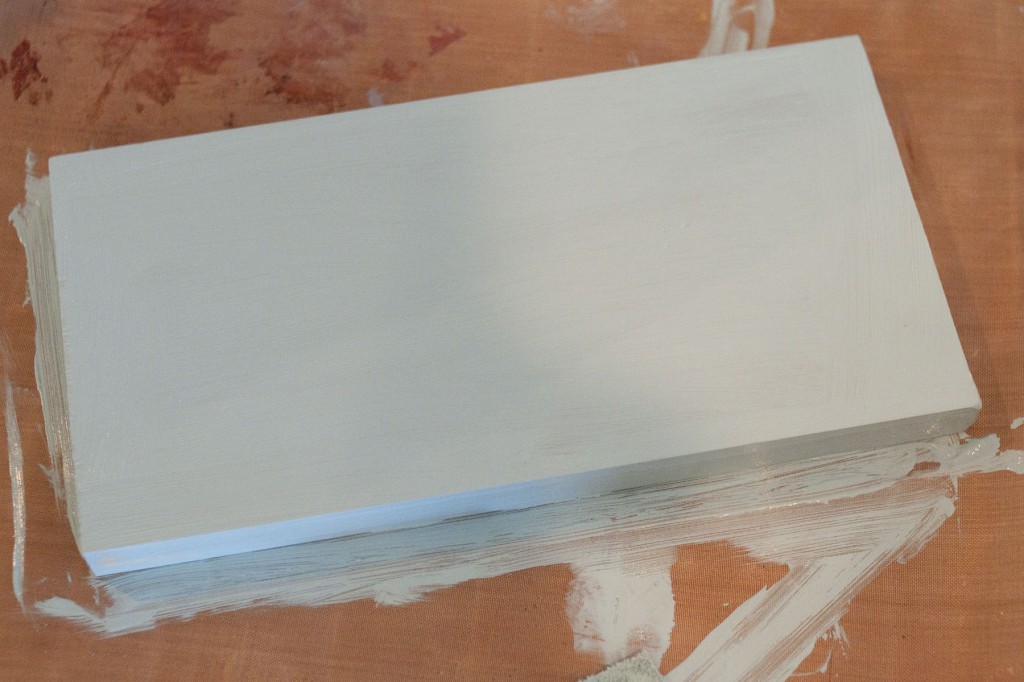
Step 1: Prepare the board
Lightly sand a piece of scrap wood until it feels smooth. Wipe away any dust with a cloth so the paint adheres well.
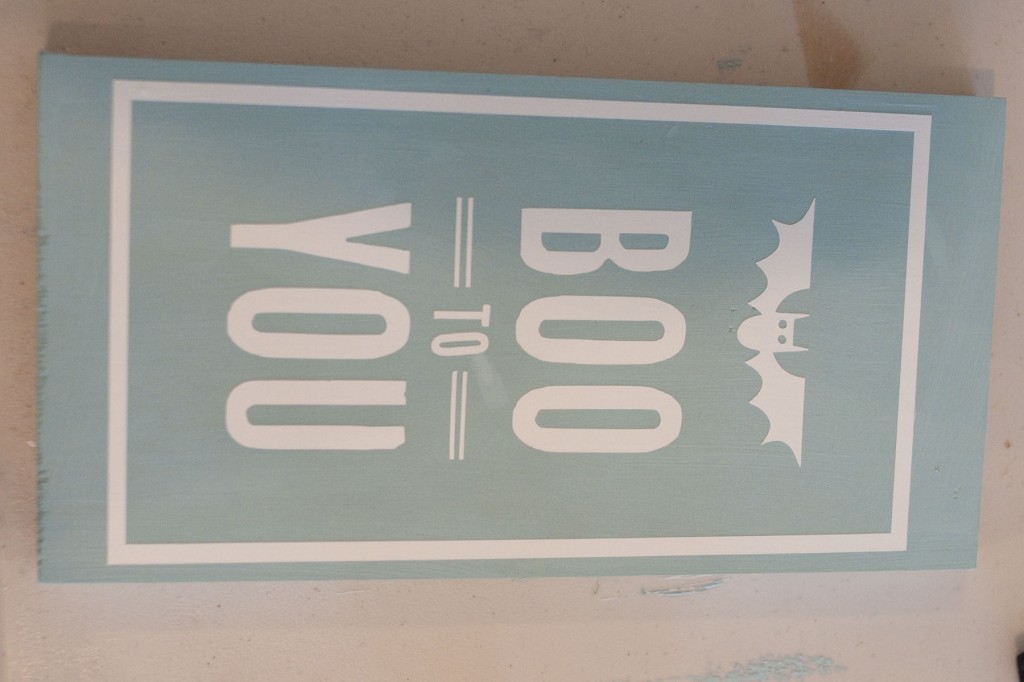
Step 2: Paint the base color
Apply a coat of paint in the color you want your words or design to appear. For this project, paint the board light blue. Allow the paint to dry completely before moving to the next step.
Step 3: Apply the stencil
Cut a stencil from vinyl using a machine like a Silhouette or Cricut. Place the stencil firmly on the painted board, pressing down all edges to prevent paint from seeping underneath. Remember, the vinyl color doesn’t matter; you’ll peel it off later.
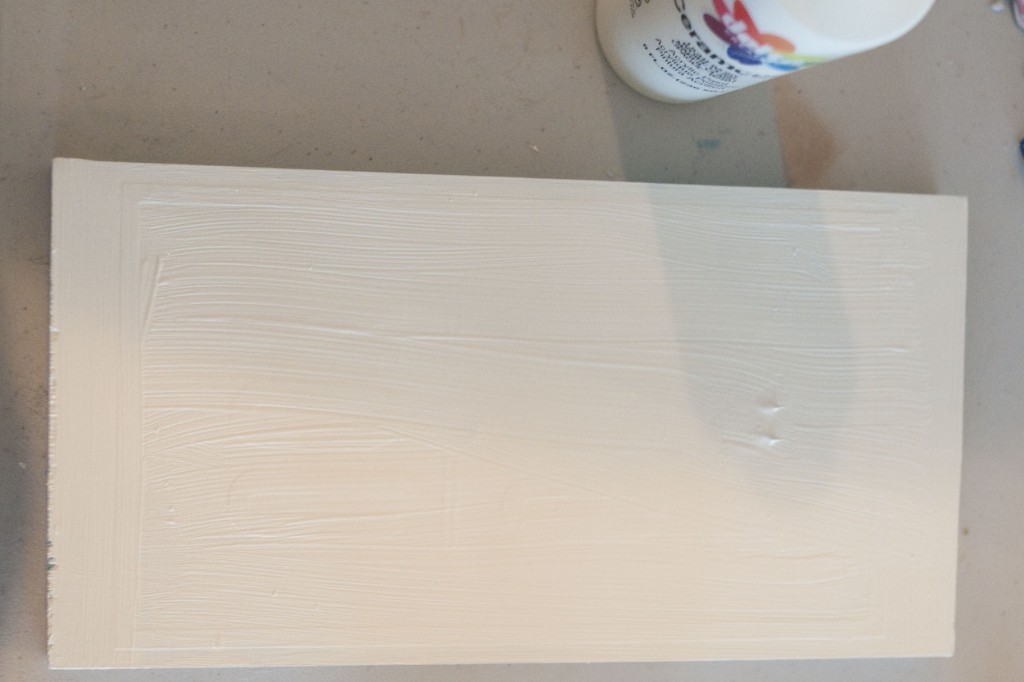
Step 4: Paint the top layer
Brush or roll on a coat of warm white paint over the entire board, including the vinyl stencil. Let the paint dry thoroughly.
Step 5: Reveal the design
Carefully peel away the vinyl stencil to uncover the blue design beneath. The reverse stencil technique creates crisp lettering or images in your original base color.
Step 6: Add details
To give the project extra Halloween flair, use glue and sprinkle black glitter over the bat design. Shake off the excess glitter once the glue sets.
Optional Step: Distress the edges
If you like a rustic, worn look, sand down the edges of the board after everything dries. Be gentle—a heavy hand might take off more than you want (or even break your sander!).
That’s it; you’ve got a festive Halloween sign ready to display on your mantel, porch, or entryway table. The best part about this technique is its adaptability: switch out the stencil design and paint colors to create signs for every season or holiday!

