Essential Guide to Common Cricut Terms
If you’ve spent a bit of time in the “blogosphere” you may have noticed that the same Cricut terms keep popping up over and over again. If you’re new to Cricut crafting it can seem intimidating getting the hang of all of the “lingo”.
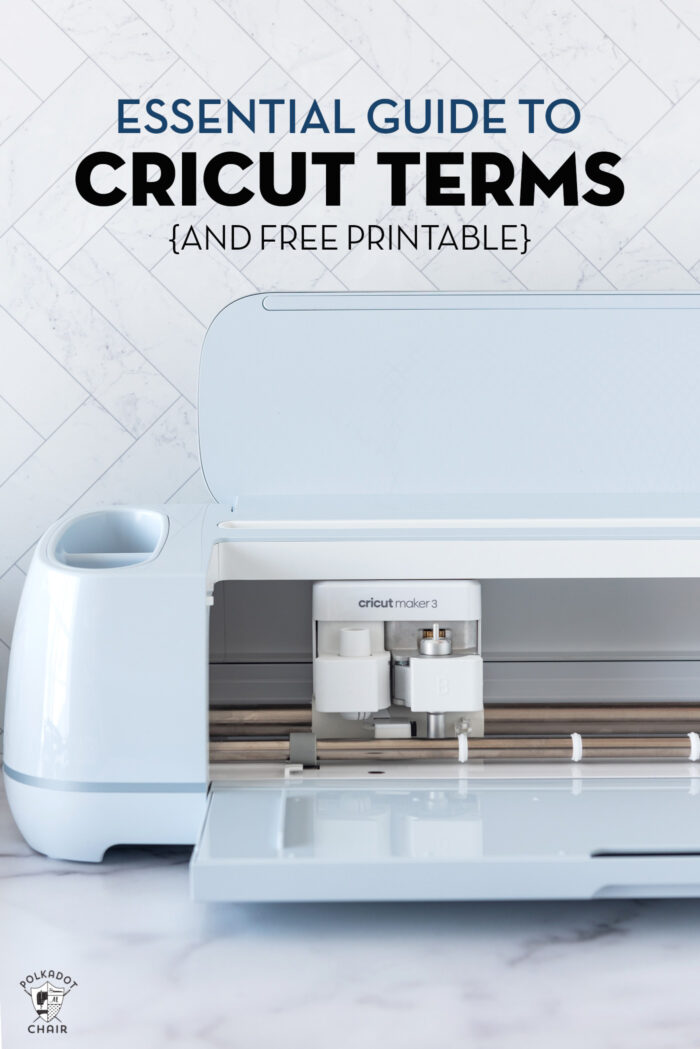
This is sponsored content, I am thrilled to be working with Cricut on this post!
Have you heard people use terms like “HTV, SVG, Transfer Tape & Weld”? If you’ve been confused, you’re not alone. It took me a while to get all the “lingo” down too!
I’m going to break it all down a bit for you today by giving you definitions of some of the most frequently used Cricut terms and most frequently asked questions when it comes to Cricut projects. It’s like our own personal Cricut dictionary.
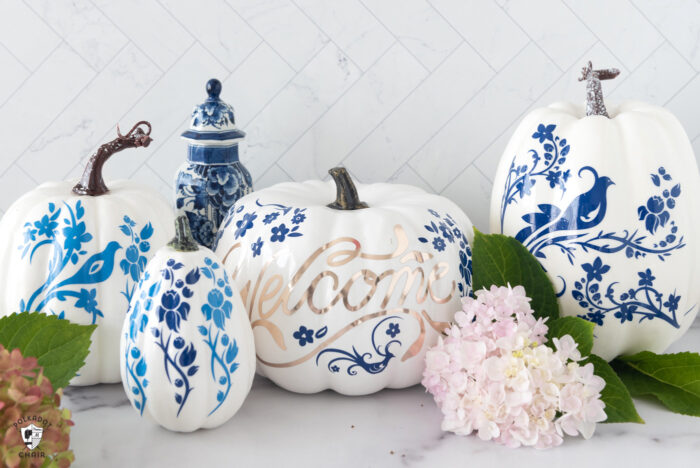
Recently I created a set of blue and white pumpkins to use in my home this Fall (you can find the full tutorial for them here). As I created my project, I took the time to make a note of some of the terms that might pop up in my instructions and include them in this post.
Guide to Cricut Terms & Answers to Frequently Asked Questions
Canvas refers to the screen in Cricut Design Space. It’s the space that you see on your screen which features a grid background.
An SVG file is a Scaleable Vector Graphic. It’s a type of file that Cricut Design space “reads”. You can find LOADS of SVG files online (also called cut files). Independent designers (like myself) can create graphics then share them with others. Once you have the files you can upload them into Cricut Design Space to create the same project that was featured online.
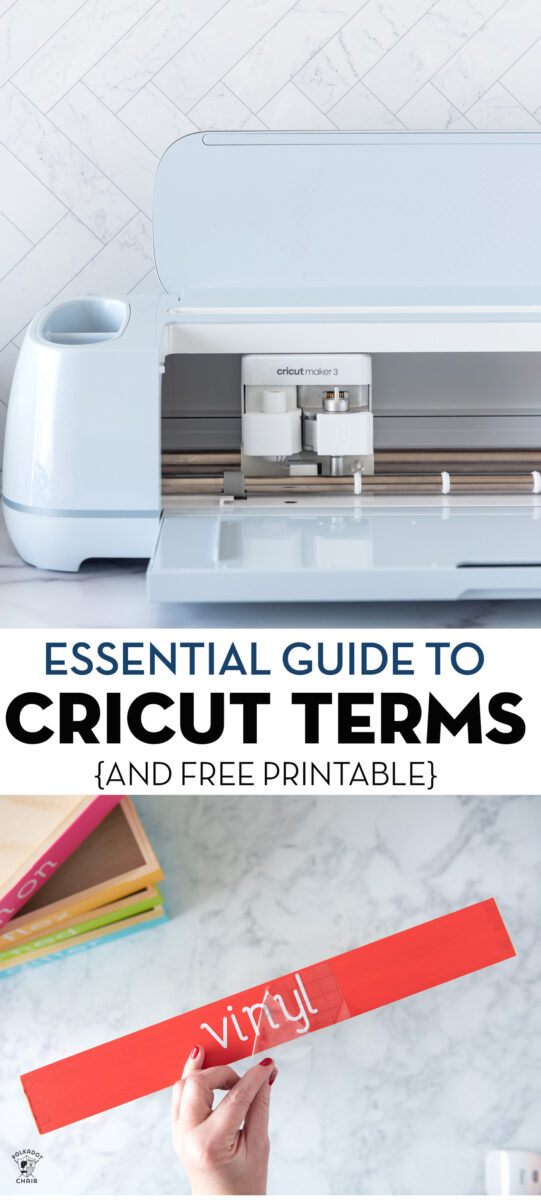
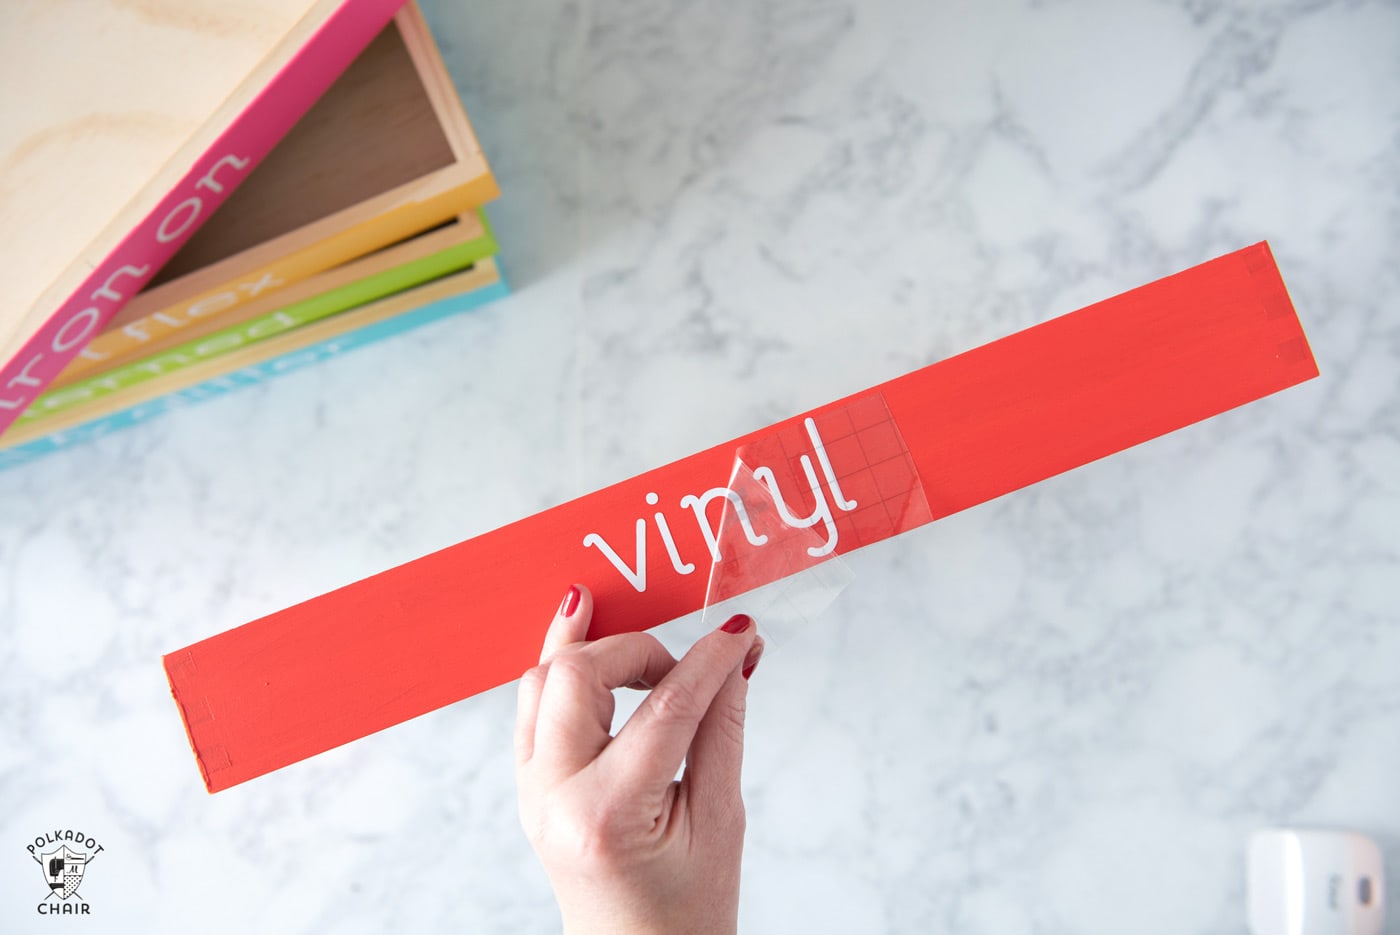
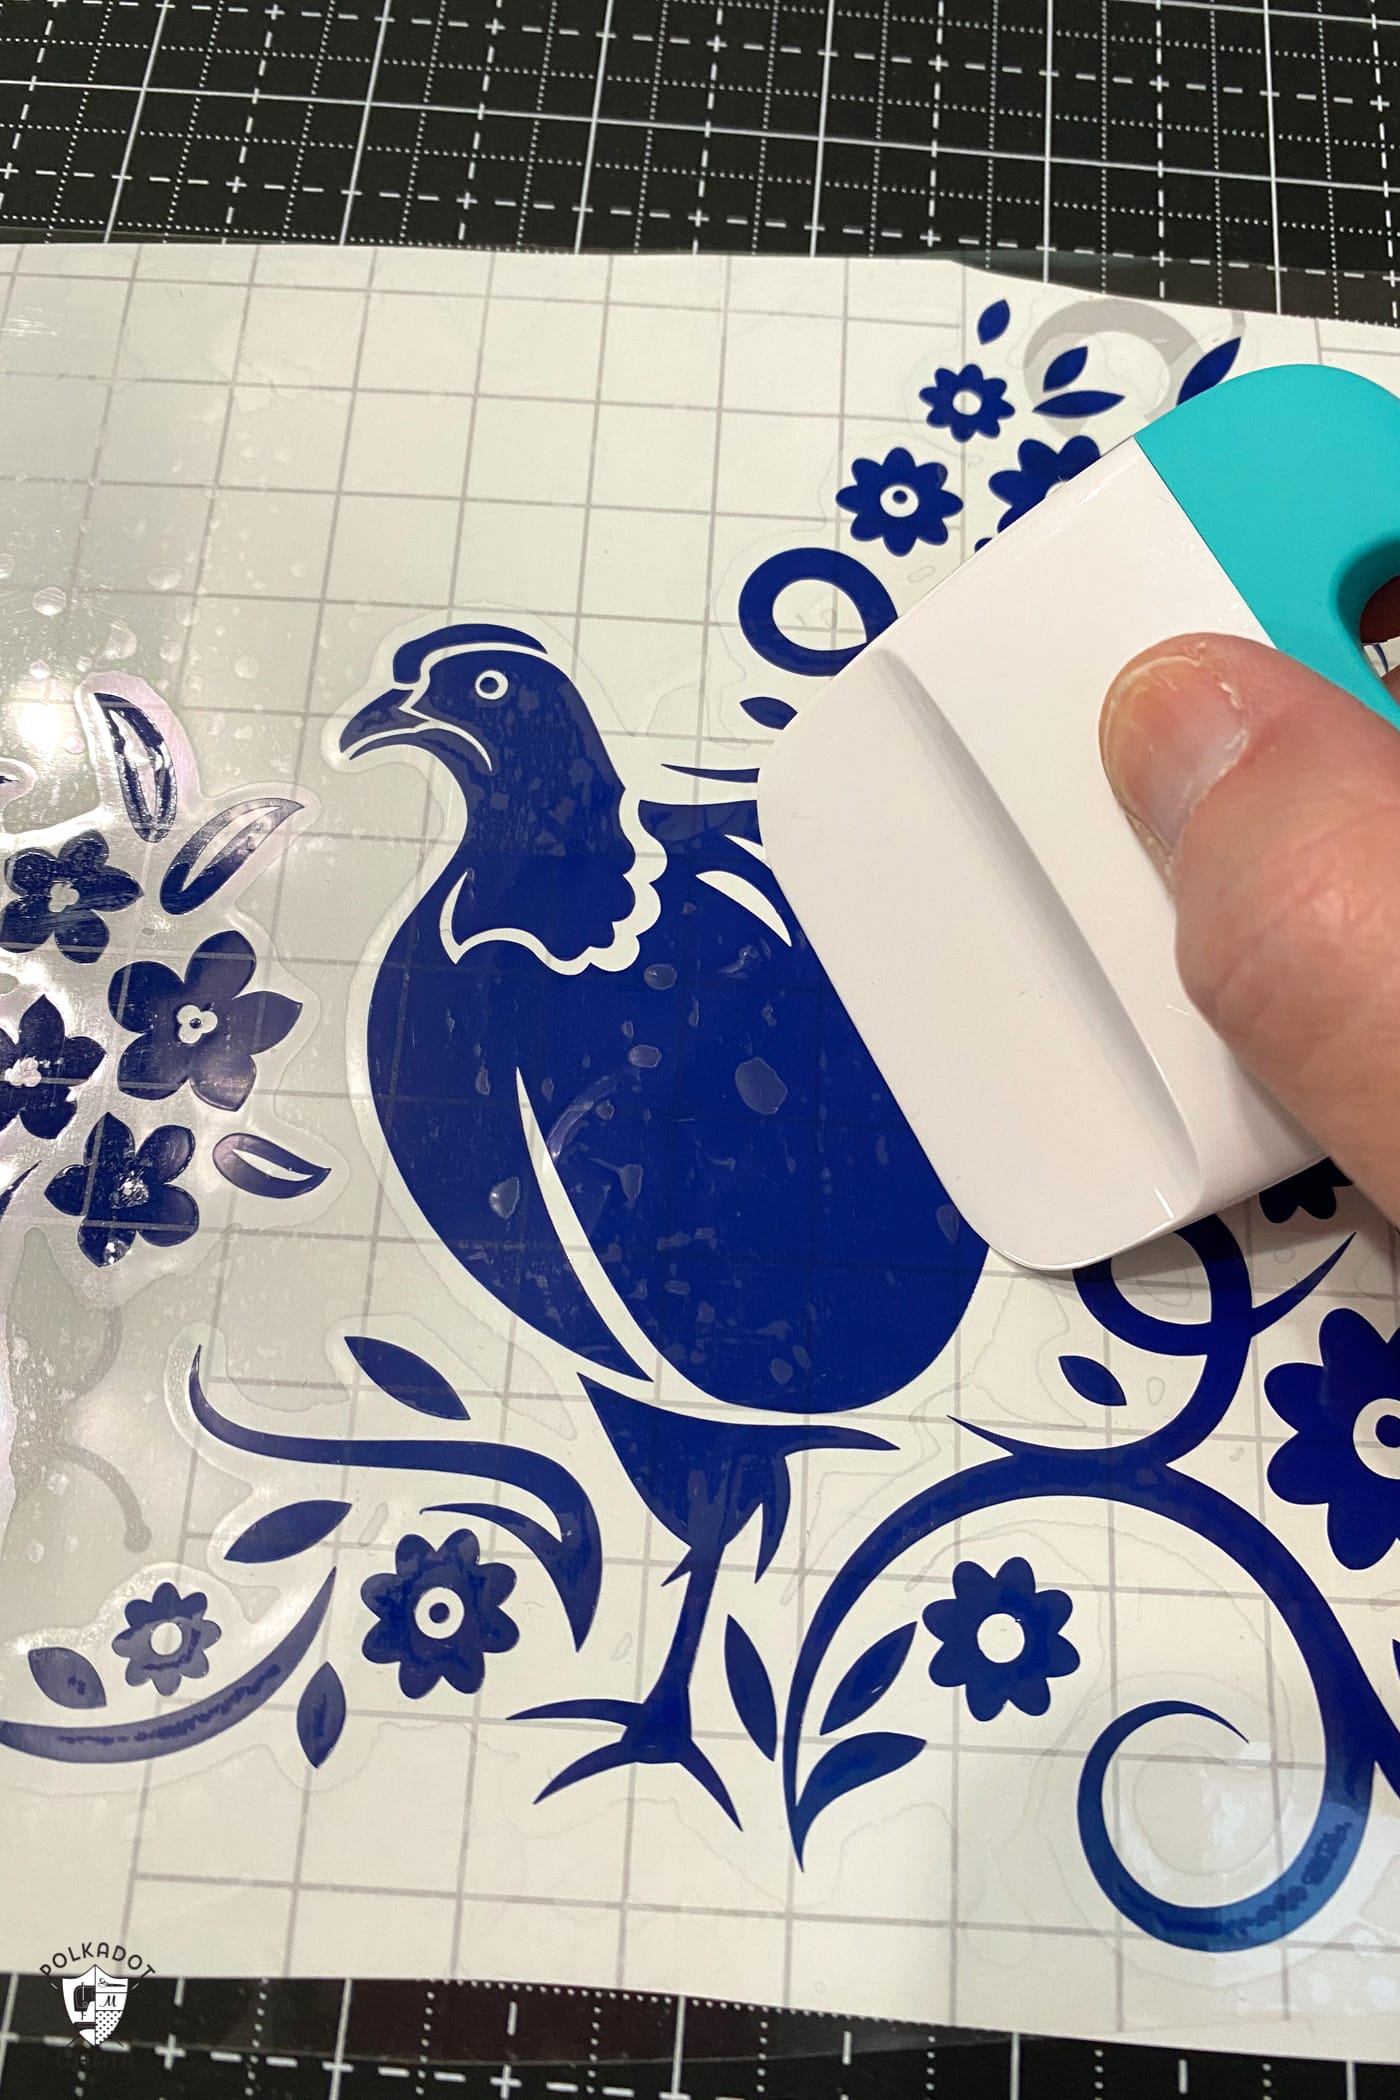
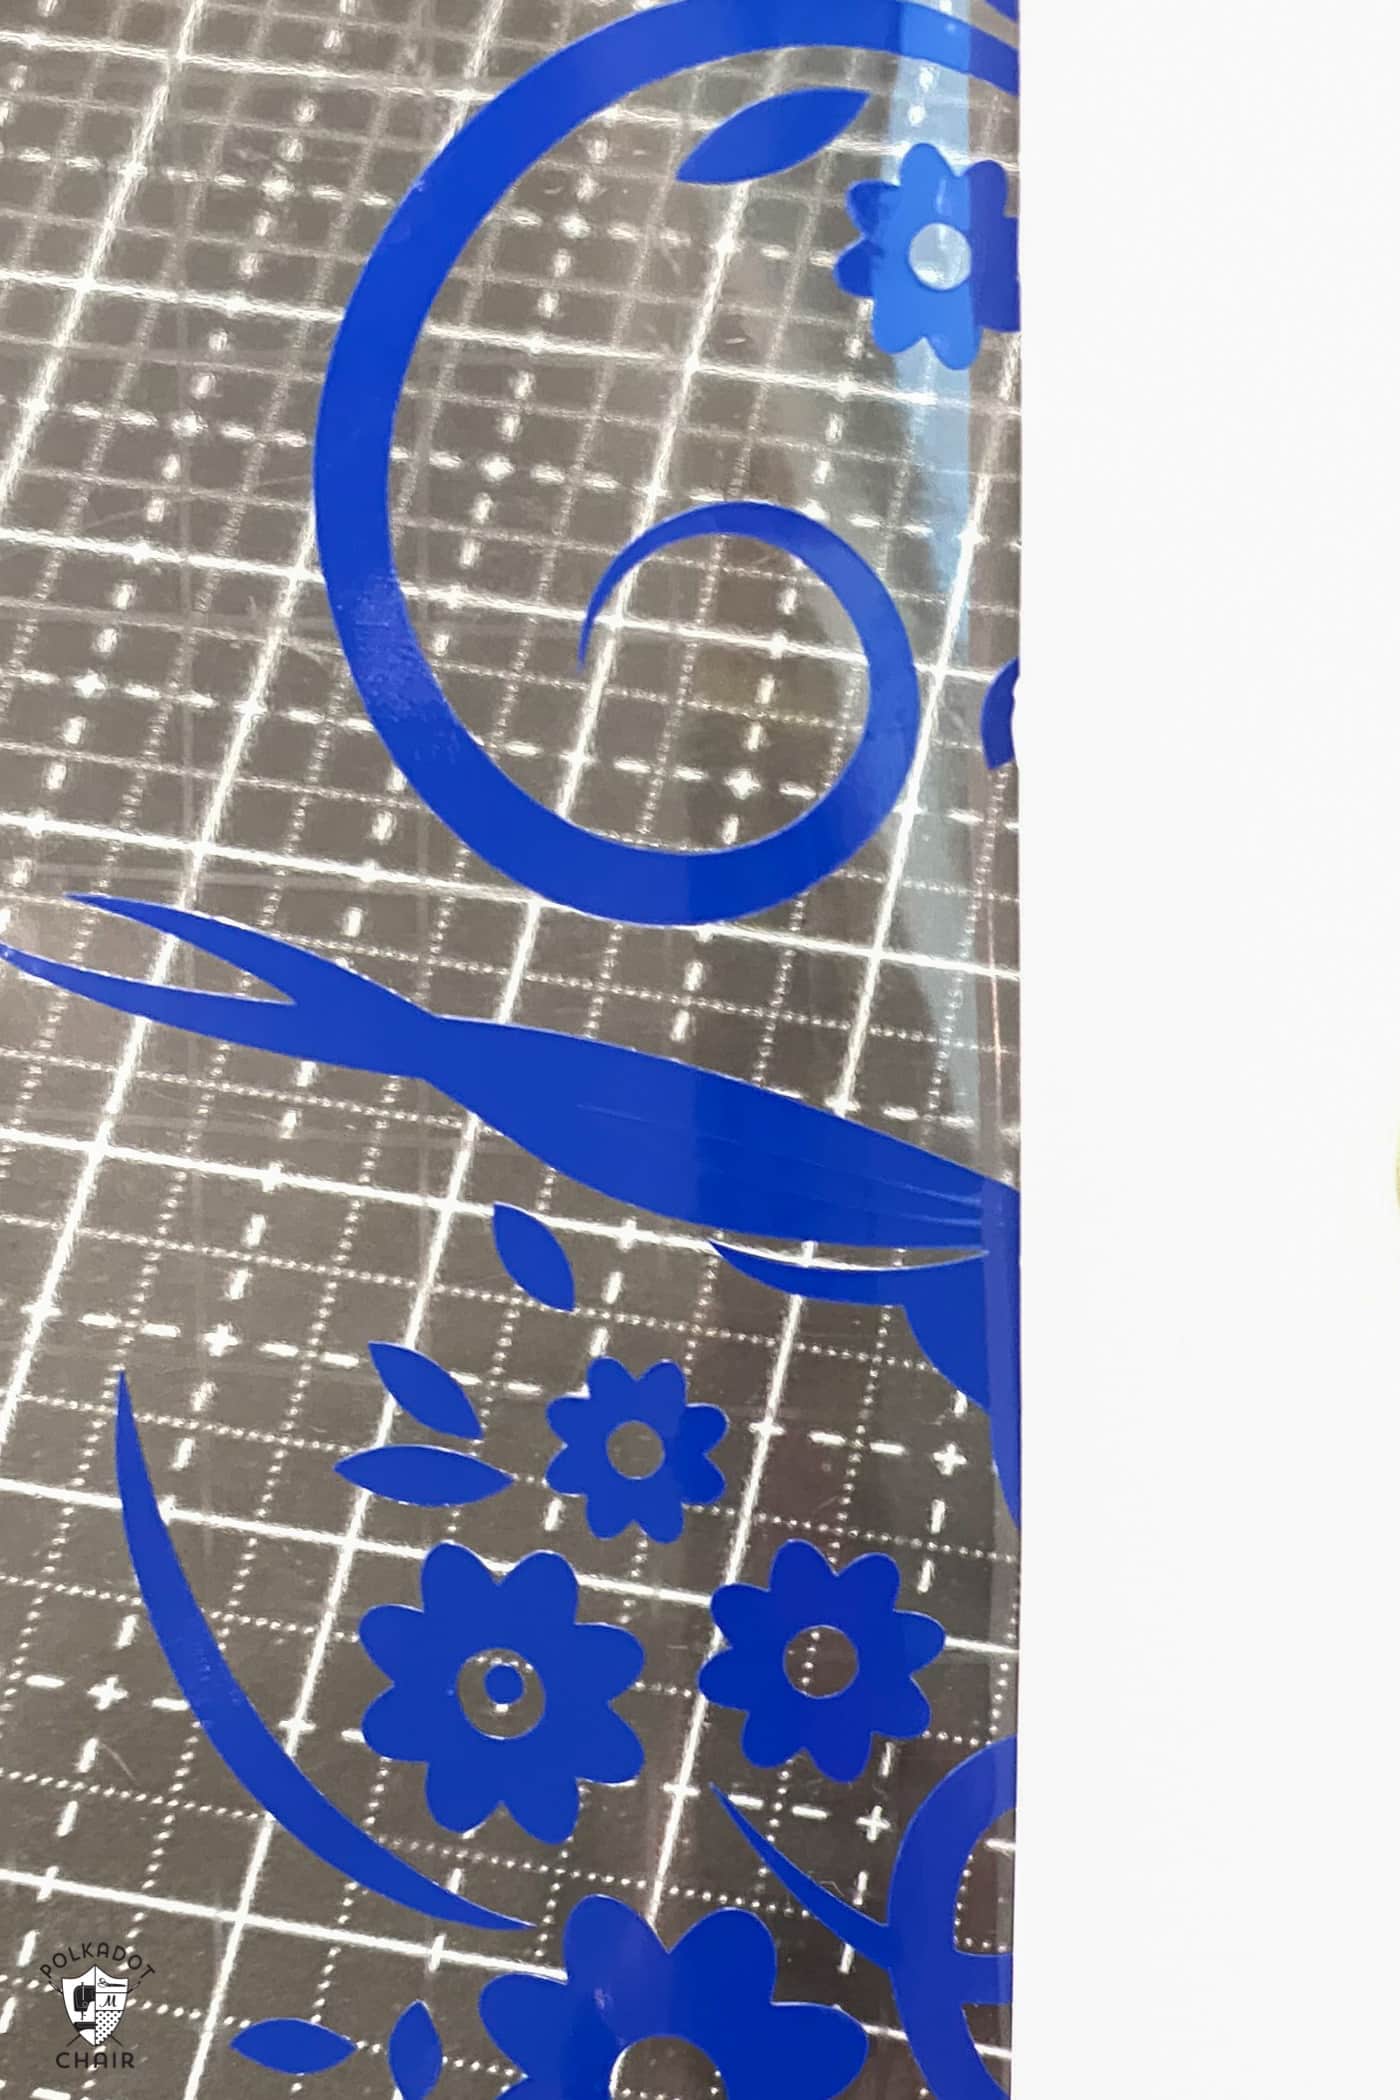
When you cut an image from Vinyl with your Cricut the image stays attached to the backing sheet. You need to transfer that image from the backing sheet to your project. Since most things you cut with your Cricut contain more than one piece, you don’t want to pick up each piece individually and stick it to your project. This is where transfer tape comes in.
It is a clear sheet of tape that you adhere to the top of your cut-out image. You then peel the image from the backing sheet and attach it to your project. When the vinyl is stuck to your final project, peel away the transfer tape.
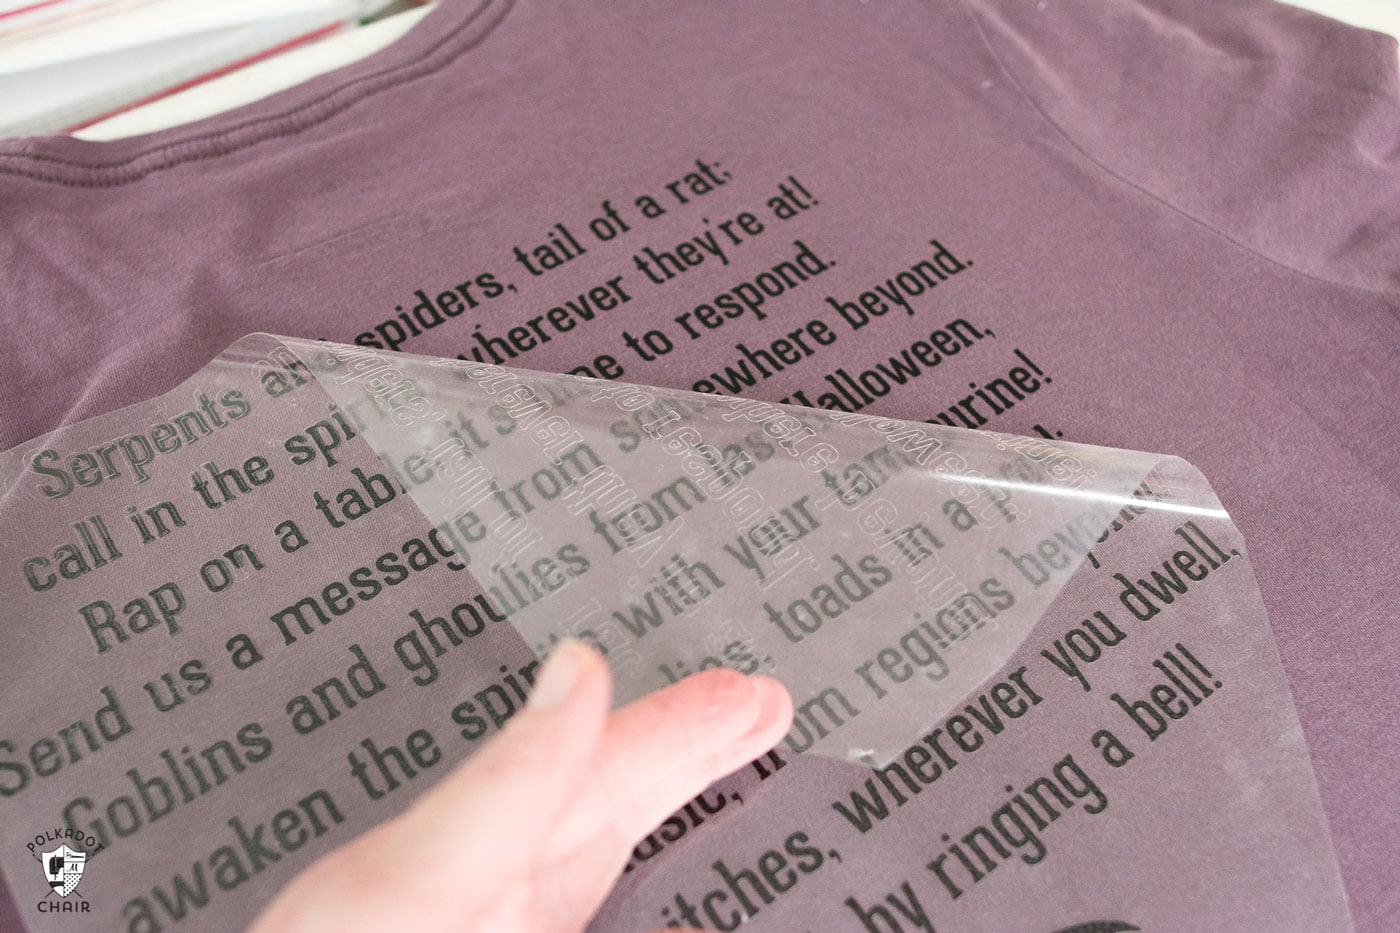
HTV stands for Heat Transfer Vinyl. It is a type of vinyl that is most commonly used in clothing applications (but you can also use it on wood and other surfaces).
It is also referred to as Iron-On Vinyl or just Iron-On. The vinyl is not sticky out of the package and “melts” (for lack of a better term) when heated to adhere to fabric surfaces.
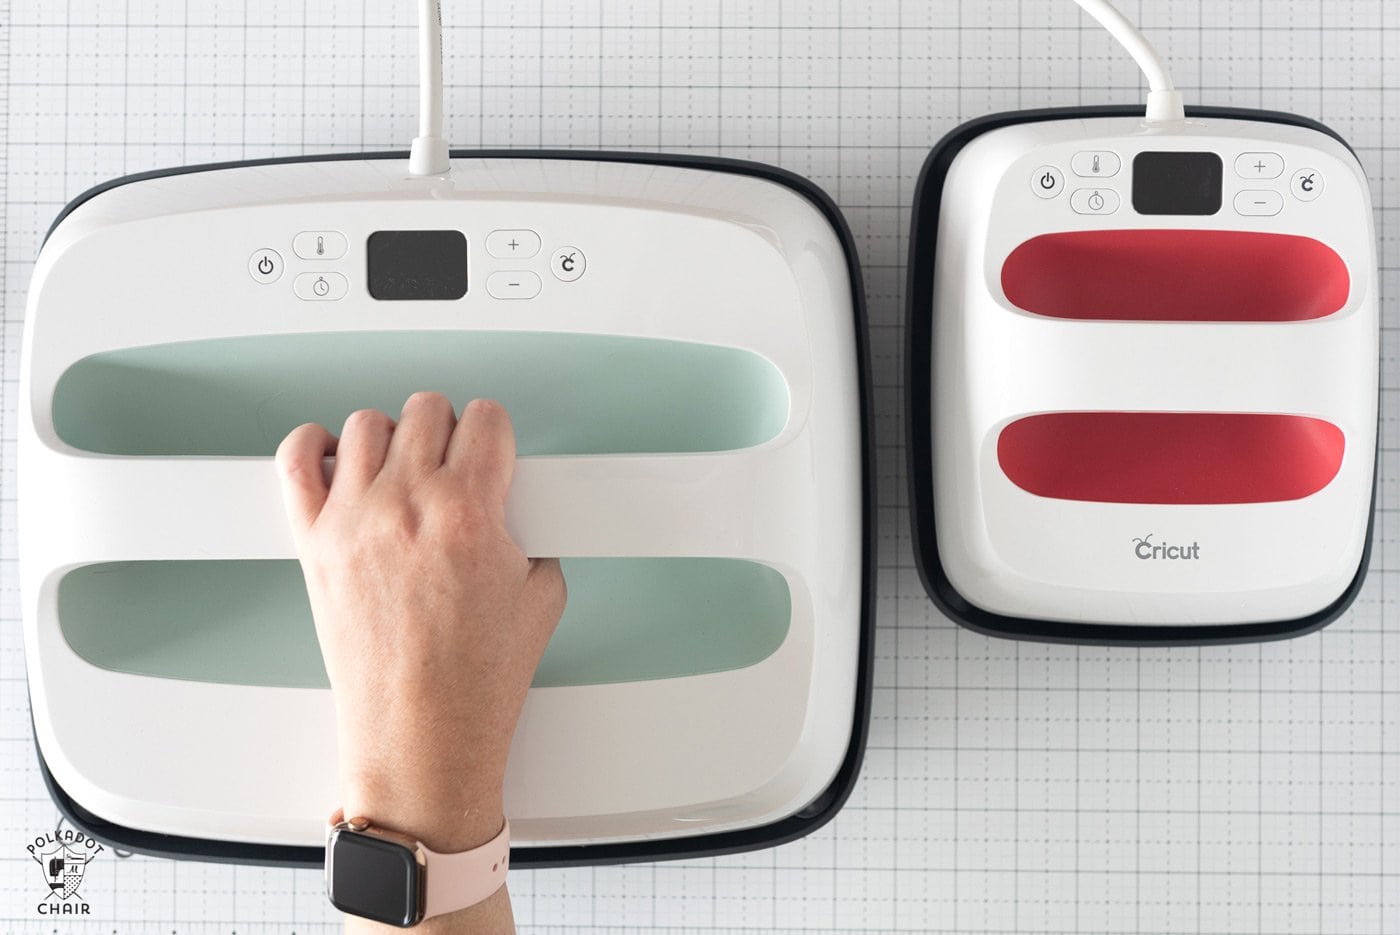
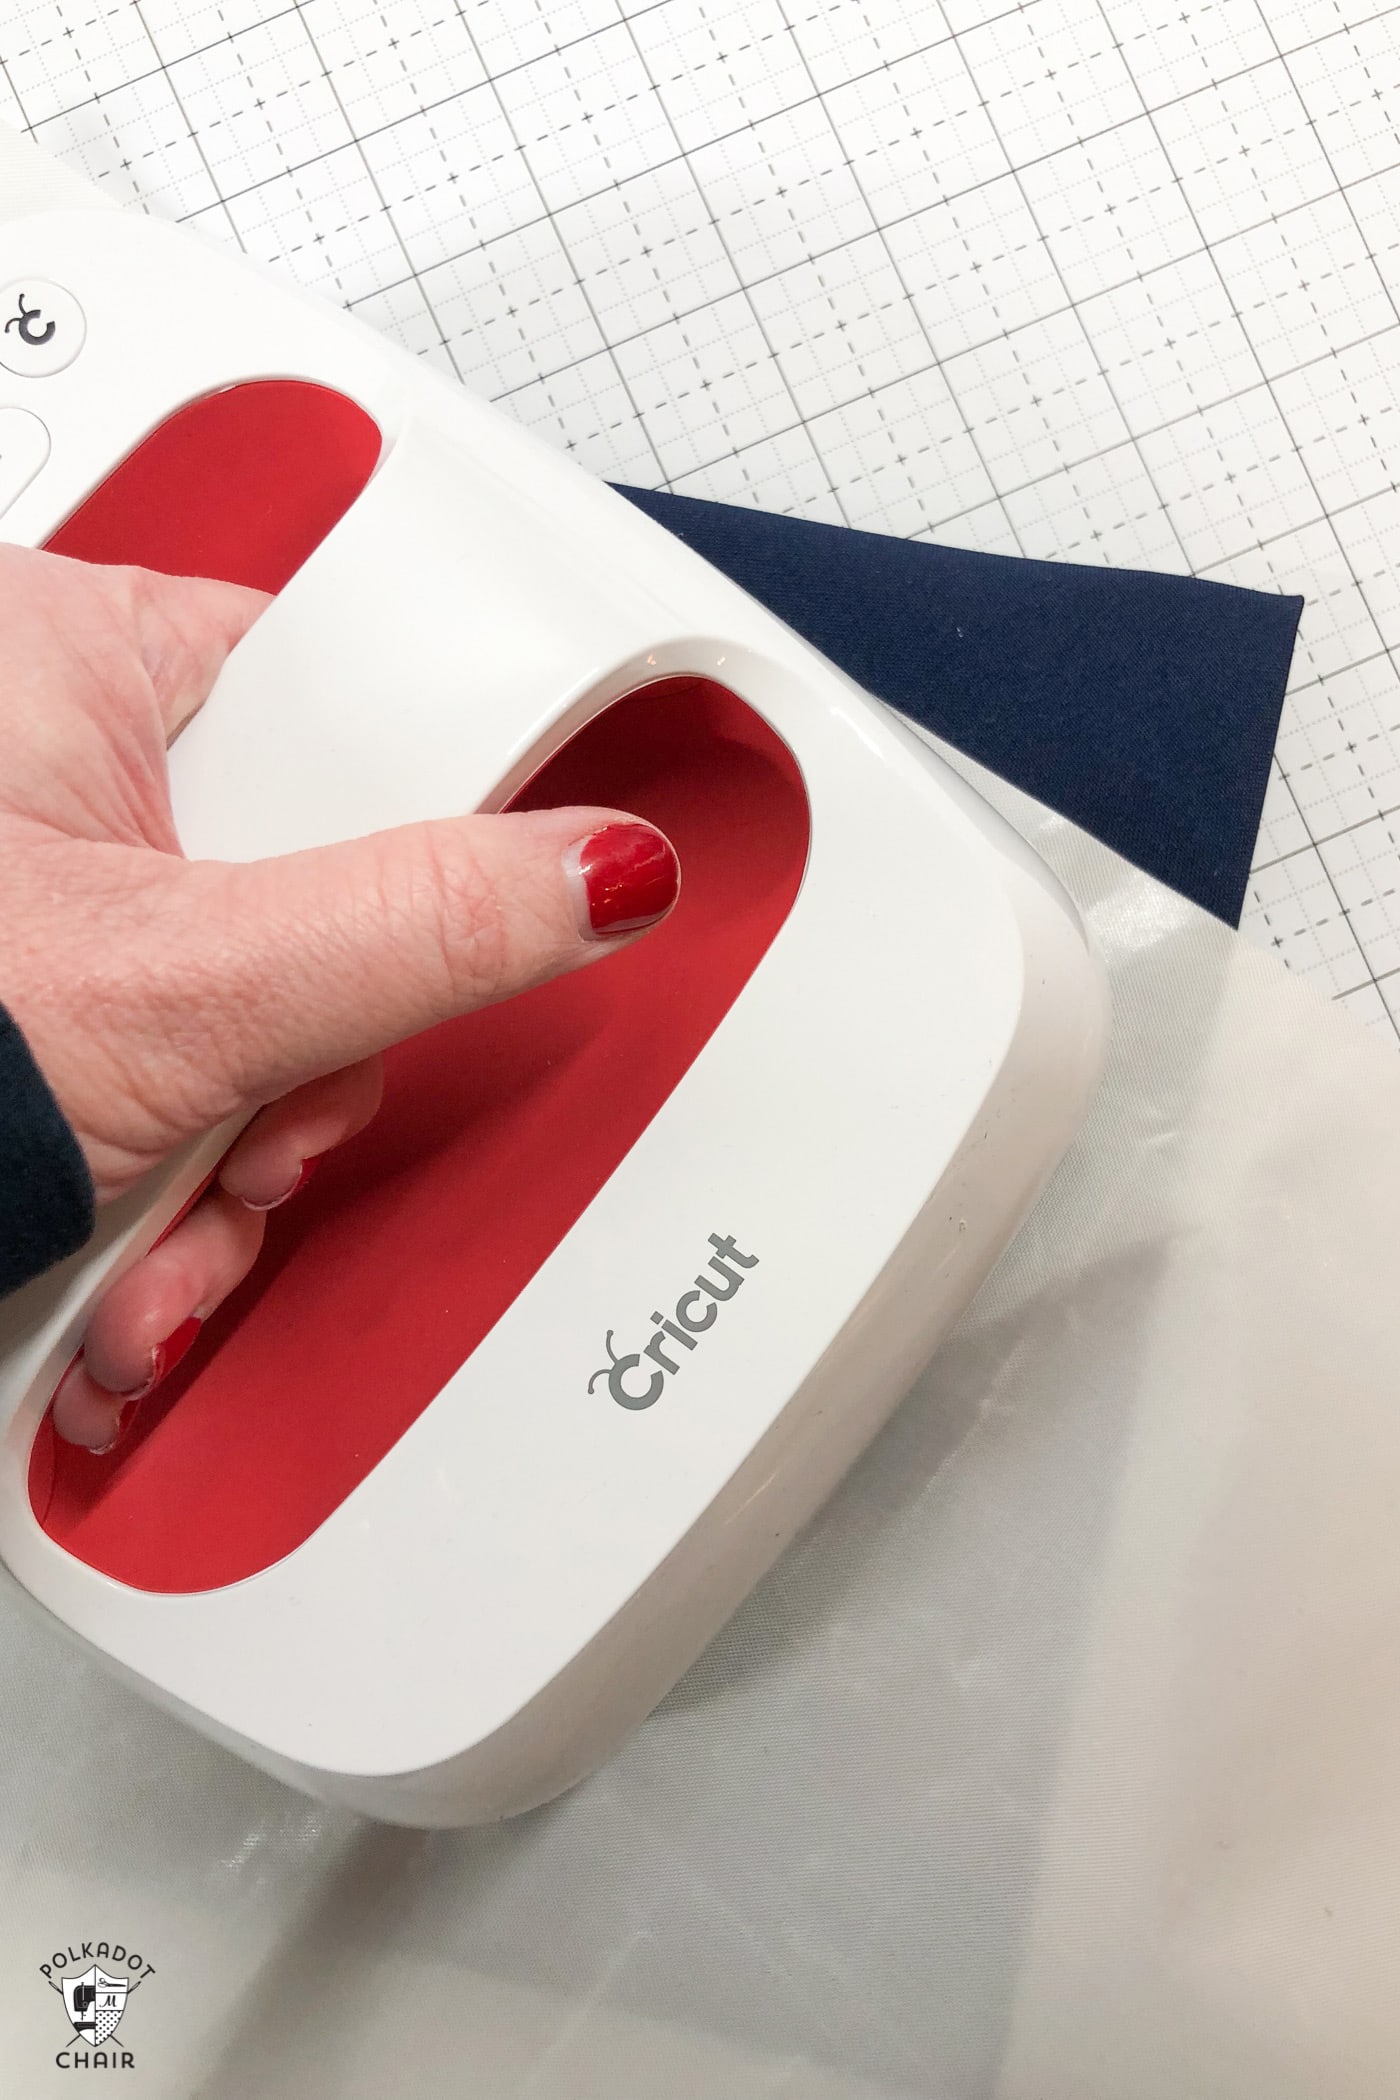
The Cricut EasyPress is a machine designed to be used with heat-activated materials like HTV & Infusible Ink. It is a handheld, tabletop machine with a metal plate that heats up to the temperature you set on the machine.
It offers a more consistent temperature across the heat plate than a household iron, making it ideal for adhering HTV & Infusible Ink.
System fonts are fonts found on your computer. Cricut fonts are fonts that exist only in Design Space.
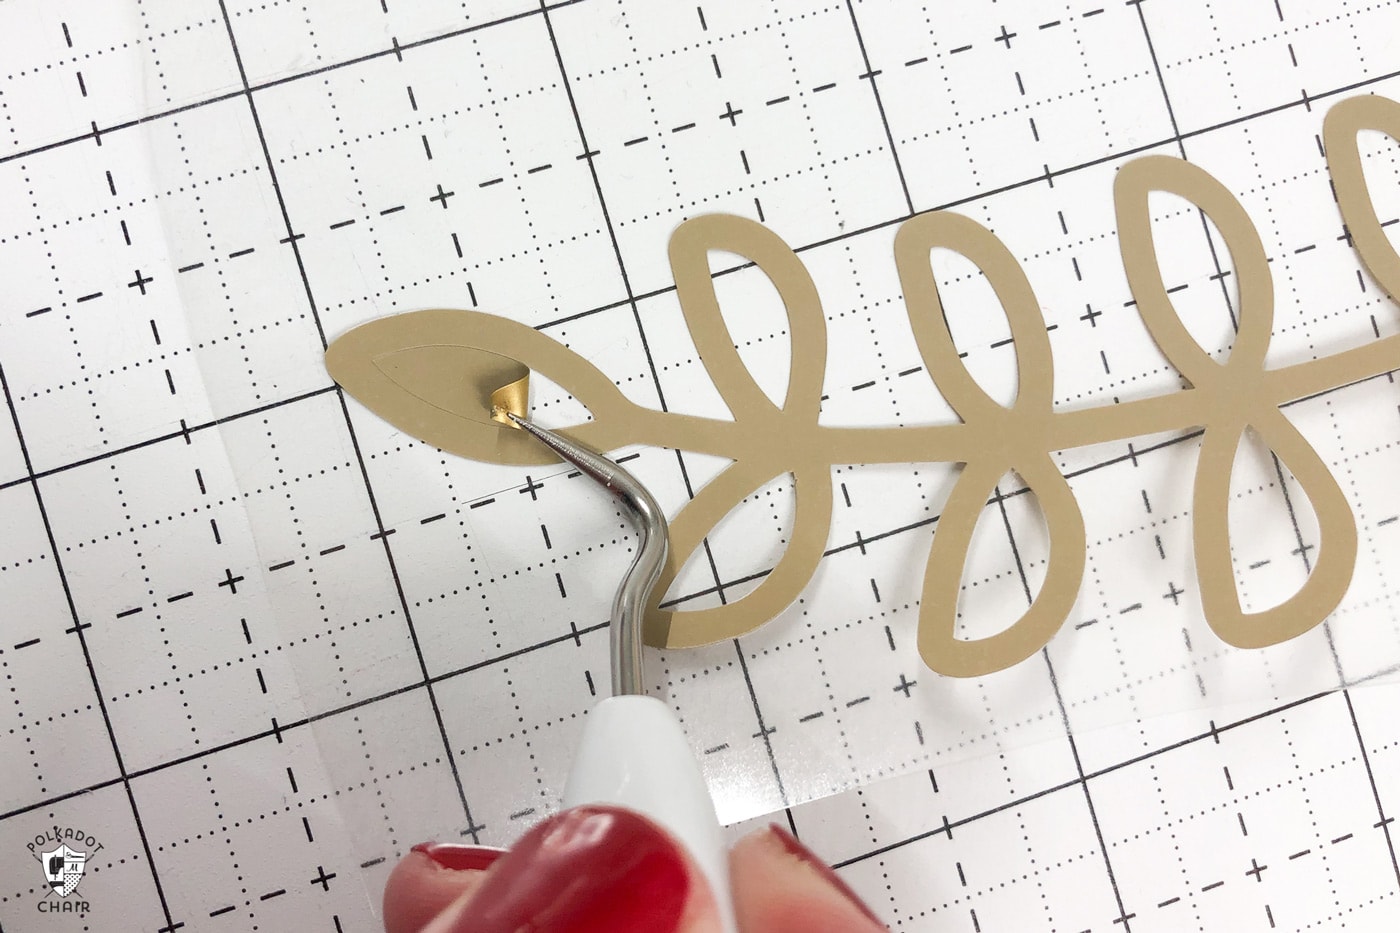
After you have cut out your image (from Vinyl or Heat Transfer Vinyl) on your Cricut machine, you will have parts of the image that you do not want to adhere to your project. You need to remove them from the finished project. The process of removing the excess vinyl is referred to as “weeding”.
Weeding can be difficult if your project is detailed. Especially if you’re working with Vinyl (which is sticky). It’s easy to make a big mess with the vinyl as you peel it off of the backing sheet.
You can create a “bounding” box (or a weeding box), but drawing a rectangle around your image in Cricut Design Space, then clicking “attach” to attach it to your image. Your image will then be cut with a large square around it. Which makes it much easier to weed since you are not dealing with as large of a piece of excess vinyl.
Use Align in Design space when you want to “line up” individual images. For example, you want all of your images to be centered with each other (make sure you click “attach” to get them to cut that way).
Arrange lets you move images forward and backward in Design Space. If you have two images on top of each other, you use them to decide which image is on top.
Attach tool: If you have two images that you want to cut exactly as they appear on your screen (like individual letters in a word), you need to select all of the images and click “ATTACH”. This will ensure that the images are cut the same way they are shown on your screen.
Weld Tool: If you have overlapping images that you want them to cut as all one big piece, you need to “WELD” those images together. For example a square and circle. If you do not weld them they will both cut as individual images. If you click “weld” you are creating a new shape from the individual shapes.
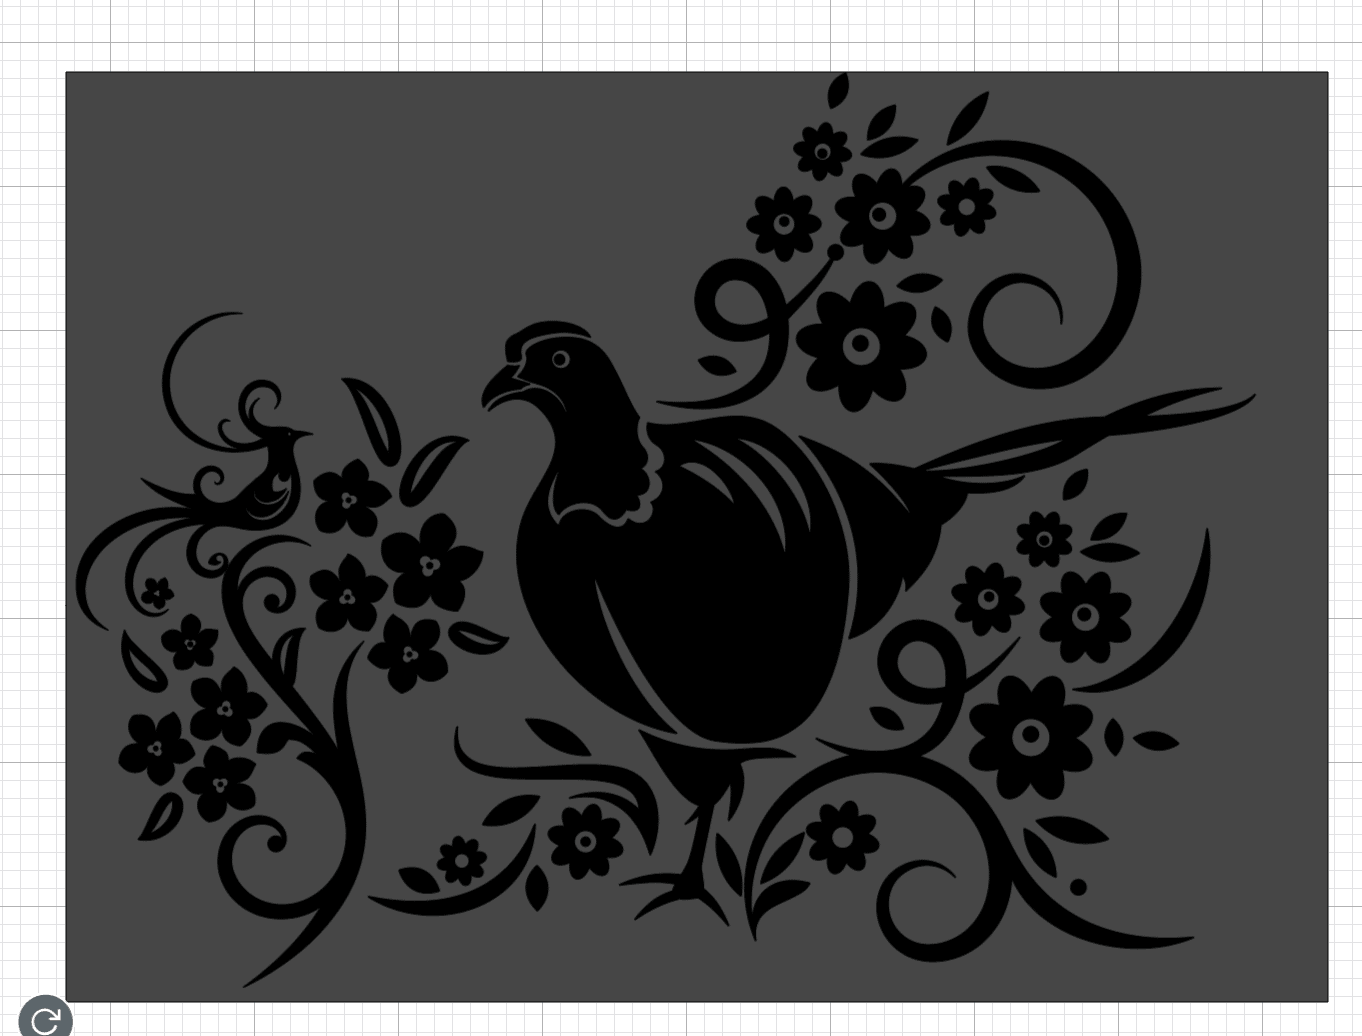
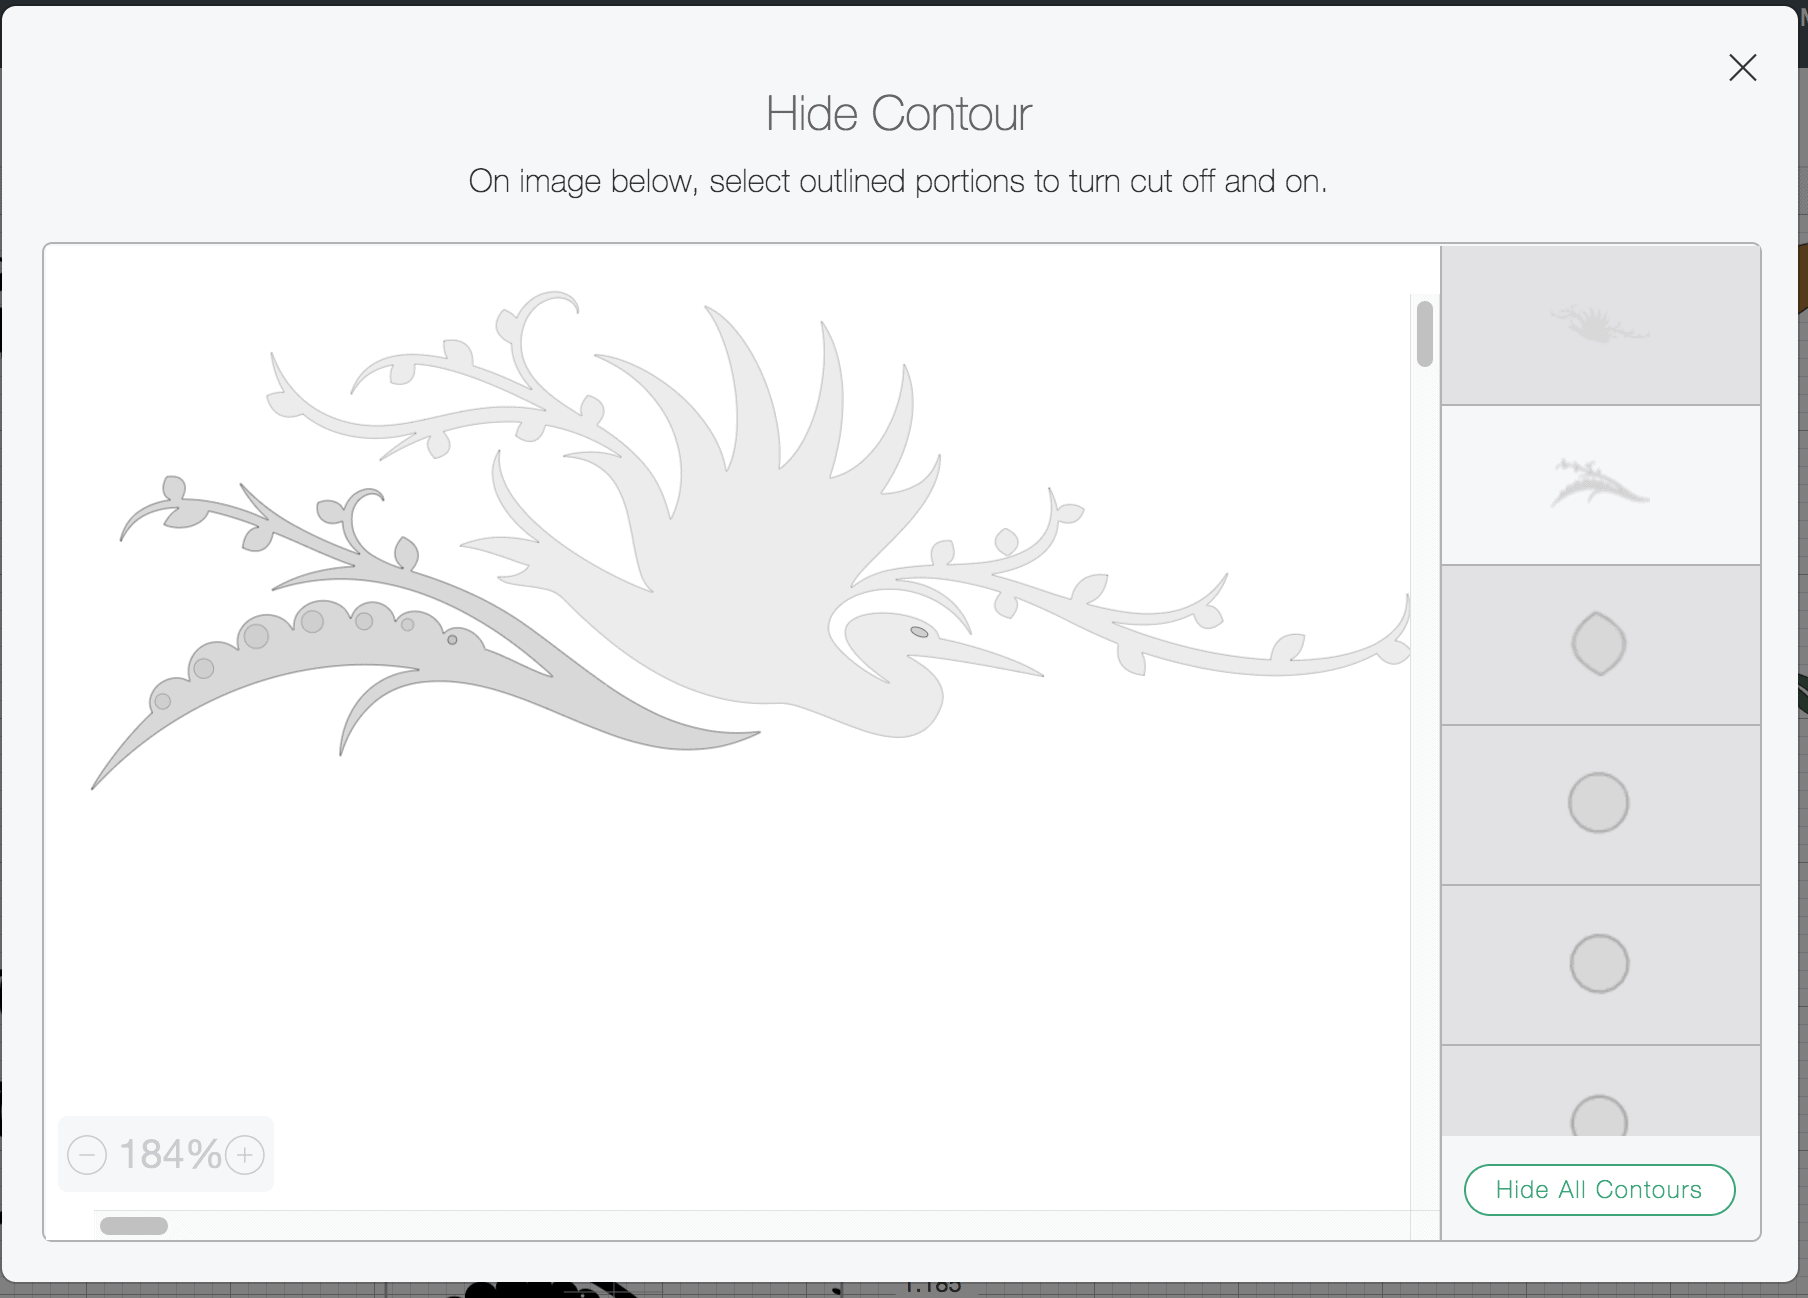
Yes, for many images you can. If you use the Contor tool in Design Space you can select portions of an image to hide. Design space will only cut the images that are shown. I used this tool to cut out just one portion of the floral image on one of my pumpkins.
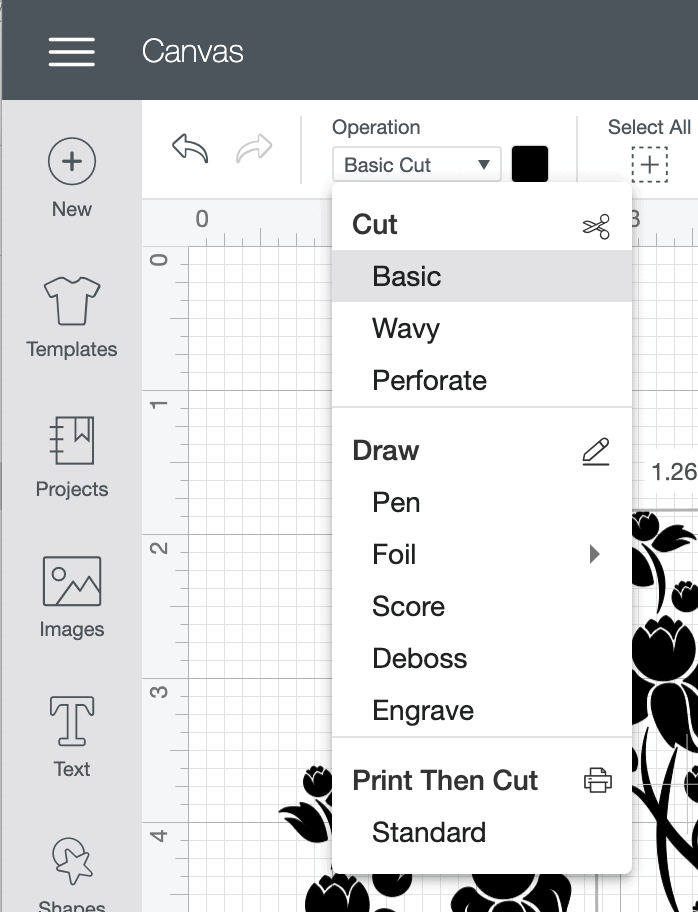
Linetype refers to HOW your Cricut is going to process the line of your image. Linetype in Design Space is now referred to as “Operation”. Under the Operation drop-down box, you can see choices for Cut, Draw, Print then Cut.
This is how you tell your machine WHAT you want it to do with the image on your Canvas.
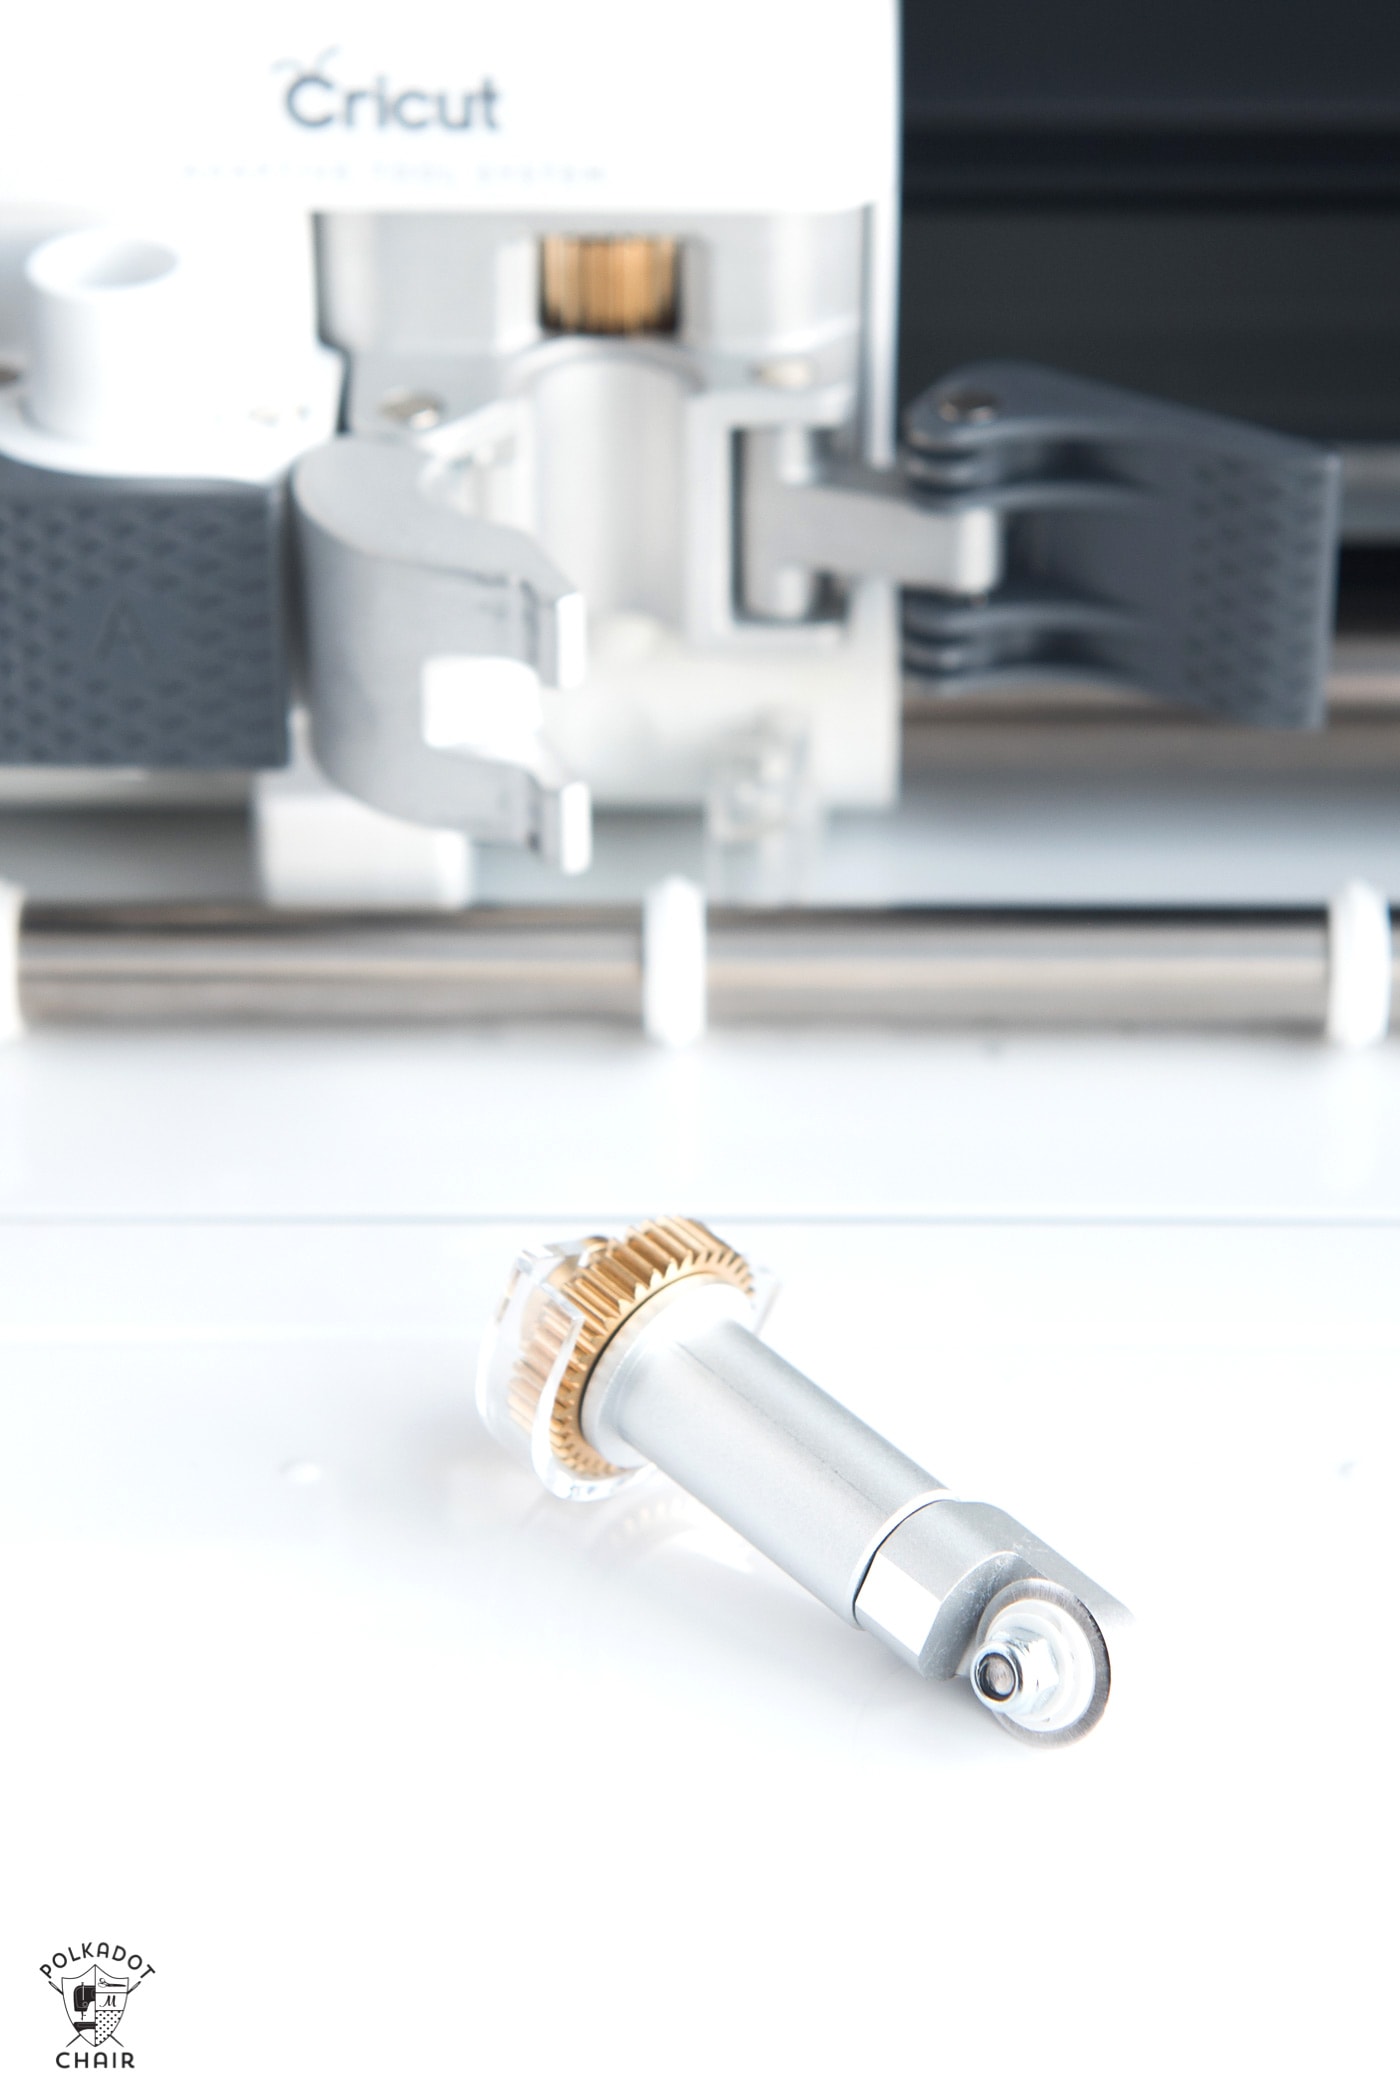
A Cricut Blade is a tool that the machine uses to cut images from a variety of materials. It is small (like the tip of a pen) and comes with all of the machines. You will need to change it periodically (don’t worry it’s easy)!
The Maker machines also feature Tools that can be swapped out with the Adaptive Tool System. Some of these tools include a Rotary Cutter, Knife Blade, Scoring Blade & Embossing Tip.
No, only the Maker machines have an adaptive tool system.
No. You can purchase images individually in Design Space. In addition, you can also cut with most of the fonts on your home computer for free. Cricut Access is a subscription service that gives you free access to thousands of images in Cricut Design Space.
Years ago, Cricut machines used to have images that came on cartridges (this was before the machines connected to computers). To cut an image you would purchase a cartridge, then insert the cartridge into the machine.
These are the marks that allow you to line up your individually cut images after you have cut them out. These are used for multi-layer projects. You add them to your projects manually, they can be any image but are usually a small square.
These marks are cut out but not adhered to in the final project. Add a square to the same place on each part of a multilayer image to allow you to align them properly when your final project is assembled.
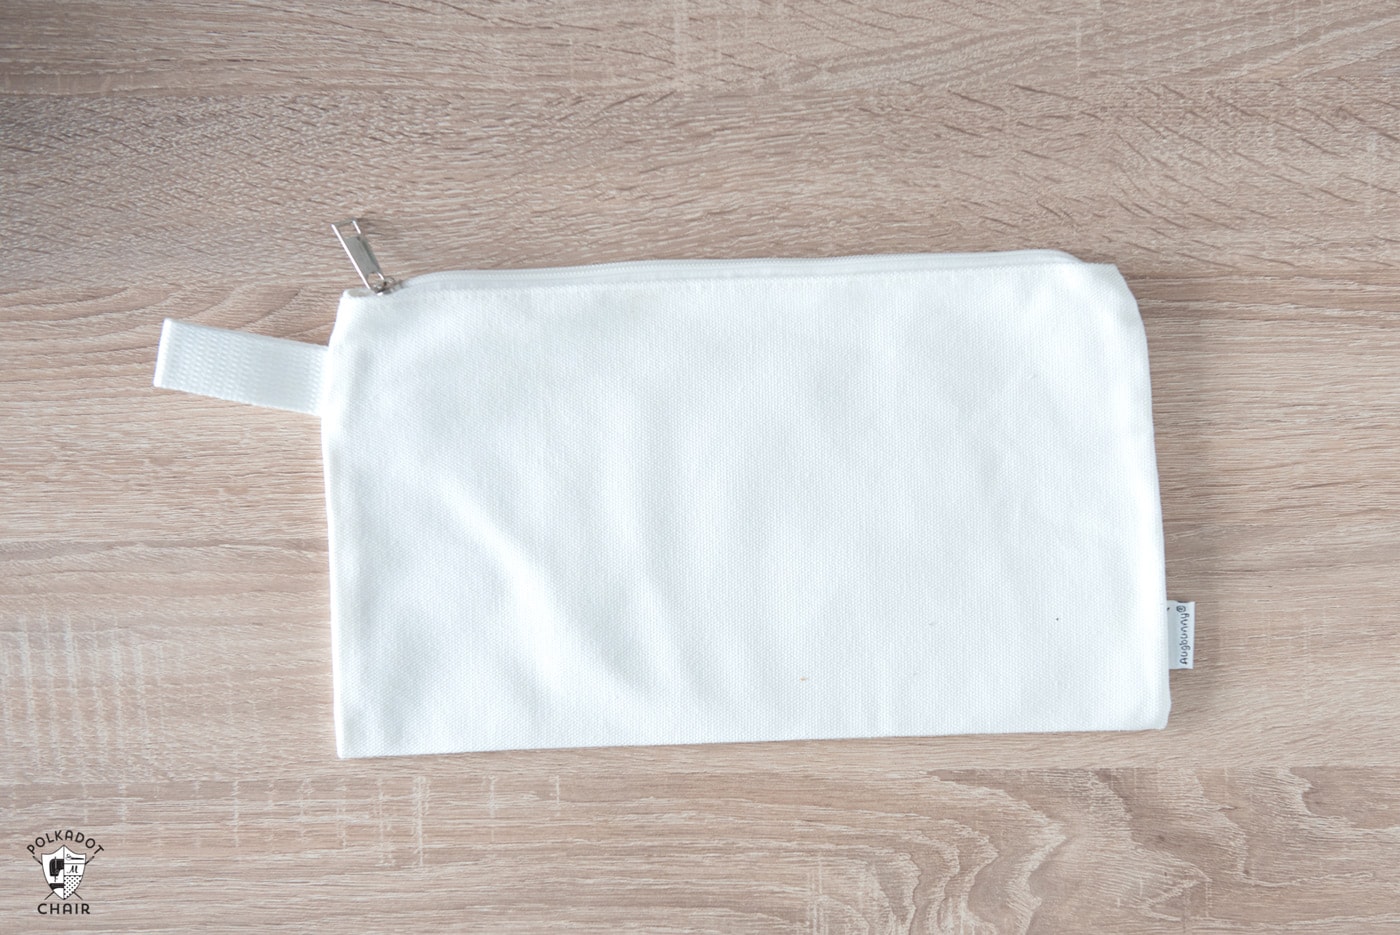
A blank is an item you are adding your Cricut design to. It can be a t-shirt, zip bag, tote bag, mug, or a piece of wood.
When you are working with Vinyl, you need to make sure that the image cut from the vinyl adheres completely to your surface.
To get out “bubbles” you burnish the image. You can use a Cricut tool for this or an old credit card. Rub back and forth over the vinyl until you’re sure it’s adhered well to the surface.
No! You can do most of what you need right in Cricut Design Space.
Sticker paper that can be cut with a Cricut contains two layers. The actual sticker and the sticker backing. A Kiss Cut allows you to cut through only the sticker layer leaving the backing intact.
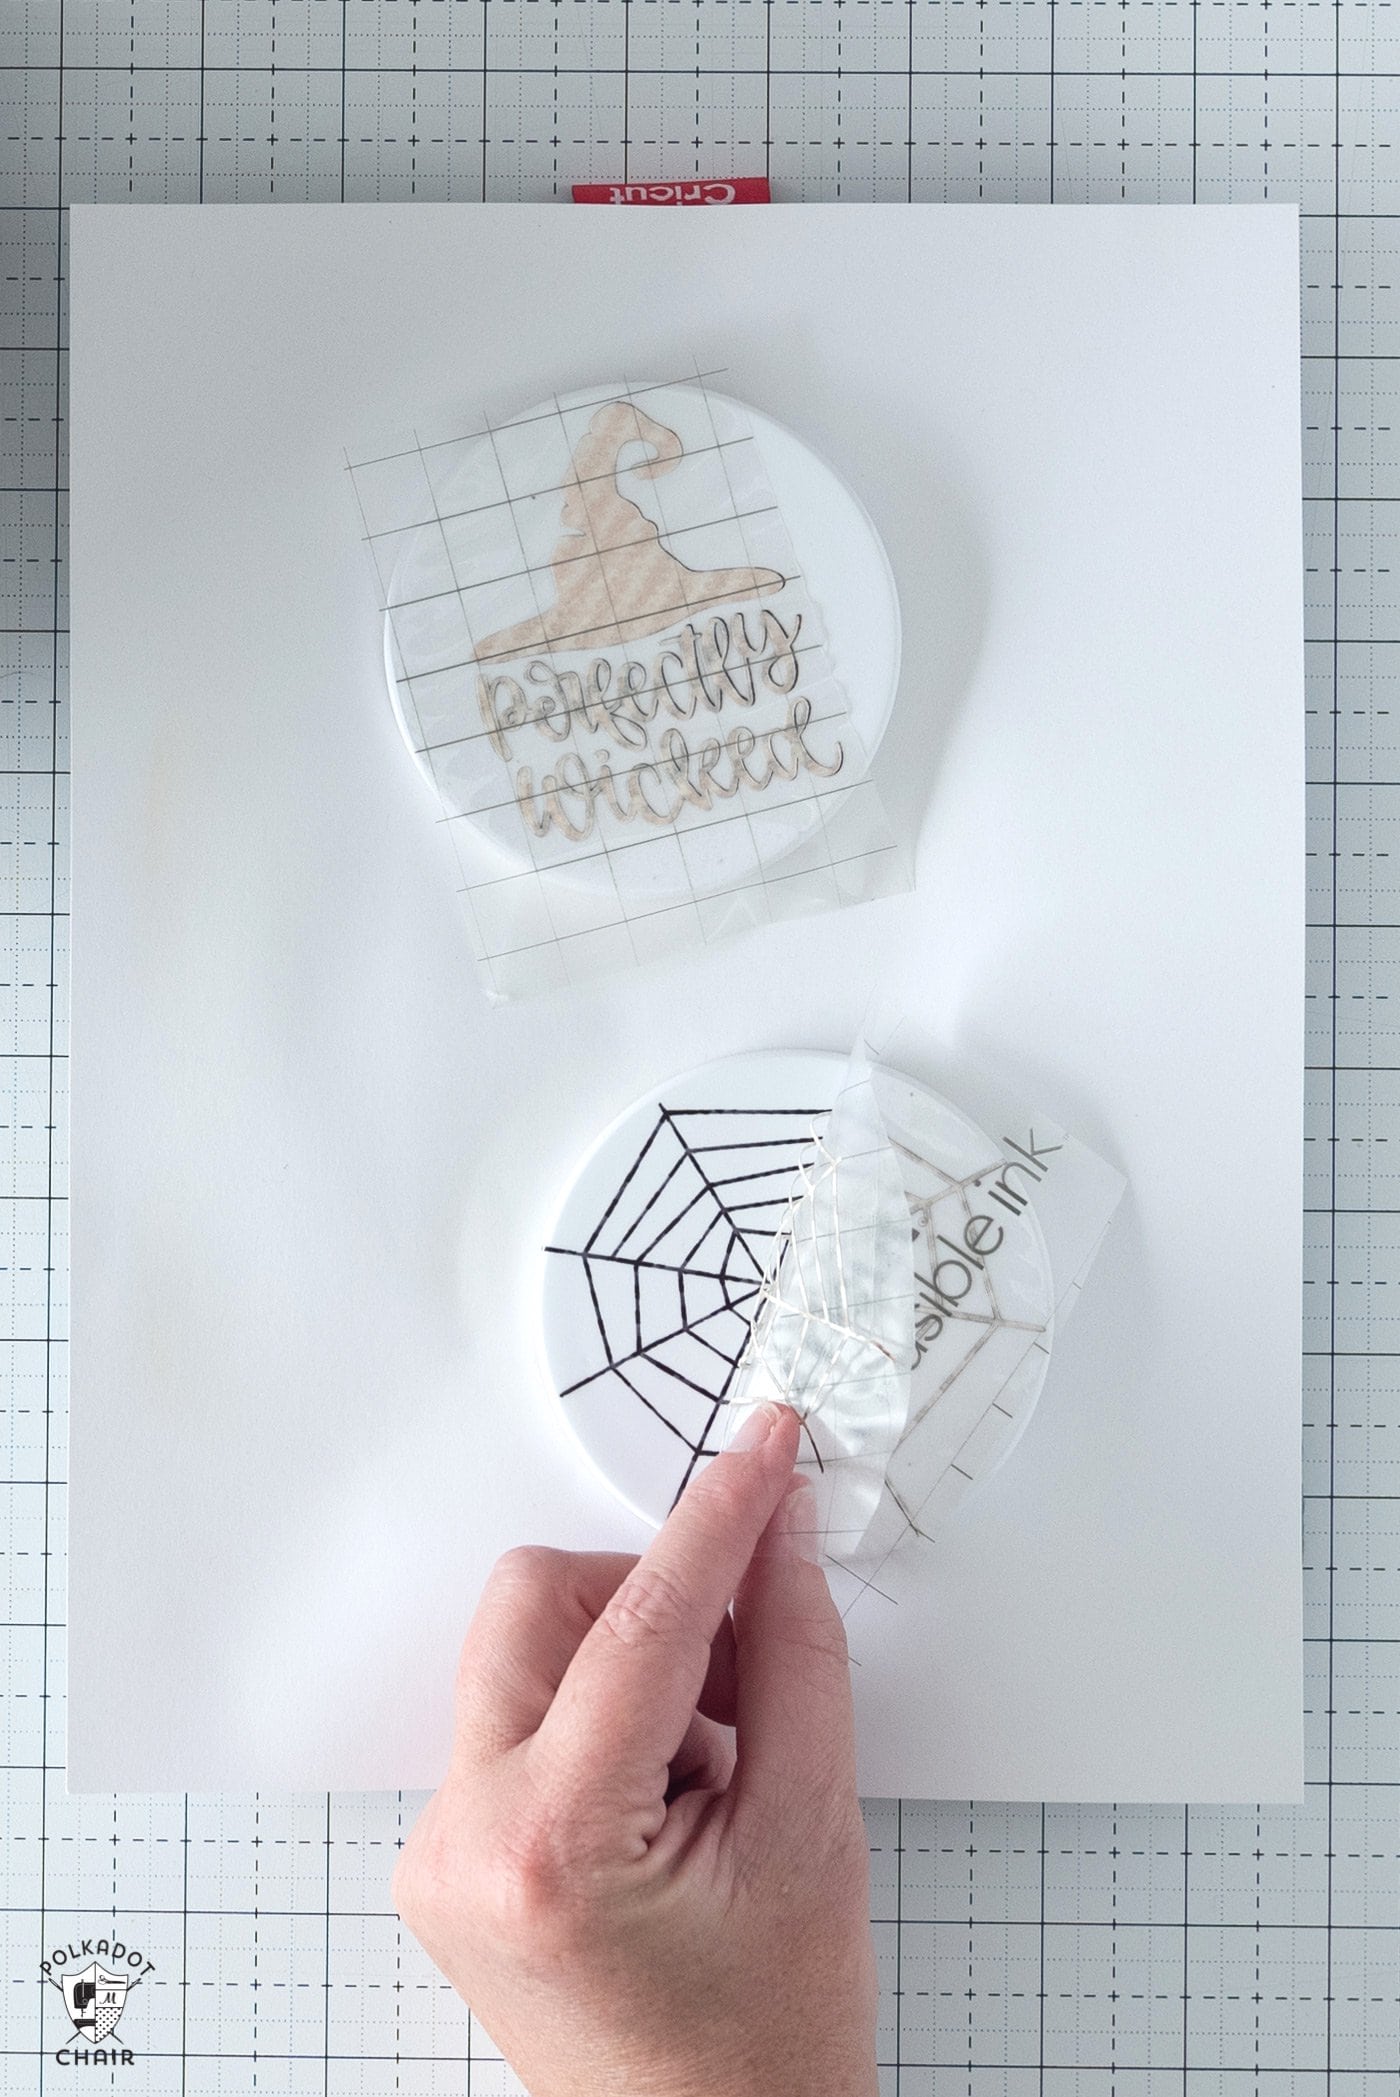
Yes. Infusible Ink is a relatively new product from Cricut which features a special kind of ink that is set with heat. The ink and the surface become one. Sublimation is actually a scientific term that has to do with the method that a solid becomes a gas, but you don’t need to know that.
Just know that when someone refers to Sublimation, they are referring to the process of infusing ink into a surface. The ink actually becomes a part of the surface, it does not sit on top of it.
You can use Cricut infusible ink on a variety of surfaces. Those surfaces need to be infusible ink-ready.
As a general rule, you never want your heat surface (usually an EasyPress) to touch your heat transfer vinyl directly. That’s why you cut out your images in reverse and place them face down when you use HTV. If you are creating a project with two layers, you will need to use a pressing sheet when you are adding the second layer if any of your 1st layers of vinyl is exposed.
You’ll also want to use a Teflon sheet when you are adhering HTV to surfaces that may melt if they come in direct contact with the surface of your EasyPress.
This method allows you to more easily adhere images with transfer tape. Instead of fighting with one big piece of vinyl (or transfer tape), you peel back half of the backing and fold it. Creating a hinge.
You then attach the first part of your vinyl and peel the rest of the backing off slowly. Allowing for a simpler and more accurate application.
Free Printable Cricut Terms Sheet
If you’d like a free printable PDF version of many of the terms listed in this article, just fill out the form below and we will email you a copy!
My Favorite Cricut Products
Cricut sells a lot of materials, machines, and accessories. I’ve tried most of them. To help you narrow it down a bit if you’re looking to purchase a new machine or accessory. I’m linking to some of my favorite tools, materials & machines below!
- Cricut Maker 3 (you can get great deals on machine bundles on Cricut.com)
- Roll Holder for Maker 3
- Cricut EasyPress (I like the large size the best): Make sure you get the EasyPress mat as well.
- Cricut Weeding Tools: (I use the small hook tool ALL the time, making weeding vinyl so much easier).
- Cricut BrightPad: A cordless, flat, bright lightbox. I use it to weed Cricut vinyl and use it all the time to trace applique shapes for sewing & quilting.
- Cricut Iron On Vinyl
- Cricut Permanent Vinyl
Drop Us your Cricut Questions!
If we forgot to include a term or technique that you’re confused about, just let us know in the comments section, we will answer it there for you!


I purchased a Cricut machine 8 or more years ago (from a TV commercial) and never used it. (Working and other responsibilities). If I got it out now to learn how to use it, would these same terms and instructions apply to a machine that old? Thank you…..I love your website – so many cute, nice and useable things to make!
It depends on which machine you have. Did you buy the Cricut Explore? If so then yes, the terms would apply.
Purchased a Joy few months back, still in box, know nothing about Cricuit. Is any of this information essential to the Joy? Maker was only model mentioned.
Thank you.
Yes, many of these terms also apply to the Joy. If you want more info about the Joy I have a blog post about it: https://www.polkadotchair.com/5-home-organization-projects-cricut-joy/
Thank You so much for sharing this great informative instructions with us about how to use the Cricut Machines and the different techniques It’s very helpful
I am a quilter so the Circuit Cutter Maker 4is what I have been looking at. What accessories would I need? How much could I cut before I need to replace the rotary blade?
I have not replaced my Rotary Blade yet. The biggest thing you will need is the fabric mat. The blade lasts longer than you think .