A very “batty” Halloween Apron Tutorial
Today I’m sharing with you my tutorial for the Riley Blake Design Team from last month… Happy Sewing!
Hi!
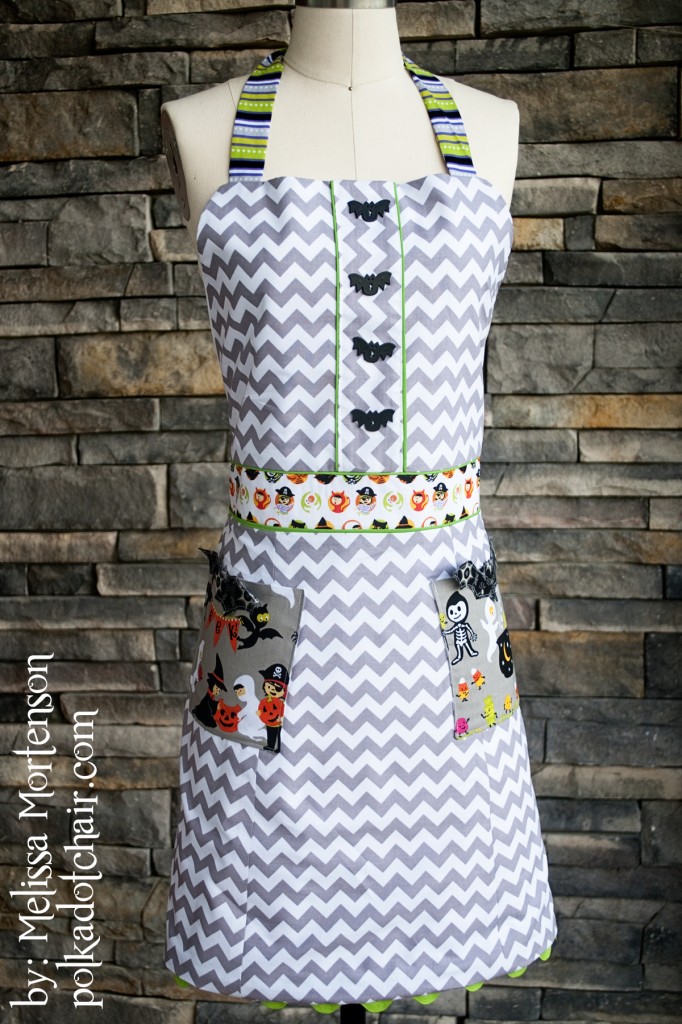
I’m Melissa Mortenson from the Polkadot Chair blog! Today I’m sharing with you a tutorial for this very “batty” apron! Stop by my blog for a chance to win some Costume Clubhouse Fat Quarters and Gray Chevron Fabric!!
I love Halloween! I thought it would be fun to have a cute apron to greet the trick or treaters this year. This apron is make from the amazing Riley Blake Chevrons (the small chevron) and the Costume Clubhouse line of fabric.
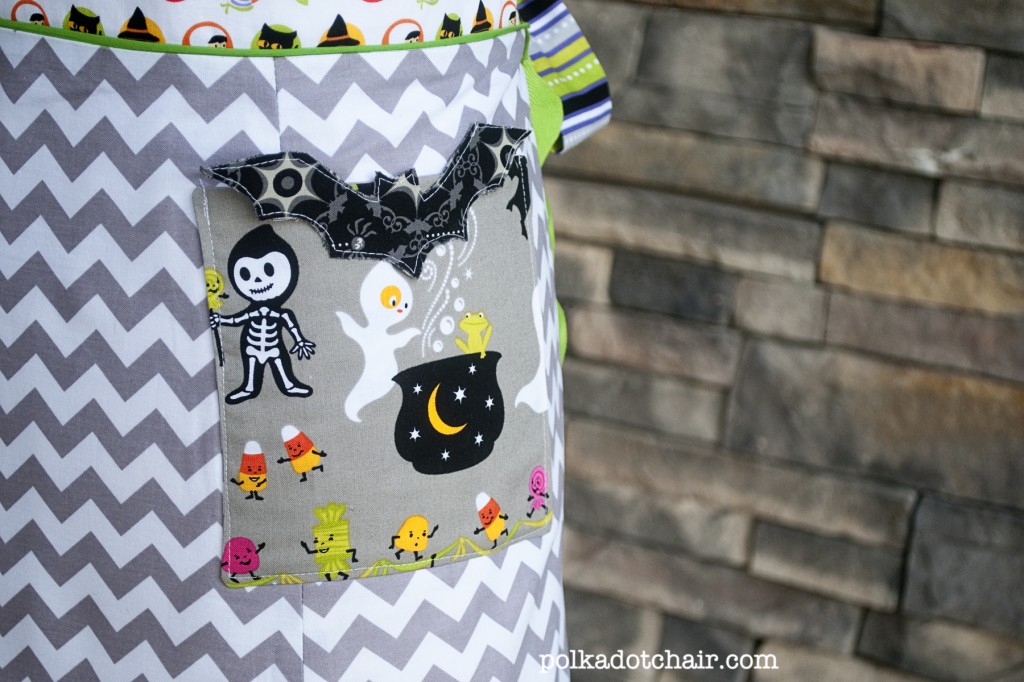
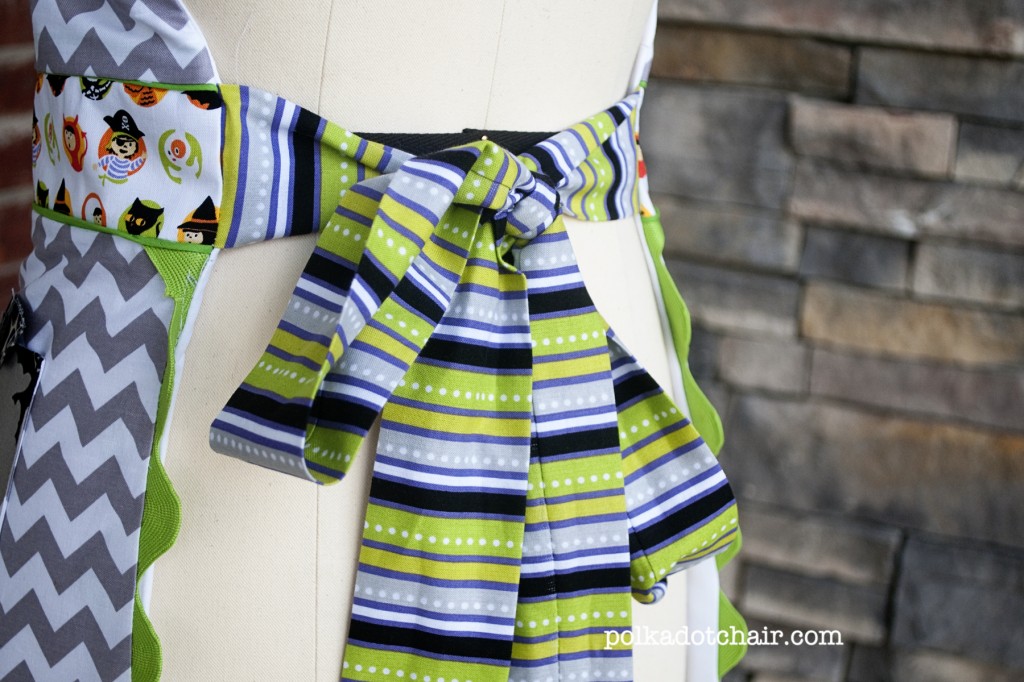
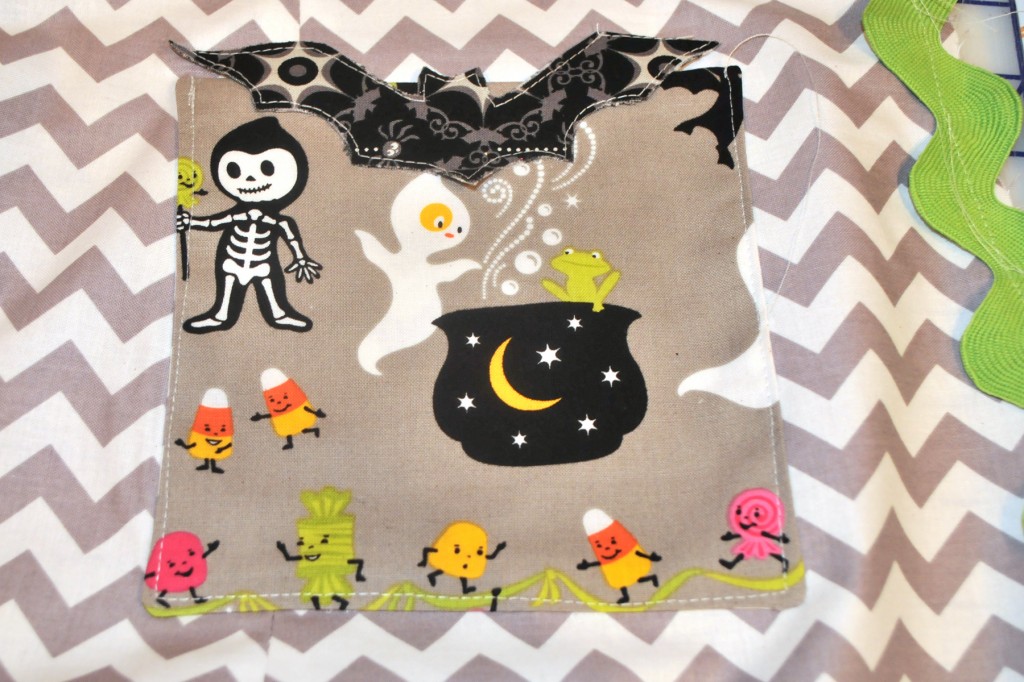
This apron is fully lined, features 2 pockets and adjustable ties for the back and the neck.
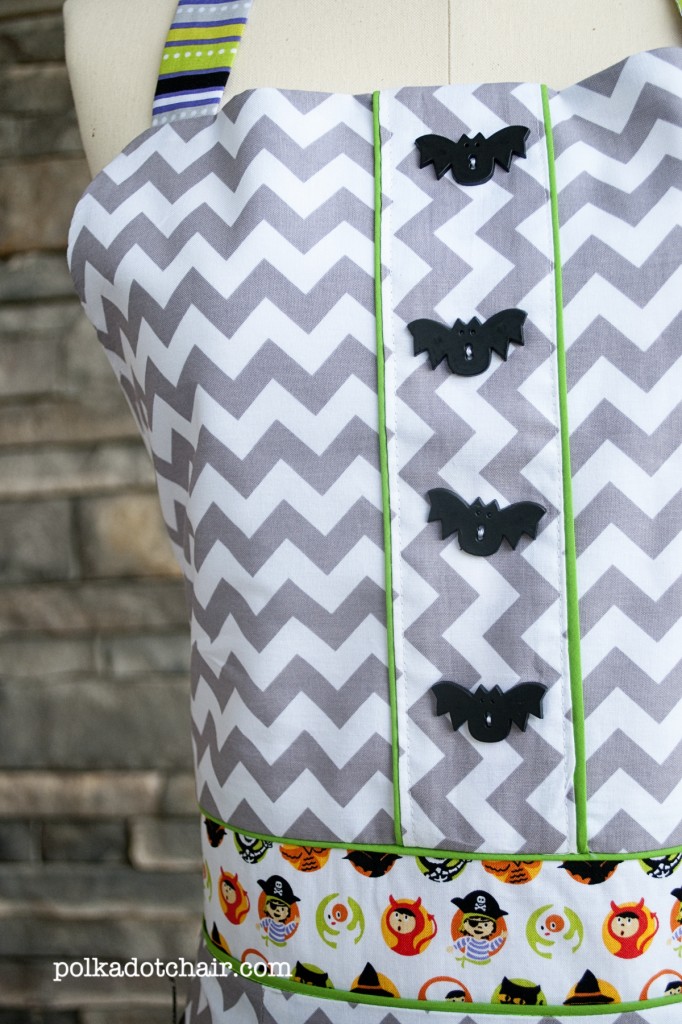
As a finishing touch, I’ve added some bat shaped buttons to the front.
If you want to make one you’ll need:
- 1 1/2 Yards Chevron Fabric for the apron
- 1 1/2 Yards Lining Fabric
- 1 fat quarter for each pocket
- 1 black fat quarter for bats on pockets
- 1/2 yard fabric for ties
- 1/4 yd fabric for waistband
- 1 package piping
- 2 yards jumbo ric rac
- 4 bat buttons
- Lightweight fusible interfacing
- Fusible seam tape
- Heat n Bond lite
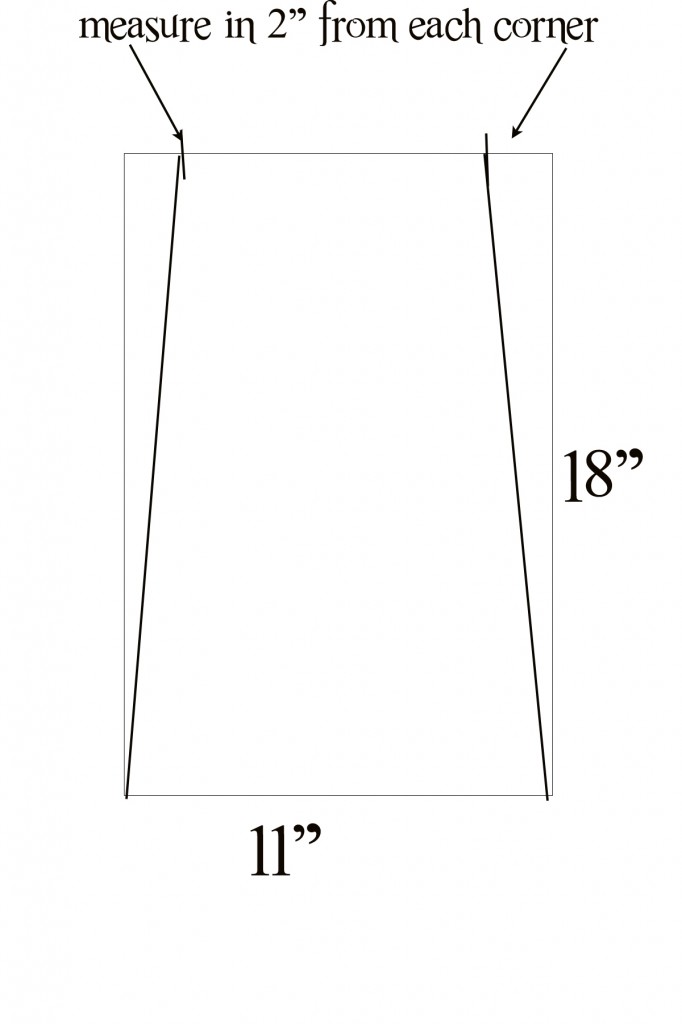
To begin: Cut 3 panels for the front of the apron. Cut each panel 11″ wide by 18″ tall. After the panels are cut measure in 2″ from the top corner of each panel. Draw a line from the 2″ mark to the bottom corner of the panel (as shown in the diagram). Cut along this line. Do this to all 3 pieces for apron front AND to 3 pieces of lining for apron lining.
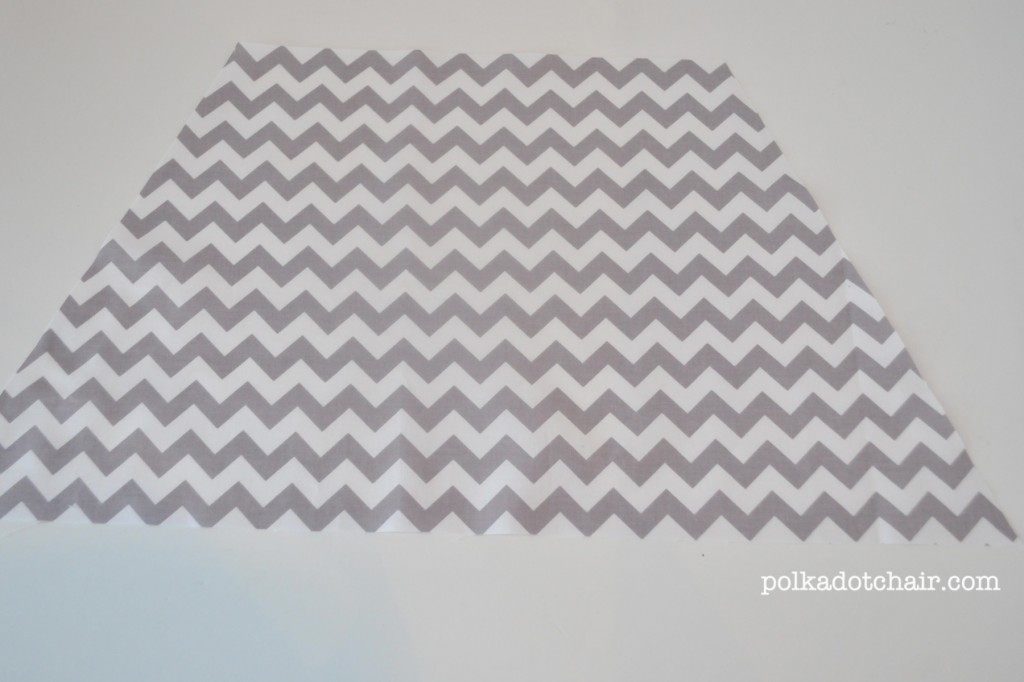
Cut a piece of fabric 21″ wide by 11″ tall. Measure in 5″ from each top corner (on the 21″ side). Draw a line from the 5″ mark to the bottom corner. Cut along the line (as you did for the apron skirt front pieces above). You will have a trapezoid shaped piece of fabric that looks like this:
Repeat to cut an additional piece from apron lining
Cut a 3″ x 21″ piece of fabric for the waistband
Cut a 3″ x 21″ piece of fabric from lining for waistband lining
Cut a 3″ x 44″ (width of the fabric) piece of fabric for the neck ties
Cut 2 5″ x 44″ pieces of fabric for the apron ties
Cut 2 6.5″ x 6.5″ pieces of fabric for the pockets outside
Cut 2 6.5″ x 6.5″ pieces of fabric for the pocket lining
Cut 3″ wide by 11″ piece of chevron fabric (going the opposite direction) for the apron front panel feature.
Begin sewing:
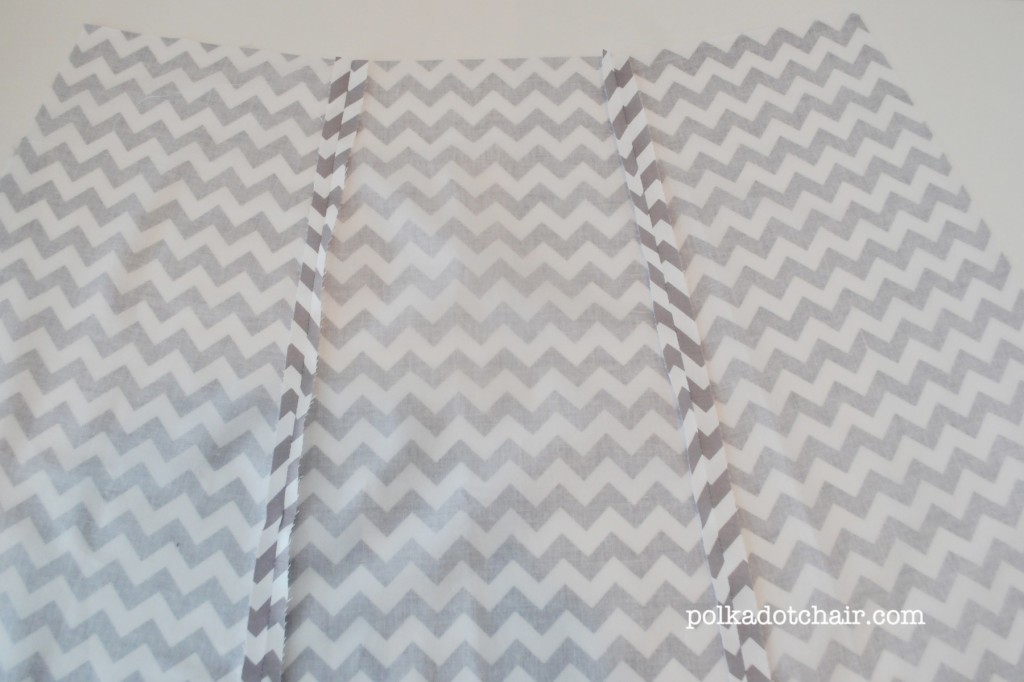
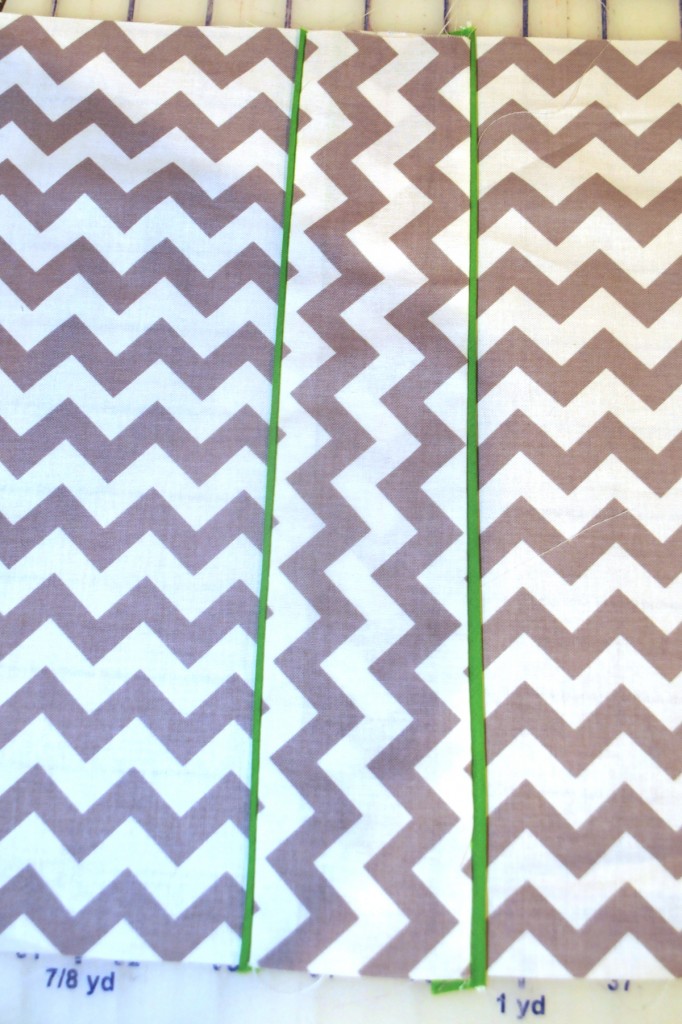
Sew your 3 apron front panels together. (all seams are 1/2″ unless otherwise stated). Press seams open.
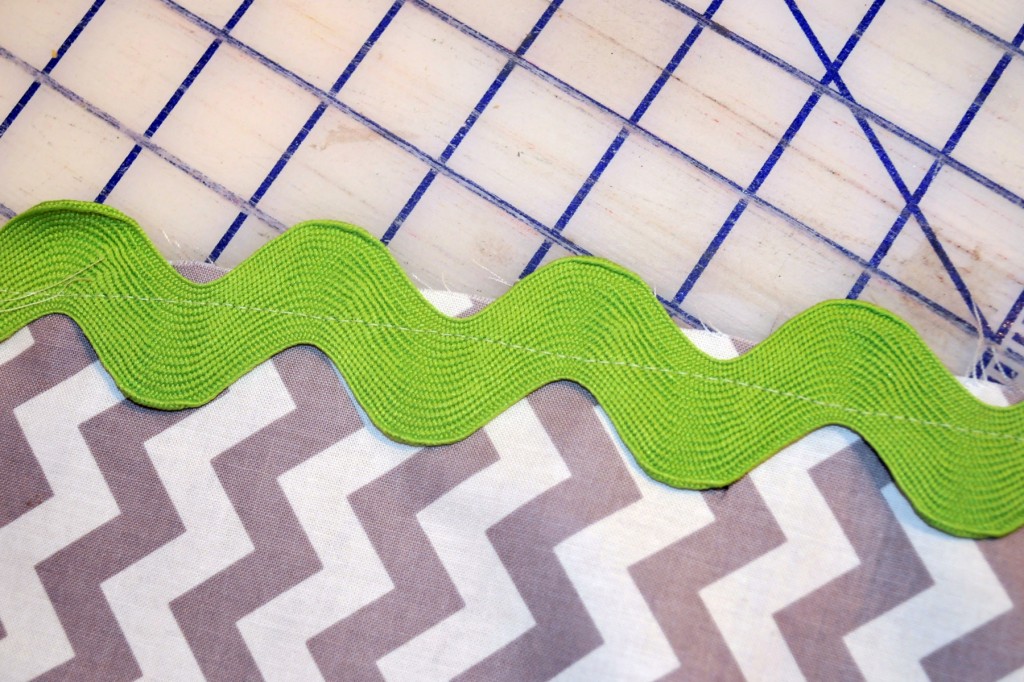
Attach jumbo ric rac to the outer edge of your apron front skirt piece. You’ll attach it around the bottom and 2 sides but not the top.
Apply lightweight fusible interfacing to wrong side of waistband.
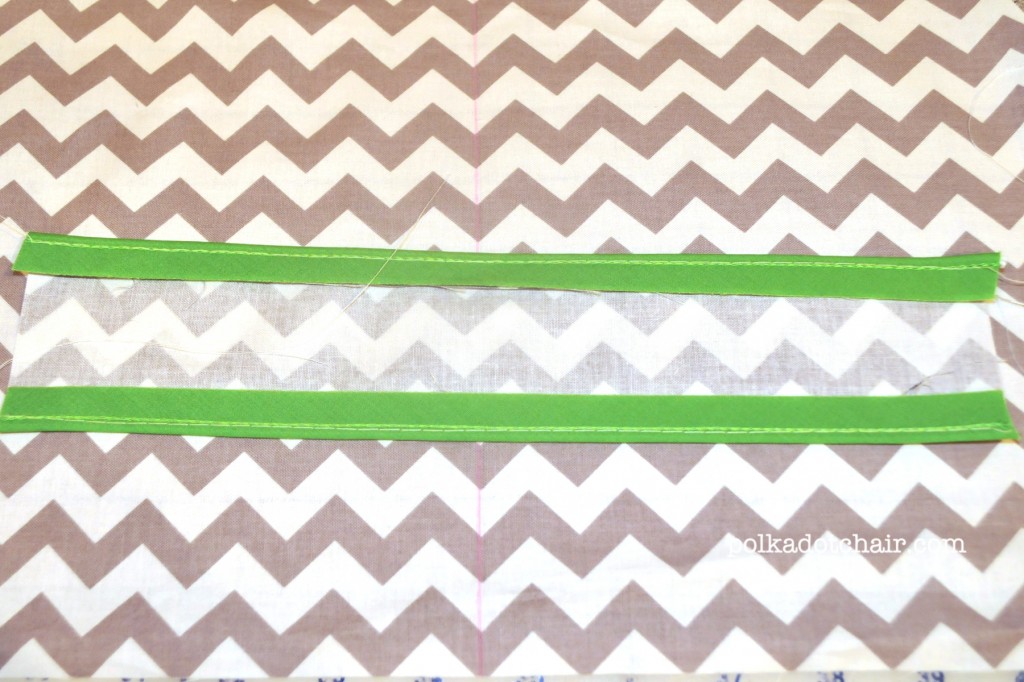
Sew 2 pieces of piping to the long side of the waistband. The raw edge of the piping even with the raw edge of the fabric. (I use a piping foot for this step, if you don’t have one, try your zipper foot).
Sew your waistband piece to your apron front panels.
Set aside.
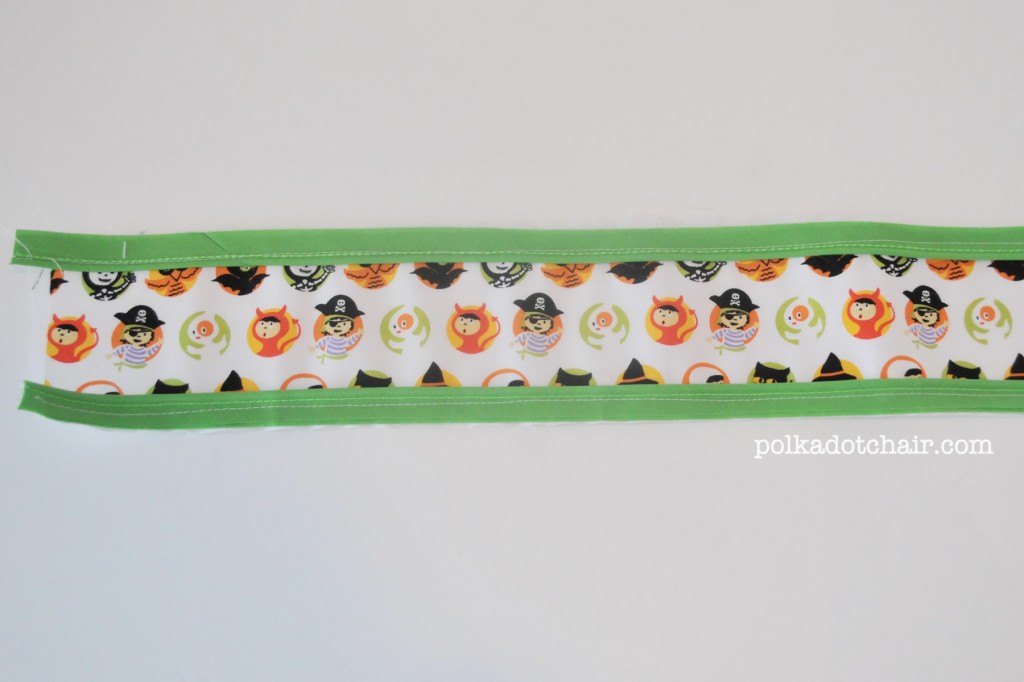
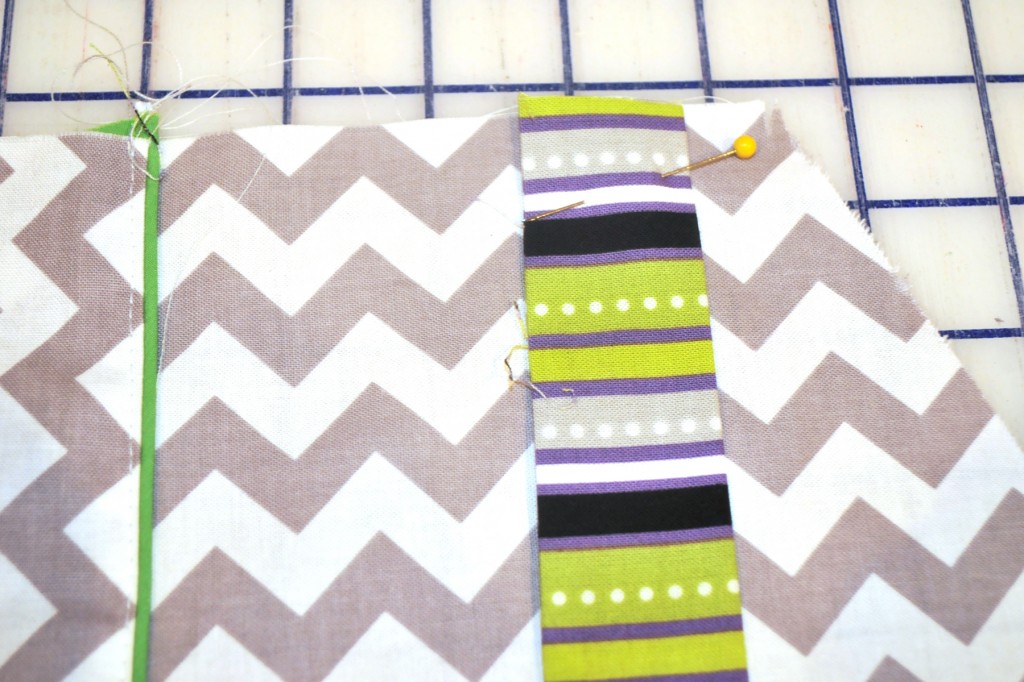
Sew piping to the right side of the 3″ apron front feature piece of fabric. Turn raw edges under and press.
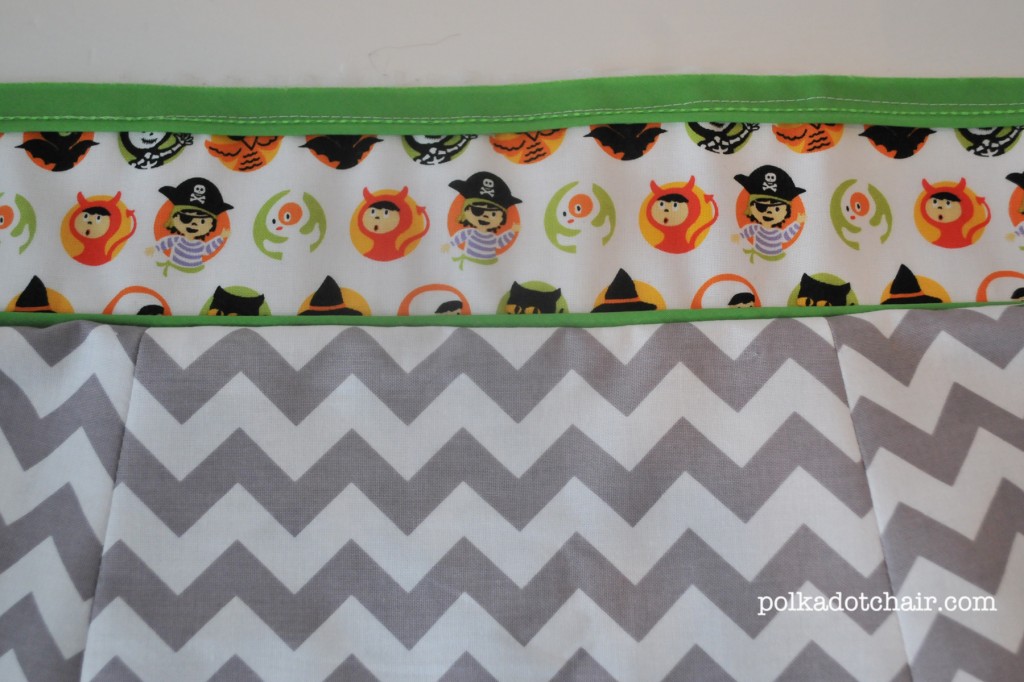
Attach piece to the center of your apron top piece. Top stitch along the piping to attach.
Attach apron top piece to the apron waistband.
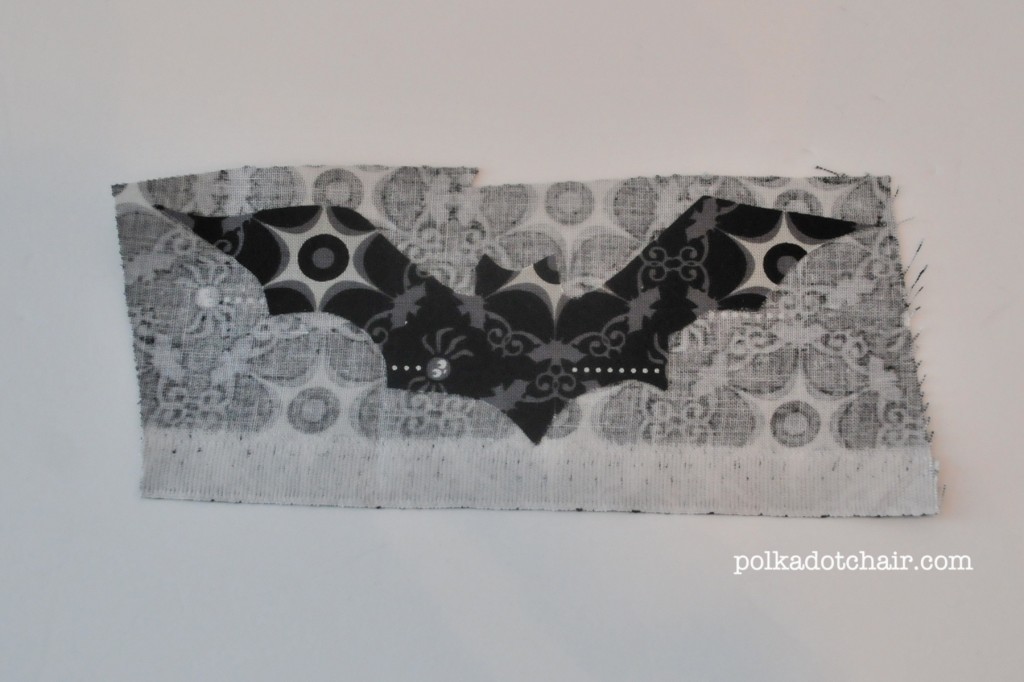
To make the bats for the pockets.
Trace a bat shape approx 5″ across onto a piece of heat and bond lite.
Iron onto wrong side of black fabric
Cut out precisely
Peel off backing and iron onto another piece of black fabric (also ironing onto the wrong side of the fabric).
Before you cut it out again, top stitch around the outside edge of the bat.
Cut out bat.
To make pockets:
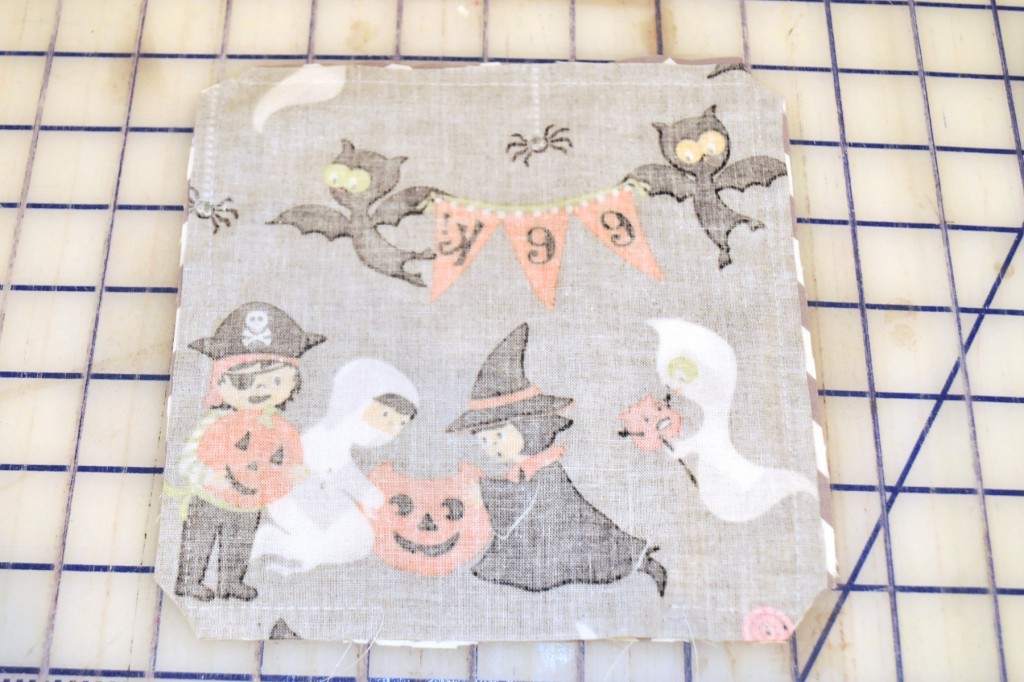
Sew 1 pocket piece to one pocket lining piece. Sew around all 4 edges leaving a 2″ wide opening in the bottom of the pocket to turn right side out.
Clip corners, turn pocket right side out and press, folding in the raw edges.
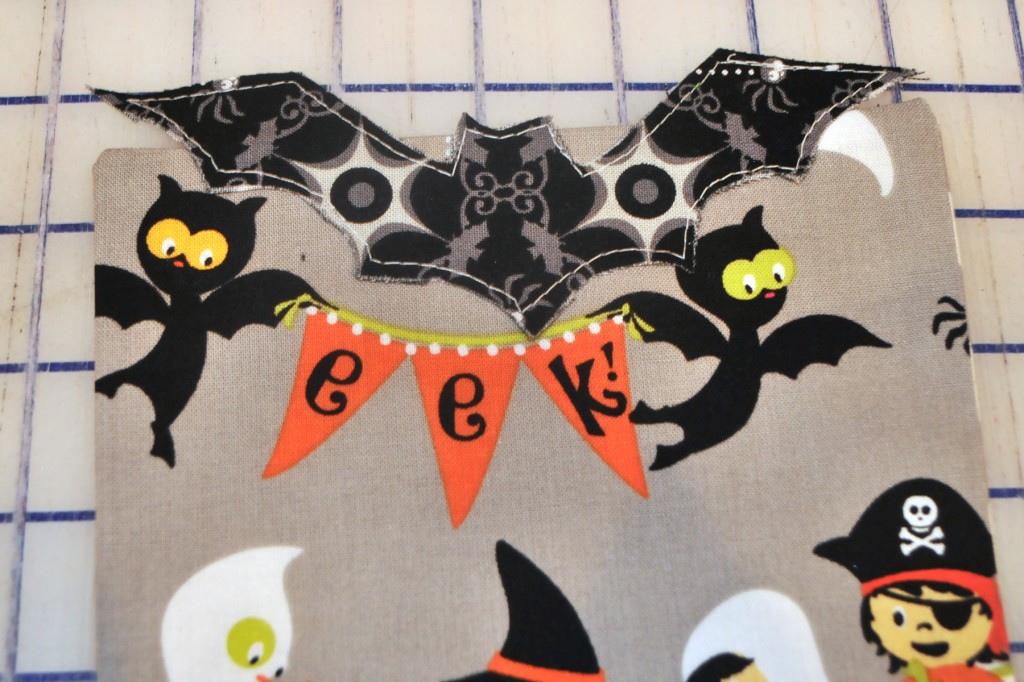
Take bat and using iron on seam tape, iron bat onto pocket front.
Stitch pocket onto apron front, 2″ down from the waistband and 3″ in from side of apron (as you do this you’ll close the opening in the pocket).
Repeat for 2nd pocket.
To make neck ties. Take 3″ x 44″ wide piece of fabric, fold in half, right sides together and stitch.
Turn right side out and press.
Cut in half
One each piece, turn under one raw edge and using fusible seam tape, close the opening (no raw edges showing).
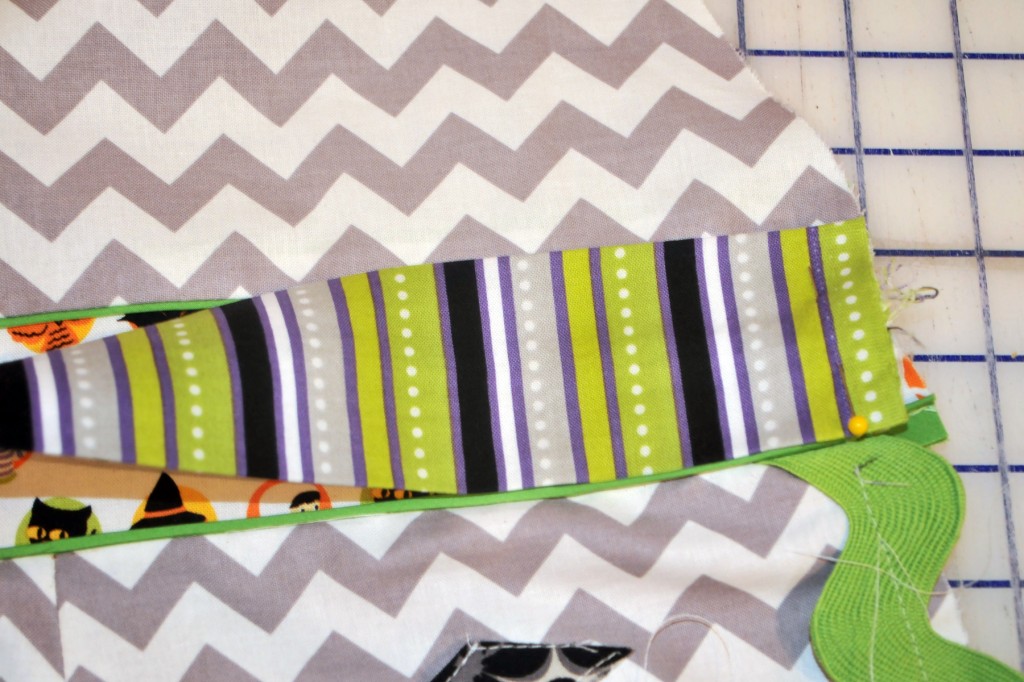
Attach neck ties to apron top, 1″ in from each edge, with raw edge of tie, even with raw edge of apron.
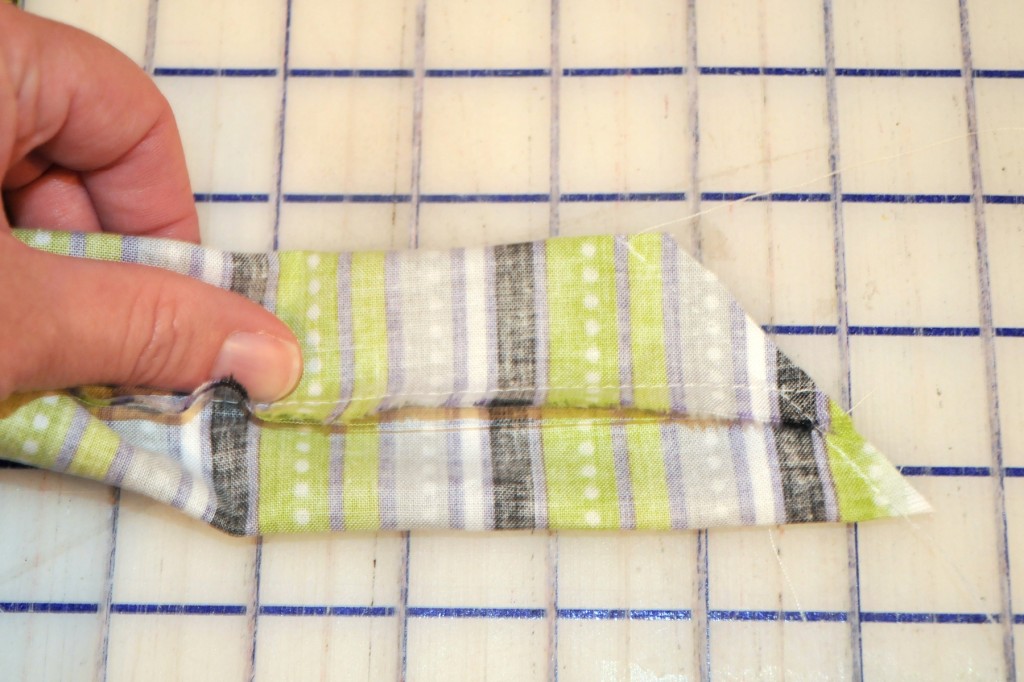
To make apron ties. Fold each 5″ x 44″ piece of fabric in half lengthwise. Stitch.
One one end, place seam in center of apron tie, stitch a diagonal line to close tie, and cut off excess.
Turn right side out and press. Repeat for 2nd tie.
Attach tie to apron front at waistband. Attach one tie at each edge of waistband.
Next, construct the lining. Using your apron front, panels and waistband pieces construct apron lining the same way you constructed the apron. (omitting the piping, pockets and ric rac etc.).
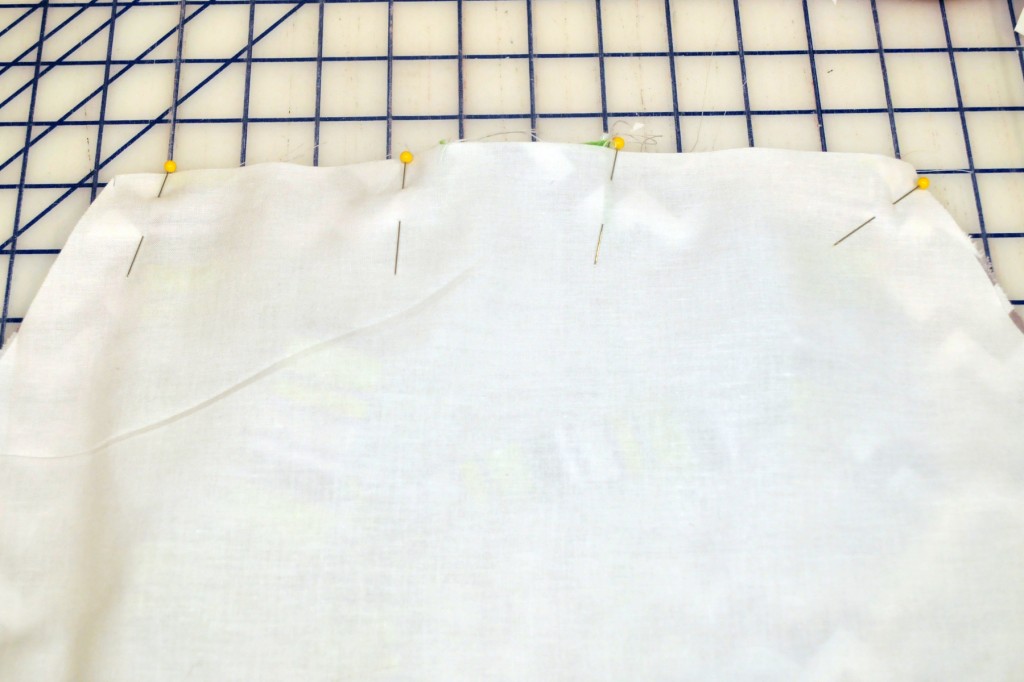
Place apron lining and apron, right sides together. Stitch around entire apron, leaving a 3″ opening in the side to turn right side out. Be careful not to catch the apron ties in the seams.
Clip corners, and turn right side out and press.
Close opening using fusible seam tape.
To finish, sew buttons onto apron front.

