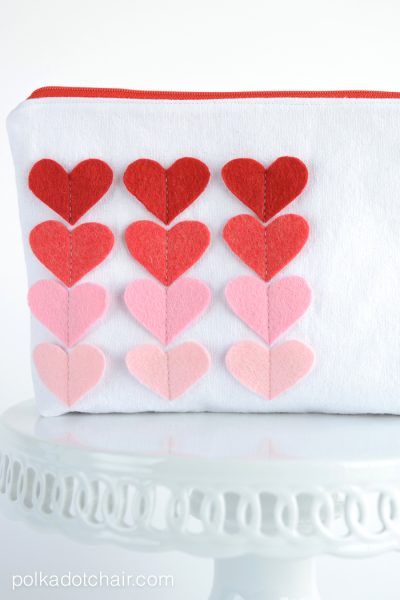
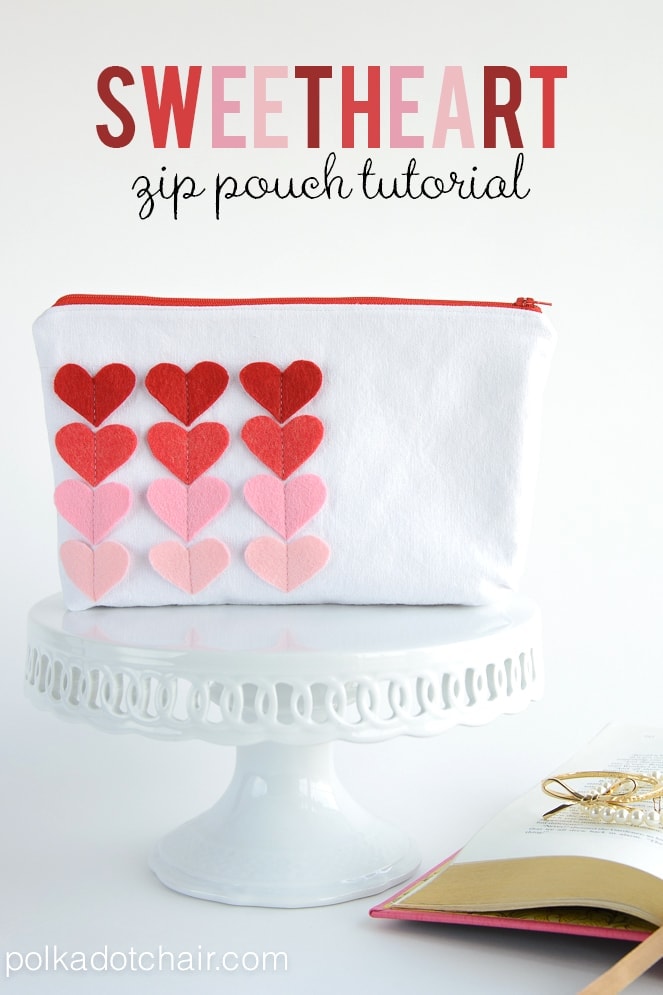
Sweetheart Zip Pouch Sewing Pattern; a Valentine’s Day Sewing Project
Celebrate Valentine’s Day with a simple and stylish DIY project! This felt and canvas zip pouch sewing pattern features red and pink hearts on the front, making it a thoughtful gift! Follow these easy directions to craft your Sweetheart Zip pouch!
If you like this Sweetheart Zip Pouch Sewing tutorial, you may like this list of 40+ Cute things to sew for Valentine’s Day!
Valentine’s Day always seems to sneak up on me a bit. I don’t know why, but it shouldn’t. It’s such a pleasant and happy holiday—a whole day devoted to appreciating those around us that we love. We get the entire family involved with a “fancy” dinner at home and lots of chocolate for everyone.
I’ve had “hearts” on the brain this year for the last few weeks. I’m in the middle of a quilt project I can’t wait to share. I’ve been working on it for a bit now and thought I’d take a break to sew up a cute little zip pouch that would be a perfect Valentine for someone special. This Valentine’s Day sewing project is a quick one and the design is simple, you can easily adapt it if you’d like.

Sweetheart Zip Pouch Sewing Pattern
Equipment
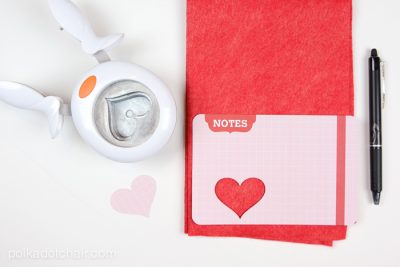
- Heart Punch
- Pen safe to mark on fabric I use Frixion pens. They are not made for fabric, but the ink disappears when you hit it with the iron.
supplies
- 2 pieces Heavy white fabric; 12″ x 8″ I used white duck cloth that I washed and dried several times to soften it up.
- 2 pieces Lining Fabric; 12″ x 8″
- 2 pieces Shape Flex Interfacing; 12″ x 8″
- 4 pieces Felt I used wool feltbut you could also use bamboo.
- 1 Zipper; 12" Long
Instructions
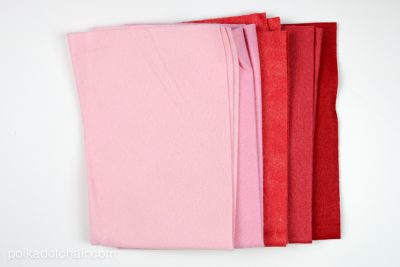
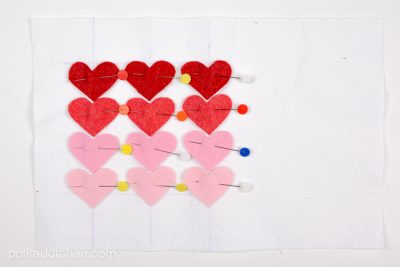
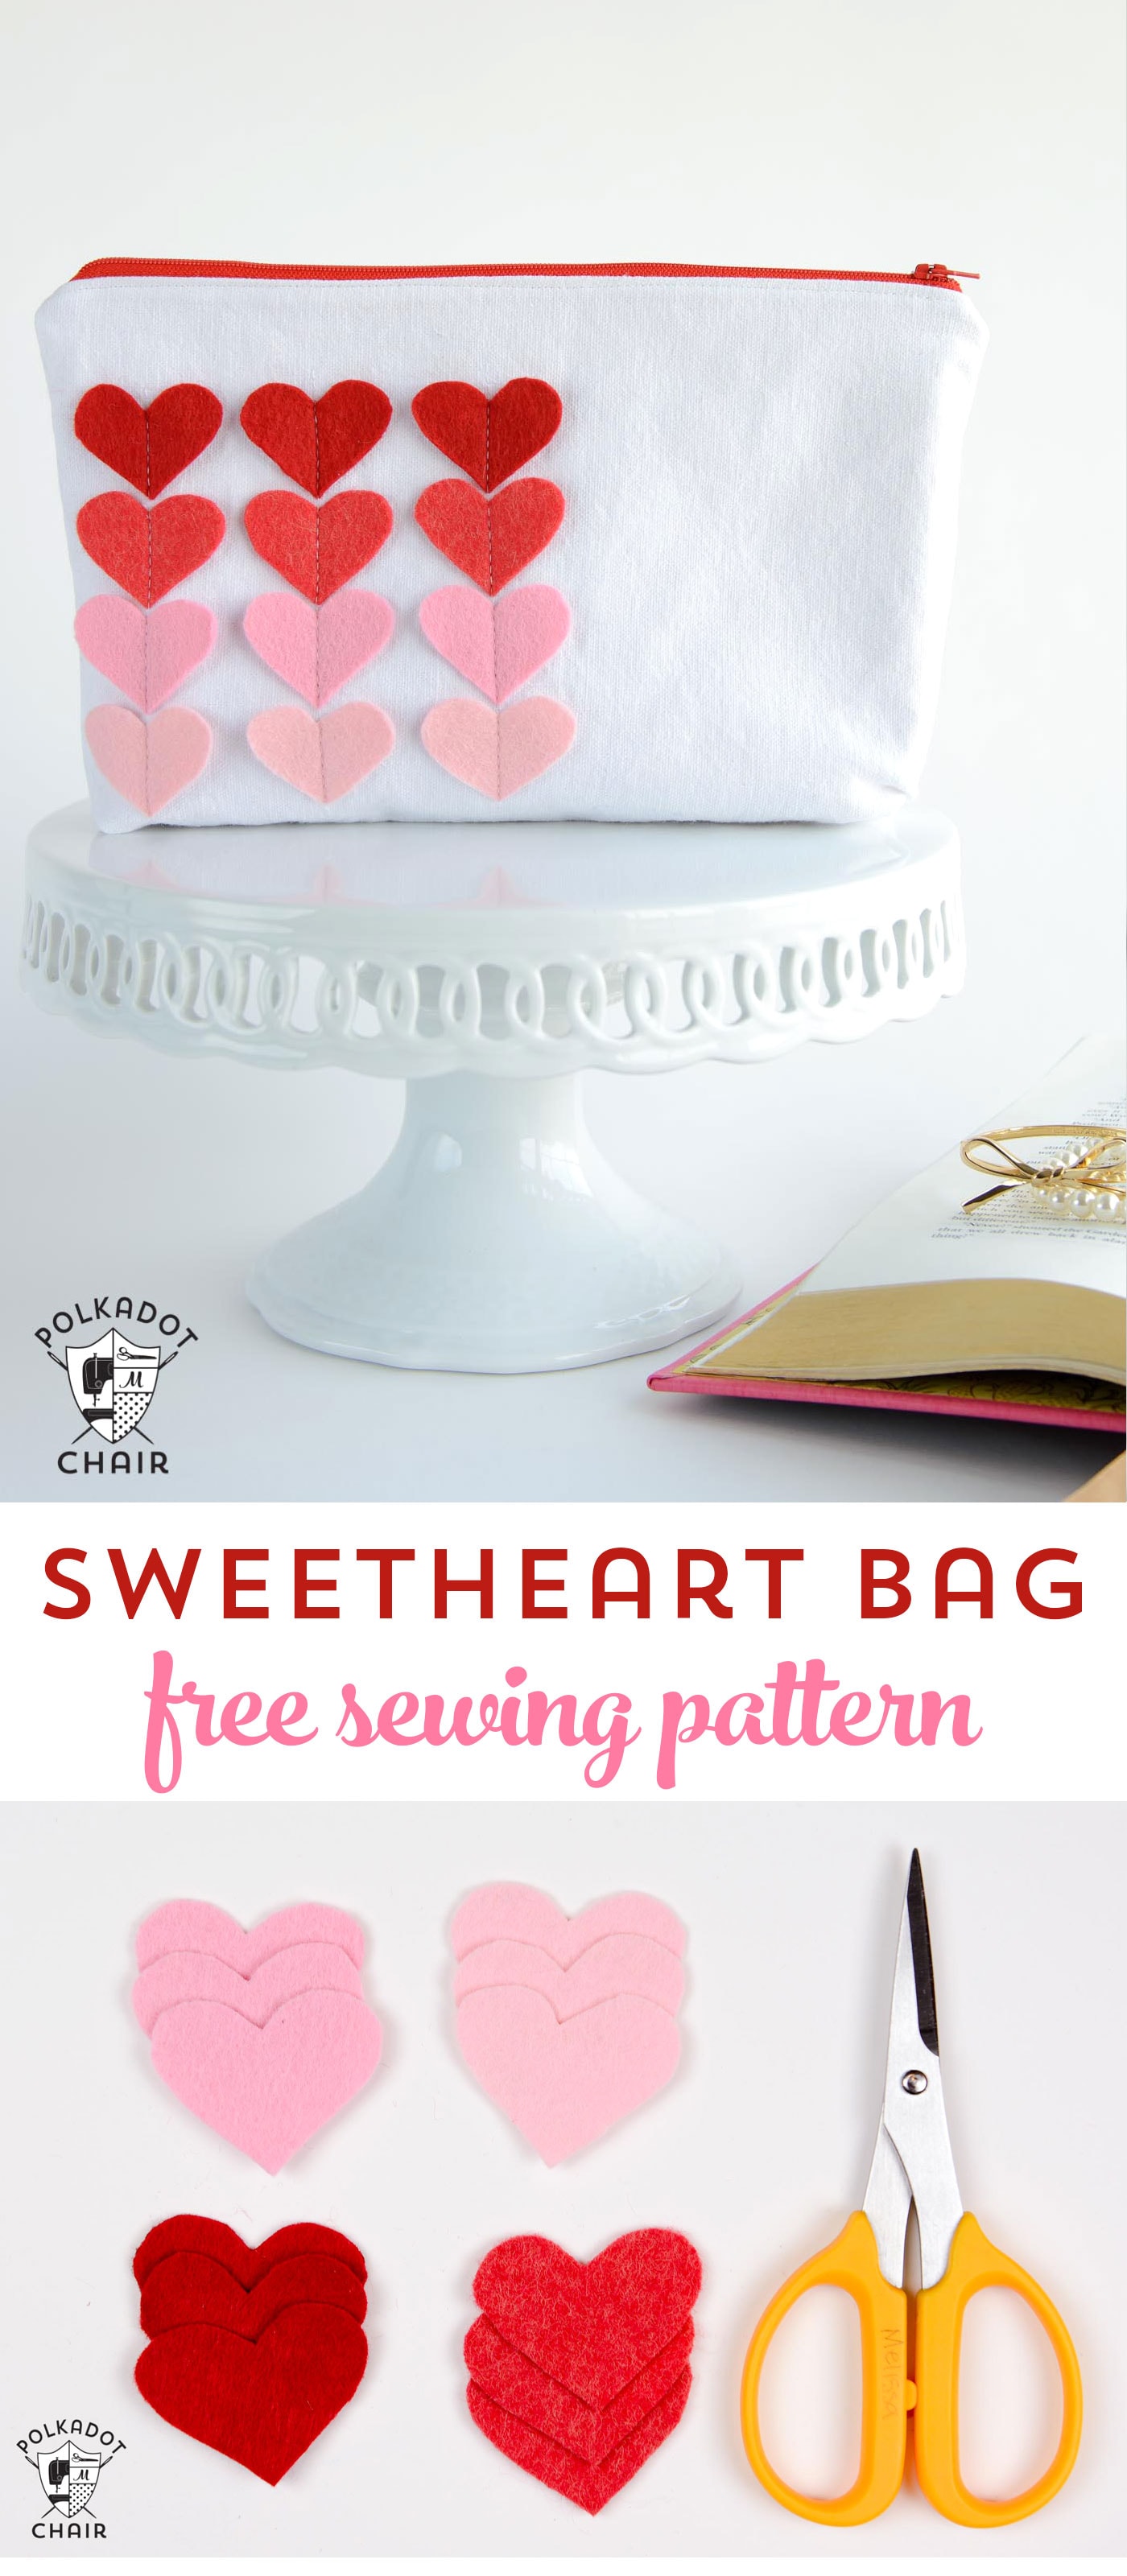
- Begin by picking out your felt. I started with five colors of felt and then went to four. I used two reds and two pinks and arranged them from dark to light on the zip pouch.

- Next, you need a heart shape to use as a template. You can draw a heart or find one around the house to trace. I simply used a punch that I had. I punched out the heart from a piece of cardstock and then used that as a stencil to trace and cut out my hearts.
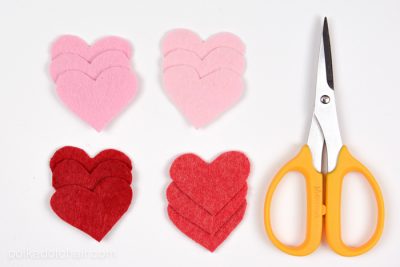
- Trace and cut out 12 hearts.
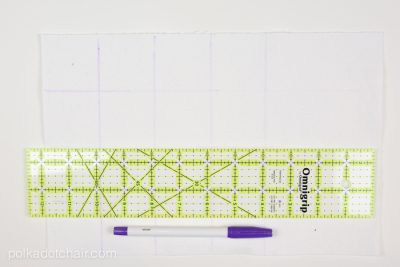
- Next, make a grid on one of your 12″ x 8″ white pieces of fabric. The size of your grid will depend on the size of your hearts. Aim for the hearts to be 1 1/2″ from the top and bottom of the fabric.
- Next, pin your hearts onto the grid. I pinned mine from dark to light. Make sure they are all lined up correctly.
- Using a sewing machine with white thread, stitch down the center of the hearts along the line you drew. Use a stitch length of 3.5 or 4.
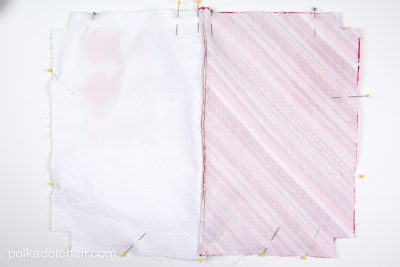
- Cut a 1″ x 1″ square out of the bottom two corners of this piece. Do the same thing on the other 12″ x 8″ white piece.
- Press the shape flex onto the lining fabric pieces. Cut a 1 ” x 1″ square out of the bottom two corners of those pieces.
- Now assemble the pouch.
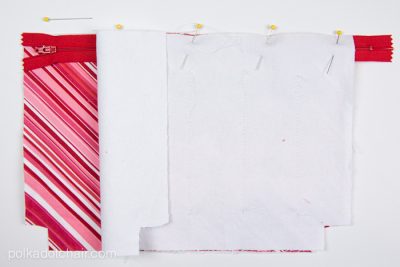
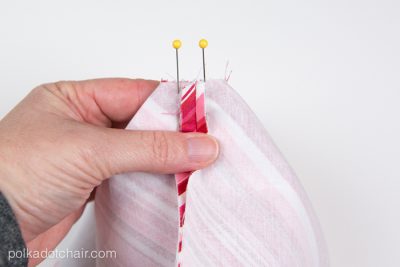
- Pin the right side of the pouch outside the front piece (the one with the hearts) to the right side of the zipper. Pin one of the lining pieces to the wrong side of the zipper. Using a zipper foot, stitch.
- Repeat for the other side of the zipper.
- Press the fabric away from the zipper and top stitch along both sides of the zipper. Cut off the extra zipper (do this ONLY if you bought a polyester zipper; don’t do this for a metal zipper).
- Your piece will look like this.
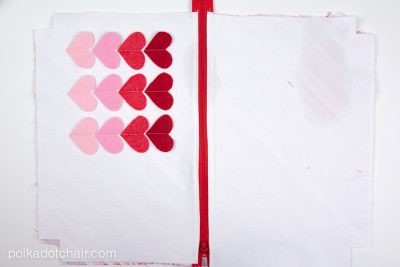
- Next, unzip the zipper 3/4 of the way—not all the way since you cut off the zip stop.
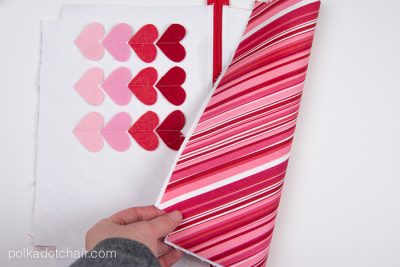
- Pin the two zip pouch outside pieces on the right sides together and the two lining pieces on the right sides together. Fold the zipper seam allowance towards the lining pieces.
- Stitch with 1/2″ seam allowance, skipping the corners. Leave a 2″ opening in the center of the lining pieces so that you can turn the pouch right side out.
- Next, pinch the corners (where the squares are cut out) so that the raw edges are even and the seams are lined up on each other. Stitch in place with 1/2″ seam allowance. Repeat for all four corners.
- Turn the zip pouch right side out. Stitch (by hand or machine; it’s up to you): The opening in the lining is closed.

- Give it a final press, taking care not to damage the wool felt, and you’re done!!