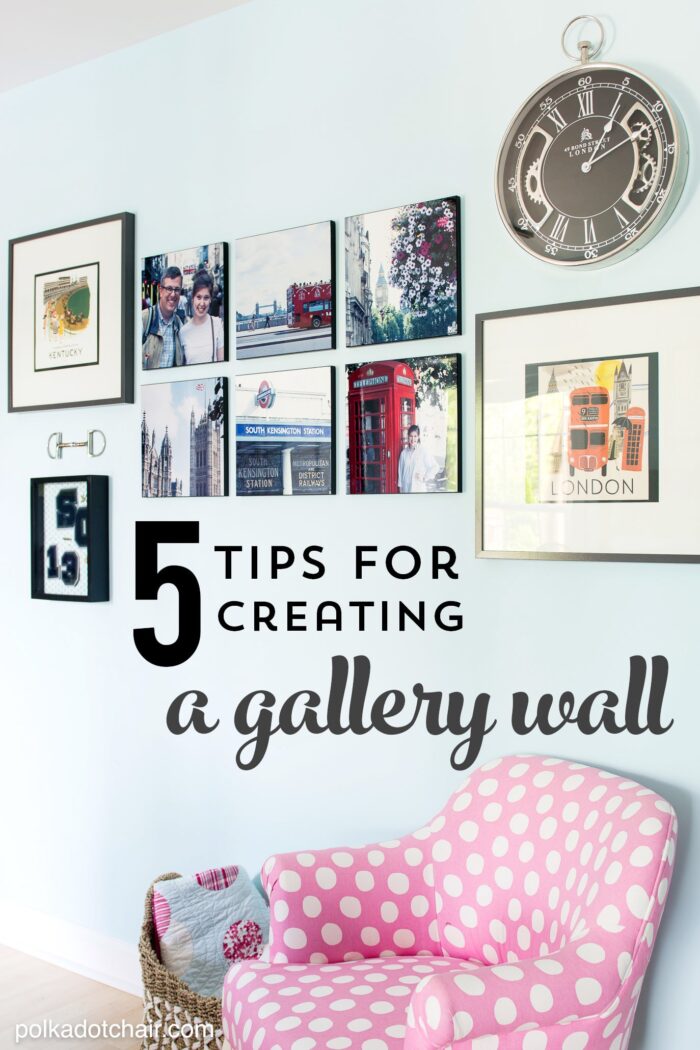
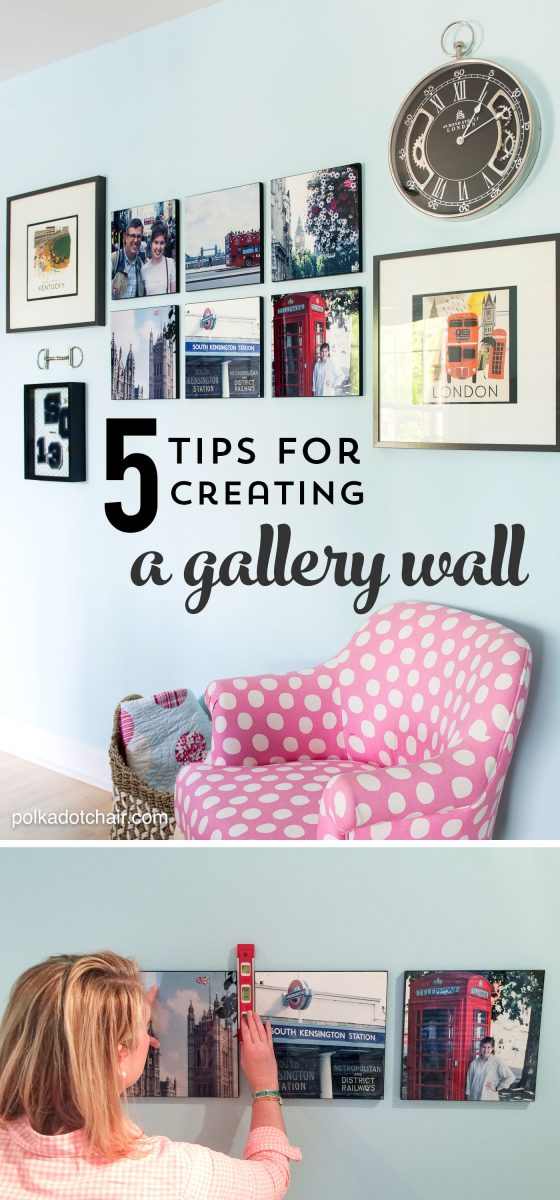
5 Tips for Creating a Gallery Wall
This post was created in partnership with Snapfish. All opinions are my own.
Last winter we took on the task of converting an office into a bedroom for my oldest daughter. One of the things we did to personalize the space was create a gallery wall in the room with photos of some of her favorite travel memories. If you like this post you may also enjoy this Frame and Photograph Arrangement ideas article.
The great “room switcheroo”of 2014 continues. I’ve mentioned before that last December we began moving my kids into different rooms in our home. In the process we also cleaned out a play room, moved an office, and purged an INSANE amount of toys out of our house.
I’m sure many of you that have sent kids away to college will understand what we’ve been doing the last 6 months or so. It’s crazy how much your life and the rhythm of your family changes when just one person is gone. The first year she was at school we kept everything pretty much the same as before she left. This year with her being gone more and not coming home often we decided it was time to start making some changes around the house. Around the same time our twins started outgrowing their shared bathroom space and it soon became pretty clear that we needed to move our oldest to another room so that we could give her younger sister her spot.

After much deliberation and “what if we did this…” discussions with my husband we deduced that the best thing to do would be to move my oldest into my old sewing room in the basement and give her our old king sized bed. Yes I know that 19 year olds don’t need king sized beds, but by moving it into her room we were able to 1) get rid of a mattress that was too old for words, and 2) gain a nice sized guest bedroom.
As you can imagine the “oh by the way, we’ve packed up your bedroom and moved your sister into it” conversation was a tiny bit difficult. I think kids want to grow up but don’t always like all of the things that come with growing up (like your parents giving away your childhood bedroom).
We wanted to make sure than when our daughter was home that she still felt like it was her home and felt like the new space was comfortable and familiar for her (not like she was just staying in a guest room).
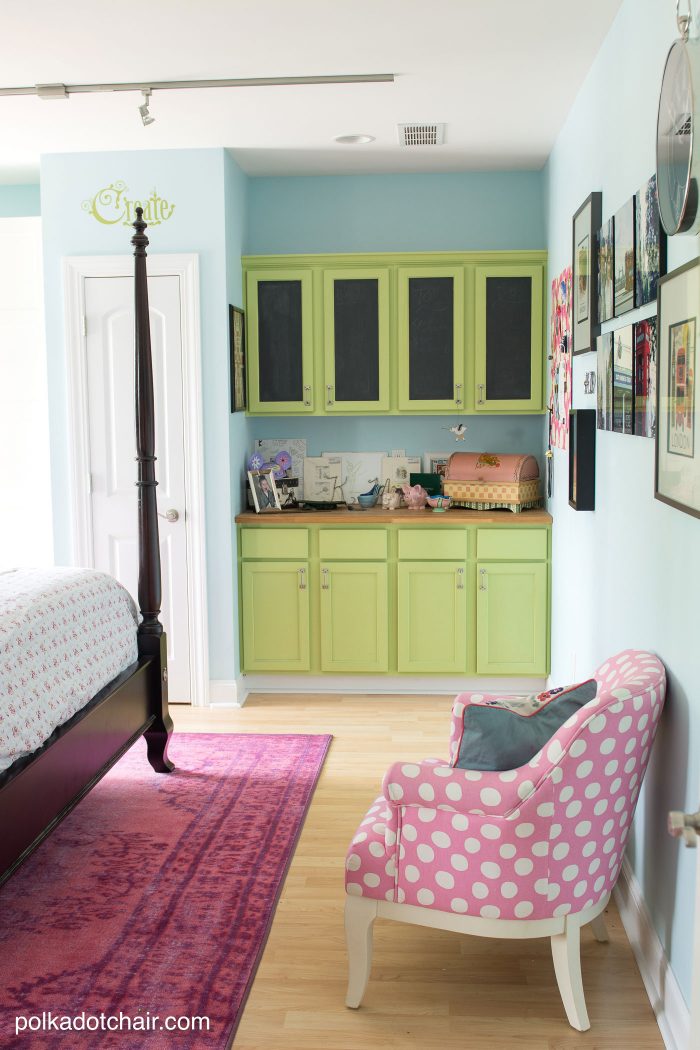
(view looking in the door)
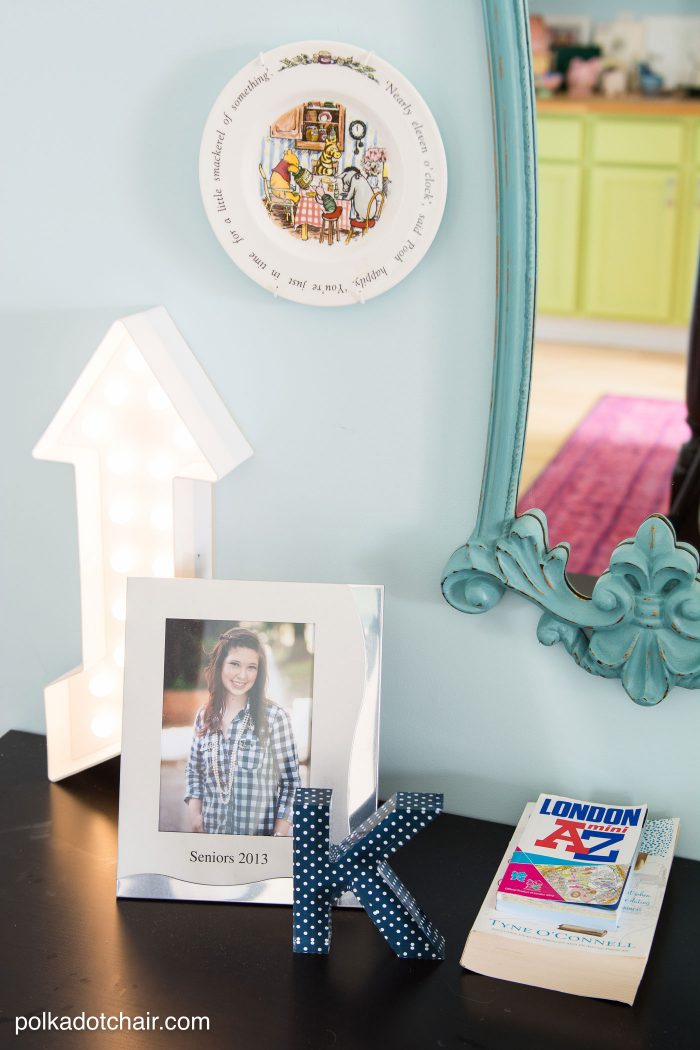
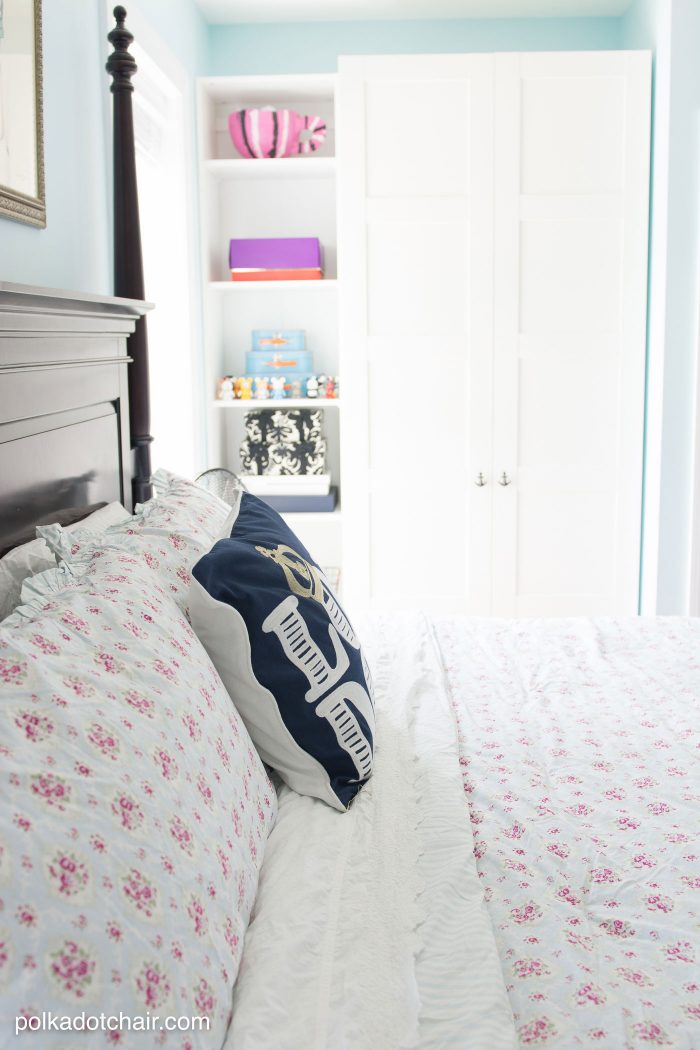
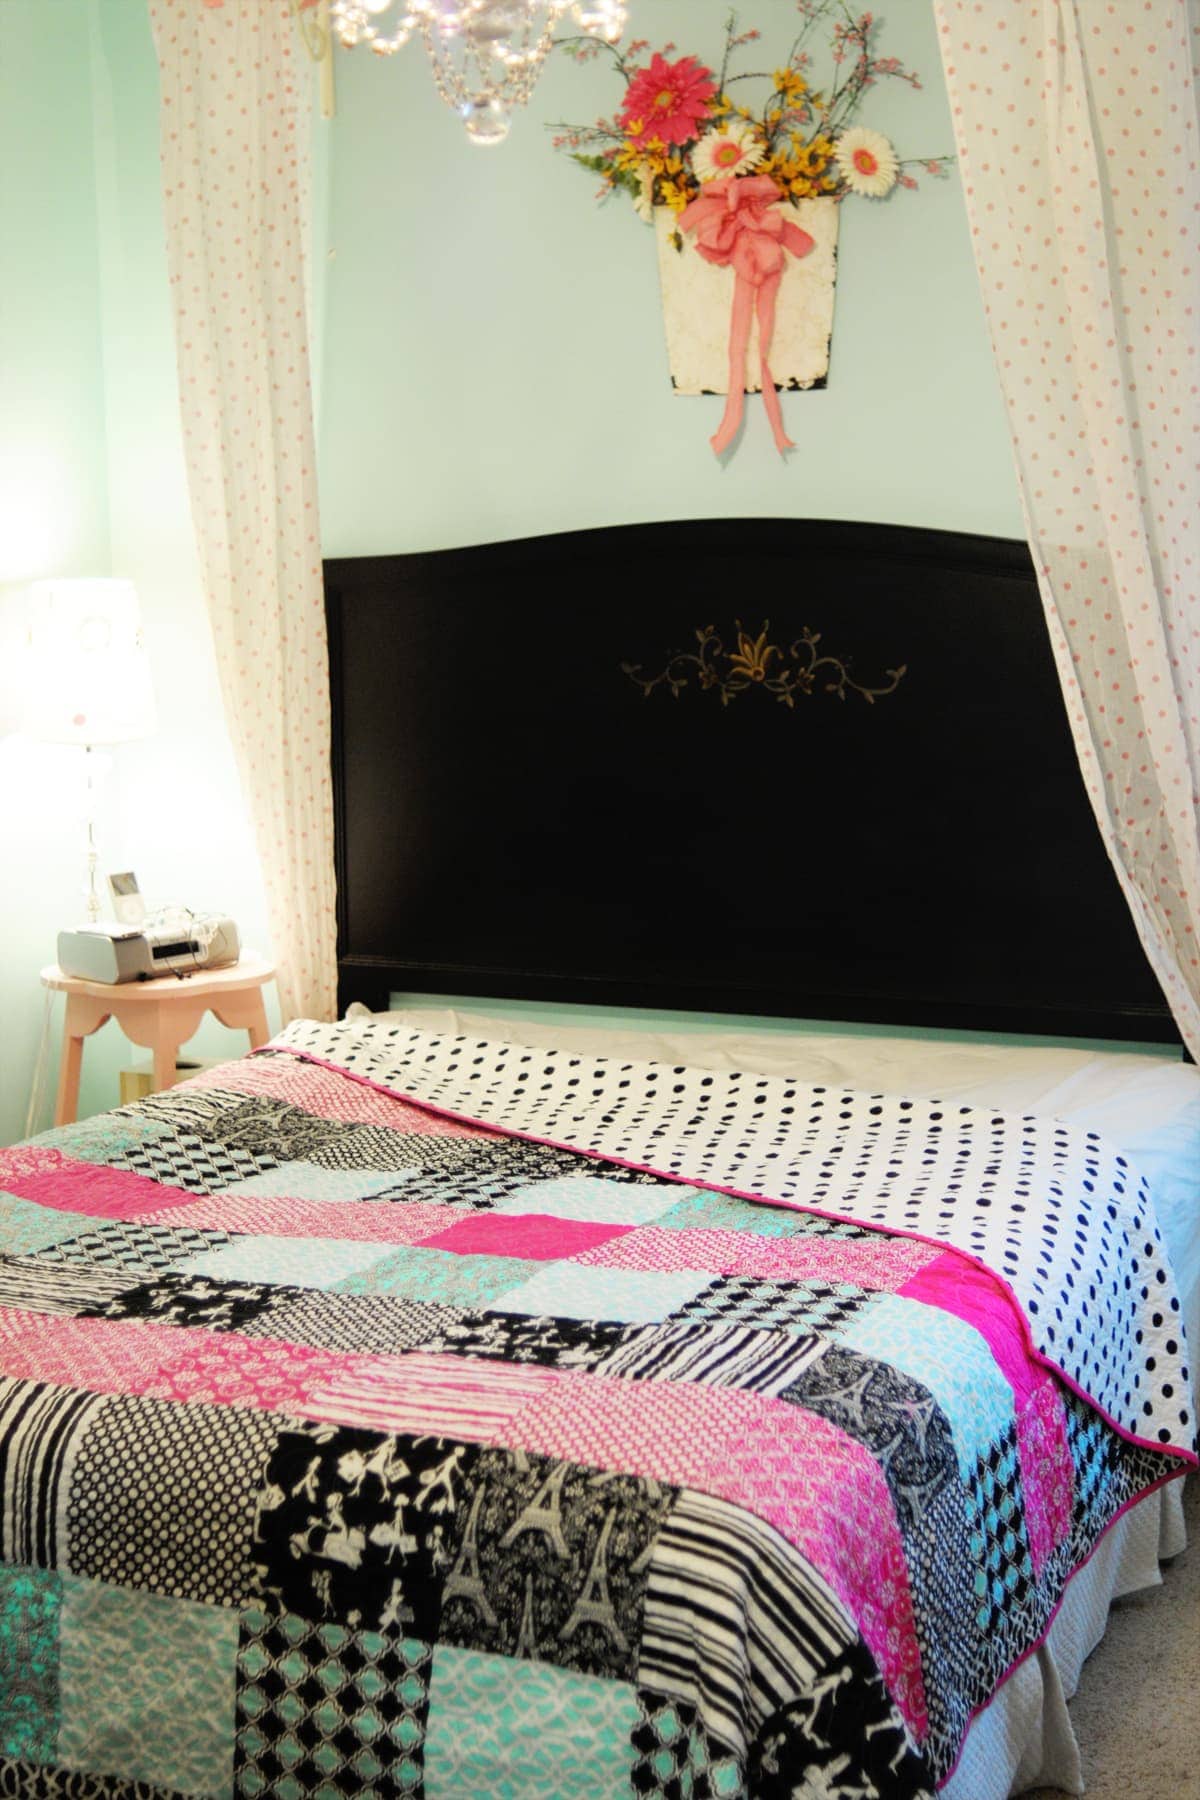
We pulled our old bed into the room, bought an inexpensive (PINK) rug, and ended up keeping my polka dot chair in the space. Since she spent last summer in London on a study abroad program I thought that adding touches of her trip to the room would be nice. Playing off the blue on the walls, we decided to go for a “english country” inspired space.
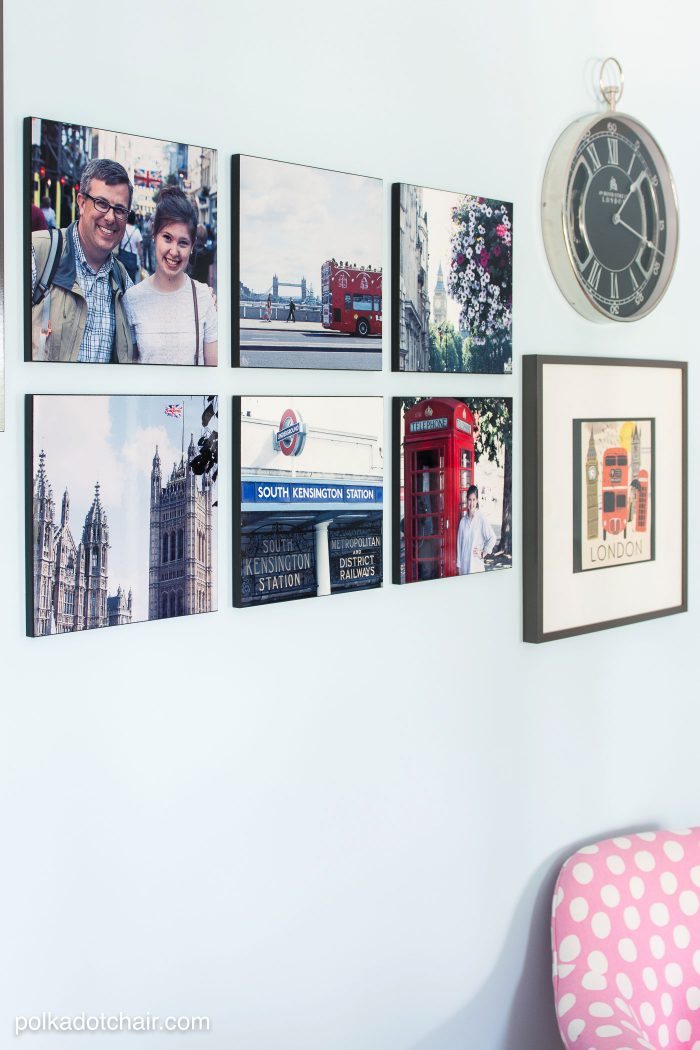
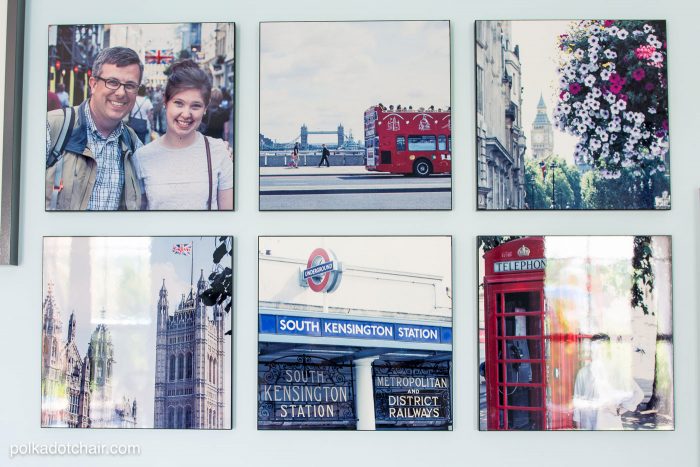
My favorite thing we did to the room was to create a gallery wall using some of her photos from her trip to England last summer. The photos were printed wood wall panels from Snapfish’s new home decor line, and I ABSOLUTLEY love them. I think they are such a creative and unique way to display photos in a space… we’ll talk more about them later.
I have quite a few “feature” walls in my home and get a lot of questions about them from friends and family. Honestly creating them is one of my favorite things, I get nervous when I start running out of blank walls in my house!! You can see a few of my other gallery walls here, here and here.
To help you out a bit I’ve type up 5 tips and tricks for creating a gallery wall in your home.
1. Gather items and test your layout.
 First of all you’ve got to get a feeling for what your layout is going to look like in your space BEFORE you start hammering nails into the wall. I usually begin by gathering more items than I think I need, then laying them out on the floor right below the space where they are going to be hung.
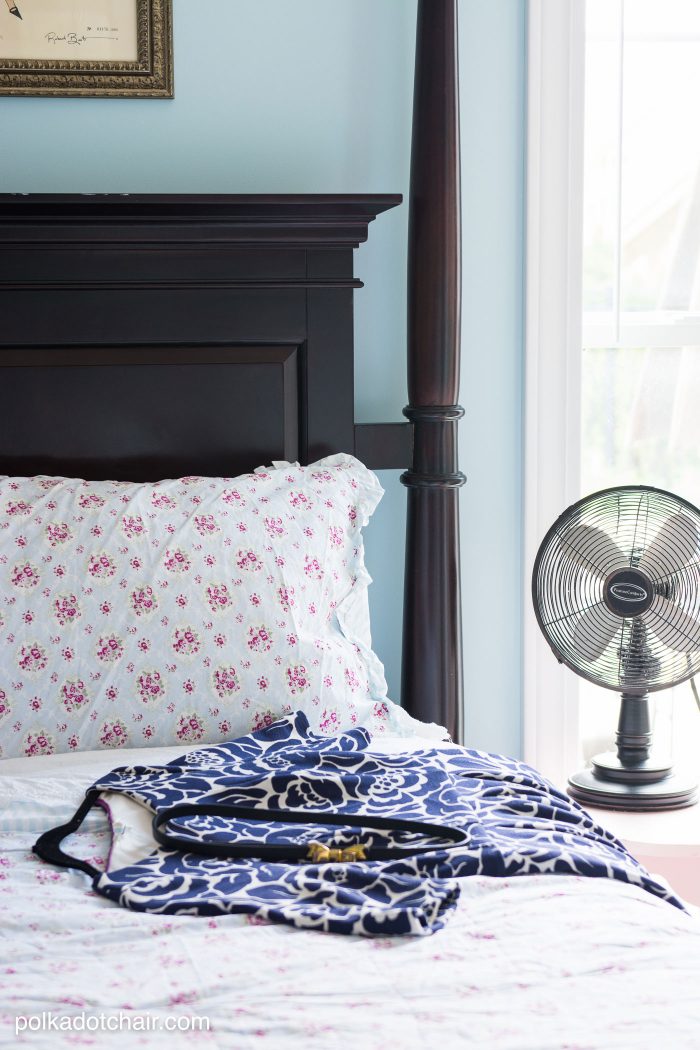
I usually end up rearranging my items 5 or 6 times before I find a layout I’m happy with. For this particular photo wall I knew that a dress would eventually be below it on the floor so I wanted a layout that was long (vs. tall) as it would look the best above the dresser.
I also wanted the travel photos to be the focal point so I start with them, and pulled in more items as I need them, but made sure to leave them as the focal point.
2. Use a Level.
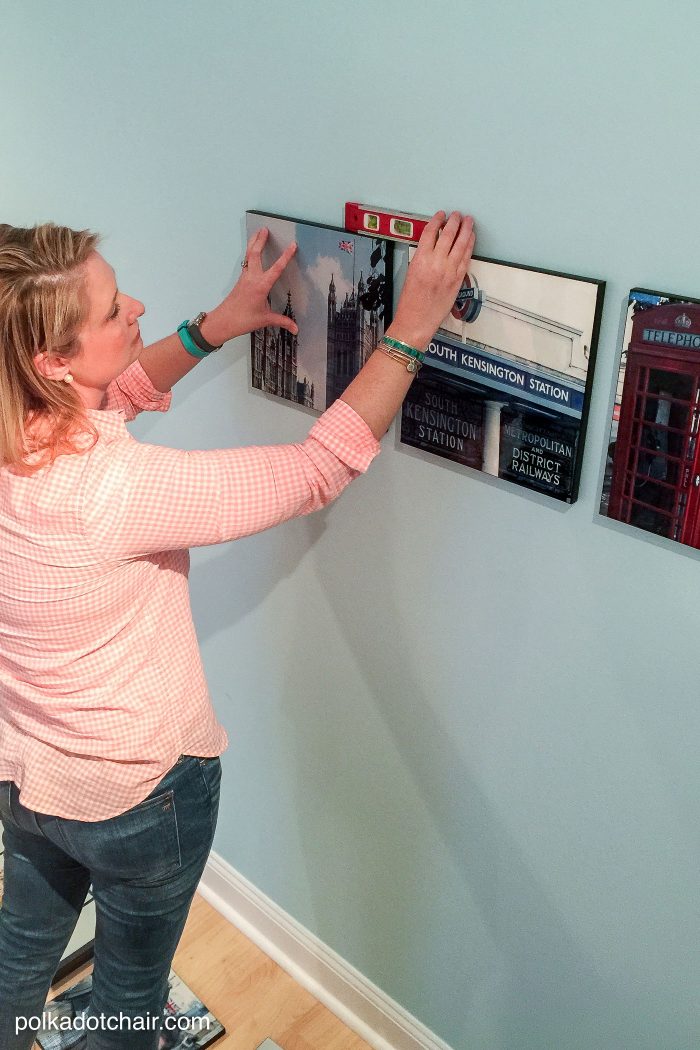
Once you’ve got a layout that you’re happy with use a level when you begin hanging the pictures on the wall. I’m a “fly by the seat of my pants” type person and usually can’t be bothered to go get a level out of the storage room, but when I’m hanging photos in groups I’ve go get the level.
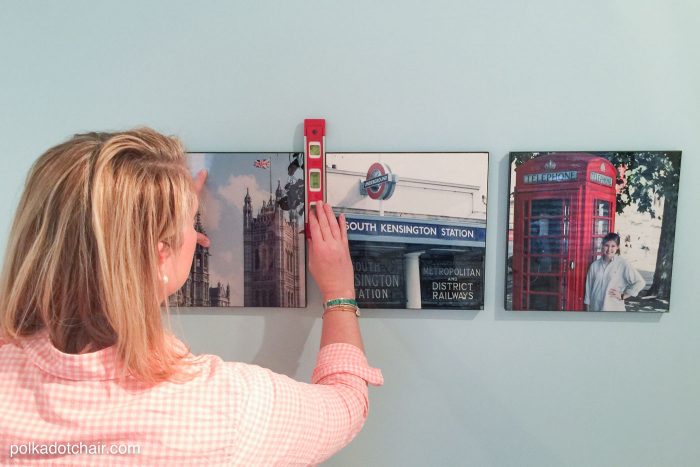
A slight variation in the distance between frames or the angle of a frame will really throw off your eye. For this arrangement I also used the level as a spacer, so that all of my photos would be an equal distance apart.
3. Use a Variety of Frames, but keep them all the same color.
I love seeing a gallery wall with a lot of variety, but how to do you add variety without making it look like a hot mess? One of the tricks I’ve learned is to unify the items on the wall with a central element. In this case it’s the black frame. The artwork is framed using simple black frames and those frames complement the black sides of the wood wall prints from Snapfish. If I add any more elements to this wall I’ll be sure to use simple black frames.
This tip holds especially true if you’re doing a large wall of ALL photos. You can vary the size and shape of your frames but you’ll want to keep them all the same basic color.
4. Squares love Circles.
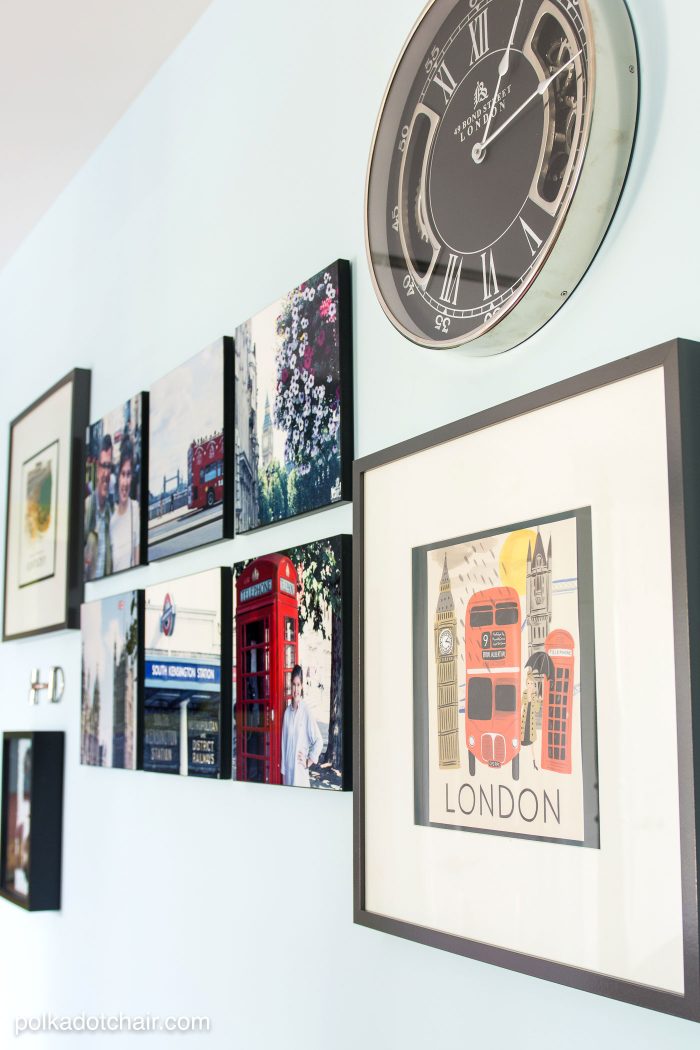
This is a basic design principle that I find comes in hand all the time! Squares love circles. Add a circular element to your wall to help balance out all the harsh angles and straight lines of the frames. Try using a clock, a plate or a mirror somewhere on your wall.
5. Pull in something unexpected.
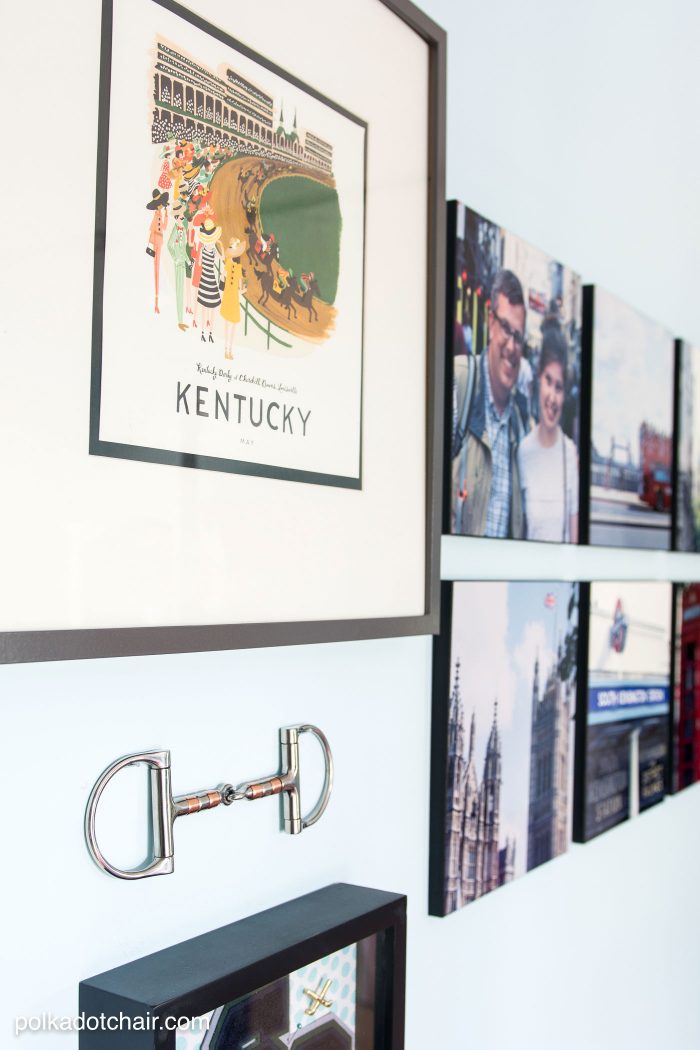
As this wall was coming together I knew I needed just “one more thing”…. I visited to a few stores and came up pretty empty until I thought that I could play off the Kentucky print on the wall. I stopped local equestrian store to browse and found this riding bit that I thought would look great hanging on a wall. When you’re planning for you wall, try to think of something to add to it that you wouldn’t expect, like the horse bit I used or the wooden shoes I added to a wall in my dining room.

I mentioned above that Snapfish has an all new Home Decor site. It’s fresh and very easy to use. You can create items for your home like the Wood Wall Panels that I used or other items like acrylic framed prints, prints on aluminum, pillows, throws and more.
It’s also mobile friendly and you can pull in your photos from Instagram! This particular project would be a great use of some Instagram photos.
You can also join the all new Snapfish Superfan community where you can share your projects and creations with other fans and gain a lot of great ideas for incorporating photos into your home decor.
To give you guys a chance to create an item for your home using the new Snapfish site they are giving away a $100 gift card to a reader!! To enter just use the raffelcopter widget at the bottom of this post.
My daughter was home for Memorial Day weekend and it was nice to surprise her with her “new room”. I think that she really enjoyed the extra touches that we tried to incorporate to make her feel comfortable while she’s at home. Here are a few more shots of the room….
I love the idea of using the level to measure the space between each canvas. Such a time saver! The room looks great! Hopefully your daughter loves her new adult space too!
I’d make a collage on my wall of frames, words, and pictures.
I would make calendars for next year with the collage of photos
I would create a collage woven blanket with photos of my family.
I’ve always wanted to do a grouping of black & white prints of trees against sky, and we have so many from our trips to Big Bend, Texas. Those would be great on the canvas.
I would get several different prints of our engagement pictures, and then make a gallery wall in our bedroom!
Love this idea! We just adopted two babies and I would love to make a wall with these prints in my family room. We have a wall that has been waiting for the kids so we can use those pictures – so excited!
I love to make canvases of my kids!
I’d make canvases of all my kids’ faces!
love this! Would love to do a wall in our kitchen!
I would use it for the family photo in my living room. Thanks for the opportunity.
Oh, how lovely! I would give them to my daughter, who is an accomplished photographer. I’d love to see what she would come up with using our old and new photos.