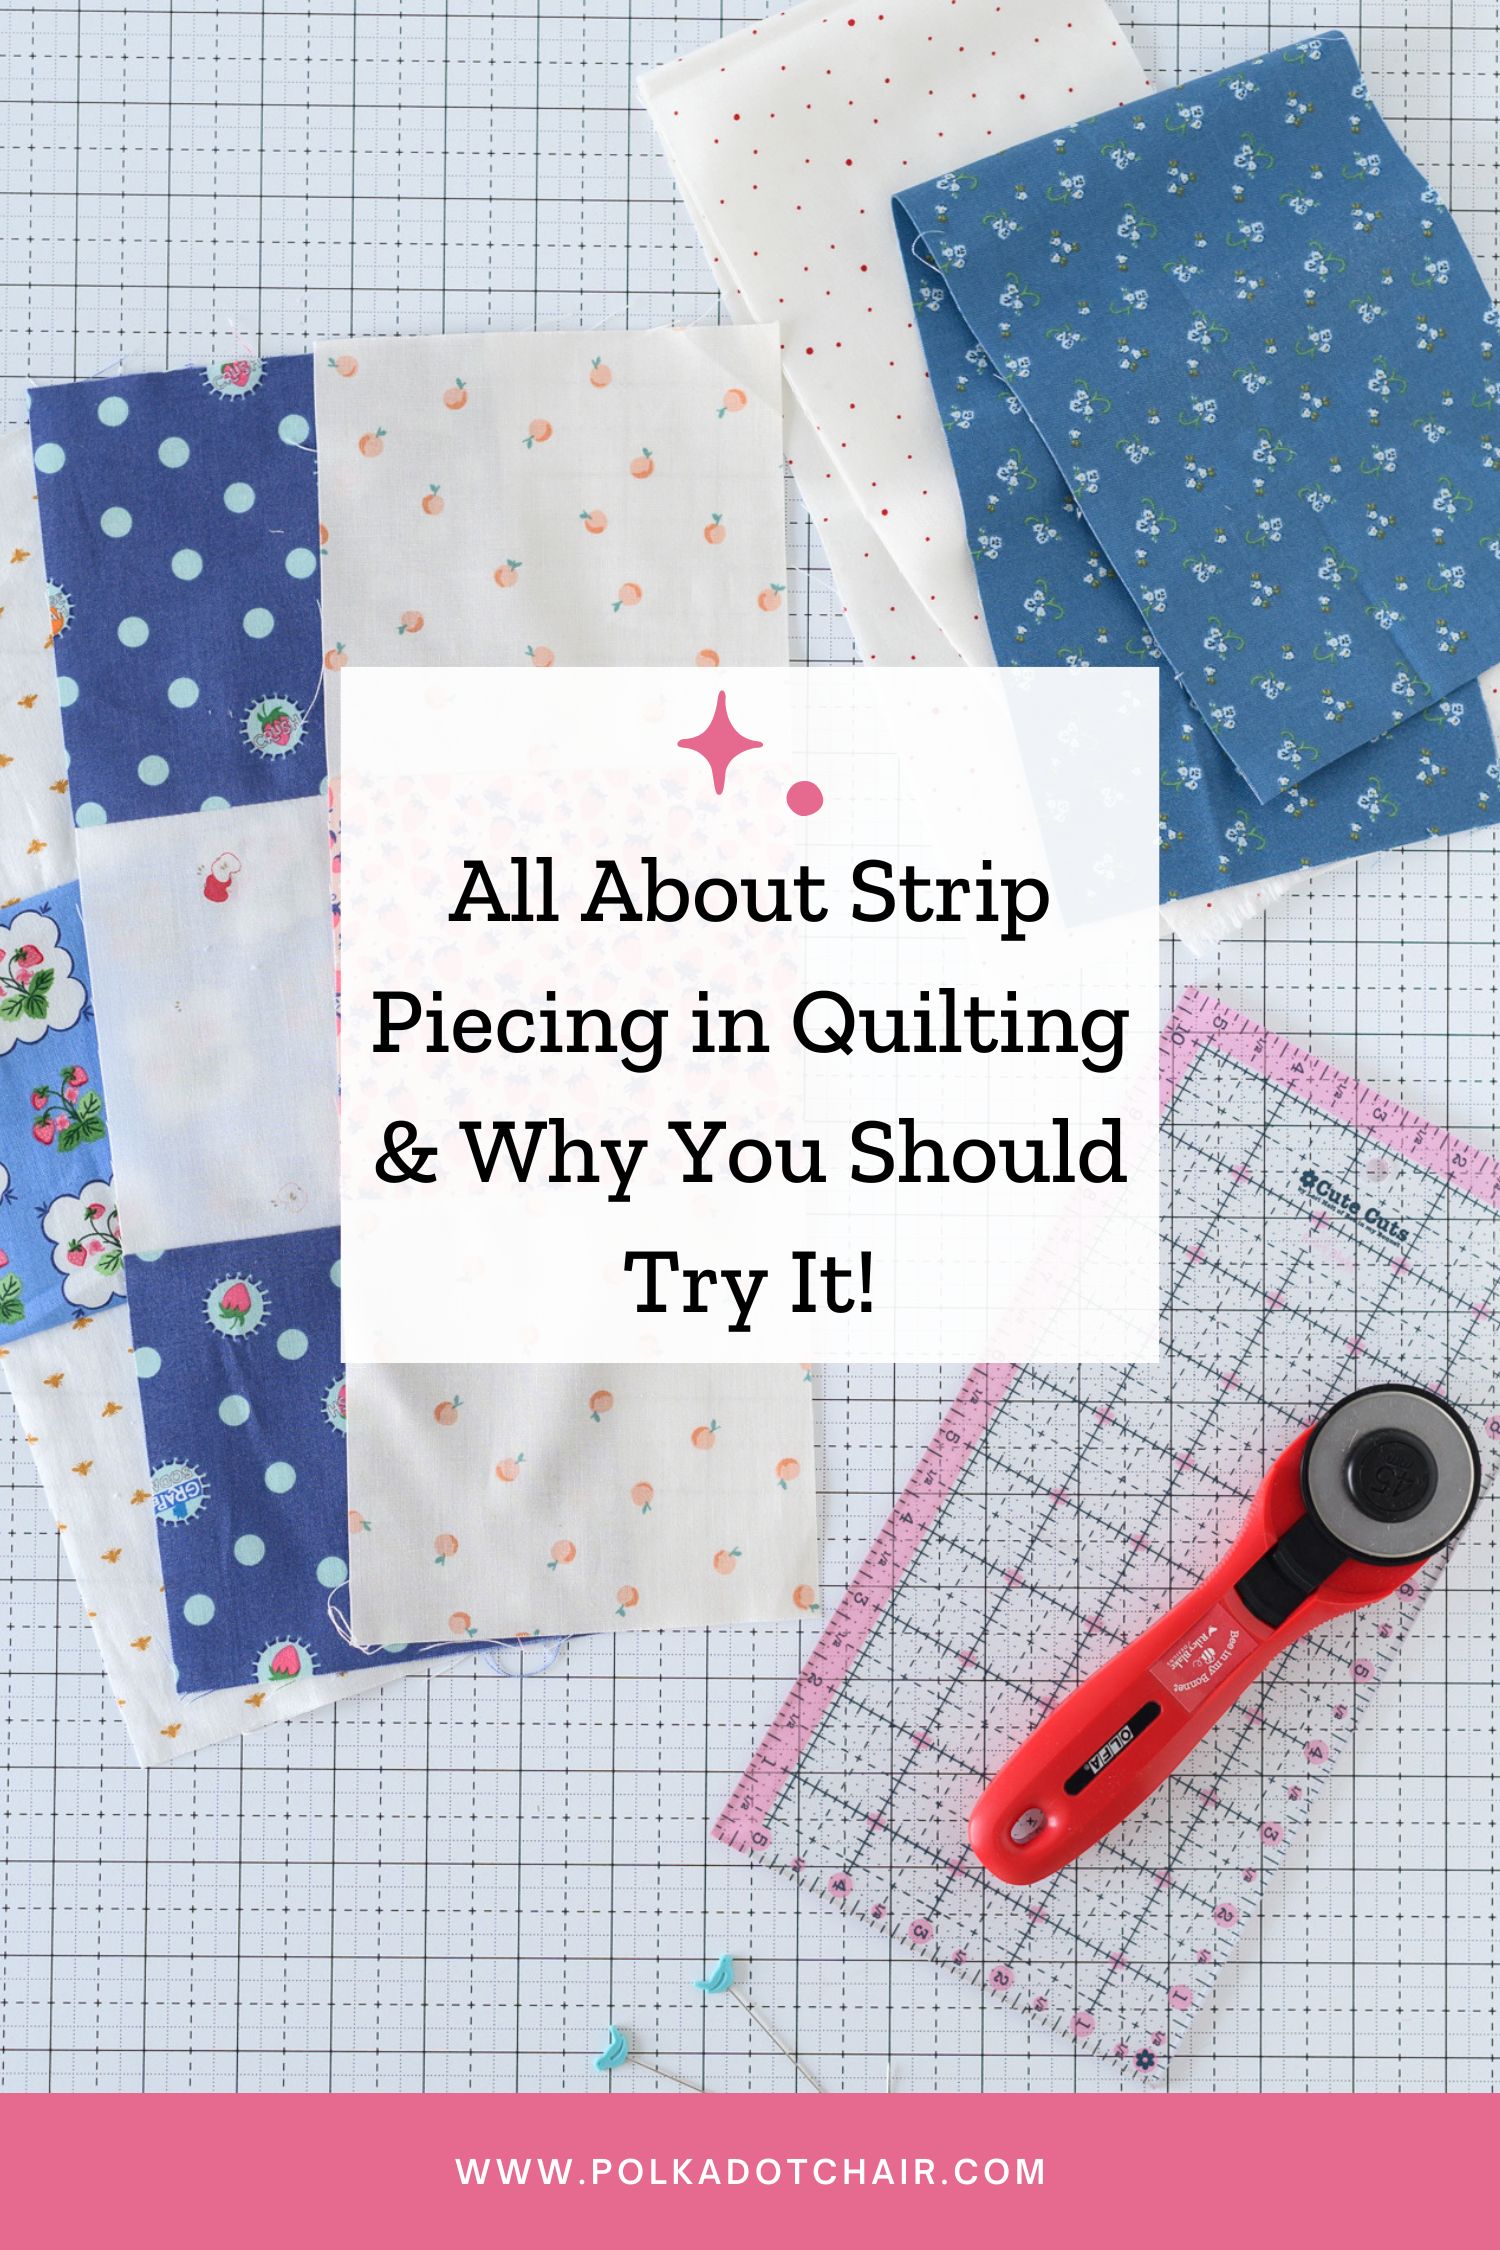
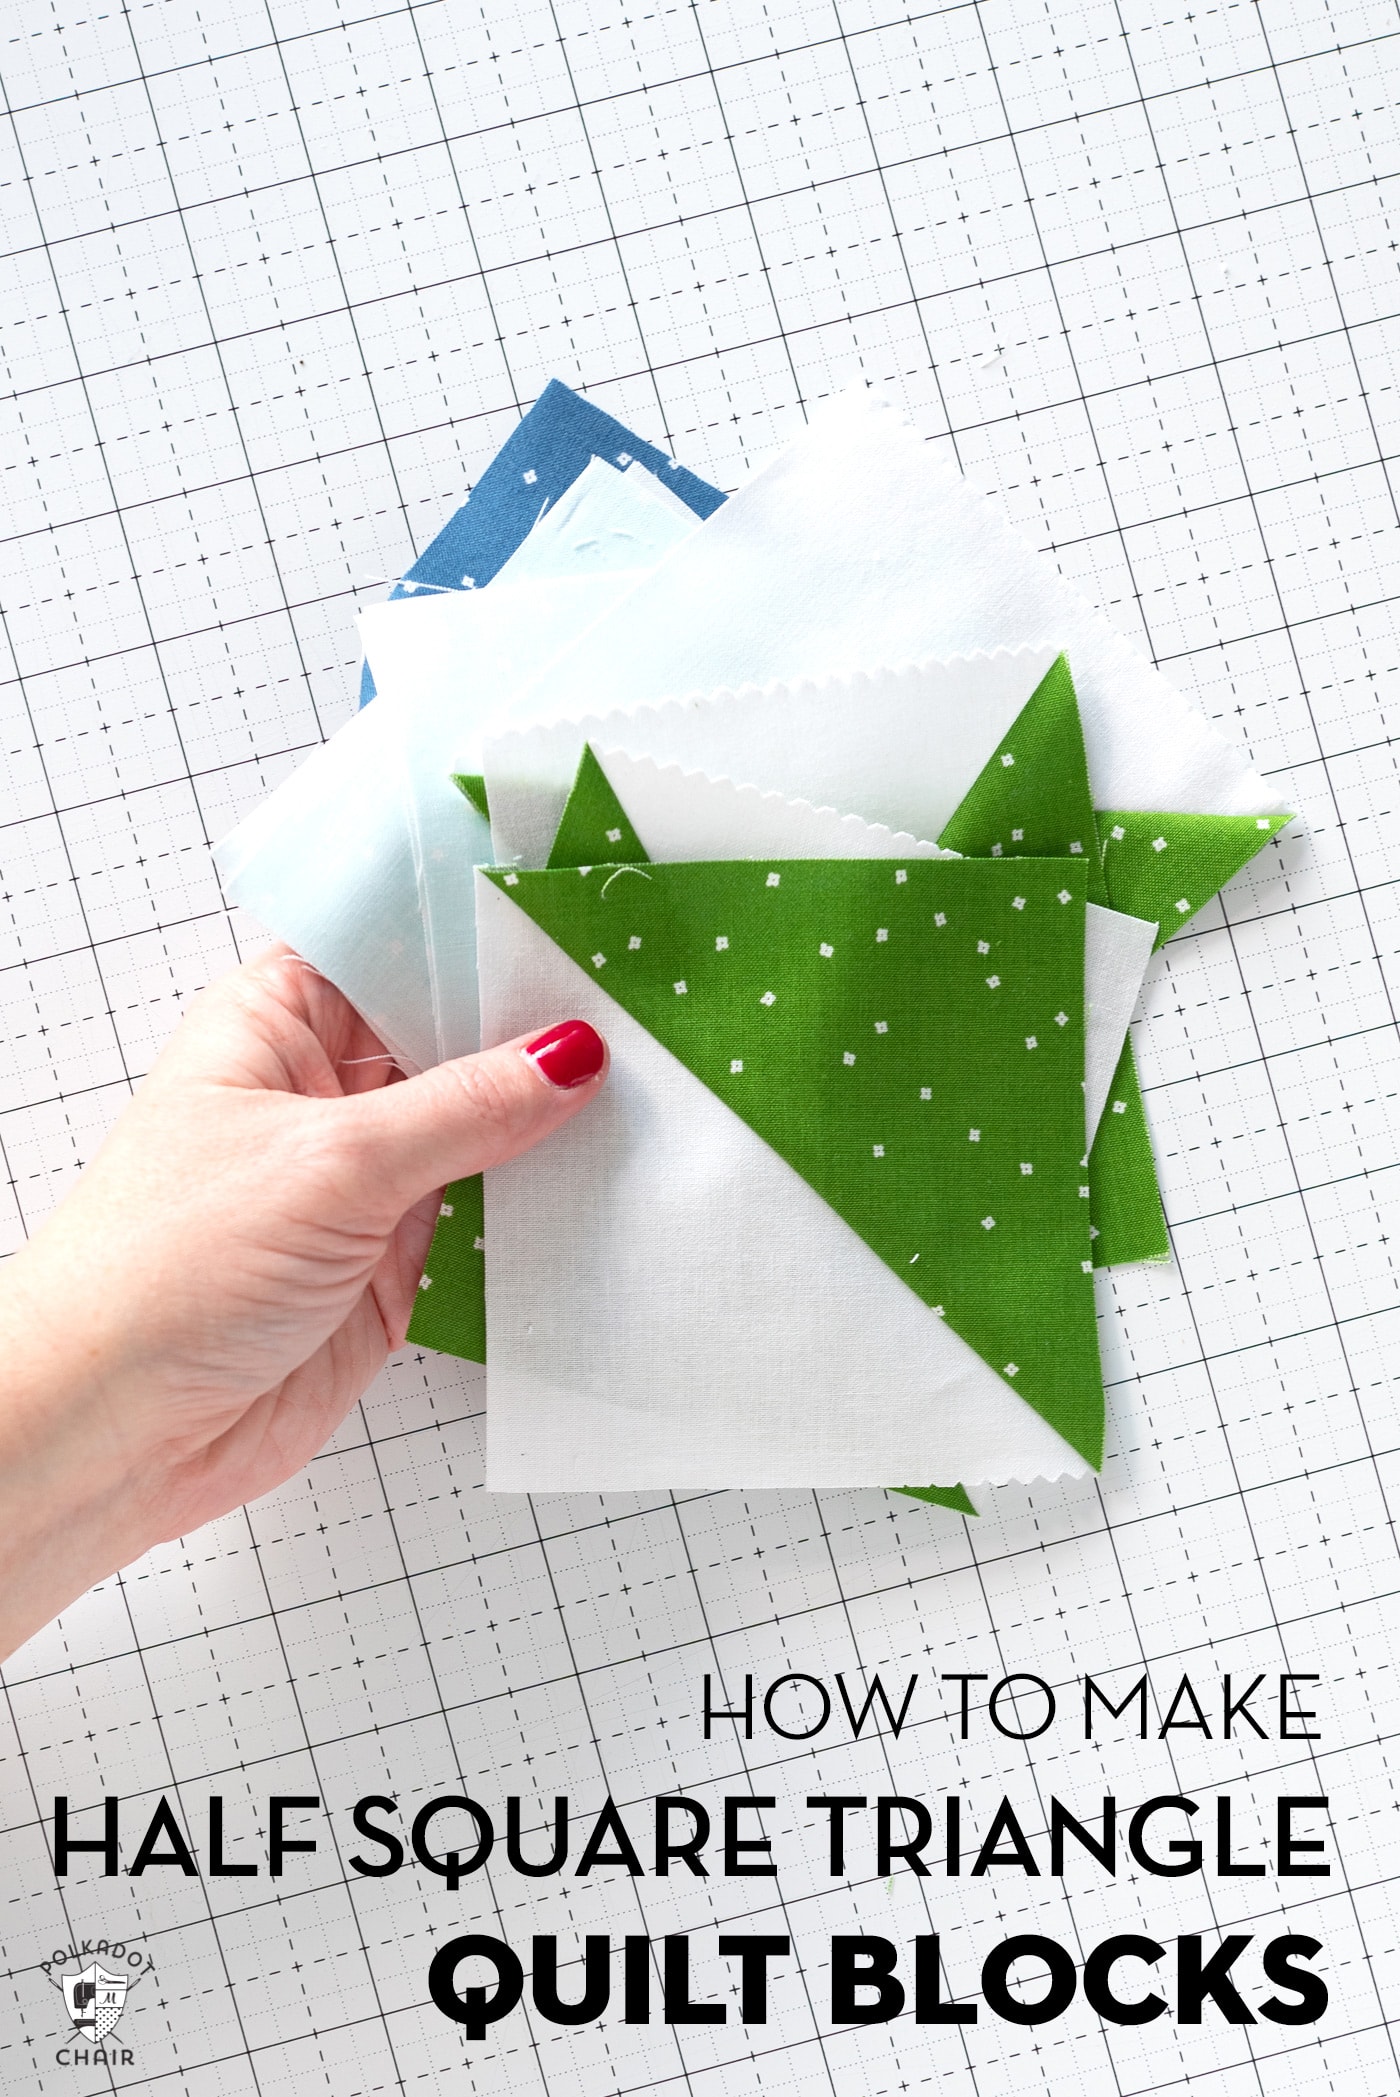
What Is Strip Piecing in Quilting? (And Why You’ll Want to Use It)
Strip piecing is a time-saving quilting method that involves sewing long fabric strips together before cutting them into smaller units. This technique is perfect for creating consistent blocks quickly! In this article, I’ll share with you how strip piecing works, why it’s useful, and provide my tried-and-true tips for achieving the best results.
Strip piecing is one of those techniques that sounds more complicated than it is, but once you try it, you’ll wonder why you didn’t start sooner.
It’s a huge time-saver, especially when working with blocks that use repeated units like Four-Patch, Nine-Patch, Irish Chain, or Rail Fence.
What is Strip Piecing?
Instead of cutting a bunch of small squares and sewing them together one at a time, you sew long fabric strips together first, then sub-cut the sewn strip sets into smaller units. Think of it as batch sewing for quilters; it speeds up the process and improves accuracy.
When I first started quilting, I pieced a lot of patchwork quilts the slow way, square by square. This little patchwork doll quilt would have been a perfect project to try strip piecing.
It wasn’t until I used the strip piecing directions on several of the blocks from my early Riley Blake Block Challenge quilt that I realized how much time I’d been wasting.
Since then, I’ve used strip piecing for everything from Nine-Patch blocks to scrappy table runners, and it’s become one of my favorite go-to techniques.
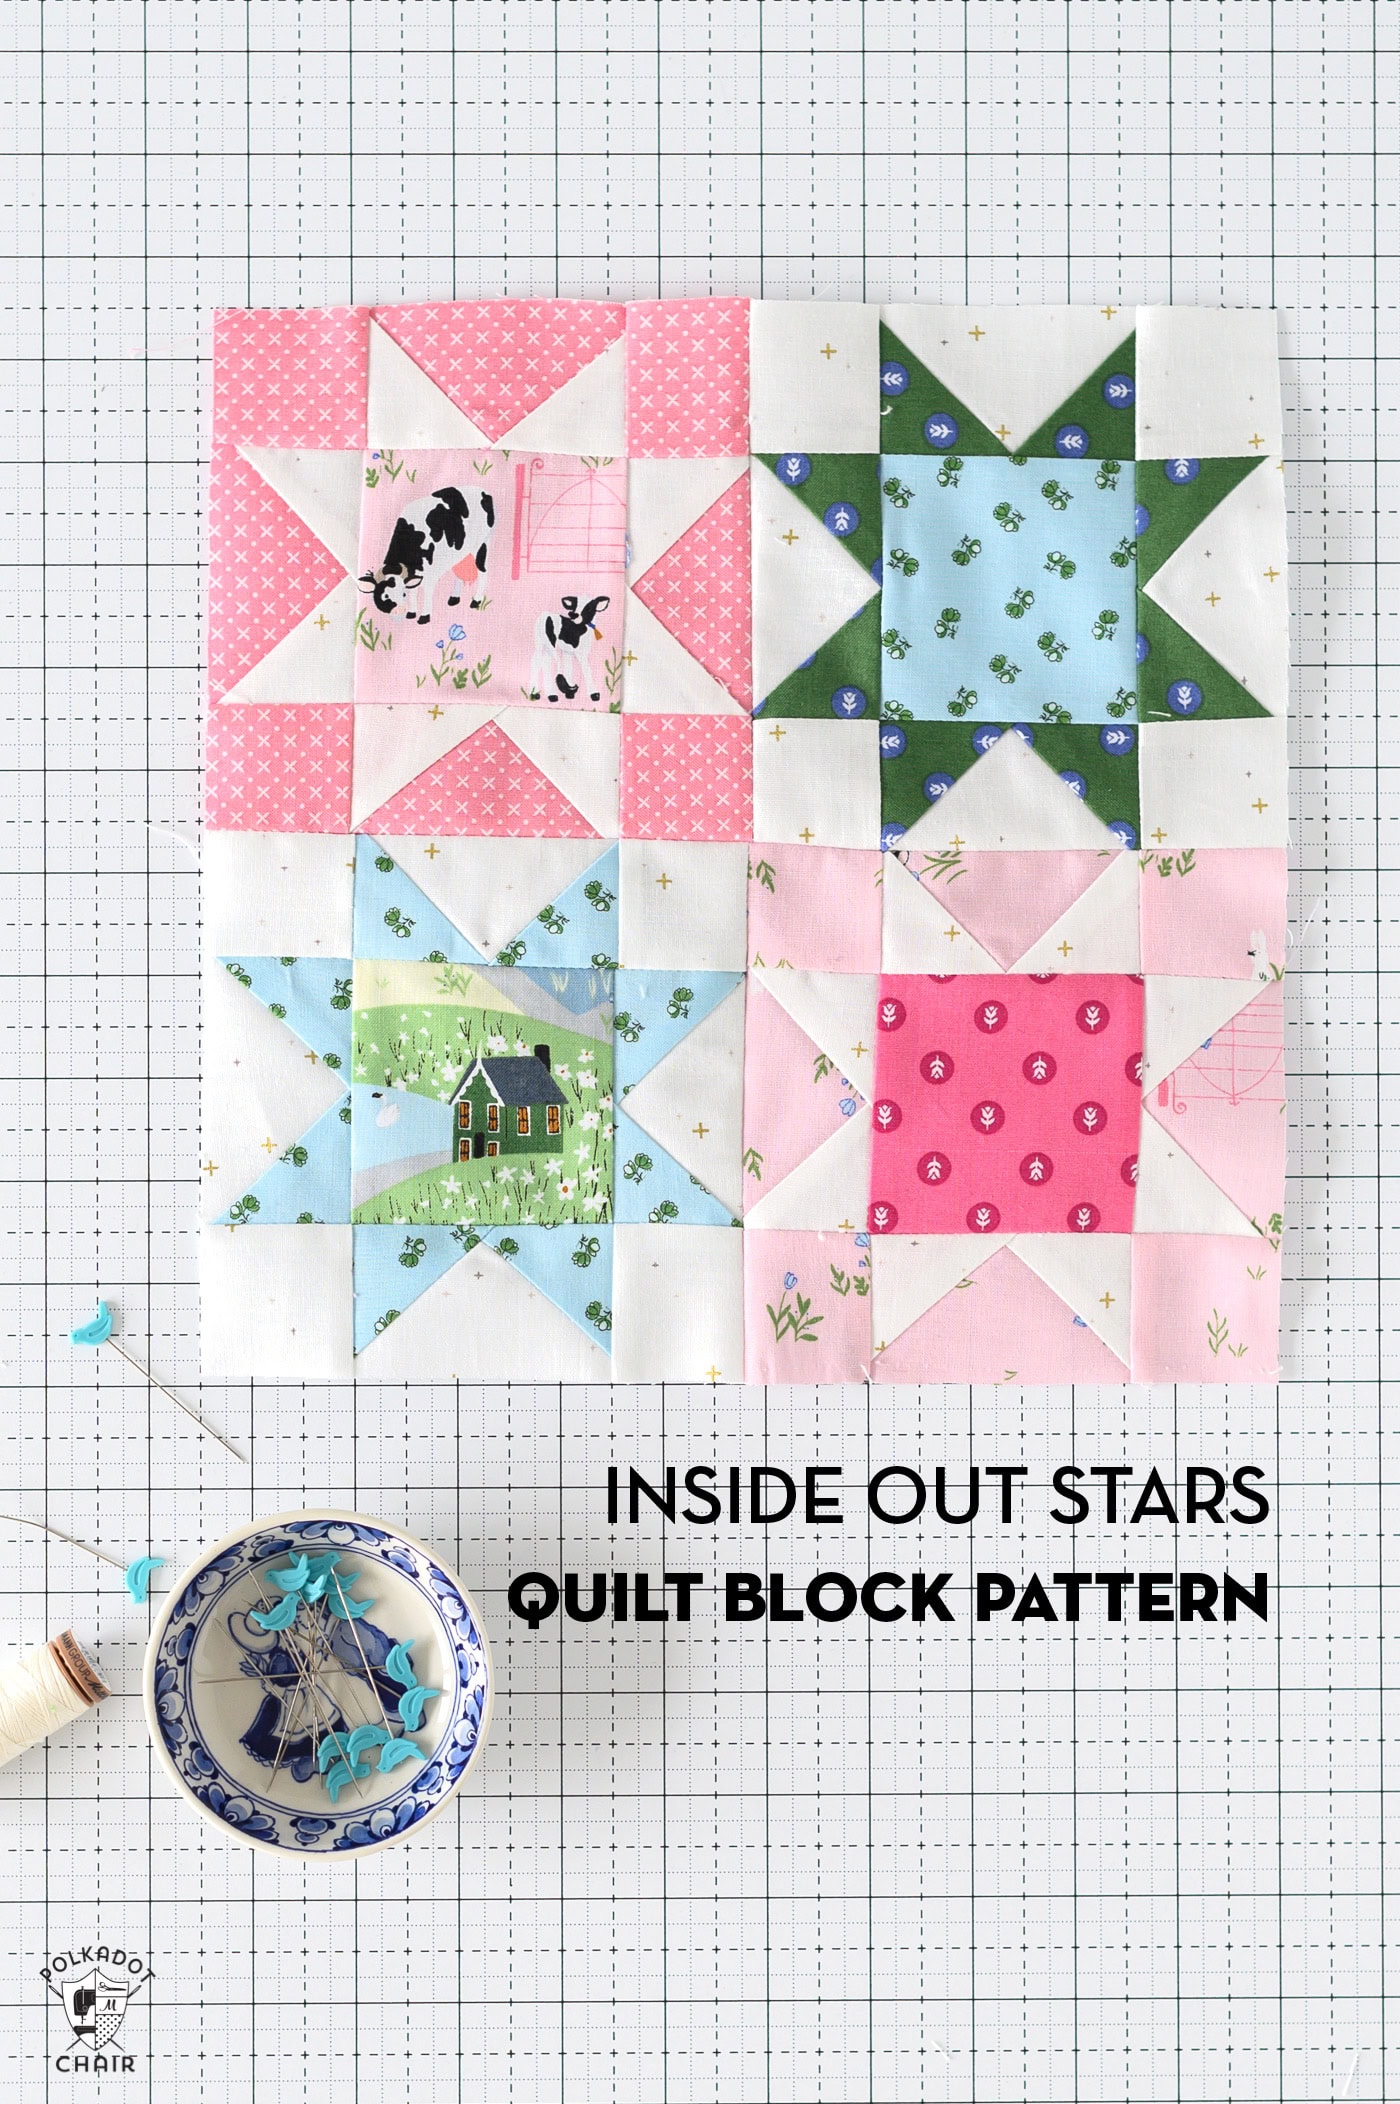
(example of strip pieced nine patch quilt block)
Why Use Strip Piecing?
If you’ve ever felt like piecing a quilt block was taking forever, strip piecing might be the solution. Here’s why it helps:
- It saves time: You sew once, cut many.
- It’s more consistent: Fewer seams mean less room for error.
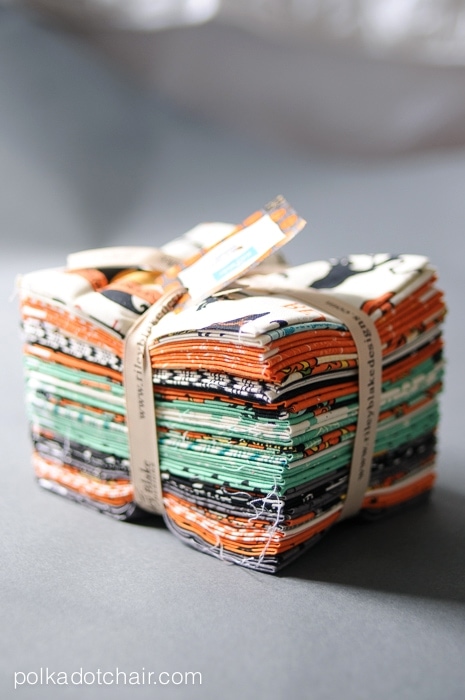
- Great for Precuts: It works perfectly with Jelly Rolls (2½” strips) or strip sets you cut yourself from yardage or fat quarters.
- It reduces handling & potential fabric stretching: The less you shuffle small pieces, the more accurate your finished block tends to be.
Tips for Successful Strip Piecing
- Start with accurate cutting. Precision at the beginning makes a big difference. Cut your strips straight and consistently, especially along the width of fabric (WOF).
- Use starch. A little spray starch before cutting helps minimize stretching and keeps edges crisp.
- Sew with consistent seam allowances. Use a scant ¼” if your pattern calls for it. A seam guide or seam tape can help.
- Press carefully. Press your seams after each addition—but don’t stretch the fabric. Just lift and press. Experiment with pressing your seams open or to the side, to see which yields a more precise block. I have noticed that specific fabric widths or types respond better to different pressing techniques.
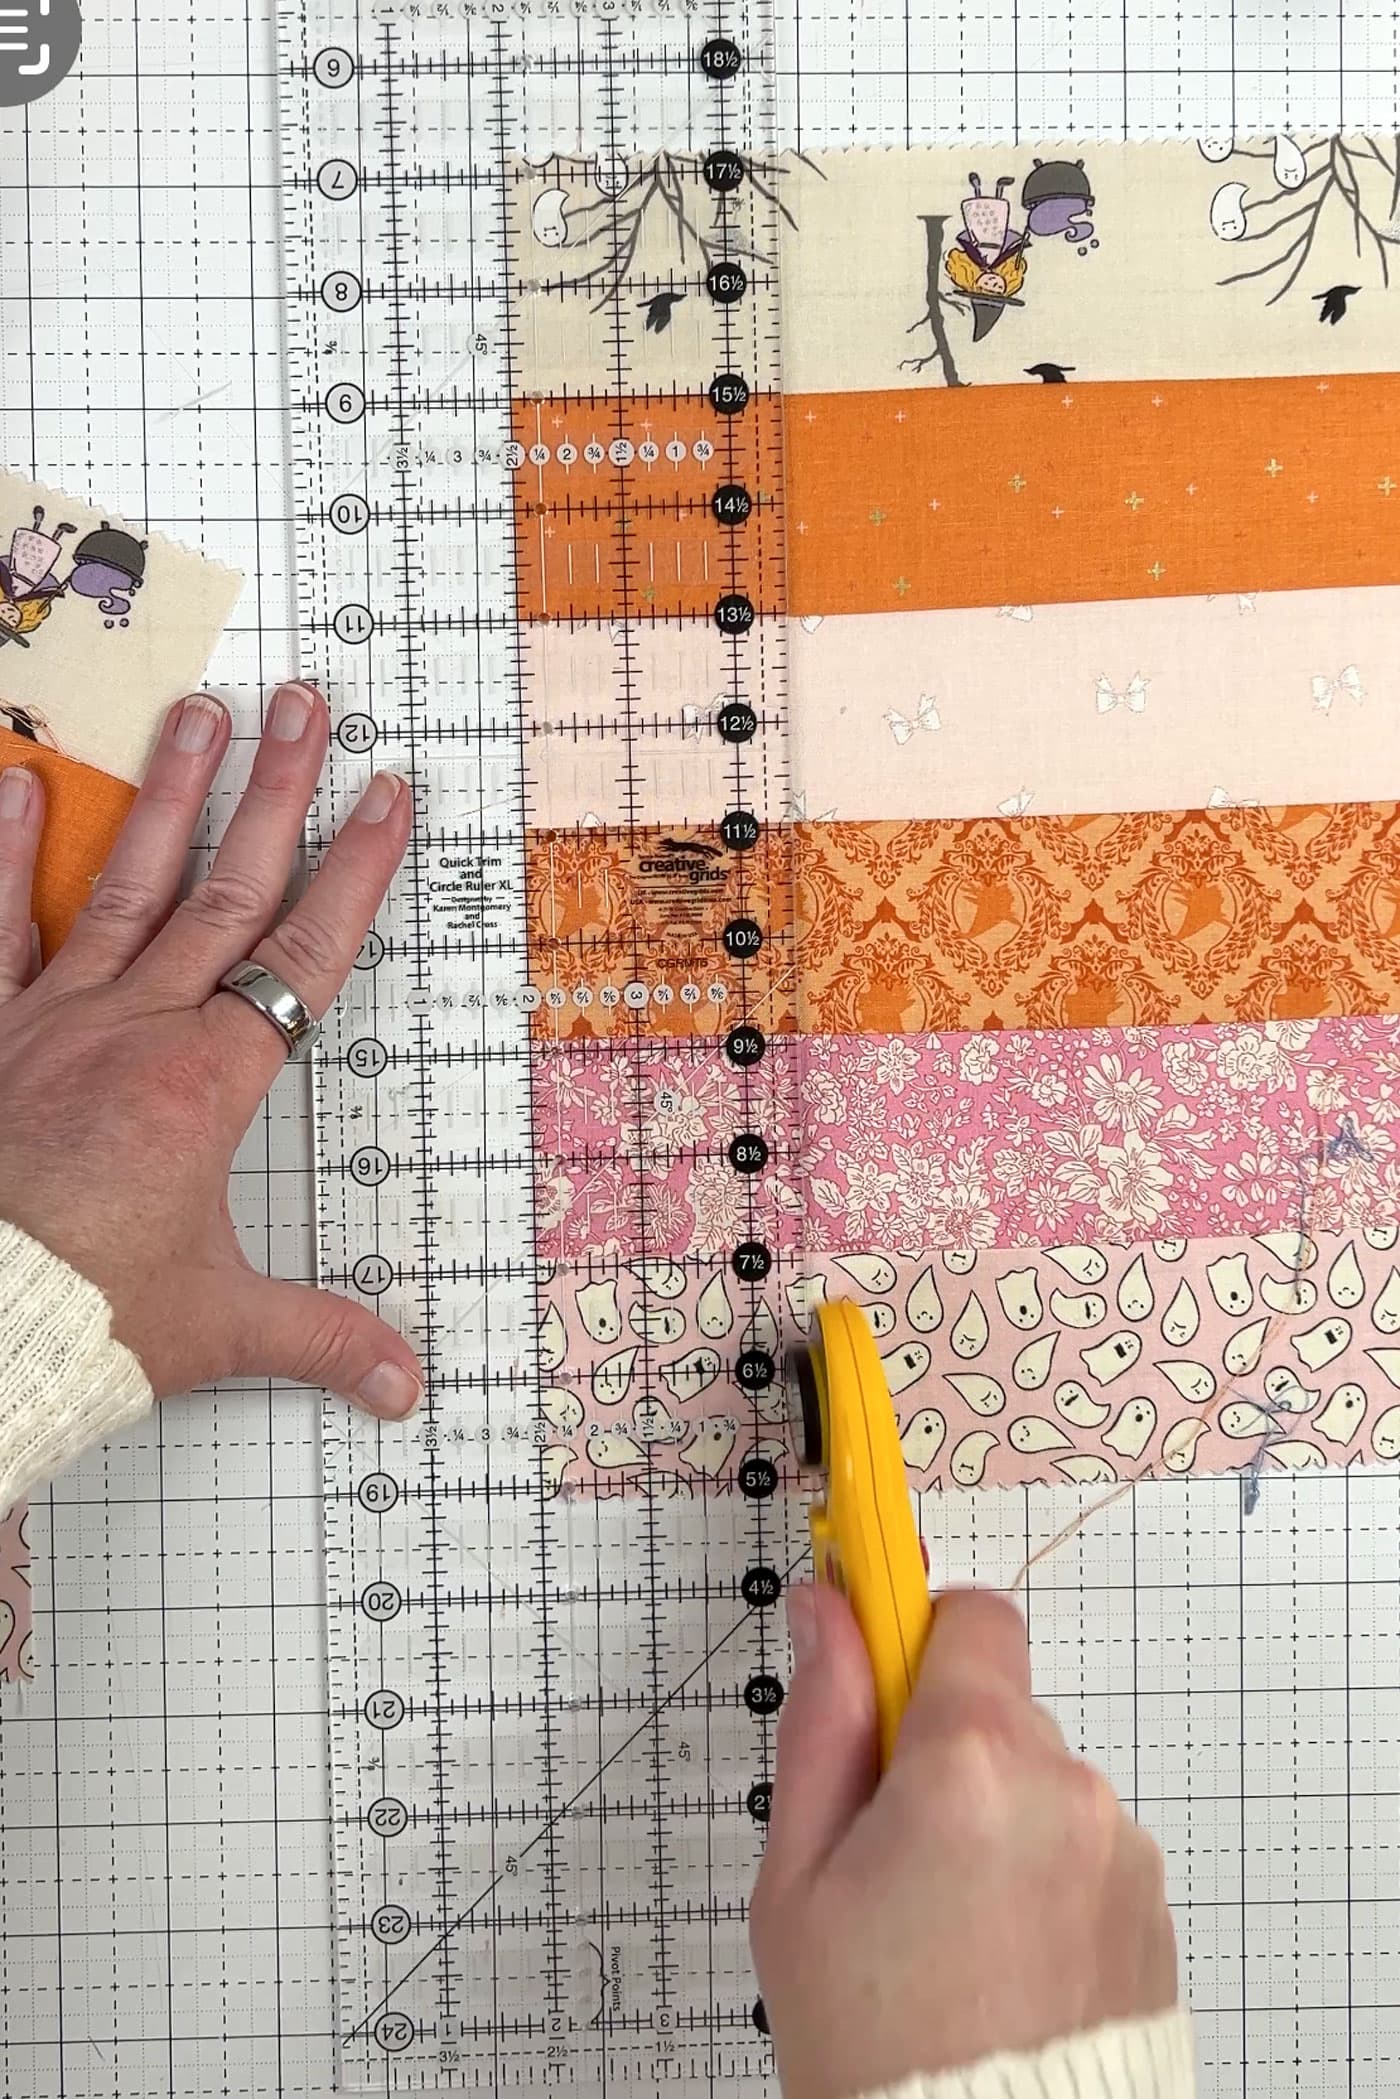
- Sub-cut with care. After sewing your strip set, use a square ruler with marked measurements to cut segments accurately. Be careful as you cut to keep your cut line perpendicular to the seam line.
Common Questions About Strip Piecing
Q: Can I use strip piecing for any quilt block?
Not all, but many! Many quilt pattern designers will include directions for strip piecing in the pattern directions, if it’s possible to construct the quilt blocks that way. It’s beneficial for blocks that repeat the same unit (Nine-Patch, Rail Fence, Log Cabin sections). It’s less ideal for blocks with irregular shapes or directional prints.
Q: Do I need special tools?
Nope! You need a rotary cutter, ruler, and a reliable sewing machine. If you work with Jelly Rolls frequently, a stripology ruler or strip-cutting templates can help speed up the process.
Q: Is it worth doing for small quilts or baby quilts?
Yes! Even if you’re only sewing a few rows, strip piecing can help keep things aligned and tidy. It also reduces fiddly piecing, which is great when you’re on a deadline or want a quick finish.
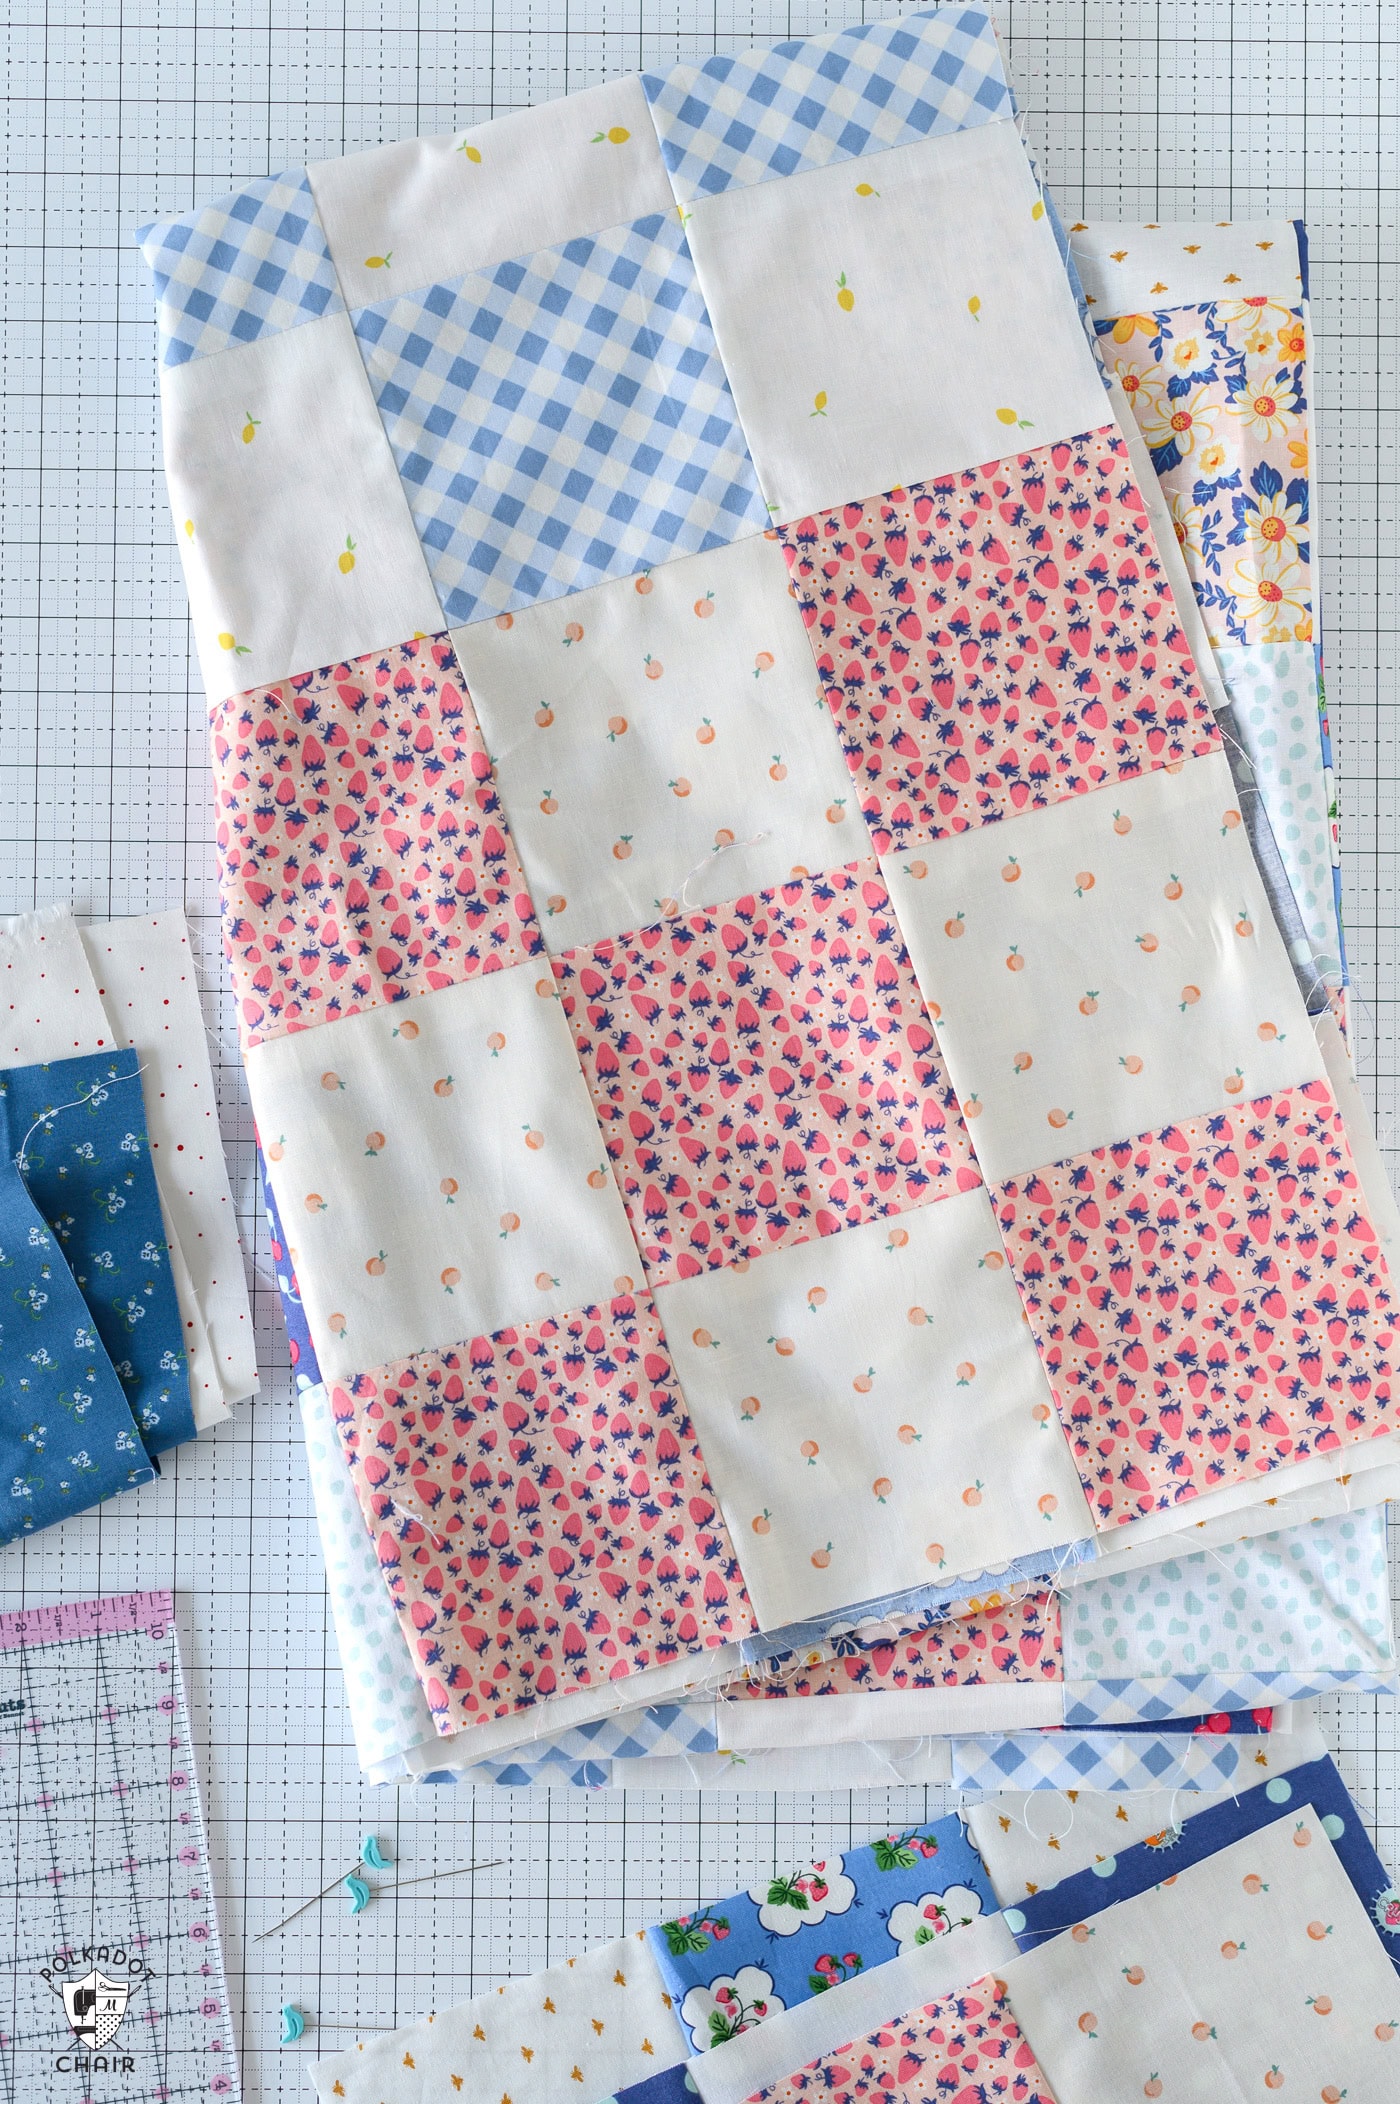
How to Use Strip Piecing to Create Random Patchwork
Another fun way to use strip piecing is to create a “random” patchwork effect by flipping every other sub-cut piece.
Step One: Sew Strips
Sew a set of strips together. The strips all need to be close to the same length and width. The number of strips doesn’t matter; however, if you want a random patchwork, you should use an even number of strips.
Step Two: Cut
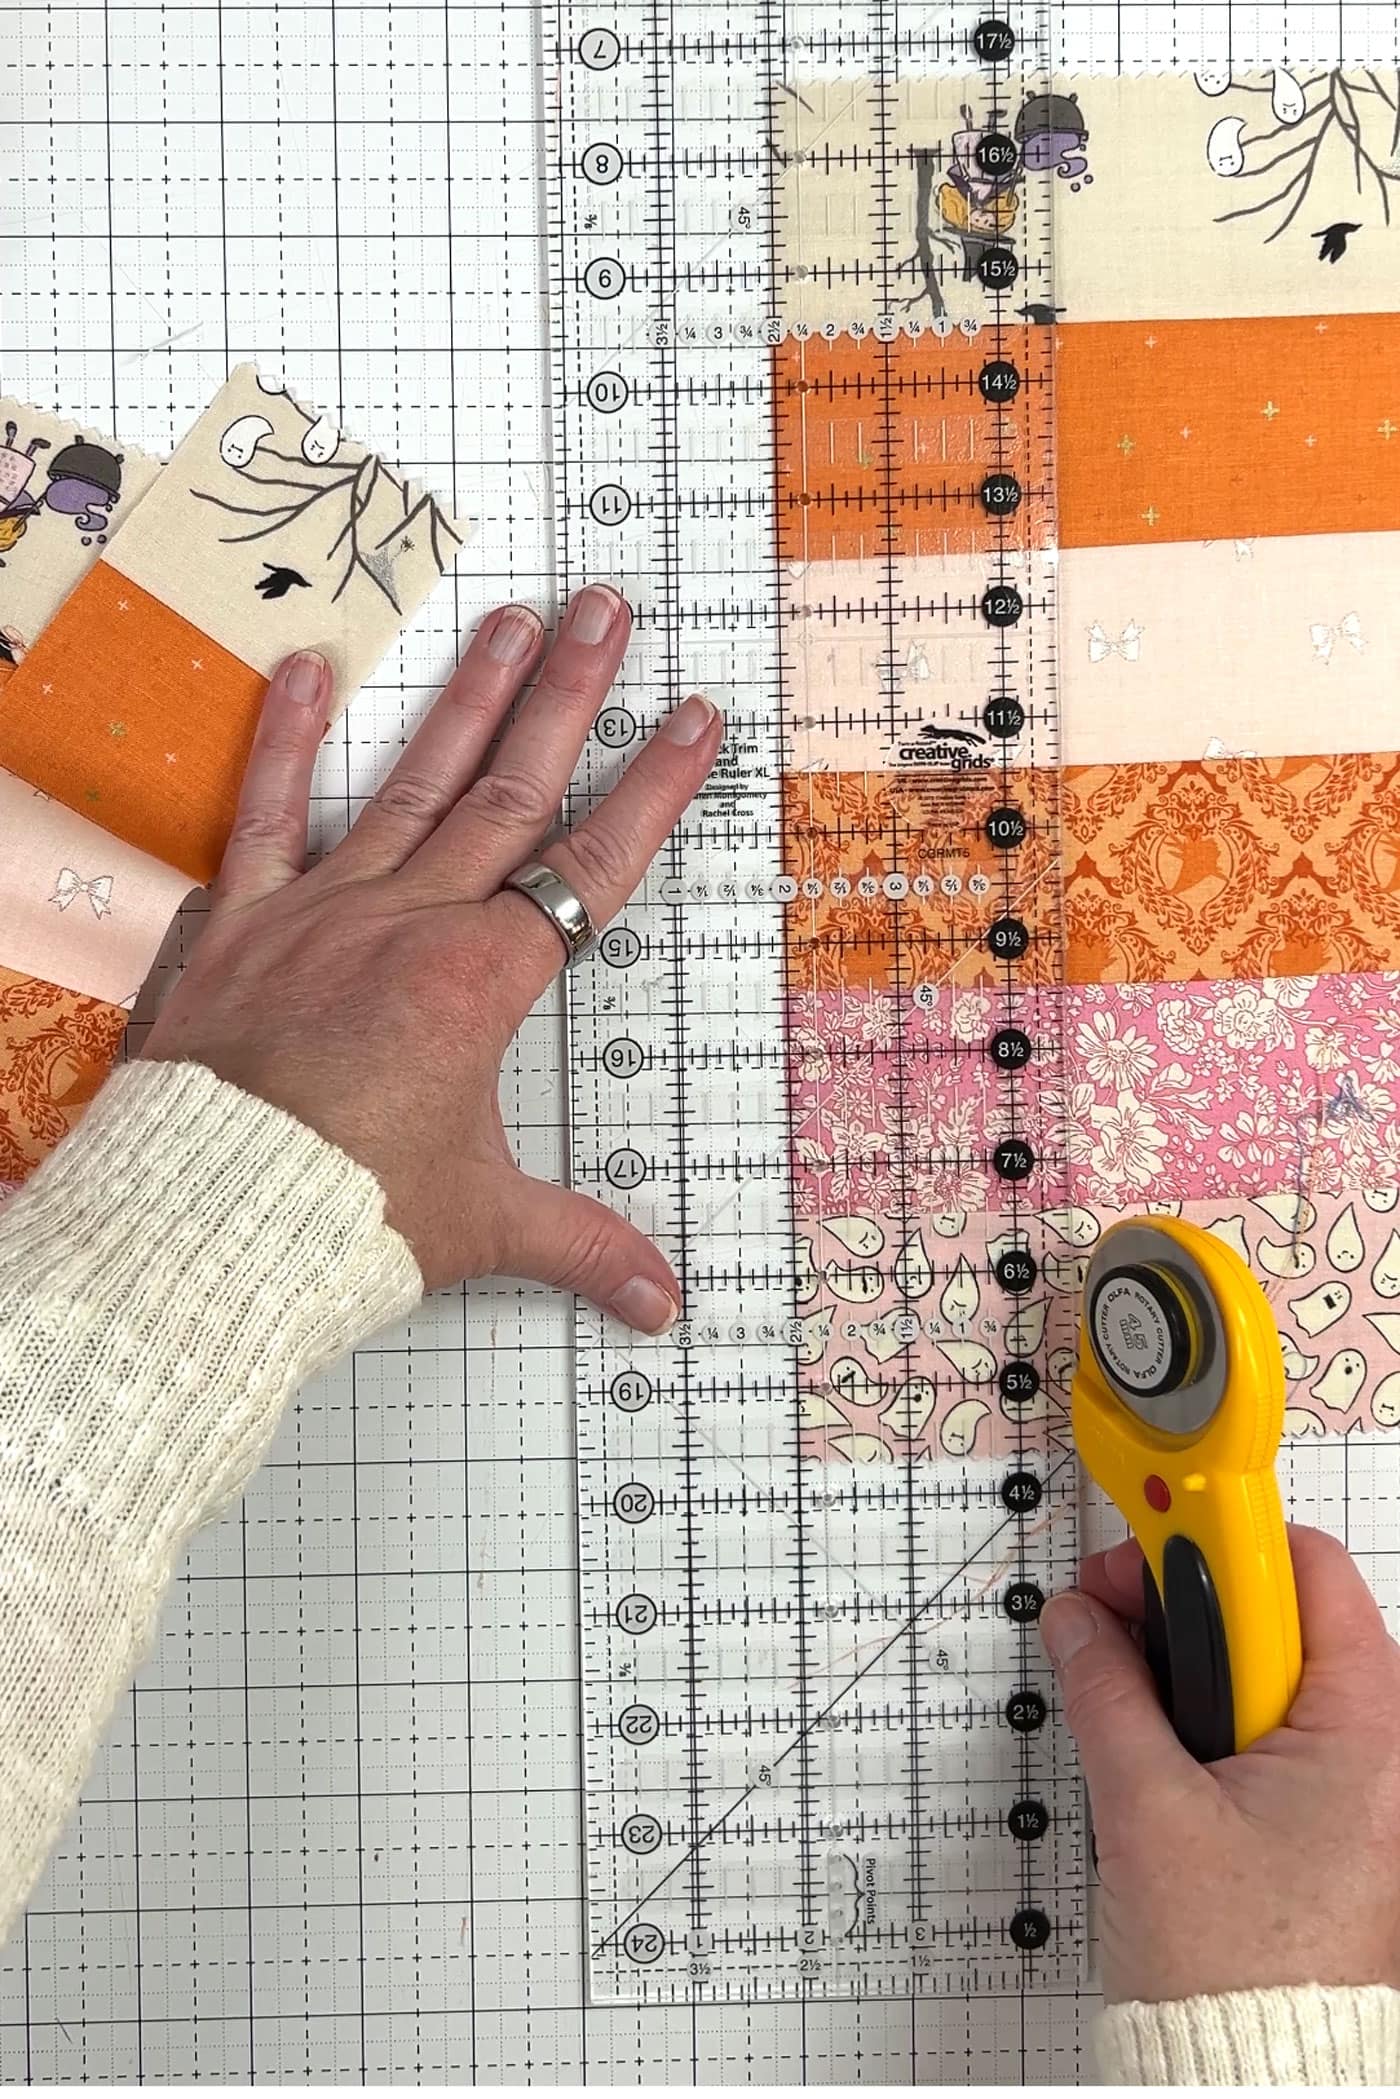
Even with careful sewing, the end of your strip set may not be lined up perfectly. The first cut should be to “square” up the edge of the strip set and ensure that you a nice lean line to start with.
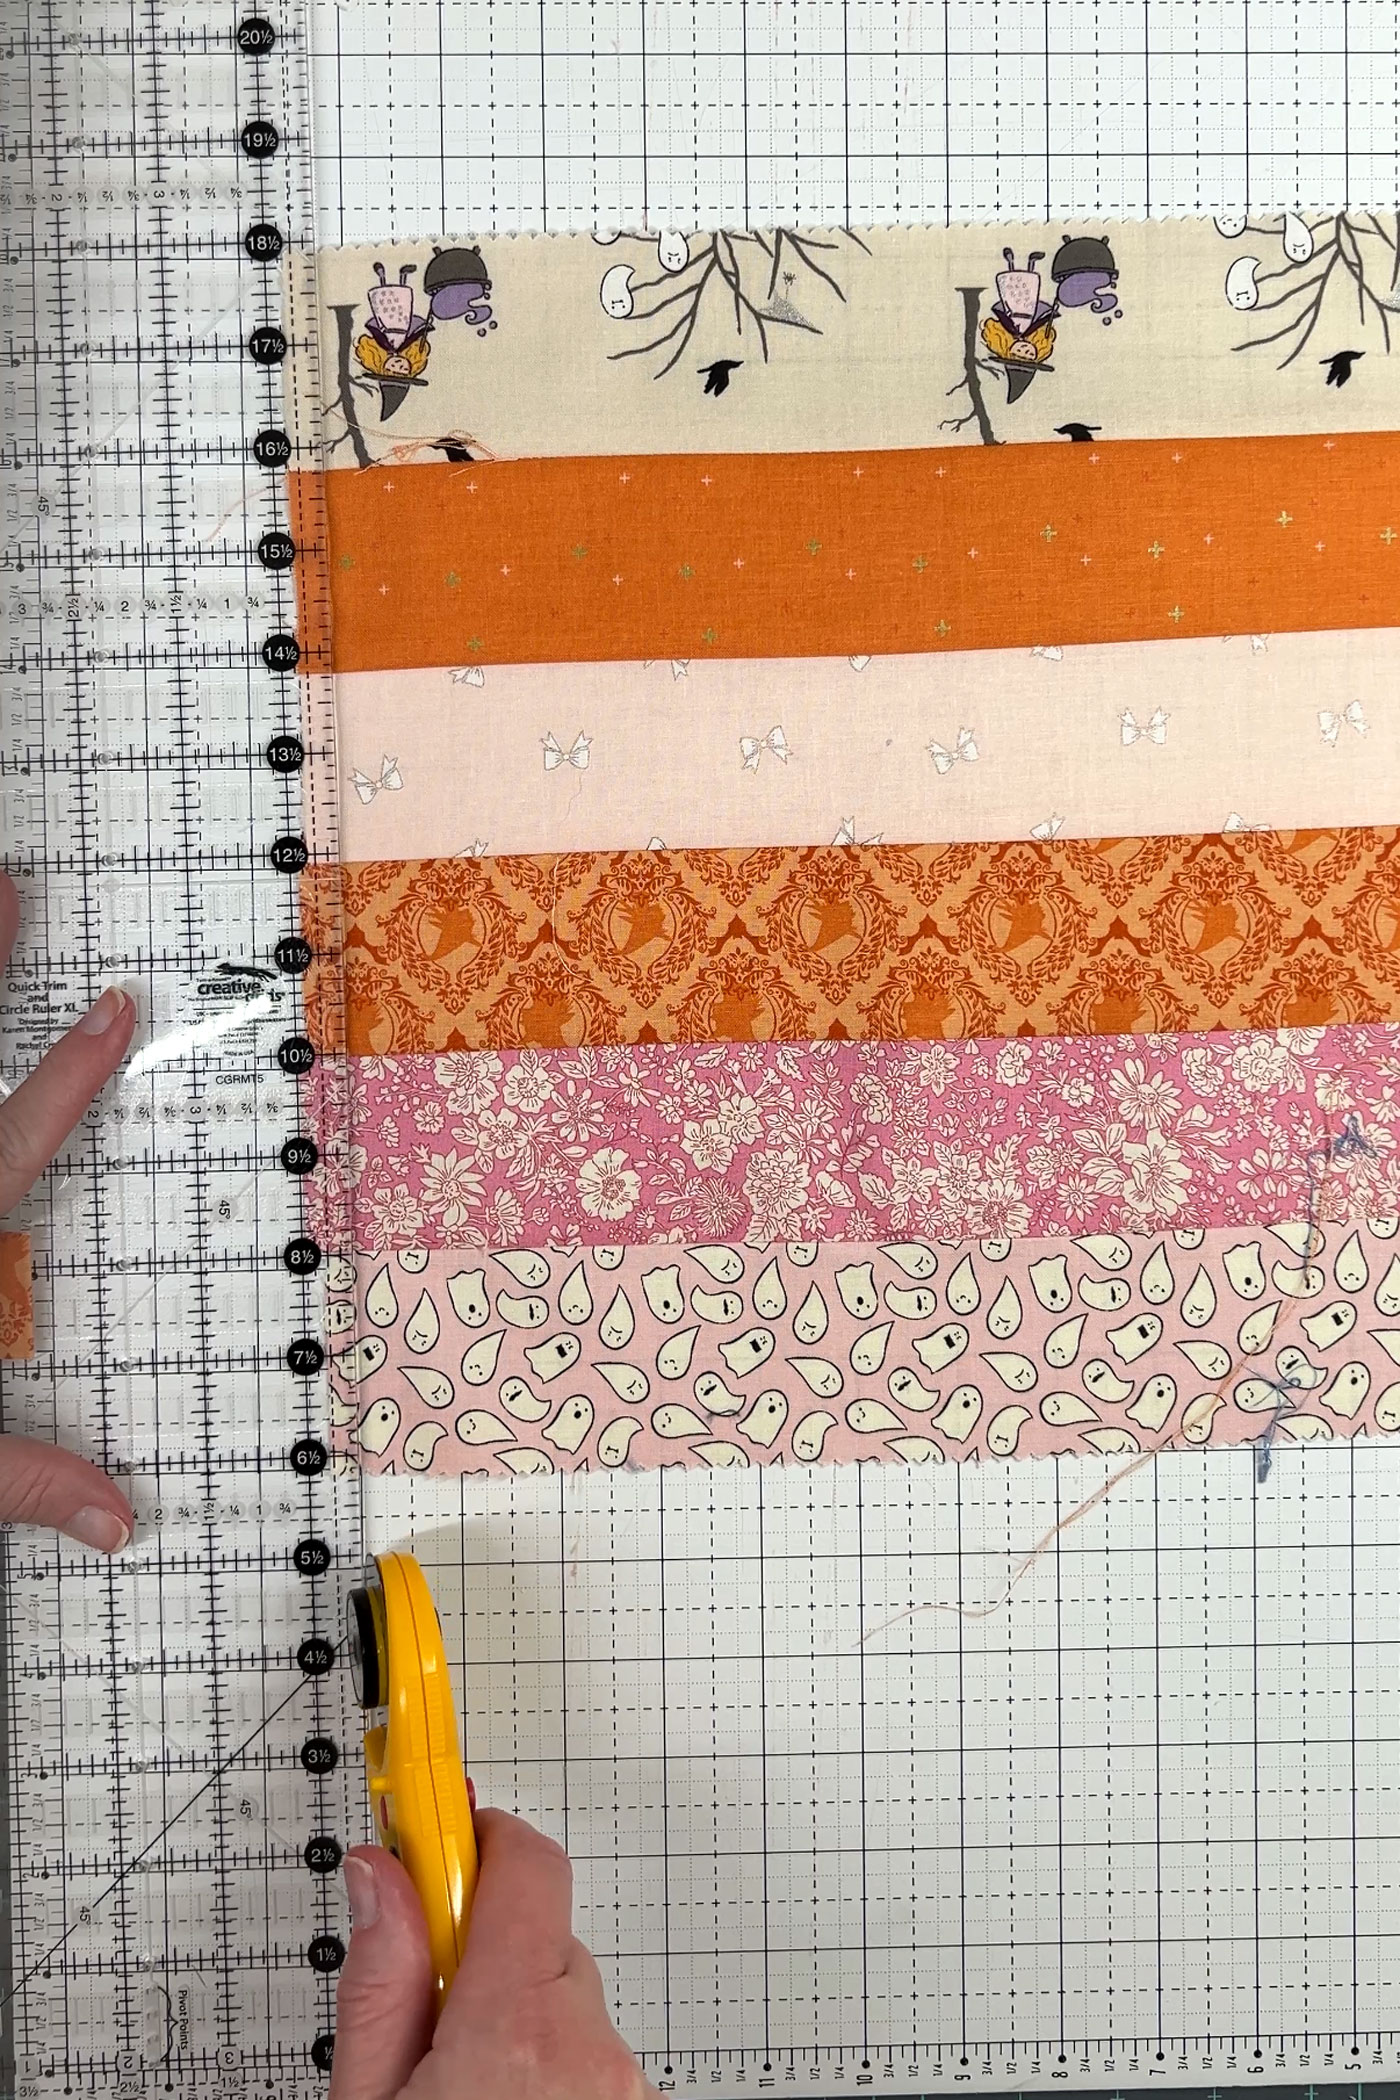
The next cut will be the same width as the original strips. For example, if you sewed 2 1/2″ wide strips together, cut your strip set 2 1/2″ from the outside edge.
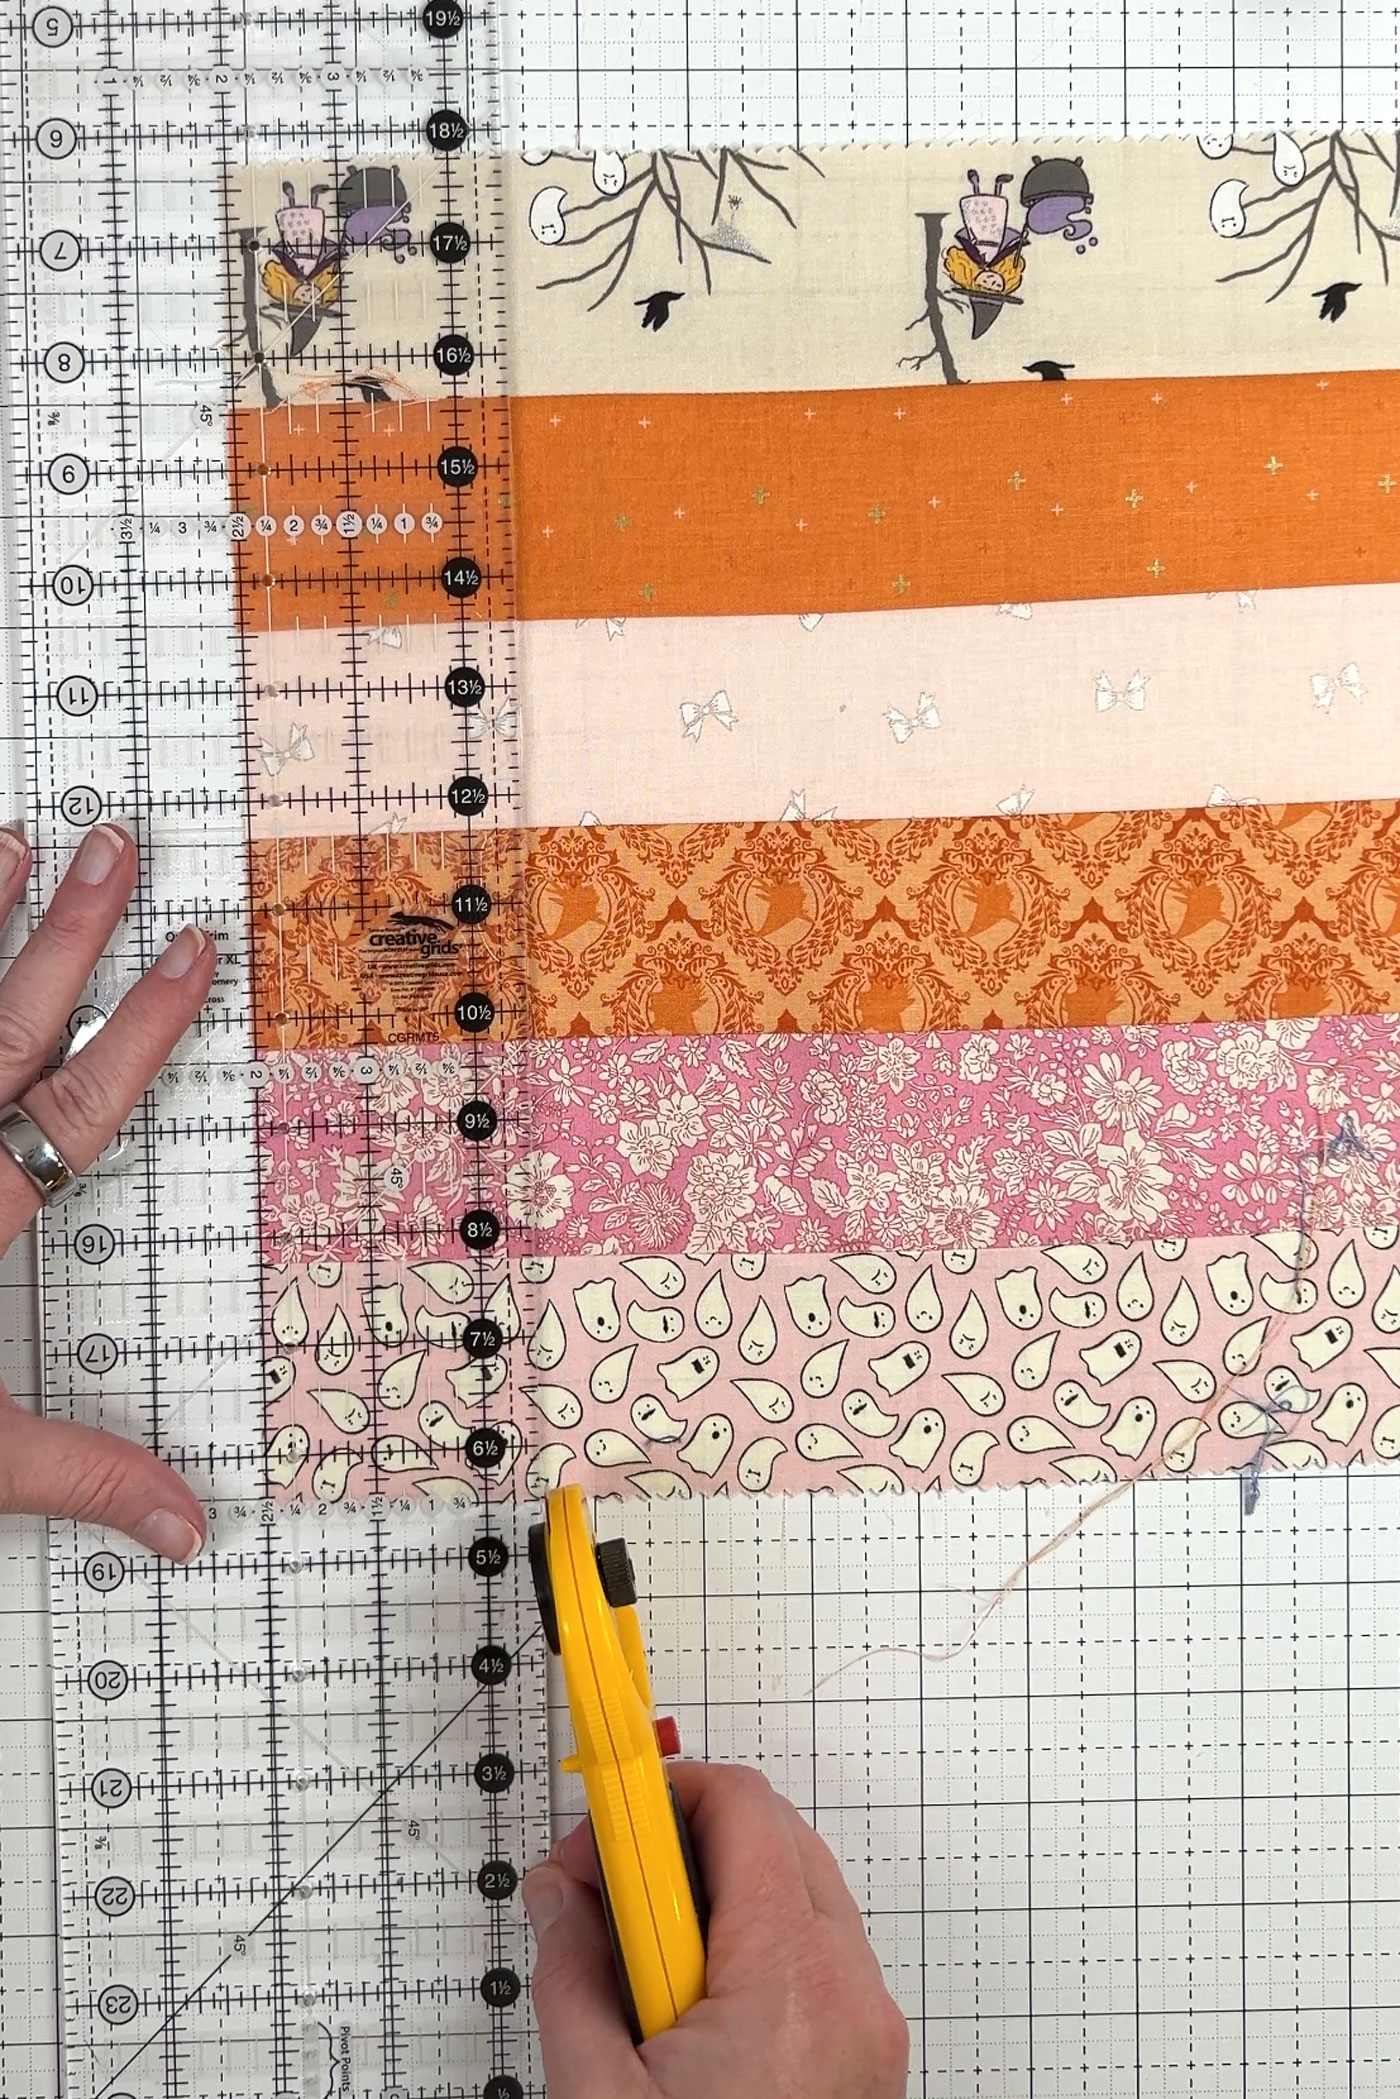
Continue cutting until you reach the end of your strip set.
Step Three: Rotate and Assemble Strips
After sewing your strip set and cutting it into equal sections, rotate every other one before sewing them together.
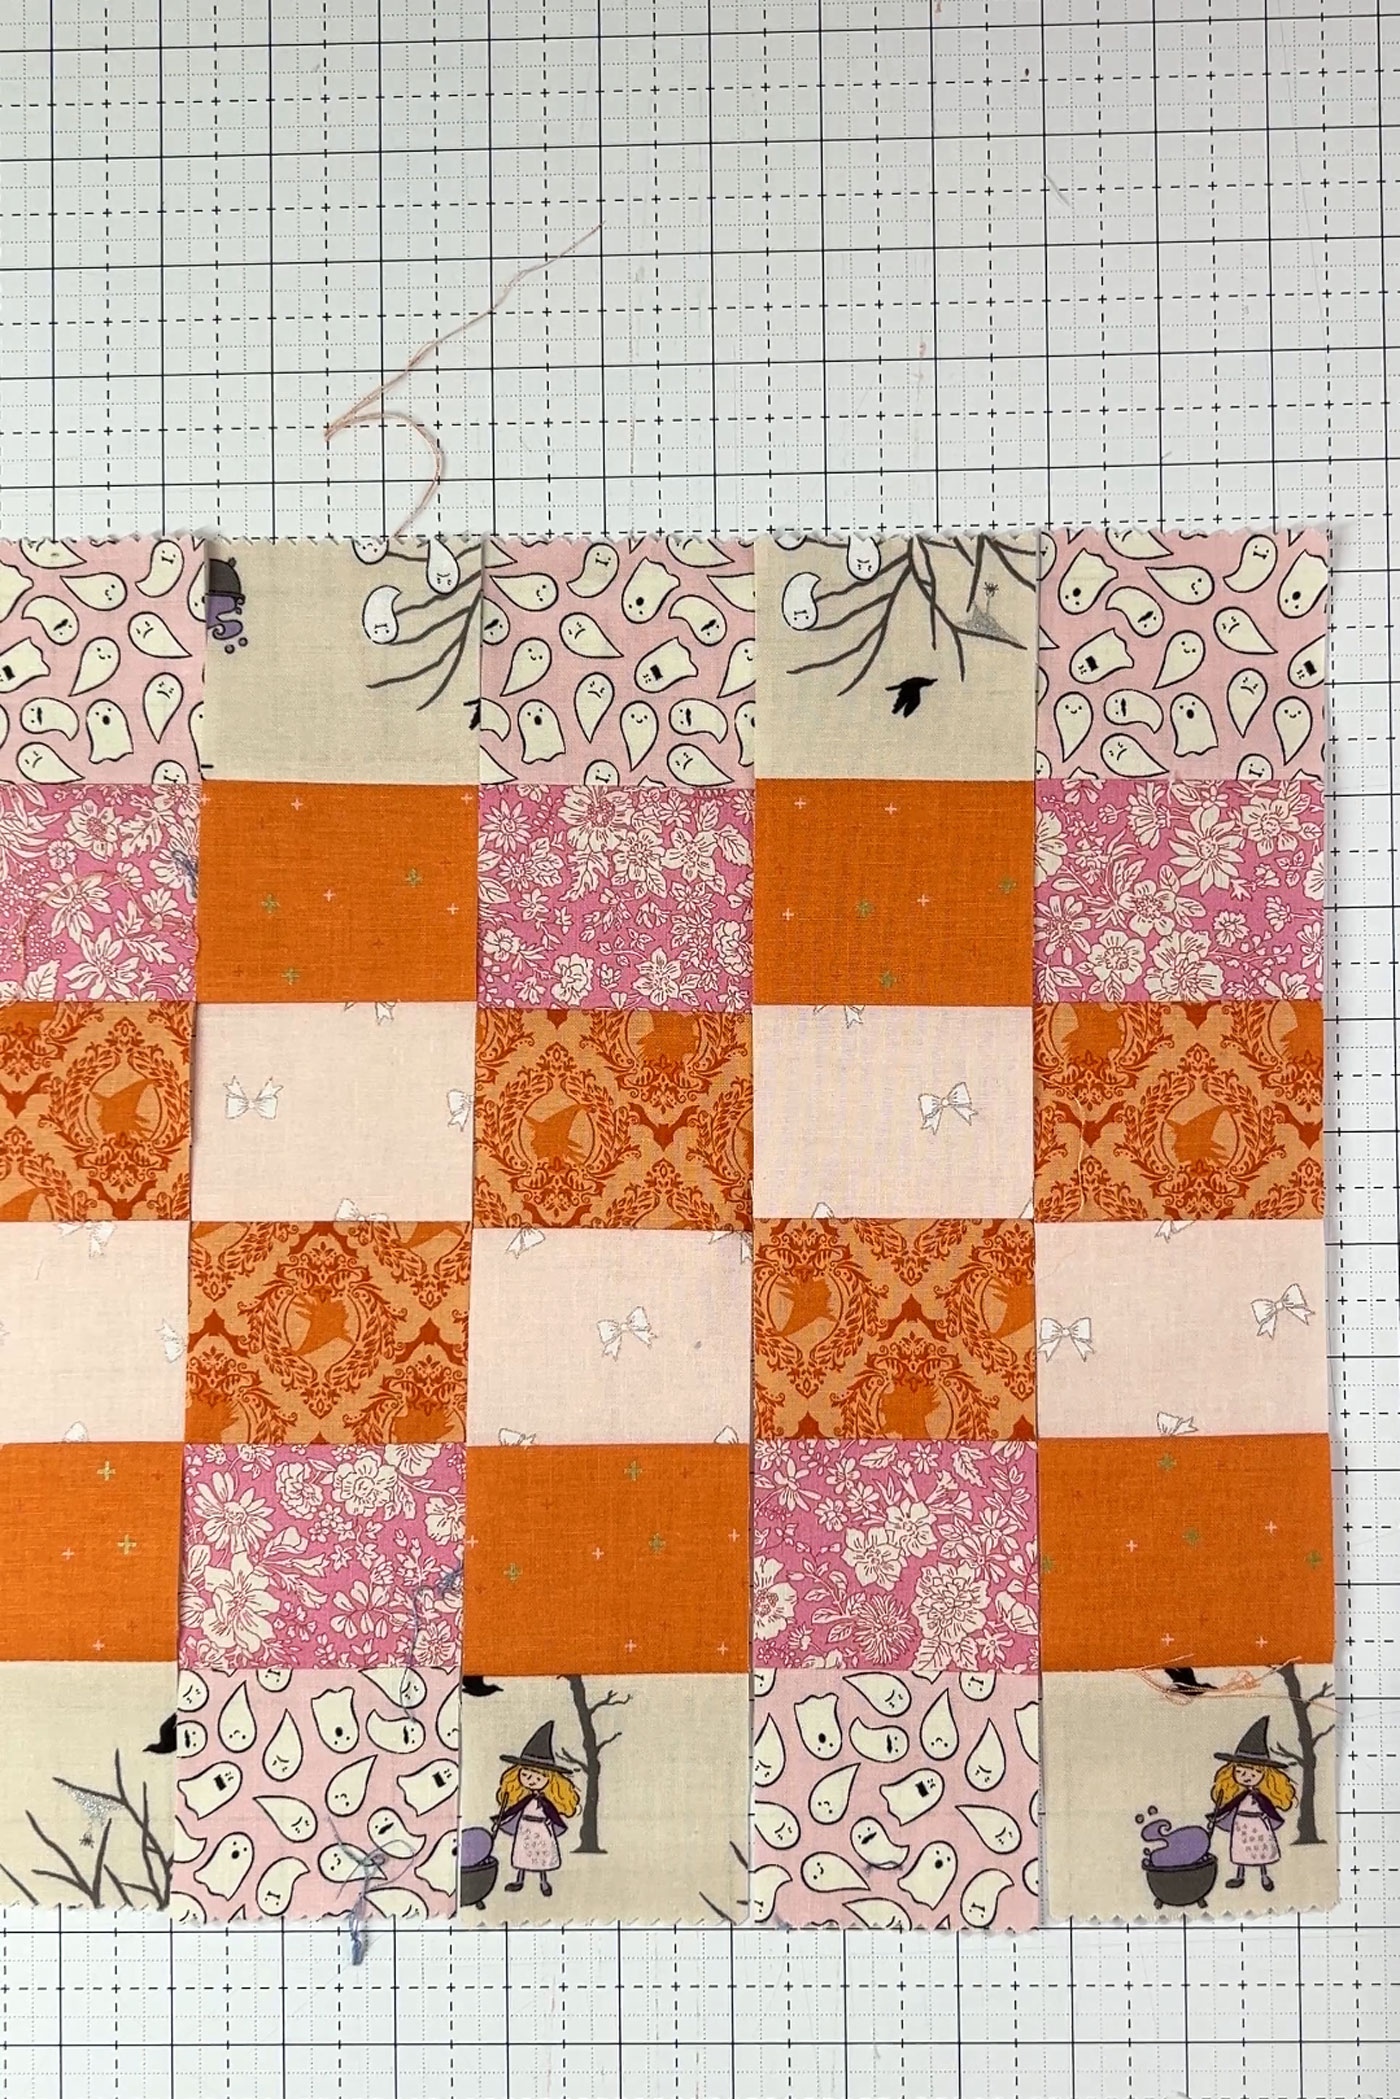
It’s a great trick for scrappy quilts or when you want a patchwork look without laying out every square individually.
TIP:
Create two strip sets with different fabrics and sew the cut units from each together to create an even MORE random patchwork print!
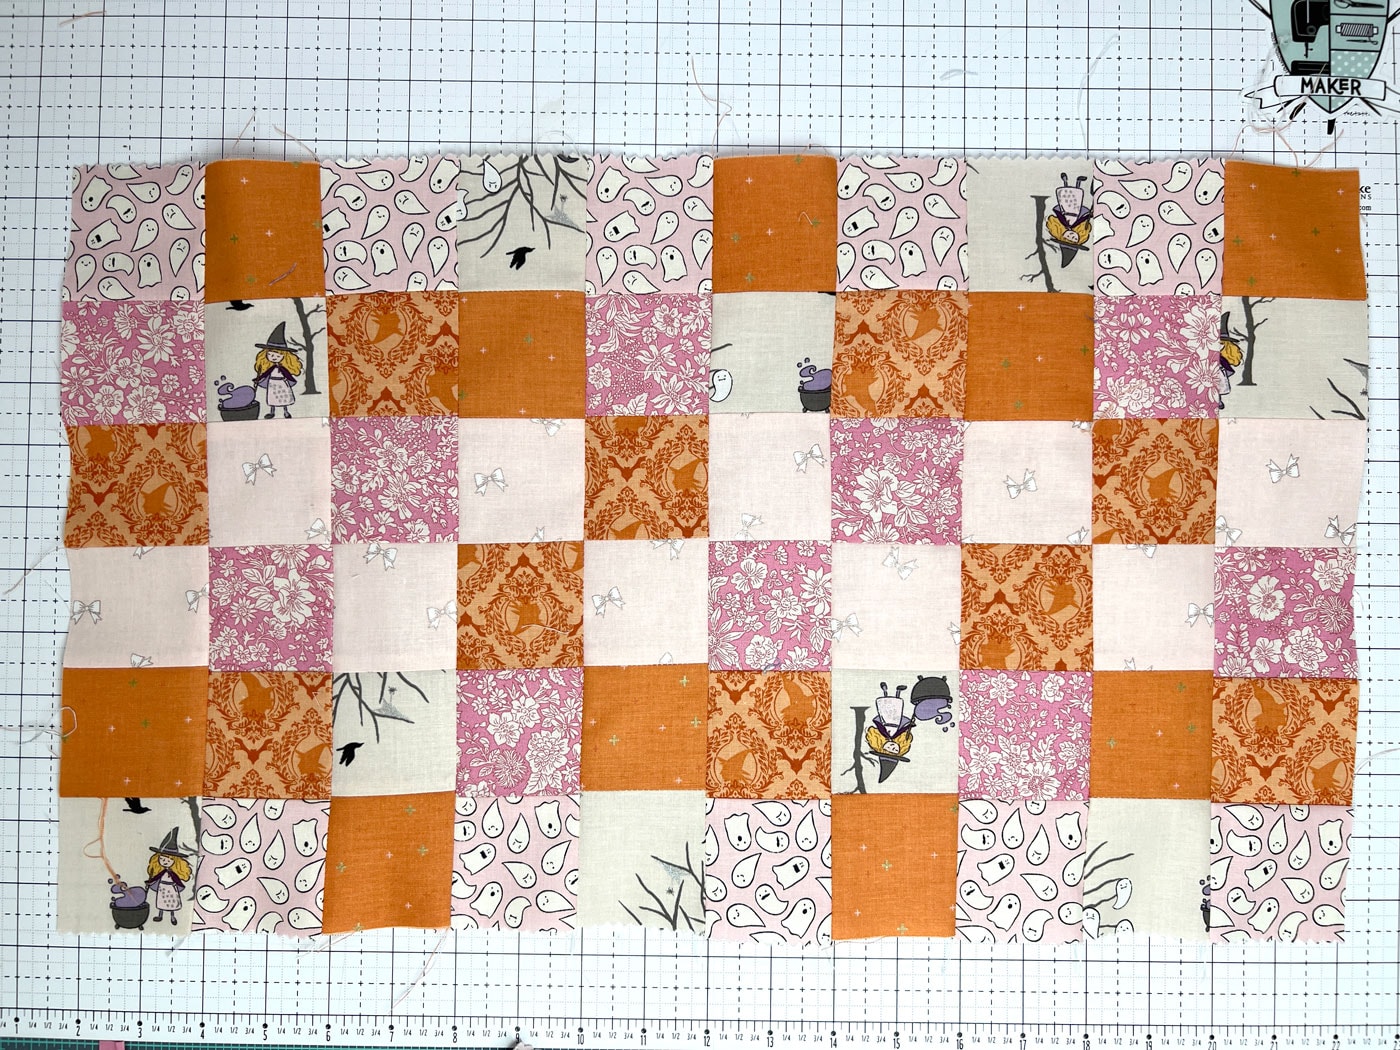
If you’re using strip piecing to create a scrappy random layout (like the one I made for my Patchwork Santa Hat Pattern), keep in mind that you need to piece an EVEN number of strips.
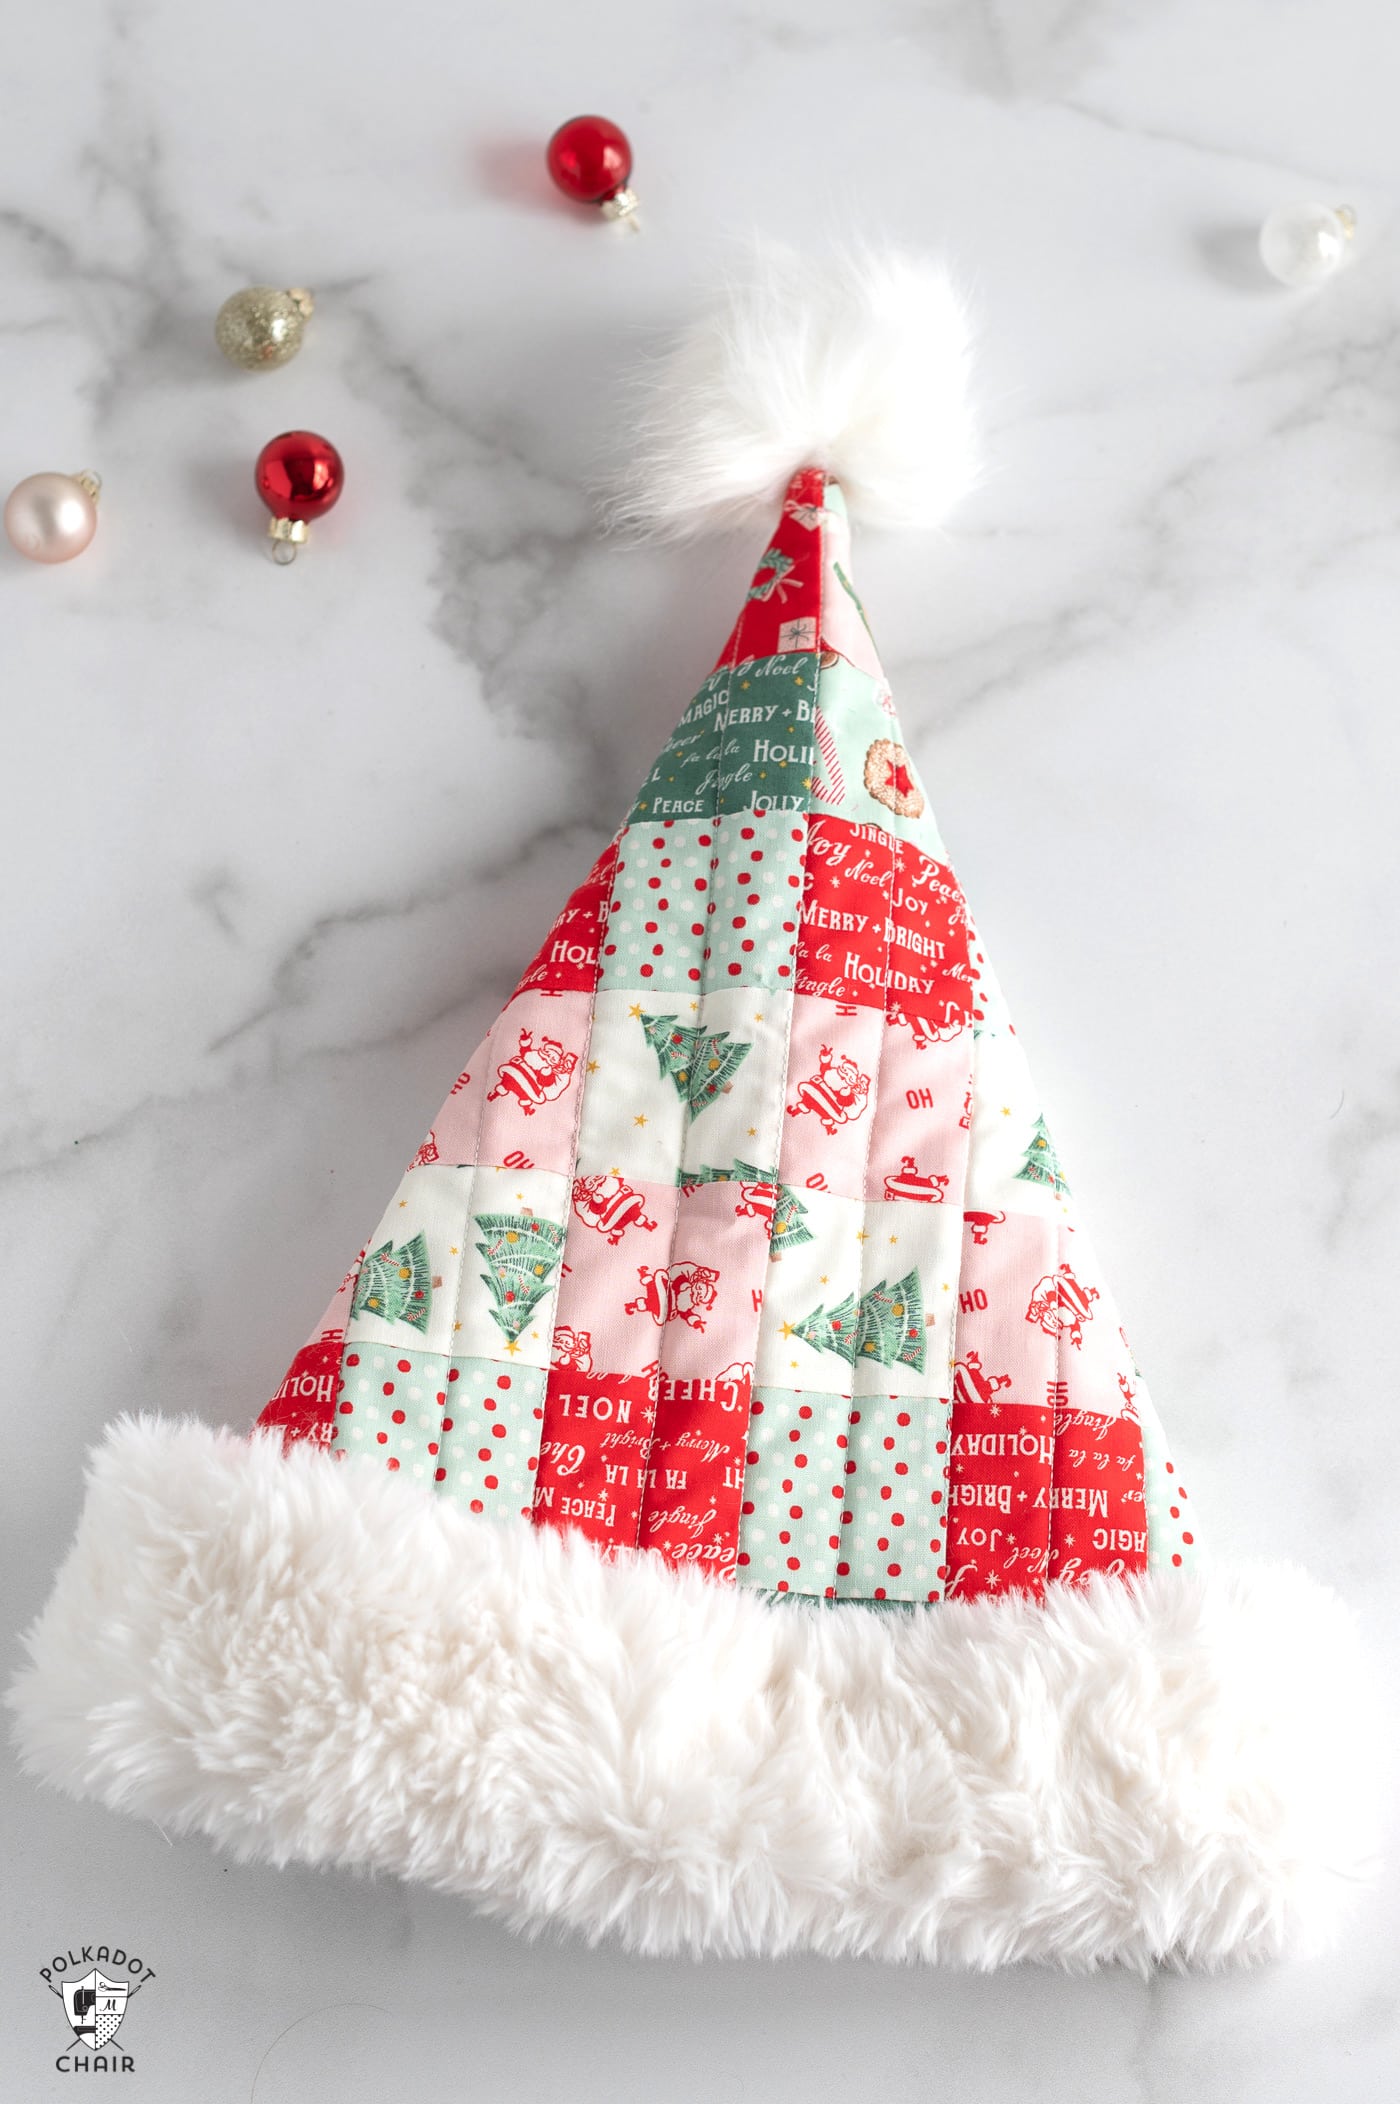
If you piece and an odd number of strips, when you cut and flip every other piece, the center strip remains in the same place, so that you will get a line of the same fabric print across your sewn patchwork piece.
Have you tried strip piecing in your projects? Share your favorite tips or patterns in the comments below; we’d love to hear how you use this technique in your quilting!
Brilliant~thanks for making this simple method understandable. This will help me become faster at making quilts for our guild’s charities. Thanks~!
Thanks for these tips. I’m fairly new to quilting and like you were, I’m doing patchwork the slow way. I’ll definitely start trying this method!