Celebrate the Fourth with these Free 4th of July Printables
Celebrate the 4th of July by decking out your home with patriotic prints! These free 4th of July Printable signs would make a great addition to your home and would also be great to use for invitations to a 4th of July party!
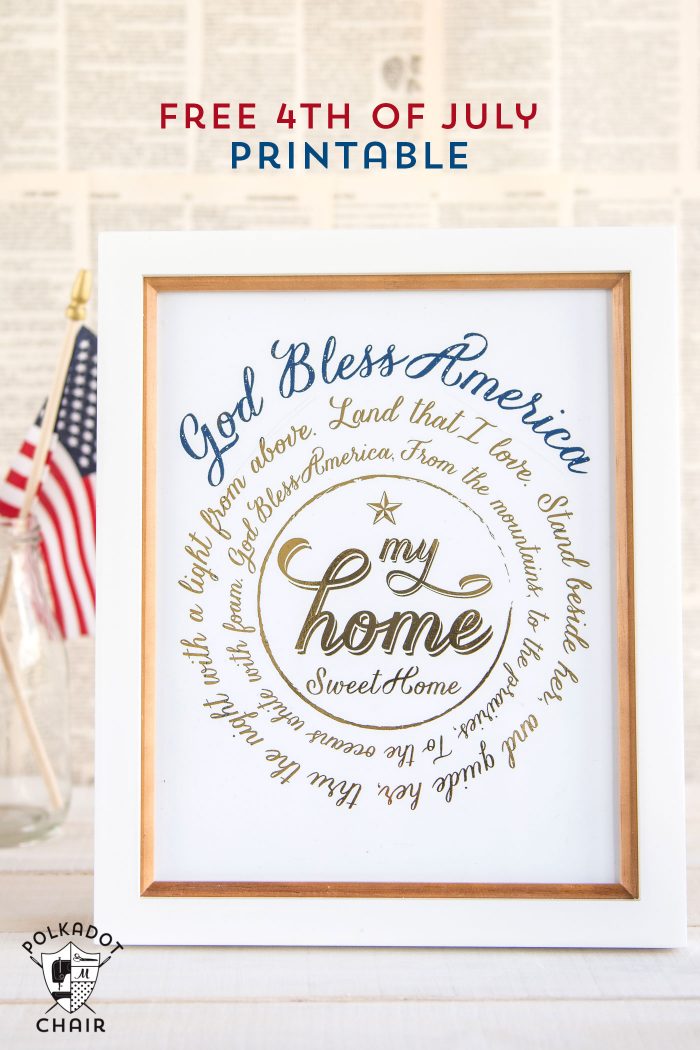
The 4th of July totally snuck up on me this year; I can’t believe it’s in only a couple of weeks. To celebrate the holiday, I designed these Minc. foil ready 4th of July printables.
I’ve also included a set of free printables for you that don’t require foil application. If you like this post, you may enjoy my DIY Gold Foil Artwork project. American Crafts sponsor this post.
I’ve had fun playing around with my Minc foil applicator the last few months; now that I feel I’ve got the hang of it, I thought I’d try out making some of my own art to run through the machine.
God Bless America Printables Perfect for the 4th of July
I seem to be lacking in the 4th of July decorations. I think it’s because we are gone a lot in the summer, and I’m not usually home much to decorate. This year after our trip to Williamsburg and Washington DC, I’ve been feeling a bit nostalgic and thought that I’d design a few projects for the 4th.
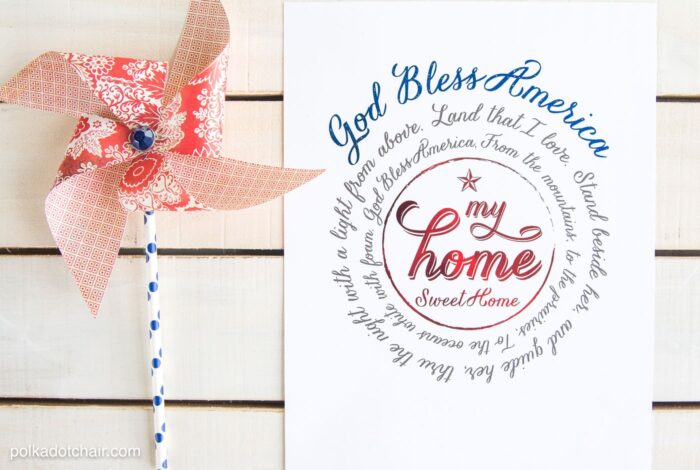
I have always loved the lyrics to God Bless America; it’s always been one of my favorite patriotic hymns that we sing in church. After a bit of research, I discovered that the song was written by Irving Berlin (you know, White Christmas??).
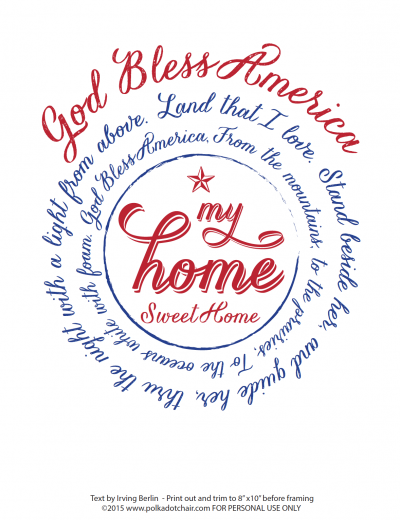
How to Use the Printable
There are two ways to use this printable
1: Print out the color version at home (it’s designed to fit in an 8″ x 10″ frame).
2: Print out the black and white version and add foil to it to make a custom foil print.
How to add Foil to your Sign
The first thing you need to know if you’re going to apply foil to this print is that the foil does not stick to INK. It sticks to TONER.
If you don’t have a laser printer or copier at home, you need to take it to the office store to make copies. That’s what I did. It’s really cheap to make black and white copies at cardstock. I think I spent $5 total, and I made many copies in case I messed up.
A Few Tips for Working with Foil
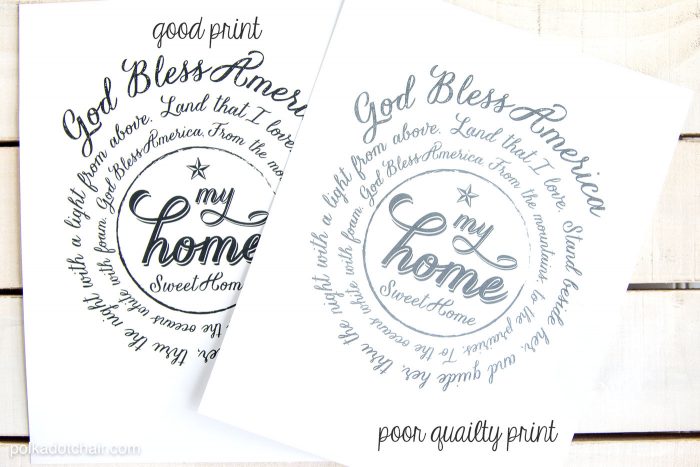
Let me tell you something that I discovered during this process. The place you get the copies makes a big difference. Make sure before you leave that the print is dark enough. I started out making copies at store #1, and they worked brilliantly. Later I decided to change the design, so I took the printables to get copied again to place #2, and the copies from place #2 did not work!
I got black spots on my foil. When comparing the two prints, I realized that the second set of prints did not copy dark enough. So if you do this, make sure you double-check the copies before you leave. You can spot the difference in the photo below.
So let’s talk about applying the foil! That’s the fun part!
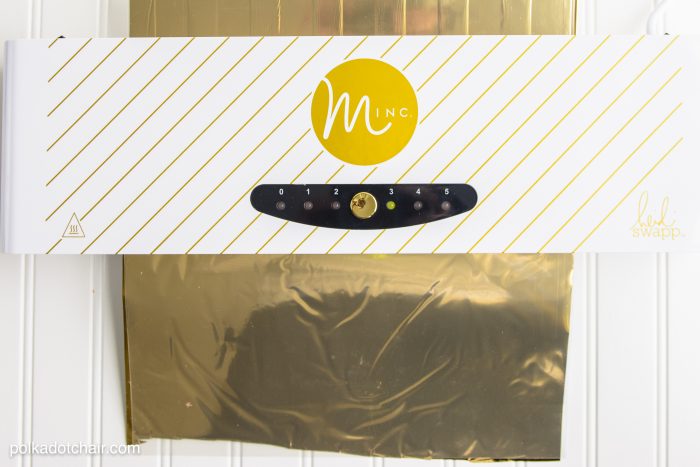
How to Apply Foil with a Minc Machine
Cut your foil to size and place it on top of the print, the color side facing UP. Insert into the carrier sheet and feed through the Minc machine set on #3.
Please remove it from the machine and the carrier sheet and peel off the foil to see what you get! This is always my favorite part of the process.
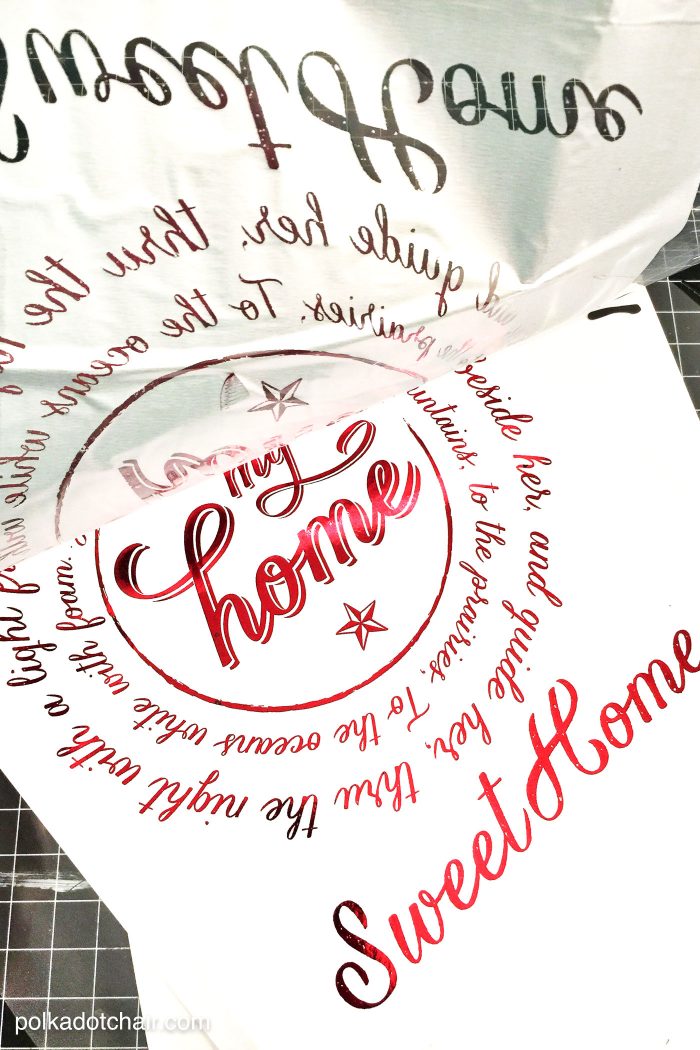
(design one that I later changed)
I ended up applying all different colors of foil to my prints; here, you can see the gold and royal blue.
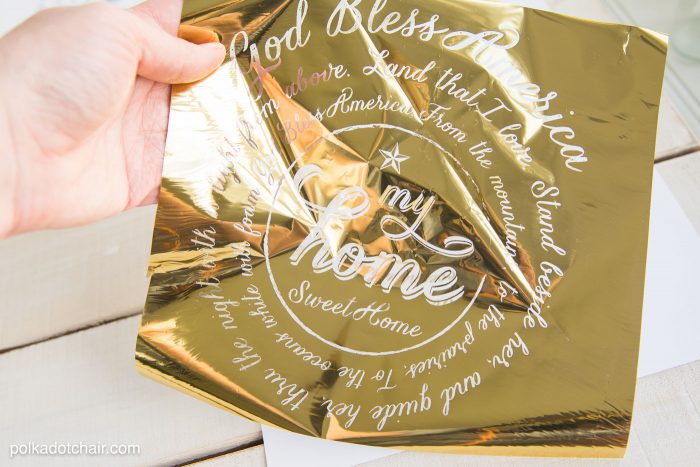
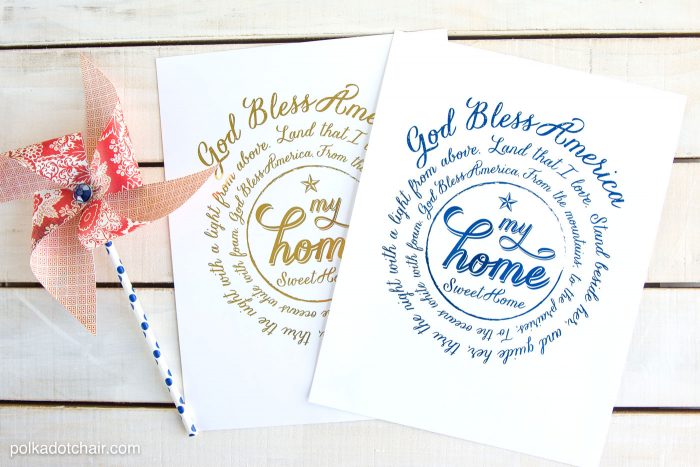
How to Add Multiple Colors and Layers of Foil
Next, I started experimenting with different foil techniques. One of my favorites was to “Frankenstein” the foil onto the print. I realized that whatever foil is TOUCHING the paper is color that sticks. After I realized that you could overlap the foils, I started playing around with different color combinations.
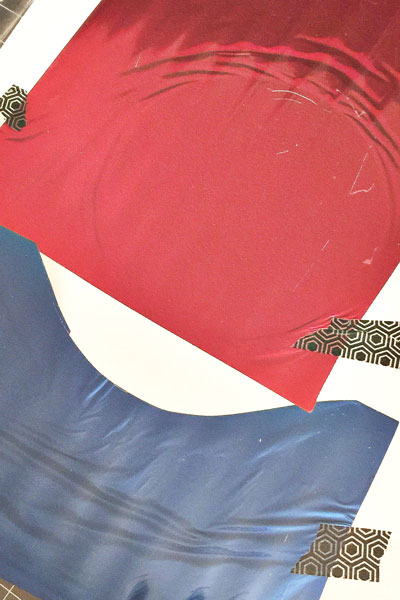
To keep the foil from moving around in the carrier sheet, I just used a bit of washi tape to secure it. Here’s a tip if you try this. Use a “throwaway” copy of the printable as a template to cut out the foil using an Exacto knife. It cuts VERY easily!
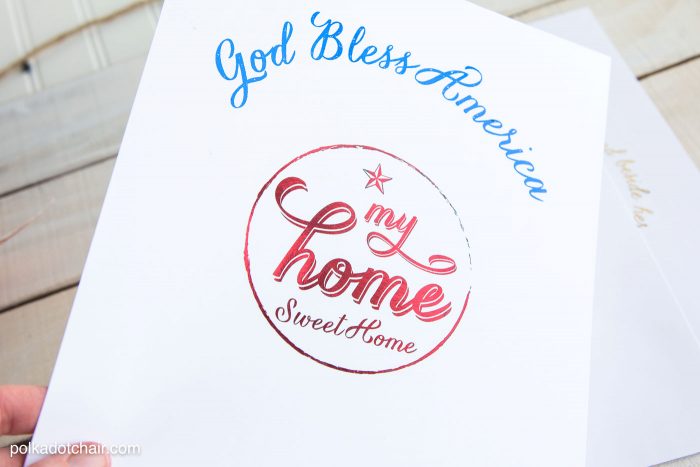
Next, I played around with printing the design in steps. Step one for foil, then step two for ink from the printer.
Above I applied two colors of foil onto a sheet that is printed without the center lyrics. I then ran the foiled sheet through the printer to add the lyrics.
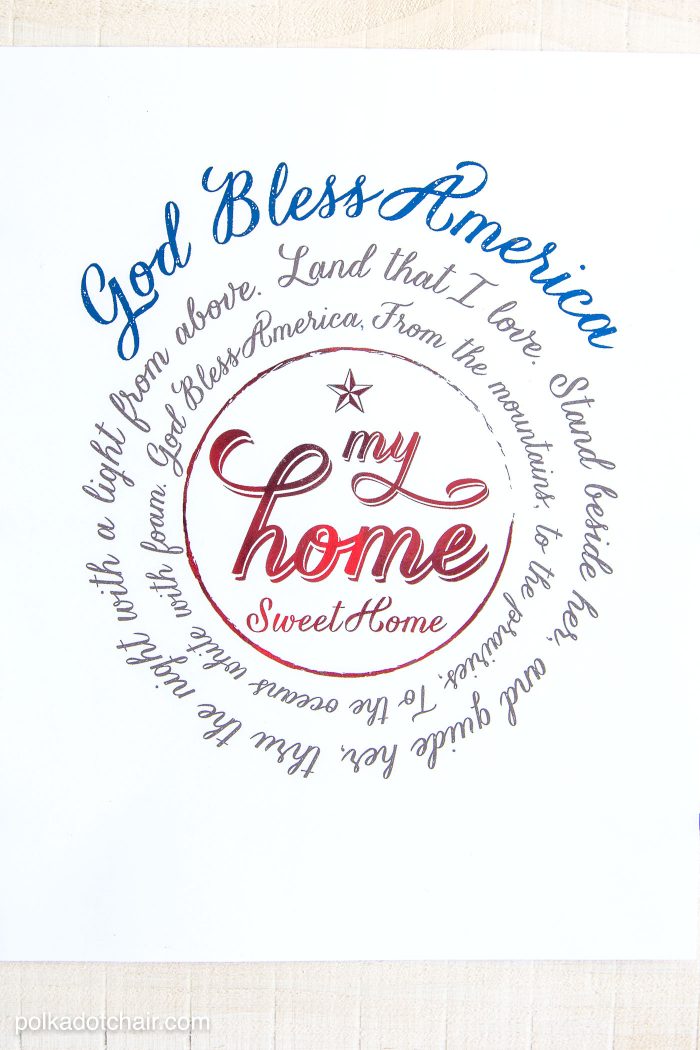
Voila! 3 color print!
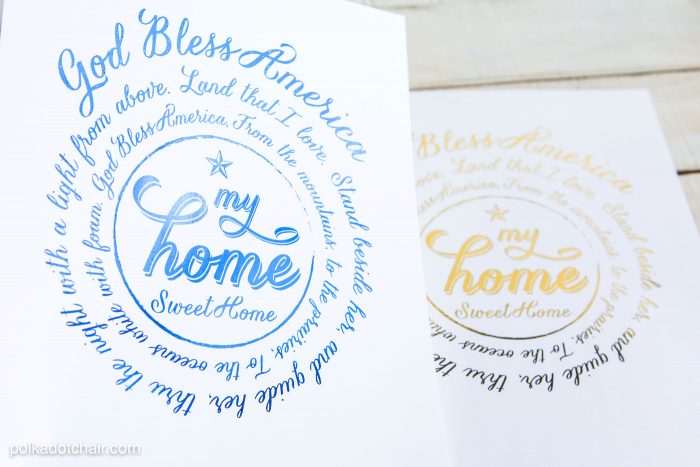
Before you frame your print make sure to trim it down to 8″ x 10″
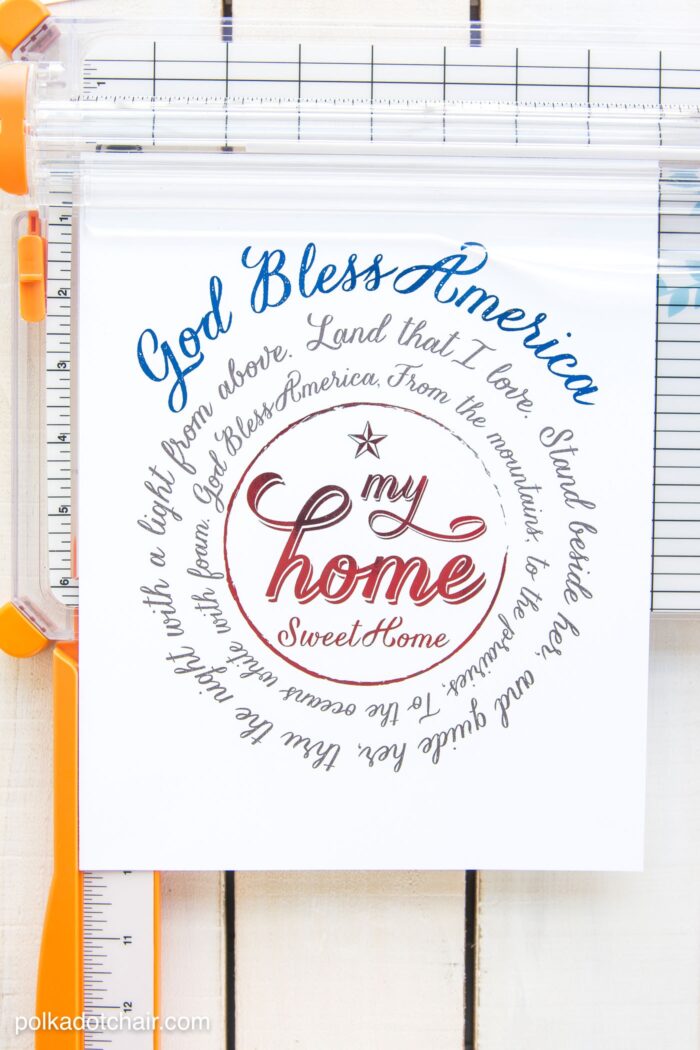
If you’d like to play around with applying different foil and print combinations, I’ve uploaded 4 different versions of the design to the file on the blog.
How to Get the Printables. You can get a copy of the printable featured in this post in our Printable Library. Access to the library is for our Newsletter subscribers, and subscriptions are FREE. Please follow the instructions to obtain the printable. PLEASE READ the instructions on that page. Note: Printables in the library may not be sold or used for commercial purposes.
There are PDF files in the library. Here are the files included in the bundle.
- The center text only
- The center text and title
- Lyrics only
- The entire print
To download them hop on over to the templates page directions for downloading are on the top of the page.

If you’d like to give the Minc Foil Applicator a try to get them at your local craft stores, Jo-Ann, Michaels, and Amazon!
Supply List
Minc. Foil Applicator by Heidi Swapp

I’m trying to download your 4th of july printable but I don’t see it on your template page? Am i just missing it? Its so cute! I want to print it for the holidays!
Try again.. sorry the update before didn’t take.. they are there now.
I too cannot find the 4th of July printable. I hope its not due to the fact that I left my coffee at home this morning! 🙂
Try it again, looks like the update to the page didn’t take before. I’ve got it fixed.
Hey Mellisa, Your printable foil is wonderful and you did the best color and make it unique and stylish. Thanks for giving us such idea.
Melissa, Thanks so very much for sharing your printables and creative ideas! LOVE the foil ready 4th ones. Excited to try it soon.
Love, Love, Love, this printable!! Haven’t tried it out yet but was wondering if there is any way you could make this an SVG? Would love to put it on a shirt and there is probably a way but I am challenged that way!!
Hi,
This particular printable would not work well for an SVG file. The font is not “bold enough” and has “texture” so the machine would not be able get a clean cut.