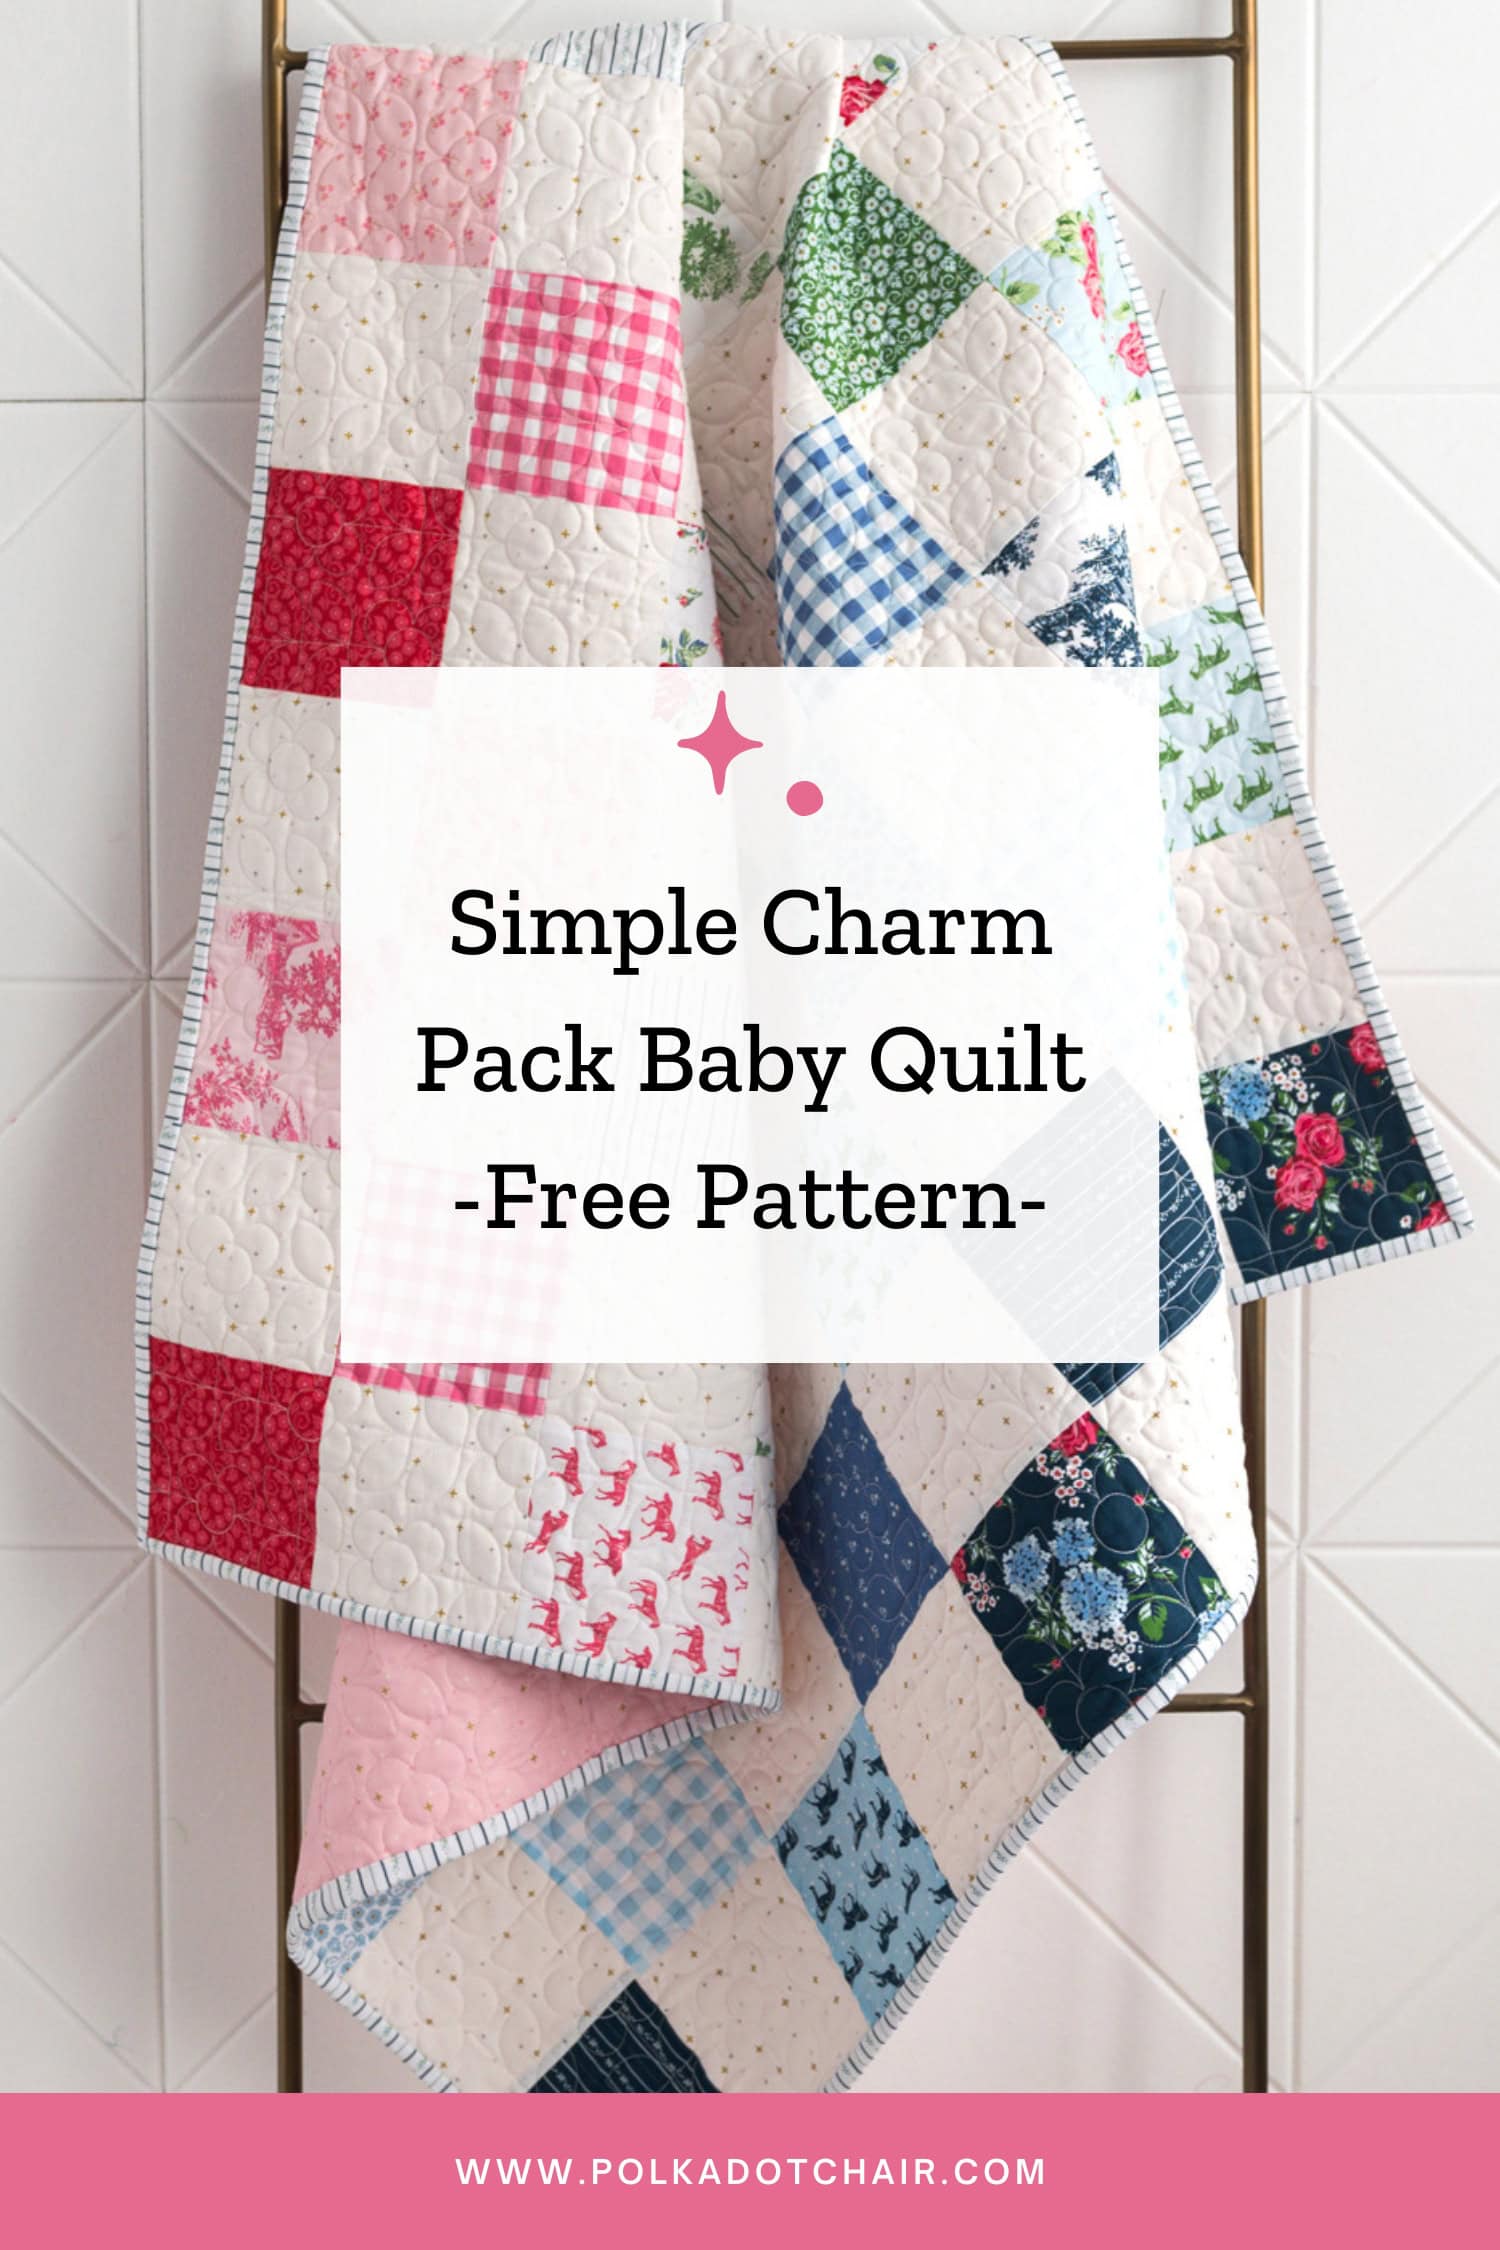
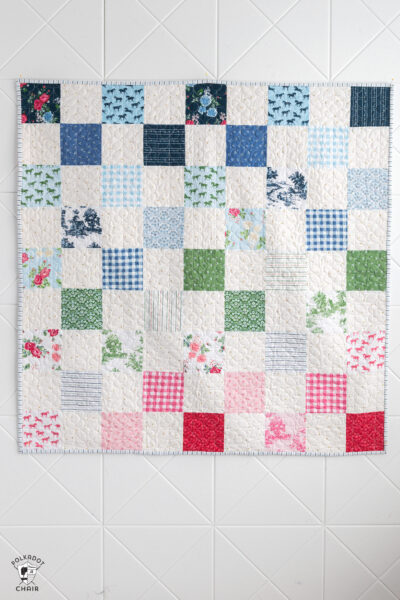
Simple Charm Pack Baby Quilt Pattern
Use two 5-inch precut stacks of fabric (sometimes called a Charm pack) to create a baby quilt! This quilt project is perfect for beginners and so FAST to make! Since the pattern uses precut fabrics, there is no need to cut fabric!
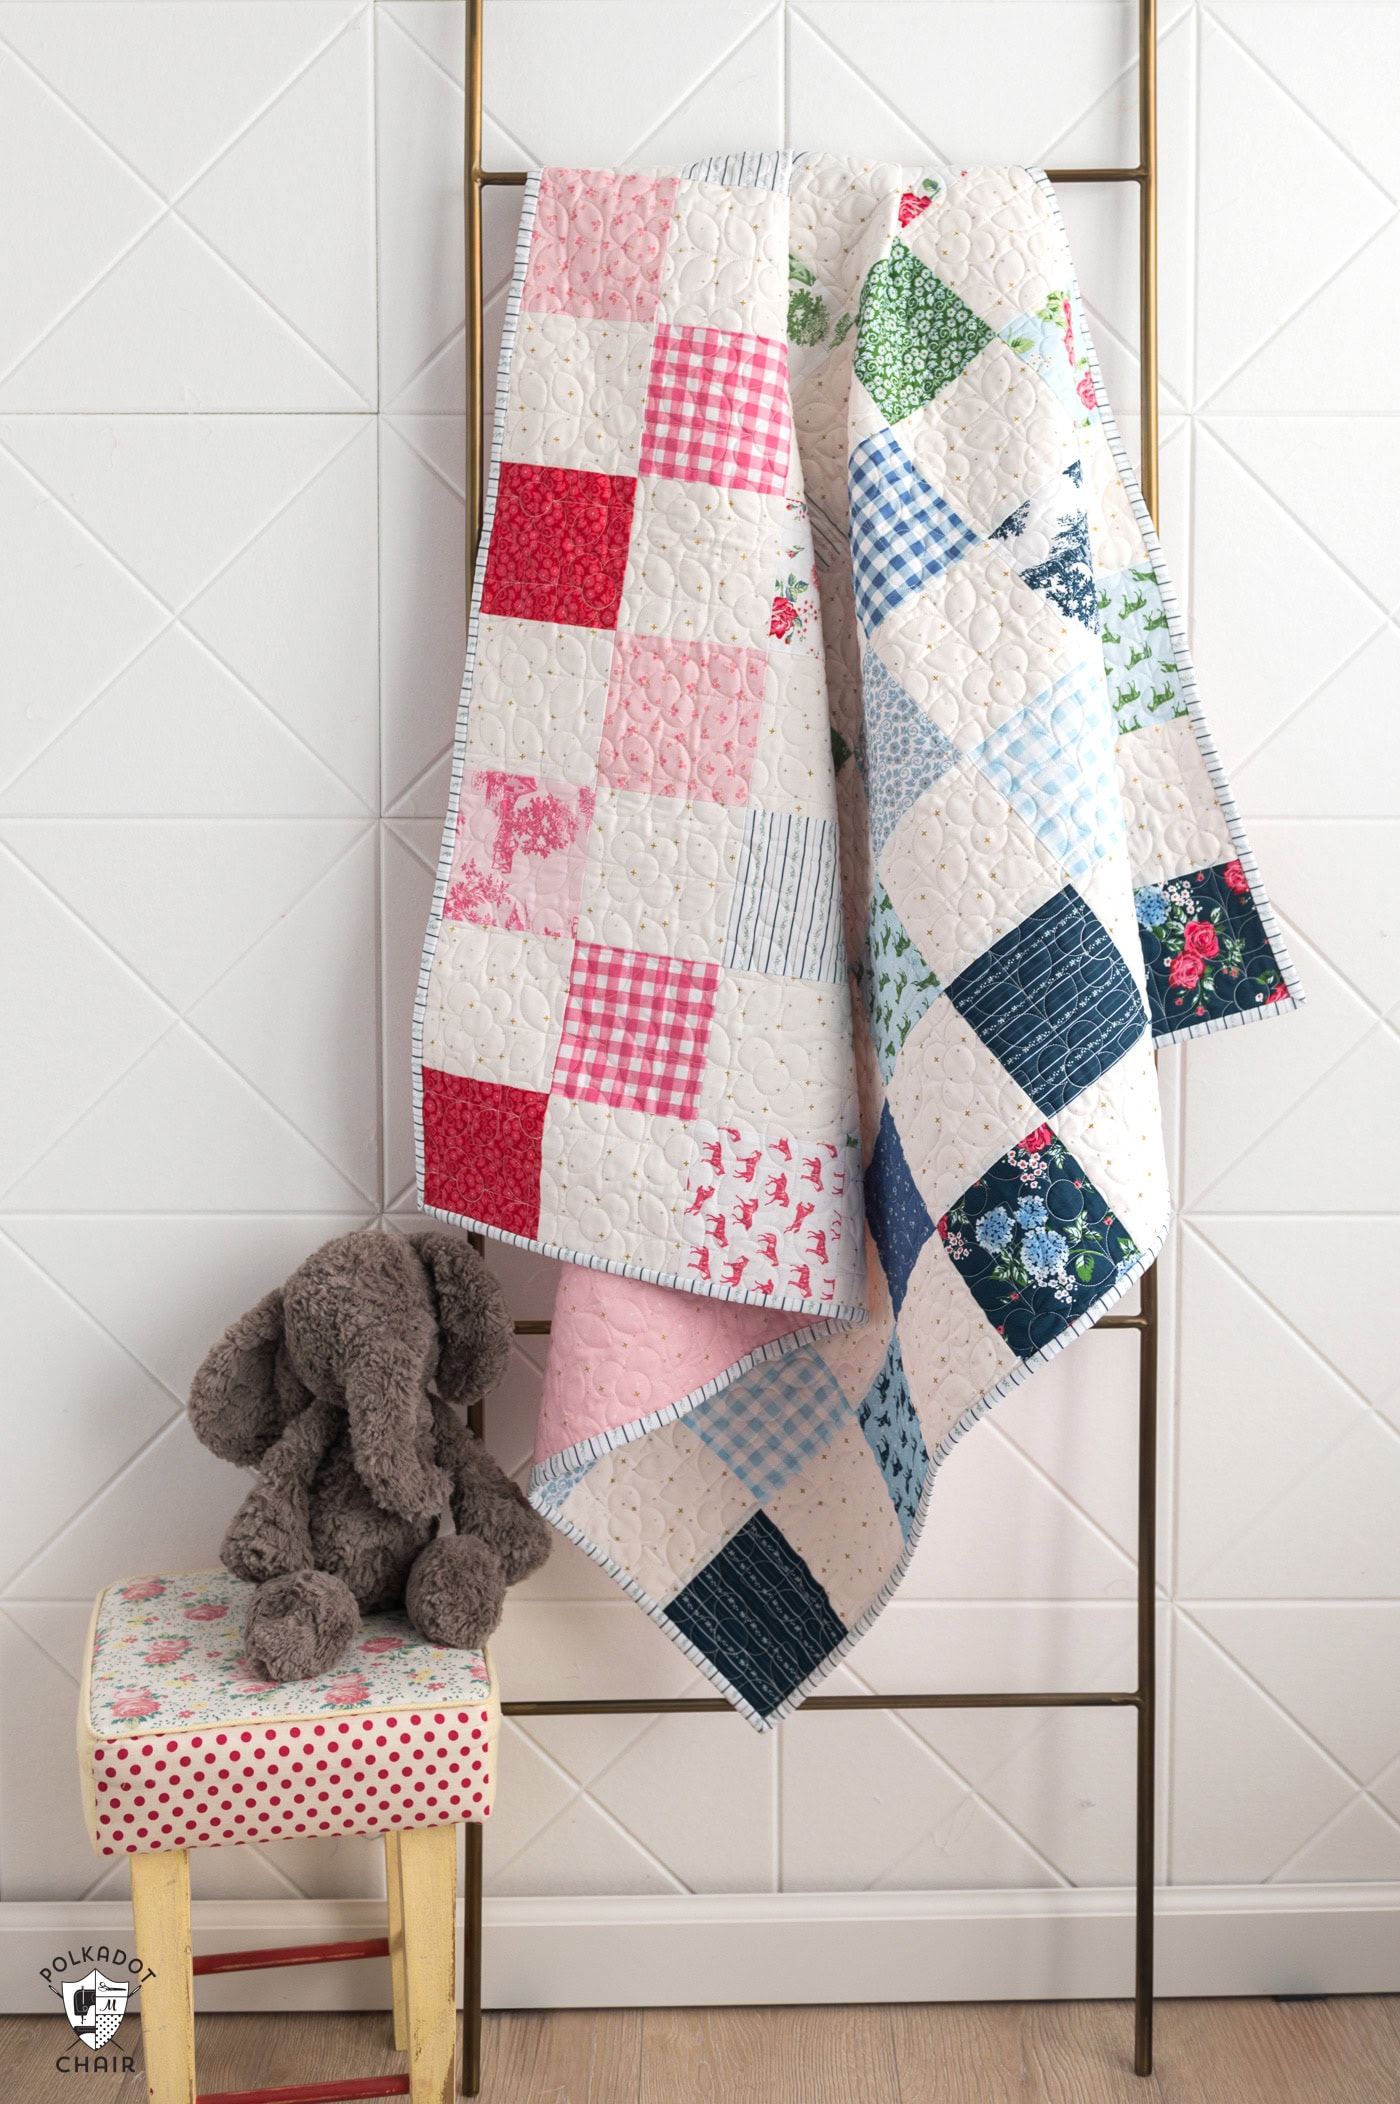
Years ago, I created a simple, color-blocked baby quilt for a dear friend who was expecting her first baby. That quilt was made from a 5″ precut stack of white fabric and squares cut from a custom Fat Quarter pack.
Since then, this type of baby quilt has been my “go-to” when I need to create a baby quilt as a gift for a friend. It’s easy to customize the quilt to the recipient’s tastes, looks excellent, and can be sewn quickly.
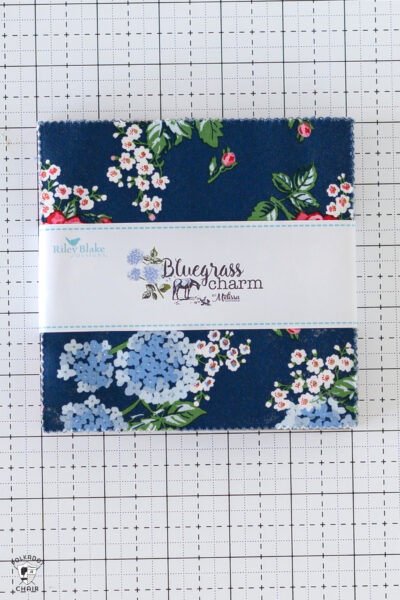
The baby quilt in today’s tutorial is created from my Bluegrass Charm Fabric Collection with Riley Blake Designs and a 5″ precut stack of Sparkler Fabrics.
The subtle texture of the Sparkler fabric adds a touch of extra interest to the simple quilt design.
Supplies Required
A Note About Quilt Back Fabric:
The finished size of this quilt is 40 1/2″ x 40 1/2″. Most quilting cottons are 42″ wide; in theory, the quilt top should fit on standard quilting cotton. Many long arm quilters require larger overage than 2″ to load on the machine. Additionally, the usable width of fabric varies among manufacturers. If you are quilting this quilt on your home machine and are careful with your sewing, you can get away with only 1 1/2 yards of fabric for the backing.
However, if you are sending this off to a long arm quilter or are somewhat new to machine quilting, you’ll need to either piece your backing fabric OR sew with a wider fabric like Minky (which is usually at least 50″ wide). Since it’s a baby quilt, I recommend backing the quilt with Minky.
Simple Charm Pack Baby Quilt Pattern
supplies
- 1 Charm Pack Print Fabric with at least 41 squares; example quilt is Bluegrass Charm
- 1 Charm Pack Solid or One Color Fabric With at least 40 squares
- 1 1/2 yards of fabric for the backing
- 1 1/2 yards Batting I prefer cotton batting
- 1/2 yard Fabric for Binding
Instructions
- Finished Size: Approx. 40 1/2" x 40 1/2"
Cutting Directions
- If you purchase a 5" precut stack you do not need to cut any of your fabric squares for this project. You need 41 squares of print fabric. If you do not have enough, cut additional fabrics to 5" x 5". OR sort one of your precut packs by color and value.

- If your white squares are not precut, cut them into 40 squares each 5" x 5".
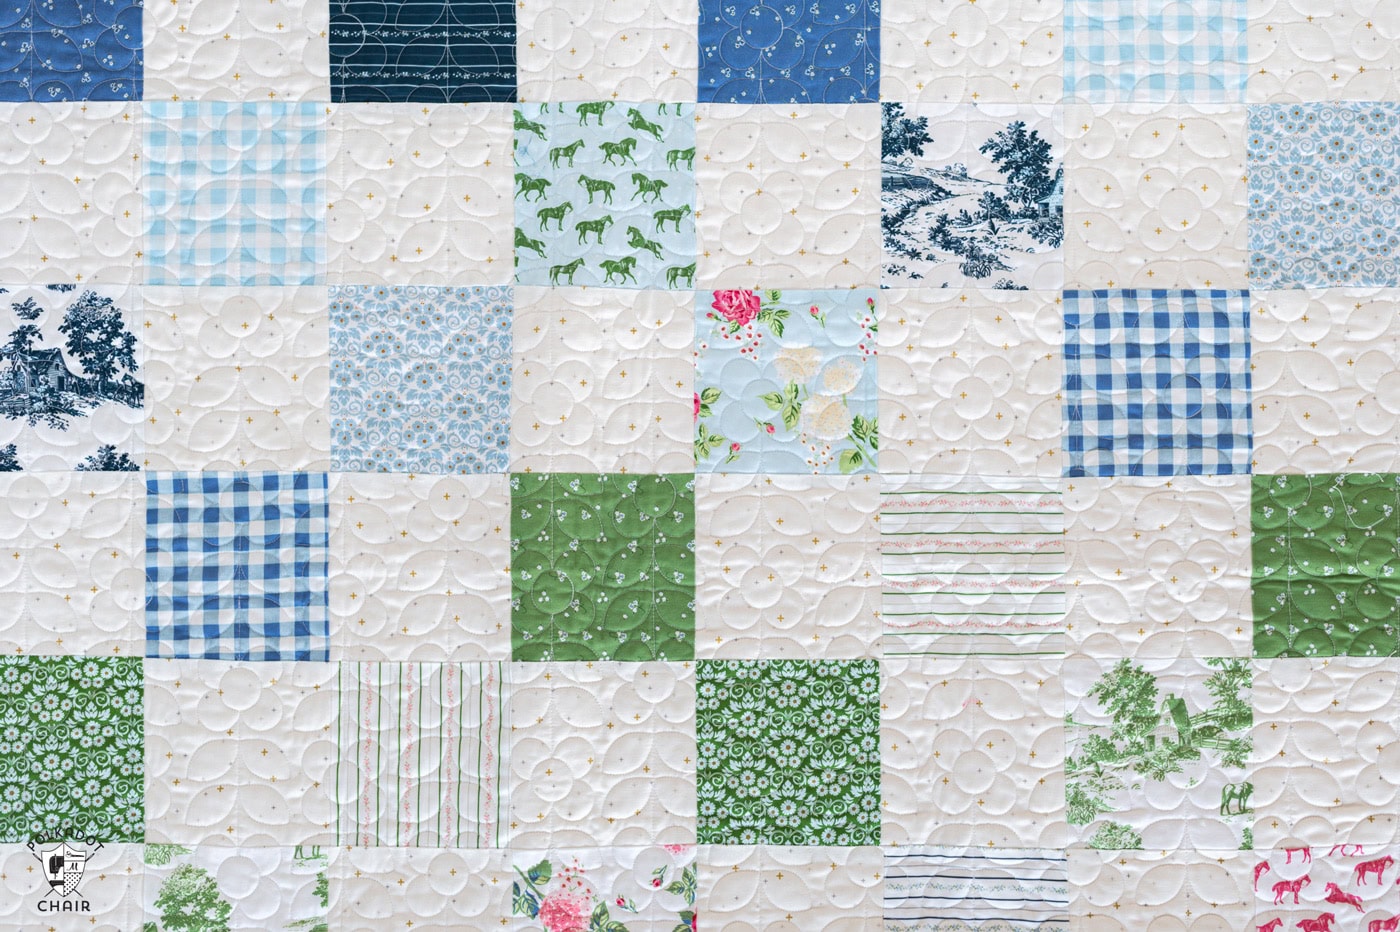
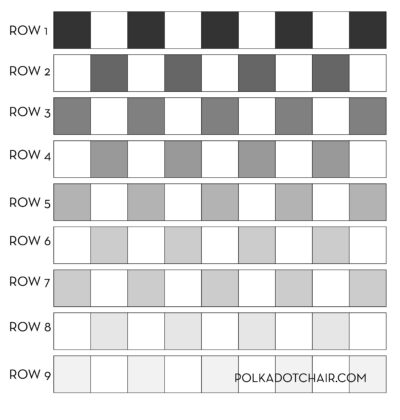
- Lay out the order you want your squares on a table, design wall or your floor. As you lay out the pieces, keep your darkest colors in rows 1 and 2, then gradually lighten them as you work down the rows, if you want the quilt to have an ombre effect. You can also organize them by color, depending on what fabric you choose to work with.
Assembly Instructions
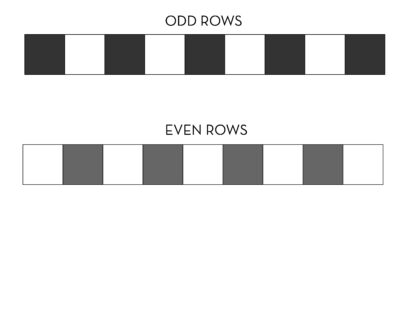
- For odd-numbered rows, sew nine 5” x 5” squares together, alternating print and white, starting and ending with a print. Do this for rows 1, 3, 5, 7, and 9. Press seams to the right.

- For even-numbered rows, sew nine 5” x 5” squares together, alternating white and print, starting and ending with a white block. Do this for rows 2, 4, 6, and 8. Press seams to the left.
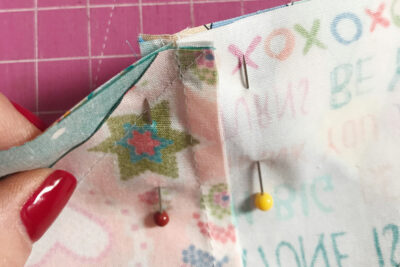
- Tip: After you have sewn the squares together into a row, press your seams to one side. Press the seams of all of the squares towards the print fabrics, this will allow you to "nest" your seams together when you sew the rows of the quilt to each other.

- Assemble rows.

Finishing
- Quilt and bind as desired, mine is bound using 2 1/2” wide strips.


Excellent, easy to understand tutorial! Thank you!
Great baby quilt pattern for a quick gift. Love your fabric!
Such beautiful fabric. I love your designs. The baby quilt looks fun & easy also.