• Skip to primary navigation
  • Skip to main content
  • Skip to primary sidebar

The Polka Dot Chair logo

  • SEWING
    • Free Sewing Patterns
    • Bag Patterns
    • Costumes
    • Apparel
    • Learn to Sew
    • Beginner Friendly
    • Embroidery Projects
    • Tips & Techniques
    • All Sewing
  • QUILTING
    • Quilt Blocks
    • Learn to Quilt
    • Free Patterns
    • Quilt Patterns
    • All Quilting
  • CRAFTS
    • Disney
    • Cricut
    • Printables
    • All Crafts
  • HOLIDAYS
    • Seasonal Projects
    • Valentine’s Day
    • Easter
    • 4th of July
    • Halloween
    • Thanksgiving
    • Christmas
    • All Holidays
  • TUTORIALS
  • ABOUT
    • About Me
    • My Fabric Collections
    • Published Books
    • Press
    • FAQ’s
    • Contact
  • SUBSCRIBE
  • SHOP
menu icon
go to homepage
  • SHOP
  • TUTORIALS
  • SEWING
  • QUILTING
  • SUBSCRIBE
  • CRAFTS
  • HOLIDAY PROJECTS
  • ABOUT
    • Published Books
    • My Fabric Collections
  • CONTACT
    • Facebook
    • Instagram
    • Pinterest
    • YouTube
  • subscribe
    search icon
    Homepage link
    • SHOP
    • TUTORIALS
    • SEWING
    • QUILTING
    • SUBSCRIBE
    • CRAFTS
    • HOLIDAY PROJECTS
    • ABOUT
      • Published Books
      • My Fabric Collections
    • CONTACT
    • Facebook
    • Instagram
    • Pinterest
    • YouTube
  • ×

    Home » Crafts

    DIY Disney Trading Pins Display Idea

    Updated: Apr 3, 2020 by Melissa Mortenson · This post may contain affiliate links · This blog generates income via ads · 18 Comments

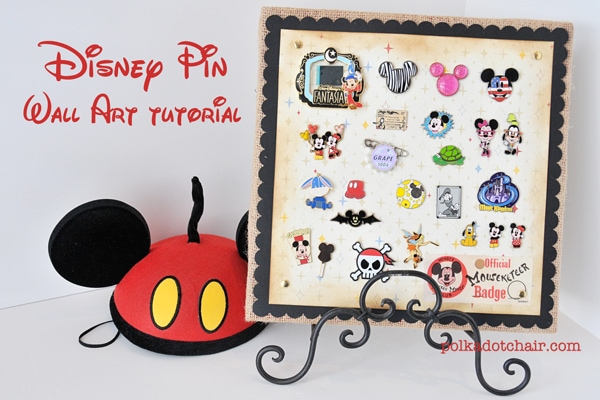
    Do you love to collect Disney Trading Pins as much as we do? Get those pins out of a box and onto your walls with this fun DIY Disney Trading Pins display idea!

    A Great Way to Display your Disney Trading Pins!
    Table of Contents
    • Why We Love Disney Pin Trading
    • What do you do With Disney Trading Pins?
    • DIY Trading Pin Display Supplies
    • How to Make a Trading Pin Wall Display; Construction Steps
    • More Fun Disney DIY Projects!

    When we first went to Disneyworld several years ago, I kept wondering what all those pin trading stands were.  You see them all over the park.  Feeling overwhelmed at the time I didn’t pay too much attention.  

    Why We Love Disney Pin Trading

    After our first visit to Disney World, we went back again. This time our Disney package came with a  free pin trading starter kit for each of the kids (those genius marketing minds at Disney).  Soon we learned that as you went around the park, any employee with a pin HAD to trade with you for any pin you wanted.  So my super shy kids decided to give it a try.  

    They ended up loving it. Not only did it help my kids to get used to talking to people, but it gave us something to do when we were waiting in line.  After a while, the kids all started to collect their “favorites”.

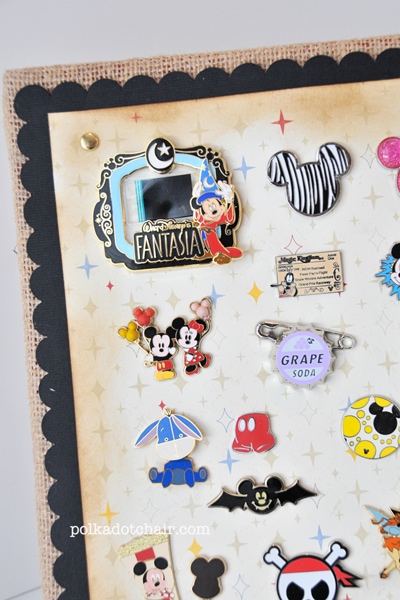
    Disney Collectible Pins Display Idea

    What do you do With Disney Trading Pins?

    Each time we came home I’d think “what are we supposed to do with these pins???” I know that there are some die-hard pin collectors out there, but we are not them.

    I have no idea why one pin would be more valuable than another pin.  We were just doing it as a fun side activity for my kids. We didn’t spend a lot of money on pins, and the kids were able to collect most of the ones they wanted.

    How to display your Disney Trading Pins

    We’ve been to Disneyworld a few times now and go back every few years.  Recently, I decided it’s time to go through the pins, decide which ones we want to keep and put the rest in a pile for our next visit.

    DIY Disney Pin Display

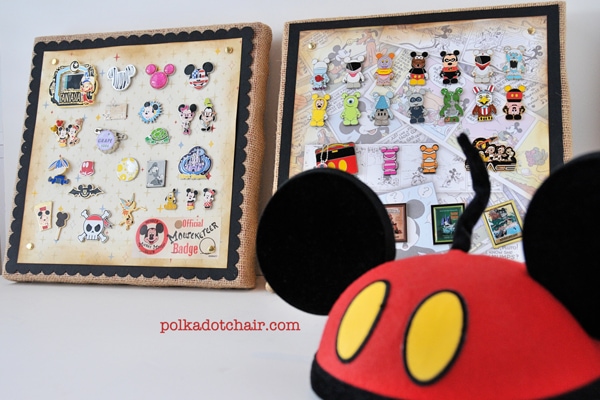
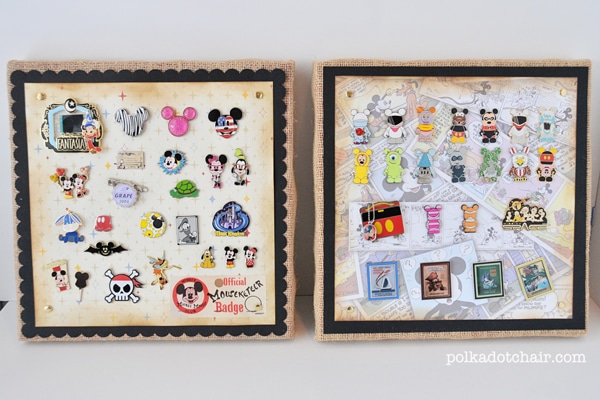
    I decided that a canvas would be a great way to display the images. I didn’t want a shadow box, and I thought the canvas would look great hanging in our Movie Room. (since that’s the room I contain all the Disney stuff to).

    I ended up making 2 canvases.  If you want to make your own here’s how to do it:

    DIY Trading Pin Display Supplies

    • Thick edge (2″) canvas. Mine are 12×12.
    • Spray Paint
    • Burlap
    • 2 pieces 12×12 scrapbook paper for each canvas (if your canvas is larger than 12×12, you’ll need something else to cover it with)
    • Staple Gun
    • Poker (piercing tool)
    • Large Brads
    • Paint

    Note: You can also do this and leave the canvas plain. I liked the idea of using the Disney Scrapbook paper and decided to incorporate it into my design.

    How to Make a Trading Pin Wall Display; Construction Steps
    DIY Disney Pin Display- a great way to display your Disney Trading Pins after you are home from your trip!

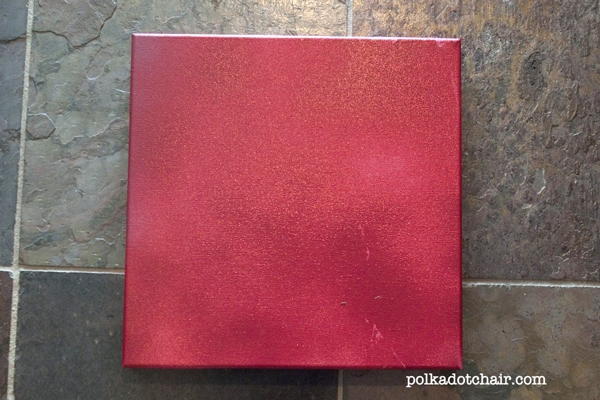
    Step One: Spray Paint the Canvas

    First, you need to paint your canvas.  I’m lazy so I spray painted mine. Most of the canvas won’t show, but some of it will (since the burlap is a bit see-through).
    DIY Disney Pin Display- a great way to display your Disney Trading Pins after you are home from your trip!

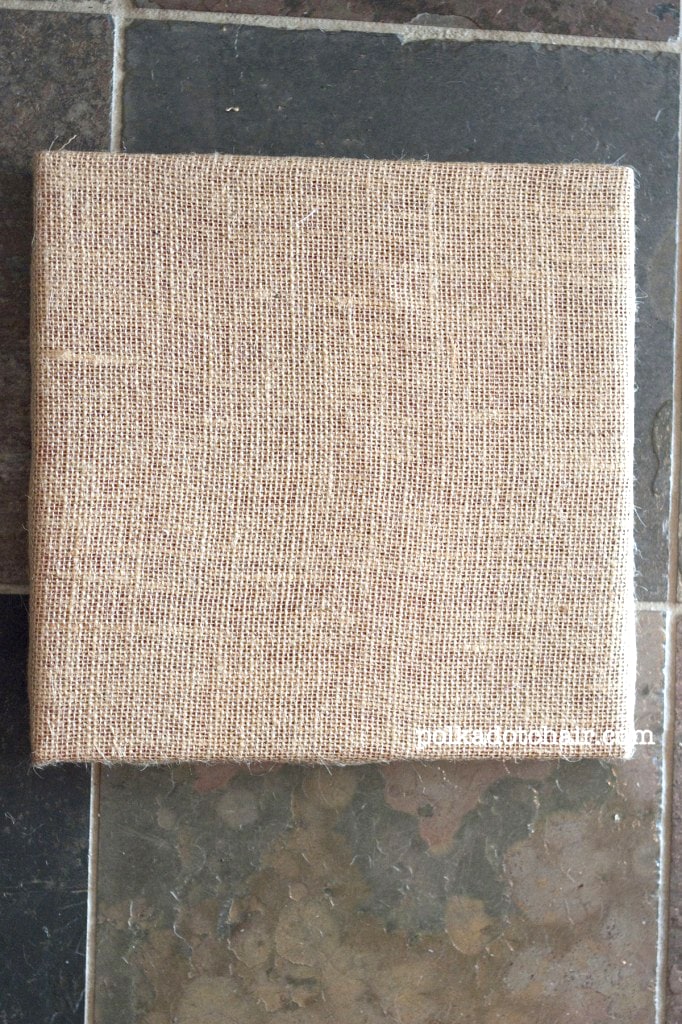
    Step Two: Attach the Burlap

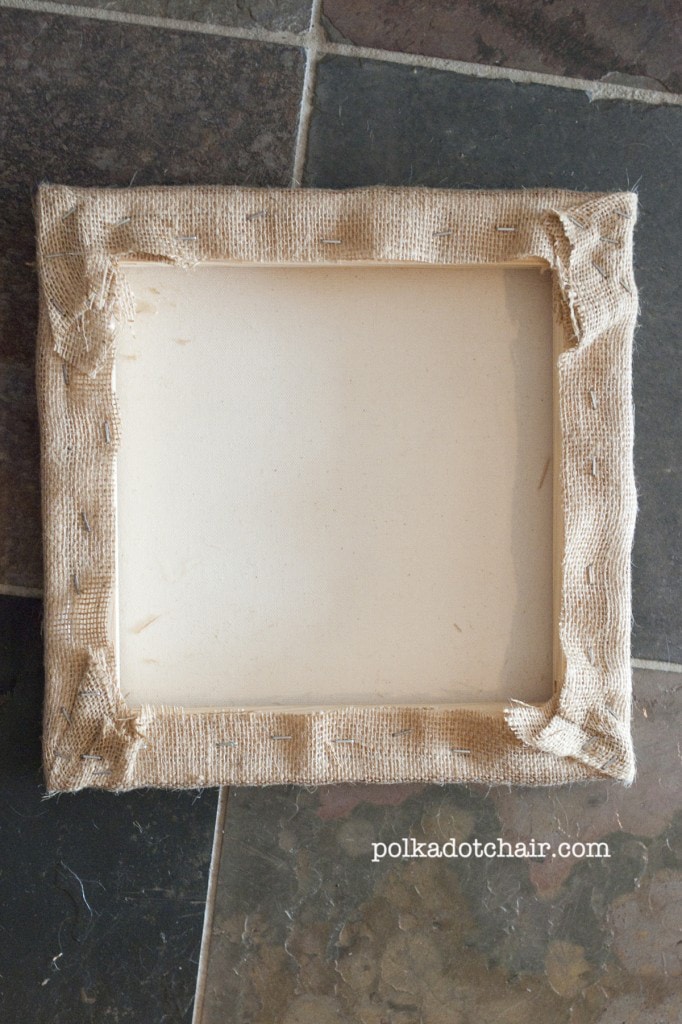
    Next using a staple gun, staple the burlap to the canvas, mitering the corners.
    DIY Disney Pin Display- a great way to display your Disney Trading Pins after you are home from your trip!

    You will now have a covered canvas.

    Step Three: Add the Paper

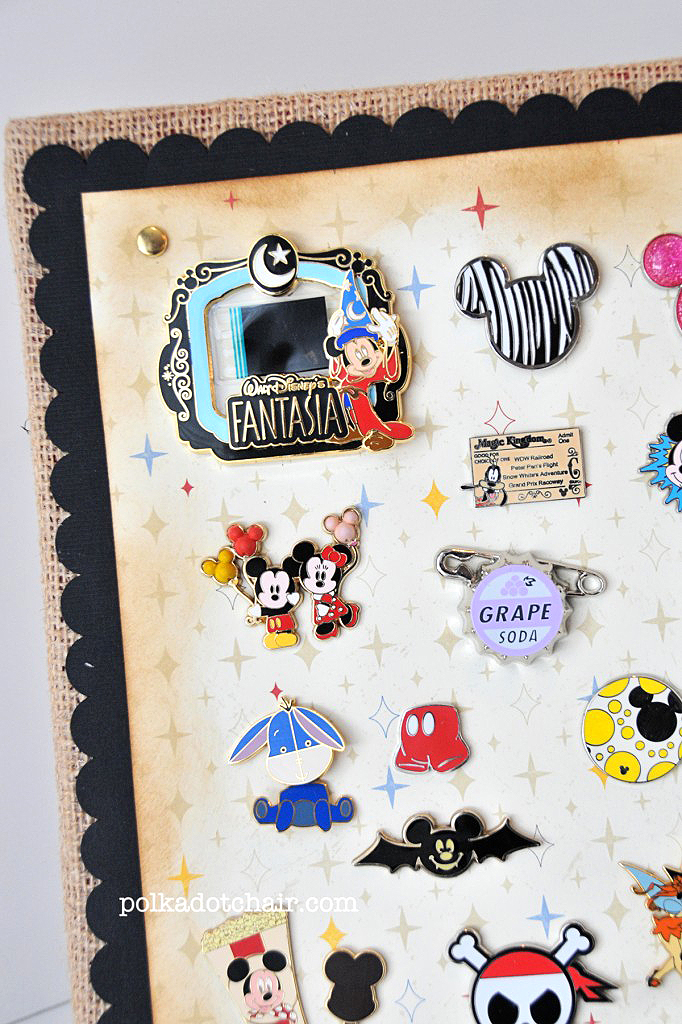
    If using a 12×12 canvas, cut one piece of card stock to 11.5×11.5 and one piece of pattern paper to 10.5×10.5.

    Layer them on top of each other and glue (just use scrapbooking tape adhesive) to the top of the canvas (before I glued my down, I inked the edges of the top scrapbook paper).
    DIY Disney Pin Display- a great way to display your Disney Trading Pins after you are home from your trip!

    Step Four: Attach with Brads

    Next, on the back of the canvas, in the corners — where the wood meets, poke 4 holes.  Set 4 brads through your scrapbook paper into the canvas and set the brads.   This will help you with positioning the pins so that you don’t try to place a pin into the wood, and it will help keep the scrapbooking paper on the canvas.
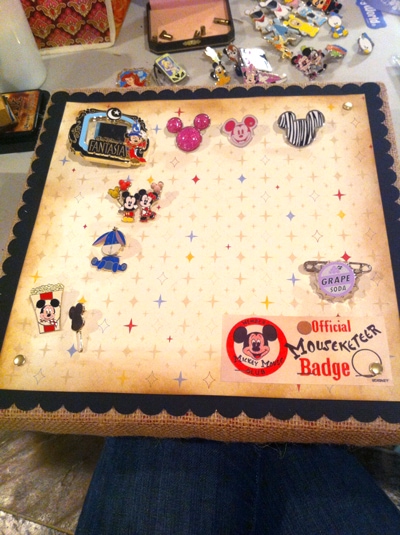
    DIY Disney Pin Display- a great way to display your Disney Trading Pins after you are home from your trip!

    poor iPhone photo- late night crafting  = bad lighting

    Step Five: Add your Pins!

    Next layout your pins how you’d like on your canvas. This is the hard part!! Once you get them where you want them, I HIGHLY recommend taking a photo of them with your phone (so you can remember where they go).
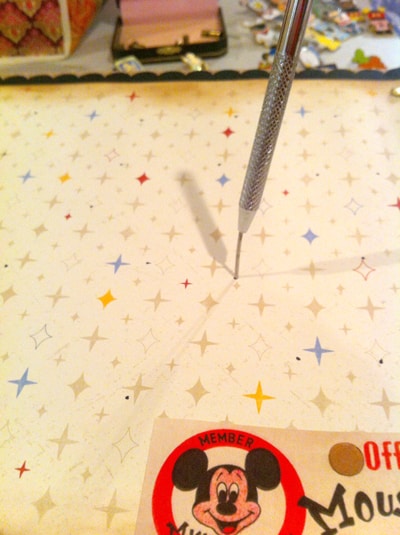
    DIY Disney Pin Display- a great way to display your Disney Trading Pins after you are home from your trip!

    With a pen, mark where each pin prong is.  Then take your poker and pierce a hole through the canvas for each pin.

    Put the pins back on the canvas and adhere to using the rubber stoppers that came with them.

    More Fun Disney DIY Projects!

    15 Simple Tips & Tricks to help make your Vacation a Little Bit Better

    Disney Villains Party (with free printables!!)

    You can also find a lot of fun Disney DIY’s on the Disney Parks Blog!

    If you’d like to see some of my other Disney Crafts just click here
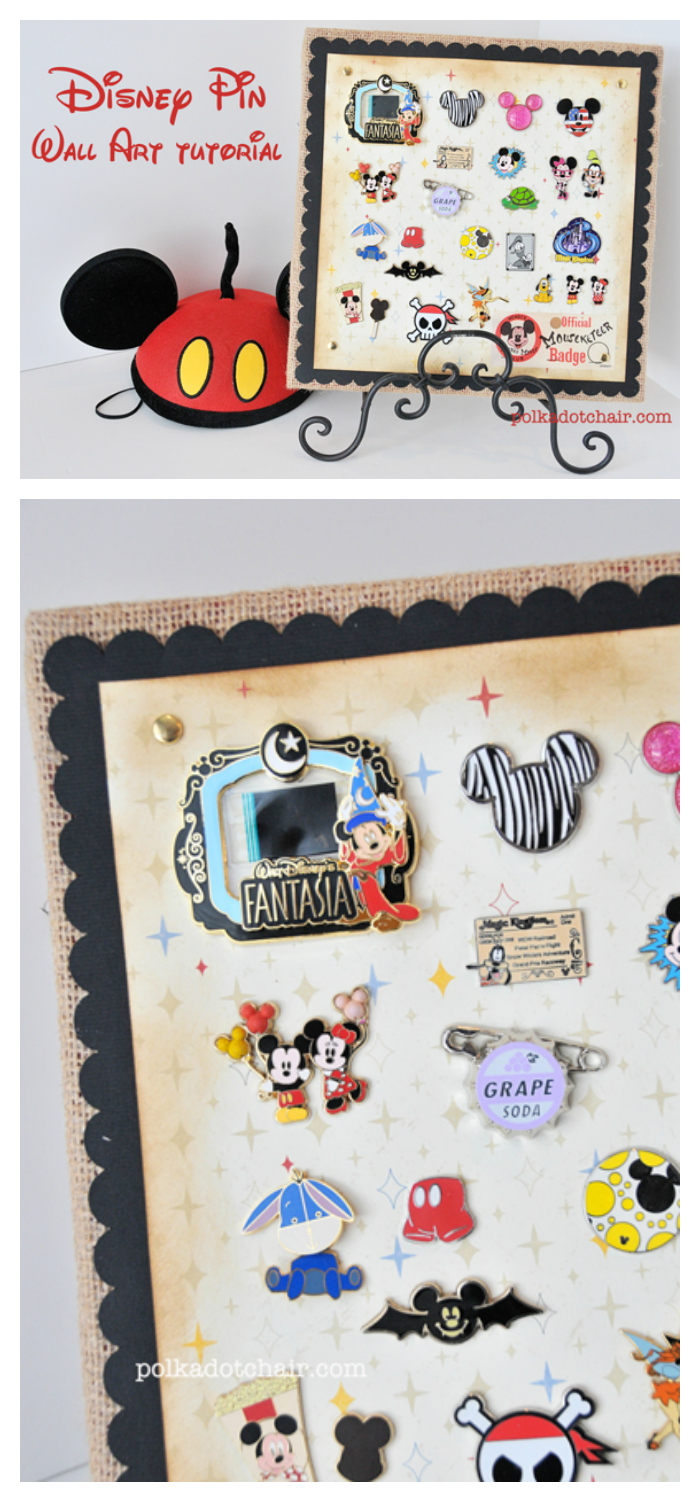
    A fun way to display your Disney Trading Pins when you get home from your vacation!

    More Projects You May Enjoy

    • DIY Splatter Paint Christmas Ornaments
    • How to Make a Retro Diorama Ornament
    • How to Make String Christmas Ornaments
    • How to Make a Halloween Potions Centerpiece & Free Printable Potions Jar Labels

    • Share
    • Email

    About Author

    Melissa Mortenson

    Melissa Mortenson is a blogger, designer, and content creator. She is the Polka Dot Chair blog founder and has been sharing fresh and creative ideas with readers since 2008. She is the author of “Project Teen, Handmade Gifts your Teen will Actually Love.” Her work and designs have been featured on HuffPost, TODAY, Pioneer Woman, HGTV, BuzzFeed, Better Homes & Gardens, and many other established publications. Her first fabric line, “Derby Style,” debuted in January 2015 through Riley Blake Designs.  Additional fabric collections have followed it in subsequent years. A mom of 3, she considers herself lucky to be living in Kentucky.

    Reader Interactions

    Comments

    1. Kristan @ Doodle Do Designs says

      September 13, 2012 at 9:55 am

      Melissa, this is so clever! What a really great idea. Our pins have been in the plastic Disney bag they put them in when we bought them a year ago. Now I know what to do with them!

      Are y’all a Disney family like us? We are obsessed! Hubby’s new job left us with very few vacation days this year, so we just booked a 4 night Disney cruise that sails out of our home port. So excited.

      Reply
    2. Mina says

      September 13, 2012 at 11:30 am

      This is really great! I am going on a Disney cruise in a month and know that I will probably pick up a few more pins

      Reply
    3. Katie @ KatieDid Productions says

      September 20, 2012 at 5:55 pm

      LOVE this! My dad is a big kid at heart and loves to collect Disney pins. I was going to buy him one of the bags from Disney, but I like this idea so much better so I’m going to make him a set for Christmas. He’s going to be so excited!

      Reply
    4. Tracy says

      February 22, 2013 at 3:14 pm

      I love this idea! What brand of scrapbooking paper did you use? I love the pattern.

      Reply
      • Melissa Mortenson says

        February 22, 2013 at 3:23 pm

        I used Close to My Heart Zippdee paper for one board and the other board is Disney paper that I got at Archivers.
        I hope this helps!

        Reply
        • Tracy says

          February 22, 2013 at 8:41 pm

          I was interested in the Zipdee paper, but it seems they don’t have it anymore 🙁 boo

          Reply
          • Melissa Mortenson says

            February 24, 2013 at 2:23 pm

            Ugh…sorry… I would try ebay, my guess is there is a consultant wanting to get rid of some extra.
            Good luck!

            Reply
    5. April D says

      February 24, 2013 at 10:13 pm

      Totally clever! I have ours in shadowboxes from Michaels, but will totally have to steal this idea for displaying them in the kids rooms. Thanks for the great idea!

      Reply
    6. Kristi at Disney Insider Tips says

      March 11, 2013 at 12:57 pm

      I love this. My kids are both pin collectors and they have certain pins that they won’t part with. This would be a great way to display them! I’d love for you to link this up on my Disney Craft blog hop: http://www.disneyinsidertips.com/2013/03/disney-craft-making-monday/

      Reply
    7. Jordan says

      April 03, 2013 at 10:01 am

      Do I have to do the burlap or scrapbook paper? I like the idea of just painting the canvas and then putting my pins onto it.

      Reply
      • Melissa Mortenson says

        April 08, 2013 at 1:27 pm

        Nope, that was just for some extra texture.

        Reply
    8. Sarah says

      December 28, 2013 at 12:53 am

      Do you find it hard to keep the pins clean? I’m worried the pins will fall off while dusting.

      Reply
      • Melissa Mortenson says

        December 30, 2013 at 3:58 pm

        Sarah,
        I’m embarrassed to say that I’ve never dusted them :(…. but so far the pins have held on just fine.

        Reply
    9. Christine says

      December 31, 2013 at 10:23 am

      Great idea for the disney pins! I tried using shadow boxes, but they are just not working out. I got burlap boards and I am trying to figure out the the black frame. How did you make the frame?

      Reply
      • Melissa Mortenson says

        January 06, 2014 at 1:10 pm

        The black frame is just a piece of black cardstock glued to the canvas. Does that help?

        Reply
    10. Jamy says

      February 25, 2014 at 11:31 am

      I am so thrilled to have found this! I hope to get them finished this week! We just got back from our first Disneyland vacation and I had THE BEST time trading pins! All of us ended up with some that we REALLY love and I’ve been looking for a fun/cute way to display them. Thanks for your awesome idea!

      Reply
      • Melissa Mortenson says

        February 26, 2014 at 11:04 am

        We are going again for Spring Break this year and even though my kids are older now, they still LOVE trading pins! It’s always so hard to decide which ones to trade and which to keep. So glad that you can use the idea!

        Reply

    Leave a Reply Cancel reply

    Your email address will not be published. Required fields are marked *

    This site uses Akismet to reduce spam. Learn how your comment data is processed.

    Primary Sidebar

    Hello! It’s nice to meet you.

    I’m Melissa. I like to design things, like fabric, printables, and projects.

    I’m also a Mom and a Maker. I am like most of you, just trying to do my best every day. Some days I succeed, many days I fail.  I find joy in creating, if you do too, then I hope that you find something here bring a little “happy” to your life.  Find out more about me here.

    COPYRIGHT POLICY

    All my images and text are copyrighted. You may NOT use any images from this site in any kind of Video (this includes YouTube). If you would like to feature my work, you may use ONE (1) NON-COLLAGED image and must “follow” link back to my original blog post. You may NOT edit, crop, or change my images in any way without written permission. You MAY NOT print out or copy and distribute any text, images or patterns from this site. All patterns, content, instructions, and templates are for personal use ONLY! Thank you! Violators will be reported.

    Footer

    ↑ back to top

    About

    • Privacy Policy
    • Disclaimers
    • About Melissa
    • Instagram
    • Facebook
    • YouTube
    • Pinterest

    Newsletter

    • Sign Up! for emails and updates

    Contact

    • Contact
    • FAQ
    • Press
    • Published Books
    • Fabric Collections

    Welcome to the Polka Dot Chair! Here you’ll find easy, step-by-step, sewing, quilting, and crafting projects. We design projects for Makers of all skill levels. Beginners are welcome!

    DISCLAIMER:

    While every effort has been made to ensure the accuracy of the content on this website, the information is made available without warranty of any kind. The Polka Dot Chair accepts no responsibility or liability, whether direct or indirect, as to the currency or accuracy of the information, nor any consequence of its uses. This website is not intended to substitute the advice of a professional.

    Copyright © 2022 Polka Dot Chair

    [ Placeholder content for popup link ] WordPress Download Manager - Best Download Management Plugin