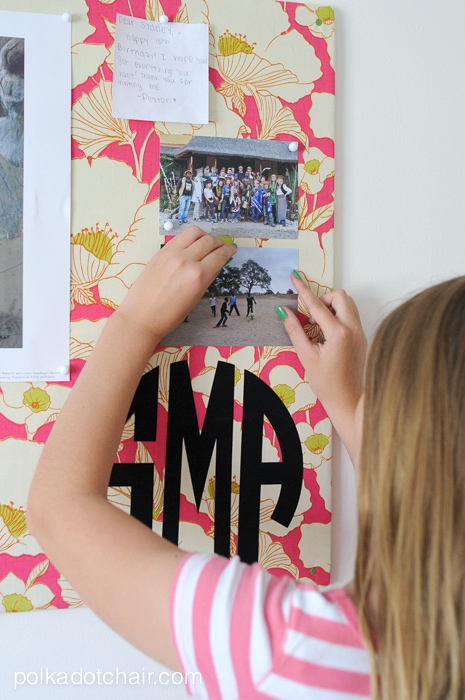
DIY Monogrammed Memo Board
A big thanks to SayitwithApplique.com for providing supplies for today’s project! I hope that you love this DIY Monogrammed Memo Board. If you like this post you may also enjoy this post with 5 Tips for Creating a Gallery Wall.
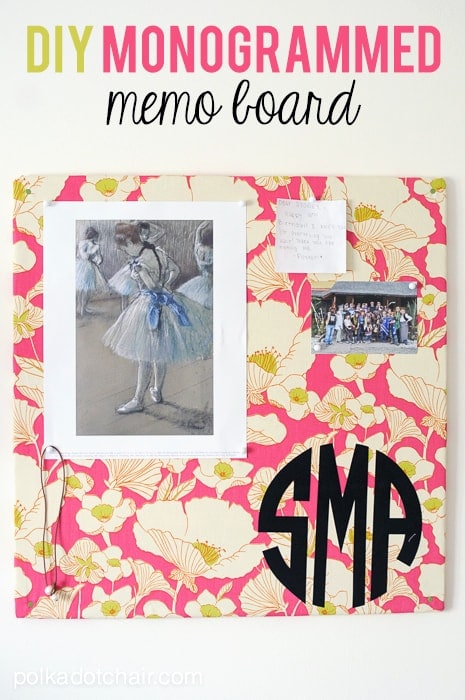
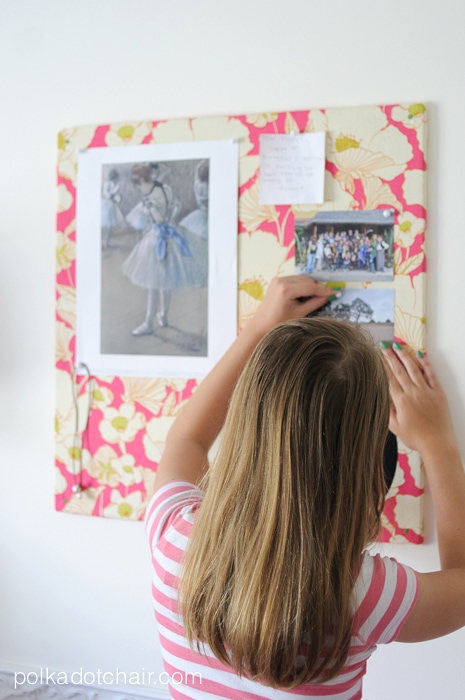
This memo board project has been sitting on my “to do” list for over a year now and I’m so glad to finally be able to check it off my list! A couple of years ago we redid my daughters room (you can see photos of the room redo here). After we were finished she started asking for a memo board. I kept putting her it off, you know how when you’re DONE with a project you really don’t want to do anything else?? Well I kinda felt like that….Finally a few weeks ago we hit a fabric shop to pick out some fabric for her.
I think I’ve mentioned before that I live in the South and monograms are a big deal here. Which brings me to a funny story, My oldest daughter went to college out west this year (armed with a selection of monogrammed shirts) and had a bunch of people ask her why she wanted her initials on her shirt… “you think you’re going to forget your name or something??” they’d say.
All kidding aside, my youngest daughter is now asking for monogrammed stuff too… which brings us to this Monogrammed Memo Board tutorial.
This ones crazy easy to make… you can make it more detailed if you want by adding nailhead trim, but we just kept it simple. We just used an acoustic ceiling tile from the hardware store, a monogram and about 1/2 yard of upholstery fabric.. that’s it.
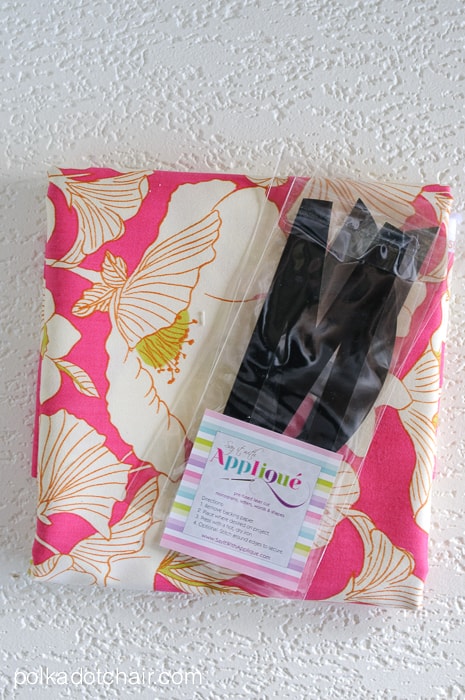
The monogram was sent to me by Say it With Applique– remember the t-shirt project from last week? For that project I used their small circle monogram, the monograms also come in a larger size, which is the one I used for todays project.
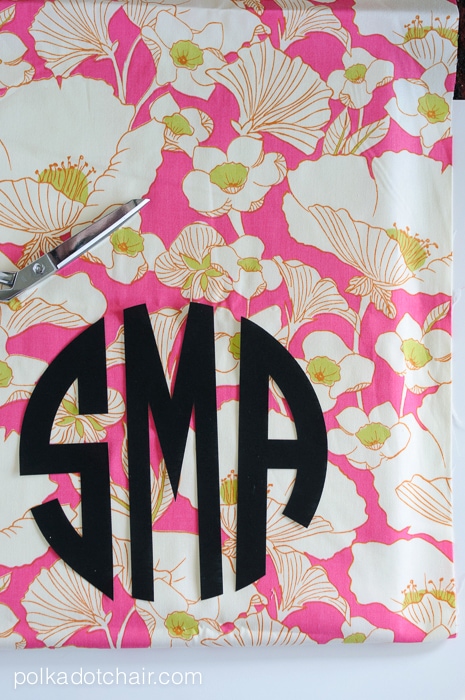
Cut your ceiling tile down to the size you want. We just made ours a square. Then lay out your fabric and cut it about 3″ bigger than each side of the tile. Lay out where you want your monogram. Pin the monogram in place, press your fabric then iron your monogram onto the fabric.
The monogram is laser cut and backed with iron on adhesive to make it crazy easy to use. I recommend starting with the center letter and ironing down each piece one at a time.
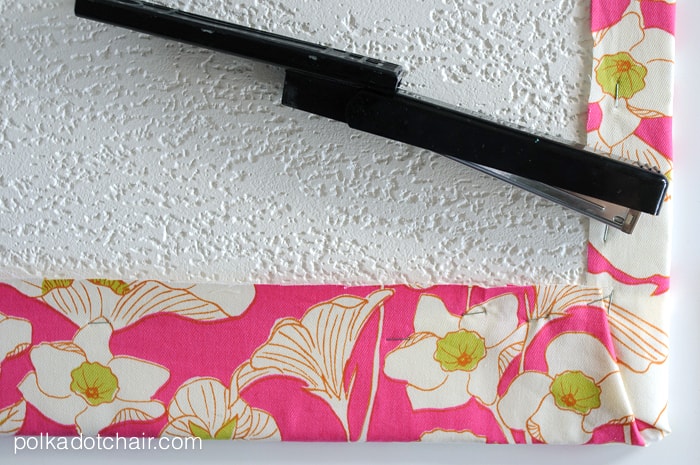
Place the WRONG side of your fabric on the side of the celling tile that doesn’t have the divets (it will look smoother that way), flip it over. Then just use a stapler and staple the fabric to the back of the memo board… easy peasy.
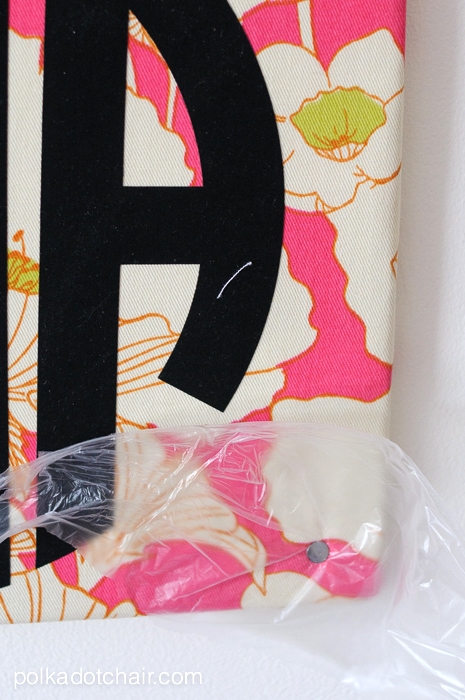
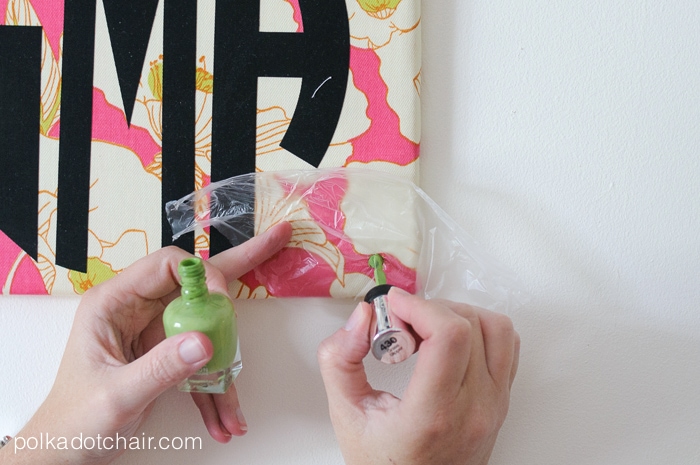
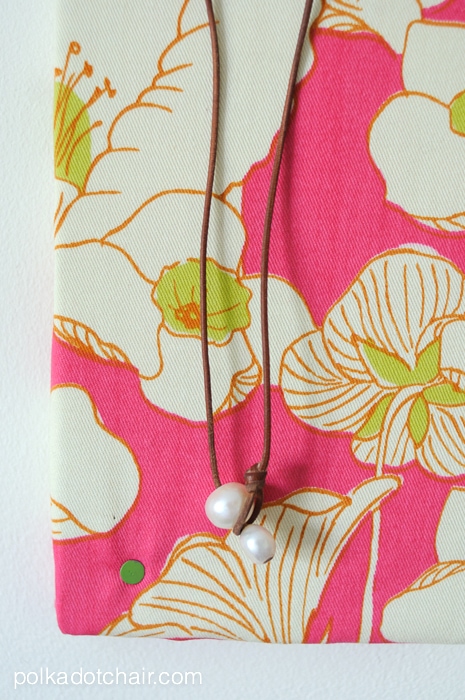
I hung the memo board up with nails, but didn’t like the nail heads. To fix this, I put a bit of plastic behind each nail, then used a bit of nail polish to color the head of the nail (just to make it pretty).
After the nail polish is dry just pull off the plastic.
You could use this same technique to cover multiple memo boards to make a large “patchwork” if you like, or as I said before add nail head trim. Wouldn’t a GIANT one of these be fun in a sewing or craft room??
Connect with me:

