DIY Fabric Luggage Tags – No Sew!
If you’ve been a long-time reader of this blog, then you may know that I love to sew a lot. I also love fabric a lot. Even though I love to sew, I know some of you guys don’t love it as much as I do, but you still love fabric!
I have for you a fun no-sew project, these DIY Fabric Luggage Tags. If you have a sewing machine handy, you can add a few stitches to the project at the end, but that’s totally up to you. If you love to travel, you may also like this Free Printable Airplane Carry On Packing List.
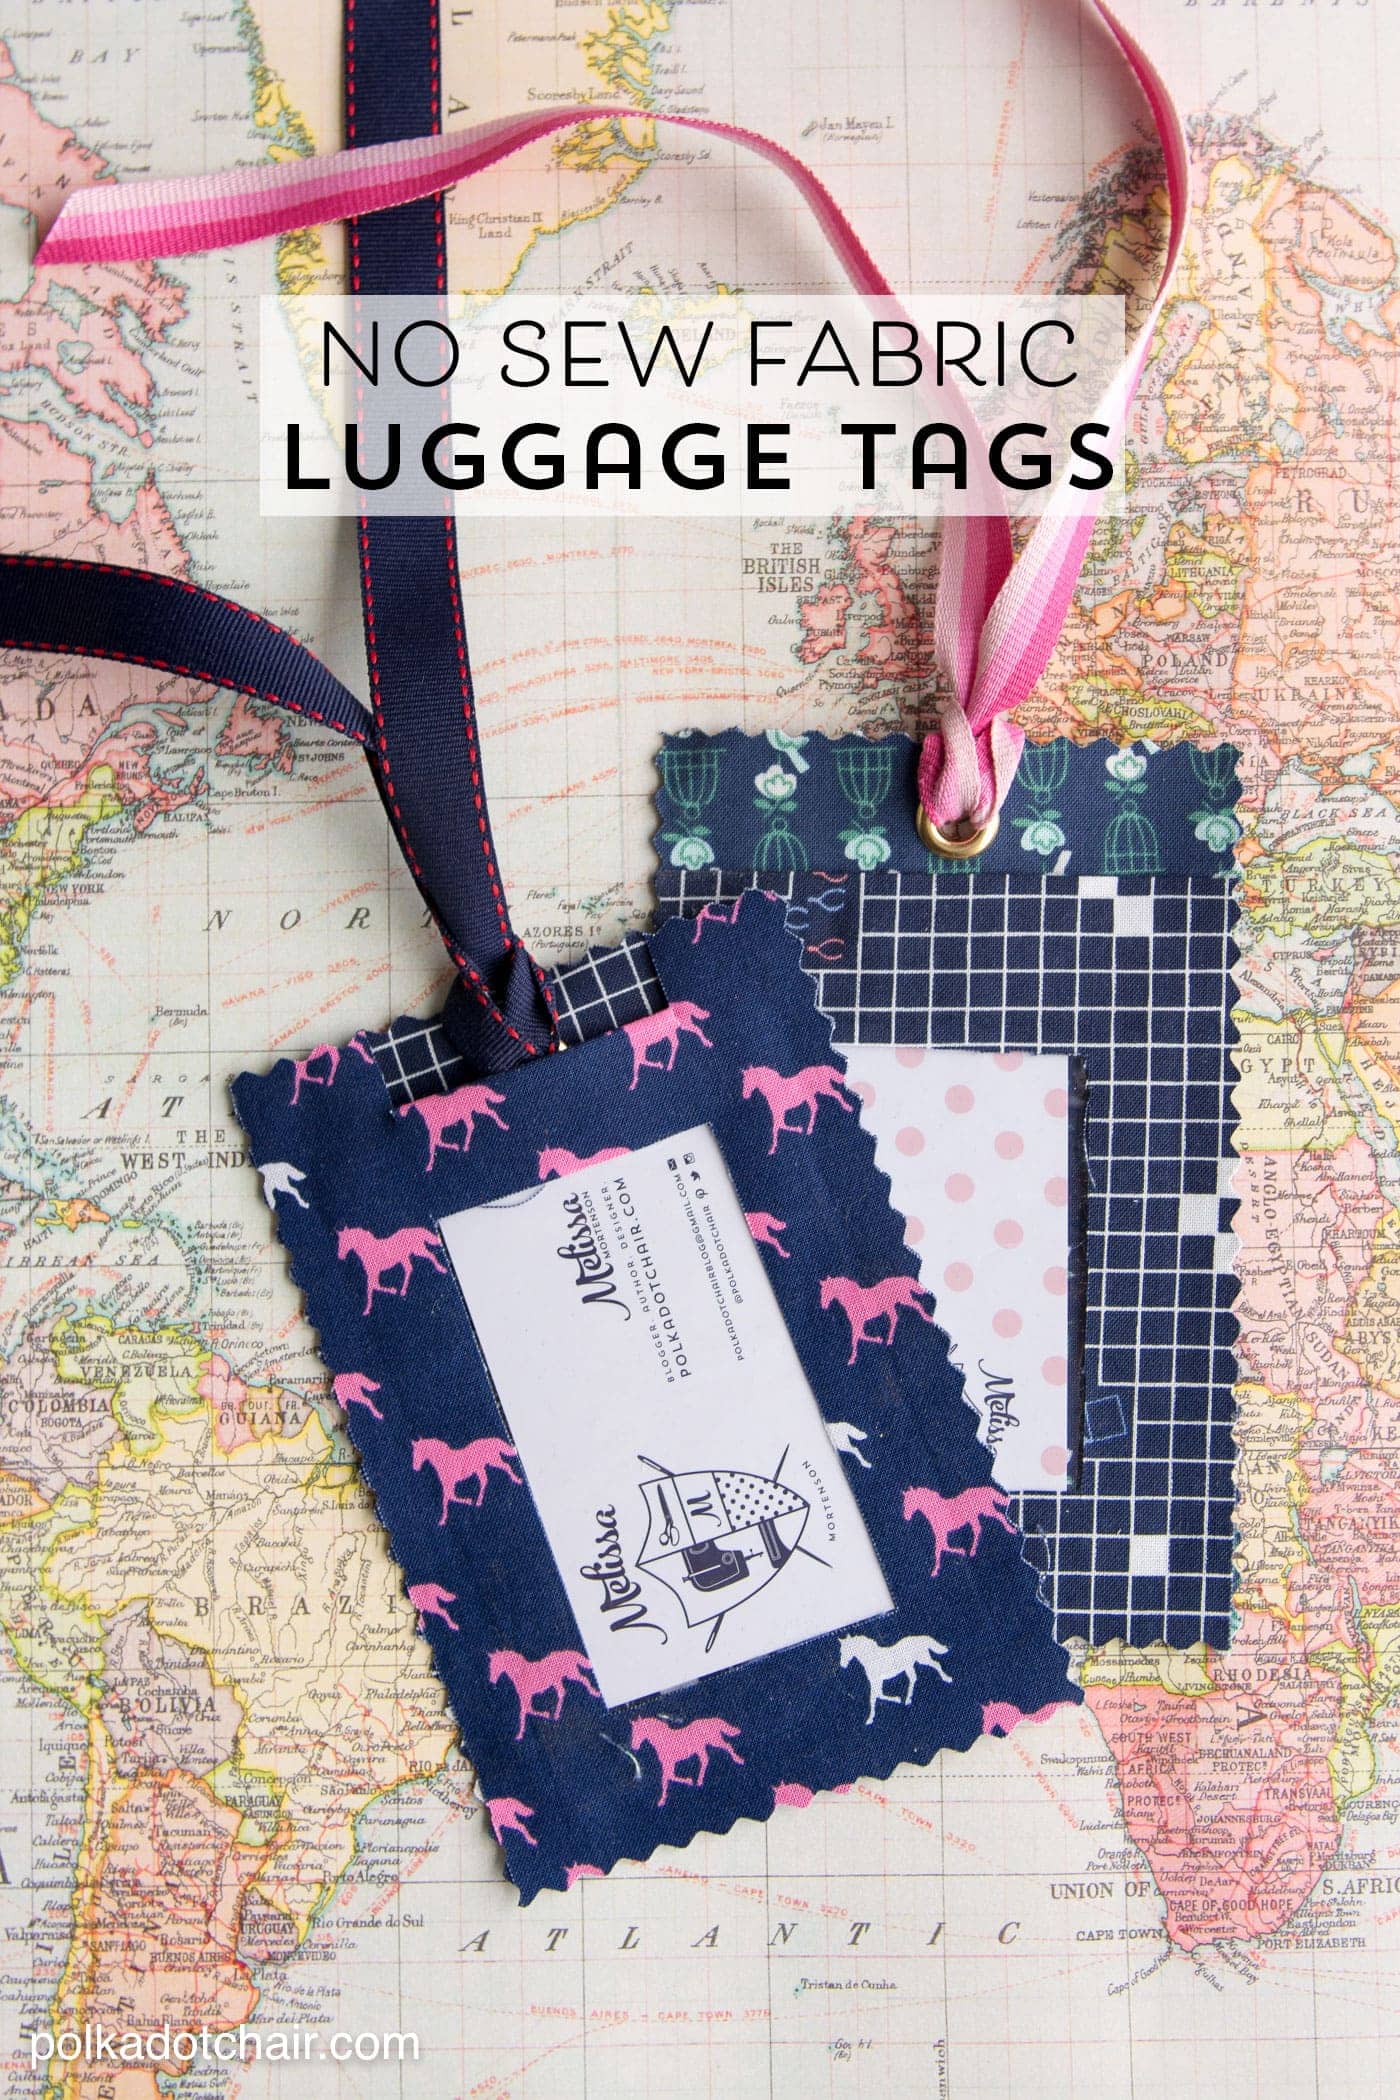
I love to travel with my family. Last summer we visited the Netherlands and Norway. One of the “travel tricks” I picked up a long time ago was to always have a unique luggage tag on your bag. That way it’s easy to spot on the luggage carousel.
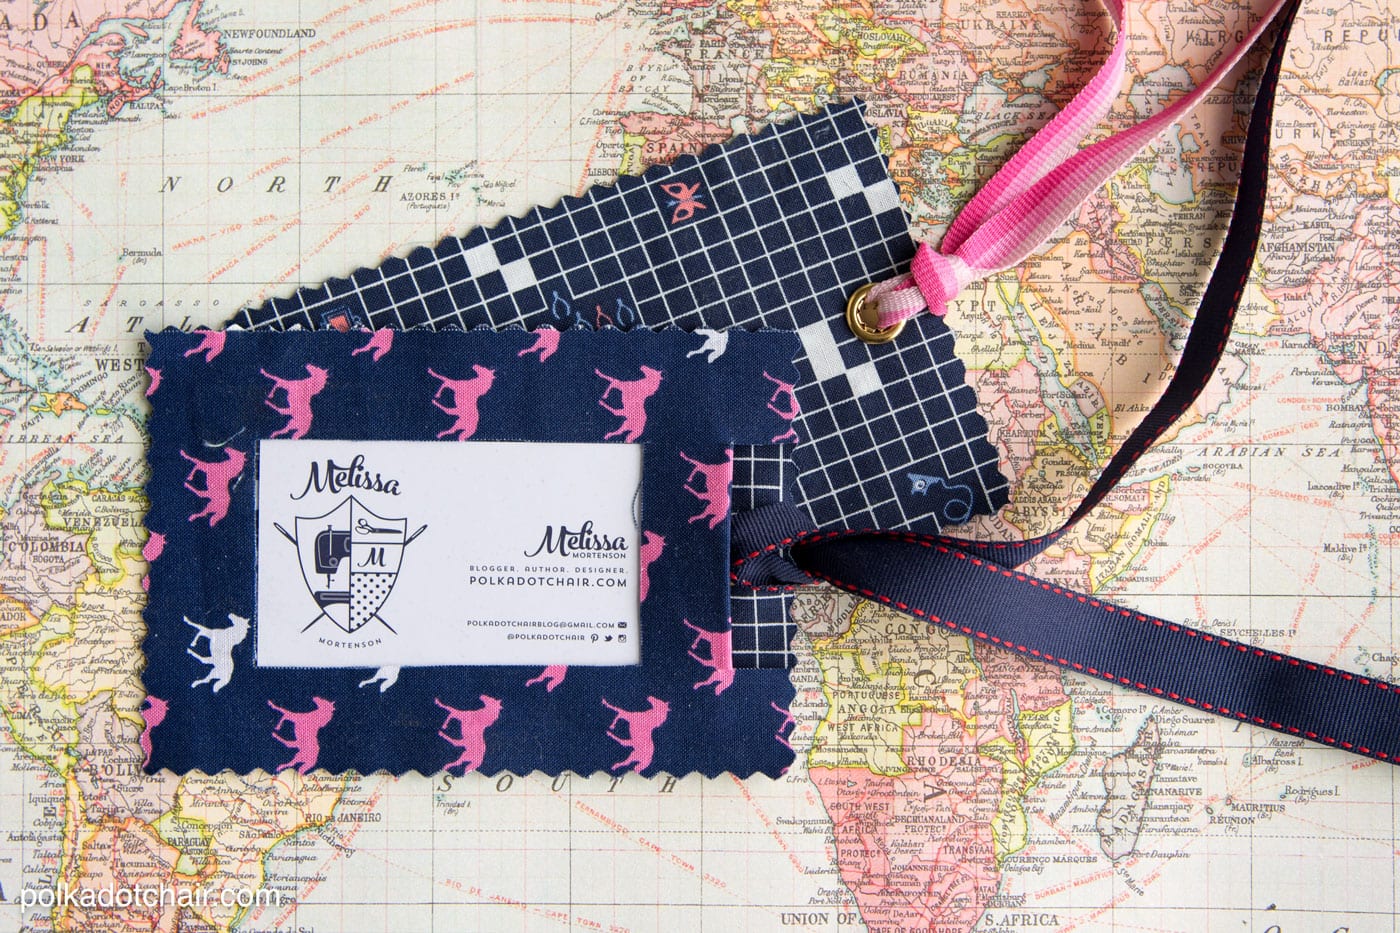
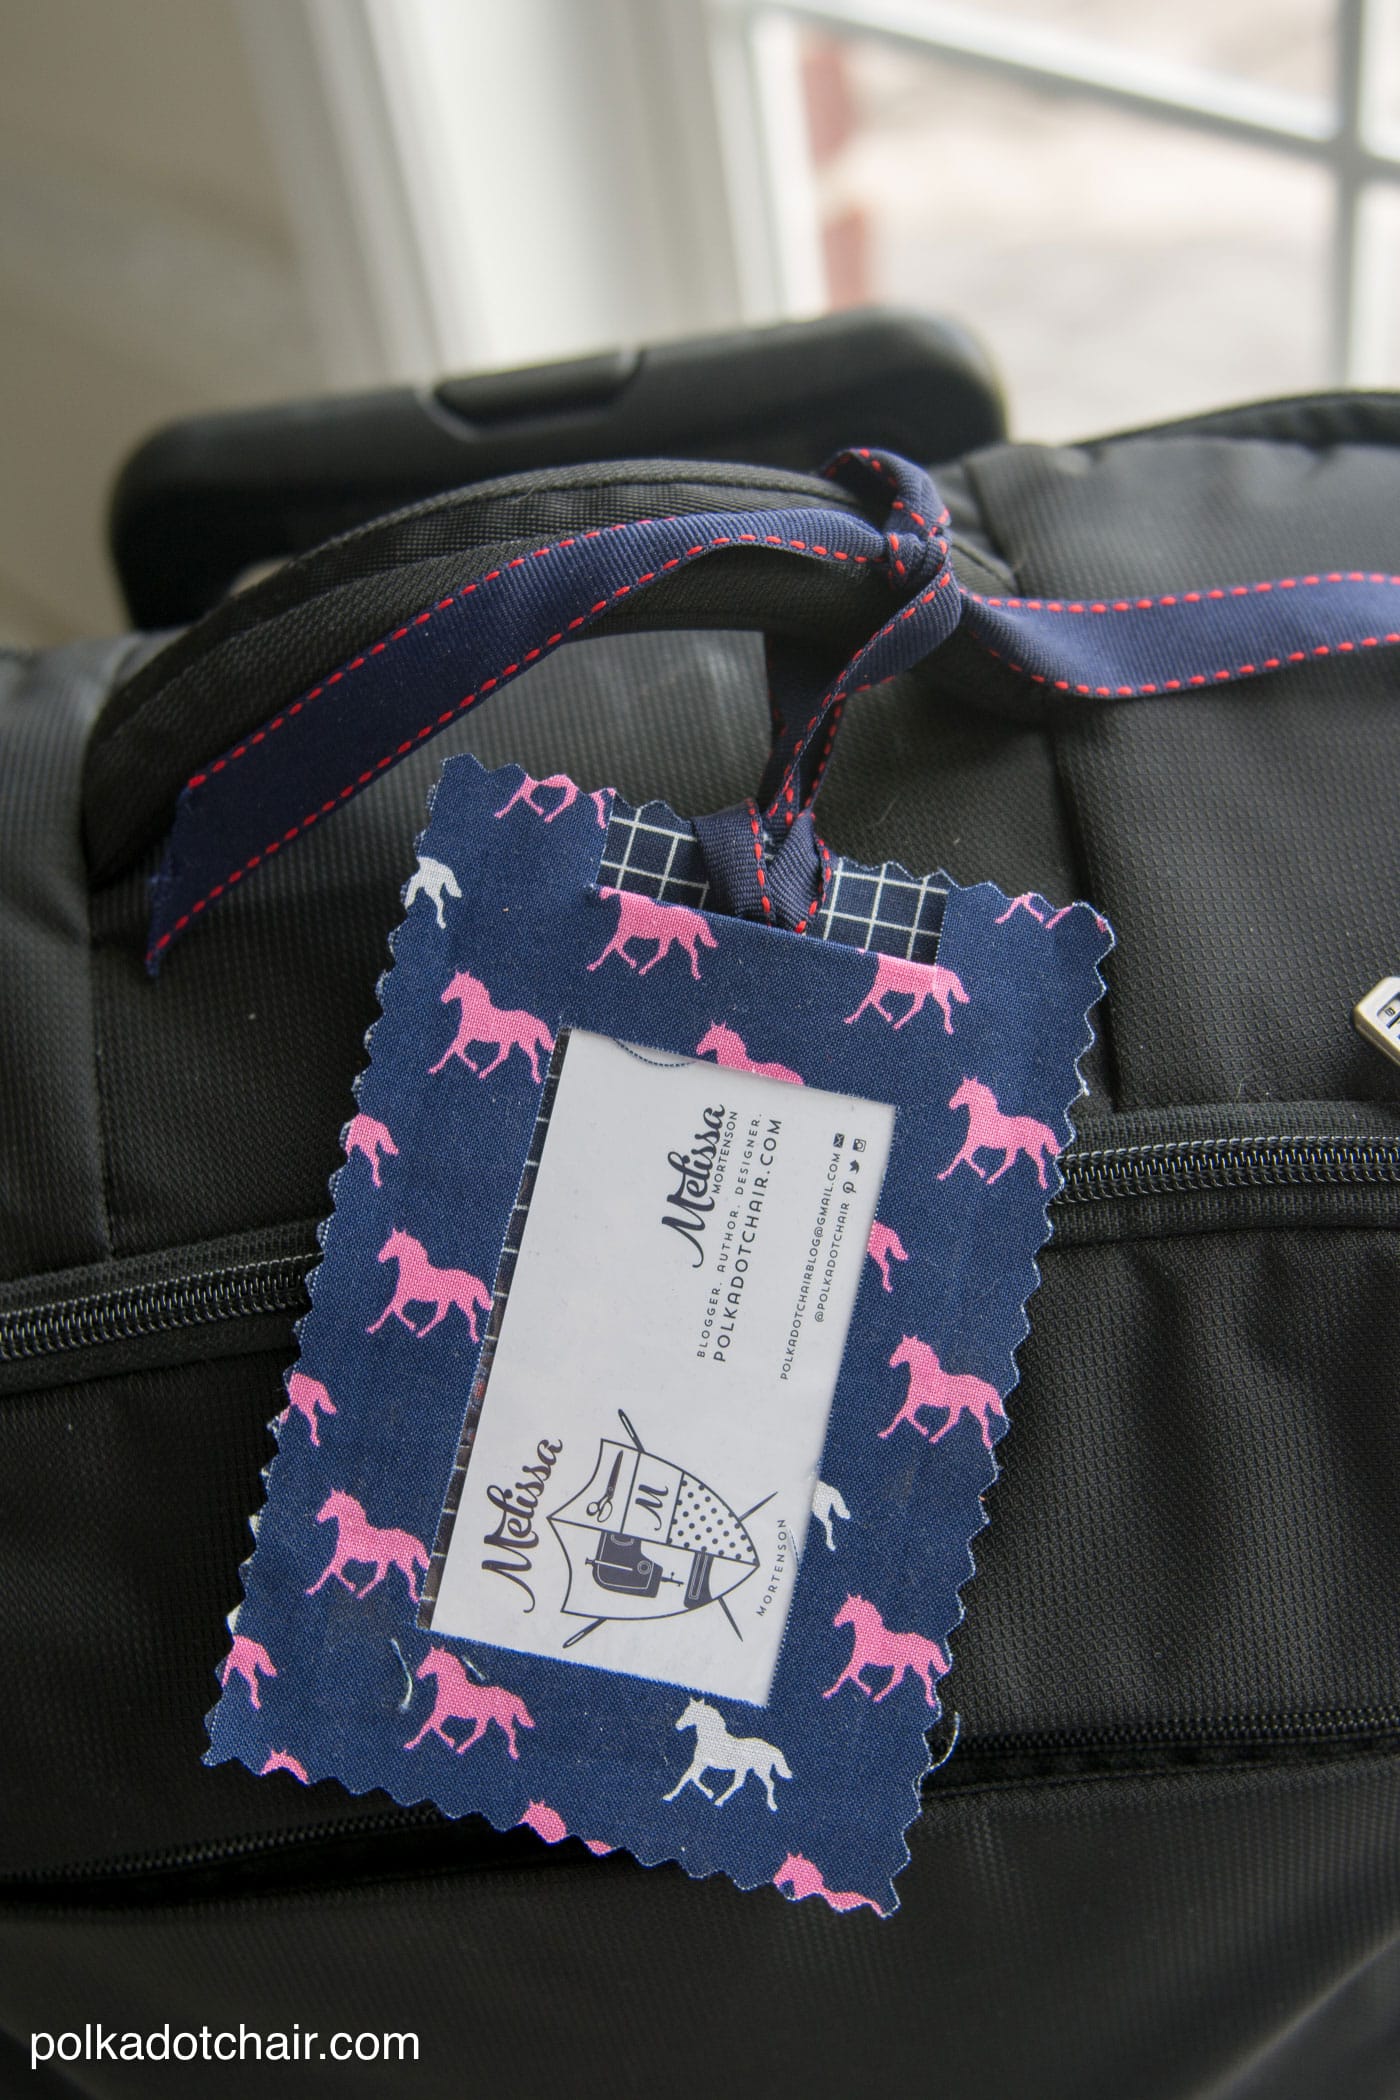
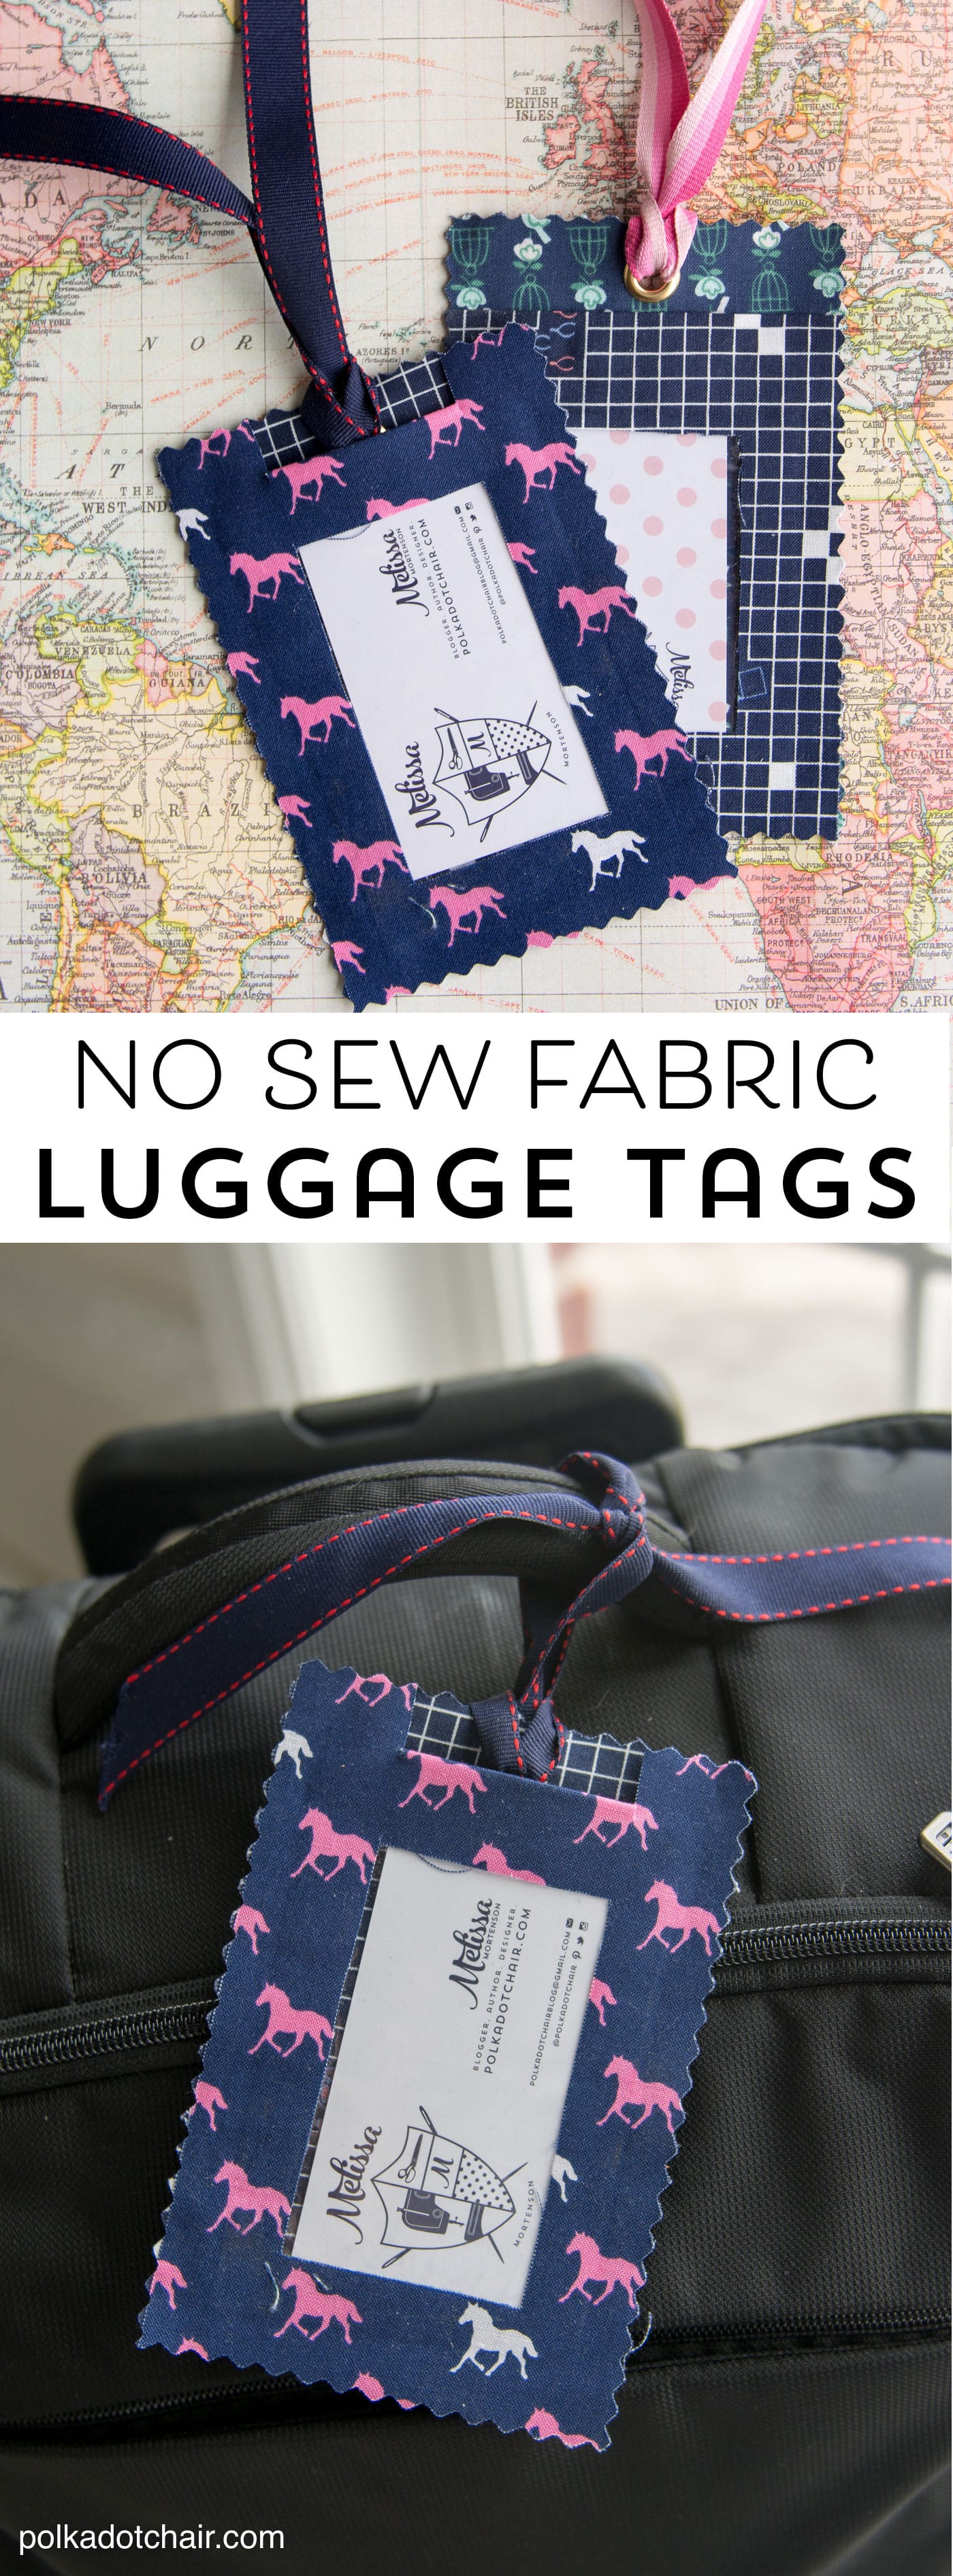
I realize nowadays that it’s not “rocket science” and most people have a unique luggage tag (or ribbon) on their bag, but it’s still a pretty great idea. So today I’m going to show you how to make a very simple luggage tag with a clear window for a business card or other information card.
Are you ready to make one?
DIY Fabric Luggage Tags Tutorial
Supplies
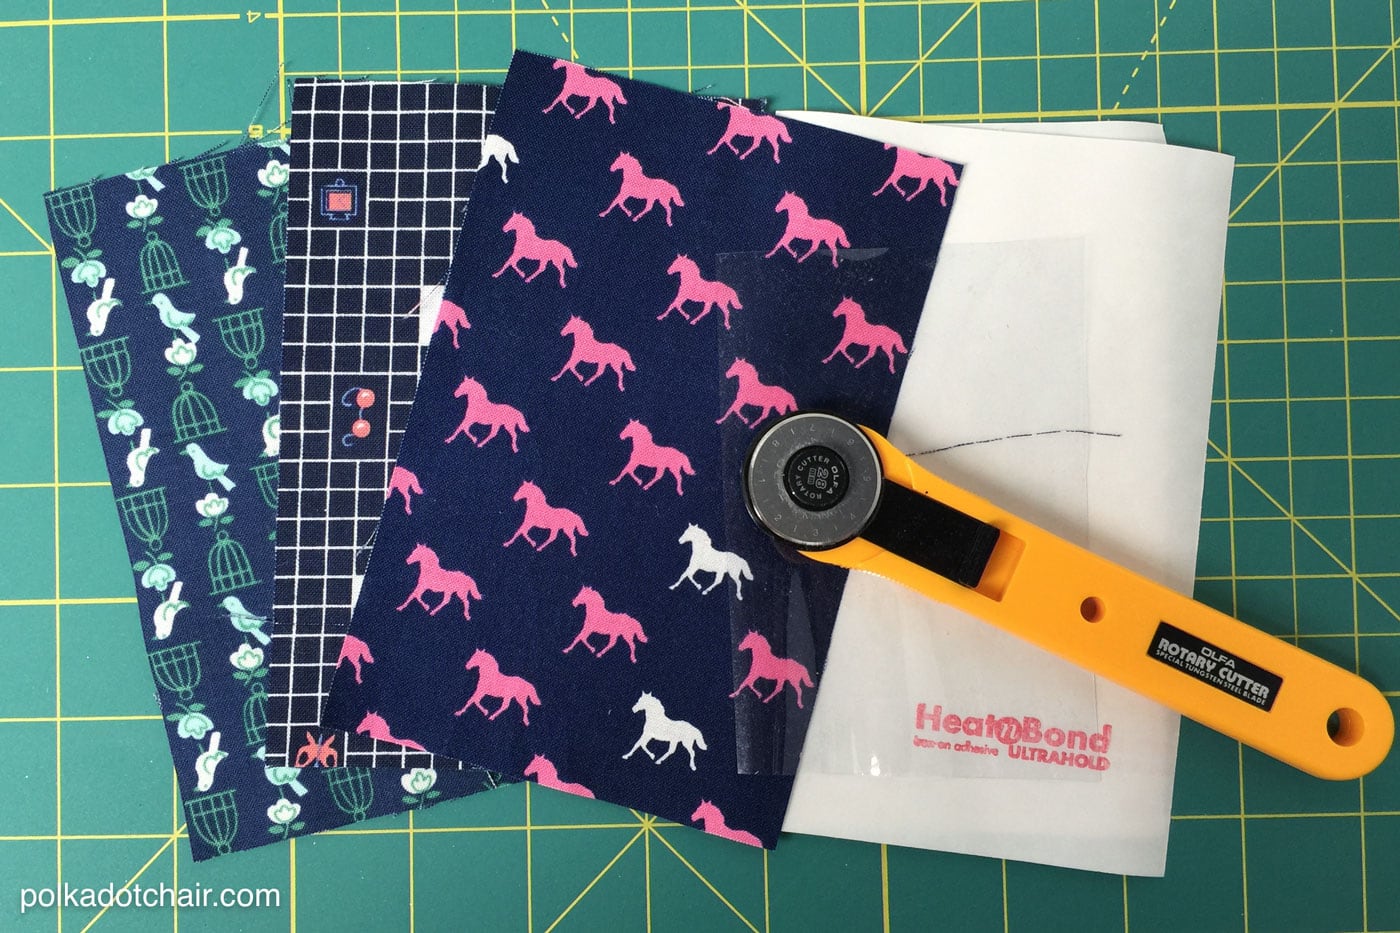
You’re going to need (contains affiliate links):
- 3 pieces of fabric each cut to 4″ x 6″ (fabric shown is Derby Style and Rotary Club)
- 2 pieces Heat N Bond Ultra cut to 4″ x 6″
- Clear Vinyl, if you can’t find this at the craft store you can also use a clear shower curtain liner, cut to 2 1/2″ x 4″
- Grommet
- Ribbon
- Pinking Blade for Rotary Cutter
- Cutting Mat & Ruler
Instructions
Step One:
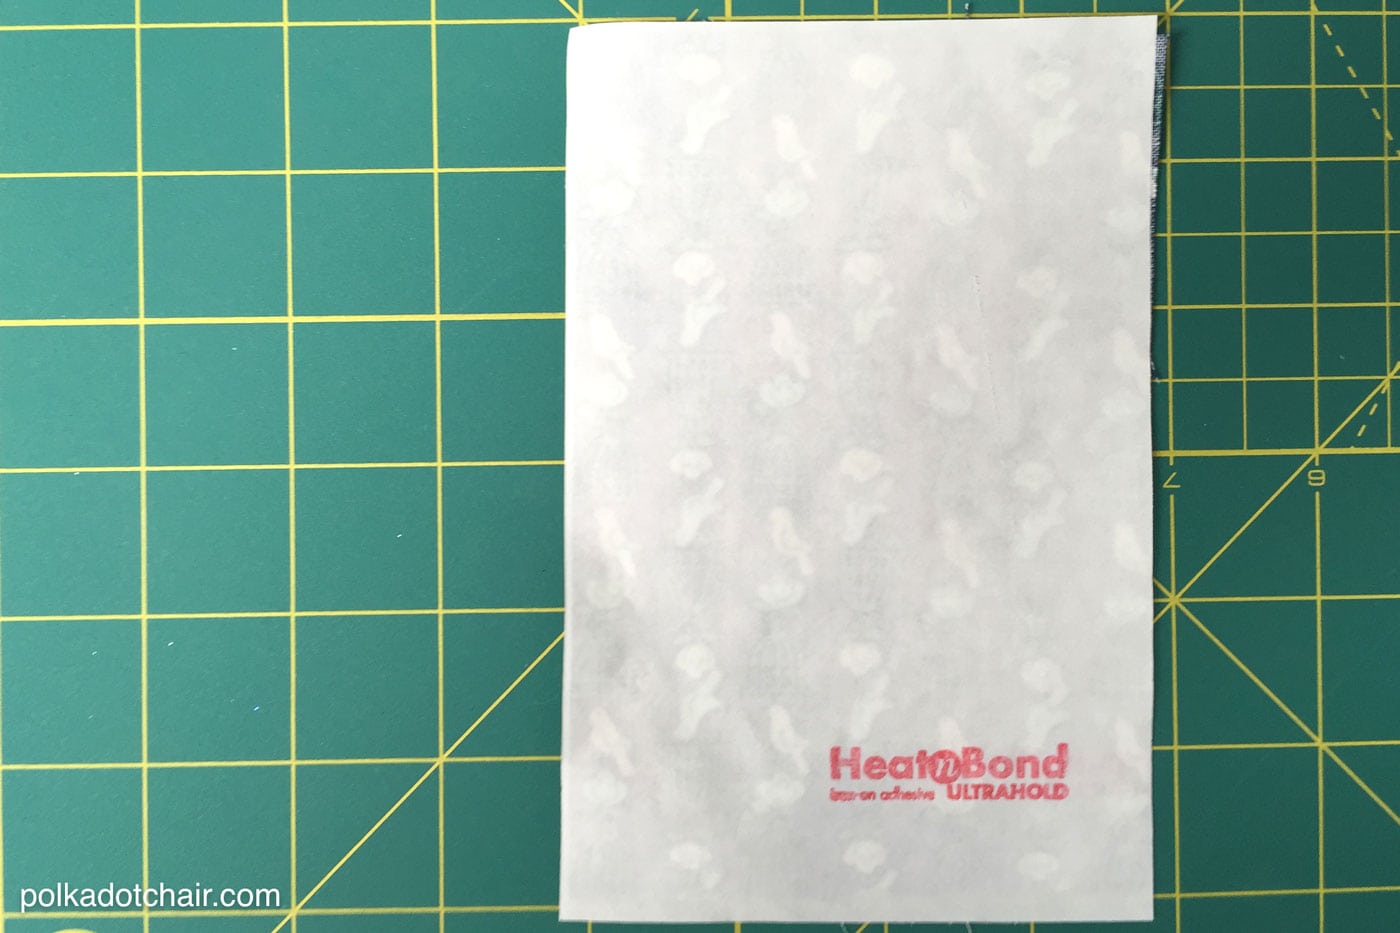
Fuse the Heat N Bond to the wrong side of one of your fabric pieces. If you’ve never worked with it before, make sure you read the instructions on the package.
Step Two:
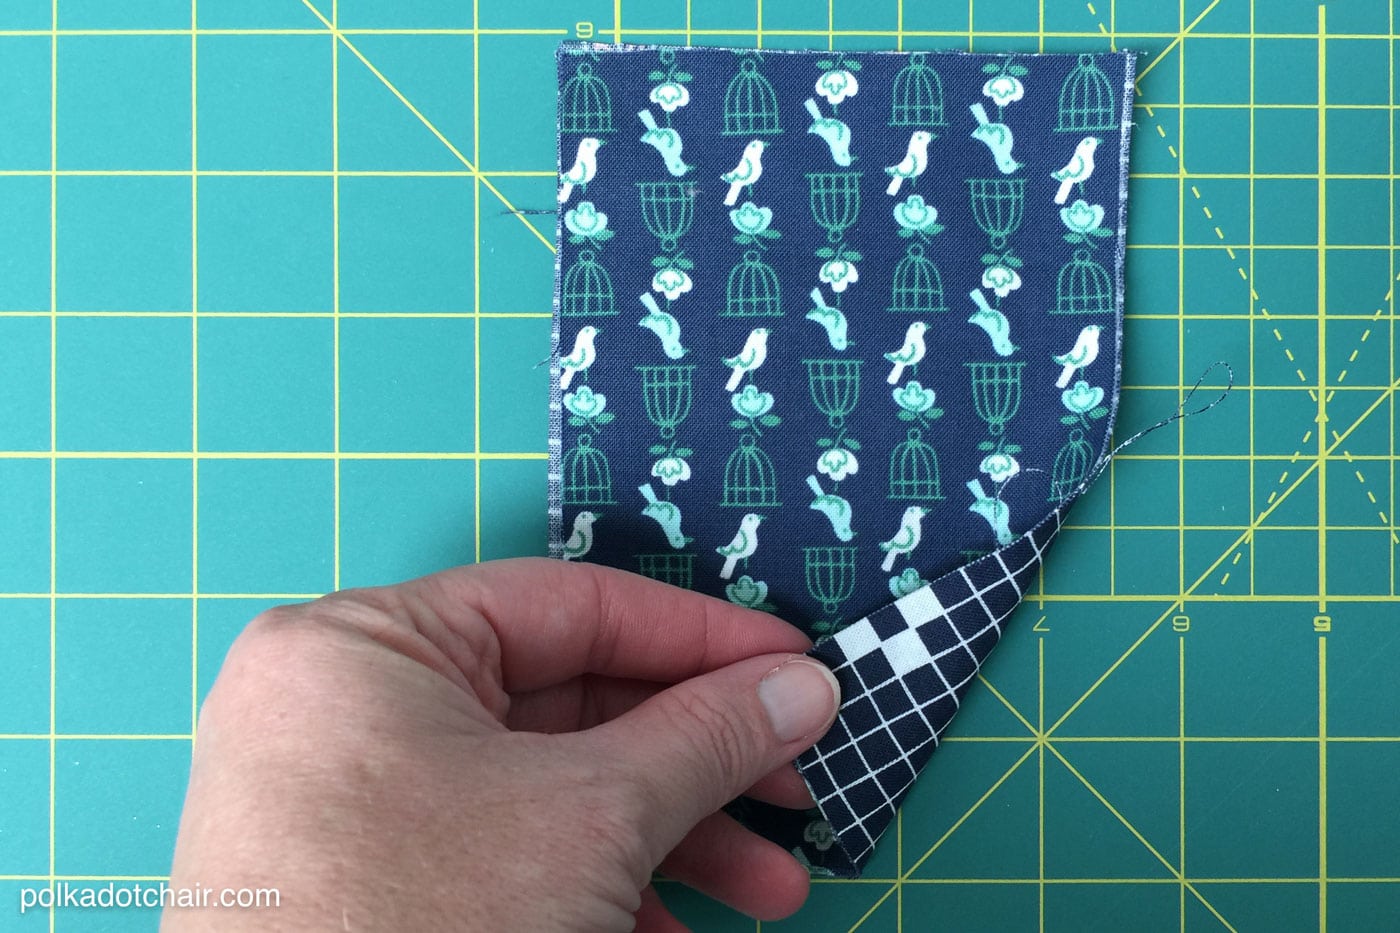
Peel off the paper backing from the Heat N Bond, place another 4×6 piece of fabric on top of the 1st piece of fabric so that the wrong sides of the fabric are facing. Press. You now have a piece of fabric that is double-sided. Set aside.
Apply the 2nd piece of Heat n Bond to the wrong side of the remaining 4×6 fabric piece.
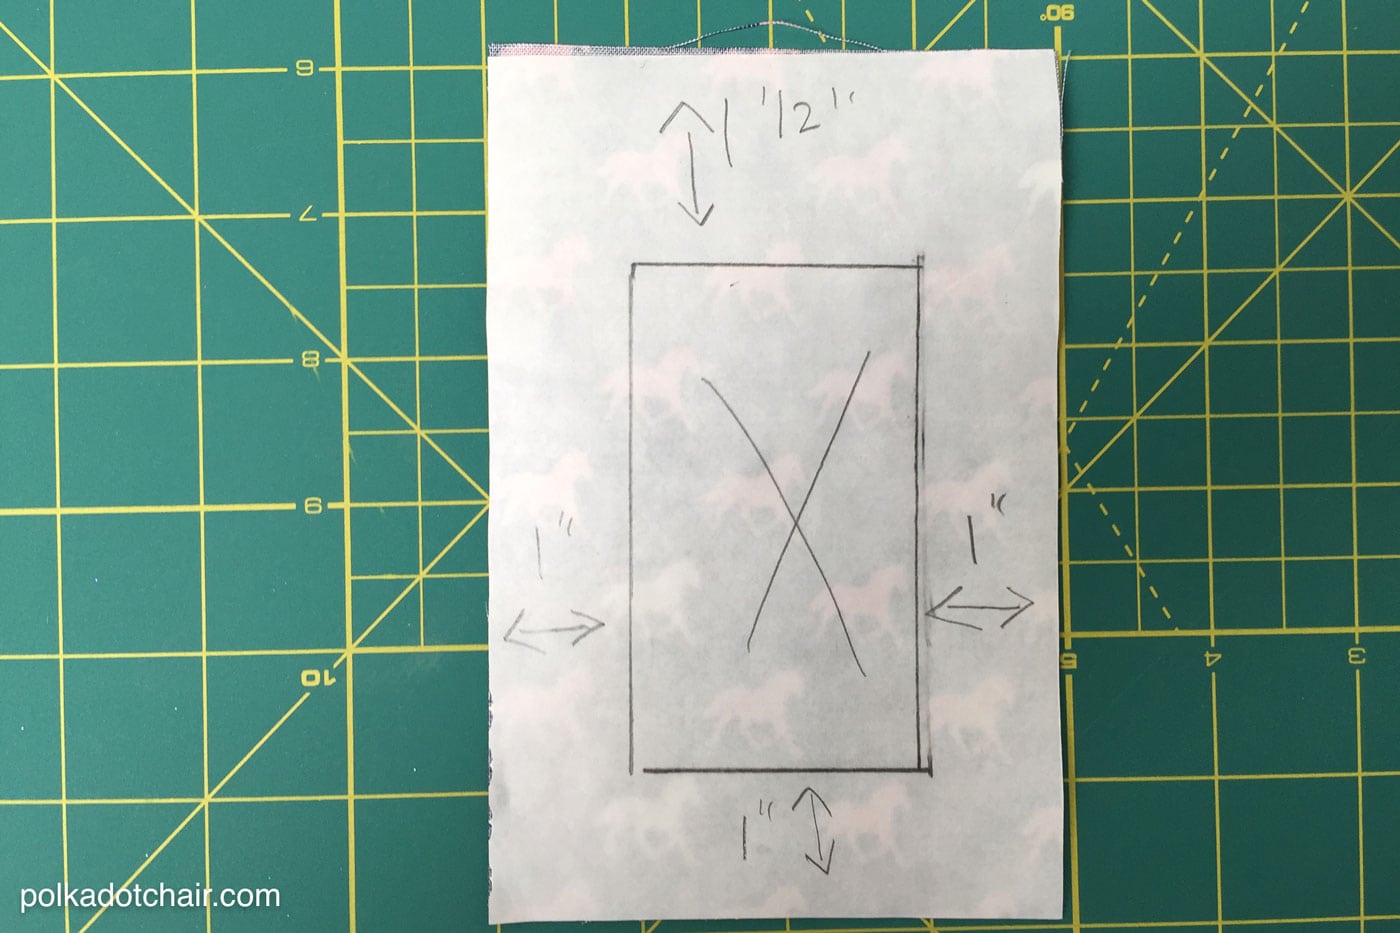
On the back of the fabric piece, draw a box that is 2″ x 3 1/2″. The box will be 1″ from the side and bottom edges and 1 1/2″ from the top.
Cut out the box.
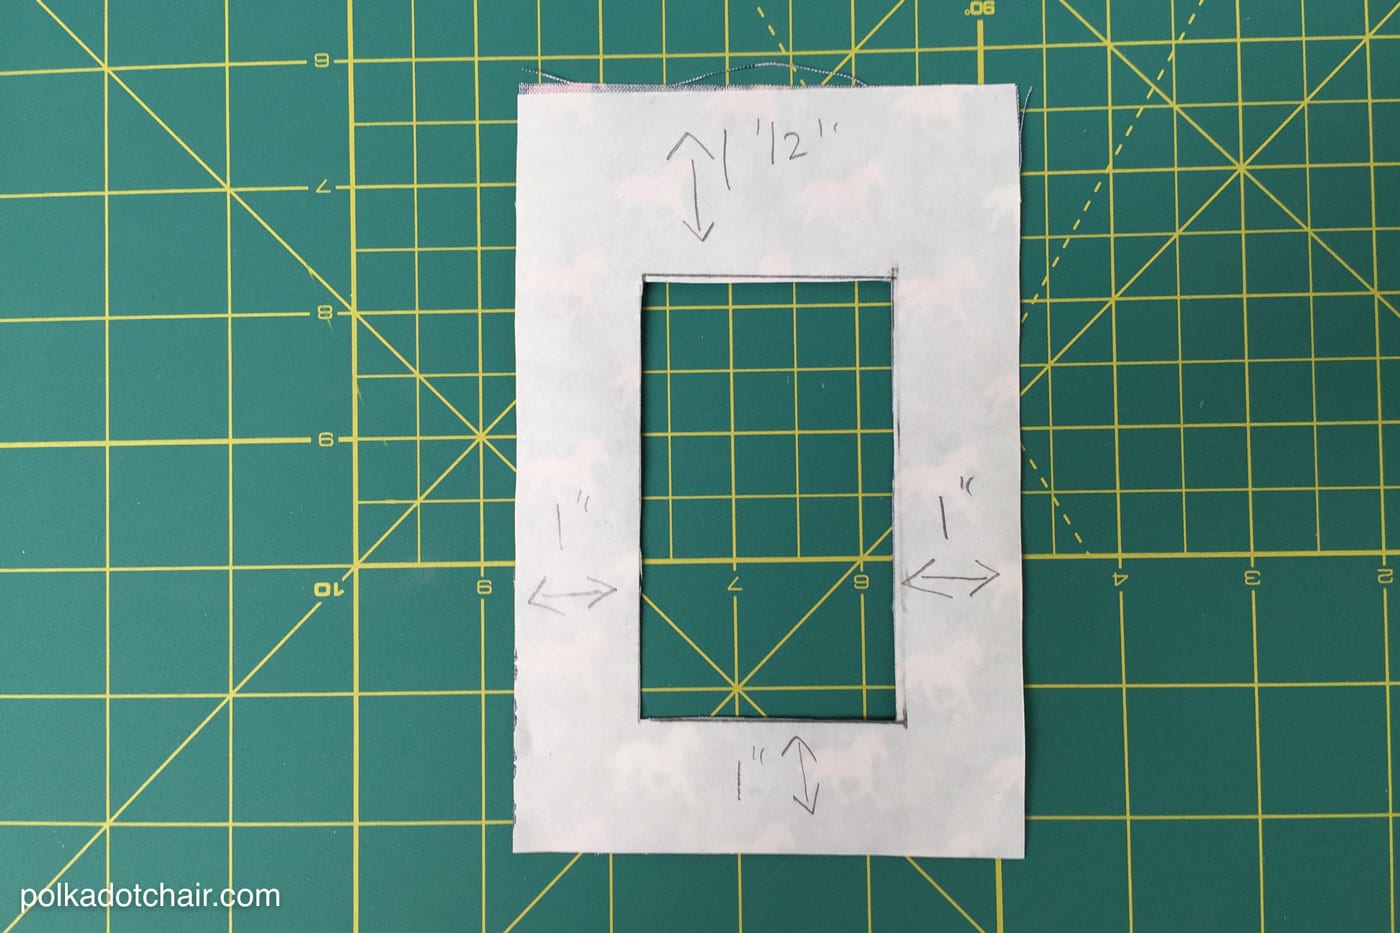
Peel off the backing from the heat n bond.
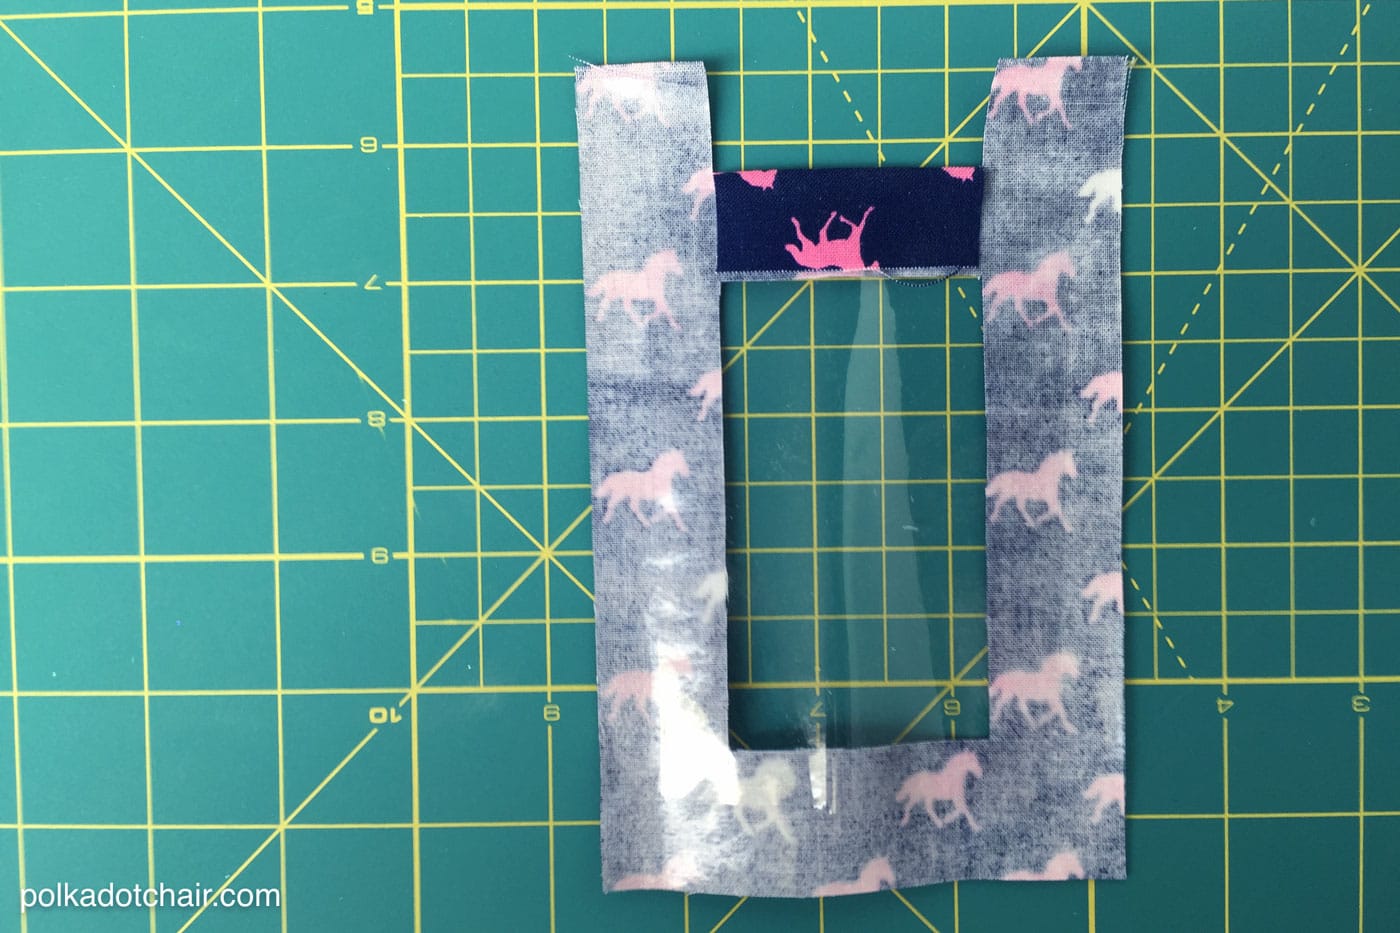
Clip the top two corners of the 4 x 6 fabric piece 1″ down and 1″ in from the sides.
Step Three:
Place the cut clear vinyl over the top of the opening on top of the heat n bond, centered in the opening.
Fold the cut portion of the 4×6 piece over the top of the clear vinyl.
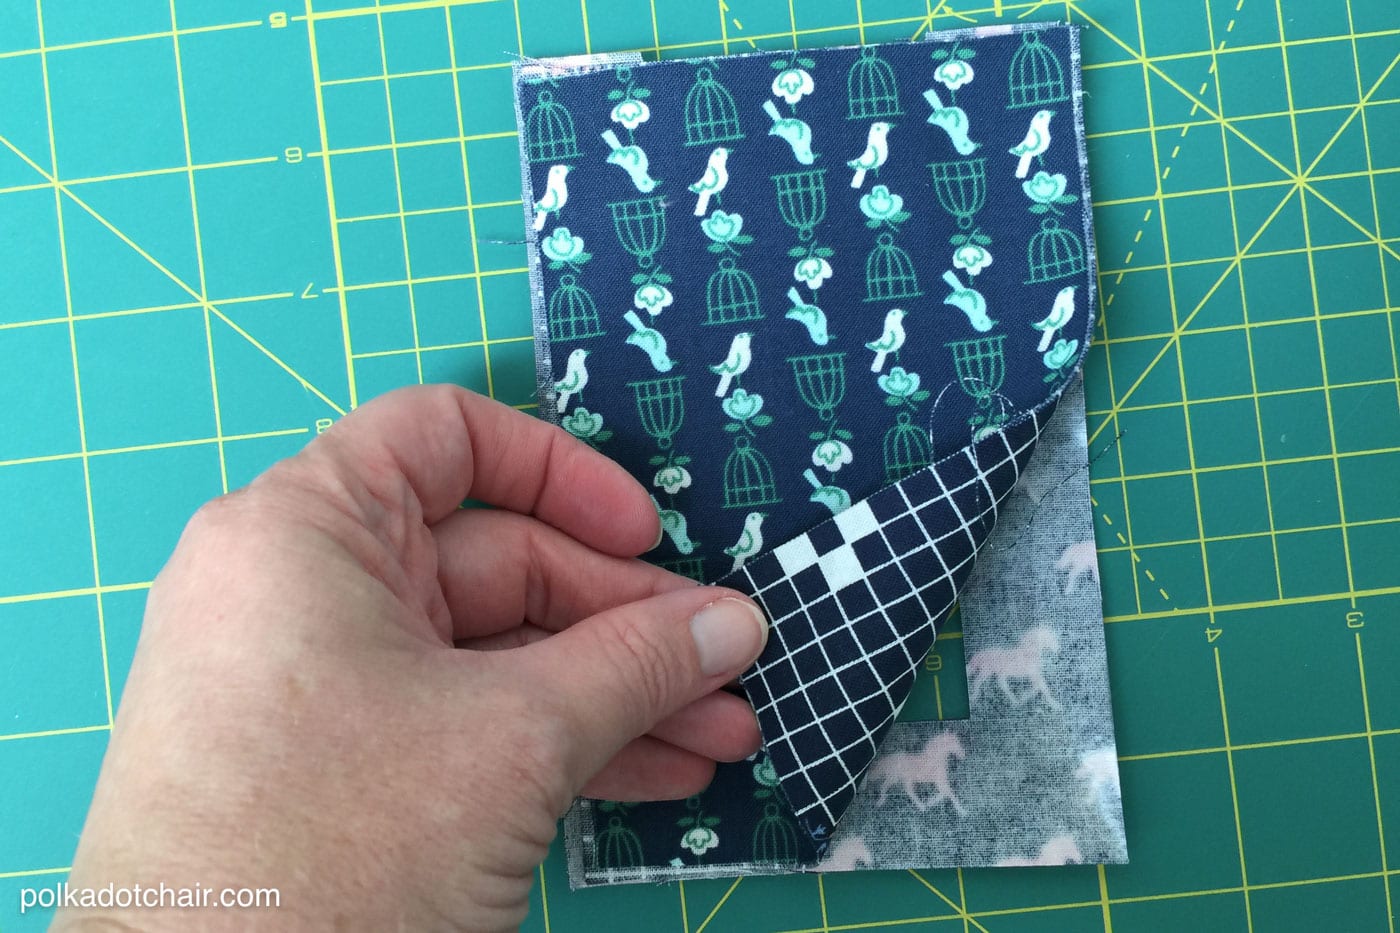
Place the un-cut 4×6 double-sided fabric piece on top of the cut fabric piece. Make sure that everything is lined up just right. You should have a “sandwich” of fabric pieces with the vinyl in the center.
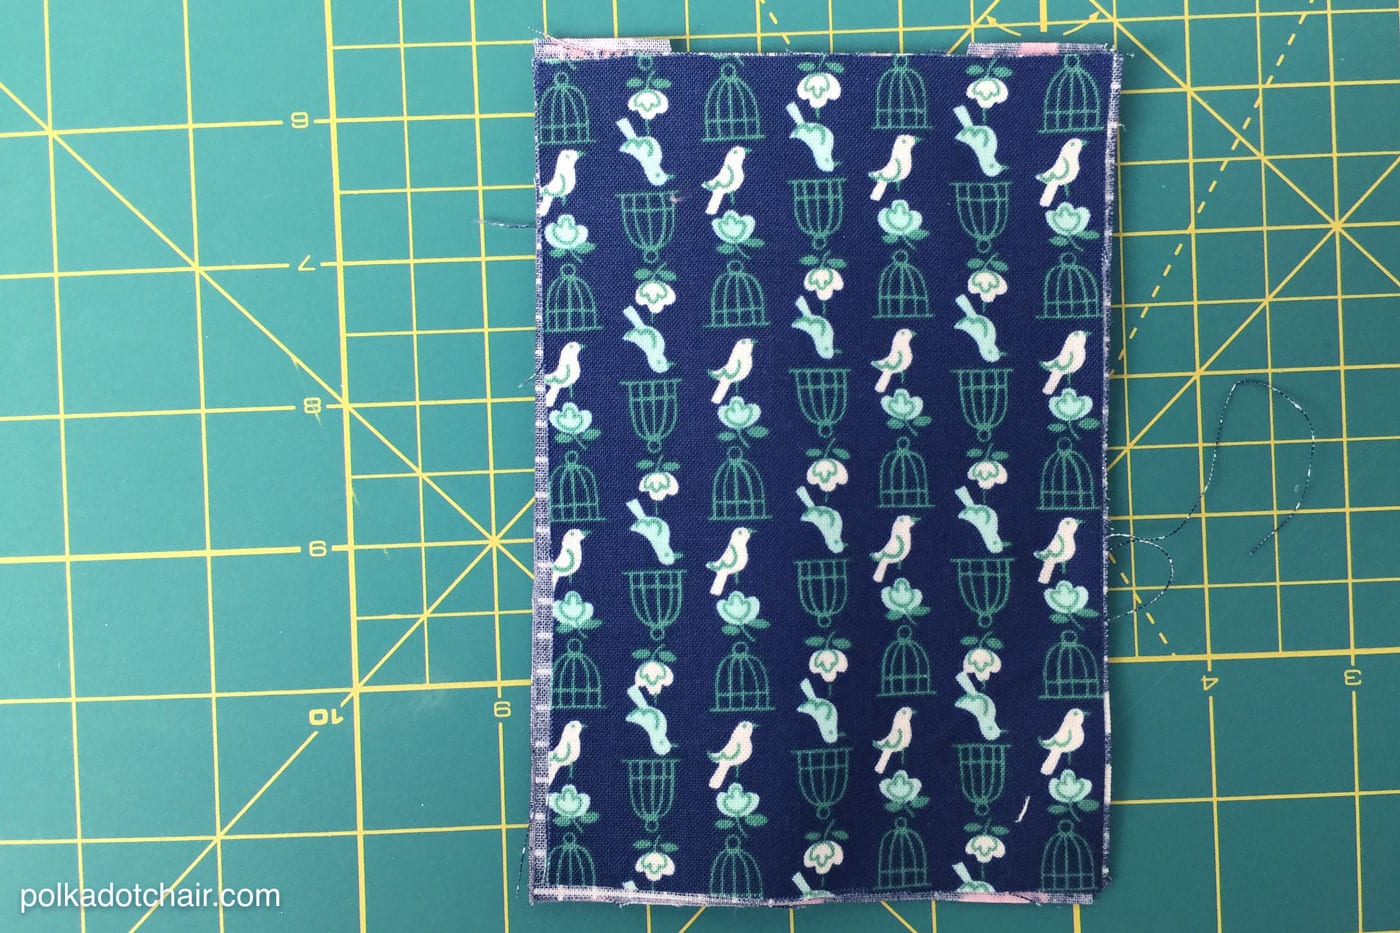
Press on the FABRIC side to secure the heat n bond. Do NOT ever touch the iron to the clear vinyl. It will melt!
Make sure that it’s secure all the way around. If you need to press close to the vinyl, place the paper that you peeled off of the heat n bond over the vinyl to protect it from the iron.
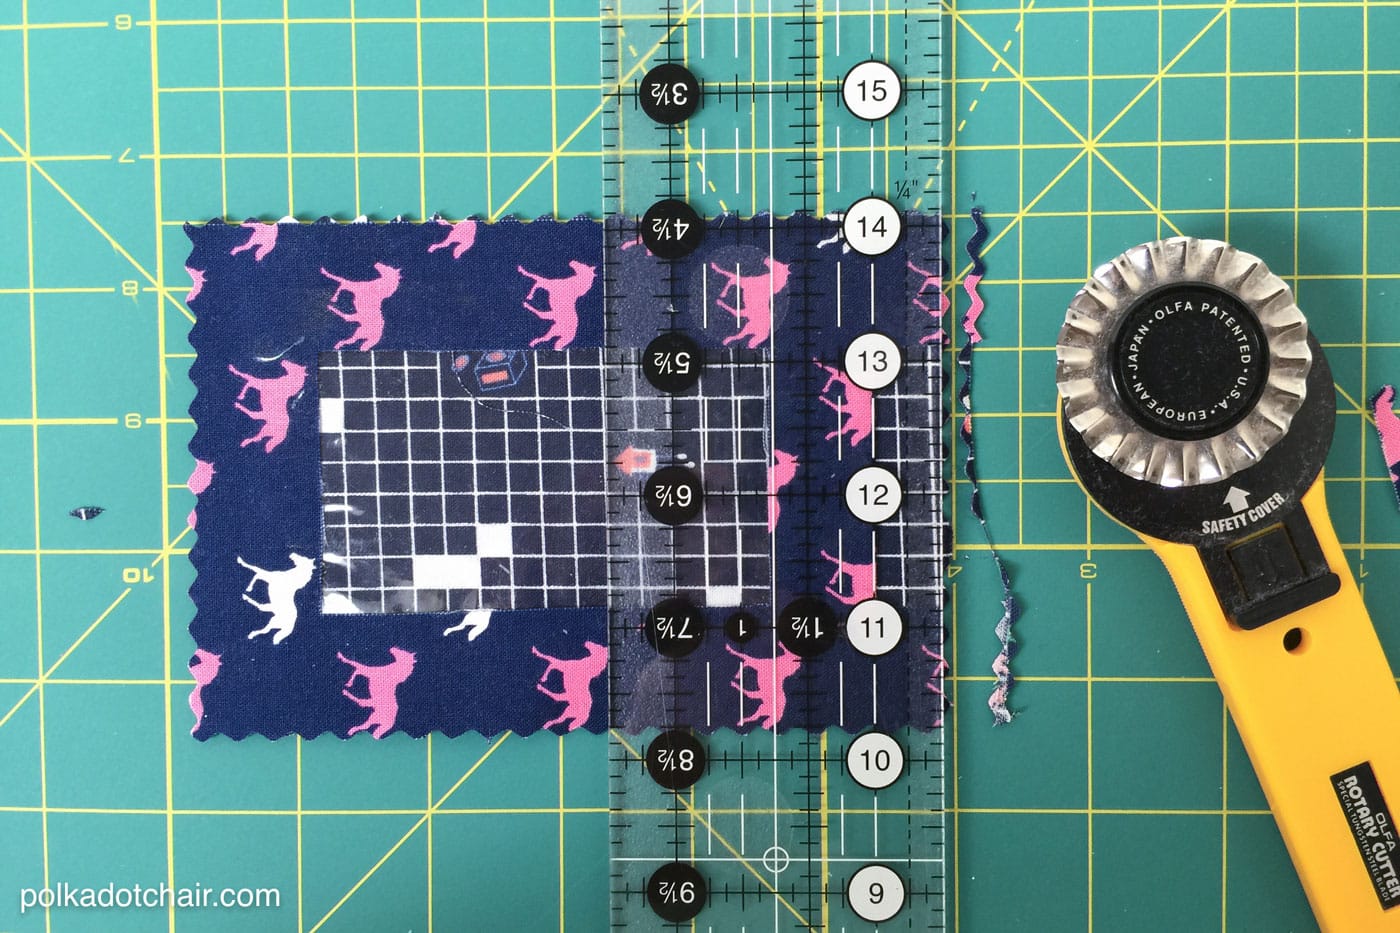
Finishing:
Using the pinking blade on your rotary cutter, trim off 1/8″ from all 4 sides of the luggage tag. This (and the heat n bond inside) will prevent the fabric from fraying.
To finish, set a grommet (follow the directions on the package) in the tag near the top and tie a ribbon through the hole!
Here are a few other projects that you may enjoy!
How to Make a Headband (a great “cure” for Summer Hair)
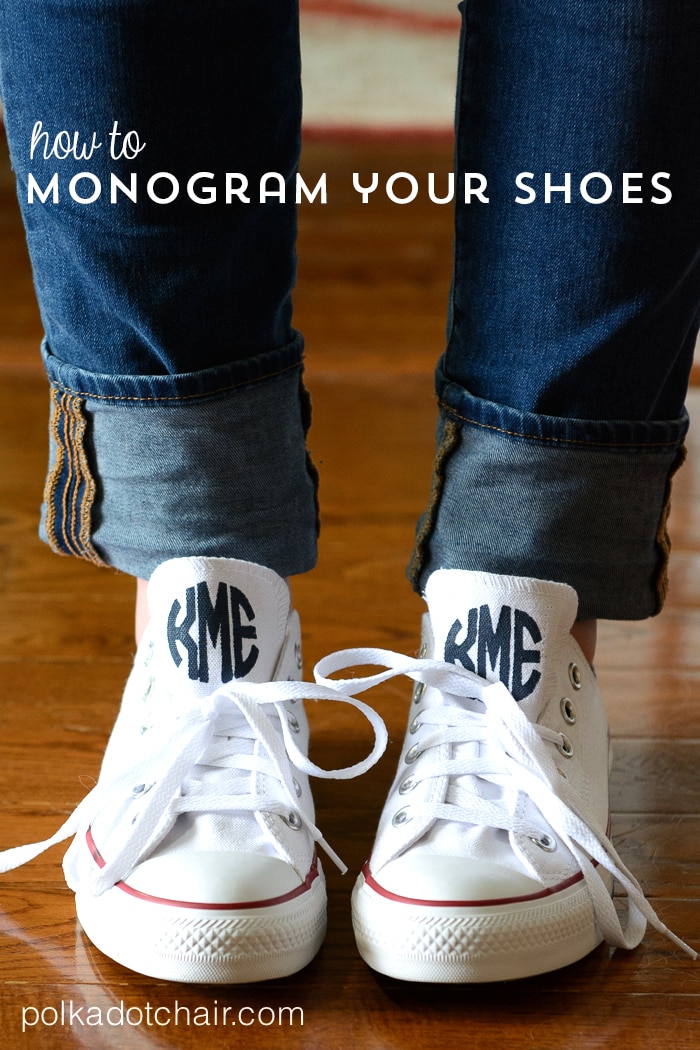
DIY for How to Stencil a Monogram on your Shoes
This post first appeared on 30Days Blog as a part of their Funner in the Summer Series


