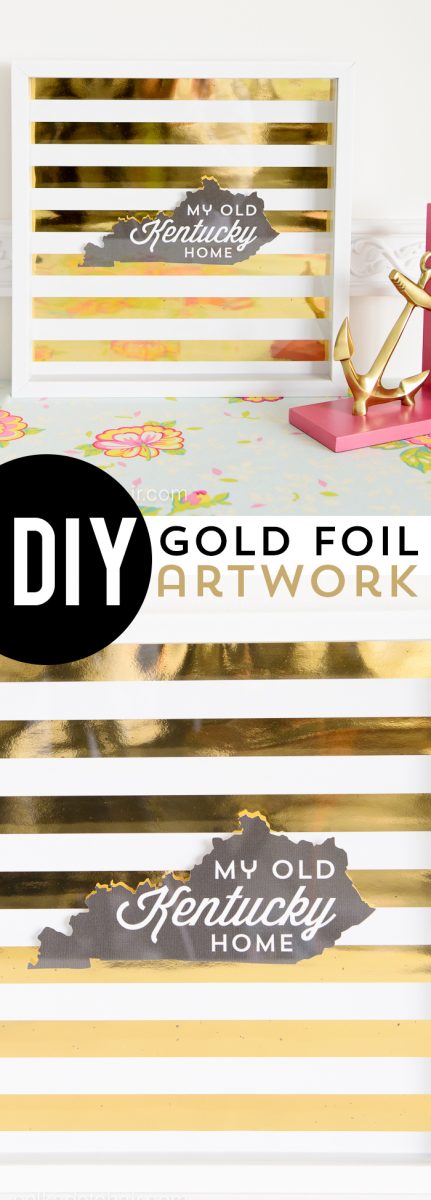
DIY Gold Foil Artwork – and Free Printable
This post is sponsored by American Crafts, affiliate links are included #HSMinc
Last week I had a nice surprise waiting for me when I got home from Spring Break. A new Minc. foil machine. I’ve teamed up with the good folks at American Crafts for the next 6 months to show you guys some of the fun things that you can do with this great new machine.

The Minc. machine allows you to make custom foil artwork. The Minc. foil will stick to any surface with TONER applied. In case you’re wondering Toner is what is used by copy machines and laser printers. The foil interacts with the toner and sticks to it, giving you a custom look.
I’ve been a big fan of Heidi Swapp for a long time. I even attended two of the Creative Escape conferences that she put on a few years ago. I admire her style. Lots of bold patterns and sparkly things.
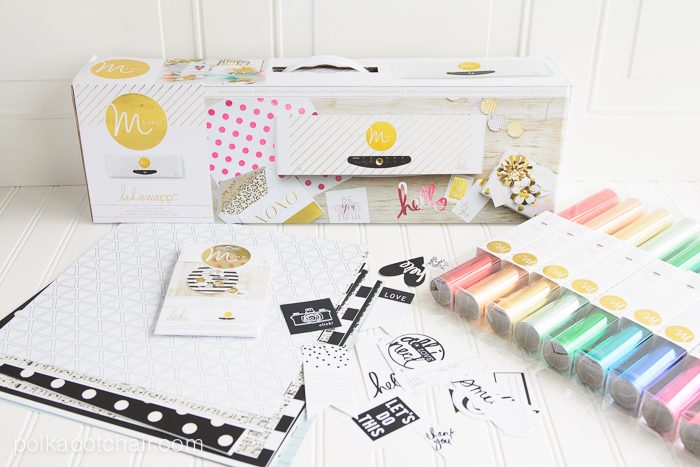
You can use the Minc. machine and foil with toner, but it was designed to be used with a special line of papercrafting products designed by Heidi Swapp for American Crafts.
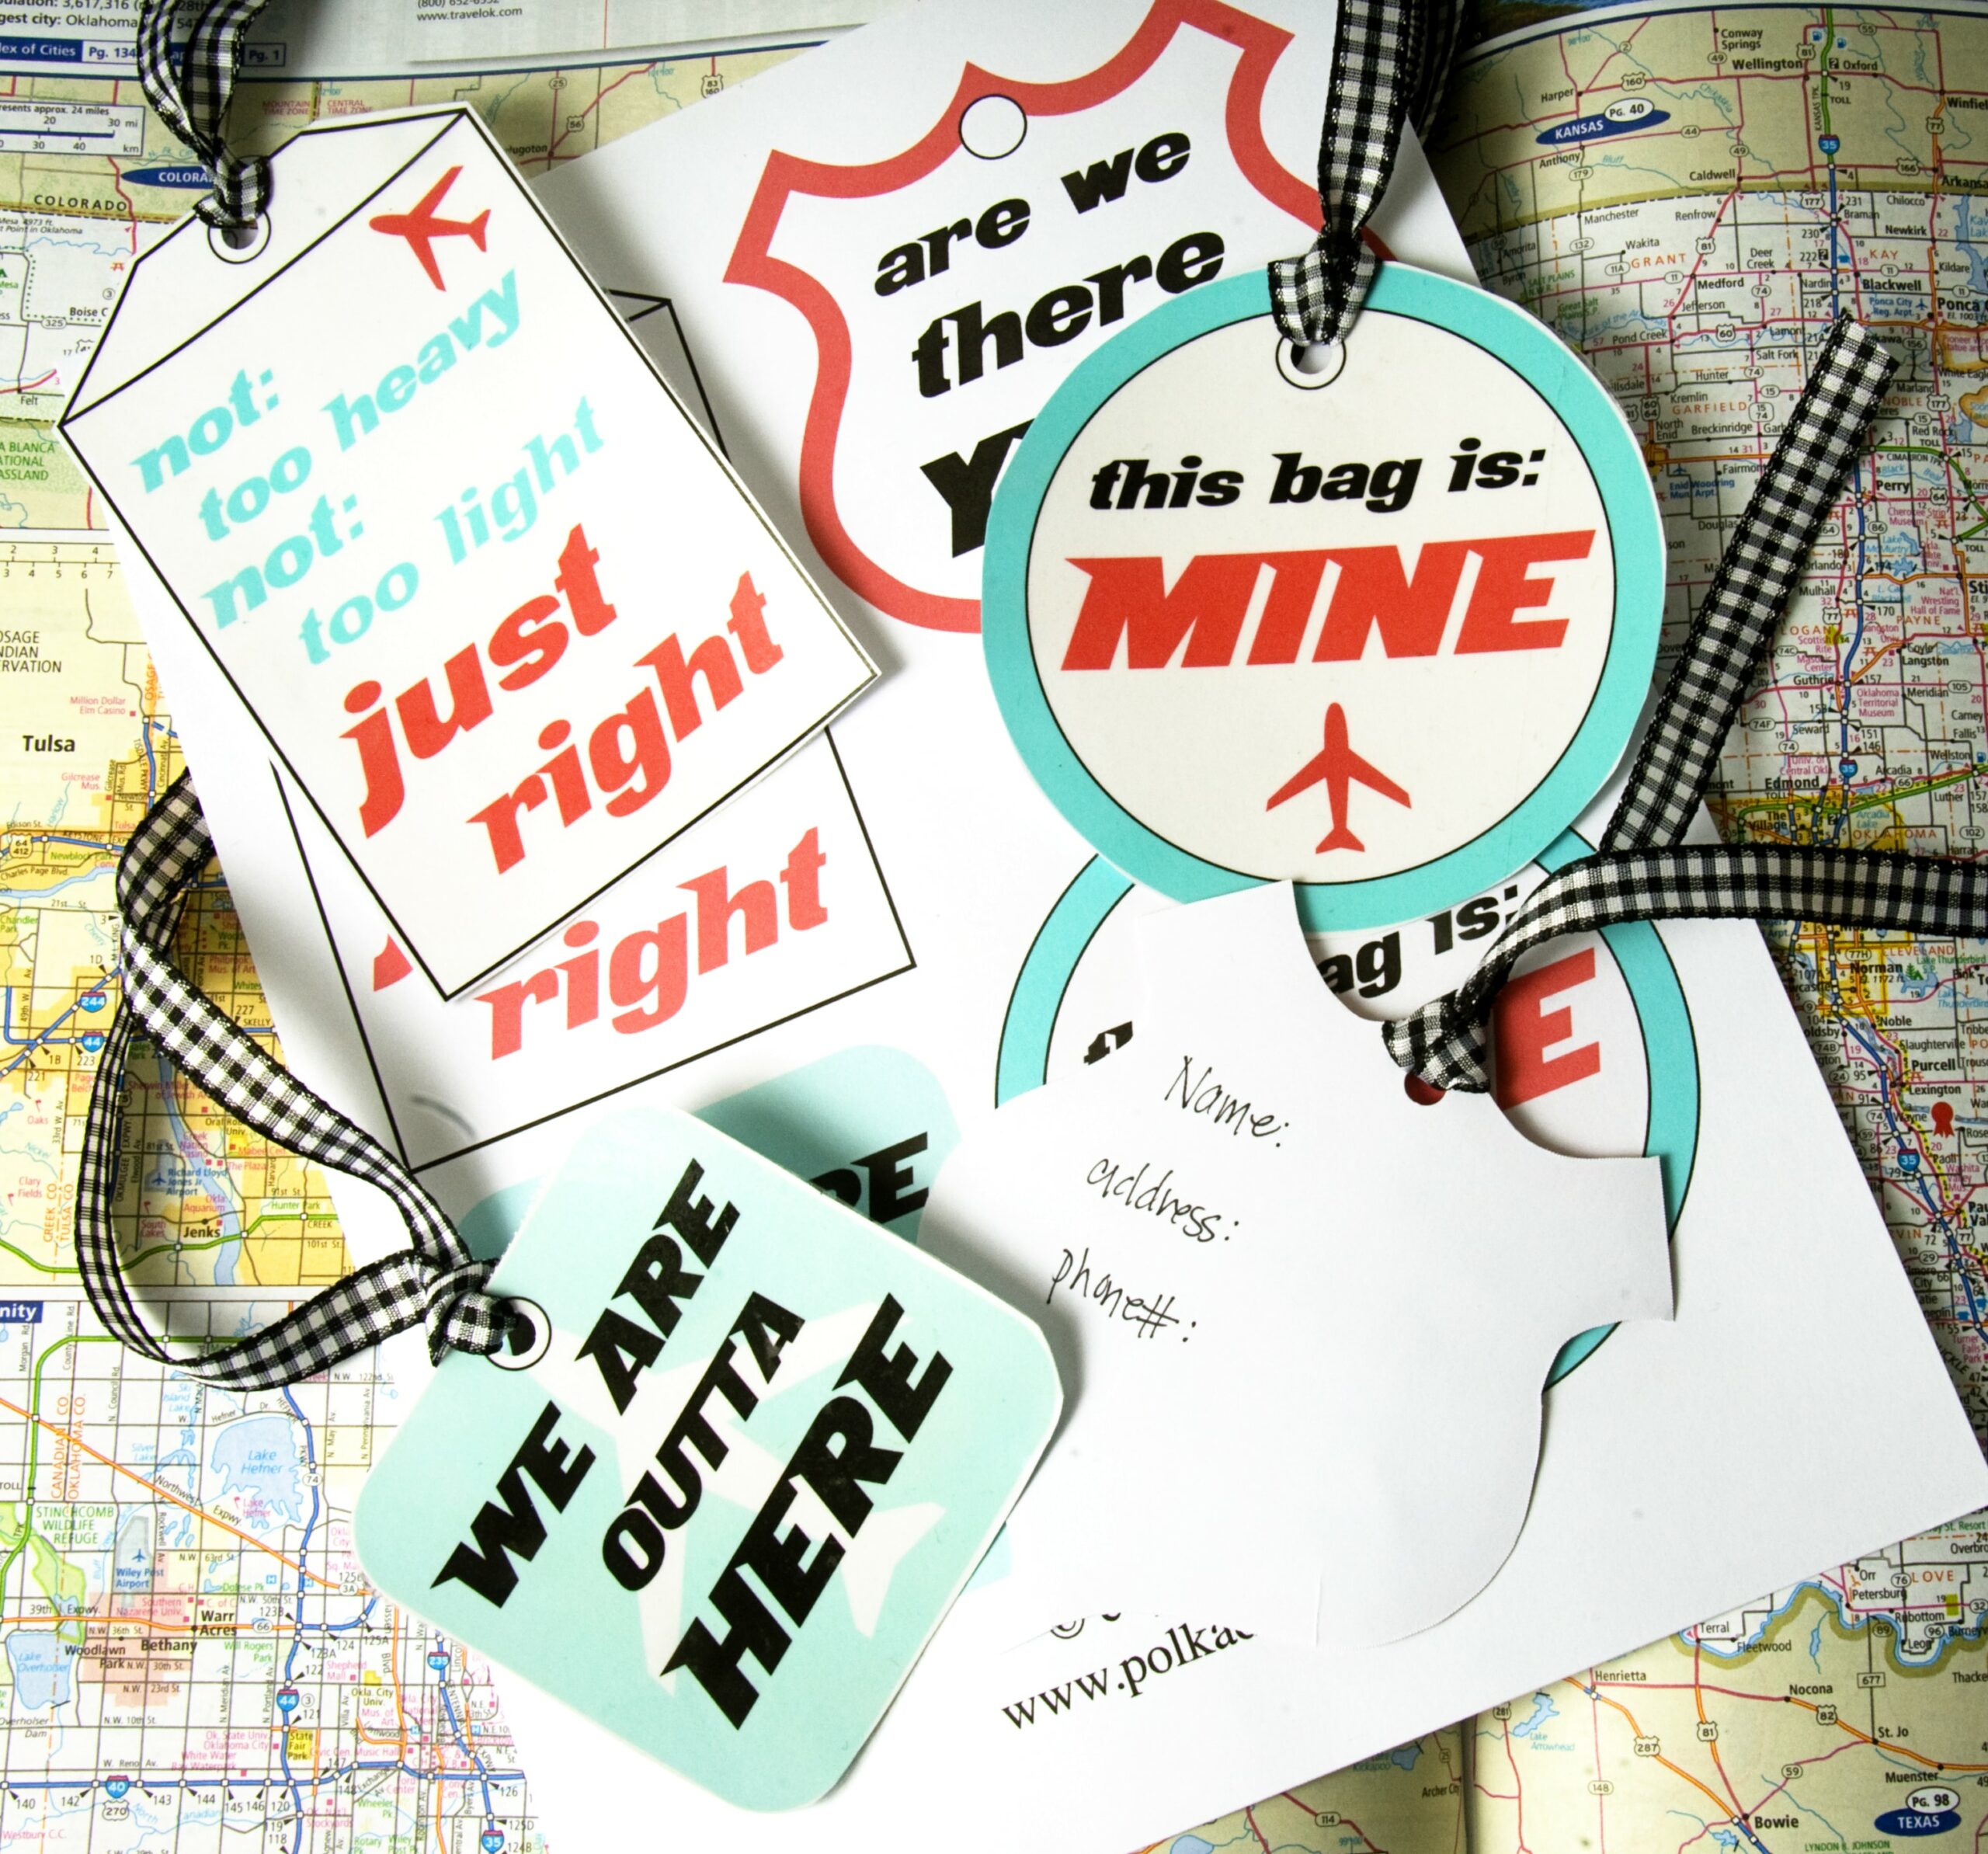
There are tags, frames, papers, cards.. you name it, and all of them are absolutely adorable.
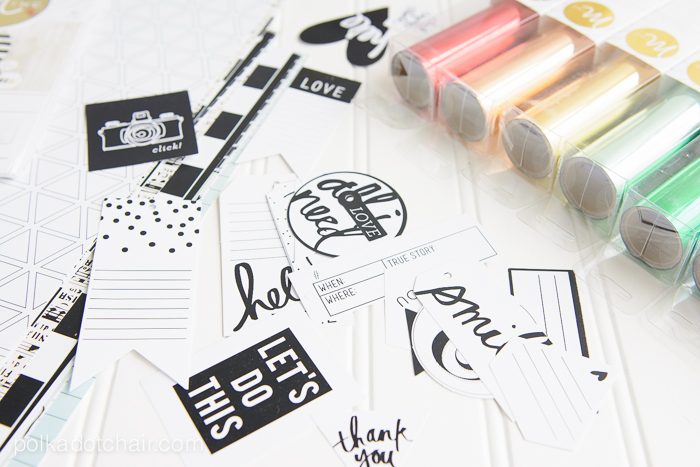
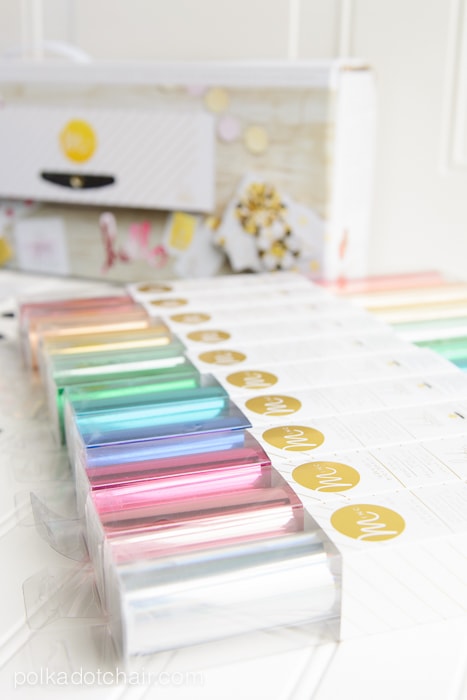
The Heidi Swapp Minc. projects come in black and white. Everything that is in BLACK is able to have foil applied to it, and as you can see there are a lot of gorgeous colors of foil to pick from.
Over the next 6 months or so I’ll be sharing with you creative ideas for projects using the Minc. system. Today I’ve got a very simple project for you, just to get you (and me) oriented with how the machine works. Then going forward you’ll know how to use the machine when future projects are posted.
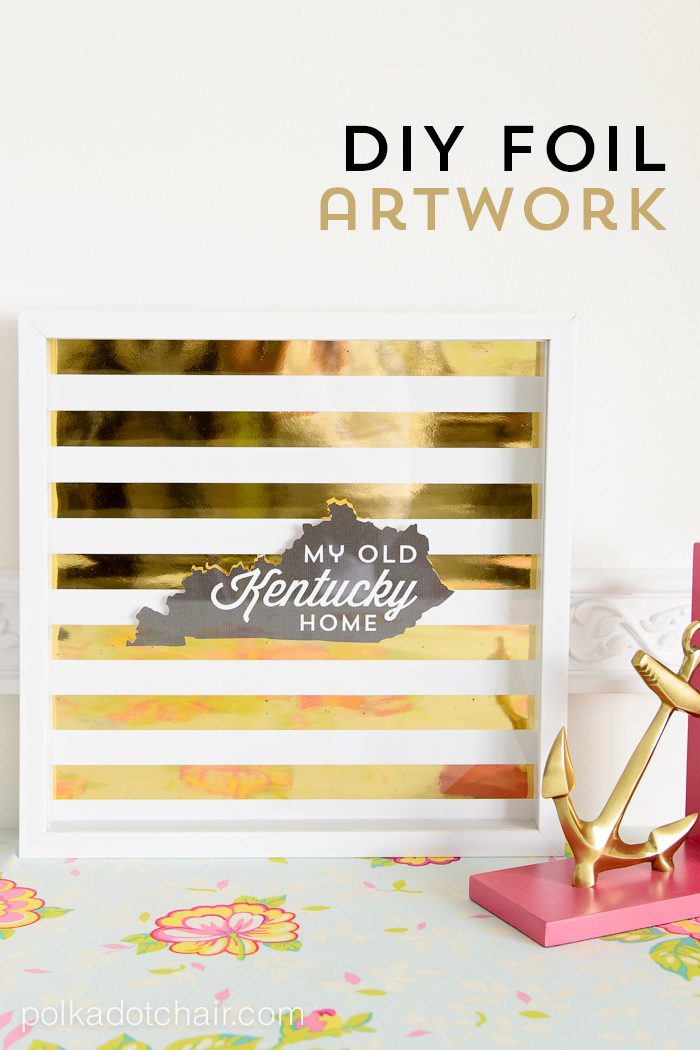
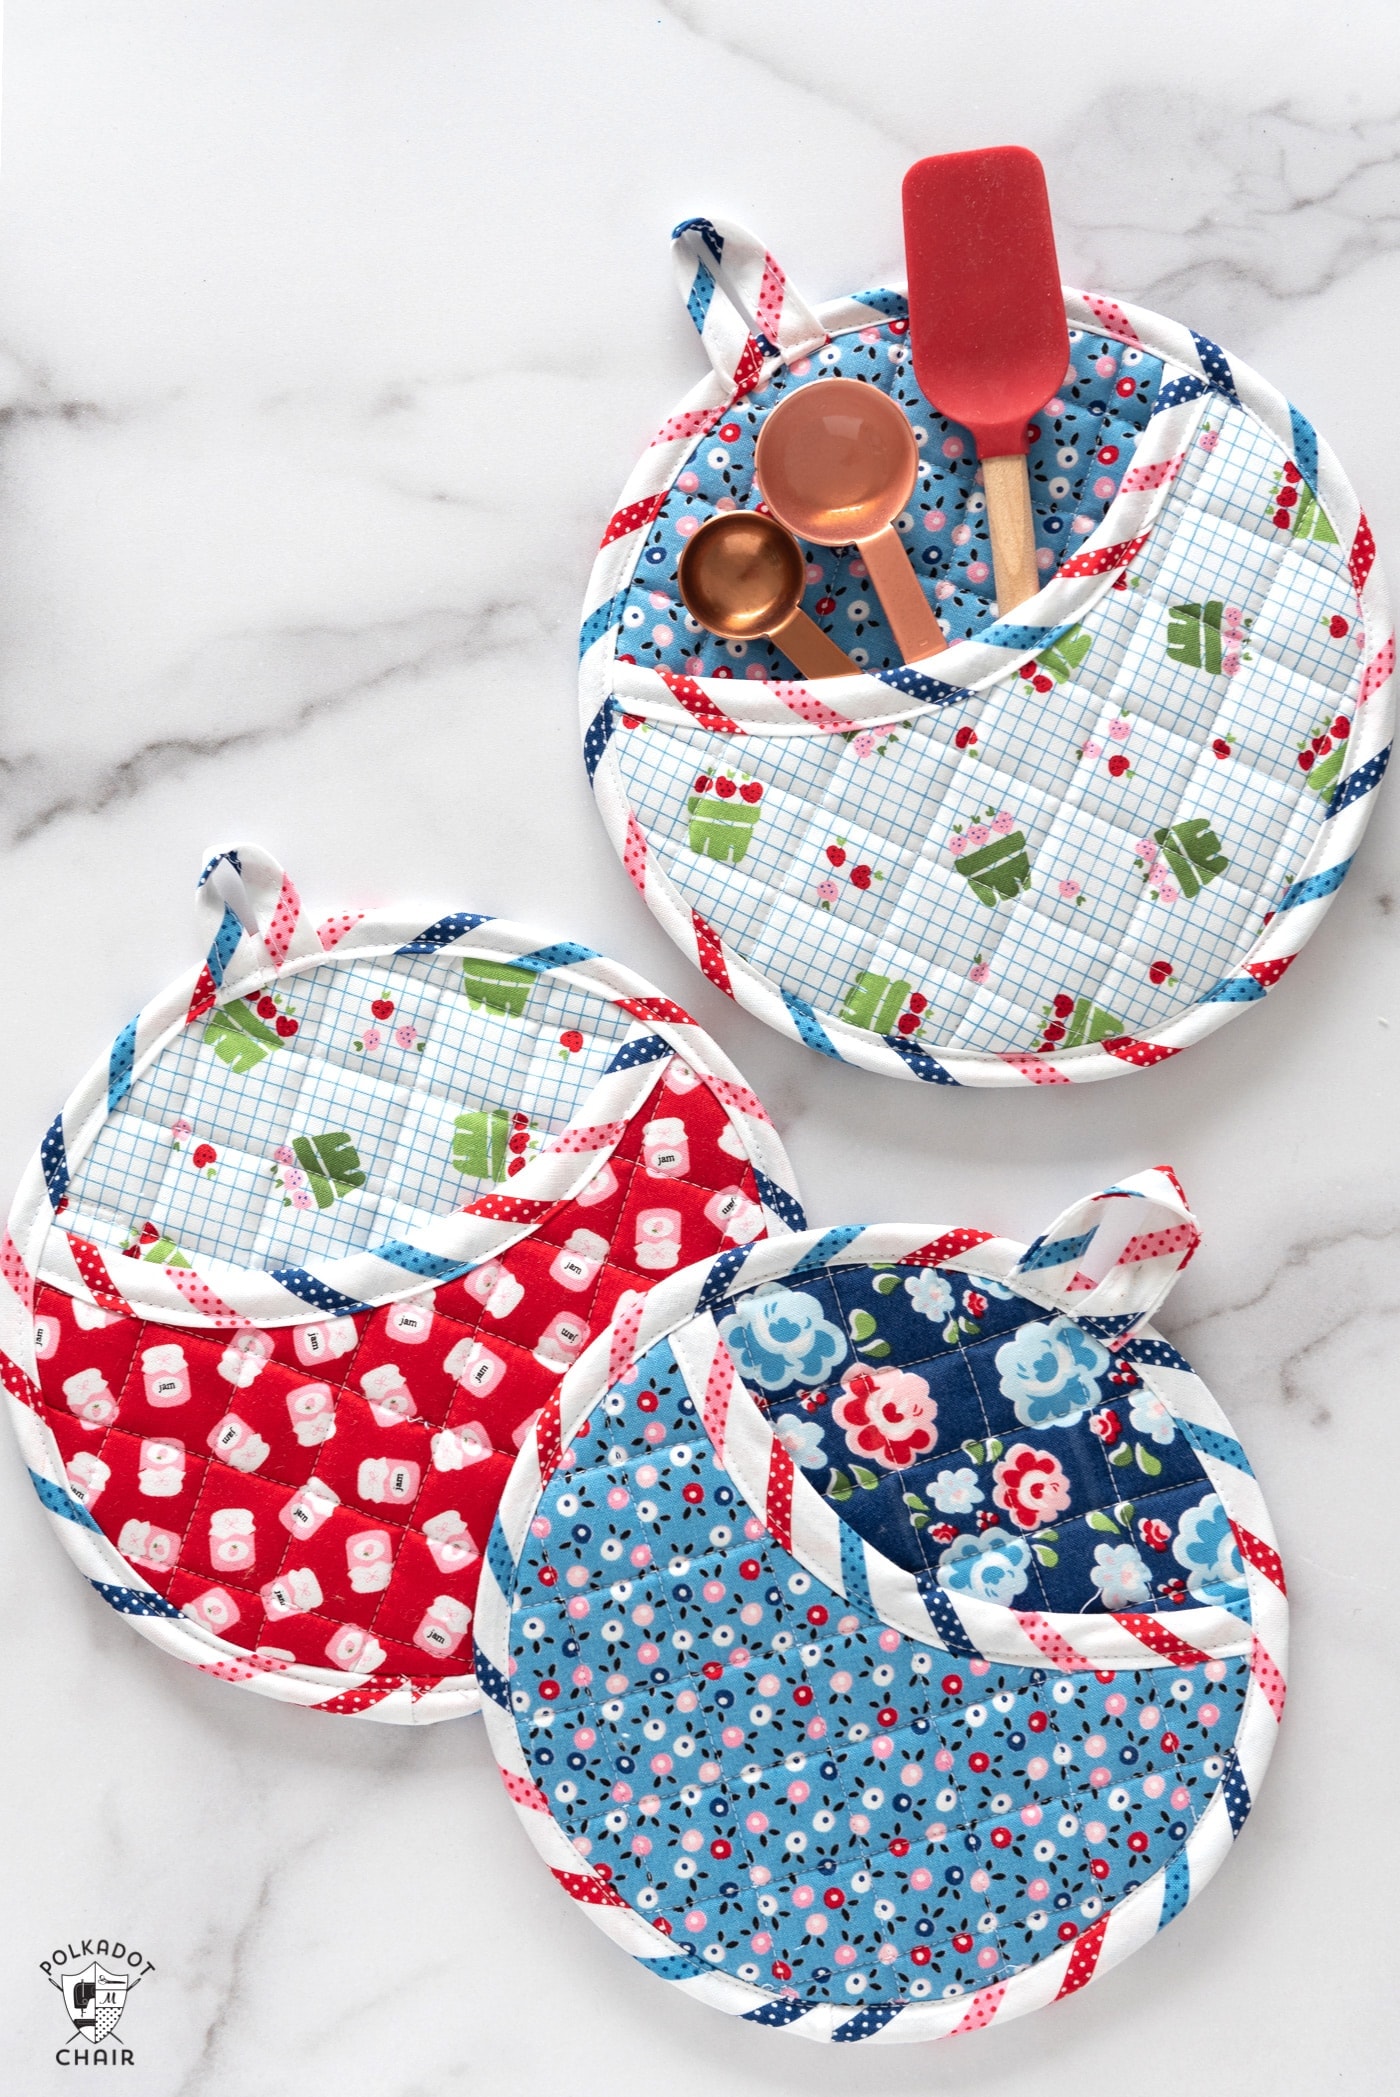
The Derby is coming up (have I mentioned that before?? *wink*) and I thought I’d make some custom artwork to celebrate.
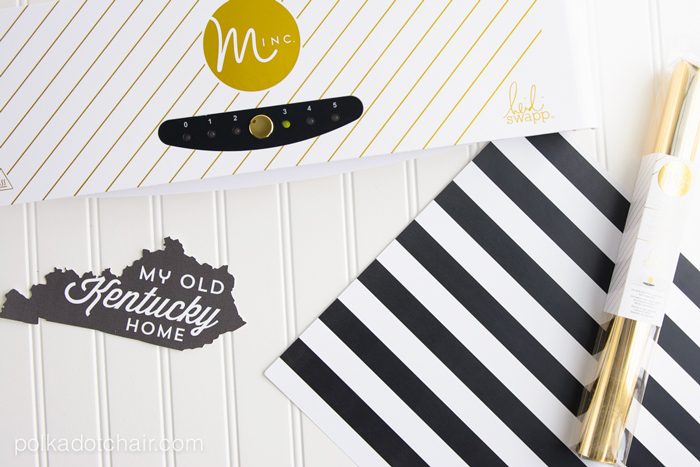
I used the striped Minc. paper and Gold Foil with the “My Old Kentucky Home” printable that I designed last week for the pillow wrap project.
If you want to download a PDF of the file just head on over to the Templates page.
Okay let’s get going, you’re going to need:
- Minc. Machine
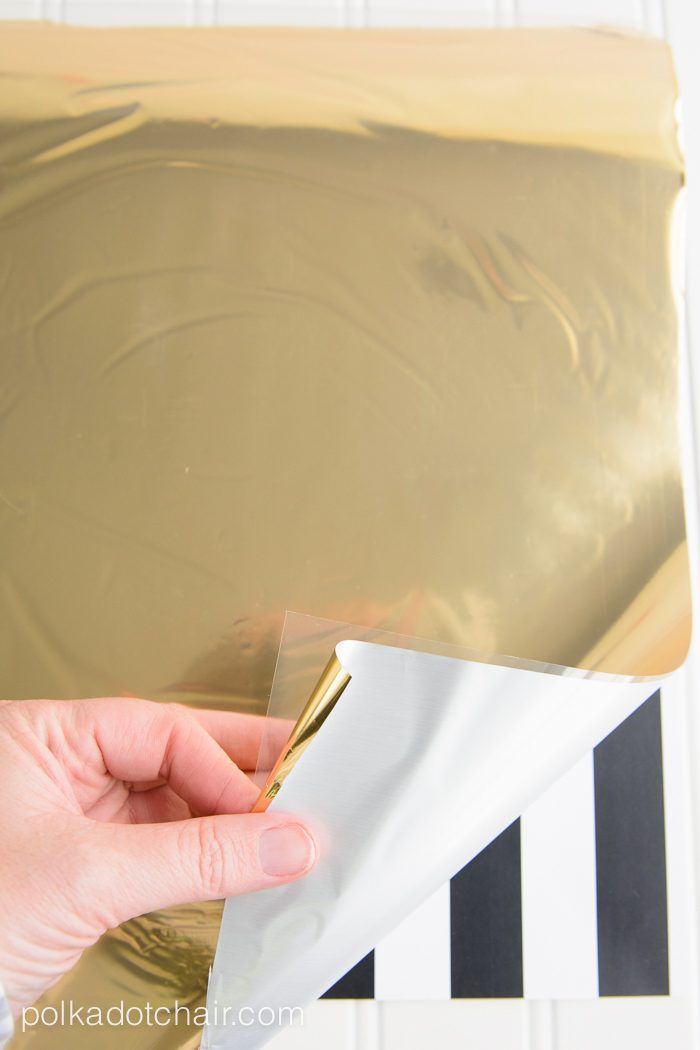
- Gold Foil
- 12×12 Minc Cardstock
- 12×12 White Shadow Box
- Foam Tape
- Printable – if you don’t want the Kentucky one, there are LOADS of free printables in “blog land” that would also look great for this project… you can check out my Free Printables Pinterest board to give you a few ideas.
The Minc machine comes with a plastic carrier sheet. You use this to pass the foil and paper through the machine. I recommend starting with a small piece of paper (or tag) just to get used to it before you jump to a 12×12 piece of paper.
A few things to note:
-You get one pass with the toner after it’s been heated up once you can’t use it again. You can though reuse the foil scraps from a project.
-Get the foil in the carrier sheet as smooth as you can.
-Use sharp scissors to cut the foil.
-Make sure you let the machine warm up before you start.
-It’s hot, it has an auto shut off, but just to be safe turn it off when you’re done.
Turn on the Minc. machine and set it to “3”- this is the setting I found works best with the pre-printed Heidi Swapp items. Load the paper into the carrier sheet with the toner side up. Place the foil on top of the paper foil side up.
Close the carrier sheet.
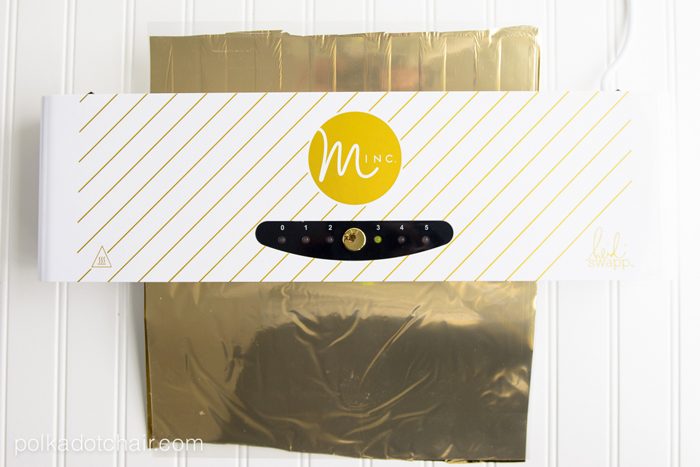
Feed the carrier sheet fold first into the machine. Wait for the machine to grab the sheet. It will pull it forward automatically. If it gets stuck for some reason, click the switch on the back of the machine to “R” to reverse it.
Let it feed itself through then pull it out.
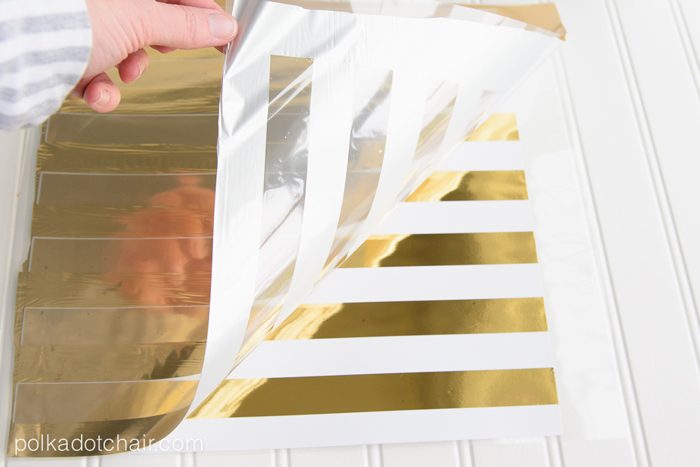
Open the carrier sheet at VOILA! Gold foil paper!!
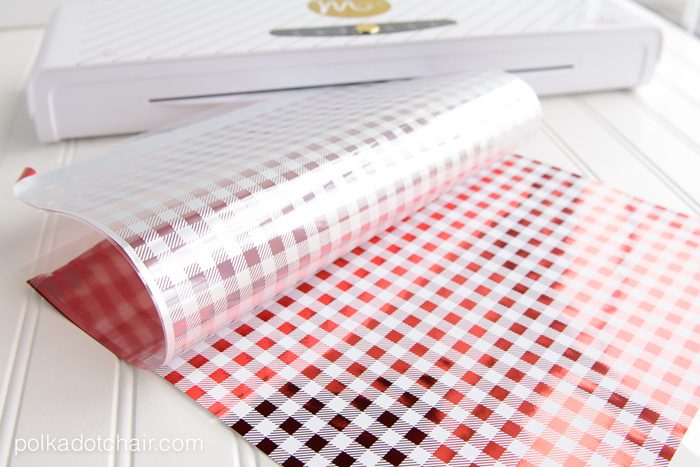
Here you can see where I was messing around with the red foil and gingham paper too.
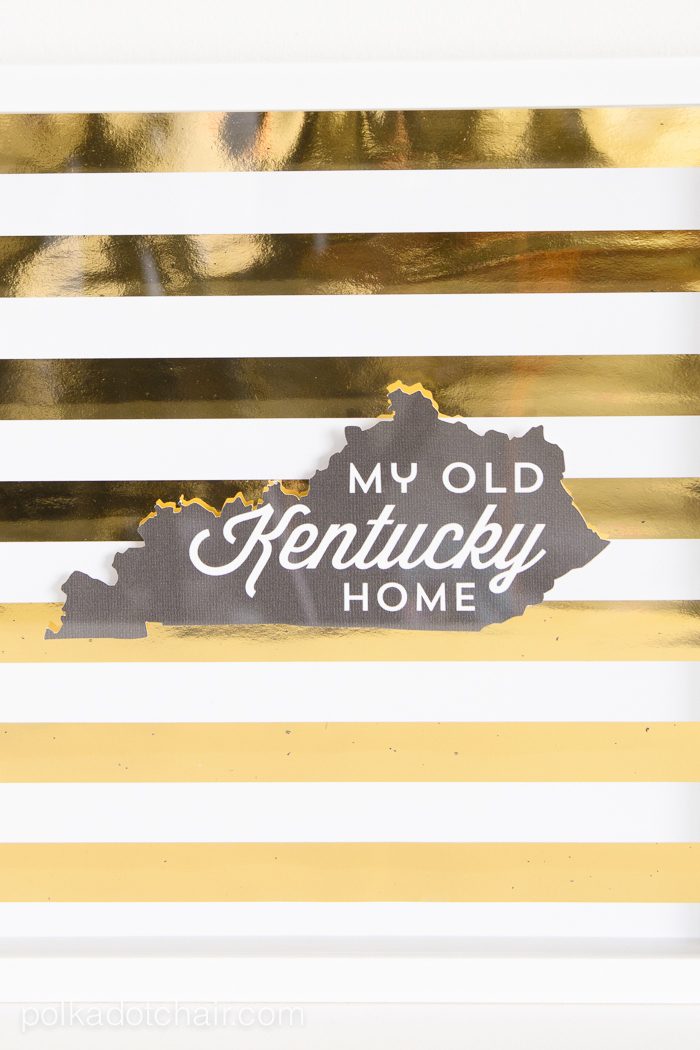
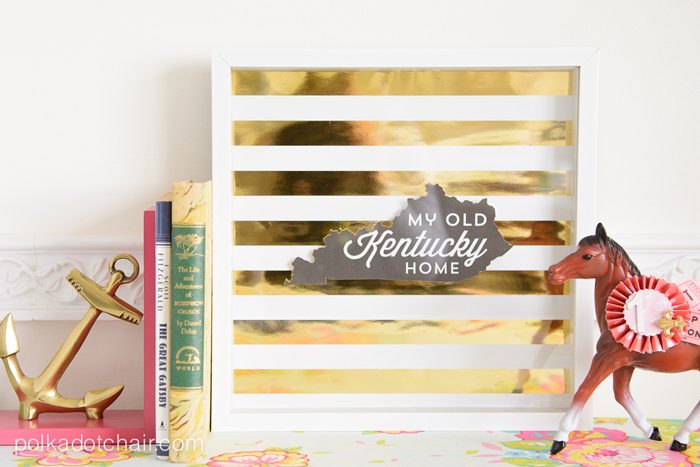
To complete your project cut out the state of Kentucky from the printable and mount using mounting tape onto the foil sheet in the center. Slip into the shadow box and you’re done! Simple easy artwork that you can swap out as you like depending on the season!
Here’s a bit more about the machine:
- Minc Foil Applicator and Starter Kit MSRP is $149.00 Minc Foil MSRP is $9.99 (foil is 12”x10’) Minc accessories MSRP from $2.99 to $12.99 – it’s on sale for $119 on Jo-Ann.com right now.
- Minc Foil Applicator and accessories are available at Hobby Lobby, Jo-Ann, as well as locally owned craft stores and online shops
- The Minc is a fairly light weight and compact. It measures about 19.5” x 5” so it doesn’t take a ton of storage space.
- Minc features:
- Ability to accept a 12” wide sheet
- Four pressure rollers (most laminators have two) to evenly distribute pressure across a 12×12 surface.
- A heating element that covers the entire 12”, as opposed heat focused at the outer edges (also common in every day laminators)
- Adjustable heat settings that allows for foil transfer on sensitive materials like vellum, all the way to more robust chipboard and even thin wood veneer.
Watch for a more projects in the coming months!! I can’t wait to “foil all the things” 🙂

I’ve been working on foiling lately and it’s very simple and easy. But I own an Etsy shop selling stickers and I want to add foil to my stickers. I print mine out on Inkjet printers, so I can’t foil with that. But if I print the whole thing on a laser printer the whole design will foil and I just want certain parts to foil. Is there any way to print only certain words on a laser printer but not the rest of the design? I also have the Heidi swapp tiner pen but it’s hard to get anything precise. Thank you, feel free to email me with any suggestions!
Gahhhh, this makes me want to get a toner printer SO BAD!!! And as a fellow Kentucky girl, I love your creation! It is so fun and beautiful! I’m green with envy over here. 🙂
I have to try this! Awesome results. I want to put foil on everything!
I kinda felt the same way LOL!
So fun! I love this, and it looks easy to use. Your blog is full of amazing ideas and projects. Thank you for sharing your creativity!
Oh thank you so much!
I am soooo Jelly! I just learned about this machine the other night. How exciting! Cannot wait to see what else you create with this machine.