DIY Jewelry Box Makeover
Disclosure: A big thanks to DecoArt for sponsoring this post and providing the paint for the project, even though this post is sponsored all opinions are mine, all mine.
My youngest daughter turns 13 this weekend. I can not believe it, I now have 3 teenagers and no more little kids! I’m seriously not old enough for this !! *wink*
The last couple of years my she has started to collect more and more jewelry, she’s recently really started to wear more of it. After it started to congregate into a giant pile on her dresser, we figured she was in need of a new jewelry box.
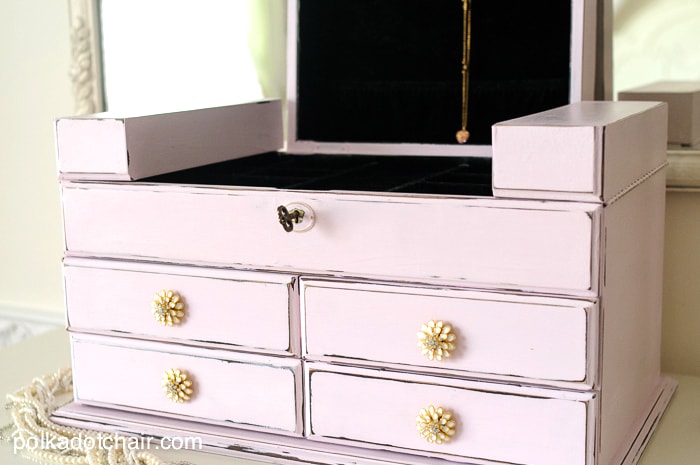
Instead of buying her a new jewelry box, I decided to give her an old one of mine. It’s big enough to hold all of her stuff and has lots of drawers and “secret” compartments, perfect for a teenager.
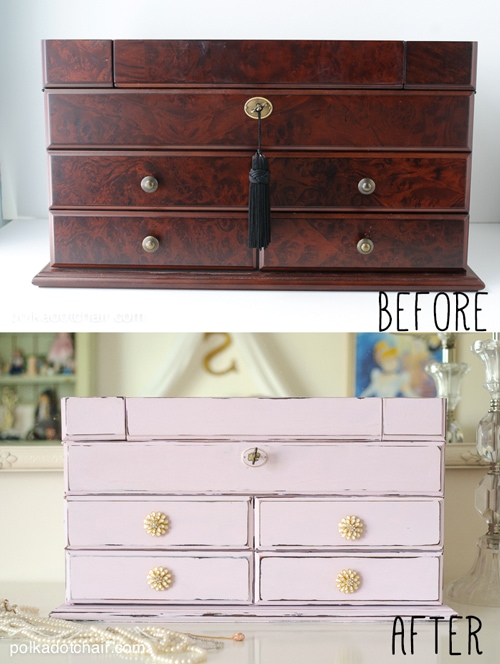
The only problem with the jewelry box was that it was not really in a style that matched her room (you can see photos of her room here). It was dark wood, and since I have had it for over 10 years it was chipped and scratched on the sides.
I decided that I wanted to paint it, but it has a funny finish on it- I wasn’t sure that paint would stick to it, and I didn’t want to spend all day sanding it first.
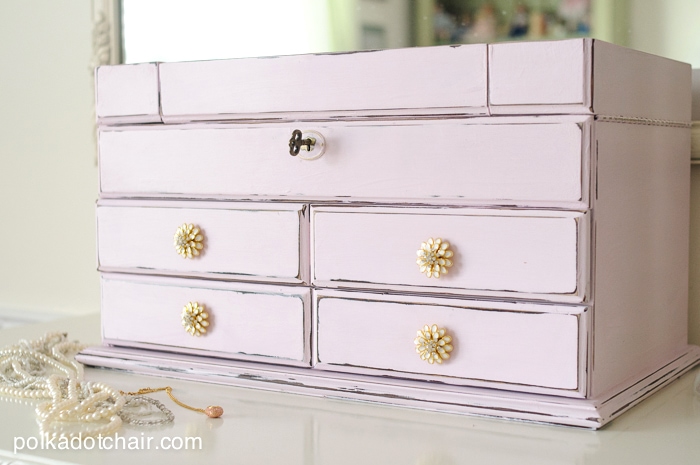
I ended up painting it with the new DecoArt Americana Decor Chalky Finish Paint. It worked GREAT!! I didn’t have to sand before hand, and even though I was using a light color of paint, it covered the dark wood well.
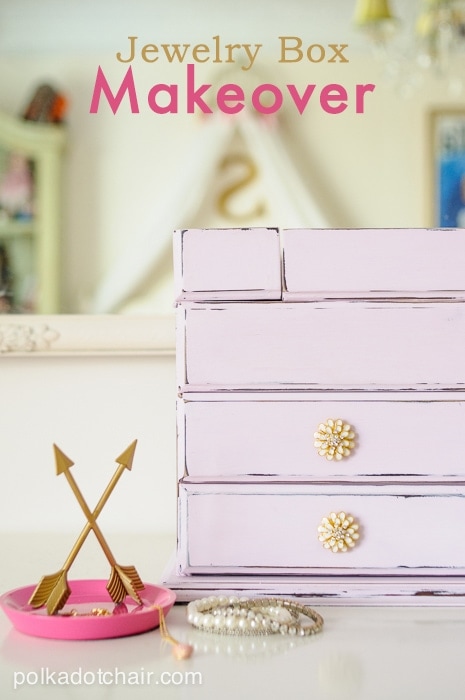
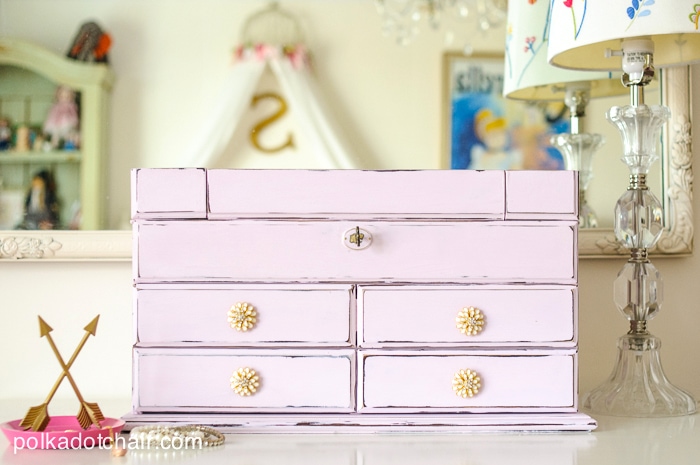
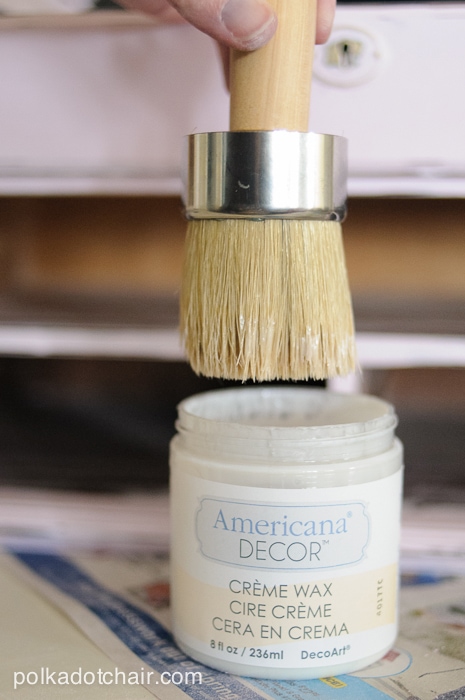
I used a very light pinkish purple color called Promise. I also used the Americana Decor clear Creme Wax to finish and seal the project.
Here’s how I did it:
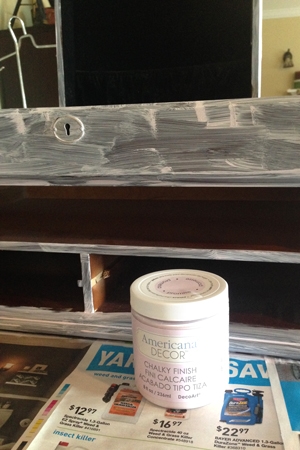
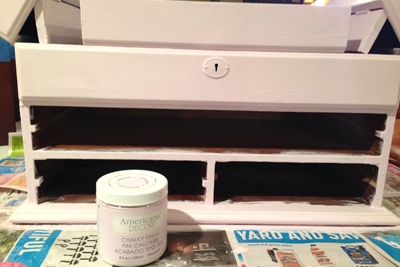
First I took off the knobs and wiped the box down well. You want a clean surface to start with. I then painted right onto the existing finish on the box. Just so you know, the first couple of coats will look bad- don’t stress. This stuff covers great, but takes about 3-4 coats. Also make sure you stir your paint well. I re-stirred the paint each time I put a new coat on.
I used a standard paintbrush- I also used a few foam brushes to get into corners. The paint is thick- so don’t apply too much pressure with your brush. Also watch your corners for drips, since the paint is thick, it may congregate on the edges, wipe away the excess paint as you go. Let the paint dry between each coat.
I also decided to paint over the hinges and hardware instead of trying to tape them all off. The paint adhered right to the metal, no problem.
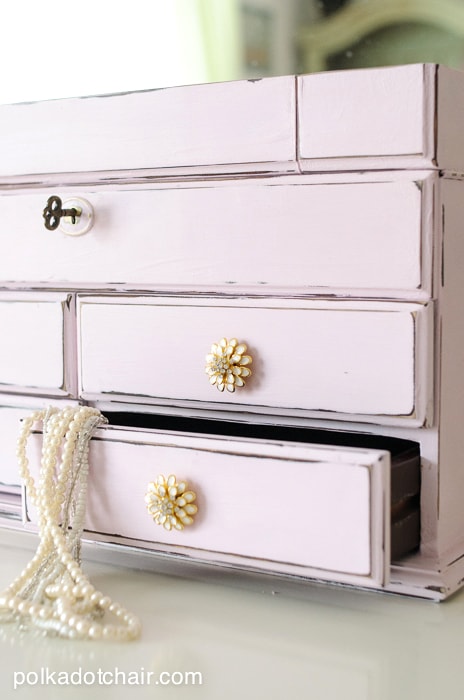
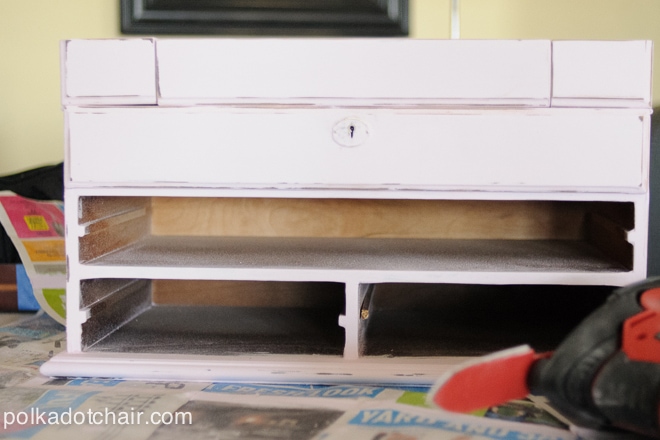
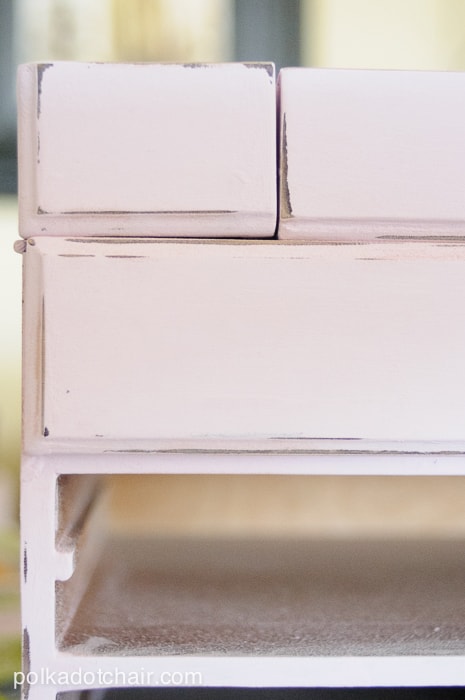
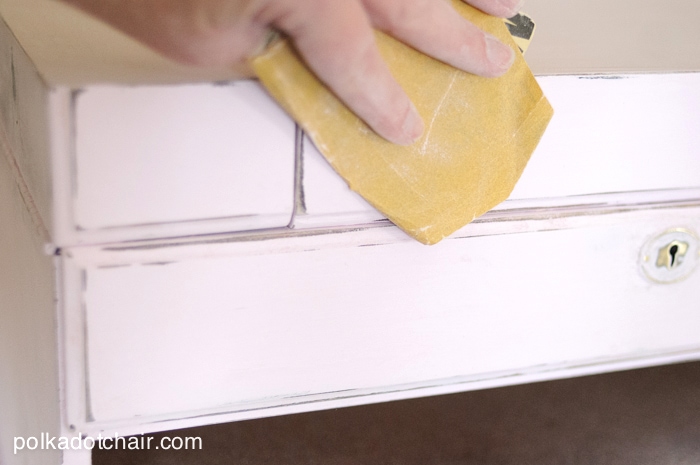
After you’ve covered all of the dark wood, it’s time to sand. It’s up to you how much. I wanted a very distressed look, so I started with an electric sander on the edges. I used a medium grit sand paper to start- and only hit the corners and edges.
After I had the edges distressed, I took a fine grit sandpaper and went over ALL of the box. This will even out all of the brush strokes. Even if you don’t want a heavily distressed finish, don’t skip the sanding with the fine grit sandpaper.
Next use a damp cloth and wipe all of the dust off of the box. Make sure you wipe it down well.
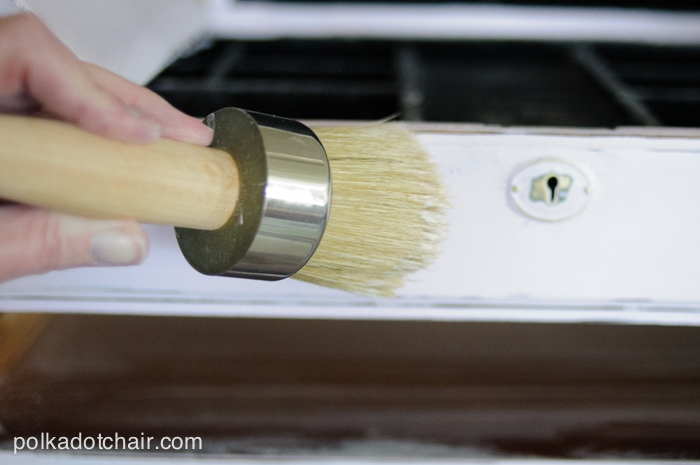
The last step is to seal it with wax. Using a Round waxing brush, brush a light coat of wax over all of the painted surfaces. Let it dry, then buff it with a cloth- I used an cloth diaper.
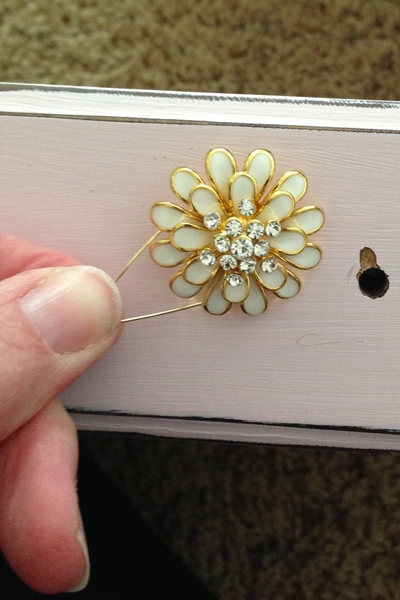
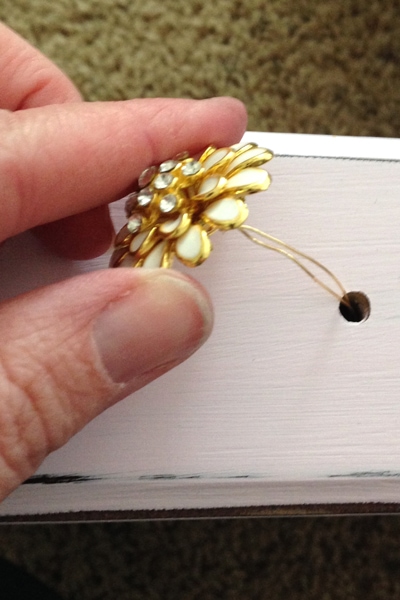
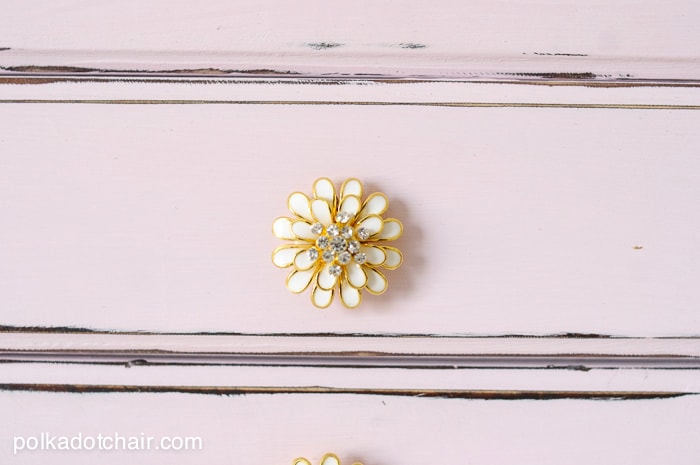
To finish it off, attach your hardware. I didn’t want to use the same pulls that were on the box. Turns out, I could not find any knobs small enough to replace the existing drawer pulls with, so I used buttons instead. It was really easy..
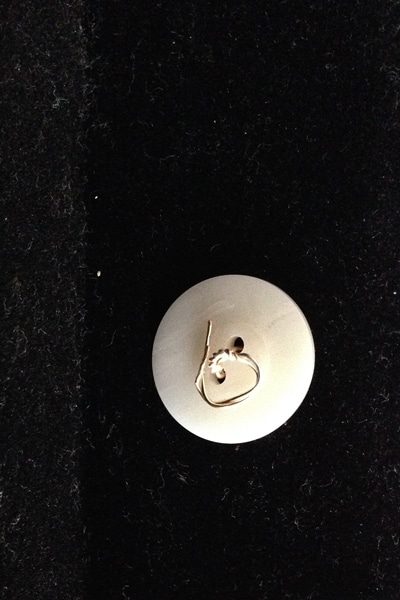
You’re just going to need a button with a shank, some wire, wire cutters and a plastic button with 2 holes.
Run a piece of wire though the button shank.
Feed the wires through the hole for the drawer pull.
Feed the wires through the 2nd button on the back of the drawer. Tie the wires off to hold in place.
For more information about Decor Art Chalky Finish paint, including all of the great colors it comes in along with project ideas visit the DecorArt website. You can get Chalky Finish paint at Home Depot(you can also buy it online) and Michaels.
Connect with me:

