DIY Hair Ties, a Gift Idea
This post is sponsored by Hairbow Supplies Etc, but the work, opinions and ideas are 100% mine.
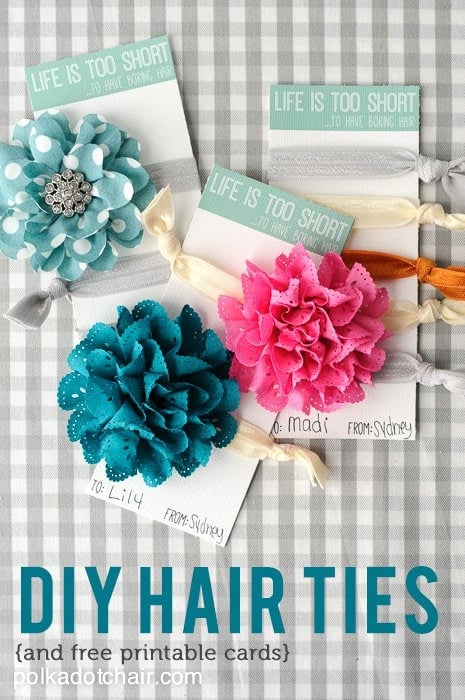
As I say this, I might date myself… but I remember when my oldest daughter was a baby, trying to find supplies to make GIANT (and I mean giant) hairbows for her. The supplies were hard to find, and when found were not the greatest quality. What I would not have given for some great fold over elastic back then… We were in school and it killed me to buy something that I could easily make.
Fast forward 18 years later and my baby hair bow making days are long behind me now. However my girls have not stopped wanting me to make hair accessories for them.
My youngest is almost 13 (oh man how can I be that old??) and we have increasingly had problems thinking of cute gifts for her friends. It seems we’ve sent more than our fair share of iTunes gift cards to birthday parties the last few years. Tweens and young teens are HARD to buy for.
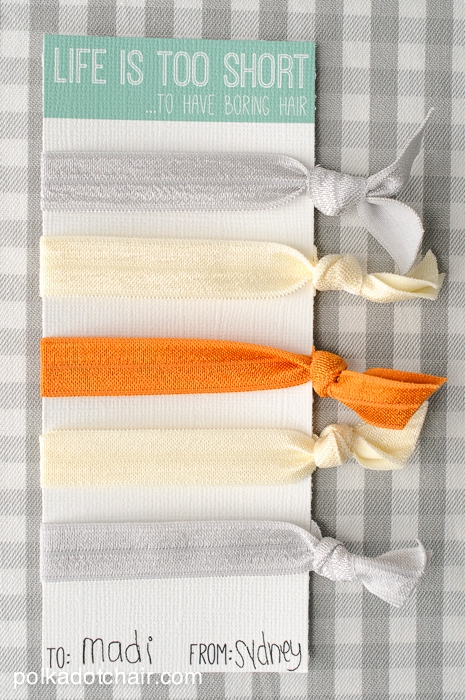
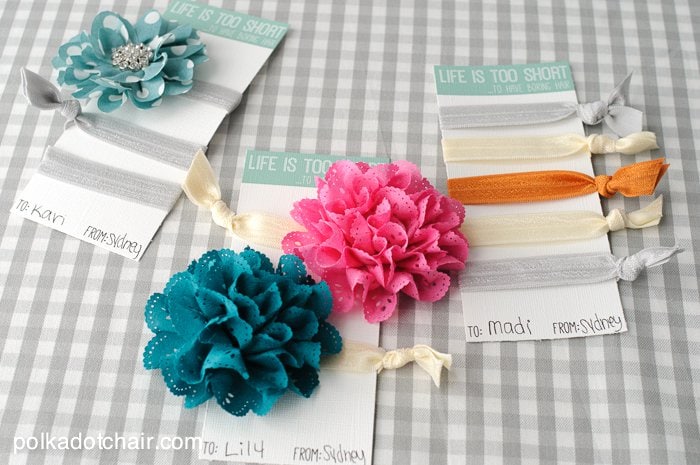
I had the idea to make hair ties for her friends. They make up easy and require no special tools or supplies. At first we just used plain white cards to hold the hair ties, then I got the idea to put them on cute cards.
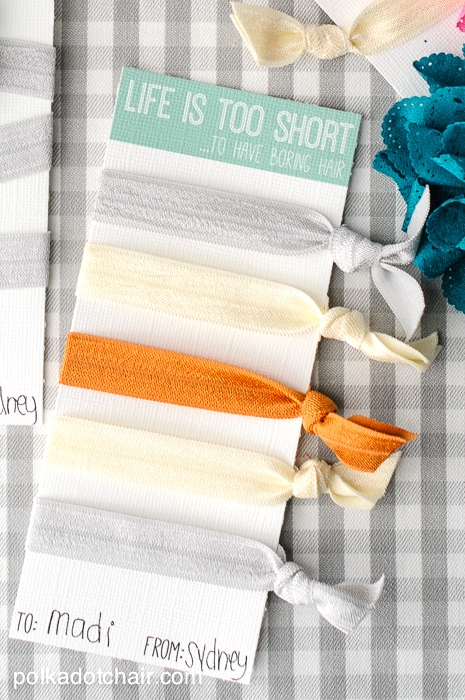
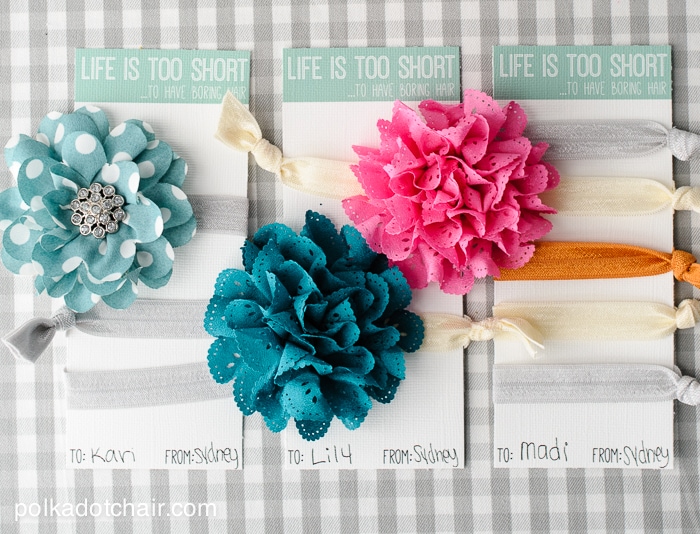
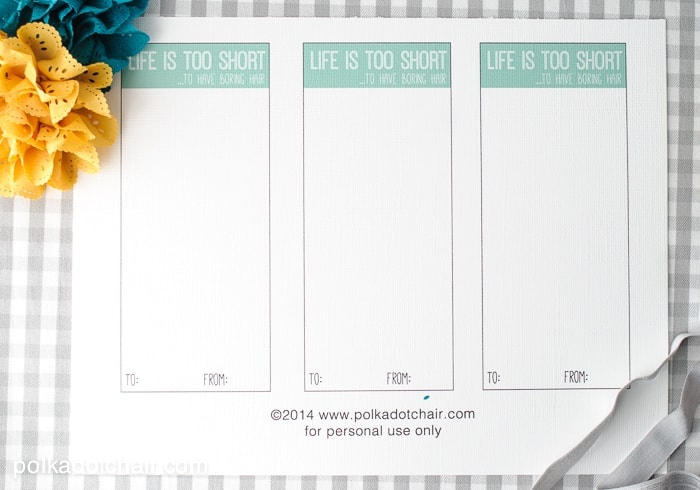
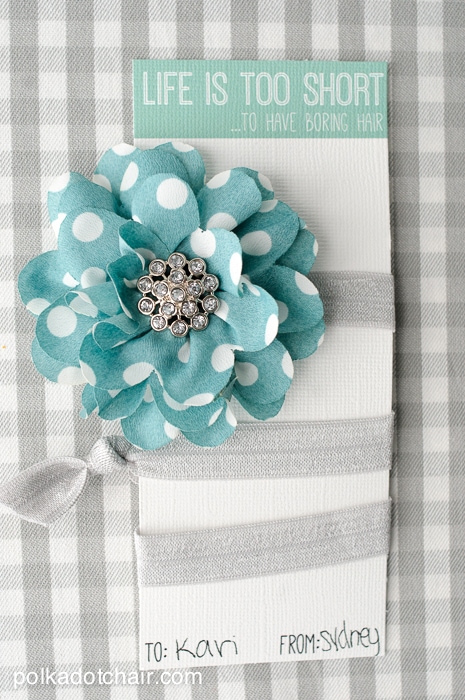
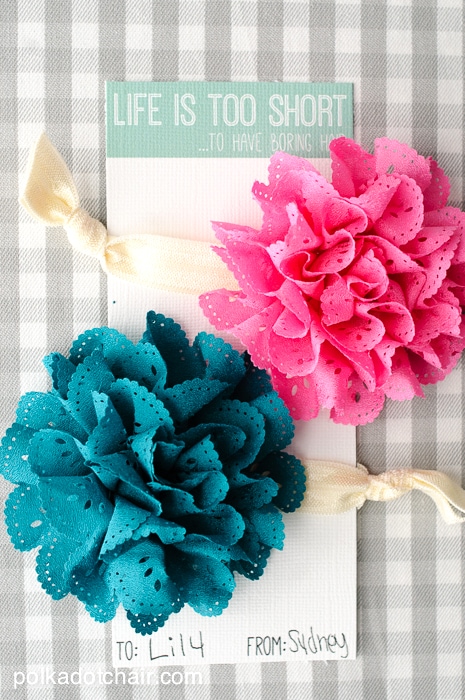
So I designed these “Life is too short to have boring hair” cards. I added a “to” and “from” at the bottom to make for easy gift giving.
You can find the cards on my “templates” page. Just print and cut out (just a note, for a better result, print the cards on textured cardstock).
Making the hair ties was EASY.
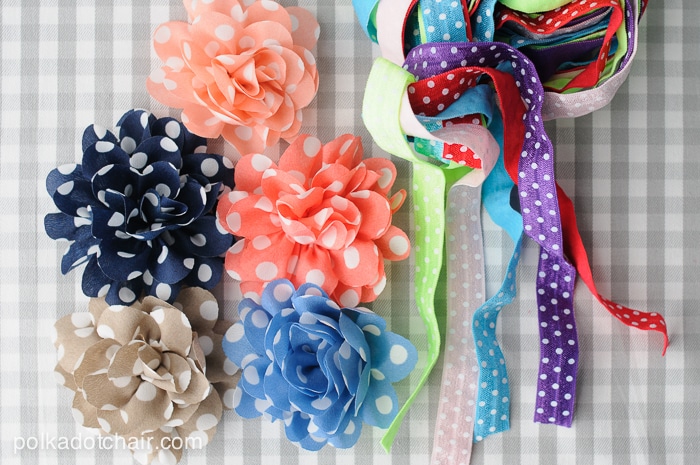
You’re going to need some fold over elastic. You can get it at HairbowSuppliesEtc.com – they have an enormous selection of fold over elastic, in gobs of colors and prints, they even have glitter elastic!
To make the simple hair ties, cut a piece of fold over elastic to 9” long. Fold in half and tie off. Clip the ends for a neat appearance.
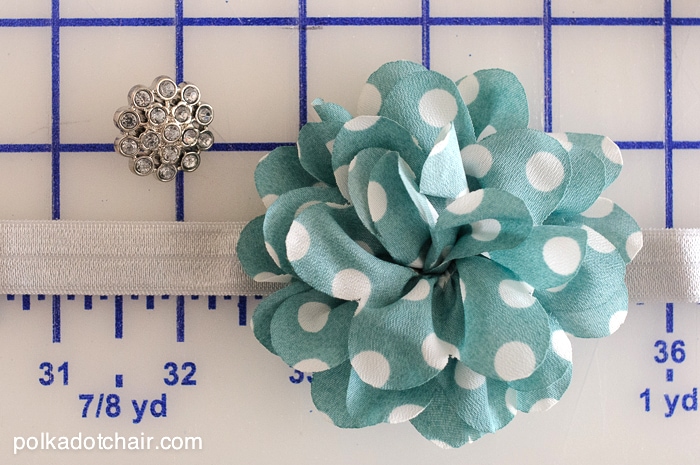
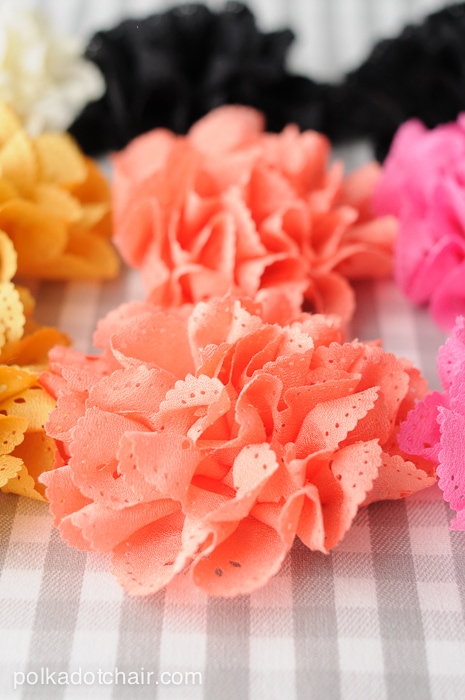
I also made a stretchy headband with a flower attached. You can also find a large selection of flowers at HairbowSuppliesEtc.com . I chose to work with the eyelet and polka dot flowers.
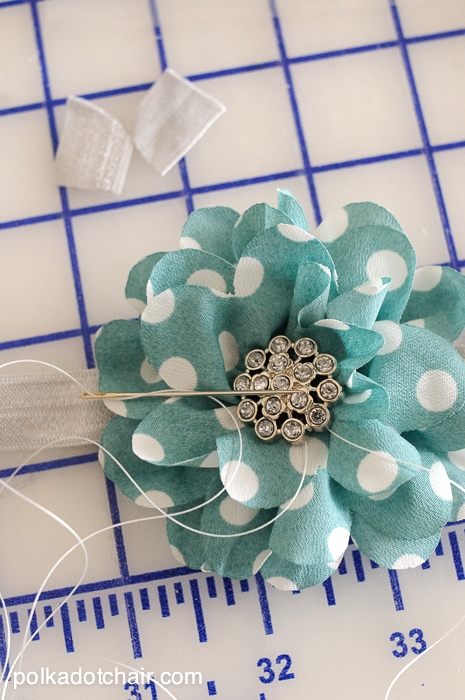
To do this, cut your fold over elastic to 20” long. Then using a needle and heavy duty thread, sew the flower to the headband, a couple of inches off center. After you’ve stitched though the flower a few times, sew on a glittery button.
Then join the ends and knot. Trim.
To attach it to the card simply loop the elastic around the card 3 times.
You can use the same technique to make hair ties with flowers. Simply sew the flower to the center of the 9” of fold over elastic.
In honor of Project Polka Dot, the good folks at HairbowSuppliesEtc.com have sent over a selection of polka dot fold over elastic and flowers. Make sure you stop by and check out some of their new products for Spring!
a Rafflecopter giveaway
To enter simply use the Rafflecopter widget below. As a reminder, if you entered one of our polka dot giveaways already this month you don’t have to enter a second time.
Connect with me:


Cute!
The limbo west link isn’t working for me.
Fixed! Thanks for the heads up!
So adorable!!! Thanks for the chance to win the giveaway!
That was supposed to be “Kimbo West” link isn’t working – sorry, autocorrect fail.
Emergency Plumber Aiea HI is fully licensed and insured.
If they burst inside your home, as was the case in our house prior to our purchase, they can wreak havoc.
It is a no frills shower valve than stands the test of time, and when it starts
to leak, it is easy to repair.
Where do you buy this elastic? Can you pick it up at joann’s or hobby lobby?
Yes, it’s called fold over elastic. Look for it in the notions aisle.