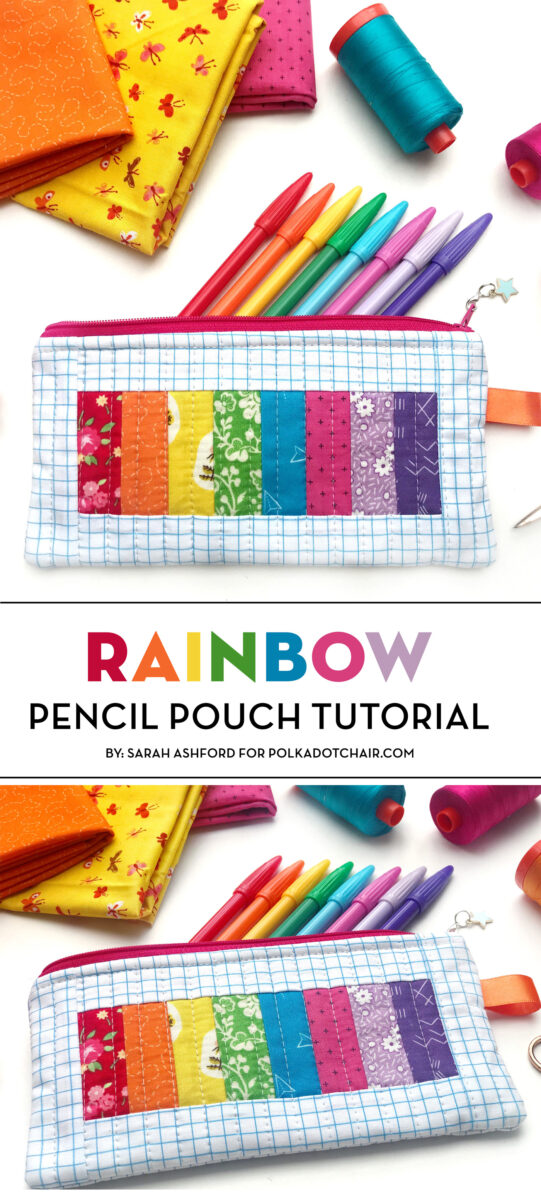
Rainbow Quilted Pencil Pouch Pattern
Sarah Ashford is back with us again today to share a free rainbow quilted pencil pouch pattern. I love this bright and colorful project and that Sarah is using it as a sign of hope and optimism!
A rainbow is a symbol of hope. And during this lockdown period, the symbol of the rainbow has become all the more poignant as we face the global challenge together.
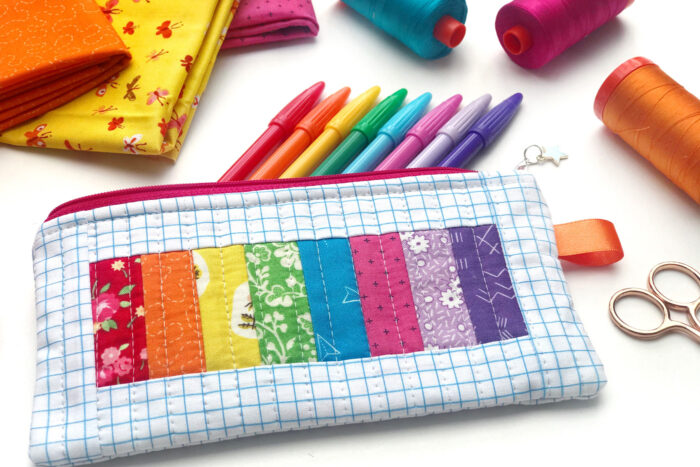
Here in the UK, children have been putting rainbows in the windows as a thank you to our National Health Service, as a sign of thanks for looking after us unrelentingly during this difficult time. Many other companies have also adopted the rainbow as a symbol of hope and better times ahead.
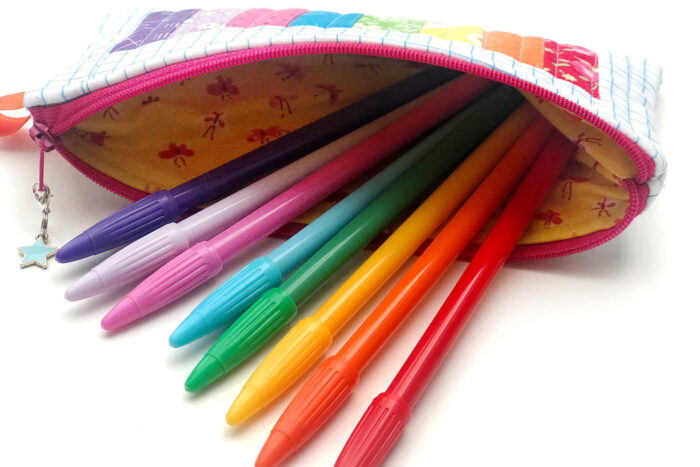
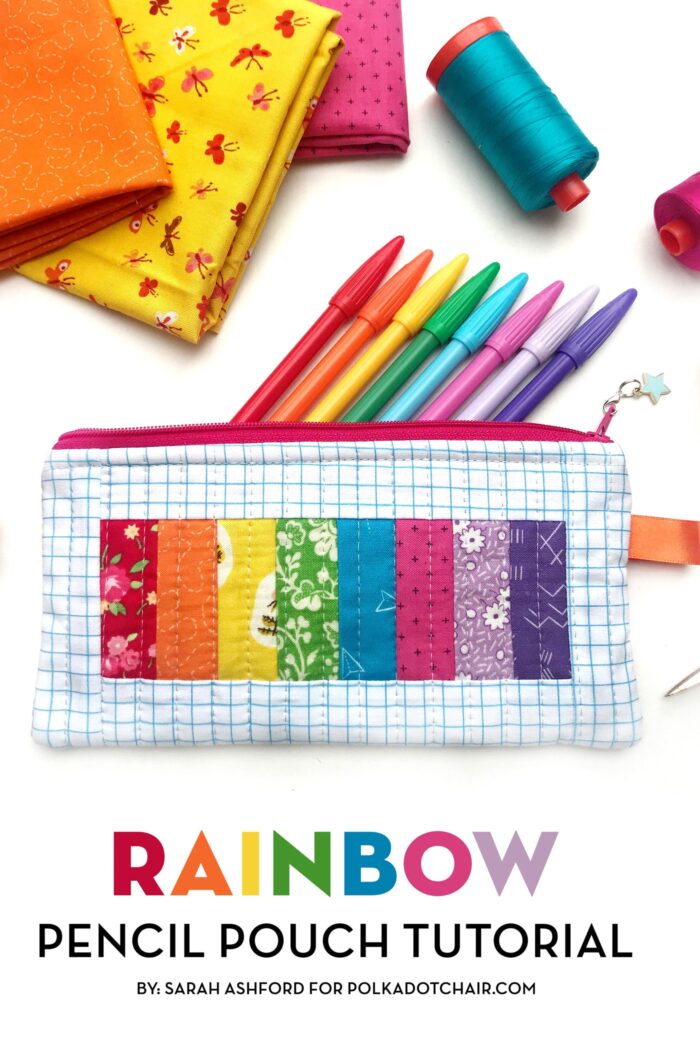
So I thought it would be fitting to include a rainbow in today’s project – a cute little quilted pencil pouch. Ideal for those going back to school (my daughter went back for the first time in 10 weeks) or for those who are still at home as a cheery reminder that brighter days are ahead. (My son still remains at home, and the home school continues).
Whatever the situation, a rainbow cannot fail to bring about a smile, so have fun with your brightest and most colorful scraps, to make this your most joyful project yet!
Rainbow Quilted Pencil Pouch Pattern
Equipment
supplies
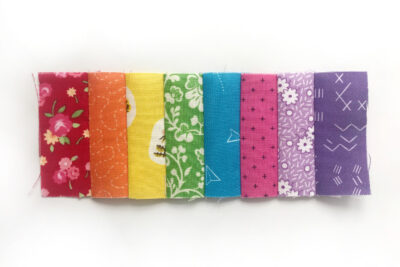
- 8 fabric pieces in rainbow colours – 2 ½” x 1 ½” each
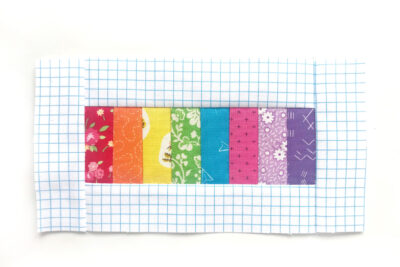
- 2 strips top and bottom background strips – 6 ½” x 1 ¼”
- 2 strips left and right background strips – 4 ½” x 1 ½”
- 1 piece Back panel – 8 ½” x 4 ½”
- 2 pieces lining 8 ½” x 4 ½”
- Batting – approximately 10” x 6”
- Zipper – 9” or longer
- Optional – ‘Handmade’ tag
- Optional – ribbon tag on the side – 3” ribbon ½” wide
Instructions
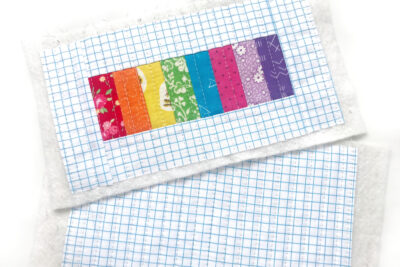
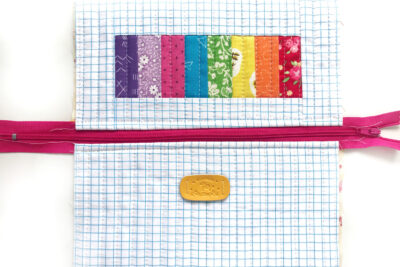
- Stitch the coloured strips together in rainbow order in a row along the long sides, to create the central rainbow panel.
- Next, add the top and bottom borders and then the left and right borders.
Quilt the Panels
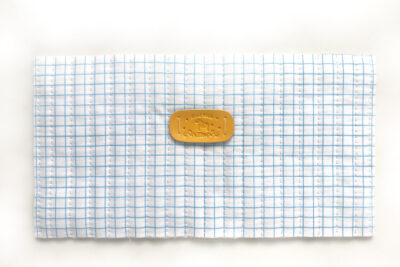
- Place the front and back panels onto each piece of batting, holding in position with spray baste or basting pins. Quilt as desired. I’ve decided to use vertical lines around ½ inch apart. I like to use a long stitch length such as number 4 on my machine to make the stitches clearly defined.
- Trim the excess batting.
- You may like to add something to the back. I’ve stitched on a lovely leather tag that says ‘Handmade’. You could add some appliqué, perhaps a fun selvedge, or anything you like really. If you have used a ‘busier’ fabric you may wish to leave it as it is.
Assemble the Pouch
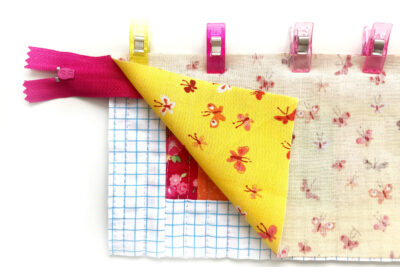
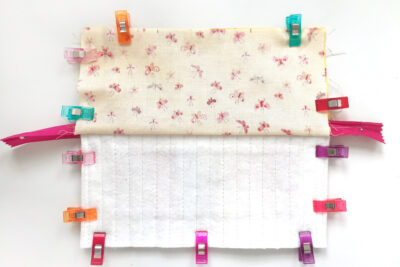
- Now we’re going to construct the zipper pouch. Take the front quilted panel and lay right side up. Take the zipper and lay right side down, with the zip on the left, aligning with the top edge. Then take one lining piece and align right sides down with the zipper and quilted panel. Use binding clips to secure in place.
- Stitch along the top edge close to the zip. Open out and press, so that the wrong side of the lining is touching the wrong side of the quilted panel. Topstitch in place.
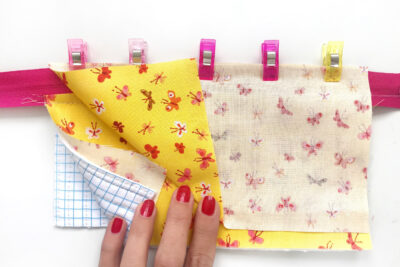
- Next take the back panel and place right side up. Lay the front panel with the attached zip right sides down, aligning the zip with the top edge. Finally, place the second lining piece right sides down on top of the zip. Hold in place with binding clips.
- Stitch across the top as before and open out and press so that the wrong side of the lining is touching the wrong side of the quilted panel. Topstitch in place.
- Next you need to undo the zip half way. This is very important! Place the front and back panel right sides together and the lining pieces right sides together. Use binding clips to hold in place. Leave a gap in the lining for turning of about 3 inches. Mark with a pen to remind you where to start and stop stitching.
- If you are adding the ribbon tag, insert it now on the right top side of the pouch where the front and back panels meet. Fold the ribbon in half and place it inside, with the raw edges touching the edge. Clip in place.
- Stitch all the way round starting at the gap. Reinforce the seam over the zip on each side and at the beginning and end. Trim off the excess zip and lining. Clip the corners to ease turning.
Finishing
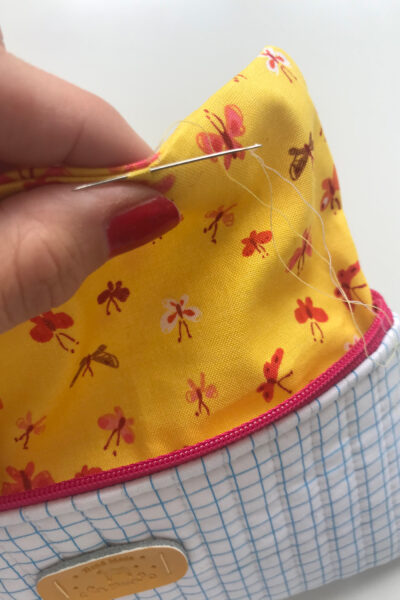
- Turn the zipper pouch right sides out through the gap and close the gap using a small slip stitch.
- Push the lining down into the pouch and give it a good press and you’re done. Fill it with coloured pens and embrace all things rainbow!
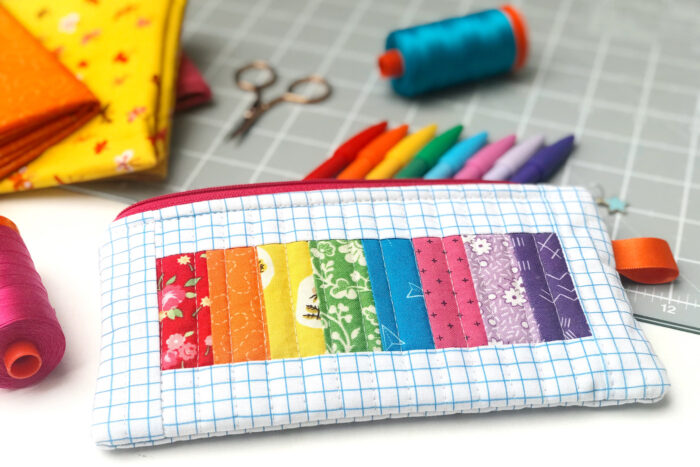
About the Maker:

Sarah Ashford is a British Quilter and embroiderer and founder of the GreatBritishQuilter challenge on Instagram. Sarah regularly contributes projects to magazines and loves to spread the joy of quilting everywhere she goes. Follow her on Instagram at @sarahashfordstudio and be sure to check out her beautiful sewing room decals in her Etsy shop www.etsy.com/shop/sarahashfordstudio
More Free Zip Pouch Sewing Patterns:
How to Make a Zip Pouch from Upcycled Ties
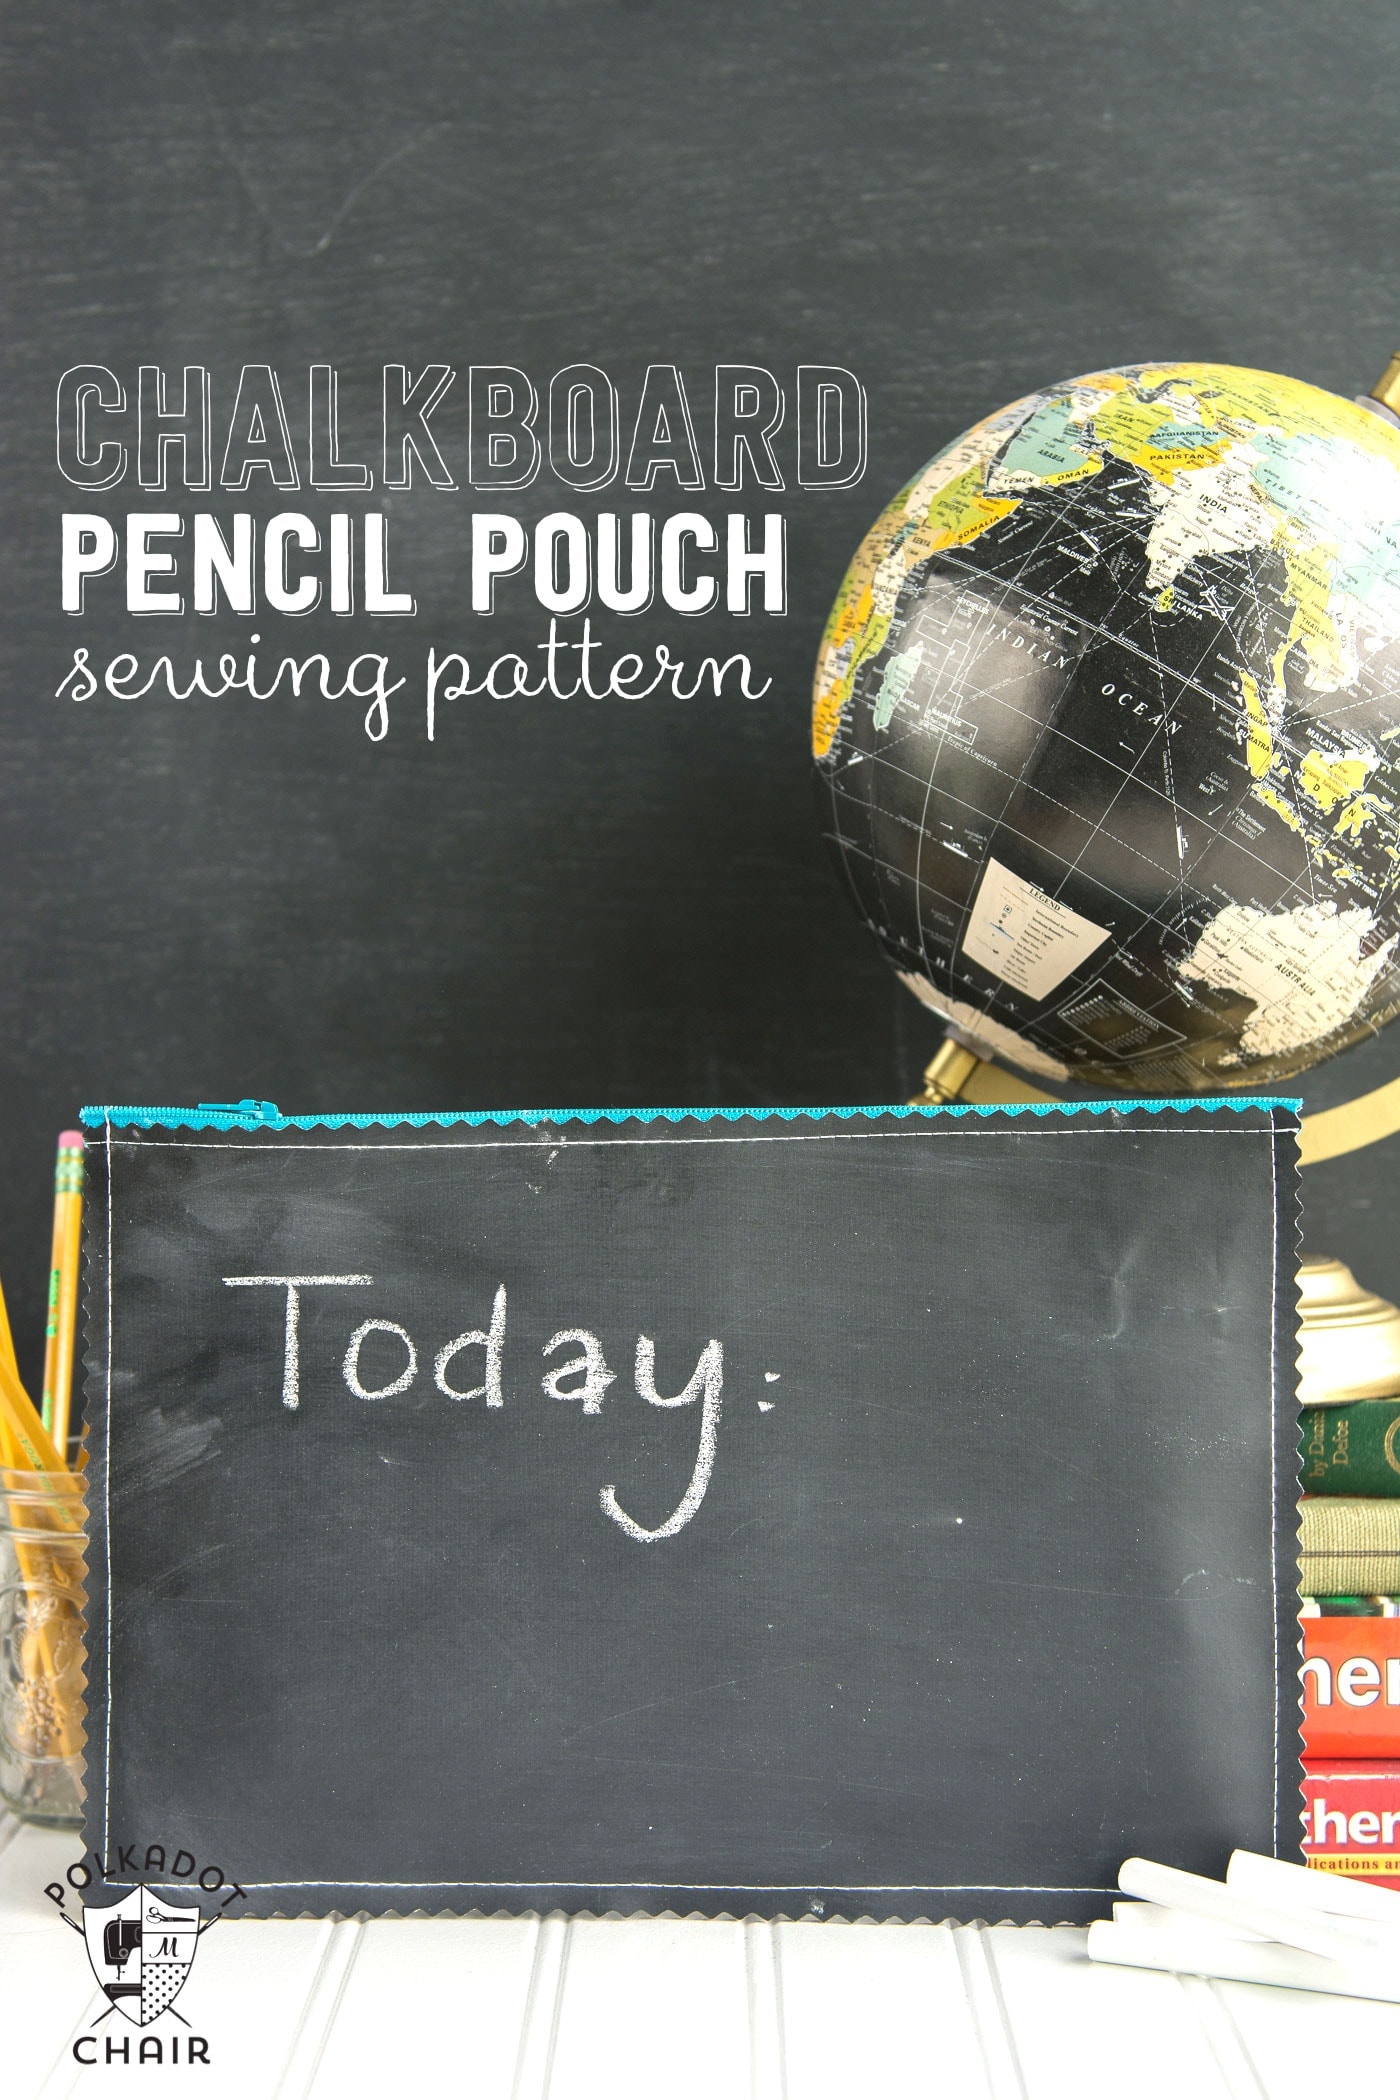
Back to School Chalkboard Pencil Pouch Pattern
Zip Pouch Patterns for Sewists of Every Skill Level
How to Make a Zip Bag with a Flat Bottom
