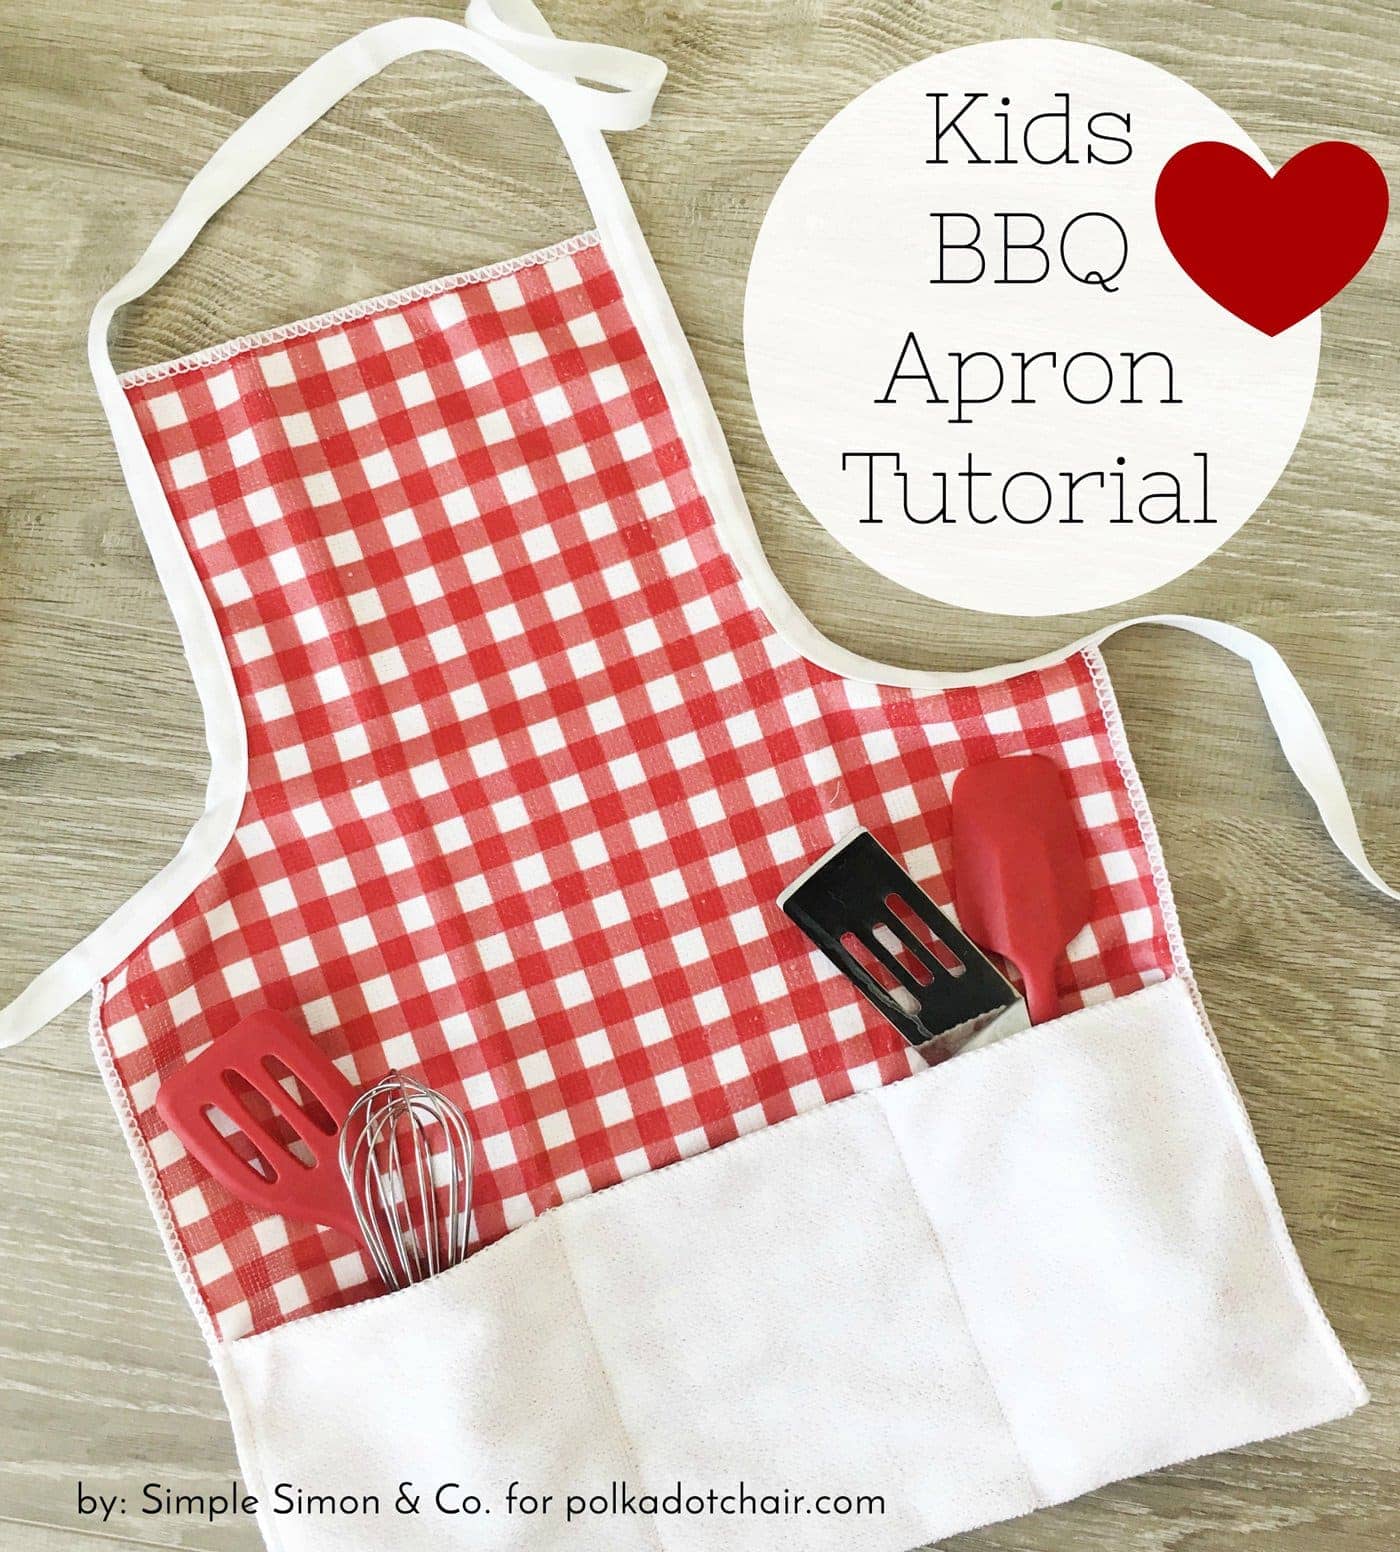
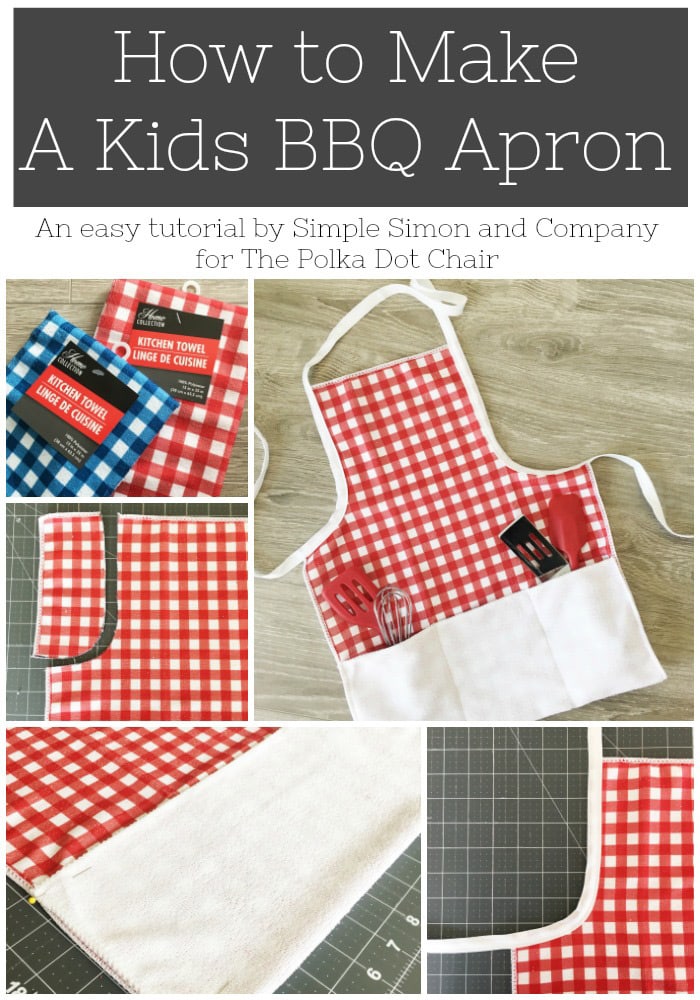
How to make a Kids Apron from a Dish Towel
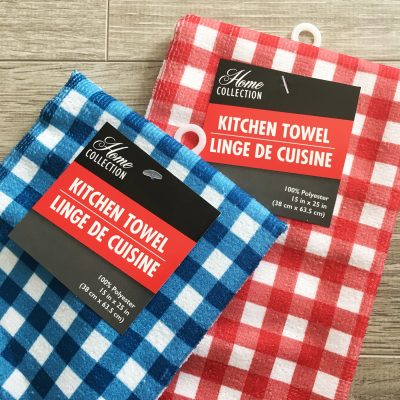
Learn to make a cute kids’ BBQ apron perfect for summer. The best thing is that it’s made from an upcycled dish towel. How cool is that? If you like this project, then you may also like this Child’s Apron Tutorial.
Hello Polka Dot Chair readers!
We are Elizabeth and LiZ from Simple Simon and Company. We are excited to share a simple and inexpensive children’s project with you: how to make a Kids’ BBQ Apron!
Handmade Gift Idea
If you’re looking to turn your handmade kids’ apron into a fun and thoughtful gift, consider putting together a mini BBQ-themed gift set.
Start with the finished apron, then add a few extras, such as child-sized grilling tools, a chef’s hat, or a set of play kitchen utensils.
You can even include a simple recipe card for a favorite family meal or BBQ sauce. Package everything in a reusable tote or gift basket for a polished look.

It’s a perfect idea for birthdays, summer parties, or even Father’s Day, especially if you’re making matching parent-child aprons!
How to make a kids’ BBQ Apron from Dish Towel
Equipment
- Marking tool (even a pencil will do)
supplies
- 1 Dish Towel
- 2 yards double-fold bias tape
- Pins
Instructions
Kids Apron Pattern Construction Steps:
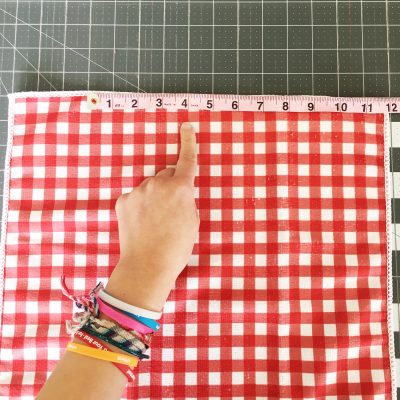
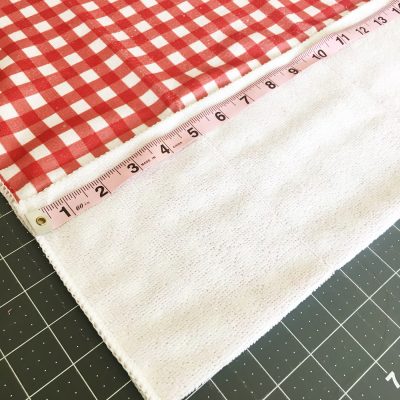
- Lay your dish towel out on your cutting mat (or countertop) vertically so that the short sides are along the top and bottom…and then find the center of that top short edge.

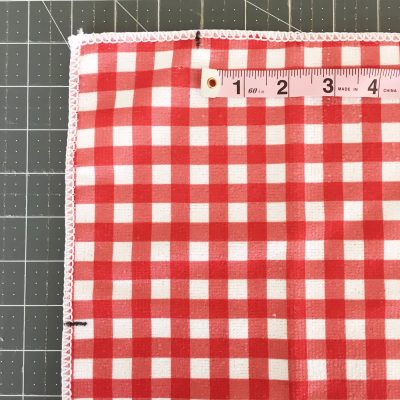
- Once you have found the center of the top edge, measure out 4″ from each side of the center and mark with your marking tool. (I used a Sharpie.) Next, measure 7″ from the top corner down each side and mark with your marking tool.
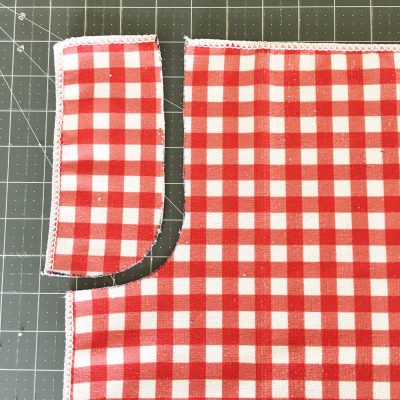
- Connect the marks on each side with a “J” shaped curving line (as shown in the photo) and then cut along that line.
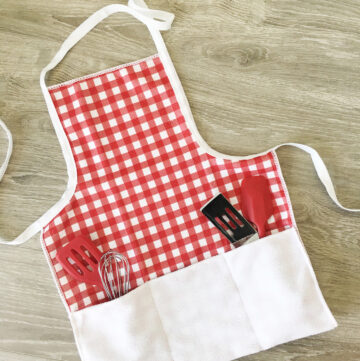
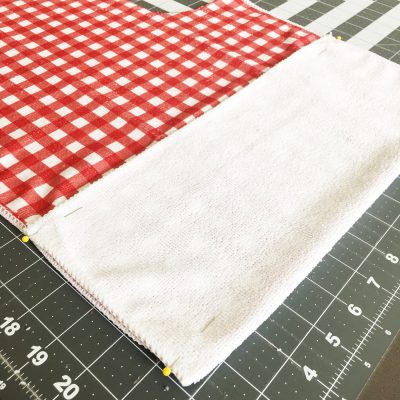
- Fold the bottom of your apron up on top of itself 6″ (as shown in the photo) and pin. Stitch along the edges of each side of your fold to create a long pocket on the bottom edge of your apron.
- Measure 5″ from each side of your apron. Mark a vertical line from the top of the fold to the bottom of your apron at both 5″ marks. Sew along this line. This will create three individual pockets at the bottom of your apron.
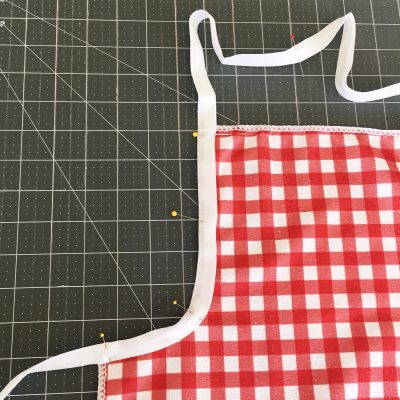
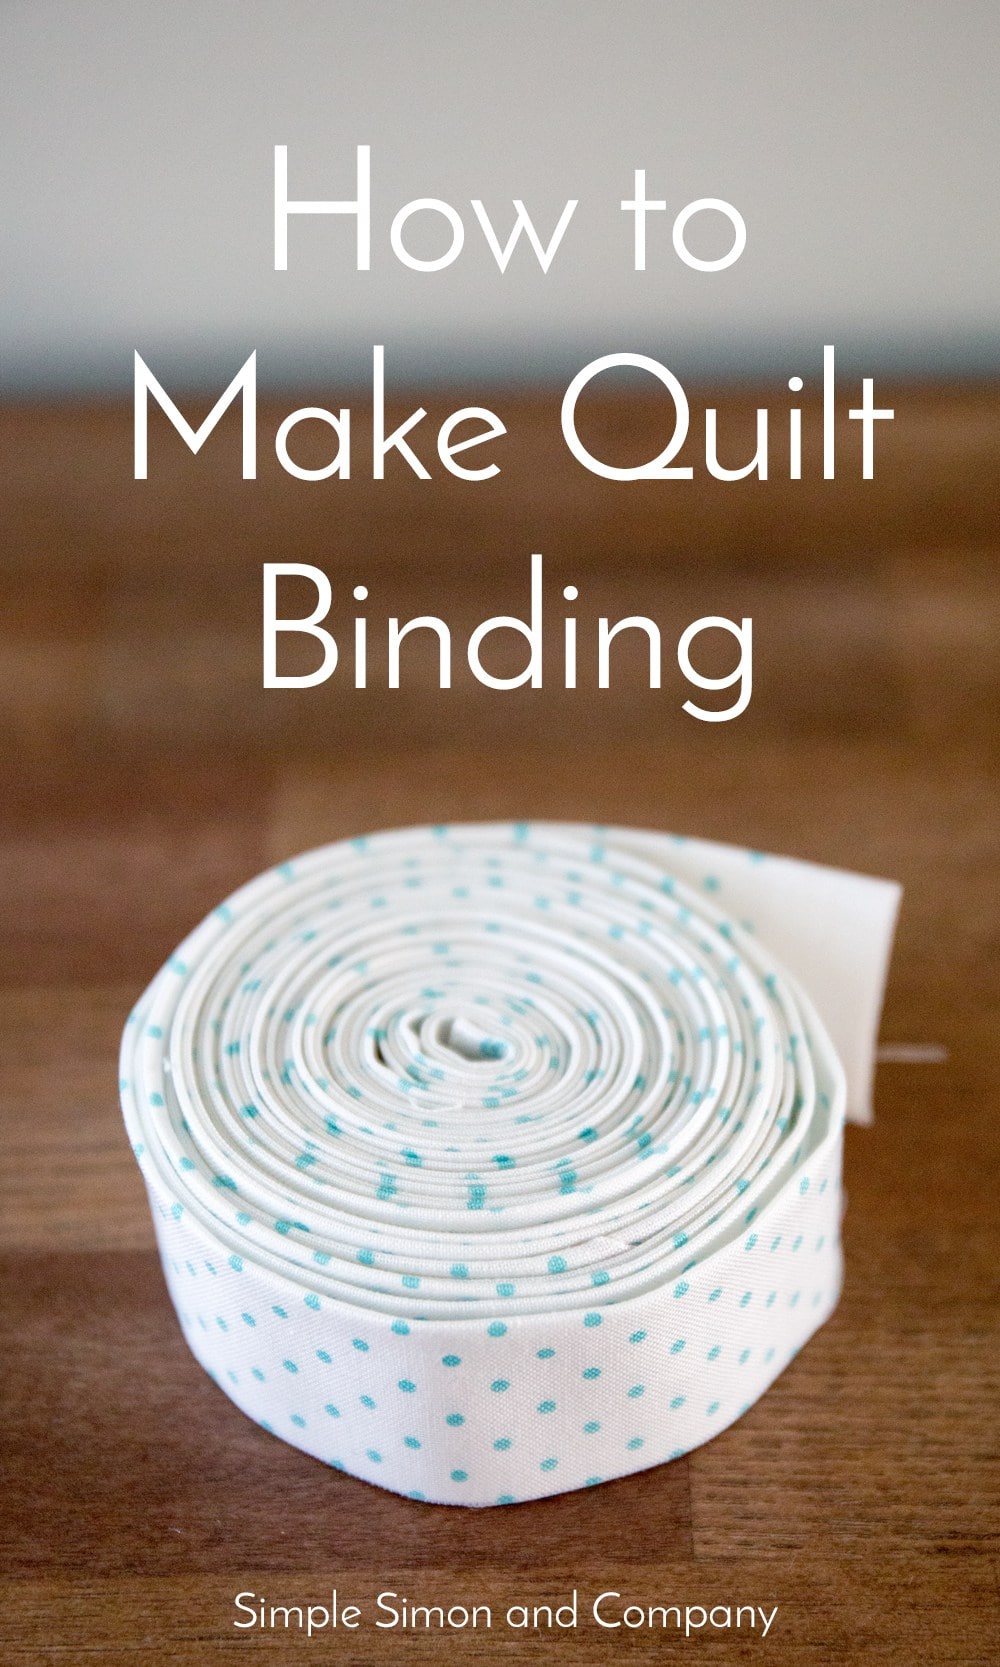
- Fold your 2 yards of bias tape in half and mark with a pin.
- From the middle of your bias tape, measure 8″ on each side and pin to the top of your apron (as shown in the photo). Remember to place the dish towel between the folds of your bias tape to create a nice finished edge! Pin down each curved side of the apron. *NOTE: There will be quite a bit of bias tape hanging off the edge of both sides of your apron…this is what you want because that excess bias tape becomes your apron ties in the back!)
Finishing:
- Beginning at one end of your bias tape, start stitching the bias tape fold closed. Continue stitching all along the tie, up the curved side of your apron, across the neck loop, down the other curved side, and along the other edge until you have stitched together the entire length of bias tape.
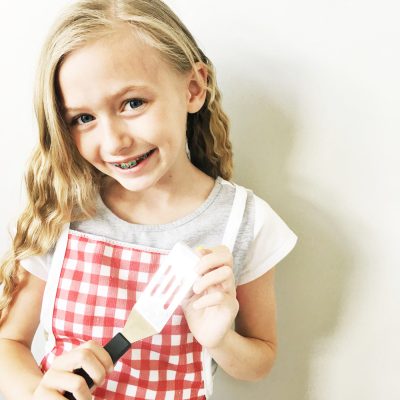
- And now you are done!
- Easy Peasy!

For more simple sewing projects, visit us at Simple Simon and Company!
About the Maker:

We are Elizabeth and Elizabeth, two girls who married brothers and ended up with the exact same name. We are also the same age, both former school teachers, have the same number of children, live in the same county, have dogs rescued from the pound, and share a love for sewing, quilting, and the art of homemaking.
Together, we blog at Simple Simon and Company, where we get the opportunity to share tips, tricks, tutorials, recipes, and thoughts with our readership.
More Great Projects from Simple Simon & Co.
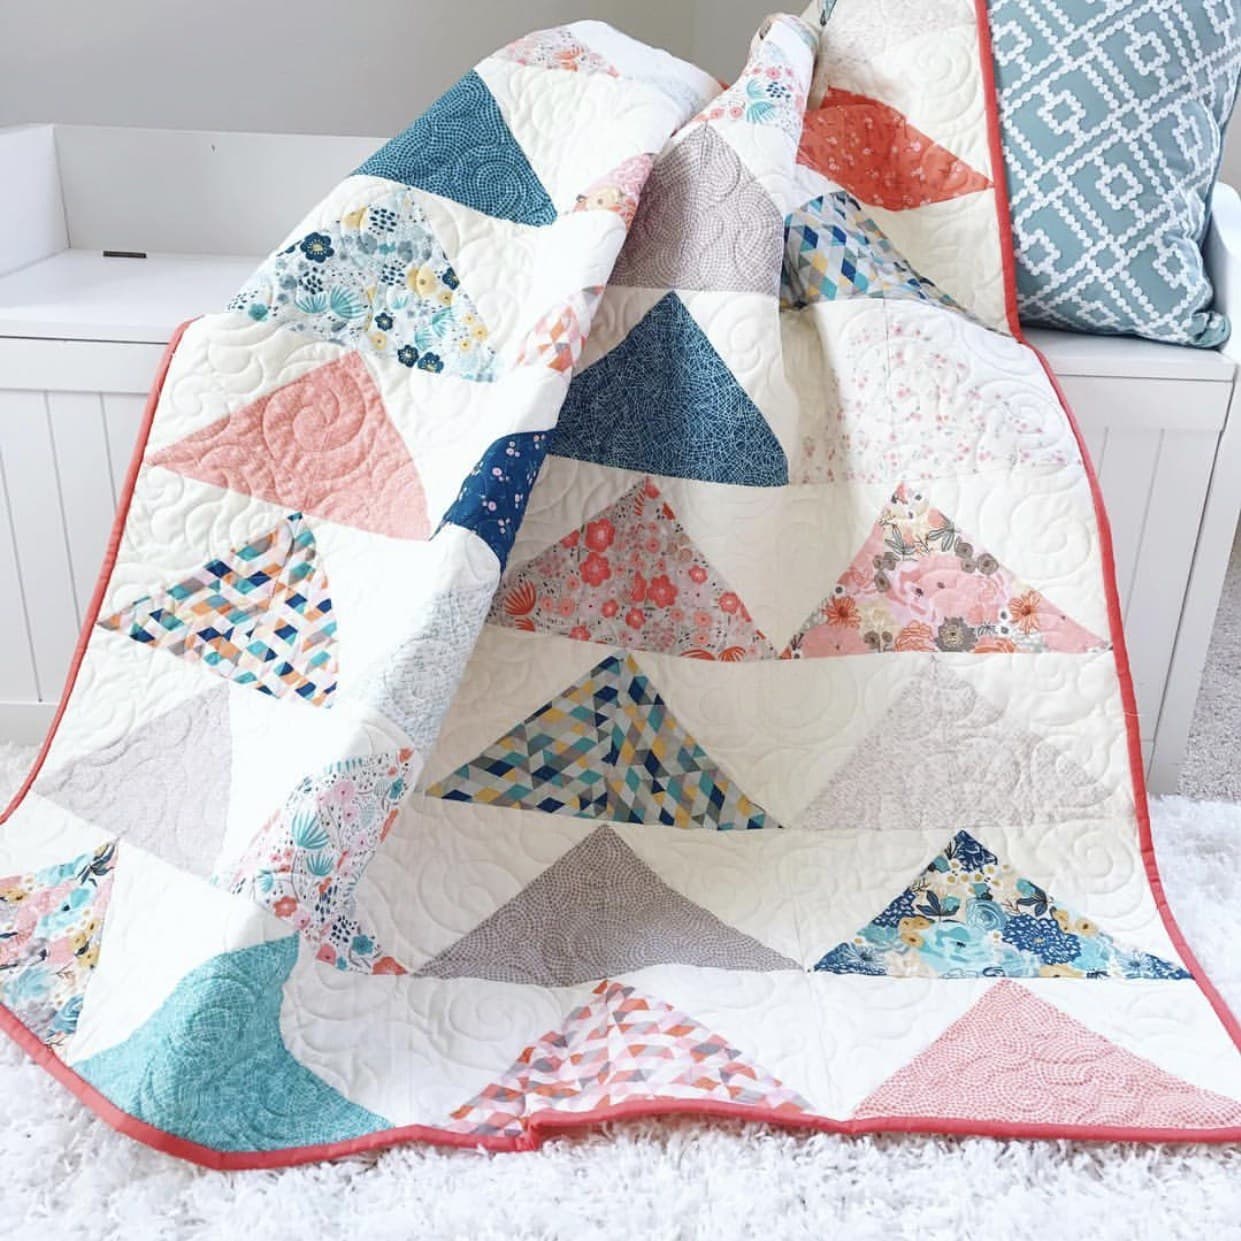
Minimal Triangles Quilt Pattern
Simple Strip Baby Quilt Pattern
You May Also Like:
- Kids Summer Pillowcase Sewing Project
- Kids Summer Journals and Free Printable
- How to Make Knotted Hair Ties

Thank you for all the helpful tips in sewing projects… I love to sew and always looking to learn new things
Do you have instructions for an adult apron of the same type. I made one for my great-granddaughter and now her mom, my granddaughter, wants a matching one.
Yes, just use the search box at the top of the blog, type in Apron and it should pop right up!
This is GREAT! I teach kids sewing classes and am always looking for fun new ideas. I think my students will really love these 🙂