• Skip to primary navigation
  • Skip to main content
  • Skip to primary sidebar

The Polka Dot Chair logo

  • SEWING
    • Free Sewing Patterns
    • Bag Patterns
    • Costumes
    • Apparel
    • Learn to Sew
    • Beginner Friendly
    • Embroidery Projects
    • Tips & Techniques
    • All Sewing
  • QUILTING
    • Quilt Blocks
    • Learn to Quilt
    • Free Patterns
    • Quilt Patterns
    • All Quilting
  • CRAFTS
    • Disney
    • Cricut
    • Printables
    • All Crafts
  • HOLIDAYS
    • Seasonal Projects
    • Valentine’s Day
    • Easter
    • 4th of July
    • Halloween
    • Thanksgiving
    • Christmas
    • All Holidays
  • TUTORIALS
  • ABOUT
    • About Me
    • My Fabric Collections
    • Published Books
    • Press
    • FAQ’s
    • Contact
  • SUBSCRIBE
  • SHOP
menu icon
go to homepage
  • SHOP
  • TUTORIALS
  • SEWING
  • QUILTING
  • SUBSCRIBE
  • CRAFTS
  • HOLIDAY PROJECTS
  • ABOUT
    • Published Books
    • My Fabric Collections
  • CONTACT
    • Facebook
    • Instagram
    • Pinterest
    • YouTube
  • subscribe
    search icon
    Homepage link
    • SHOP
    • TUTORIALS
    • SEWING
    • QUILTING
    • SUBSCRIBE
    • CRAFTS
    • HOLIDAY PROJECTS
    • ABOUT
      • Published Books
      • My Fabric Collections
    • CONTACT
    • Facebook
    • Instagram
    • Pinterest
    • YouTube
  • ×

    Home » Sewing

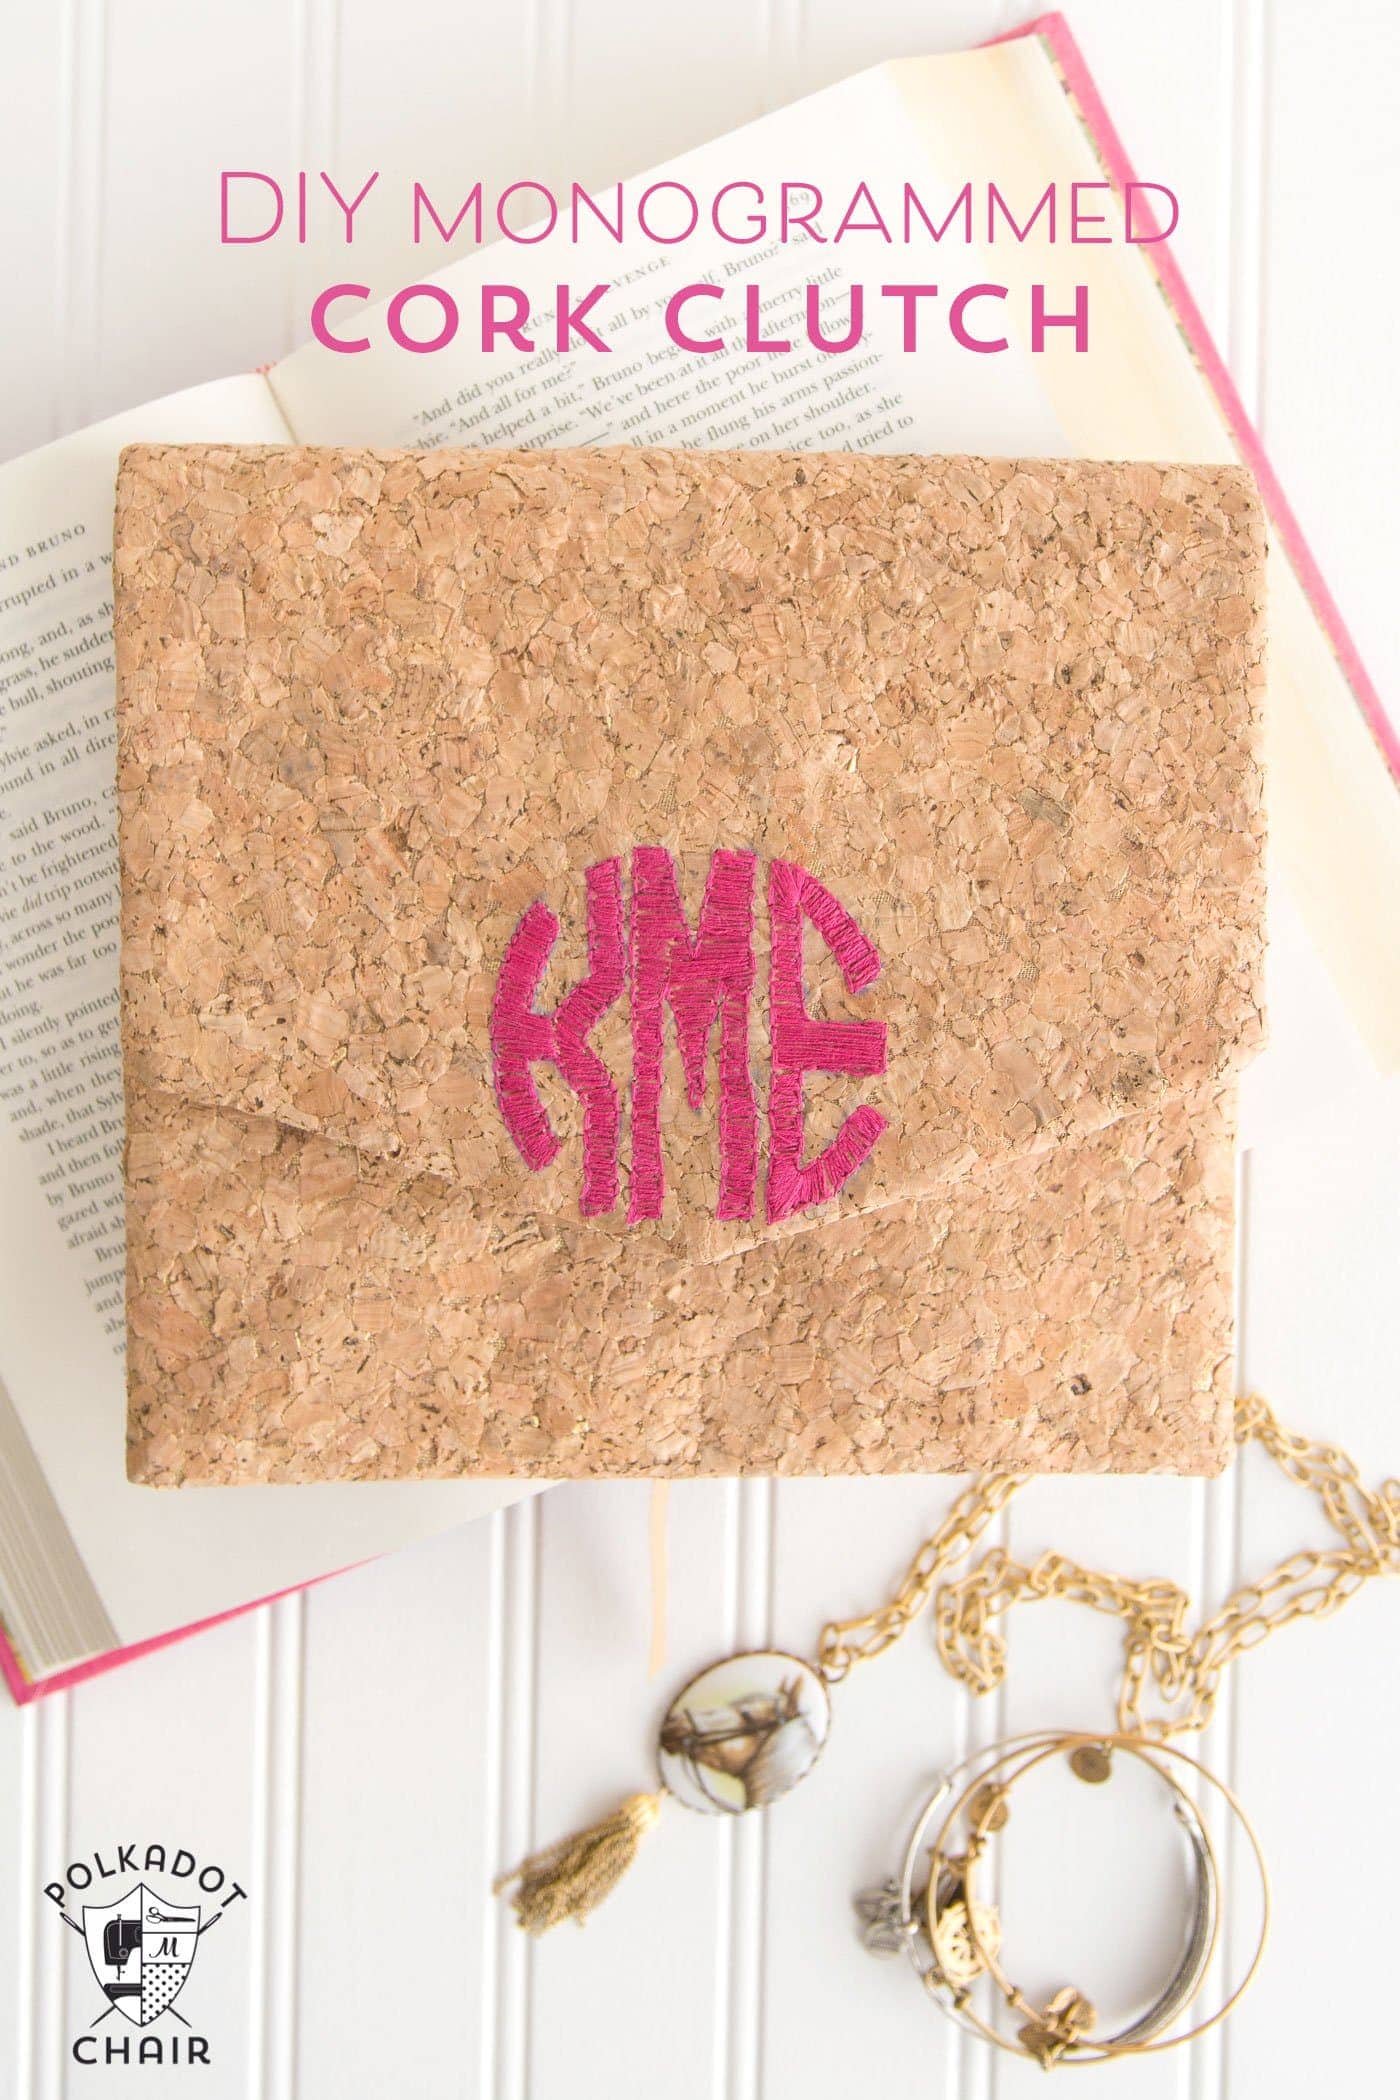
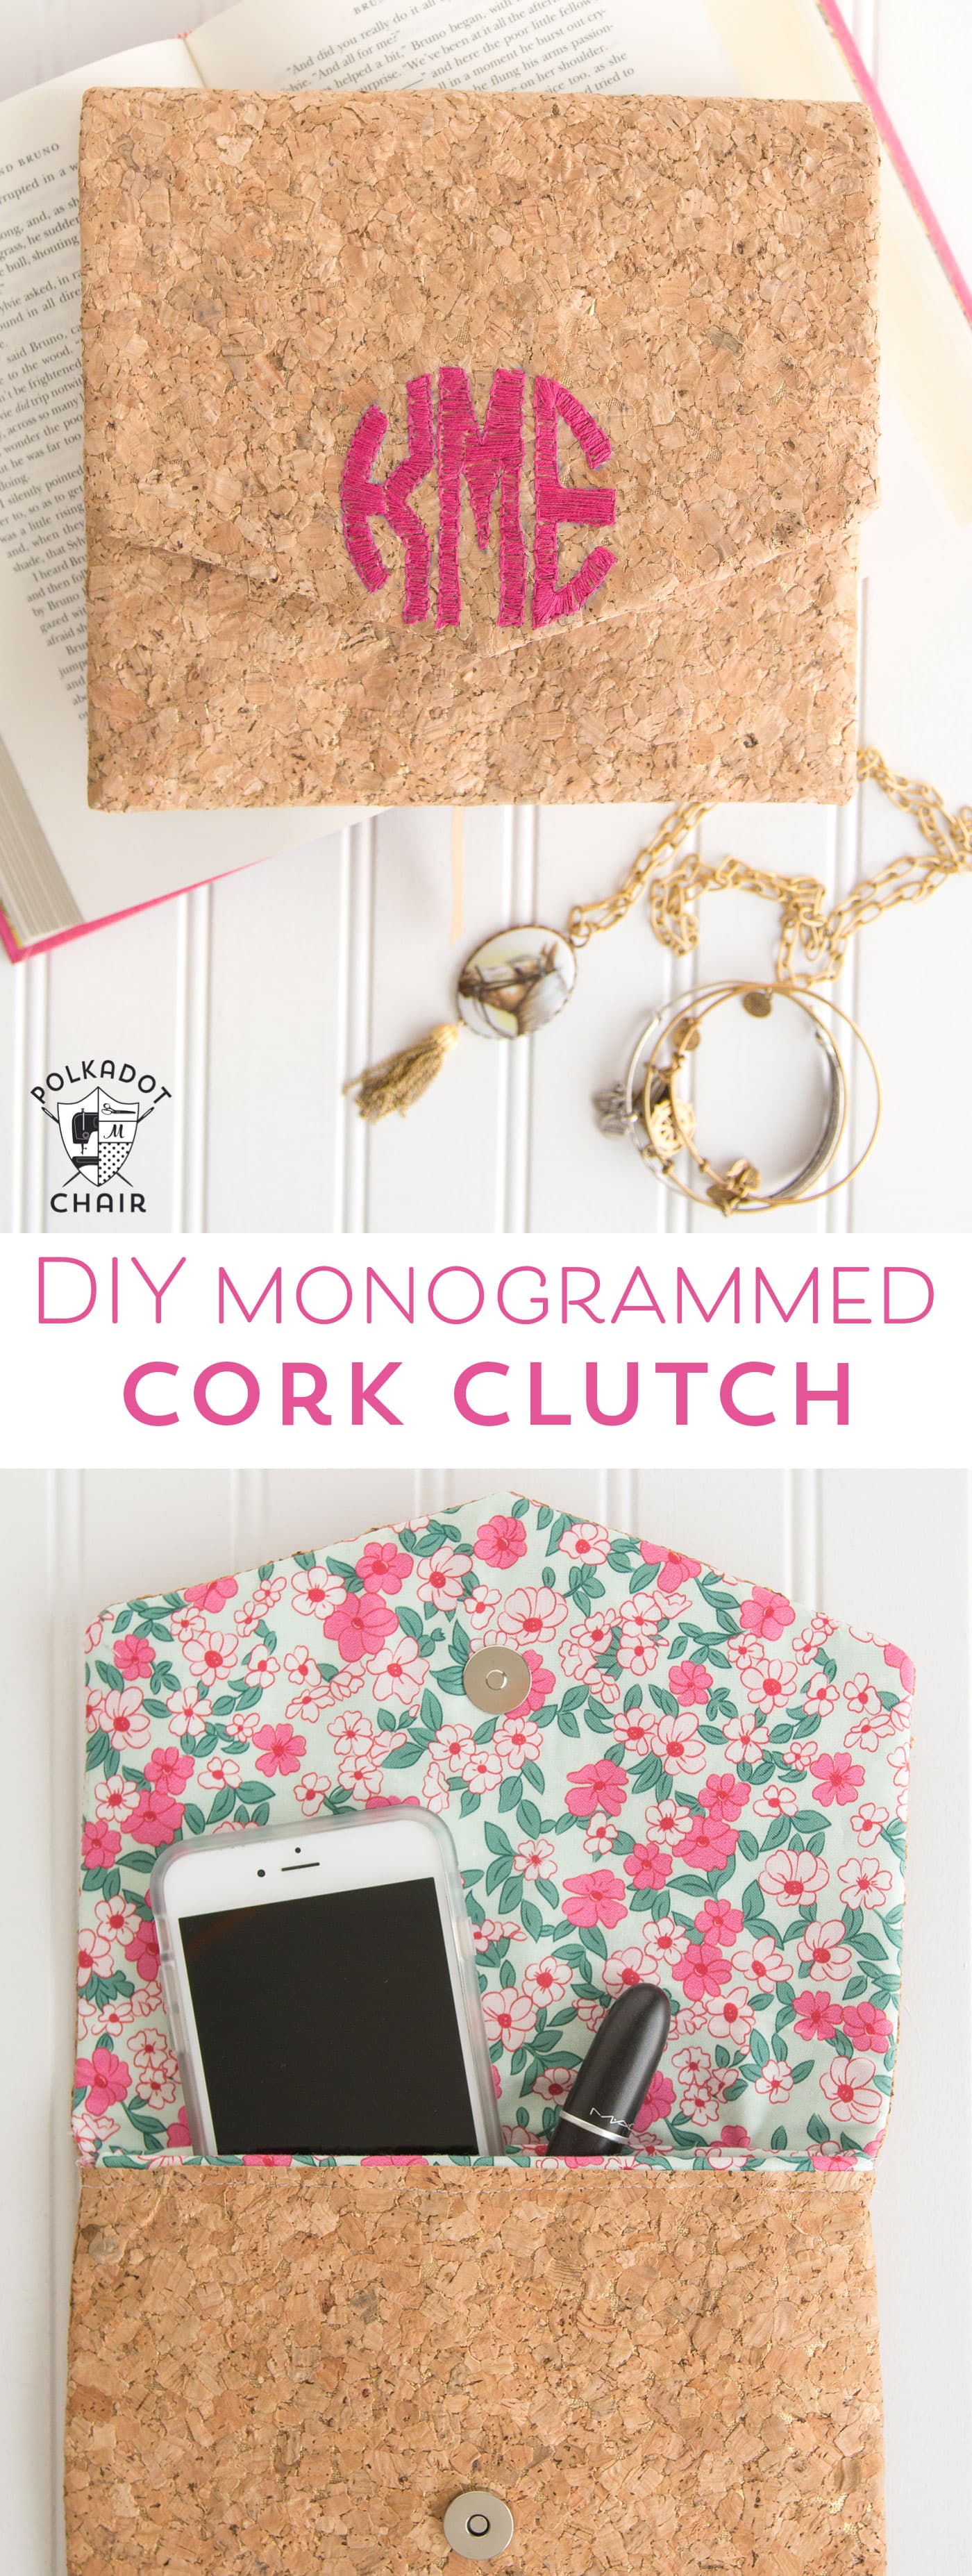
    DIY Monogrammed Cork Clutch Tutorial

    Updated: Mar 3, 2020 by Melissa Mortenson · This post may contain affiliate links · This blog generates income via ads · 7 Comments

    Today I have a fun project for you that would make a great handmade Christmas gift, this DIY Monogrammed Cork Clutch! If you like this project then you may also like this Bow Front Clutch Sewing Tutorial.

    Free sewing pattern for a DIY Monogrammed Cork Clutch on polkadotchair.com

    My oldest daughter is 21 and does her best to keep me up to date with all of the “trends” floating around online nowadays.

    A few years ago she told me that she needed EVERYTHING monogrammed. I laughed, we live in the South and monogramming everything that is not nailed down is not a new thing for us. However, I have noticed since she mentioned it, that monogramming has taken off in a BIG way in the last few years.

    Free sewing pattern for a DIY Monogrammed Cork Clutch on polkadotchair.com

    Another trend that she turned me on to last year is the cork trend. It seems that there is cork popping up everywhere lately. It’s a fun trend that I have no problem getting behind.  So when DMC contacted me and asked me if I’d like to work with some of their new STITCHABLE cork I was very excited!

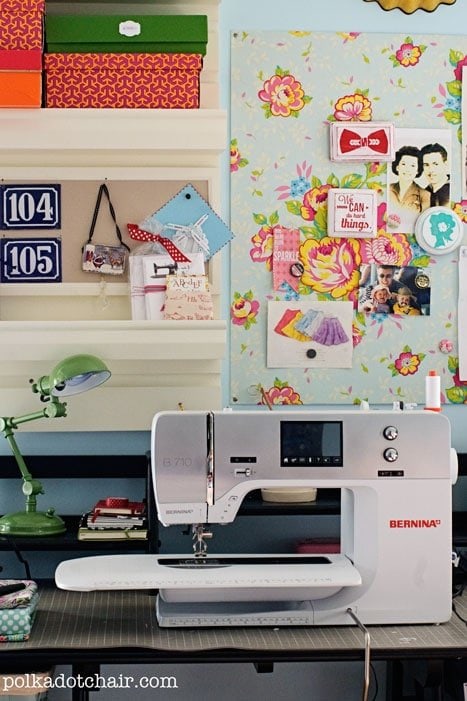
    I love to sew for my kids. They are older now (21, 15 & 15) so I’ve had to change a bit what I sew for them, but still love to take up the challenge. It’s always fun when I find a new substrate to work with since it opens up the possibilities of projects for me even more.

    Monogrammed Cork Clutch Sewing Tutorial

    Free sewing pattern for a DIY Monogrammed Cork Clutch on polkadotchair.com


    Inspired by my “trend spotting” 21 year old, I thought I’d make her a Monogrammed Cork Clutch. Something she can take with her on all of those “hot” dates she has now that she’s a college girl (actually, I have been informed that college kids don’t “date” anymore, but that’s a rant best left for another post).

    Would you like to make one?

    Free sewing pattern for a DIY Monogrammed Cork Clutch on polkadotchair.com
    Free sewing pattern for a DIY Monogrammed Cork Clutch on polkadotchair.com

    Cork Clutch Supplies

    Free sewing pattern for a DIY Monogrammed Cork Clutch on polkadotchair.com
    Free sewing pattern for a DIY Monogrammed Cork Clutch on polkadotchair.com
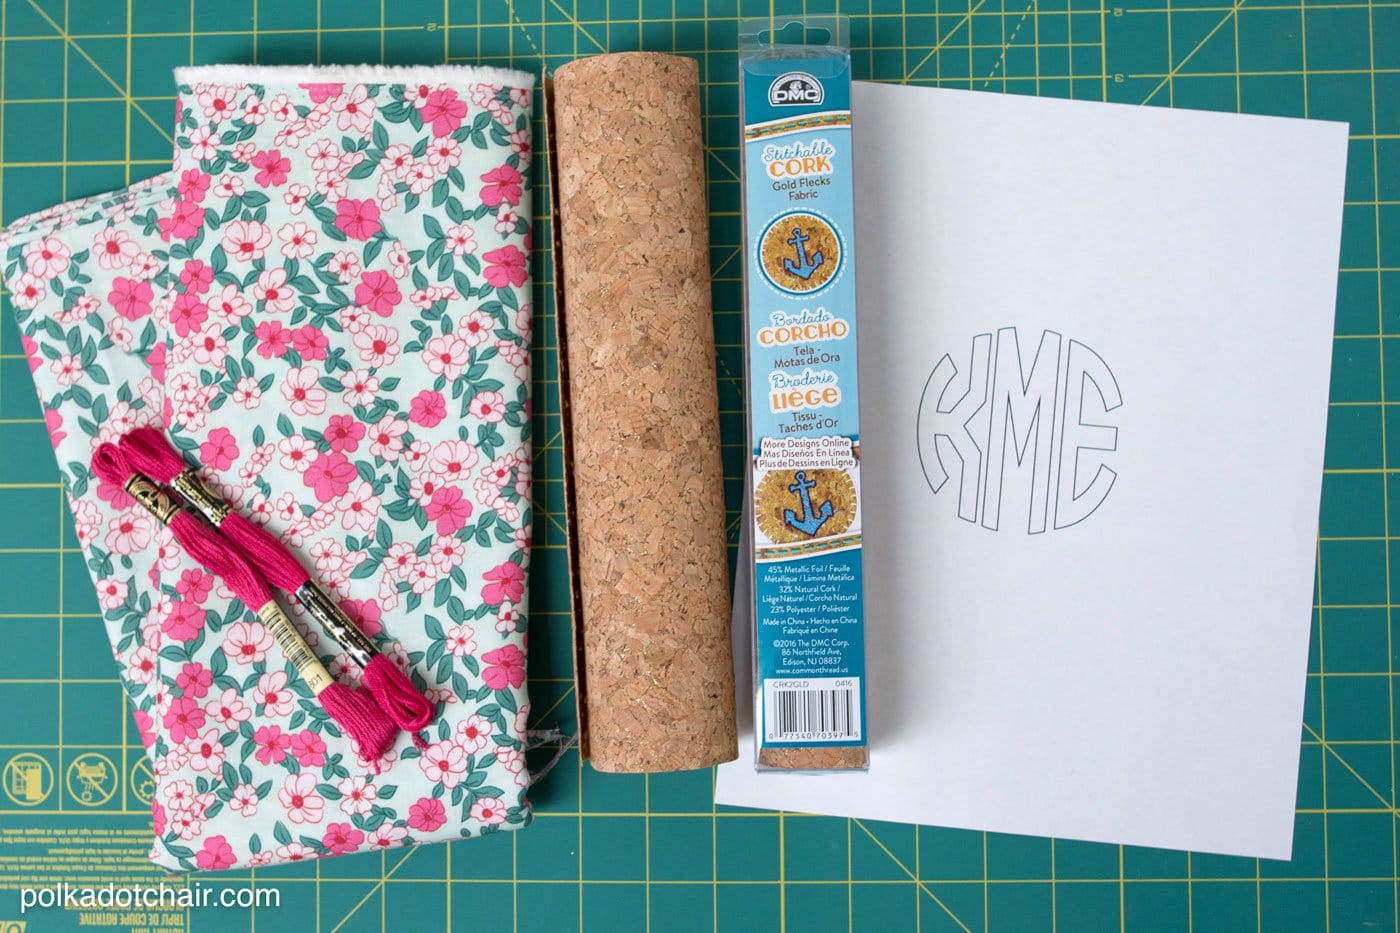
    • 3 Sheets of 10″ x 10″ DMC Stitchable Cork
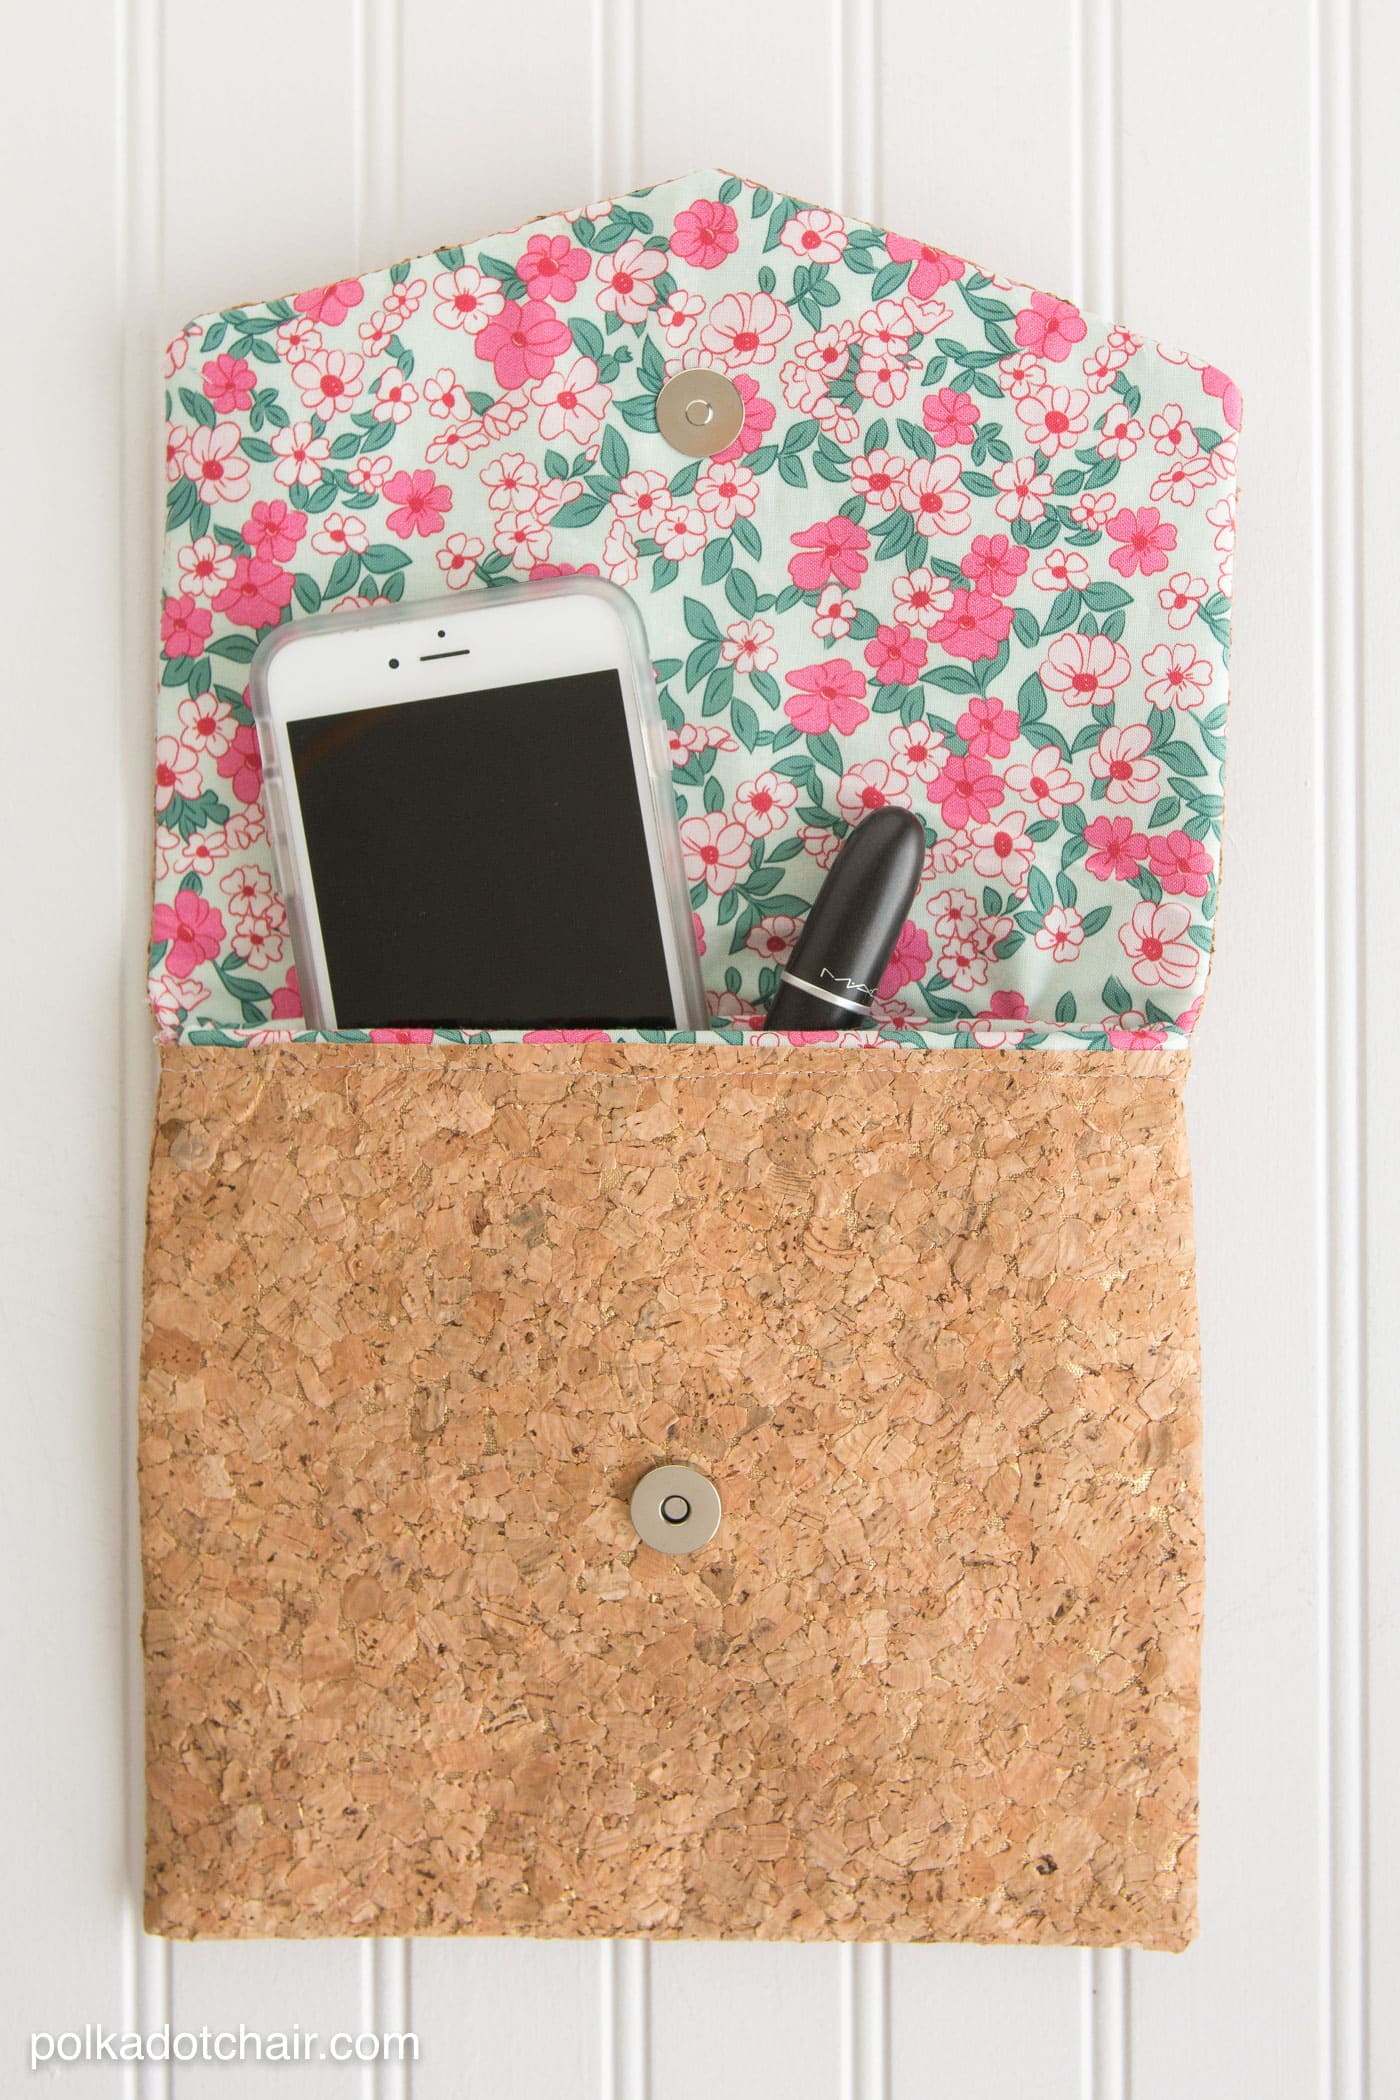
    • ¼ yard Fabric for Lining – fabric is from my Wonderland Two line
    • ¼ yard heavyweight non fusible interfacing
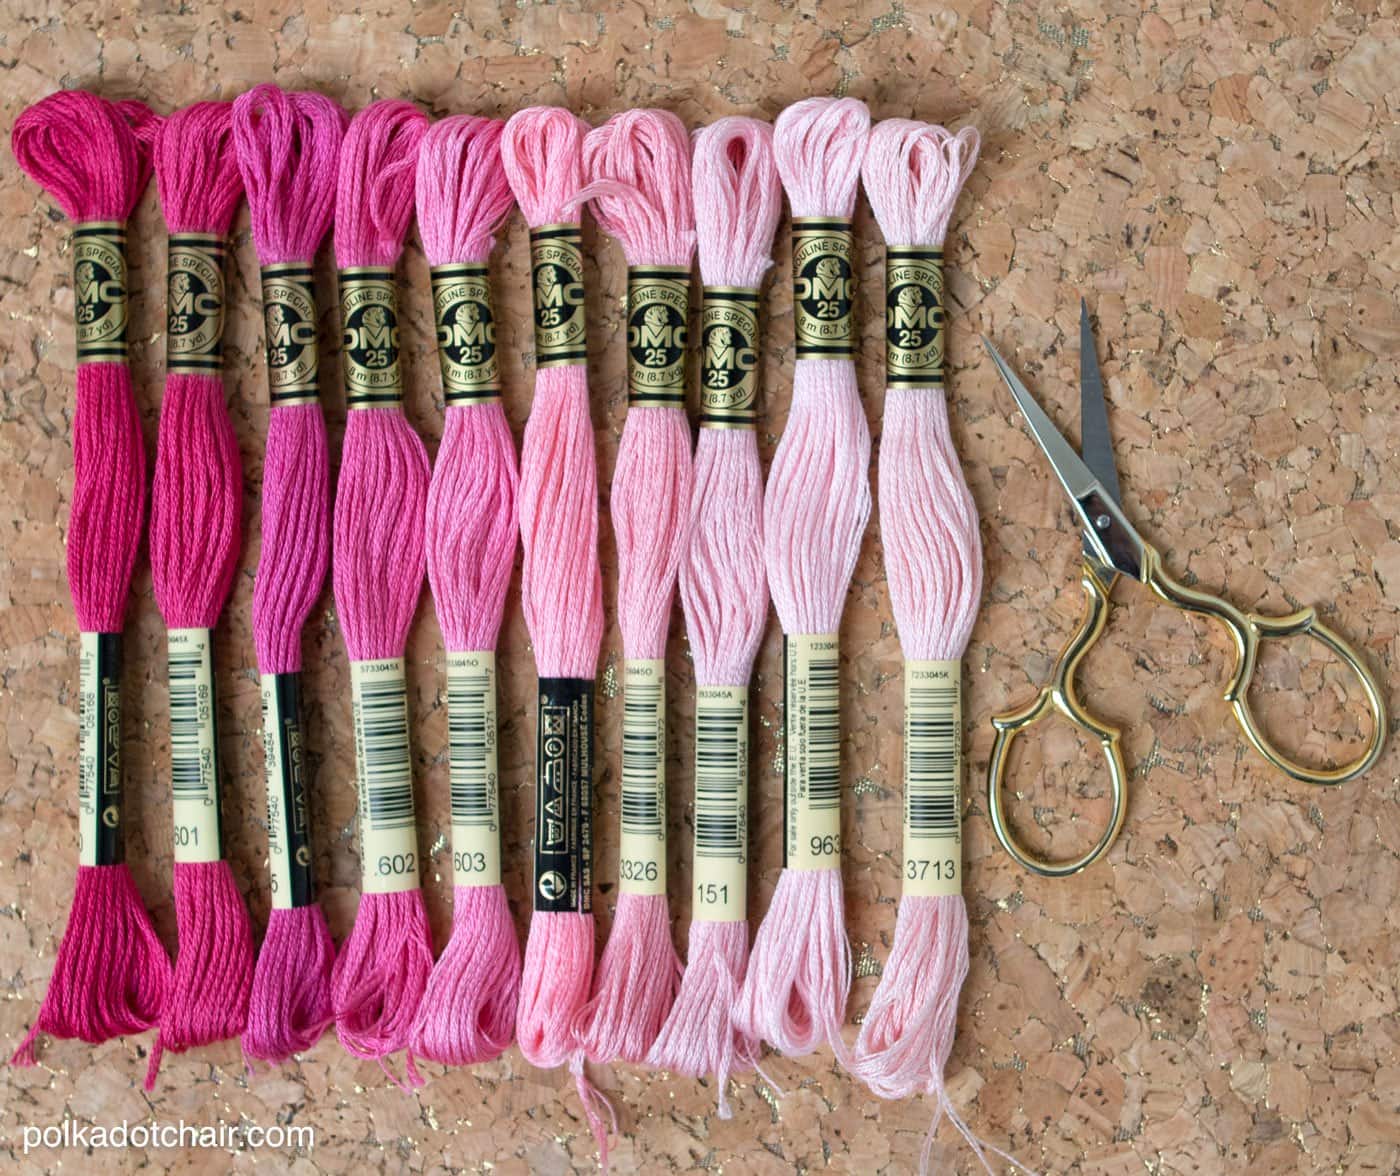
    • DMC Embroidery Floss
    • Embroidery Hoop
    • Embroidery Needle
    • Magnetic Snap
    • Tracing Paper
    • Monogram (print yourself at home, I used the Circle Monogram Font)
    • Pressing Cloth

    Cutting Directions:

    To begin cut:

    3 pieces of fabric 8″ x 10″

    2 pieces of cork 8″ x 10″

    3 pieces of interfacing 8″ x 10″

    Set aside.

    Instructions

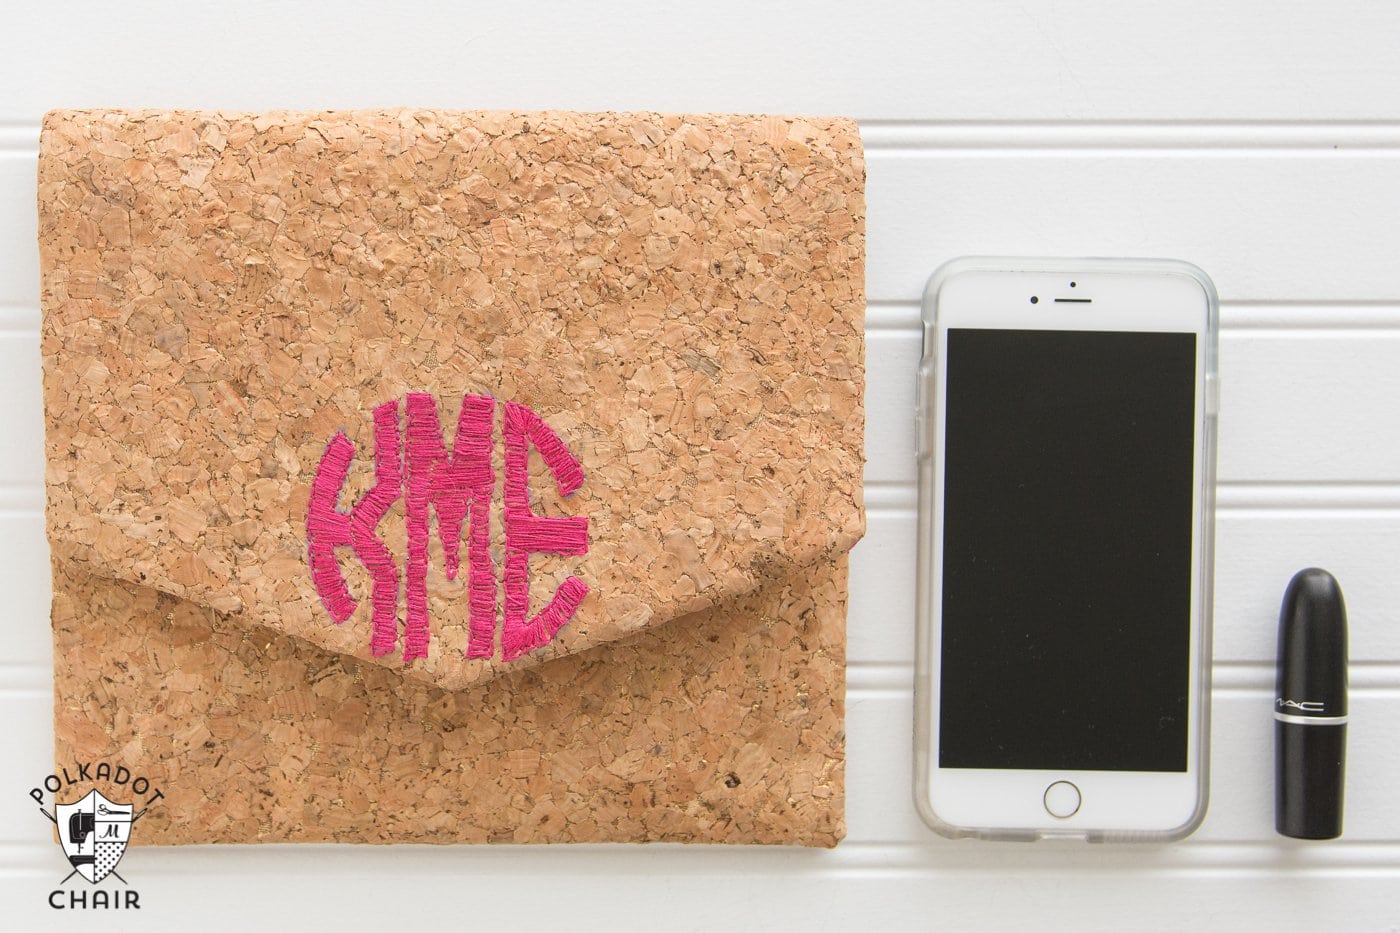
    The first thing you will want to do is transfer your monogram pattern onto the cork. In retrospect I wish I had placed my monogram about 1″ higher on the cork piece, so I’ll share those directions with you.

    Free sewing pattern for a DIY Monogrammed Cork Clutch on polkadotchair.com

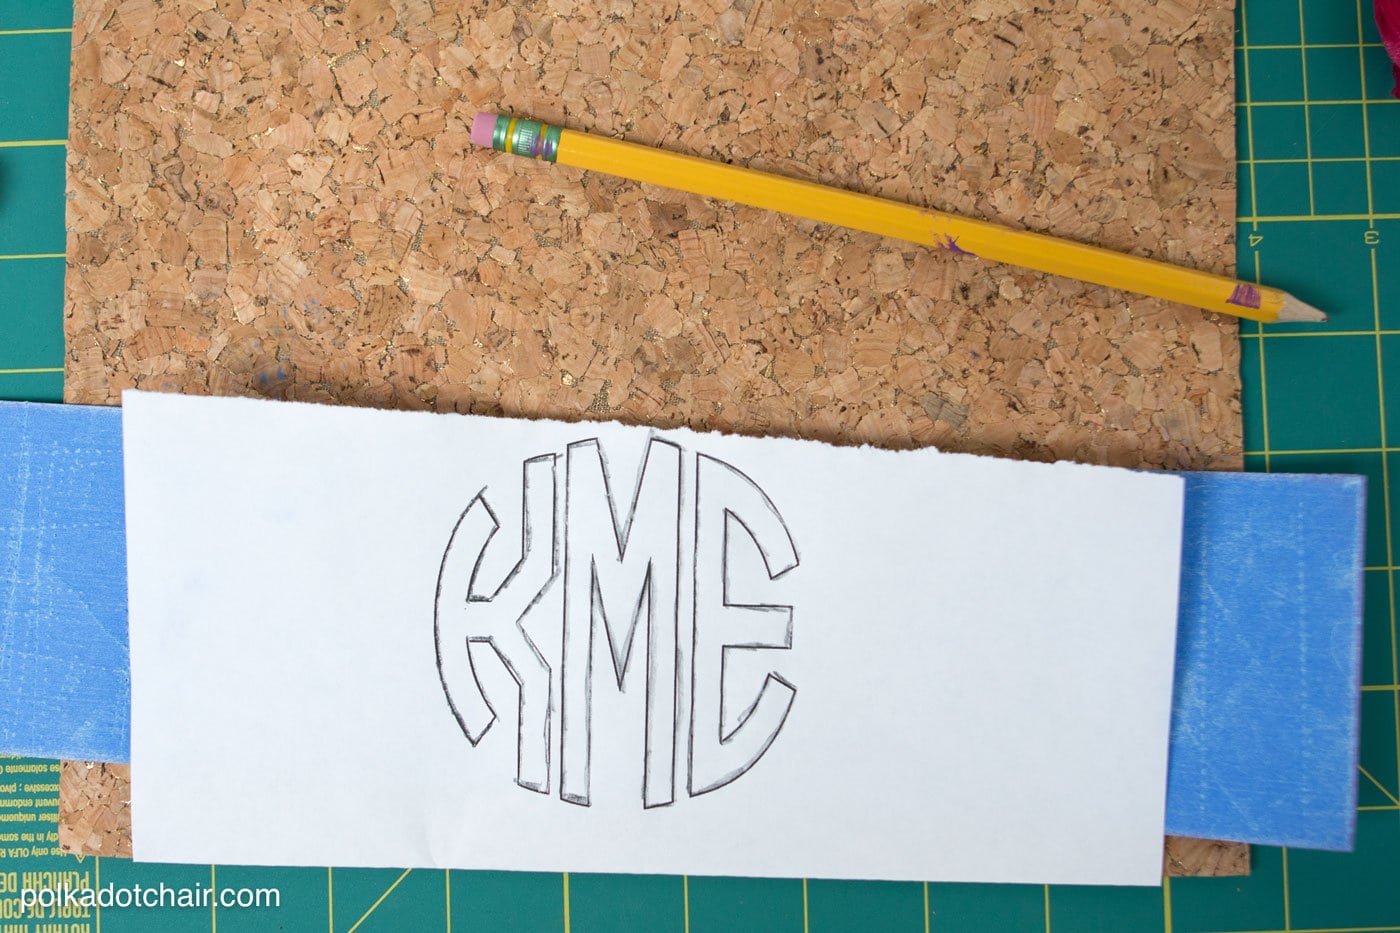
    Cut out your monogram and place it on top of one of the 10″ x 10″ pieces of cork, make sure that it is centered on the cork and the bottom of the monogram is 2″ up from the bottom edge of the cork.

    Place the tracing paper behind the monogram and using a pencil trace the monogram.

    Free sewing pattern for a DIY Monogrammed Cork Clutch on polkadotchair.com

    The monogram should transfer to the cork. Use a fabric safe marking pen if necessary to fill in any spots that did not transfer well enough.

    Free sewing pattern for a DIY Monogrammed Cork Clutch on polkadotchair.com

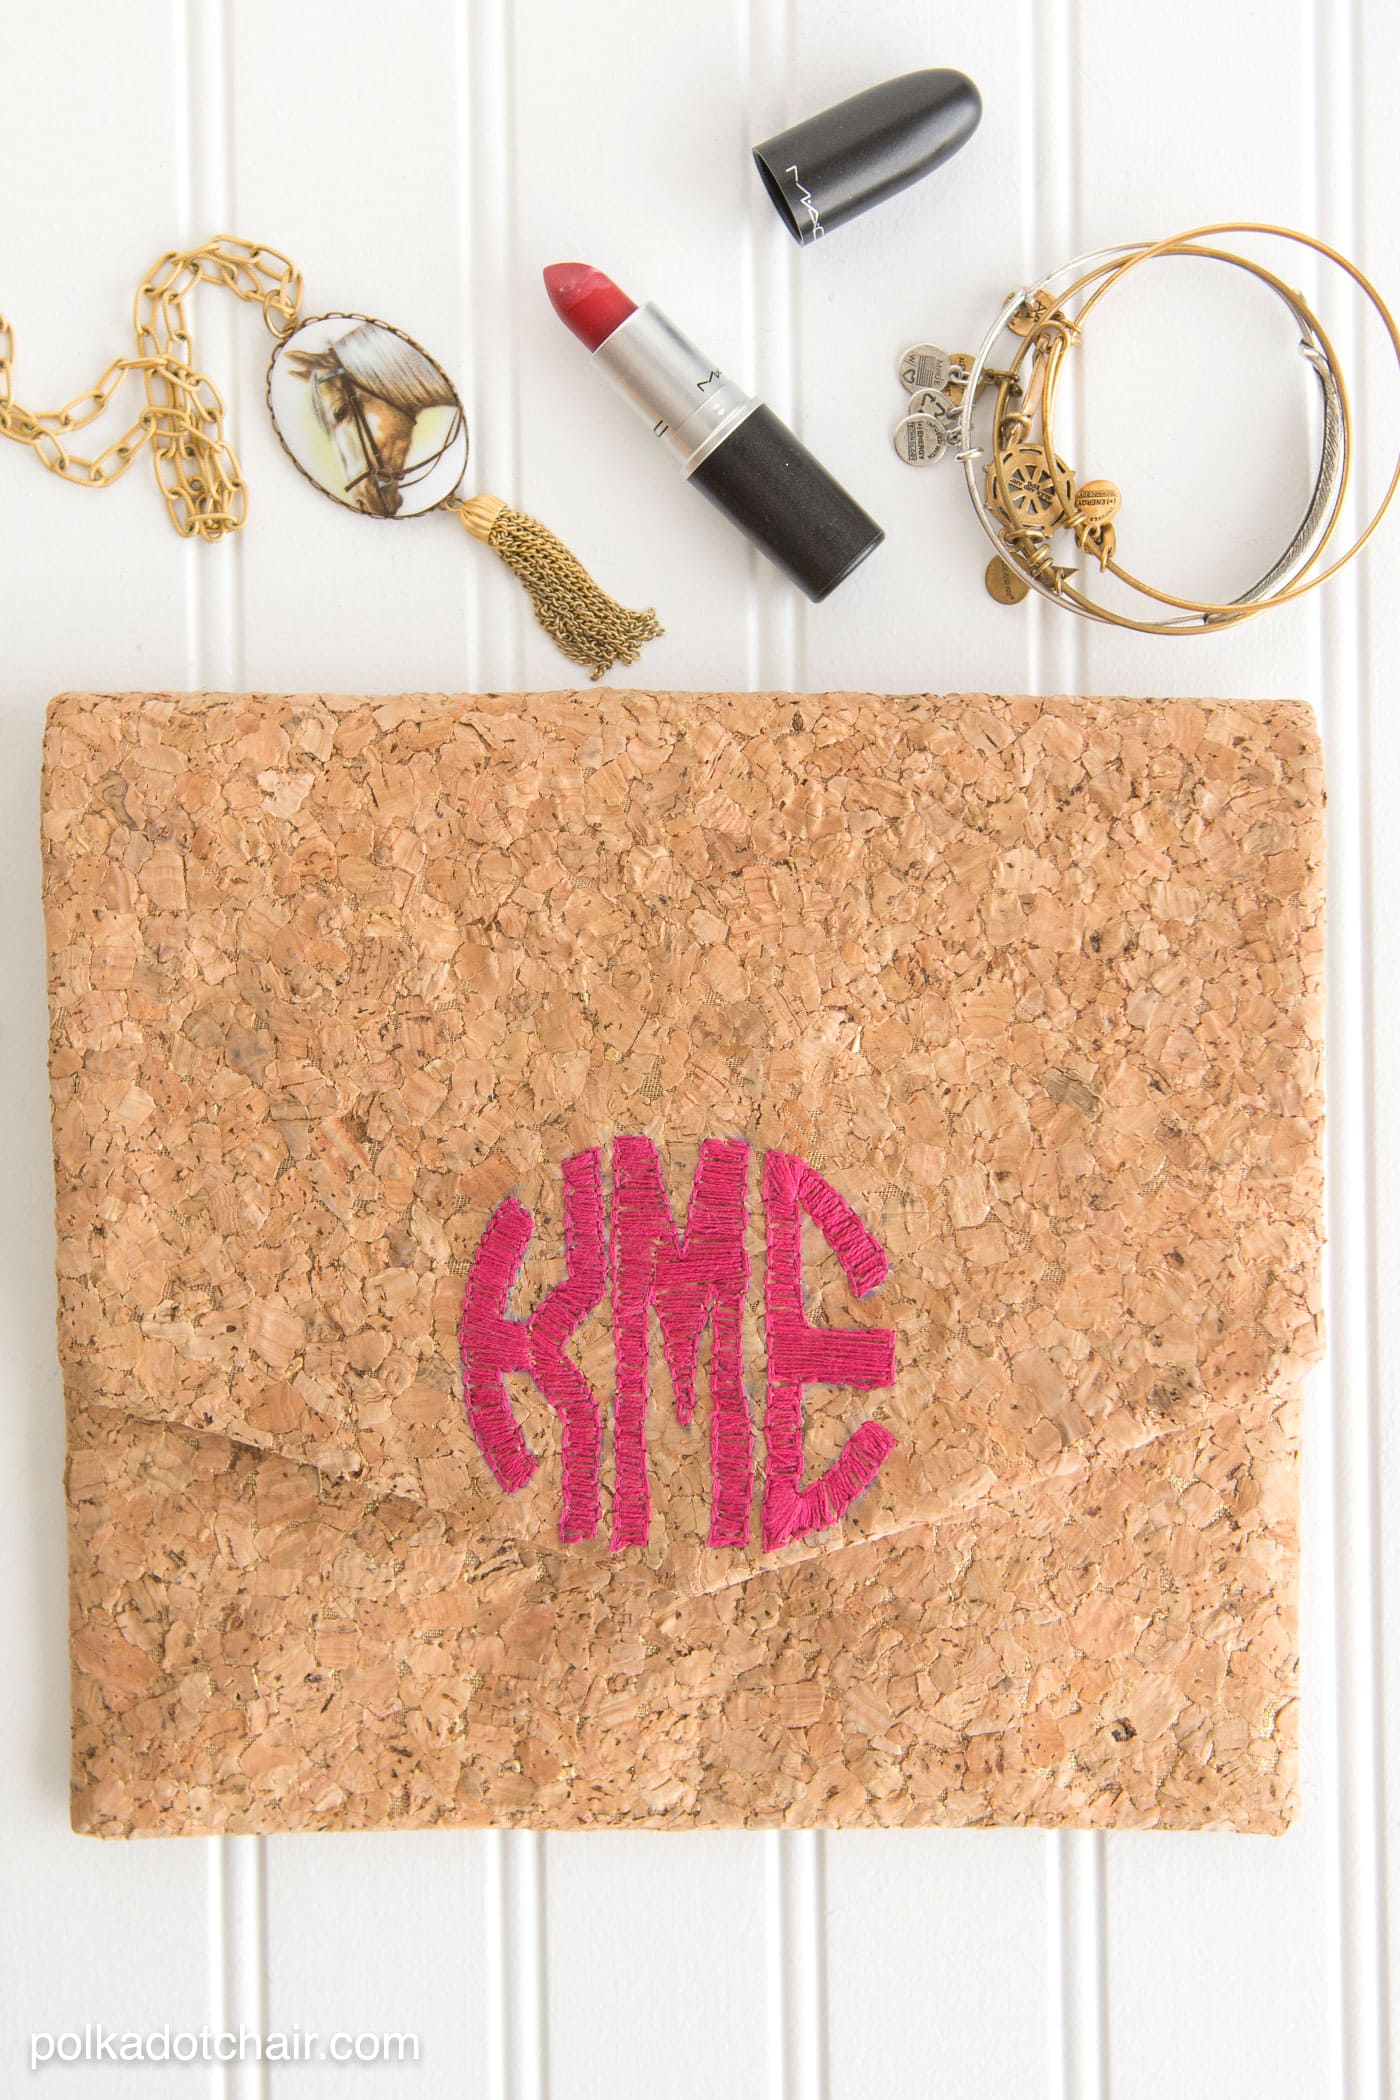
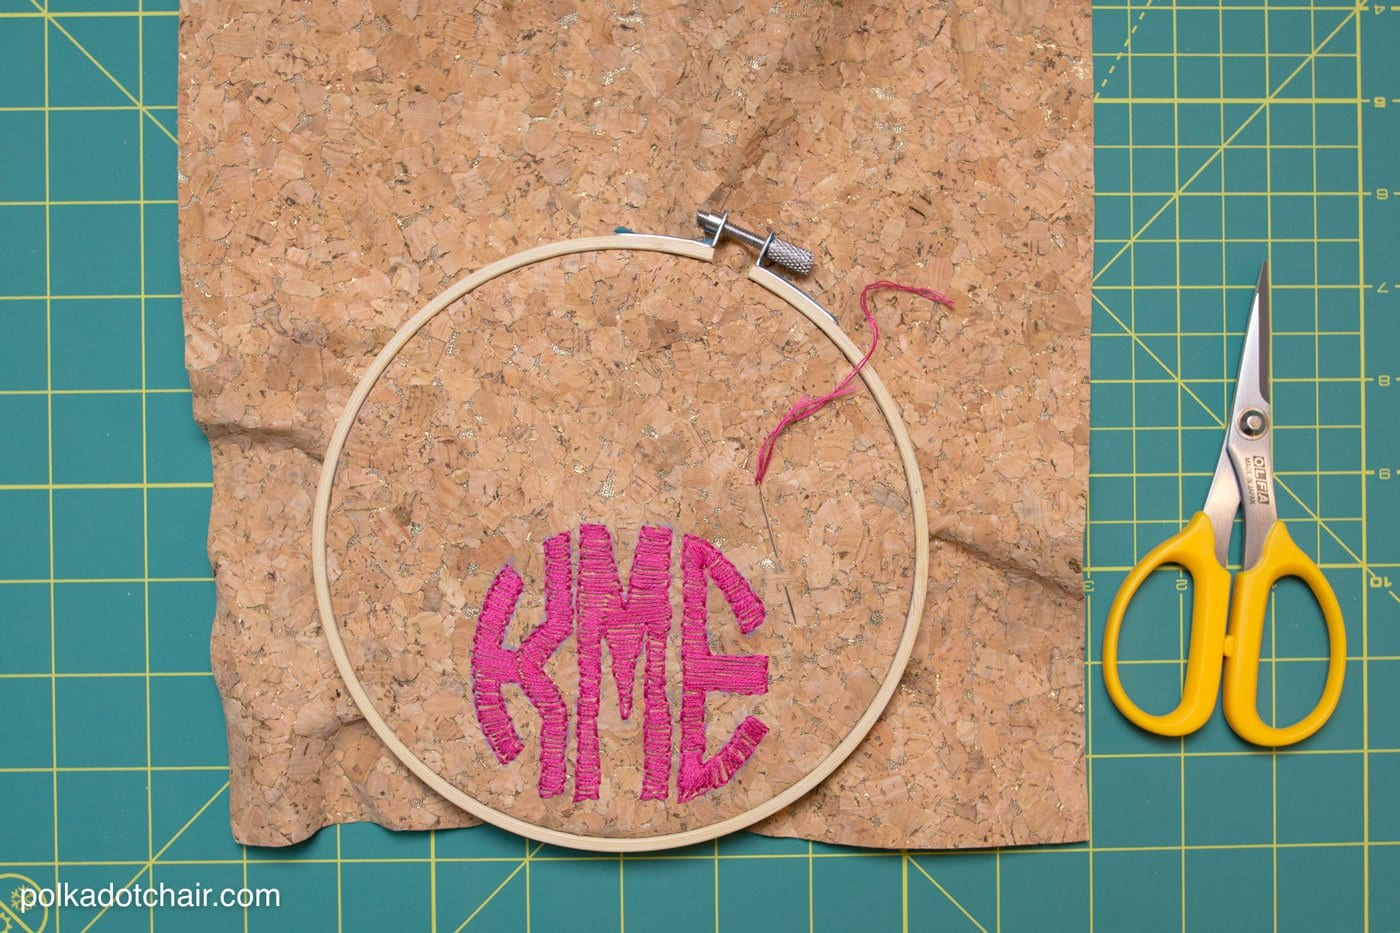
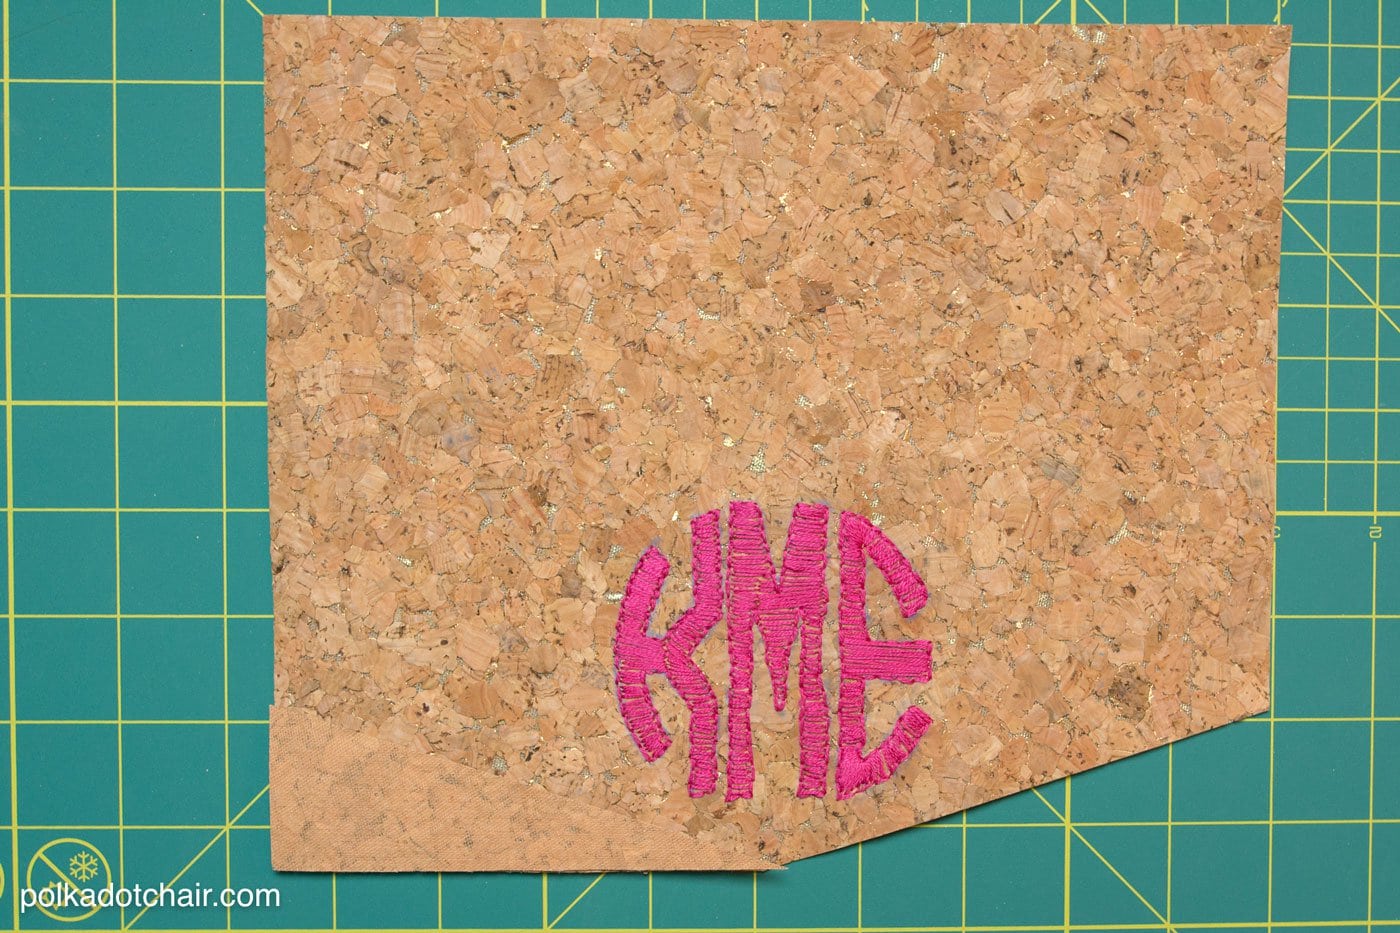
    Place the cork in an embroidery hoop. You can now embroider your monogram. To do this, outline the letters first using a simple backstitch. Then fill in the letters with a simple satin stitch. I used 3 strands of embroidery floss to create my monogram.

    Free sewing pattern for a DIY Monogrammed Cork Clutch on polkadotchair.com

    Remove the cork from the embroidery hoop and press it so that it lays flat. I used a pressing cloth each time I needed to iron the cork.

    Free sewing pattern for a DIY Monogrammed Cork Clutch on polkadotchair.com

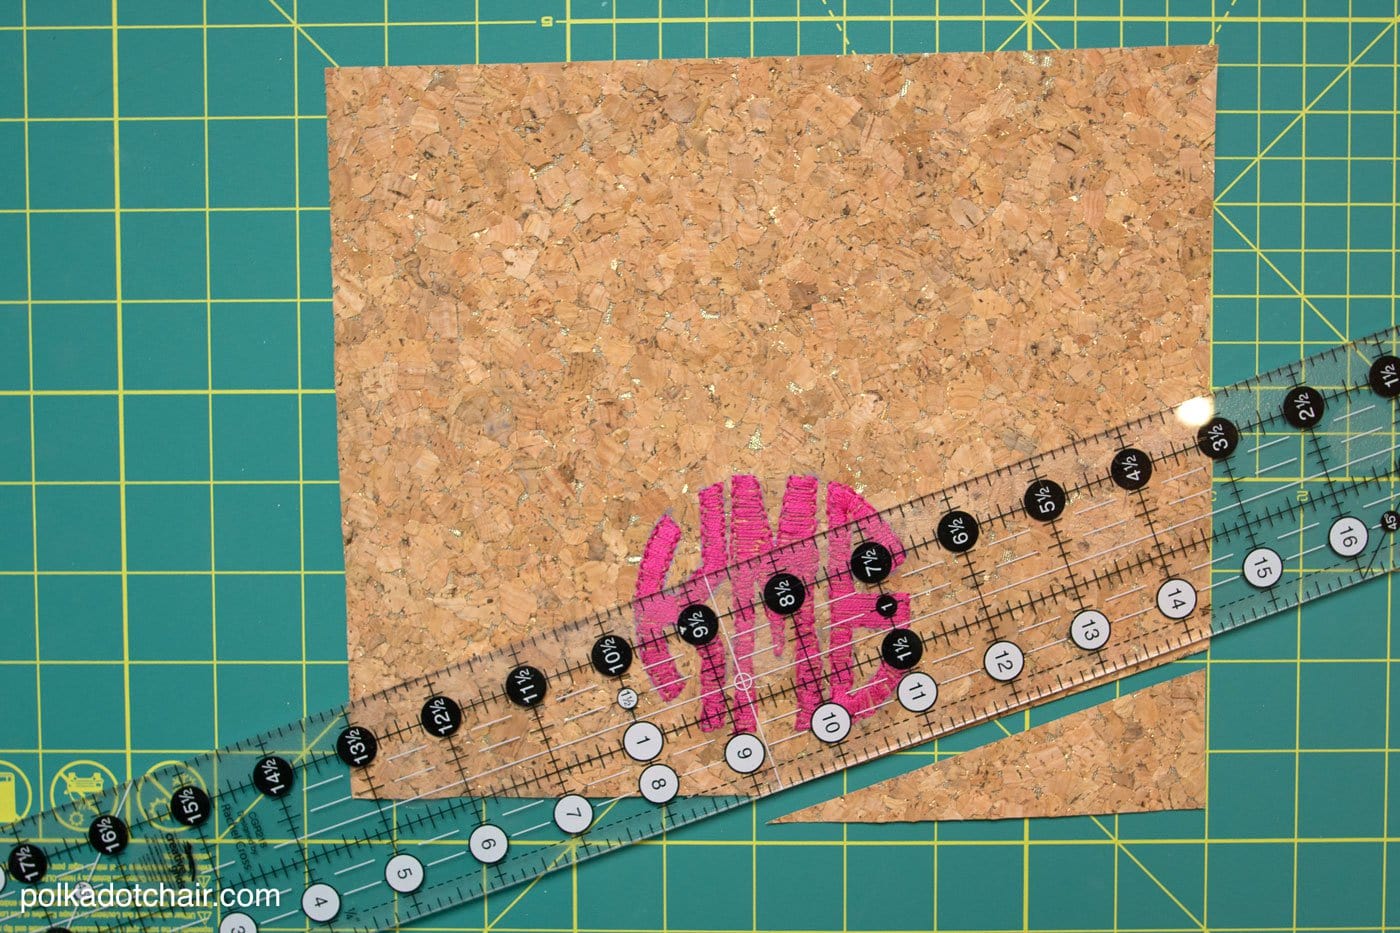
    Find the bottom center of the embroidered cork piece. Mark it. Mark the edge of the piece 1 ½″ up from the bottom. Use a ruler and draw a line from the center bottom to the 1 ½″ mark. Cut.

    Free sewing pattern for a DIY Monogrammed Cork Clutch on polkadotchair.com

    Using the piece you just cut as a guide, cut the other half on the cork. Now cut the cork so that it is 8″ tall.

    Using this piece as a guide, cut your 8″ x 10″ interfacing and lining pieces the same shape.

    Free sewing pattern for a DIY Monogrammed Cork Clutch on polkadotchair.com

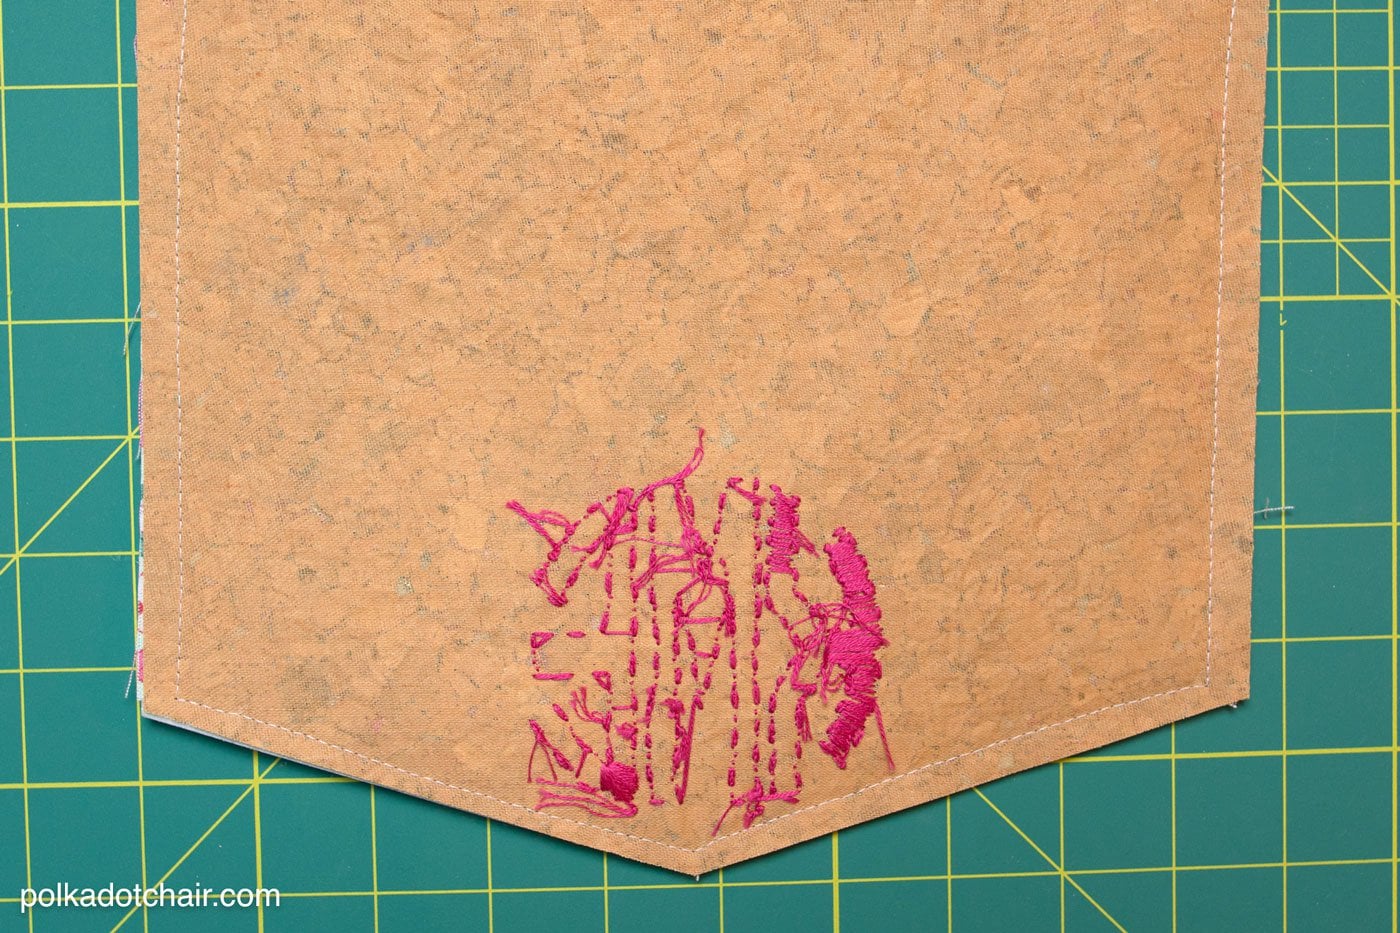
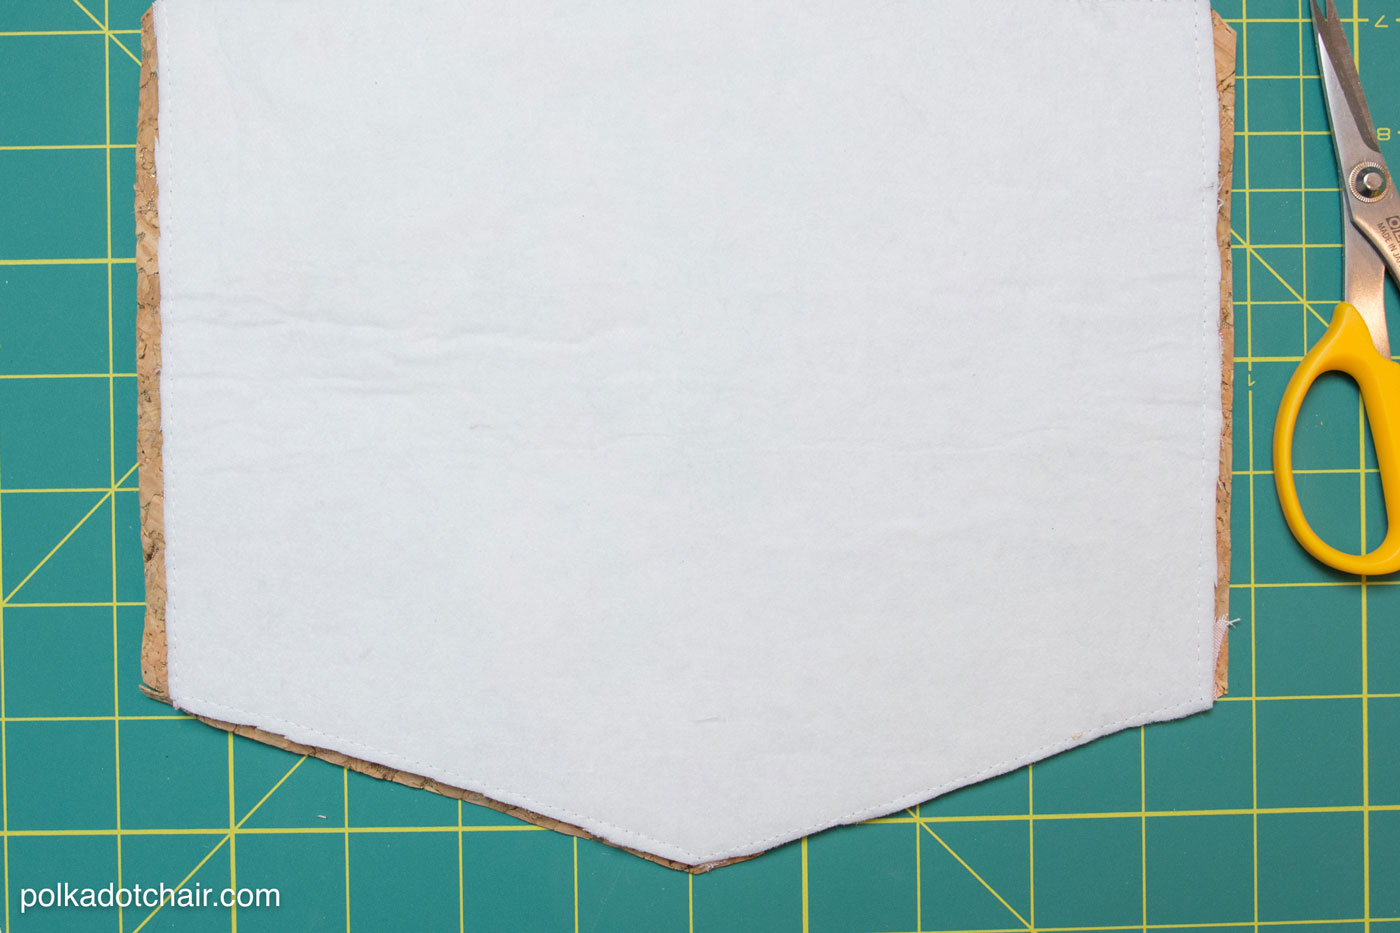
    Create the clutch flap: Layer the cork and the lining pieces right sides facing. Place the interfacing on the wrong side of the lining piece. Stitch all layers together using a ¼″ seam allowance. (I find it helpful to use a walking foot whenever I’m stitching multiple layers together like this). You will leave the top of the flap piece open.

    Trim the corners. Cut the seam allowance of the interfacing down to a scant ⅛″. Turn right side out and press.

    Free sewing pattern for a DIY Monogrammed Cork Clutch on polkadotchair.com

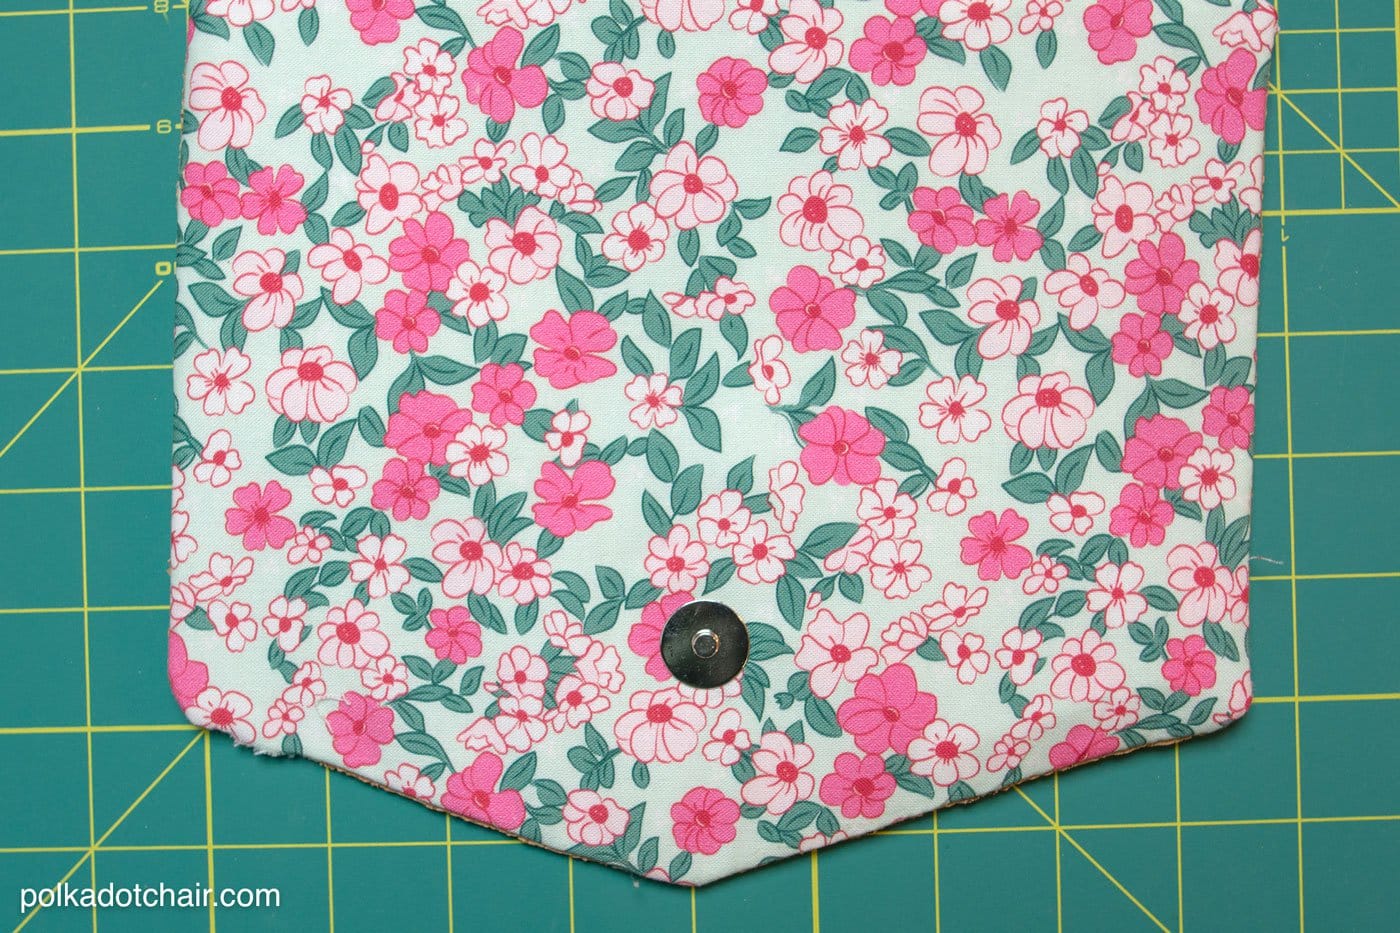
    On the lining side of the flap, find the center of the flap piece. Measure up 2″ from the point of the flap and place a mark.

    Set a magnetic snap on top of the point you just marked. The snap will go through the interfacing and the lining but NOT the cork.

    Free sewing pattern for a DIY Monogrammed Cork Clutch on polkadotchair.com

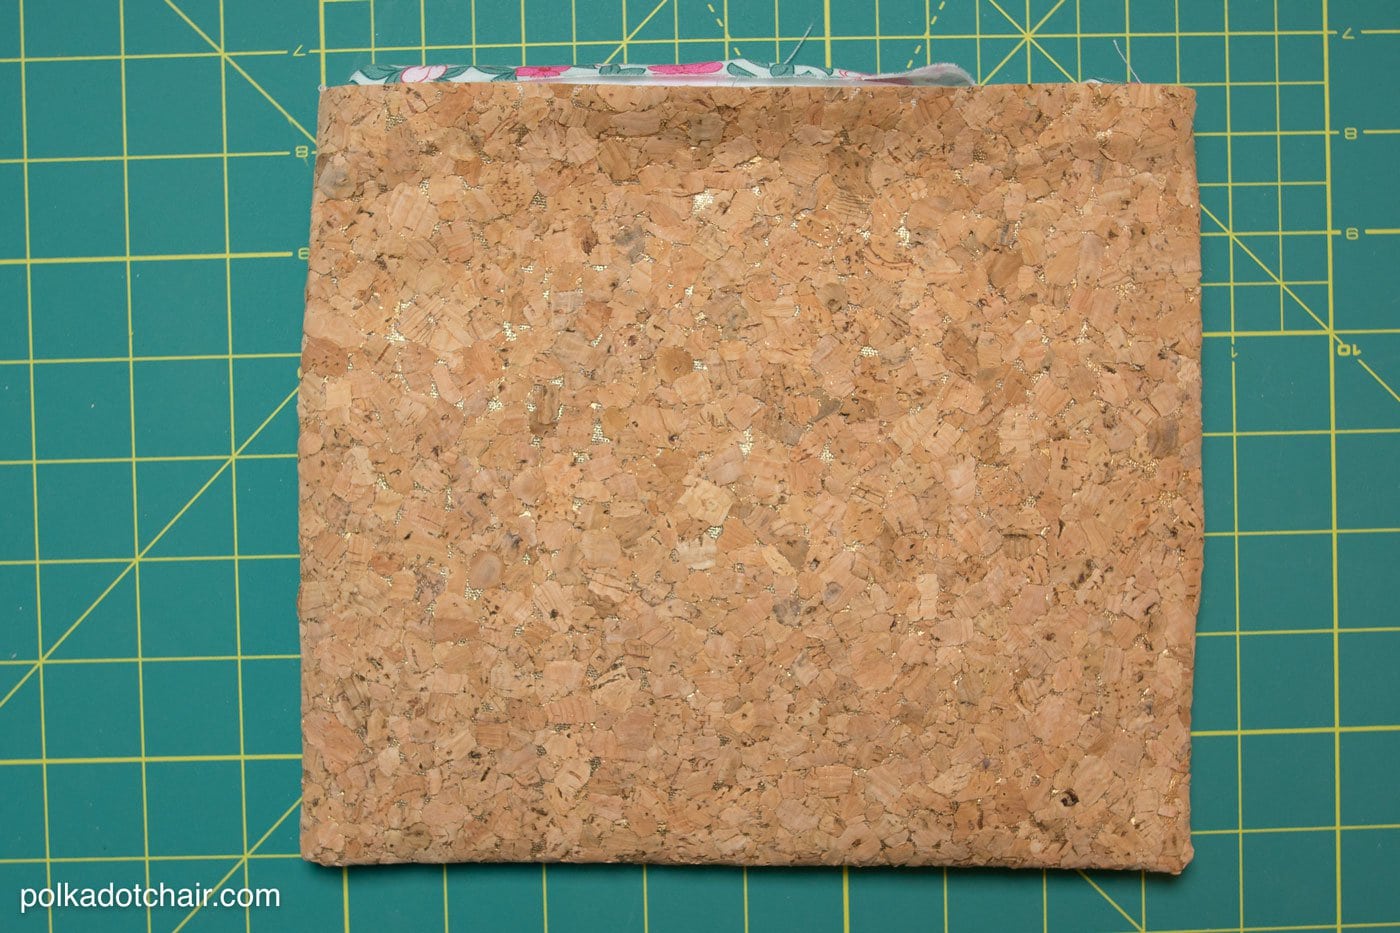
    Place the two 8″ x 10″ cork pieces together right sides facing. Stitch with ¼″ seam allowance, leaving one 10″ side open.

    Turn right side out.

    Place the two 8″ x 10″ lining pieces right sides facing, place one piece of interfacing on the wrong side of each of the lining pieces. Stitch together using a ½″ seam allowance, leaving one 10″ side open.

    Trim the seam allowance down to ⅛″.  Fold under the top raw edge ¼″ and press.

    Free sewing pattern for a DIY Monogrammed Cork Clutch on polkadotchair.com

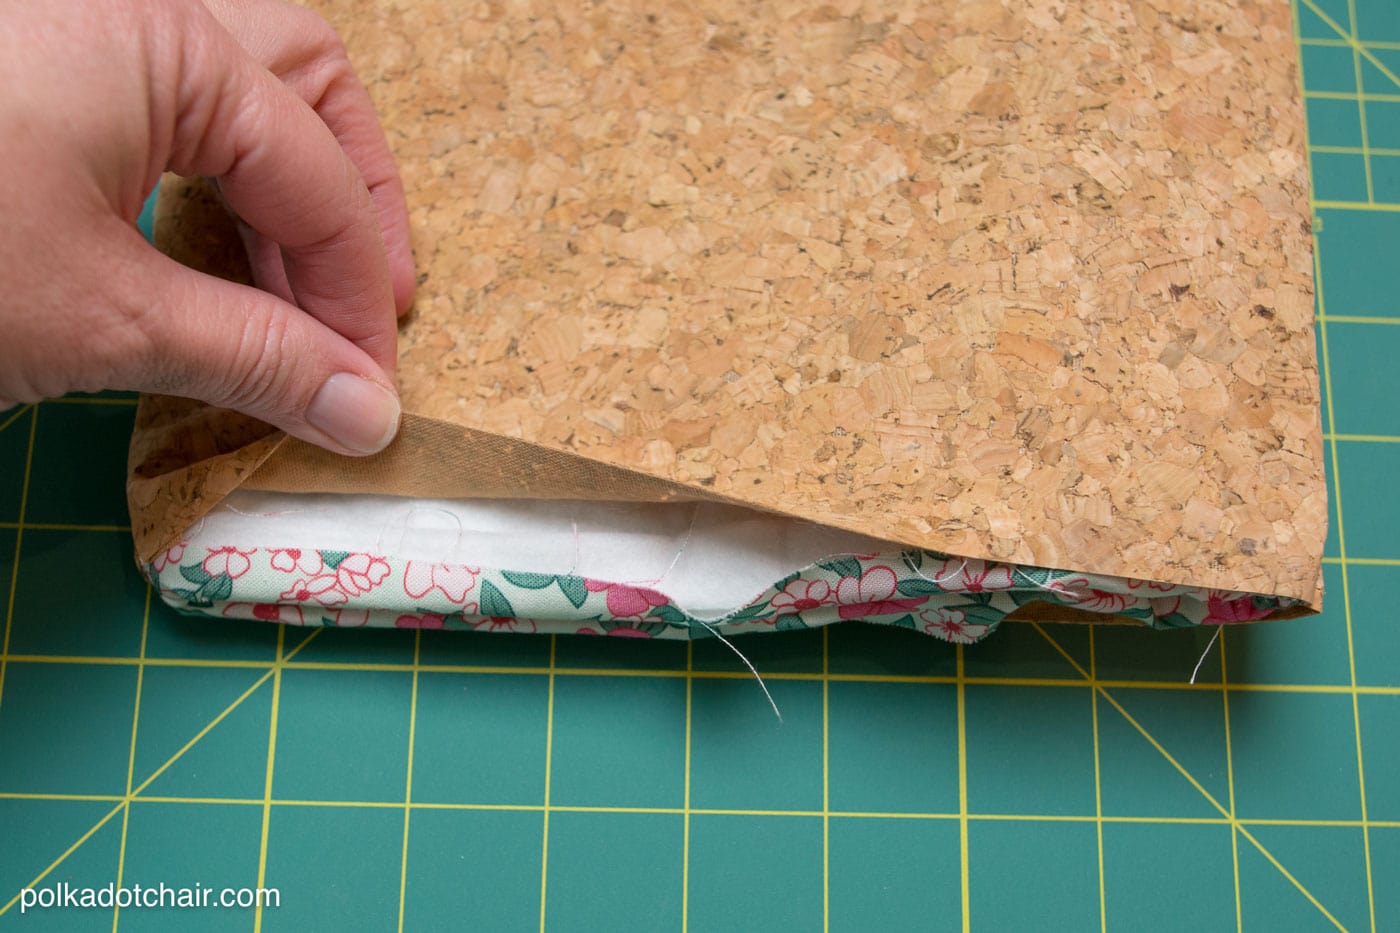
    Slip the lining into the sewn cork clutch piece. It should fit snugly. If not adjust the seam allowance of the lining as necessary.

    Line it up so that the edge of the cork is even with the folded edge of the lining. Pin well, but don’t sew it yet.

    Free sewing pattern for a DIY Monogrammed Cork Clutch on polkadotchair.com

    Slip the flap piece into the clutch piece.
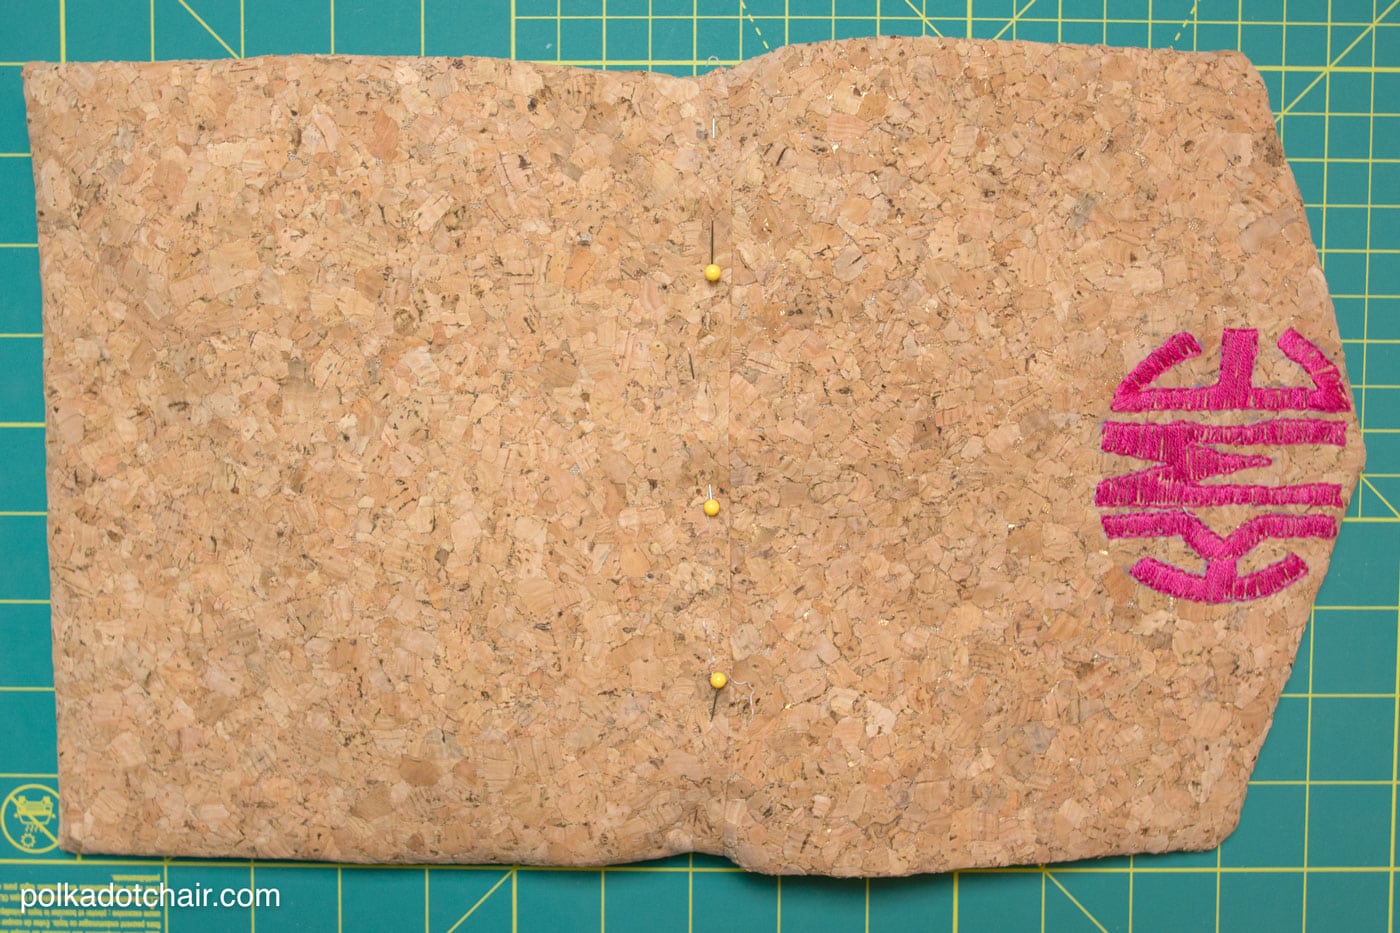
    Free sewing pattern for a DIY Monogrammed Cork Clutch on polkadotchair.com

    Pin well.

    Stitch in place. Start and stop stitching at the edges of the flap.

    To finish the clutch, top stitch along the other side of the clutch (the side that does not have the flap attached).

    Fold the flap over and note where you’d like the flap to hit on the clutch front. Place a mark where the magnetic snap meets the front of the clutch.

    Set the other half of the magnetic snap on this mark. This snap will go through all the layers of the clutch.

    Free sewing pattern for a DIY Monogrammed Cork Clutch on polkadotchair.com

    More Projects You May Enjoy

    • 25 Free Patchwork Quilted Pillow Patterns
    • Mini Fabric Envelope Sewing Pattern
    • Meet My Valentine’s Day Fabric Collection
    • 40 Valentine’s Day Projects to Sew

    • Share
    • Email

    About Author

    Melissa Mortenson

    Melissa Mortenson is a blogger, designer, and content creator. She is the Polka Dot Chair blog founder and has been sharing fresh and creative ideas with readers since 2008. She is the author of “Project Teen, Handmade Gifts your Teen will Actually Love.” Her work and designs have been featured on HuffPost, TODAY, Pioneer Woman, HGTV, BuzzFeed, Better Homes & Gardens, and many other established publications. Her first fabric line, “Derby Style,” debuted in January 2015 through Riley Blake Designs.  Additional fabric collections have followed it in subsequent years. A mom of 3, she considers herself lucky to be living in Kentucky.

    Reader Interactions

    Comments

    1. Beverly {Flamingo Toes} says

      October 28, 2016 at 5:30 pm

      I just adore this clutch Melissa!! It is so fun in the cork and the monogram really stands out. And of course I love your new fabrics – they are so pretty!!

      Reply
      • Melissa Mortenson says

        November 01, 2016 at 1:14 pm

        Thanks Bev!

        Reply
    2. erin says

      October 29, 2016 at 8:17 am

      super duper cute!

      Reply
    3. Sharron says

      October 31, 2016 at 11:30 am

      I love the clutch where would I get the cork fro I live in Canada

      Reply
      • Melissa Mortenson says

        November 01, 2016 at 1:11 pm

        Can you order from Amazon in Canada?

        Reply
    4. Mara says

      November 01, 2016 at 5:58 am

      This looks awesome, would love to try out the stitchable cork, must go out and buy some!

      Reply
    5. Diane says

      July 09, 2019 at 11:23 pm

      M & M cork supply is in canada and has tons of difference cork designs. It is also lined cork and works and holds up well. Some corks that I have found else where are not lined well and crack and do not hold up well to wear. The cork at M & M corks supply is much sturdier. I have made many bags and wallets with it and it sews easily through 2 or three layers without difficulty. For thicker pieces you may need a heavier machine that will not skip stitches and a larger top stitch needle. Try to design pieces where you are not doubling up the edges so that there are not too many layers. Love Love Love Cork!!

      Reply

    Leave a Reply Cancel reply

    Your email address will not be published. Required fields are marked *

    This site uses Akismet to reduce spam. Learn how your comment data is processed.

    Primary Sidebar

    Hello! It’s nice to meet you.

    I’m Melissa. I like to design things, like fabric, printables, and projects.

    I’m also a Mom and a Maker. I am like most of you, just trying to do my best every day. Some days I succeed, many days I fail.  I find joy in creating, if you do too, then I hope that you find something here bring a little “happy” to your life.  Find out more about me here.

    COPYRIGHT POLICY

    All my images and text are copyrighted. You may NOT use any images from this site in any kind of Video (this includes YouTube). If you would like to feature my work, you may use ONE (1) NON-COLLAGED image and must “follow” link back to my original blog post. You may NOT edit, crop, or change my images in any way without written permission. You MAY NOT print out or copy and distribute any text, images or patterns from this site. All patterns, content, instructions, and templates are for personal use ONLY! Thank you! Violators will be reported.

    Footer

    ↑ back to top

    About

    • Privacy Policy
    • Disclaimers
    • About Melissa
    • Instagram
    • Facebook
    • YouTube
    • Pinterest

    Newsletter

    • Sign Up! for emails and updates

    Contact

    • Contact
    • FAQ
    • Press
    • Published Books
    • Fabric Collections

    Welcome to the Polka Dot Chair! Here you’ll find easy, step-by-step, sewing, quilting, and crafting projects. We design projects for Makers of all skill levels. Beginners are welcome!

    DISCLAIMER:

    While every effort has been made to ensure the accuracy of the content on this website, the information is made available without warranty of any kind. The Polka Dot Chair accepts no responsibility or liability, whether direct or indirect, as to the currency or accuracy of the information, nor any consequence of its uses. This website is not intended to substitute the advice of a professional.

    Copyright © 2022 Polka Dot Chair

    [ Placeholder content for popup link ] WordPress Download Manager - Best Download Management Plugin