DIY Padded Camera Lens Case
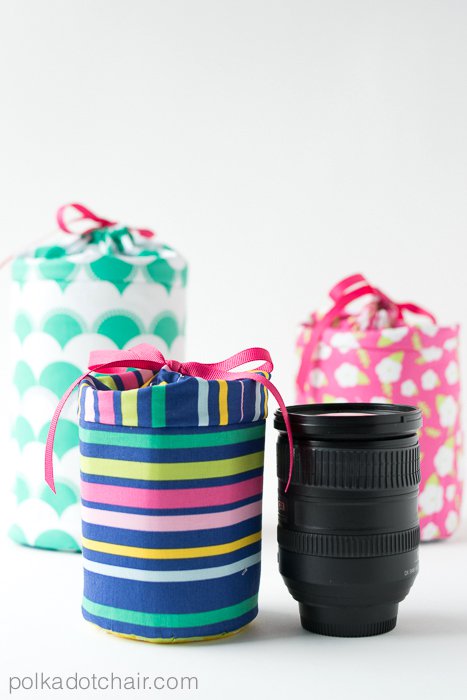
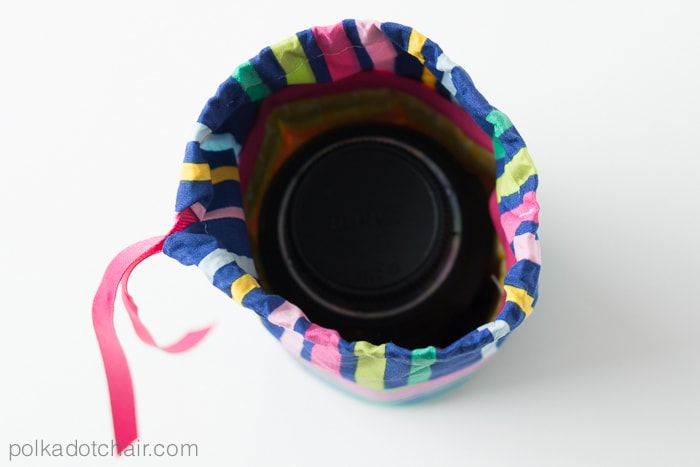
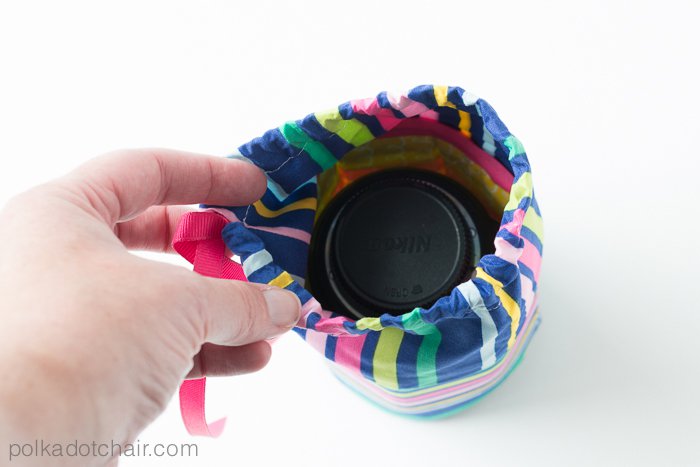
Protect your camera lenses when you’re on the go with these DIY padded camera lens cases. This sewing tutorial will walk you through making the lens cases step by step. If you like this project you may also like this Lens Cap Keeper Sewing Tutorial.
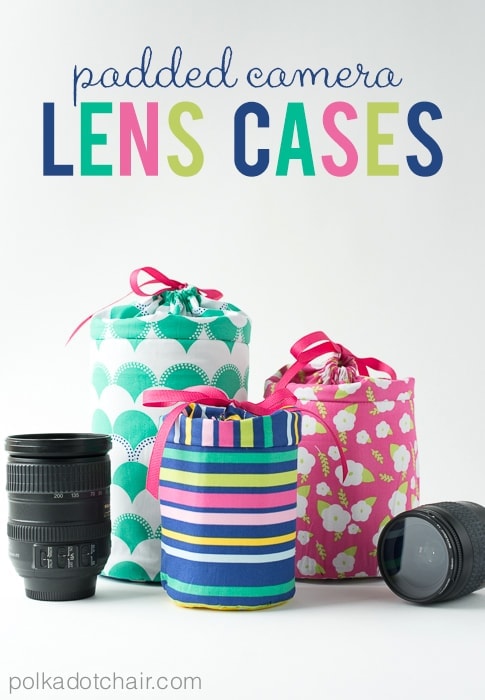
Sometimes when I travel I like to carry my camera around my neck and an extra lens in my purse/backpack instead of carrying my large camera bag around with me. The only problem with this is that sometimes the lenses can get jostled around a bit and need to be protected. I’ve had these padded camera lens cases on my “to make” list for a while now and finally sat down and made some for my upcoming London trip.
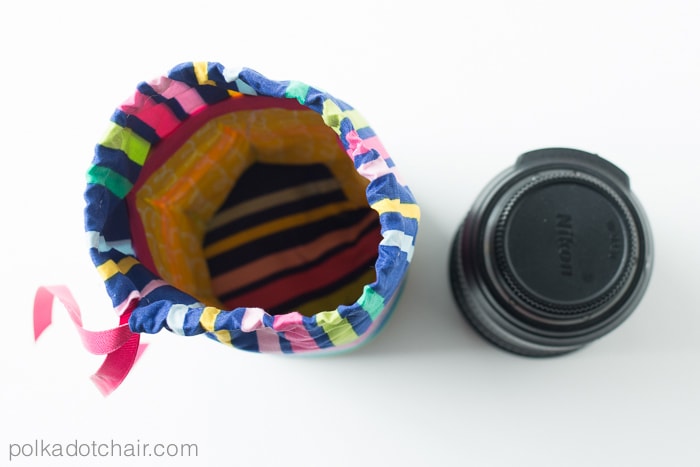
I designed them in 3 sizes small, medium and large. The large case I made for my zoom lens and the small one fits my 35 mm lens quite well. The medium one was designed for my 18-200 mm lens but it also fits snugly in the small case. You can pick and choose which size you’d like to make based on which lenses you have.
Okay, ready to make a lens case for yourself? Here’s how.
Camera Lens Case Sewing Tutorial:
Camera Lens Case Required Supplies:
To make the cases you’ll need (affiliate links):
Walking foot for sewing machine
Extra wide double fold bias tape
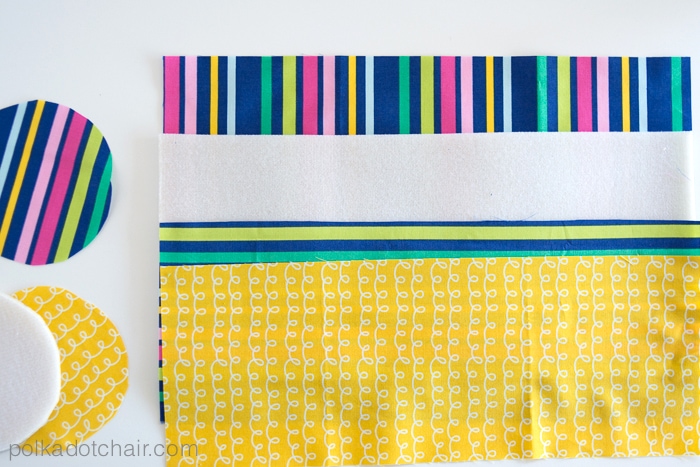
Cutting Guidelines:
Large Case:
From the 1/4″ foam cut:
5″ diameter circles
One piece 17″ x 8″
From the outside fabric cut:
5″ diameter circle
2 pieces 17″ x 8″ (I cut one each one with the stripes going a different direction to add variety)
From the lining fabric cut:
5″ diameter circle
1 piece 17″ x 8″
Medium Case:
From the 1/4″ foam cut:
5″ diameter circle
1 piece 17″ x 6″
From the outside fabric cut:
5″ diameter circle
1 piece 17″ x 6″
1 piece 17″ x 8″
From the lining fabric cut:
5″ diameter circle
1 piece 17″ x 6″
Small Case:
From the 1/4″ foam cut:
4″ diameter circle
1 piece 13.5″ x 5″
From the outside fabric cut:
4″ diameter circle
1 piece 13.5″ x 5″
1 piece 13.5″ x 8″
From the lining fabric cut:
4″ diameter circle
1 piece 13.5″ x 5″
Directions
Step One:
Assembly instructions are the same for all 3 sizes of case. The small case is used as an example for instructions. For each case the 8″ tall pieces are for the gathered part at the top. All seam allowances are 1/2″ unless otherwise stated.
Begin by sewing the 13.5″ x 5″ outside piece right sides together along the 5″ side. Press the seam open.
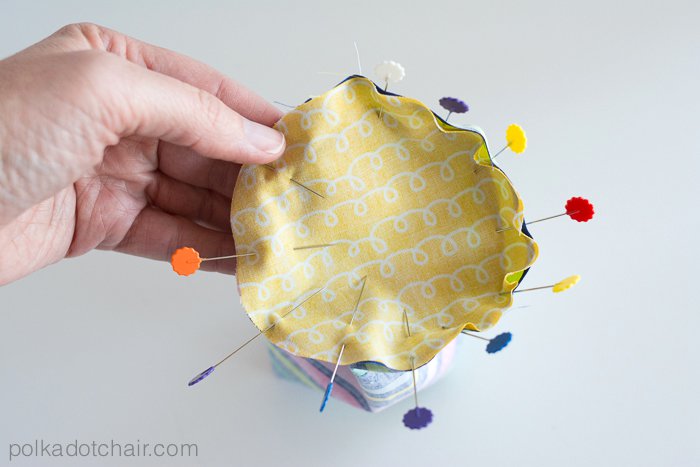
Pin this piece to the 4″ circle piece. (just a note, I used the lining circle here for contrast). Use lots of pins and go slow. Depending on how you pin and the size of your seam allowance, it may not match the circle. If it doesn’t adjust the seam on the outside piece until it fits. If you adjust this seam allowance make sure you adjust it also for the lining piece (the next steps).
Stitch the circle to the case. You may get a few gathers but that’s okay. If you get a large pucker unpick it and flatten it out. Set aside.
Step Two:
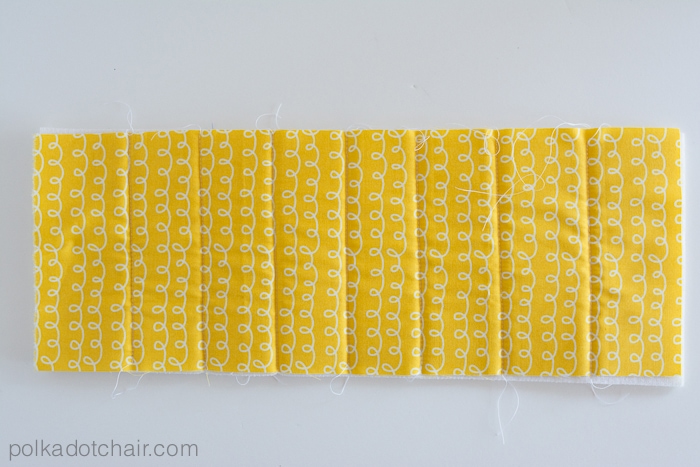
Using the walking foot on your sewing machine, stitch the lining piece to the foam piece at regular intervals. This will help the lining from shifting around as you sew.
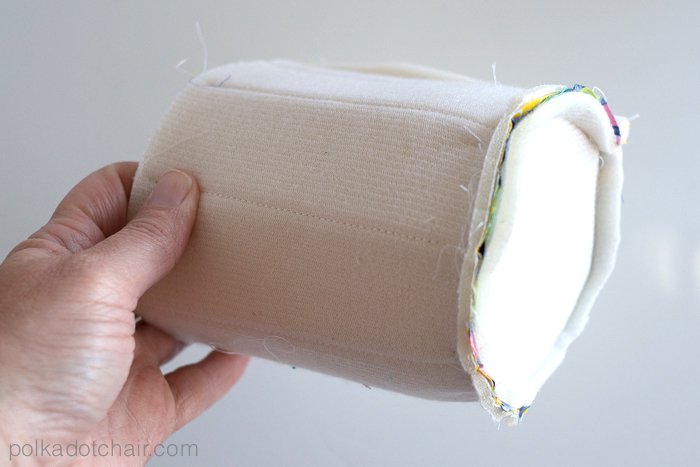
Sew this piece together as you did for the outside piece. Place the foam circle on the wrong side of the fabric circle piece. Sew this piece to the circle the same way you did in step one.
Trim all seam allowances down to 1/8″ – 1/4″.
Step Three:
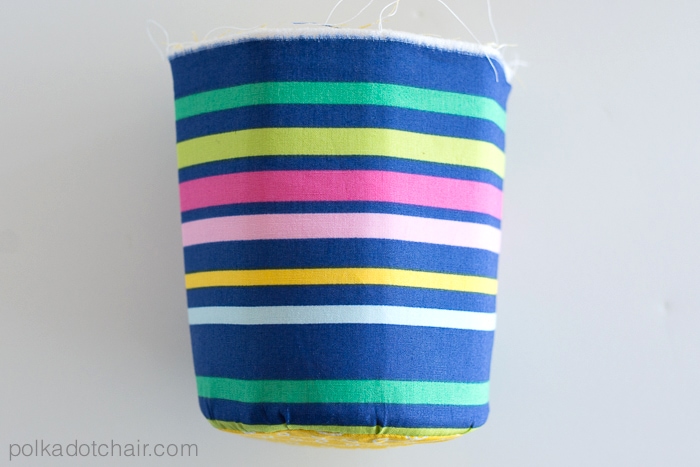
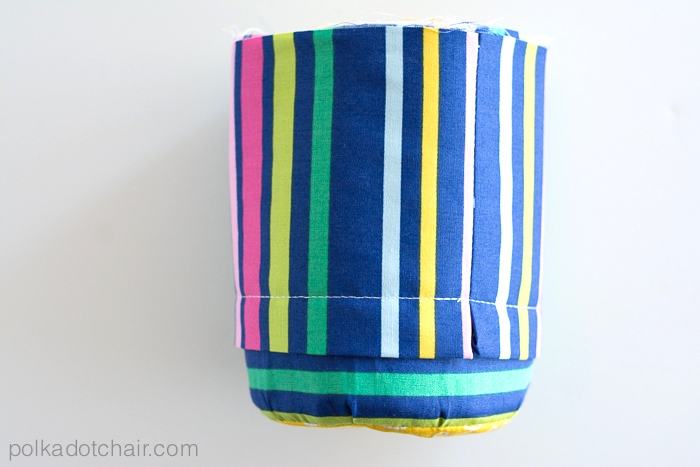
With wrong sides facing slip the case outside over the case lining. Pin in place.
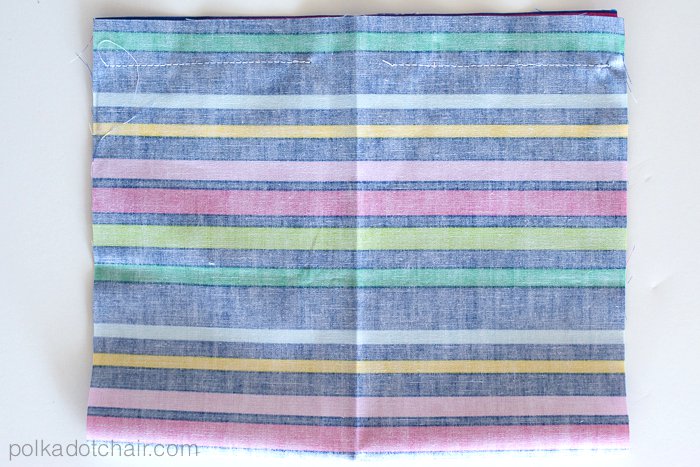
Press the 13.5″ x 8″ piece in half lengthwise with wrong sides together. unfold. Stitch along the 8″ side, leaving a 1″ hole in the center (1/2″ on each side of the fold you made). Be sure to back-stitch.
Refold piece.
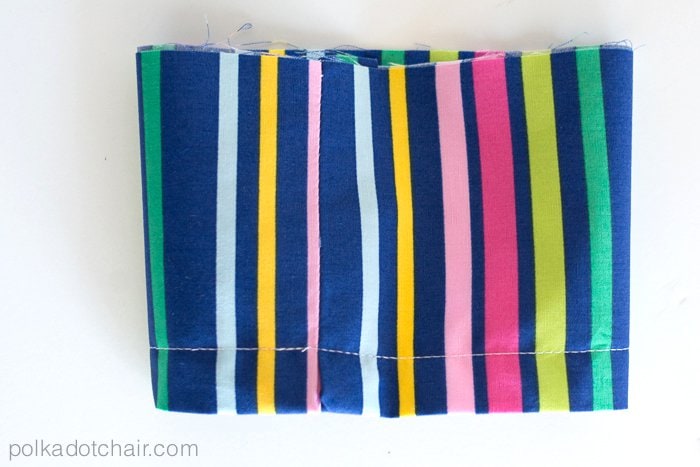
Create a casing by sewing 1/2″ down from the fold.
Slip it over the case with the raw edges facing. Stitch in place very close to the edge. Using a walking foot for this step may help feed the fabric more evenly.
Finishing:
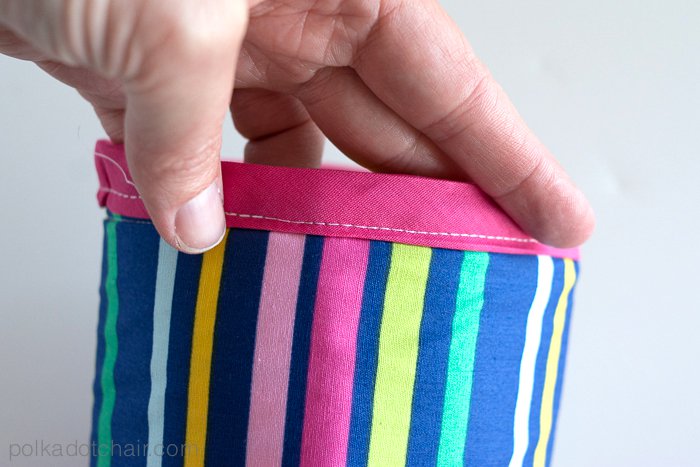
Finish the raw edge with bias tape. For a tutorial on how to sew with bias tape click here. Flip this piece up to and insert ribbon in the casing to create the gathered top of the case.
Feed ribbon through the casing and pull on the strings!
More Sewing Tutorials:
DIY Earbuds Case Sewing Tutorial
I’ve been needing to make some of these! Now I can use your tutorial instead of having to noodle it out myself. I’ve got a Craft Gossip post scheduled for tomorrow afternoon that links to your tutorial:
http://sewing.craftgossip.com/tutorial-padded-camera-lens-cases/2014/07/31/
–Anne
Cute AND functional. Brilliant.
A very cute and smart way to store your lenses, for sure. Love the fabrics you used, thanks for sharing!
These are great, and so practical! My dad is a huge camera addict and I’m always looking for fun crafting projects I can make him for gifts. These would be perfect!
Love this! Where would one get foam? And what brand did you use?
You can find it at craft stores, dollar store (check floral arrangement area buy a $1 hand towel) or Joann fabrics
I hardly ever take more than one lens with me because I don’t have anything to keep it protected – problem solved! And I have a ton of fun fabrics that will be perfect for making some cases. These would make a great gift for my photographer friends, too!
I don’t take very good care of my lenses….. I need to make this ASAP!!! thanks so much for the inspiration!
What a brilliant idea! Thanks for sharing 🙂
What a great idea! A lot of times all I carry is a second lens instead of a whole camera bag and I usually just wind up wrapping it in a bandana or a t-shirt. It still rolls around in the bottom of my giant purse.
This padded lens case is exactly what I need. We fly on Friday so guess what I’m making today. Thank you!
I’m so excited to make these for a photographer friend. She gave me lens measurements with 2.5 inch diameters, and 3.5 and 4.5 heights. So I’m assuming and hoping the small case will fit…any recommendations? Also your foam appears to have a fabric-like surface, mine has a this on one side, but the other is the foam, do you recommend any interfacing?
Thanks!
What exact foam did you fine to use for this project? Thanks.
It’s 1/4″ foam, you can buy it at fabric stores, sometimes it’s called auto liner foam.
Great idea! Would it be terribly wrong if I made a Christmas present for myself instead of working on those gifts for others? {wink}
sounds like a great idea to me! 🙂
I would love to make something like this for the body of the camera (minus lens attached) any helpful tips for making an oblong case instead of a round one?
The key to making it is the base shape. Change the base shape first, then measure around it to get the other fabric measurements. You’ll have to use some geometry 🙂
Hello…I made this case this evening. I had no idea what size lenses to fit in which case. Going by what you said you stored in a medium case, I made the medium case for my 55-250mm lens. It is way too big. It is ok as far as height goes, but the 17″ is way too generous. I tried to removed 1-2″ the best I could but this was after they were attached to the circles and I didn’t feel like unstitching all I had done. I could have taken off another 2-4″ inches, it seemed. My lens doesn’t seem secure in such a loose casing, but I guess it’s better than nothing. I could not find the 1/4″ foam in my local Jo Ann Fabric store. They had 1″ green foam unlined but I worried it wouldn’t fit in my sewing machine. I ended up buying 1/4″ batting, which is not as firm but I wasn’t sure what else to do. I took photos but I don’t know how to share them. Thank you for the tutorial, I will have to try again and adjust the sizing.
The 1/4″ foam is on the back wall next to the oilcloth at my local JoAnn’s – it might also be called Auto Liner foam. Also the 17″ measurement is not for the height of the lens case it’s for the width that wraps around the circle. The height is actually 8″ tall. I think you had it stitched the other way and that might be why it seemed so large.
At my Joann Fabrics, it is called Foam Backed Headliner Fabric In grey and white on the bolt. Great tutorial…just what I have been needing!
Oh my goodness! So excited to try these. I’m a freelance filmmaker so these are a perfect project for me to try next! Thank you x
I just finished my first lens case and it came out great! I customized it to fit my lens, added 1/3 inch to the circumference to have enough width to allow sufficient padding 🙂 it fits nicely and I now can carry the axtra lens in my purse or backpack without having to worry about it being scratched or dented…
Yay!! I’m always so happy when I see that someone is able to use a tutorial.
I am new to sewing and I am having a very hard time understanding directions. Like it doesn’t specify which end to sew together and I can’t figure out how to finish this. Don’t know how to sew last piece on and do the drawstring. It’s just so confusing to me.
Me too! I’m very confused about the casing section…
What part are you stuck on? You sew a seam about 1/2″ down from the fold at the top of the case to make the casing for the ribbon. Let me know, and I can walk you thru it.
We just got a “fancy camera” and didn’t want a bulky camera case. These will be PERFECT for our lens (and one day, hopefully, lenses)! Thank you!
So I tried to make one of these today and I definitely have a tube-shaped bag with a drawstring but thats where the similarities end. I wish I could send a picture of how it turned out. The bag is MUCH bigger than the lens I made it for. I wasn’t sure where the bias tape went so it ended up around the middle of the outside connecting the top and bottom. Basically I searched for “easy sewing projects” on Pinterest and this one came up. As a complete novice, the directions were very difficult to understand. I wish there were a video or more pictures. I’m sure it would have turned out better if I had more experience.
The bias tape is used to cover the seam between the drawstring top and the padded case. It goes on the inside, my guess is that you have it on the outside of the case. Slip the top over the foam padded part of the case with the right sides facing each other. Then add the bias tape and “flip” up the drawstring part. There are 3 sizes for the lens case, one is very large and meant to be used with zoom lenses. I use the smallest size of case the most.
If you’re stuck the best advice I can give you is to go really slowly and read the directions thru a few times before you start. Sewing can be hard when you start but I promise that it gets easier!! A few more projects and you’ll be an expert in no time.
I’m a brand new beginner sewer and looking for a first big project. Is the walking foot actually necessary? I have a good basic sewing machine but no specialized tools. Is this a good 1st project for someone who has never sewn circles or worked with foam before or is it a bit ambitious? (I don’t mind coming back to this if there is something else you’d recommend trying as a first project.) Thanks.
I like these and will make them for a friend for Christmas. I may add a D loop to each side of a case so that I can add an optional shoulder strap for ease of carrying on a day out.
Thanks very much for the tutorial. Had a bit of trouble particularly the last section, but after reading the comments and your replies it made more sense. Excellent way to make custom cases and stop the lenses being thrown around in the standard market size ones!
I am so confused on step 3 with the the casing and the folding. I’ve tried the directions ten different ways and can’t figure it out and I’ve had three other people try to understand it as well. Can you please clarify the steps with more exact pictures that go with the directions. Thank you!
The fold is the edge of the casing. You stitch the line with the sewing machine to make the casing.