DIY Polka Dot Glitter Table Runner
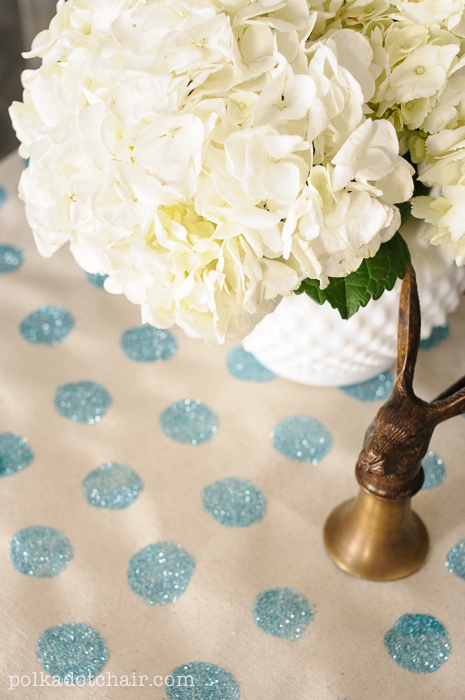
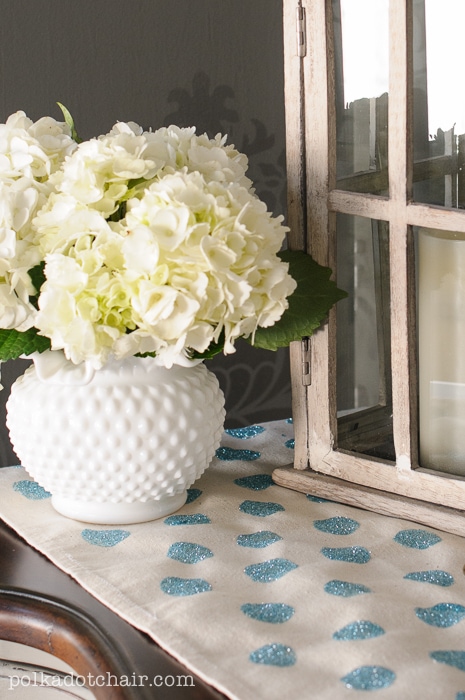
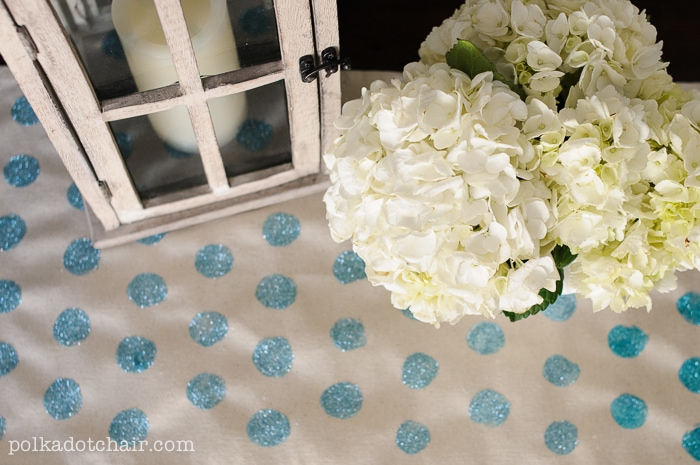
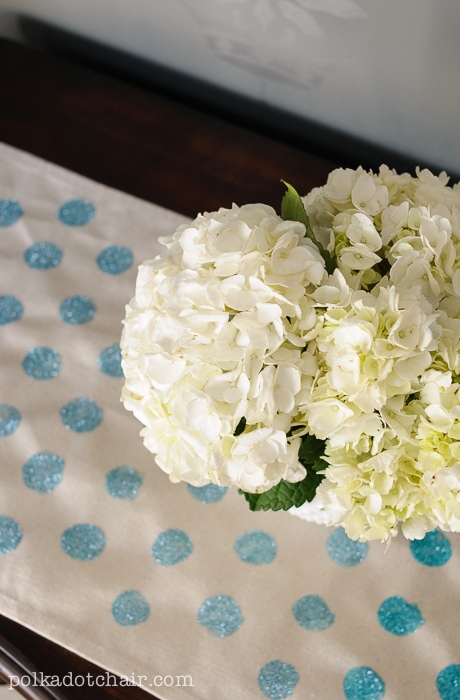
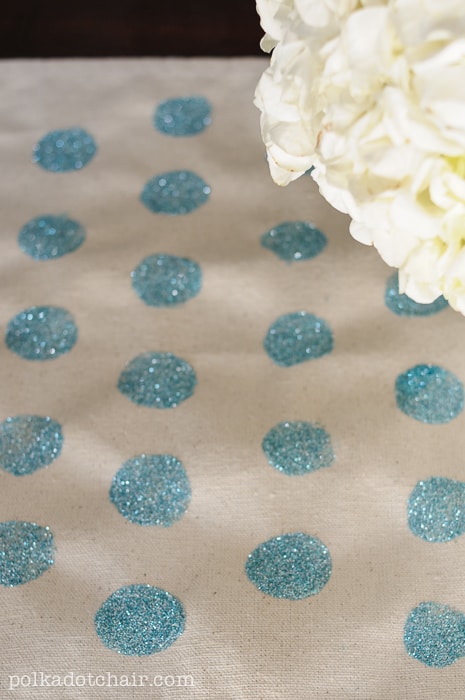
Create a festive polka dot table runner with a few simple craft supplies! We used blue glitter for ours, but you can easily customize this project to match your home decor or party theme.
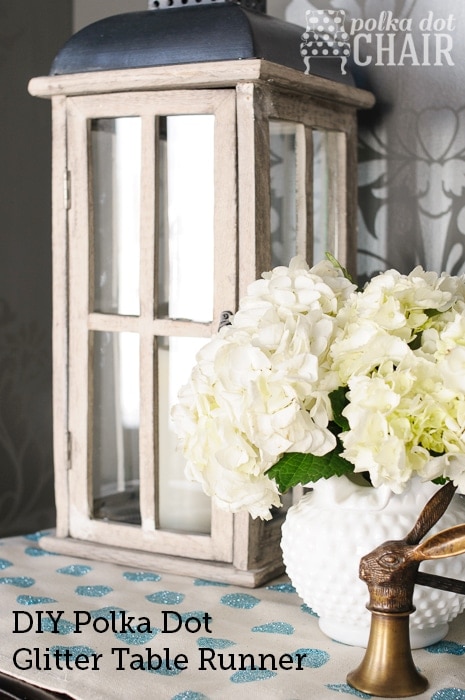
A big thanks to Meijer for sponsoring this post by providing the supplies for todays project // Even after yet another major storm last weekend, I can feel Spring in the air. It will be much appreciated this year after a winter full of snow, ice, and the notorious Polar Vortex.
Feeling inspired by the upcoming Spring season, I decided that for Project Polka Dot I would make a Polka Dot Glitter Table Runner.
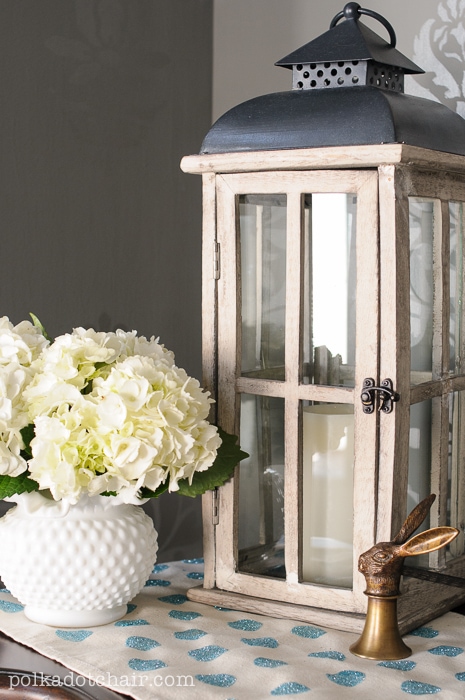
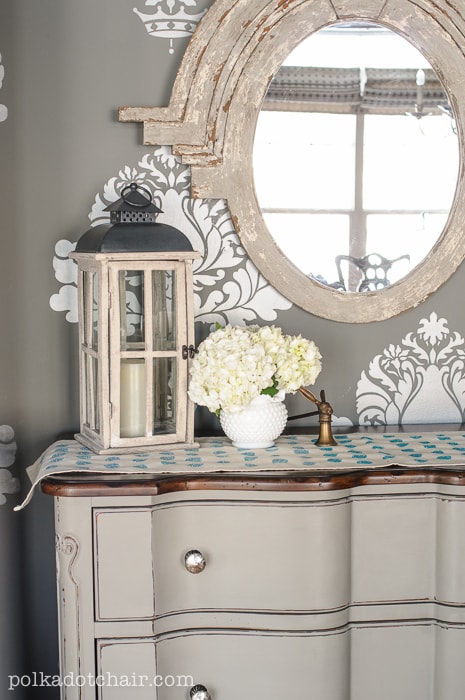
I have a chest in my dining room that you see when you first enter the house. I love to decorate this chest each season and holiday. I thought this would be the perfect spot for a simple polka dot table runner.
My dining room is painted gray and is done mostly in neutrals; I love that I can add color as I want to them during the year. Red looked great in there at Christmastime, and now that Spring is close by, I thought some shades of aqua would be a nice addition.
And hello, glitter!! Y’all should know that I adore glitter (Well you might already know if you’ve been a long-time reader, it pops up in projects here frequently).
The project was not difficult to make, and it didn’t take as long as I thought it would. Honestly, as I started it I thought, “what have I gotten myself into?”… but it turns out the whole thing was done in less than an hour.
Did you know that March is National Craft Month? I think it’s really cool, although my kids would tell you that in my world, every month is National Craft Month. It seems like I’m always mid-project or in the middle of shopping for my next project.
Okay, now back to the project. If you’d like to make your own runner, you can grab the supplies that you’ll need.
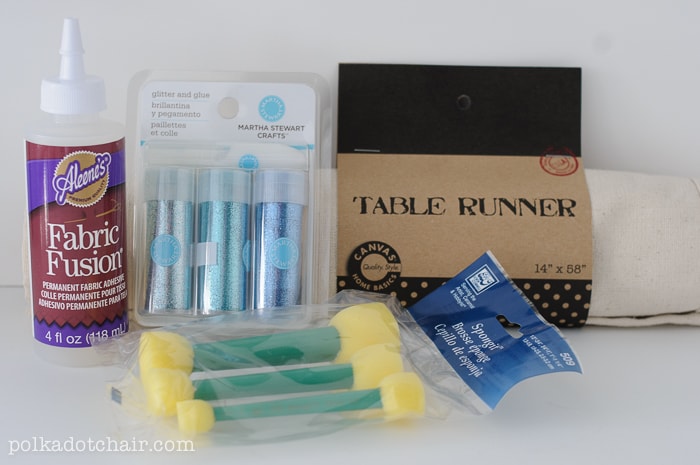
Table Runner Supplies
- Canvas Table Runner – it comes pre-made ready to decorate
- Fabric Glue
- Glitter
- Round Sponge Brushes
- Grid Ruler
Just a note, I ended up using more than one shade of blue glitter. If you want your runner all the same shade of blue, buy three packages.
To begin, press your table runner.
Step One: Create the Grid
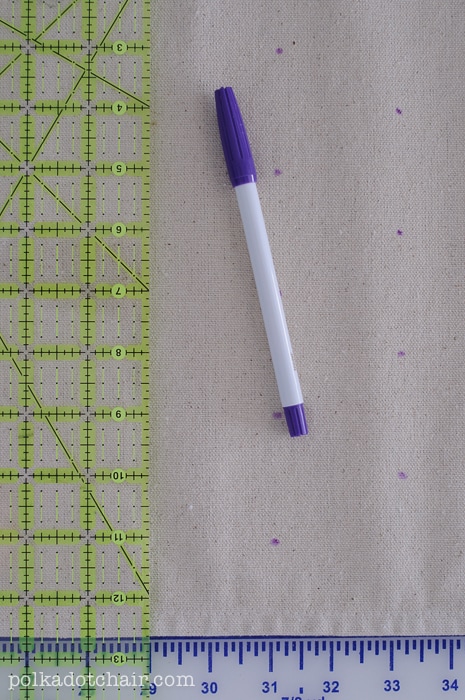
Next, you need to lay out a grid pattern for your dots. To do this, line up the runner with a ruler on the bottom (you can use a cutting mat) and use a ruler. The table runner is 13” wide but only 12” wide between the hems. So I worked in the space between the hems to make the math simpler.
Measure over every 2” and then place a mark at the 2”, 4” , 6”, 8” and 10” points.
Move down 2” on the runner and place marks at 1”, 3”, 5”, 7”, 9” & 11” . I used a fabric pen, but you can use a normal pen as your marks will be covered up by glitter.
Do this for the entire runner.
Step Two: Apply the Glue
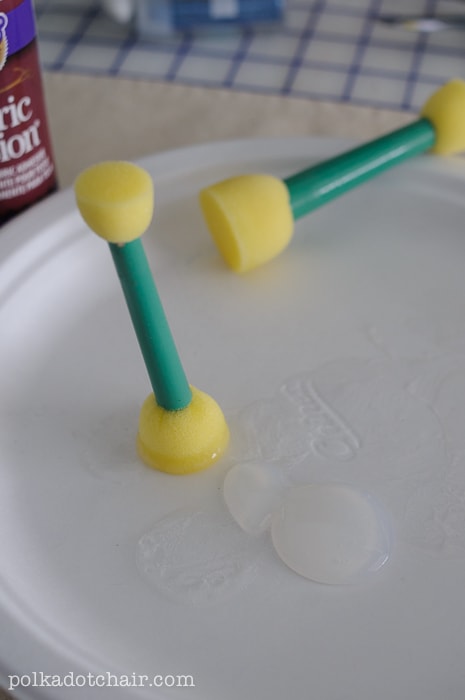
Pour some fabric glue onto a paper plate. Then dip your sponge into the glue. Get an even coat on the sponge (be careful not to let the glue build up on the sides of the sponge). I used a sponge that was about 1” in diameter.
Place one dot of glue over each dot on your runner. You will need to re-load glue onto your sponge each time.
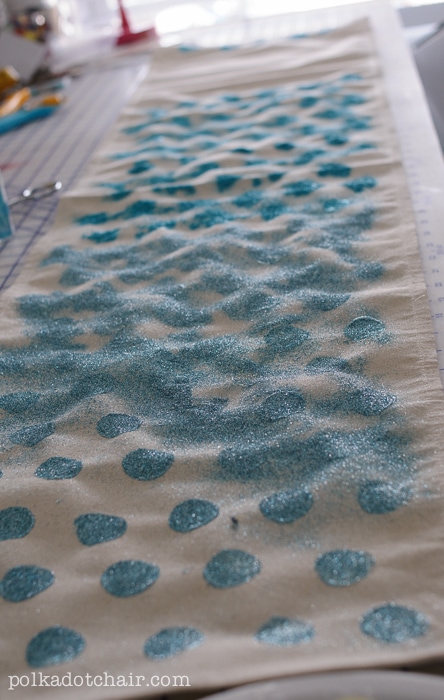
I found that it worked best to work two rows at a time. Place the dots with glue, then go back, and without reloading the sponge with more glue, go over each dot a second time. The second stamp with the sponge seemed to even out the glue and make a better dot.
Step Three: Glitter
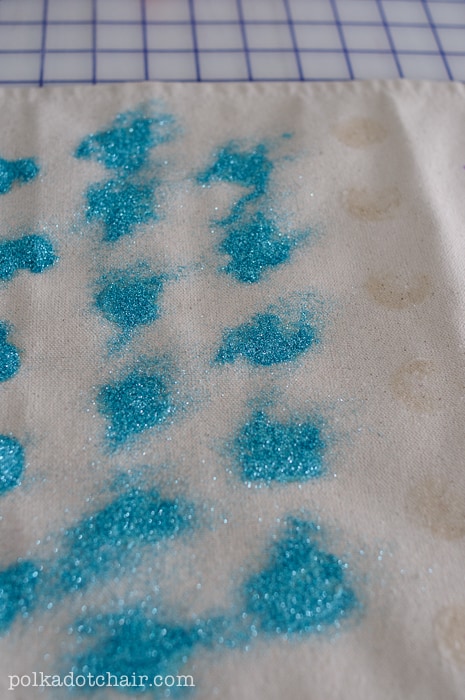
Then sprinkle the two rows of dots with glitter. Repeat and do two more rows.
Keep going until the entire runner is covered. Let the runner sit to dry for two hours.
If you can shake the excess glitter onto a plate, if not just shake off the runner outside (I had glittery snow today *wink*).
Your dots won’t be perfect, but to me, that’s part of the charm of this project. If there are any very large mistakes, you can go back and fix them by placing a small amount of glue on the dot and sprinkling on a bit more glitter.
Okay, so are you ready to make one for yourself?
Now all I need is green grass, tulips, and sunshine… *sigh*


