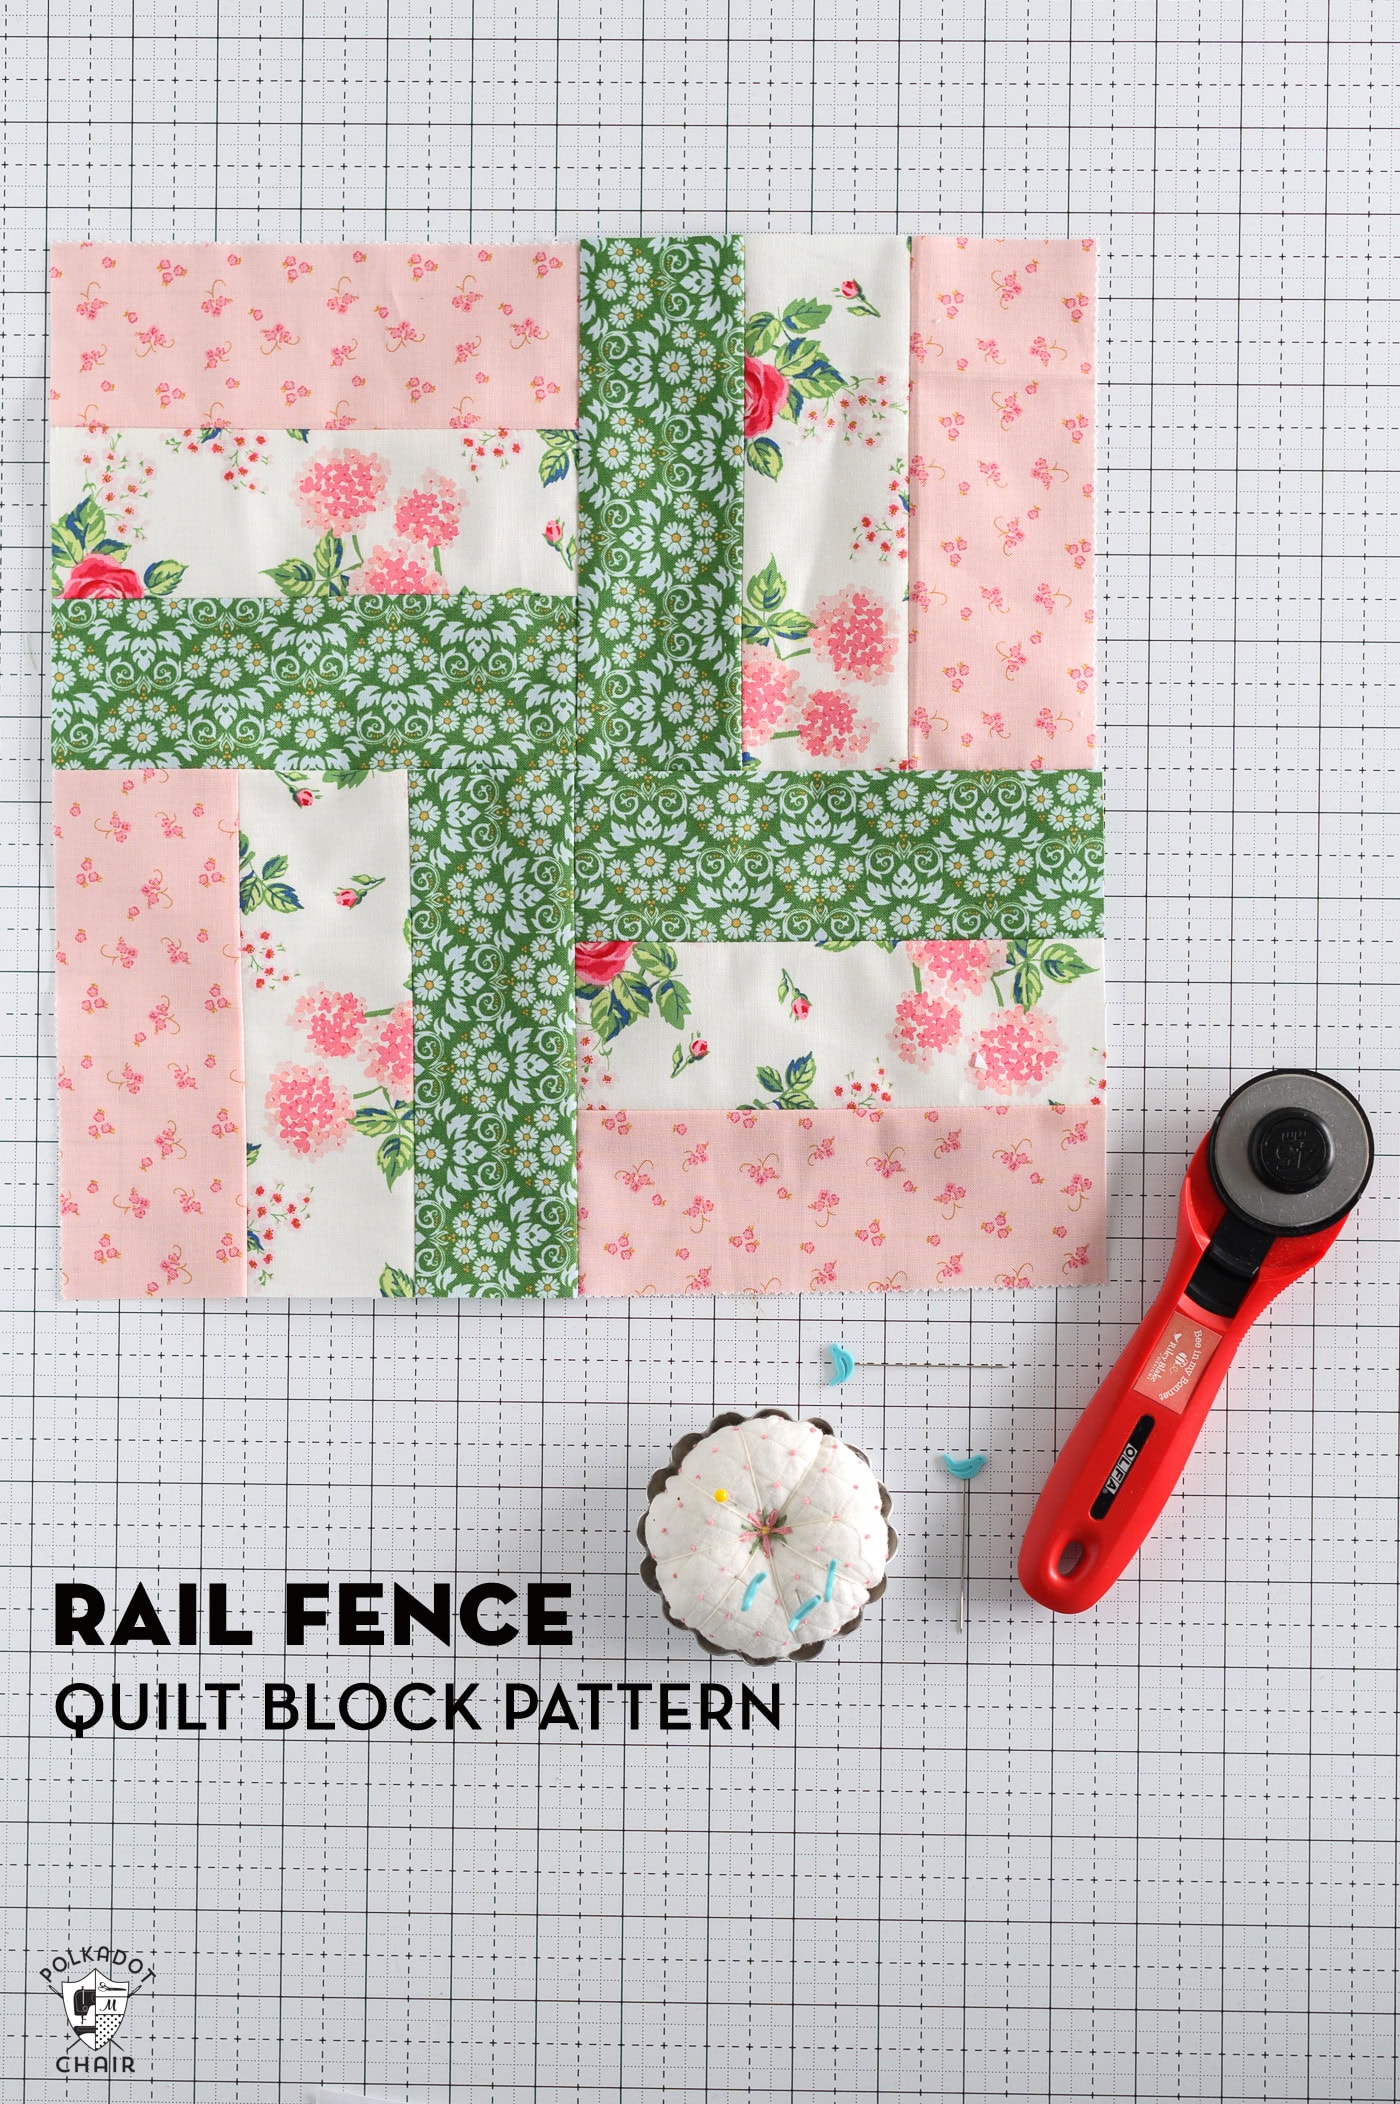
Rail Fence Quilt Block Tutorial: Easy 12″ Block for Beginners
The Rail Fence quilt block is one of the easiest and most versatile quilt blocks you can make, which makes it a favorite for both beginner and experienced quilters. Made from simple fabric strips sewn together using a strip-piecing method, the Rail Fence block comes together quickly and creates beautiful patterns depending on how the pieces are arranged. In this step-by-step tutorial, you’ll learn how to sew a 12″ Rail Fence Quilt block. I’ll also show you a few fun variations for this simple block.
I’m happy to share another free quilt block tutorial with you: a twelve-inch block. I’ve been working on a sampler quilt of 12″ blocks for the last couple of years. I’m getting close to having enough blocks to finish my quilt, and I think this Rail Fence block pattern will make a great addition to the blocks I’ve already sewn.
Because the Rail Fence block is constructed using simple strip piecing, it’s an efficient way to make multiple blocks at once. This method saves time and helps ensure accuracy, making it a great option for new quilters who want a confidence-boosting project.
Even better, the block looks dramatically different depending on the color placement, ranging from classic staggered “fence rails” to zigzags, chevrons, and woven effects.

(Completed Rail Fence Baby Quilt by Amy Smart)
What Is a Rail Fence Quilt Block?
The Rail Fence quilt block is a traditional quilt block made from parallel fabric strips sewn together and then sub-cut into segments. These segments are rotated and sewn together to create the finished block.
The block gets its name because the rows resemble the long wooden rails used in traditional farm fences. Depending on how the units are arranged, the block can create:
- Classic staggered rail designs
- Zigzag or chevron layouts
- Diagonal movement across the quilt
- Woven or basket-like patterns
This flexibility makes the Rail Fence block a staple in many traditional and modern quilts.
Features of Rail Fence Blocks
There are several reasons the Rail Fence block remains popular among quilters.
Beginner Friendly
The block is made with straight seams and strip piecing, making it approachable for beginners just learning the basics of quilting.
Great for Scrap Quilts
Because the block uses simple strips, it’s a wonderful way to use leftover fabric pieces or organize scraps by color.
Fast to Sew
Once your strips are sewn together, you can quickly cut multiple segments, making it ideal for batch sewing.
Endless Design Possibilities
By rotating the strip units, you can create dramatically different quilt layouts without changing the block construction.
Layout Variations
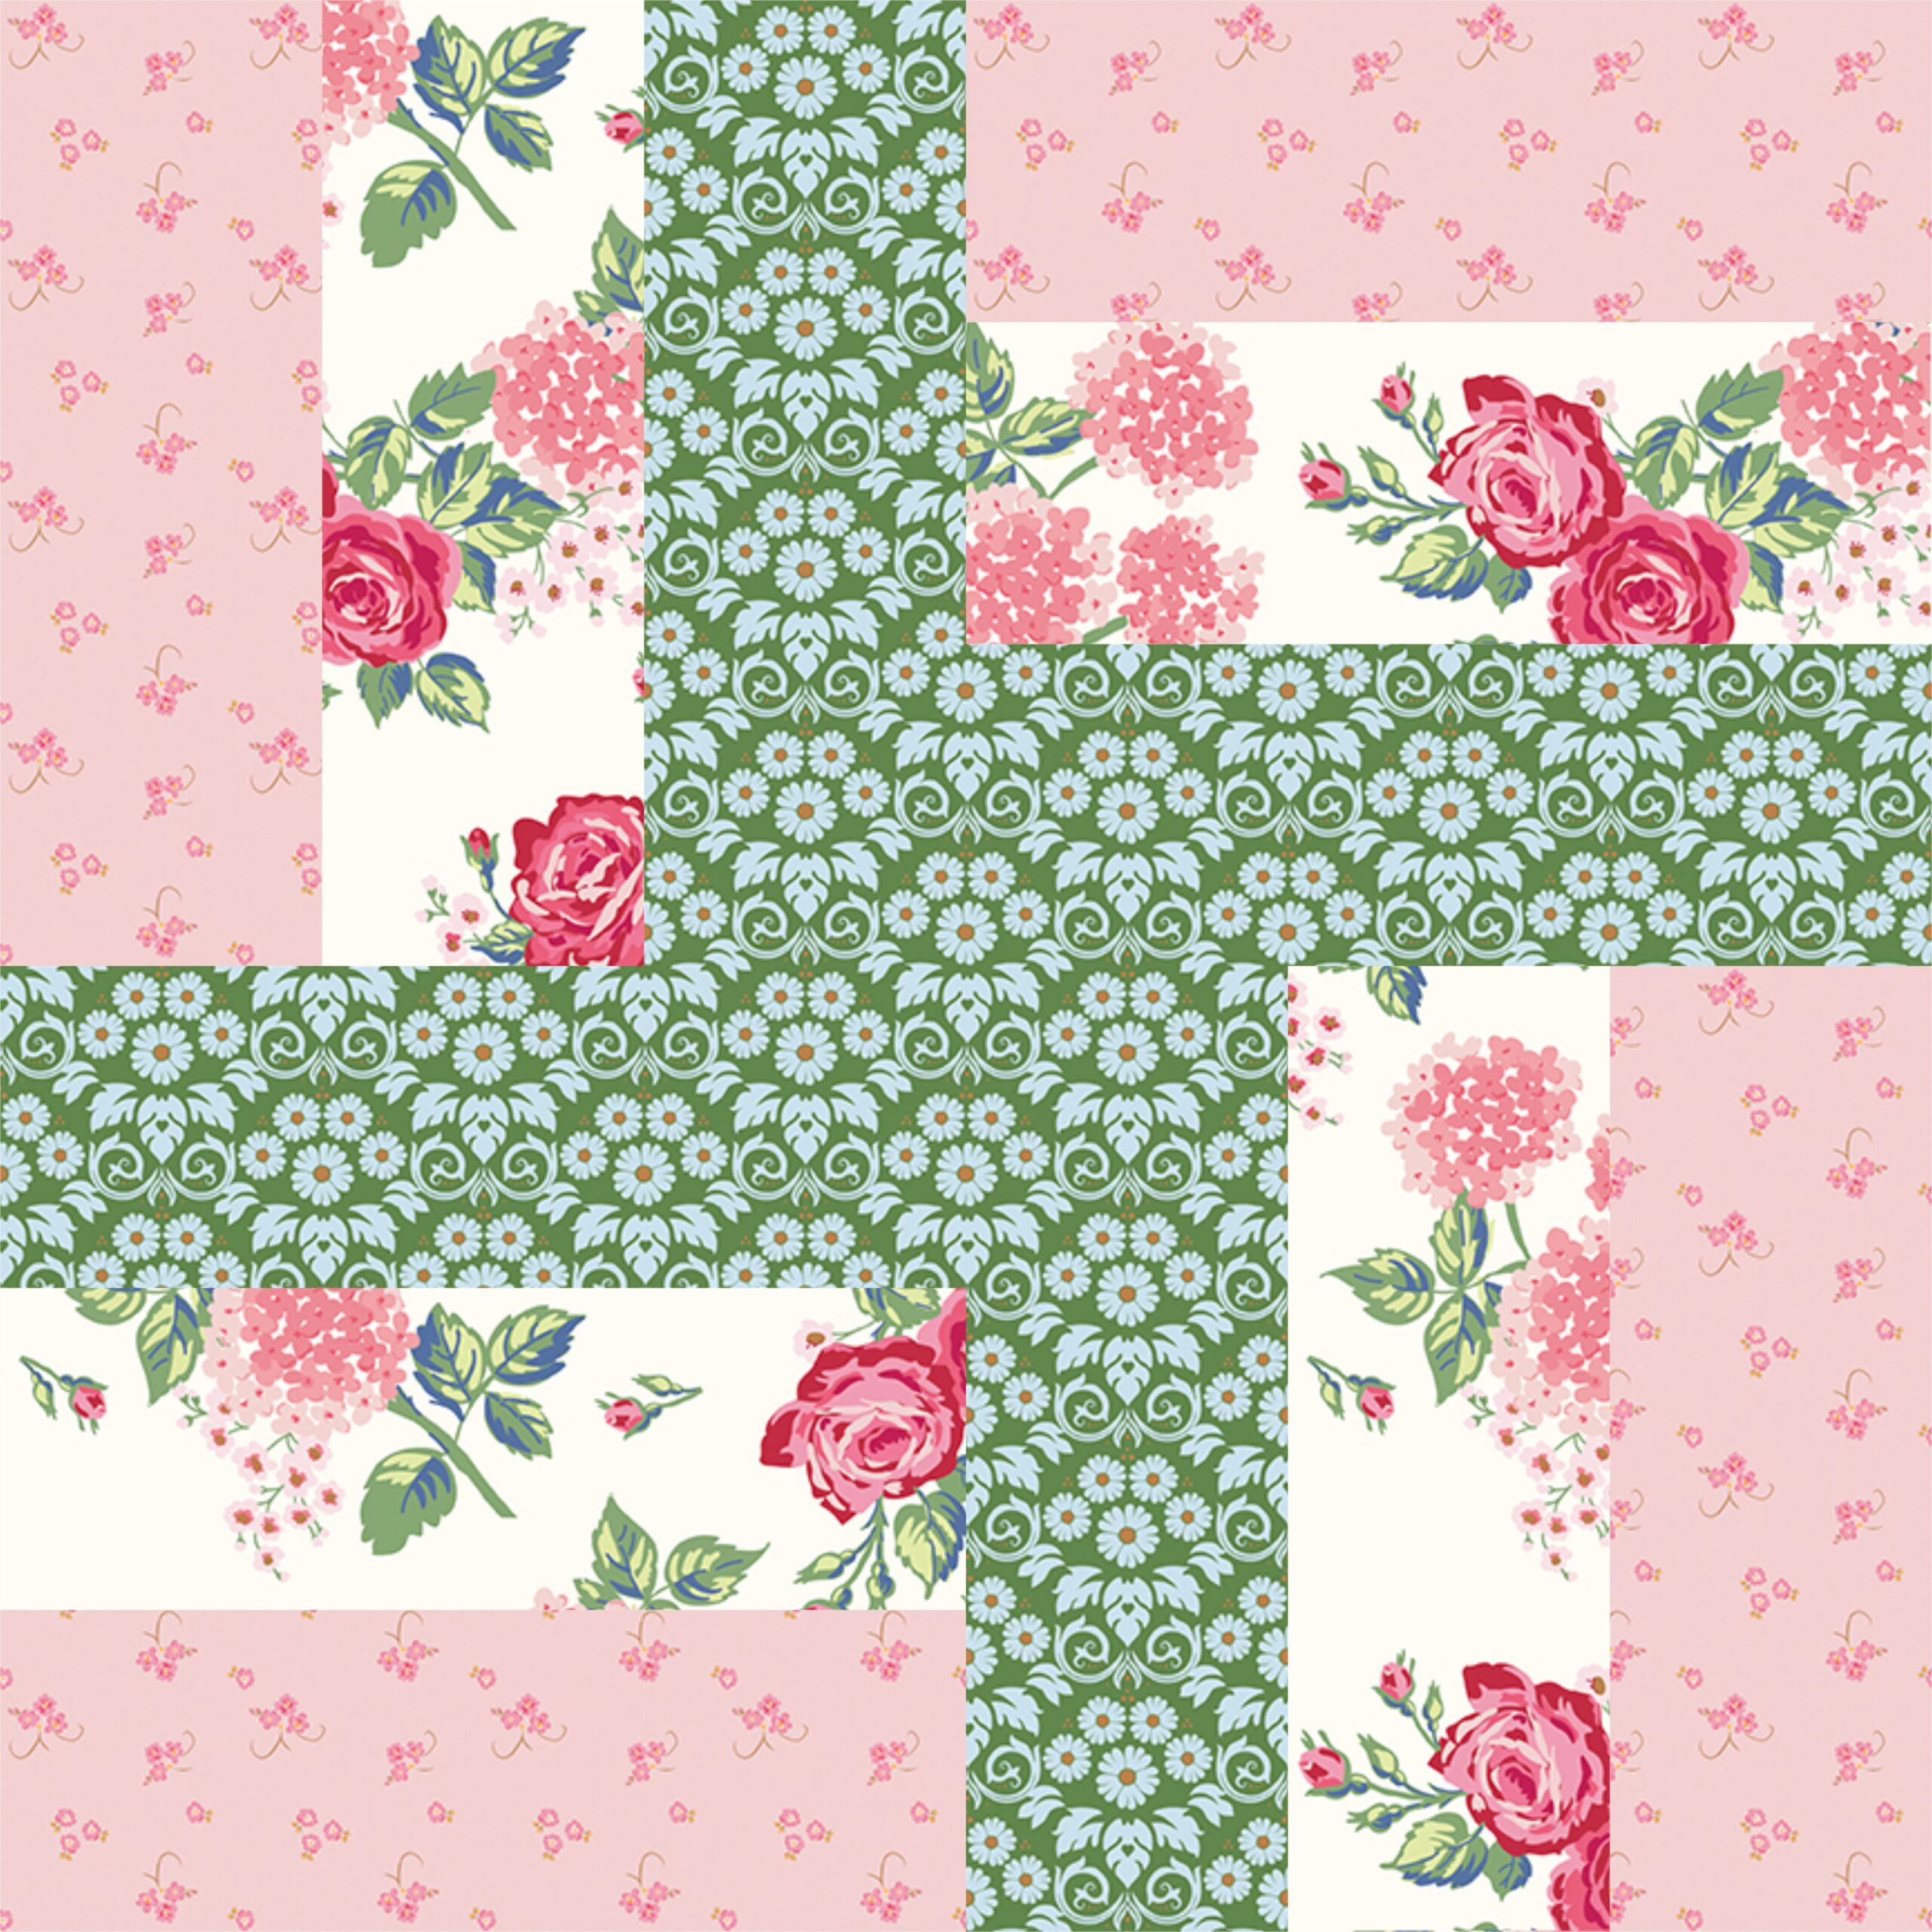
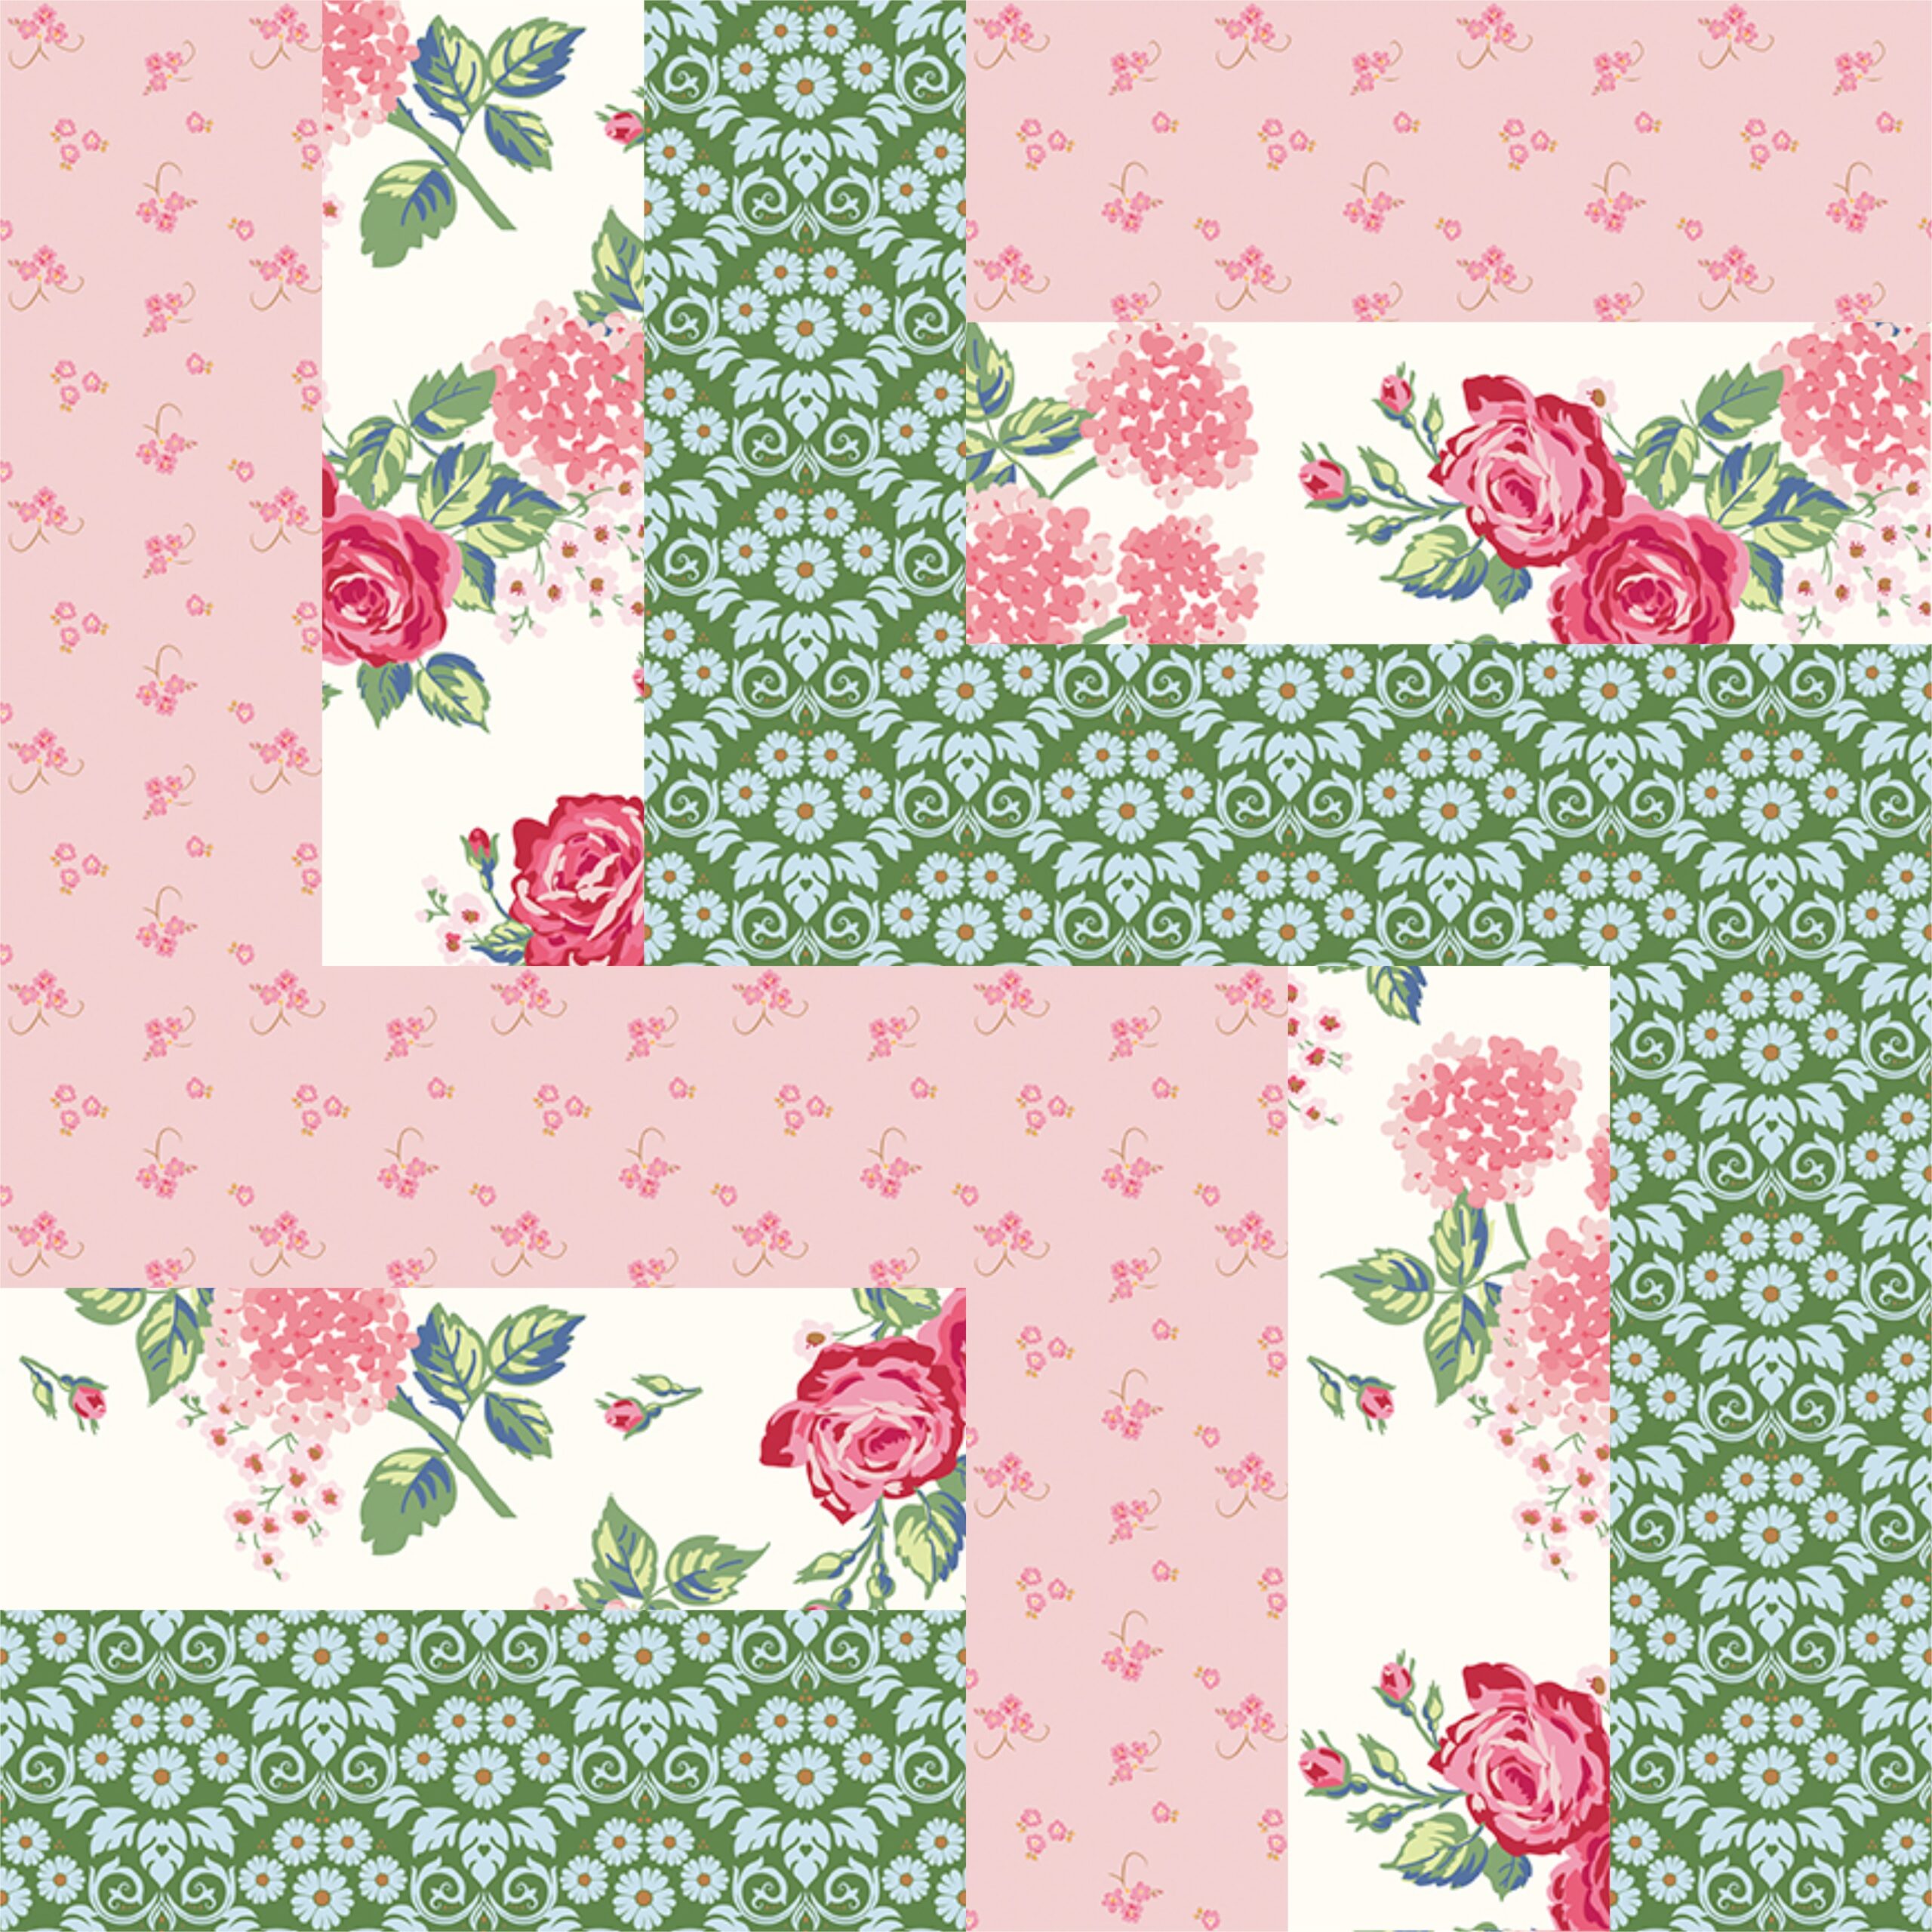
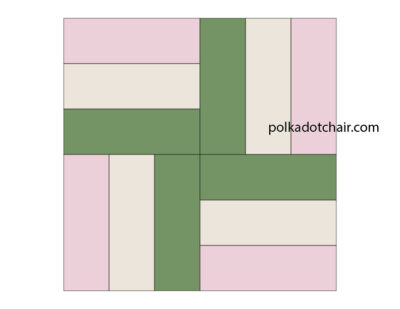
Since I’m going to be adding my quilt block to a sampler quilt I’m working on, I chose a simple arrangement with all the dark fabric strips in the center, which creates a cross.
If you were to sew a quilt made entirely from this block layout, the finished quilt would look like this.
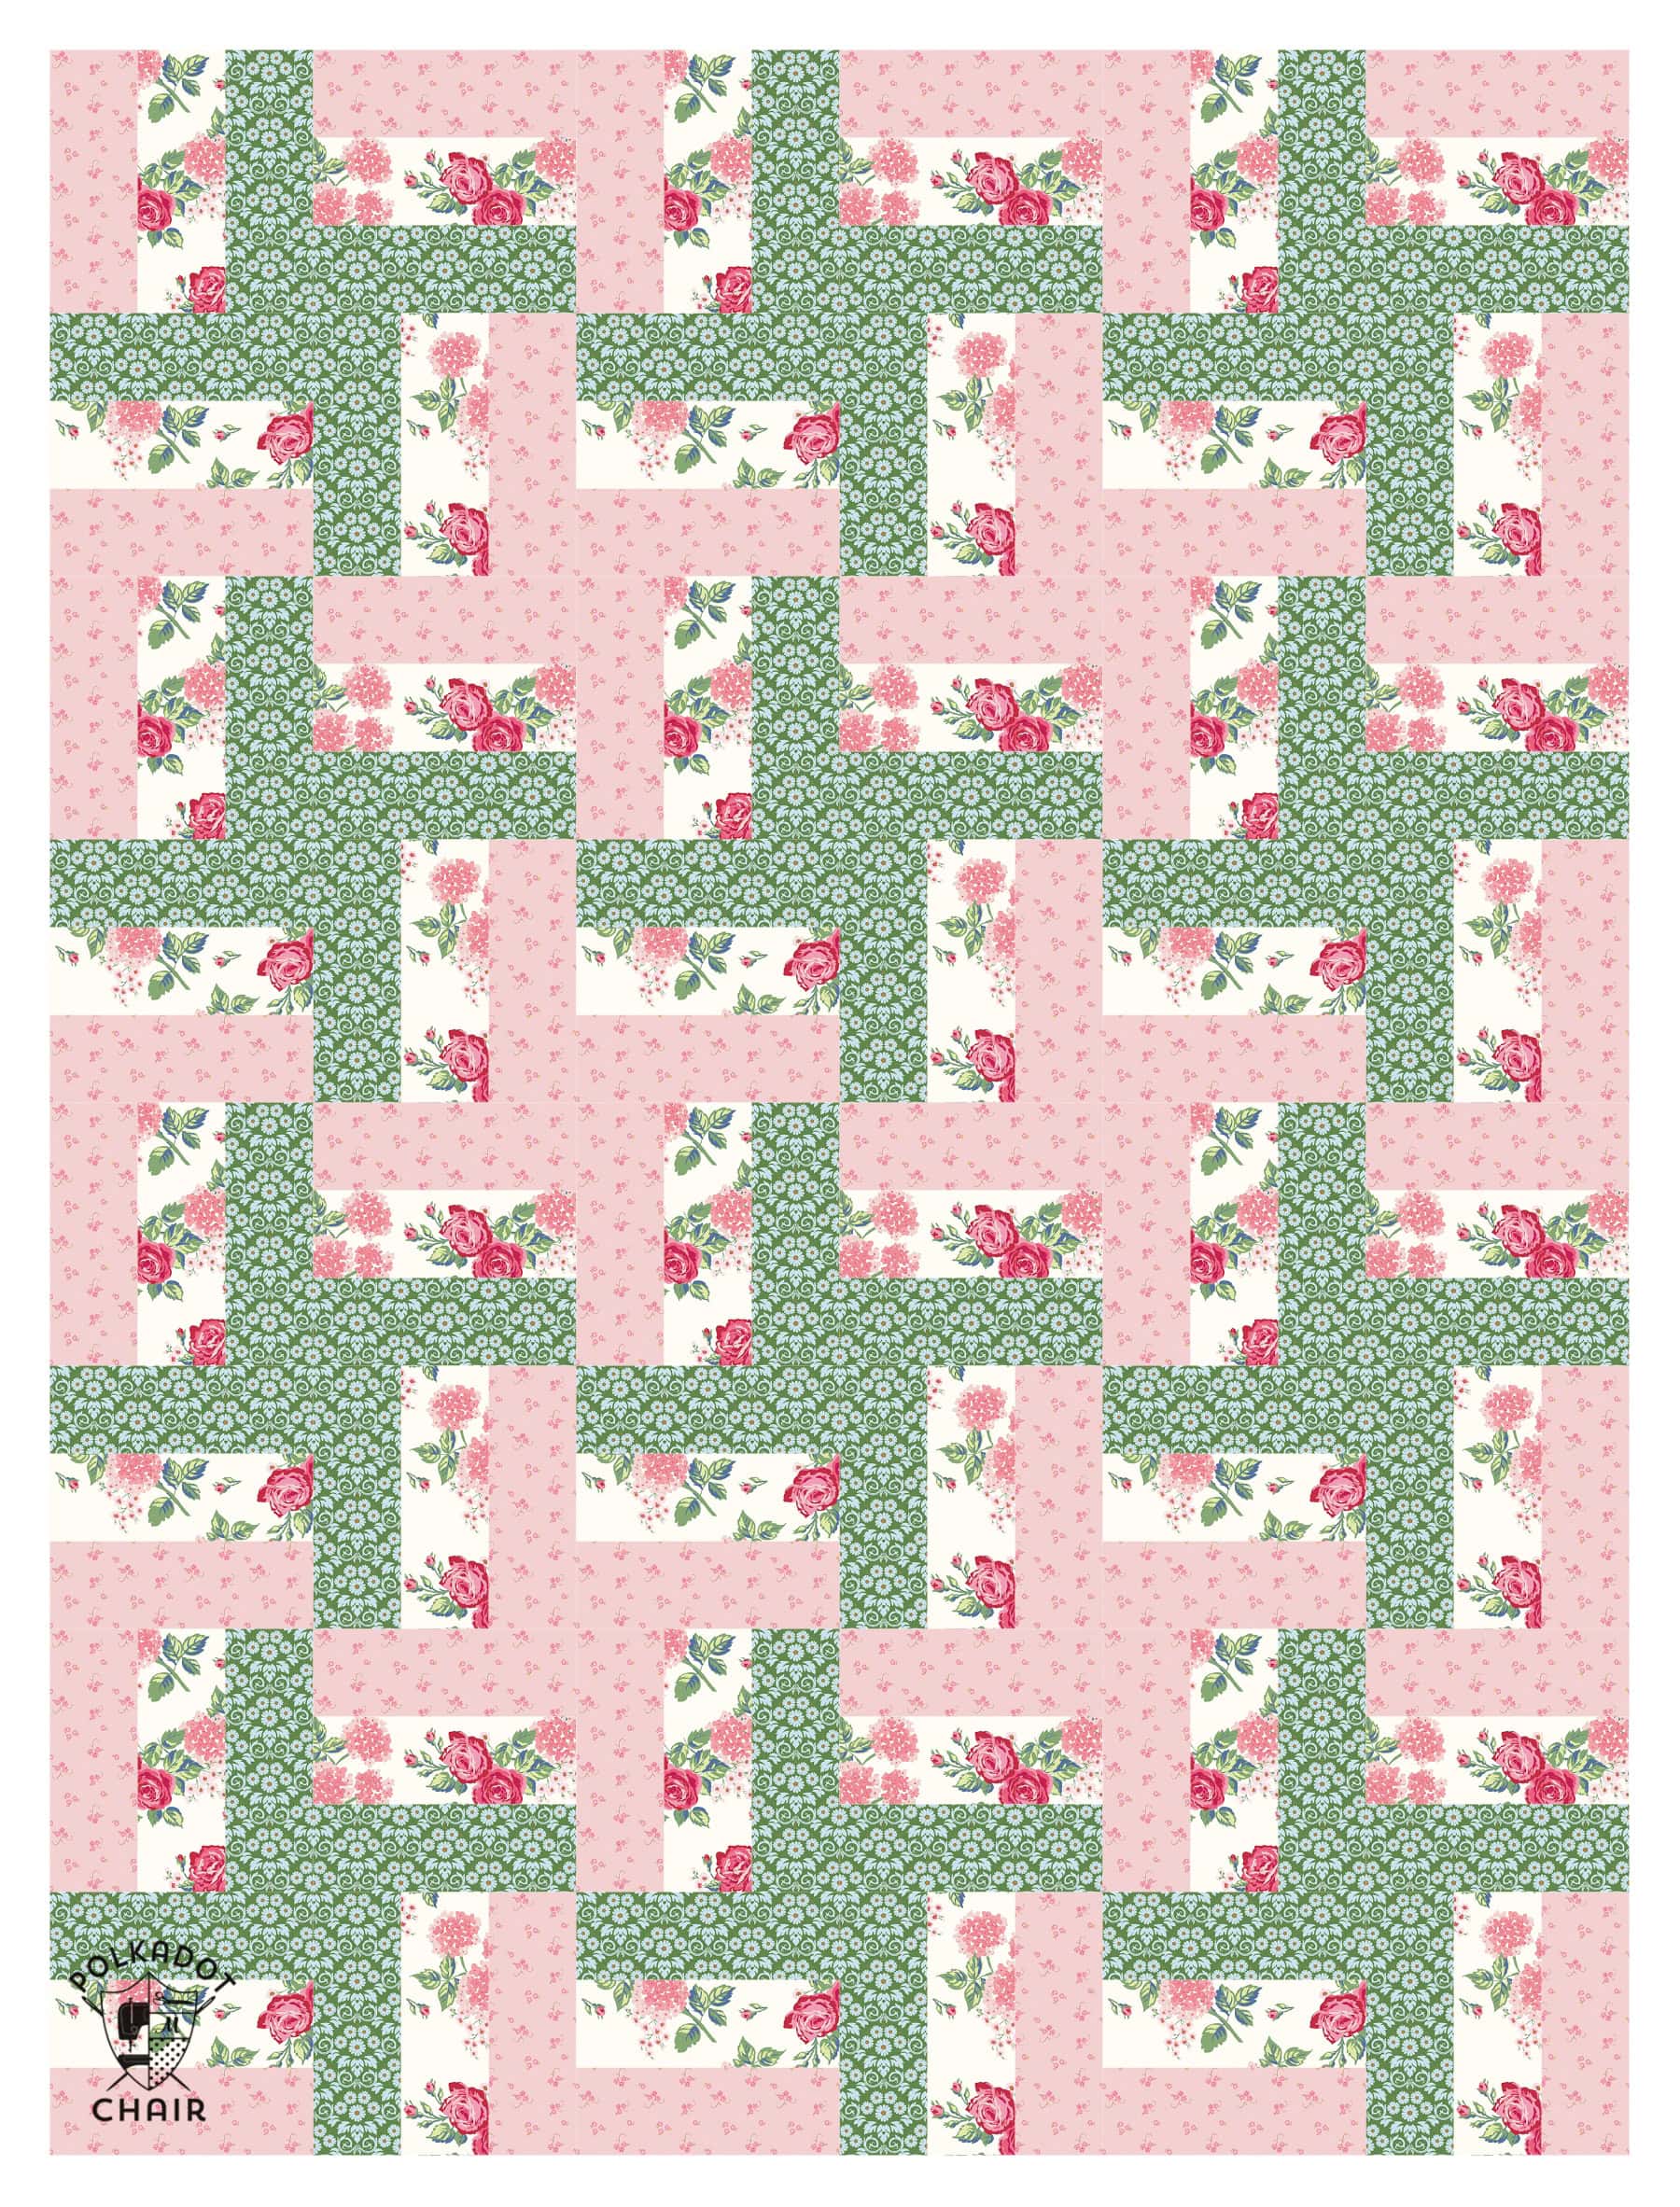
You can see how you can get a “woven” effect as the pink fabrics in the block create a second pattern in the final layout.
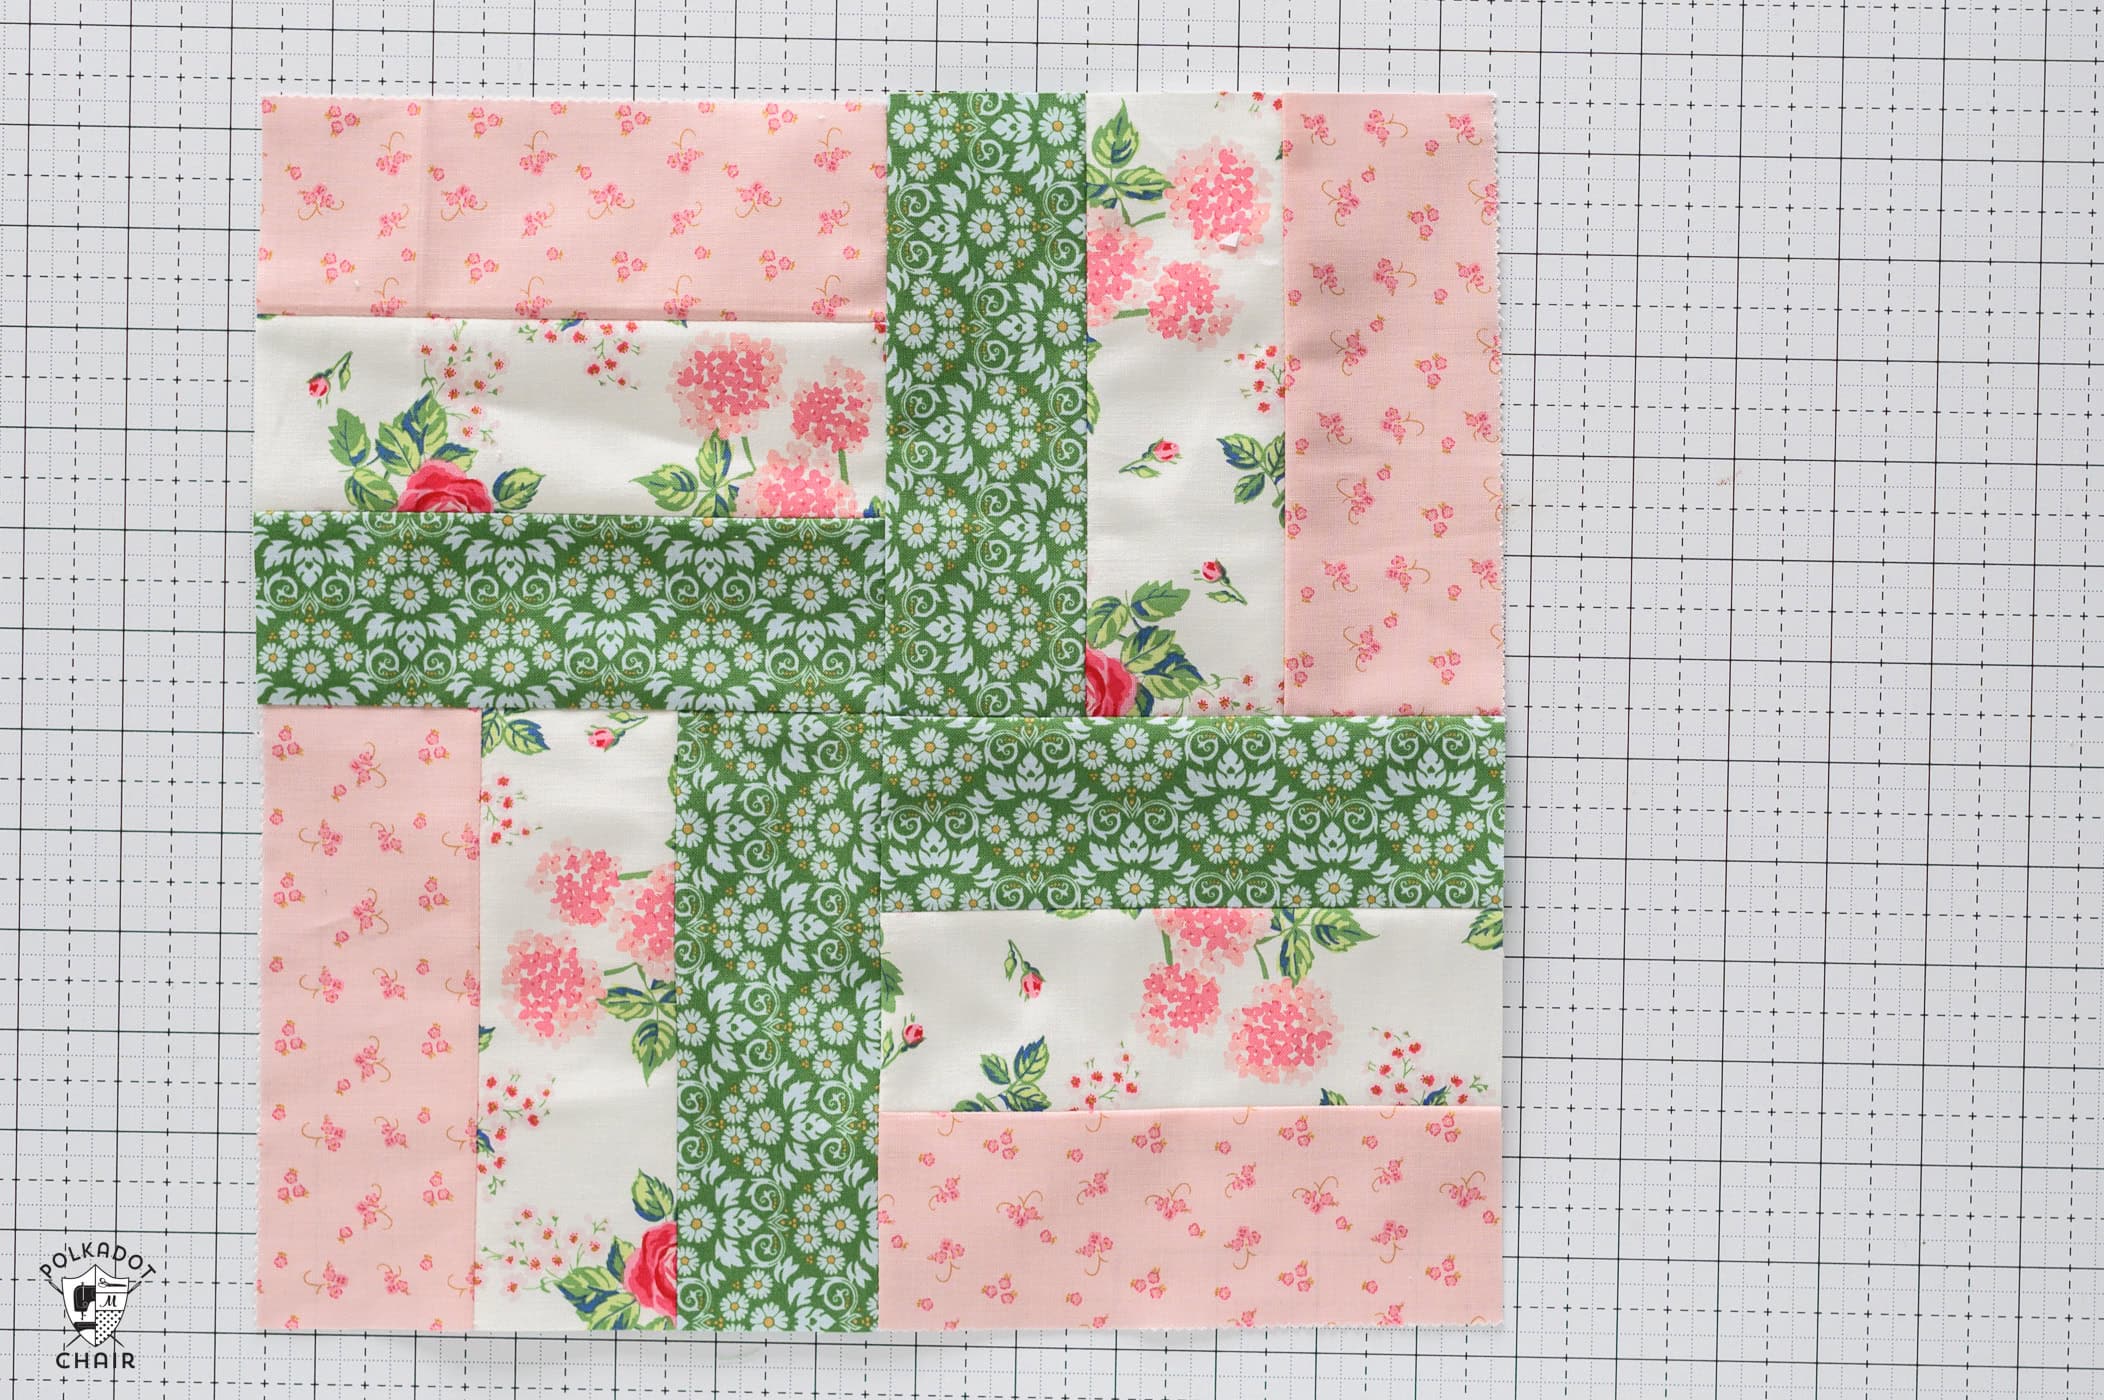
If you rotate the dark fabrics in the lower row, you get a block that looks like this.
It might not seem like much, but when several blocks are sewn together, you get this cool zig-zag effect when the dark fabrics line up.
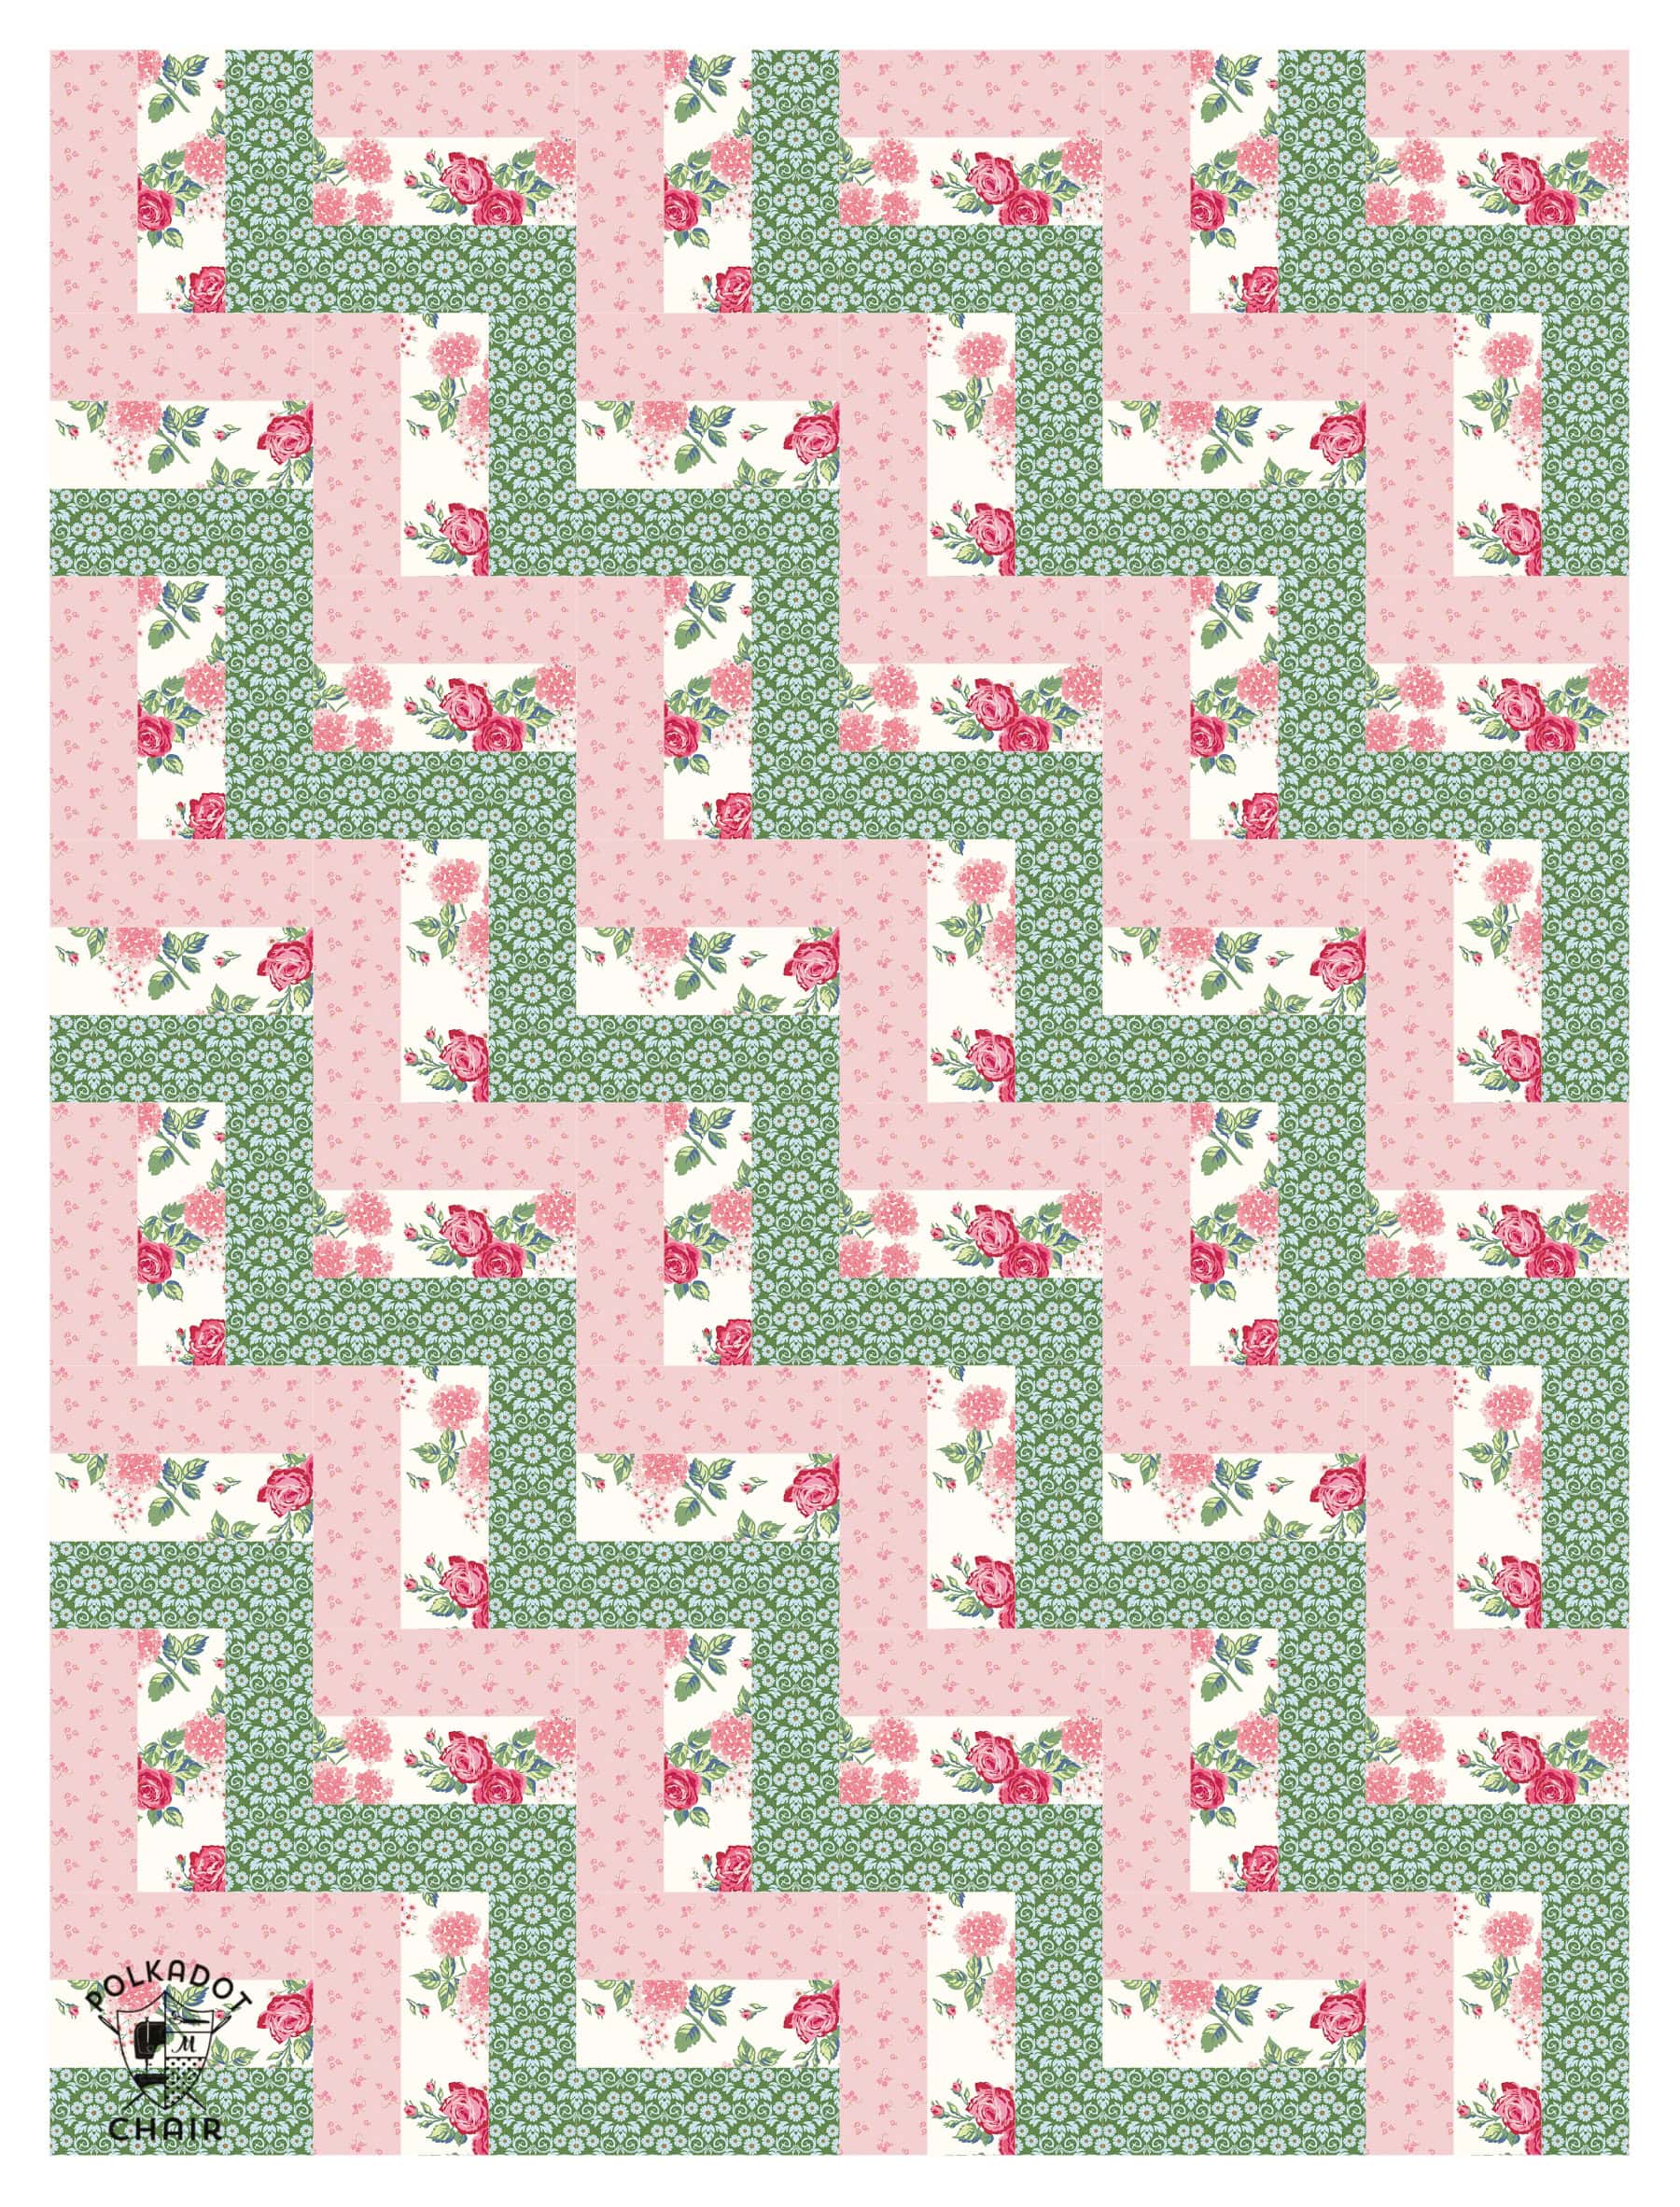
How you choose to arrange your blocks is up to you, and there are so many more layout possibilities than the ones I touched on briefly here.
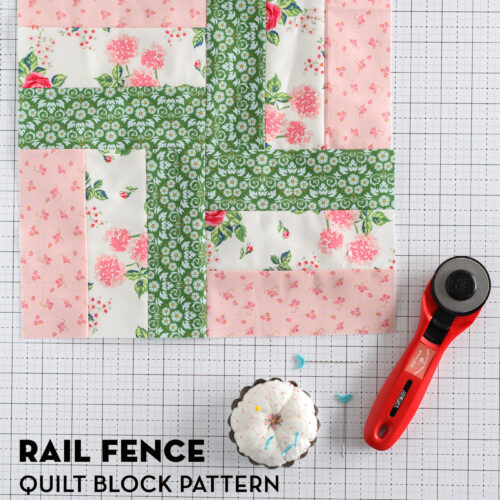
12″ Rail Fence Quilt Block Pattern
Equipment
supplies
- 3 strips Fabric each 2 1/2” x 28”
Instructions
Step One: Sew Strips
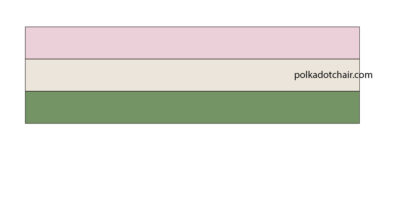
- Sew the three 2 1/2” x 28” pieces of fabric together along the long sides.

- Press the seams. For this block, I recommend pressing your seams open as I think it yields a flatter, straighter seam.
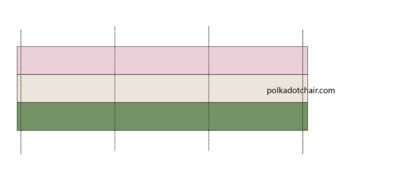
Step Two: Cut
- Trim the end of the strip set even. Then cut the strip into four pieces, each 6 1/2” wide.

- The finished unit should be 6 1/2” x 6 1/2”.

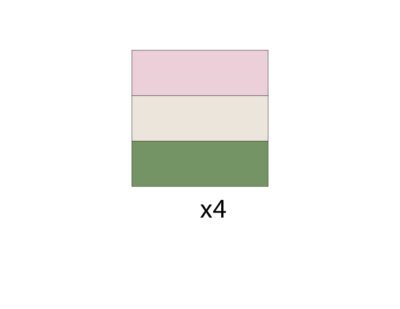
Step Three: Assemble
- Sew the four units together as shown.
- That’s it! As you can see, the construction and assembly of this block is so simple!
Tips for Accurate Rail Fence Blocks
Because the Rail Fence block relies on strip piecing, a few small techniques can make a big difference in accuracy.
Use a consistent ¼” seam allowance
Accurate seams ensure your strips finish at the correct width.
Press seams carefully
Press seams in alternating directions to help the units nest when sewing rows together.
Square up segments if needed
Before assembling the block, make sure your cut segments are even.
Chain piece your strips
This speeds up sewing if you’re making multiple blocks.
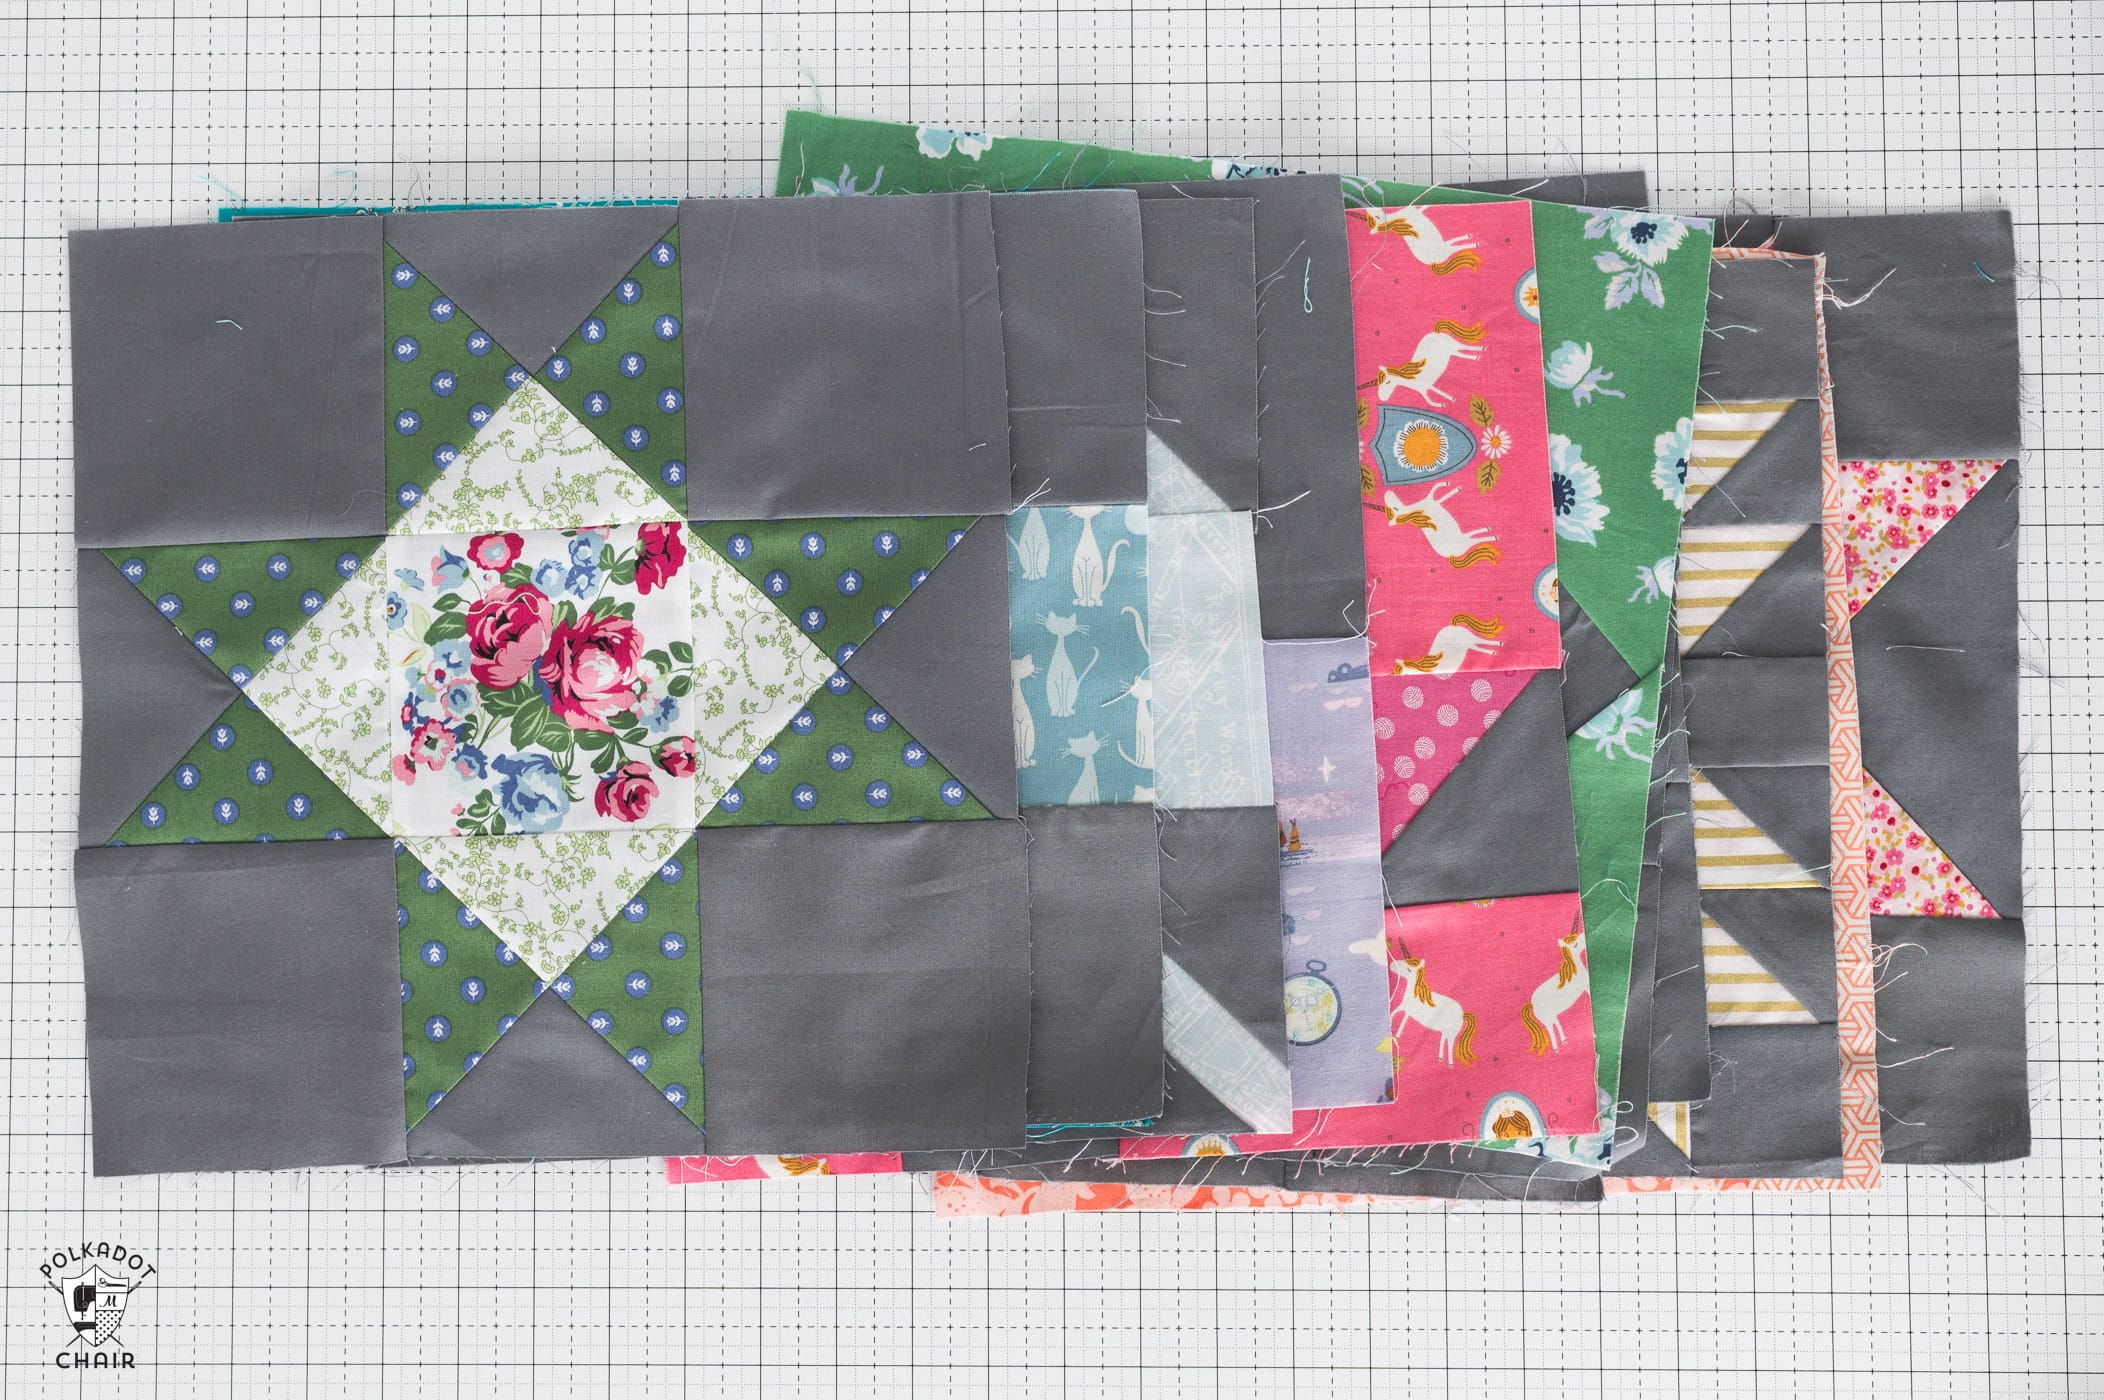
More Free 12″ Quilt Block Patterns
- Churn Dash Quilt Block
- Log Cabin Quilt Block
- Friendship Star Quilt Block
- Economy Block
- Shoo-Fly Quilt Block
- Bear Paw Quilt Block
- Maple Leaf Quilt Block
- Maple Star Quilt Block
- Nine Patch Quilt Block
- Turnstile Quilt Block
- Sawtooth Star Quilt Block
- Bow Tie Quilt Block
- Ohio Star Quilt Block
- Pinwheel Star Quilt Block
- Basket Quilt Block
- Heart Quilt Block
- Rail Fence Quilt Block
- Annie’s Choice Quilt Block
- Butterfly Cross Quilt Block

Using the rail fence pattern for a baby quilt (36 x 48”) how much yardage would be needed for each of the 3 fabrics? I love this pattern and would like to give it a try. Thanks
Can you please tell me the name of the fabric you used in this block. I love it and have been looking for something with these colors. Love this block. Thank you,Sarah
Yes,
It’s from my Bluegrass Charm Fabric collection.
Melissa,
Kerri T here from the ‘26 Block of the Month.
I am loving this quilt, my first true quilt. :). Will you be publishing /offering a sampler quilt as referred to above in the future?
Thank you,
Kerri