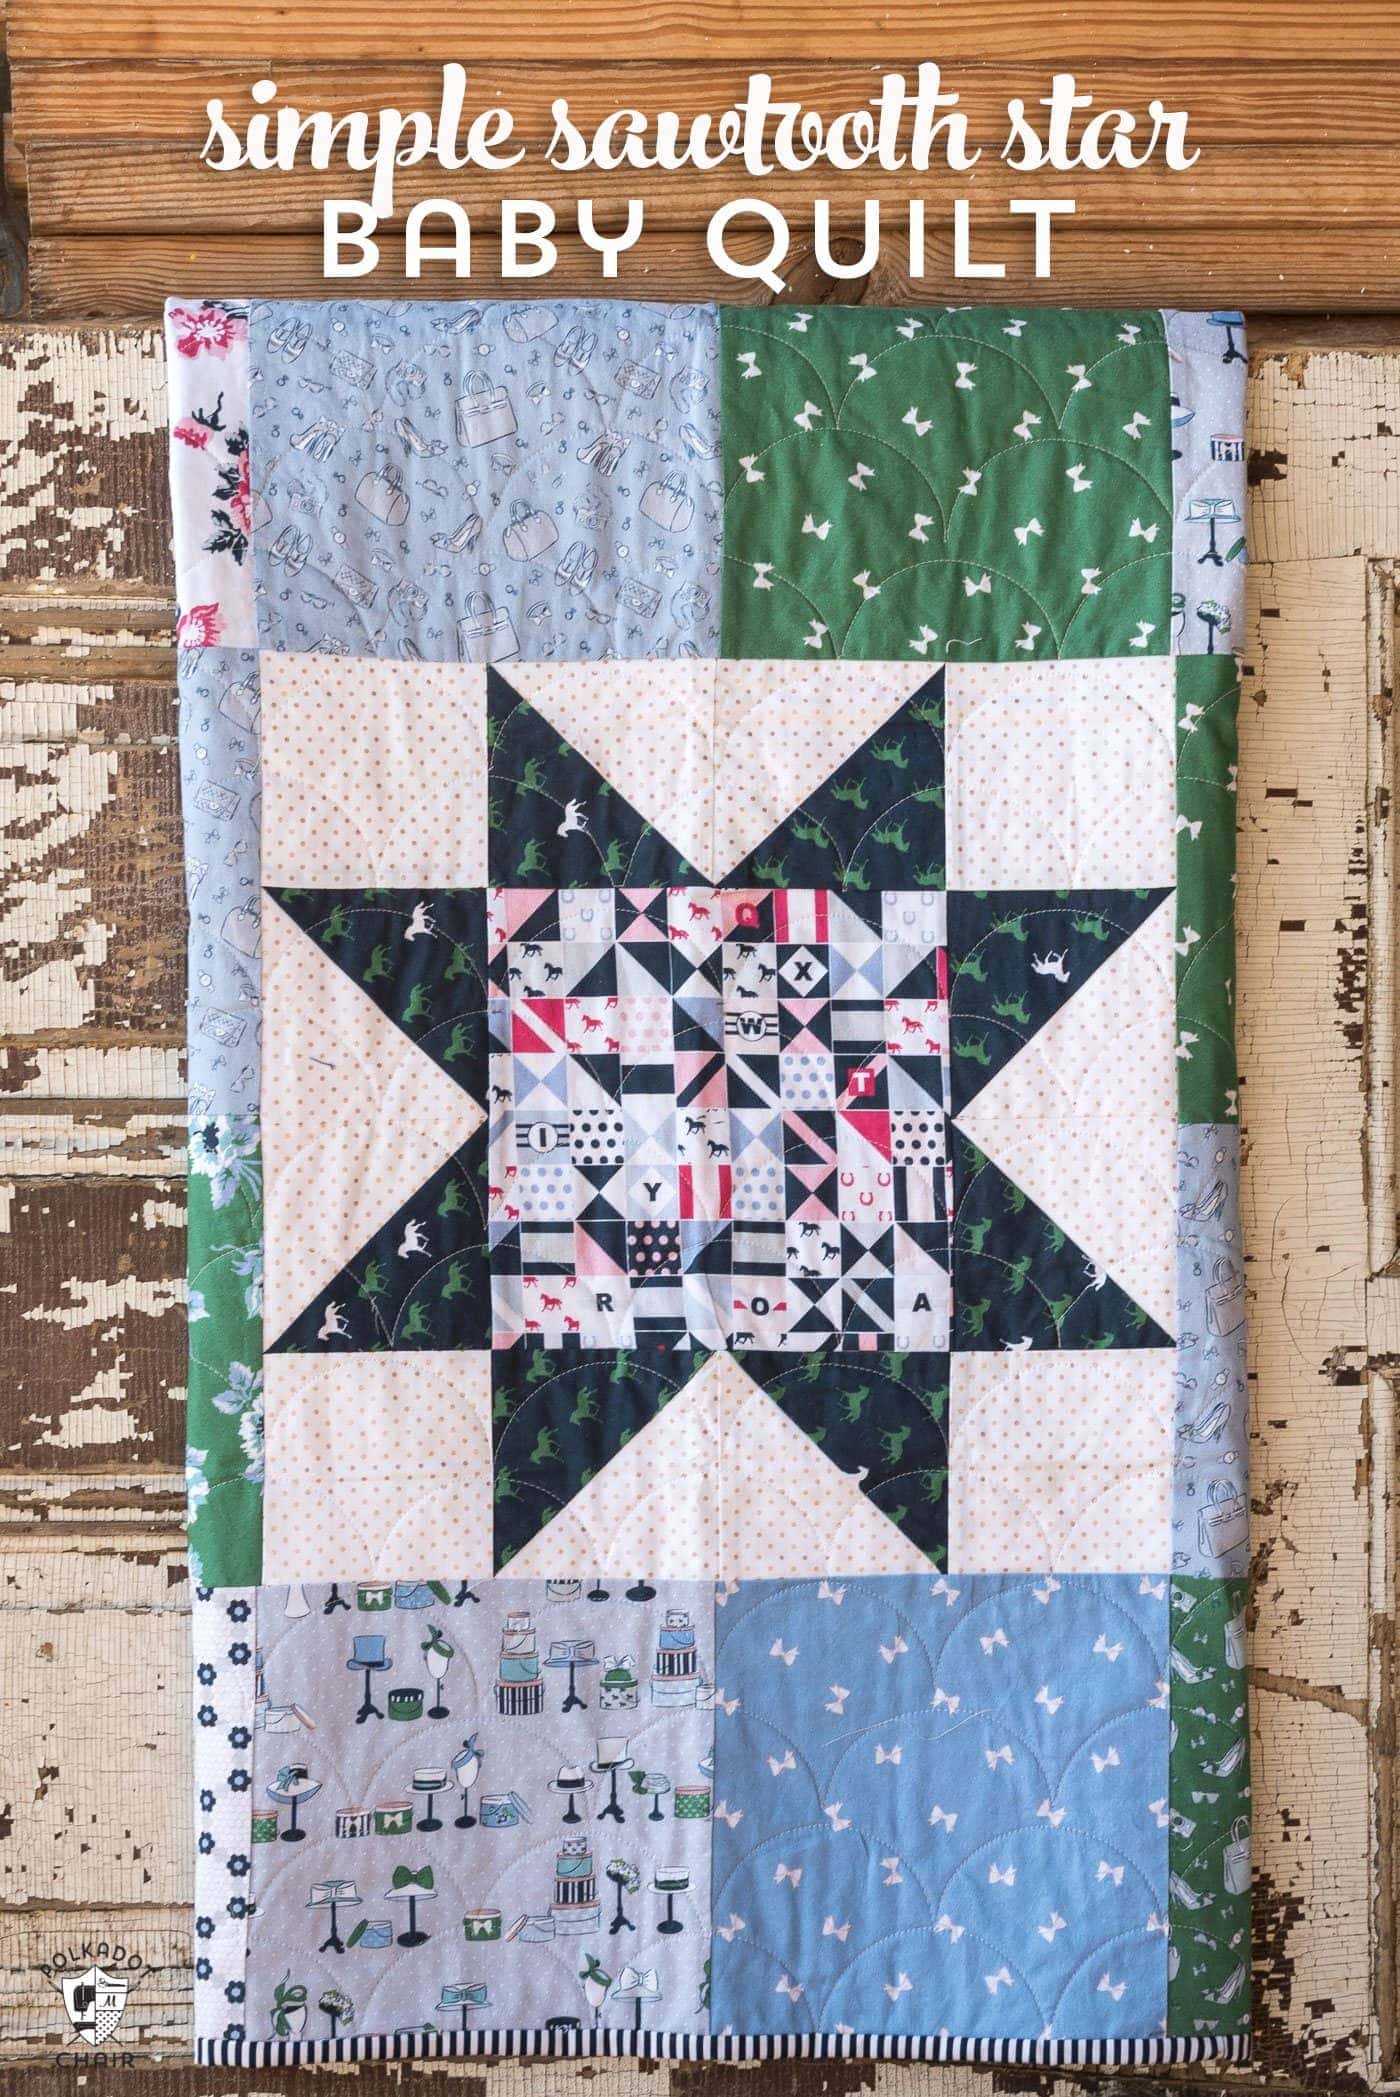
Simple Sawtooth Star Baby Quilt
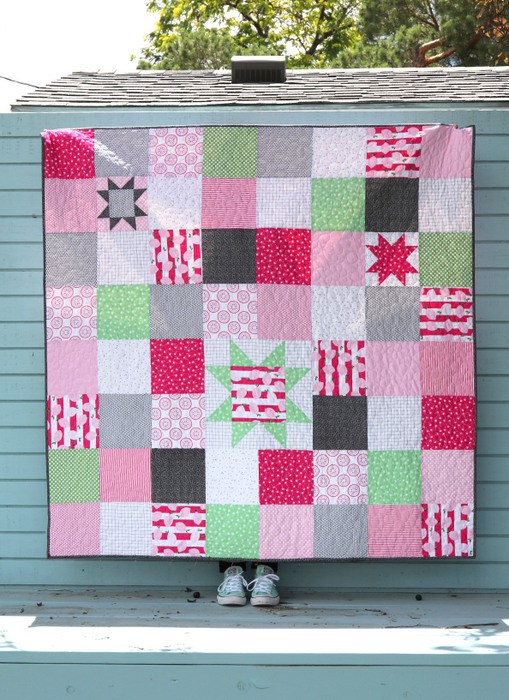
This Sawtooth Star Baby Quilt is so easy to stitch up that you’ll want to make more than one! It’s a great quilt project for a beginning quilter. If you like this pattern, you may also like this Turnstile Baby Quilt Tutorial.
First up, this is not my quilt tutorial. So if you think you’ve seen it before, you have. It’s actually a tutorial from Amy Smart of Diary of a Quilter. I was searching for a simple to stitch up a quilt for my booth at Quilt Market last fall, and I immediately thought of this tutorial. She stitched it up last summer, and I fell in love with it as soon as I saw it.
It’s a simple take on a sawtooth star quilt crossed with a patchwork quilt and is a great pattern to use if you’re looking to show off some of your favorite fabric prints.
How to Make the Baby Quilt
Hop on over to the Diary of a Quilt Blog and read through Amy’s tutorial. She uses the no-waste flying geese method to make her sawtooth star blocks. They are made up of four pieces, “sky”, “goose”, “center,” & corners. You’ll need to refer to her full tutorial so you know what to do with all of the squares you cut.
To make the quilt in baby size instead of throw size (like Amy’s):
If you are using a 10″ precut (Layer Cake) of fabric, you will need 42 pieces of fabric 10″ x 10″. In theory, you could make this baby quilt from one Layer cake.
Step One: Instead of the eight rows of 8, make your quilt six rows of 6. This will yield a 48″ x 48″ finished baby quilt.
Step Two: Cut out 30 squares of fabric, each 8 1/2″ x 8 1/2″. These will be the simple squares in the quilt.
Step Three: Sew two Sawtooth Star Quilt blocks that are 8″ x 8″ when finished (that’s 8 1/2″ x 8 1/2″ before they are sewn into the quilt). Cut for EACH block (there are two):
- Four pieces 3″ x 3″ for the “sky”.
- One piece 5 1/4″ x 5 1/4″ for the “goose.”
- One 4 1/2″ x 4 1/2″ for the center.
- Four pieces 2 1/2″ x 2 1/2″ for the corners.
Step Four: Sew one 16″ x 16″ finished size Sawtooth Star Quilt block. Cut for this block:
- Four pieces 5″ x 5″ for the “sky” squares.
- One 9 1/4″ x 9 1/4″ for the “goose.”
- One 8 1/2″ x 8 1/2″ for the center.
- Four 4 1/2″ x 4 1/2″ for the corners.
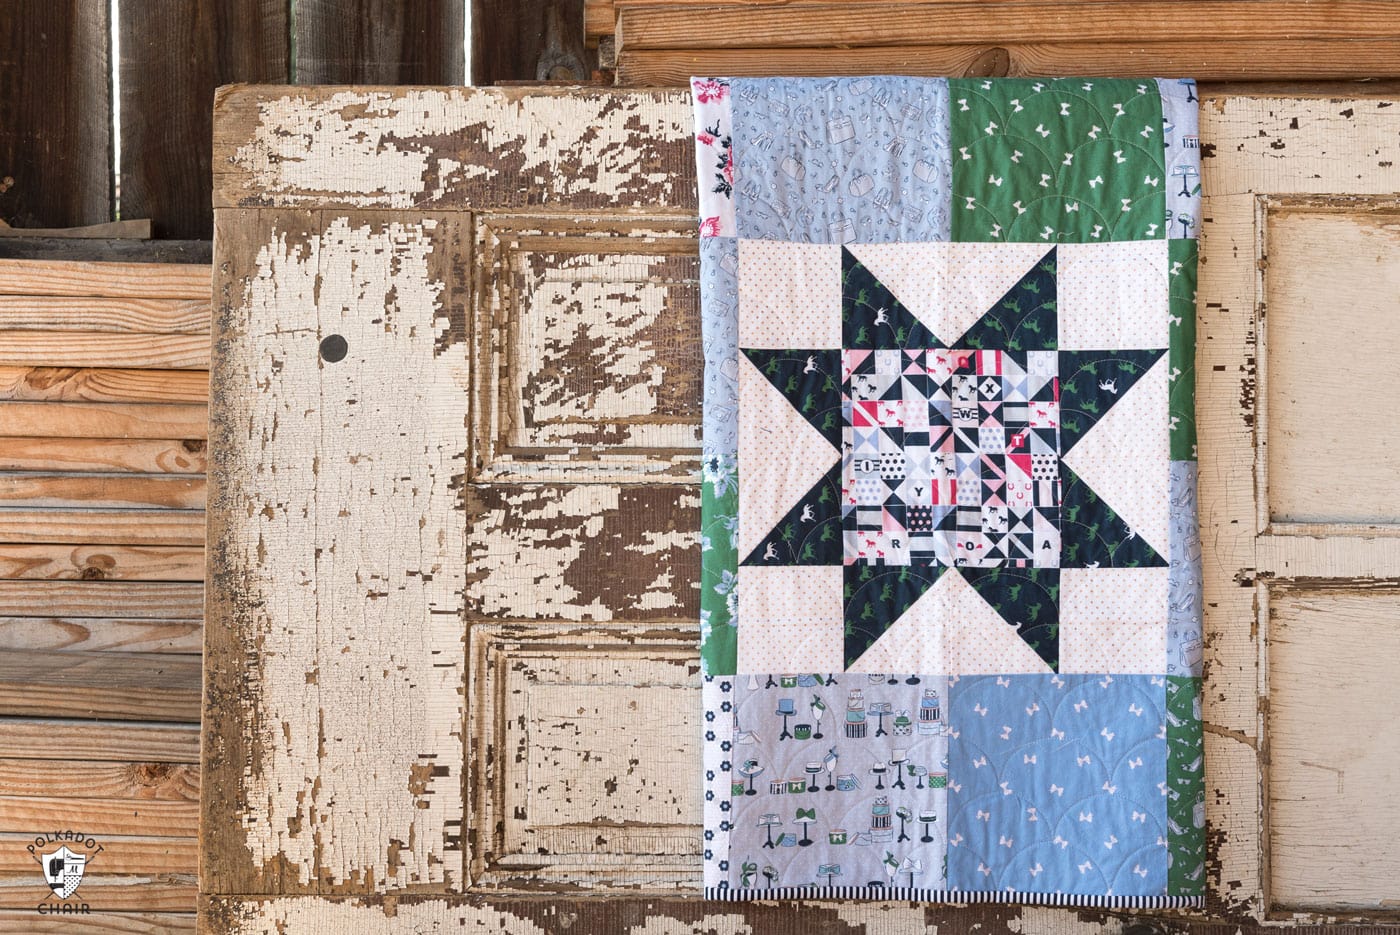
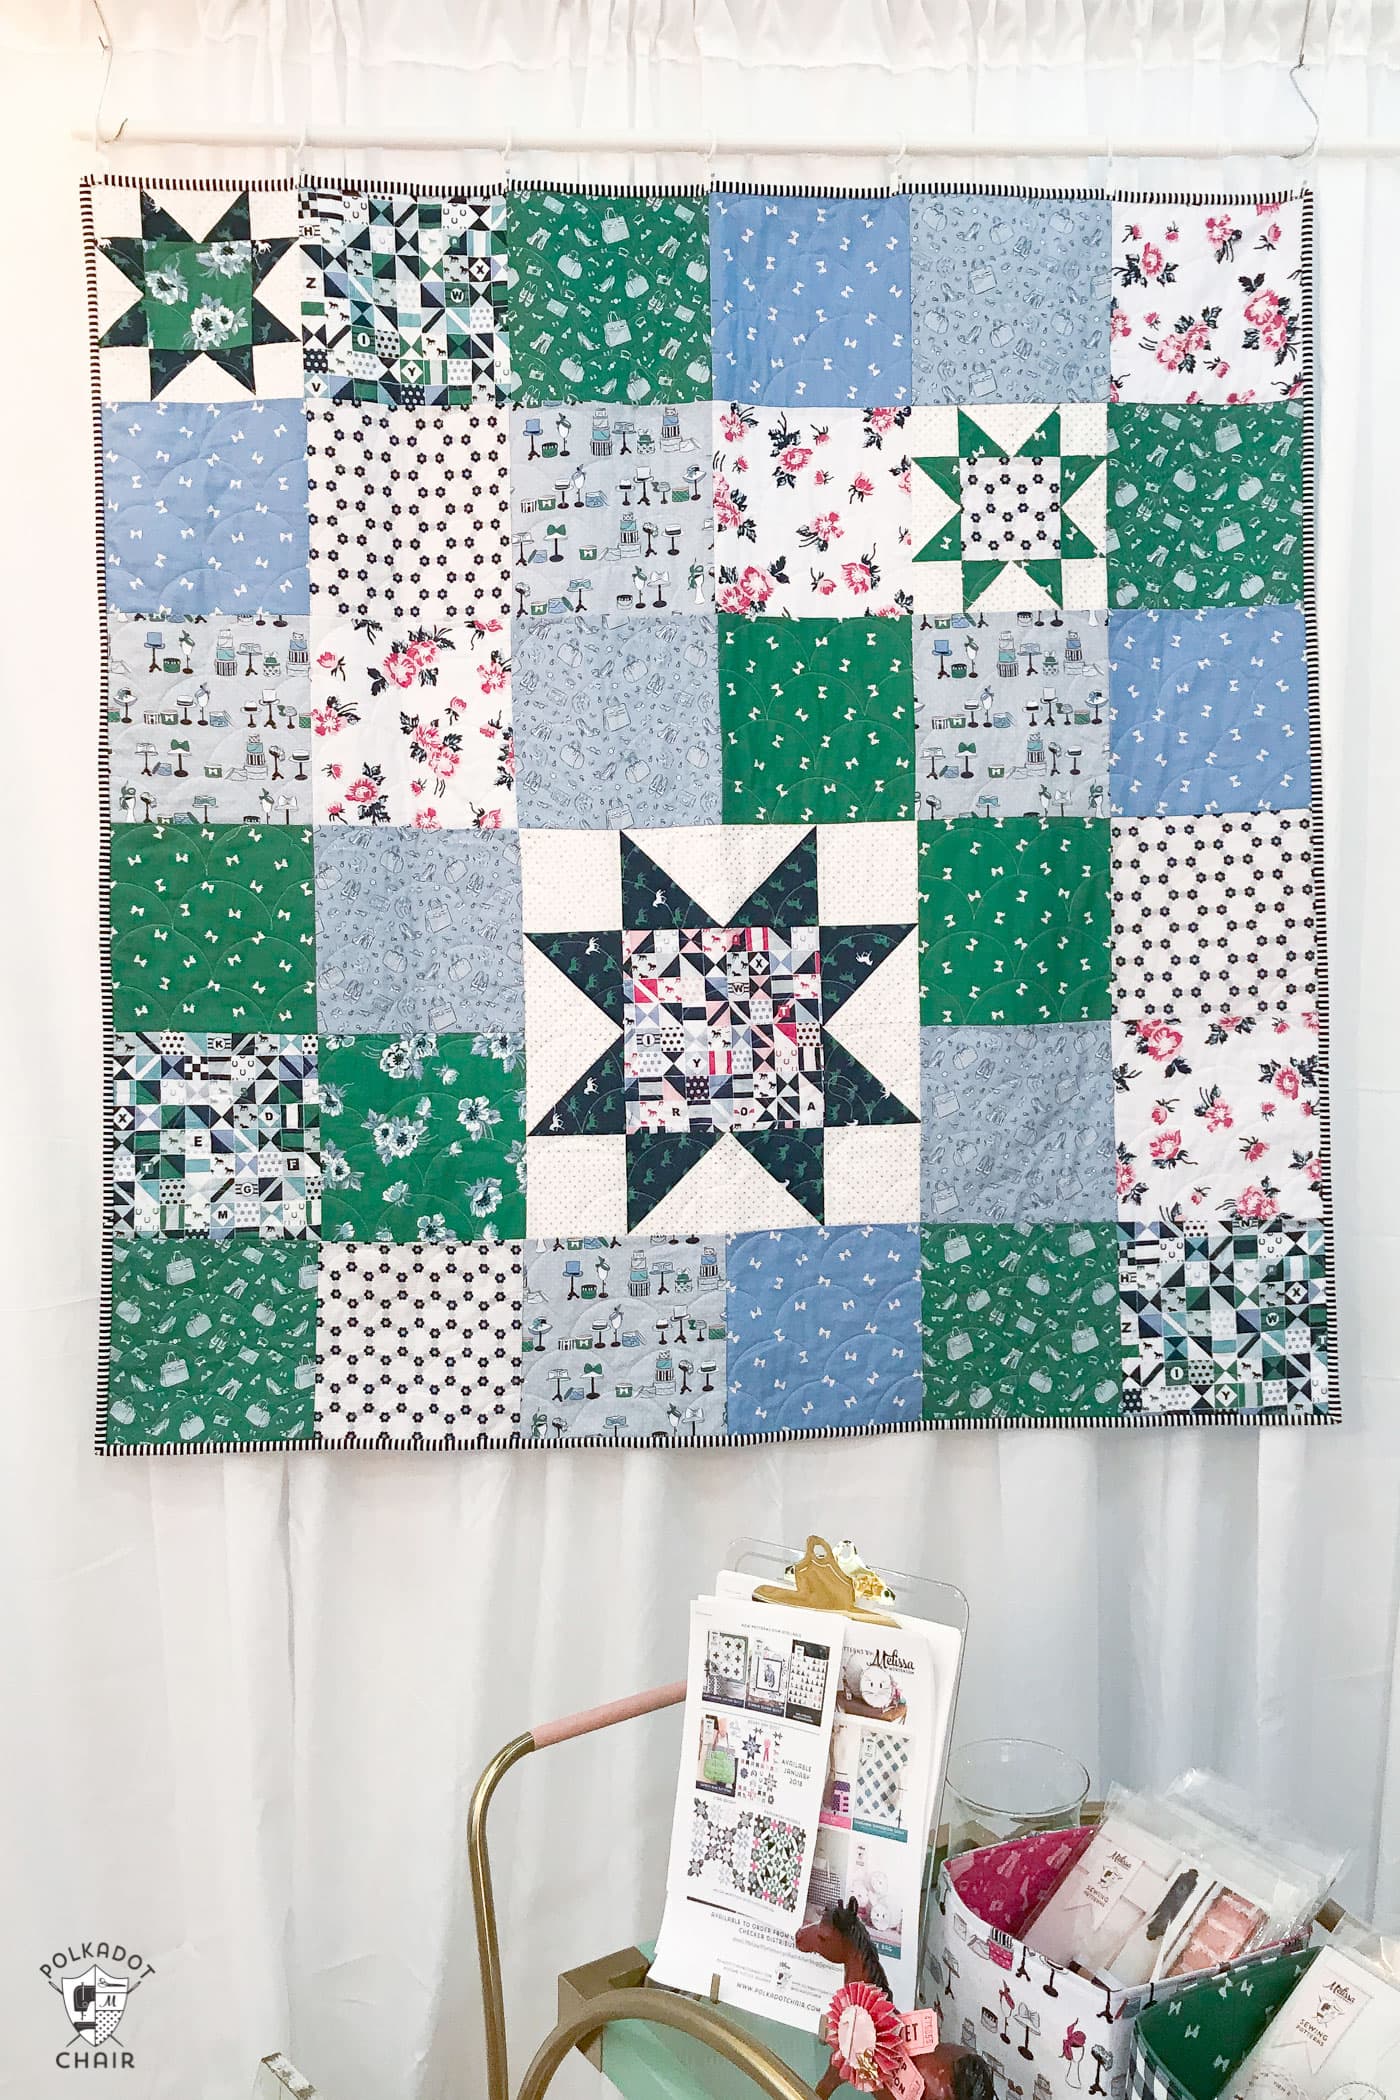
Assemble the quilt by rows as shown in the photo below.
About my Version of the Quilt
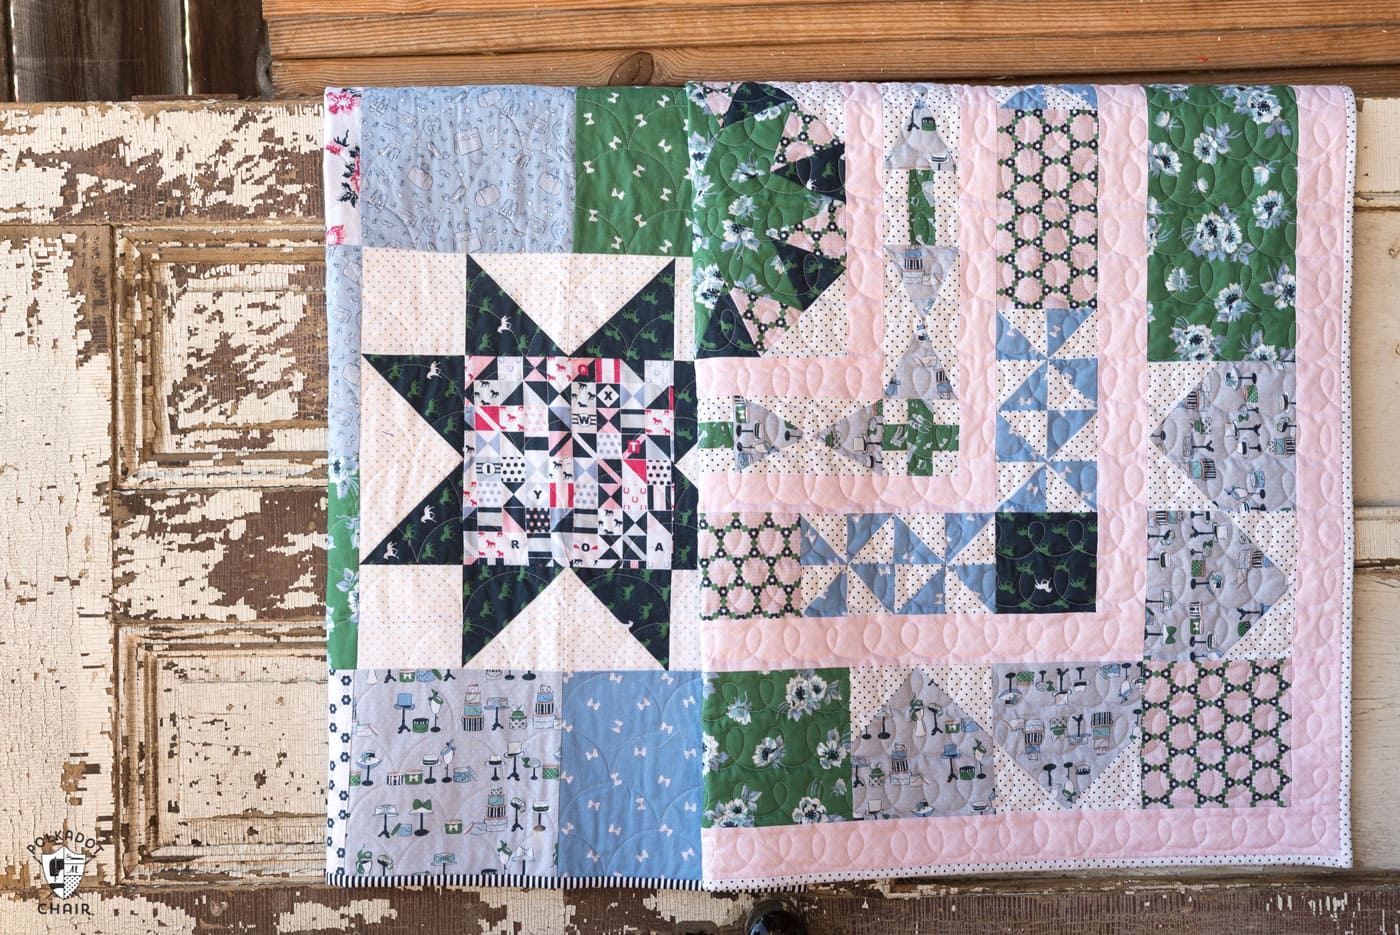
I, like Amy, interspersed three sawtooth stars into my quilt to break up all of the patchwork. I stuck to blues and greens for the color scheme. (In her post, she shares some great tips for picking fabrics for a quilt as well). Here it is hanging in my booth at Market in Houston.
The Inspiration behind the Derby Day Fabric Line
Derby Day will be my 5th fabric line with Riley Blake. I think it has taken me this long to figure out what in the world I’m doing. One of the hardest parts of designing fabric is having all of your projects and photos ready when the fabric is released! I don’t get fabric until a few weeks before everyone else, so as you can imagine, it’s a bit of a mad dash to get it all put together.
This time, I was able to get my hands on some advanced, advanced yardage. Which was AWESOME. It varies slightly from the finished fabrics (you can’t put metallic ink on advanced yardage, and the colors are slightly different; in this case, they were darker), but getting fabric earlier is worth it.
Since I’m a bit ahead, I thought that I’d take advantage of a sunny day and take some of my quilts to a friend’s farm to photograph. She was nice enough to let me come out and traipse around a bit. She even brought out a few horses to pose for photos!
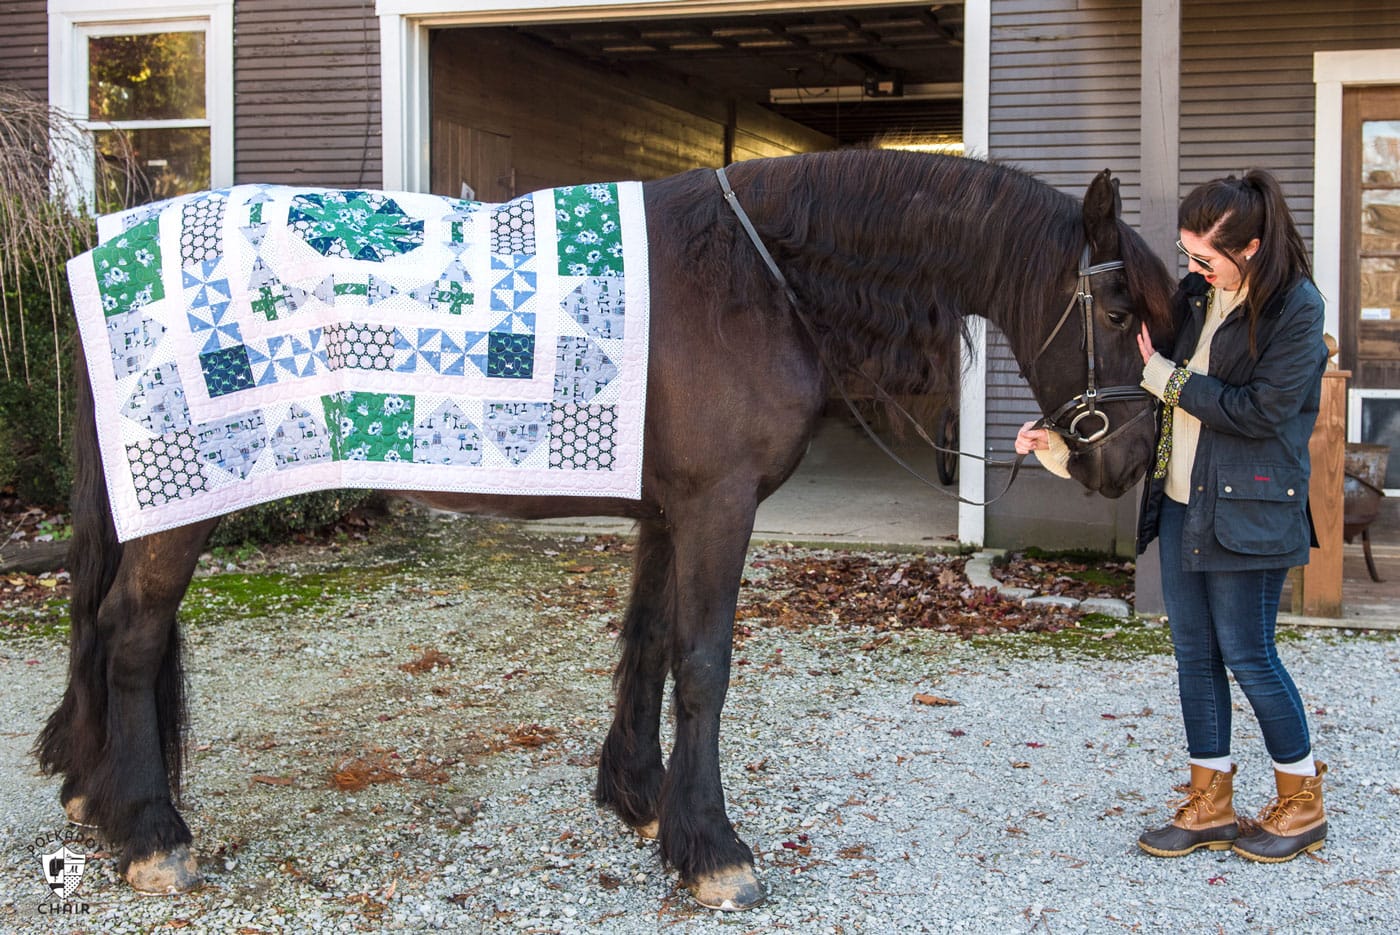
When she asked if I wanted photos with a horse, I did a happy dance. I mean, look at that gorgeous creature. He’s a Fresian, and I’m pretty sure he belongs to a friend of hers in the same barn.
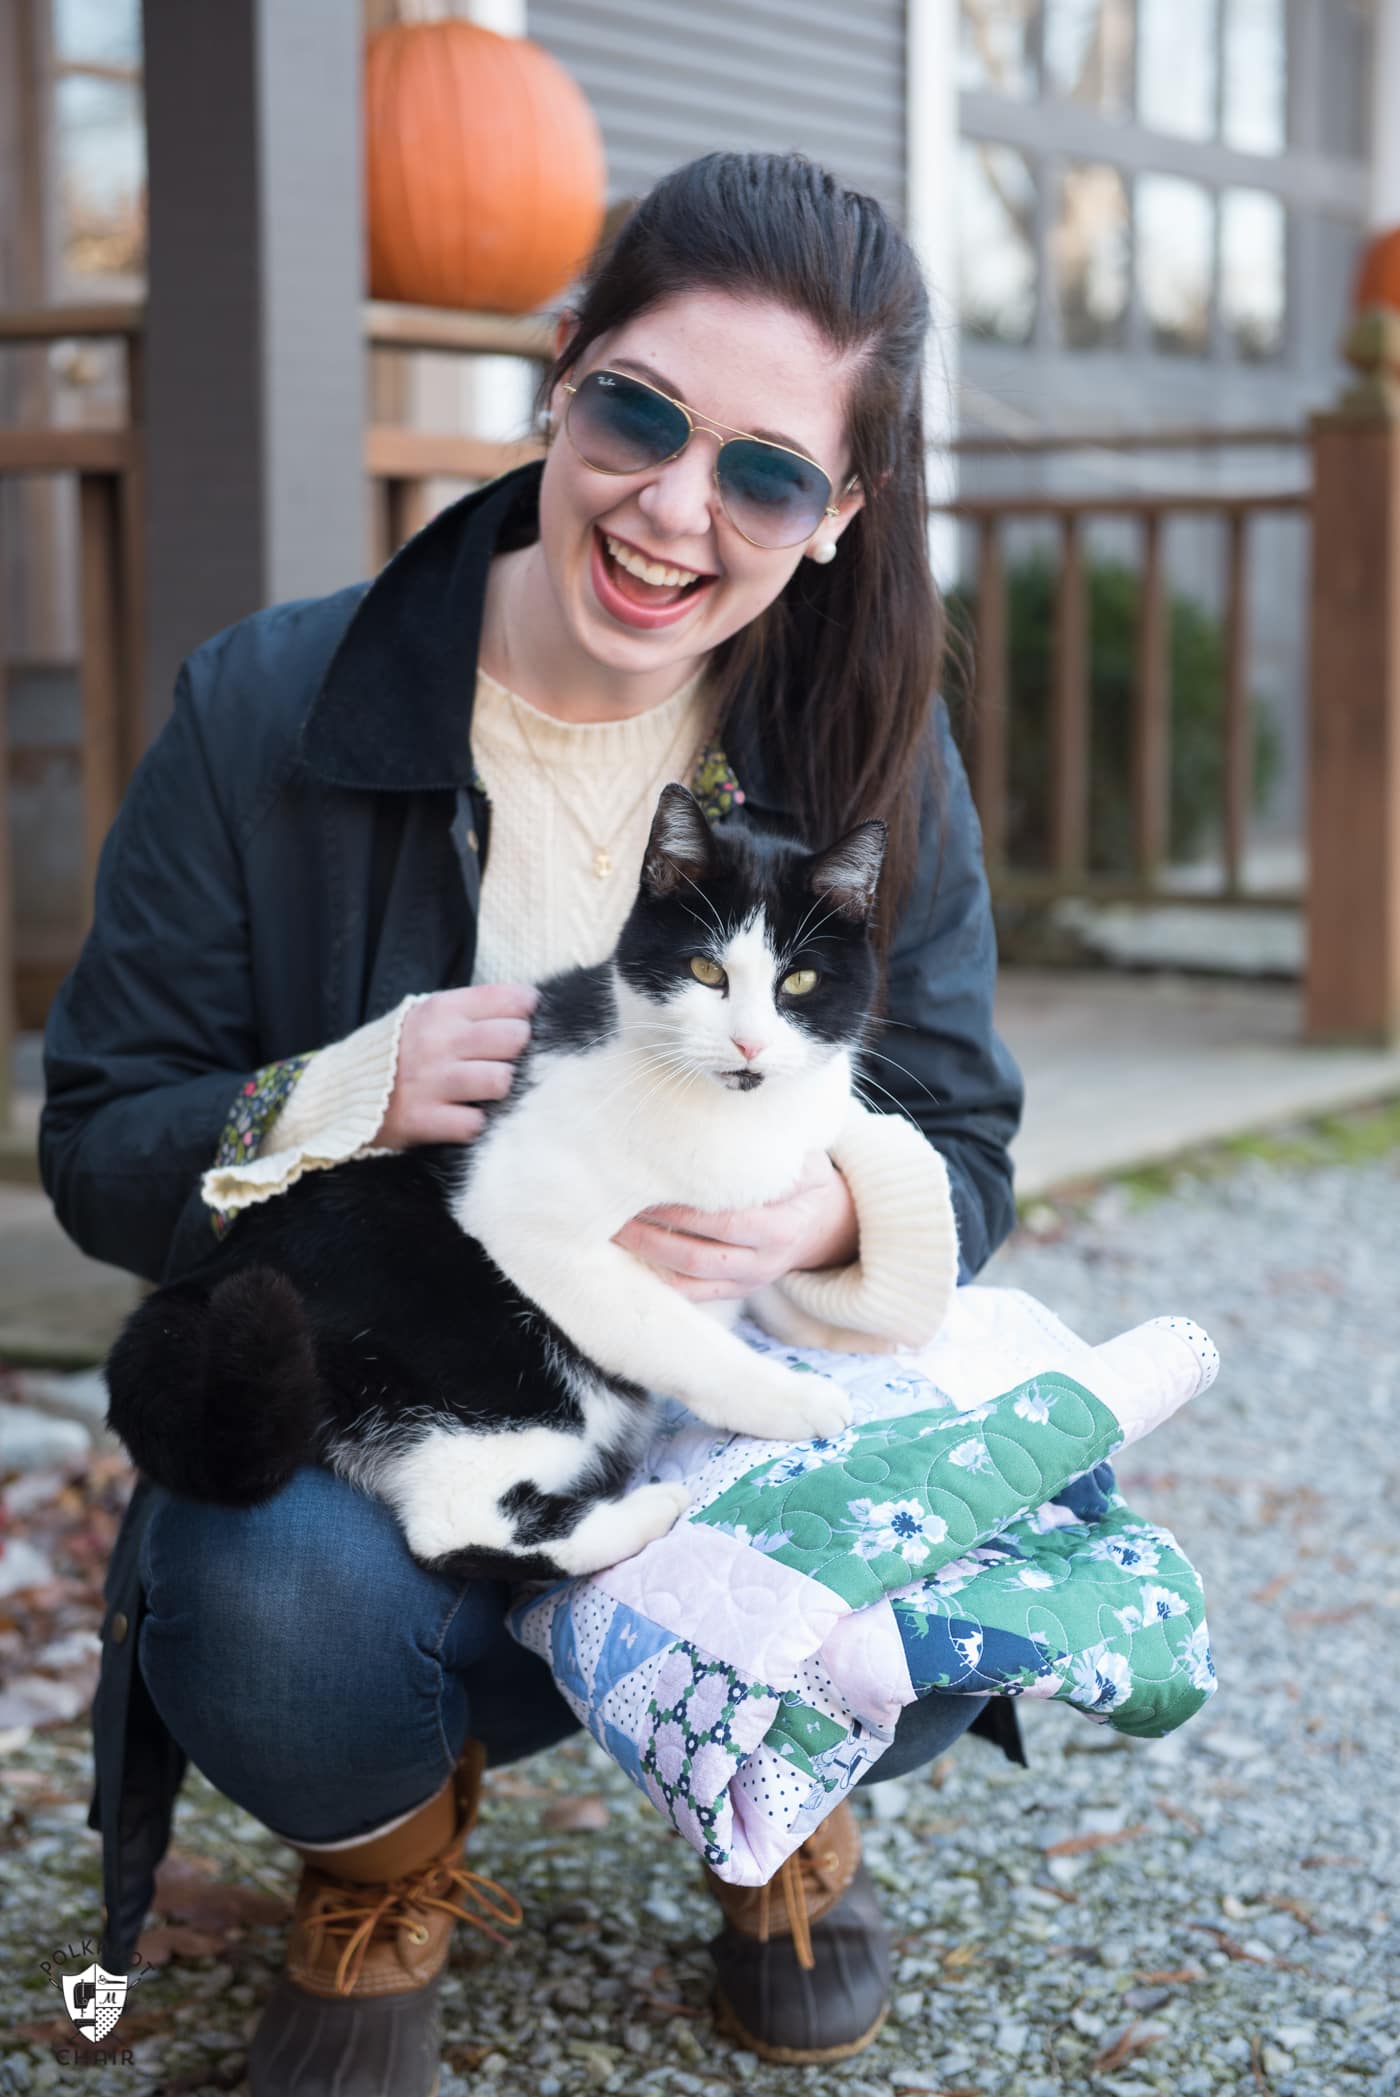
My daughter is home from college for Thanksgiving, so I didn’t have to ask her twice to jump in the photos. She fell in love with this horse right away. Cats and dogs roamed around the farm, including the cutest golden retriever. With all of the horses and animals, I thought I’d never get her to leave (I really didn’t want to leave myself)!
Details of the Featured Quilts
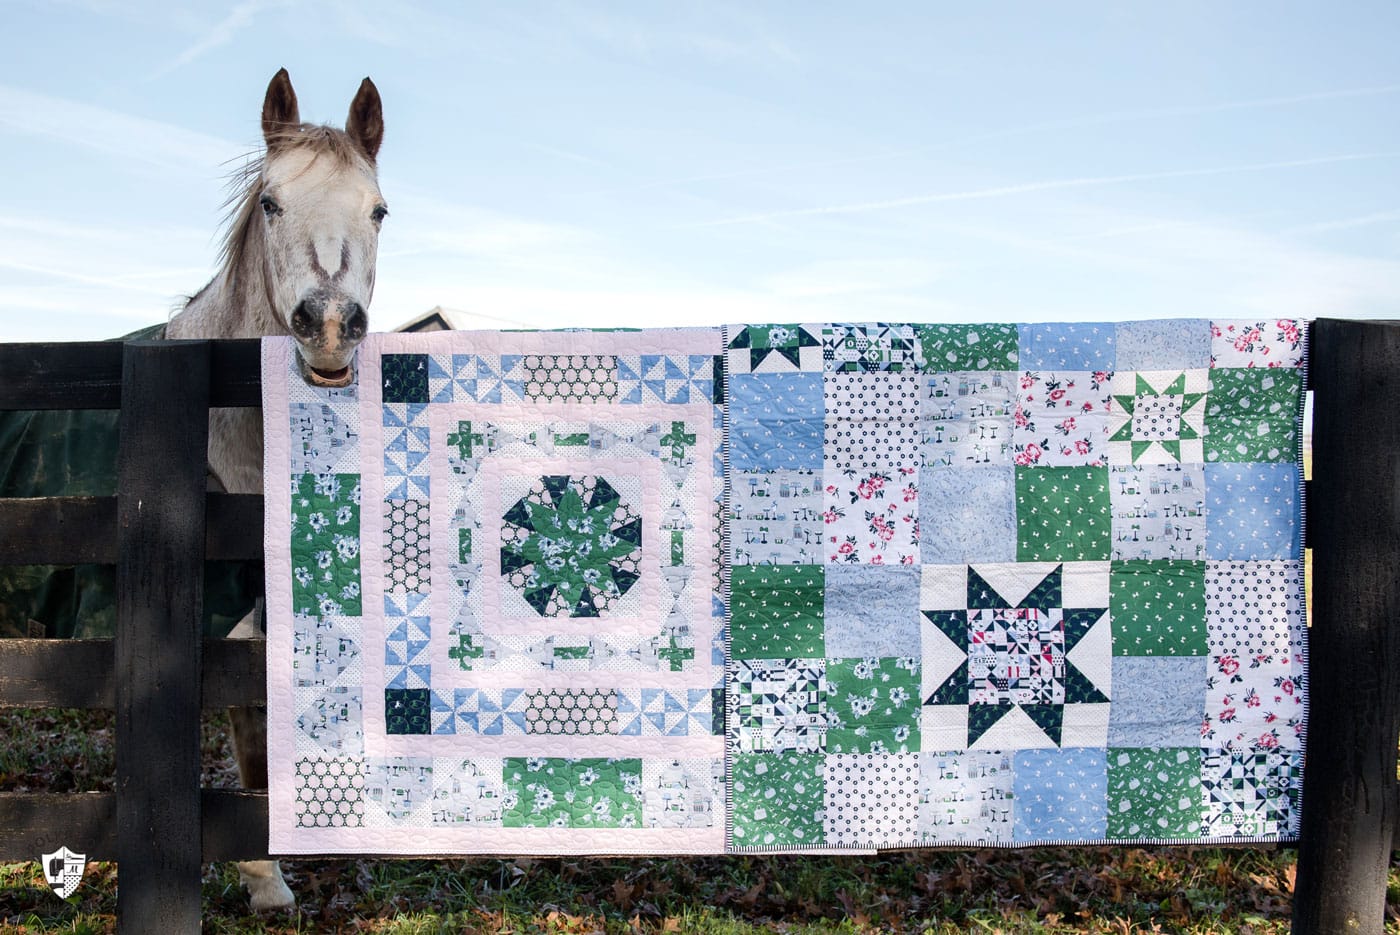
Erin Harris made the quilt on the horse above. It’s a project from her book Make your Own Medallion (affiliate link), coming out in the new year. She’ll share more info about the quilt when it gets closer to the book’s release.
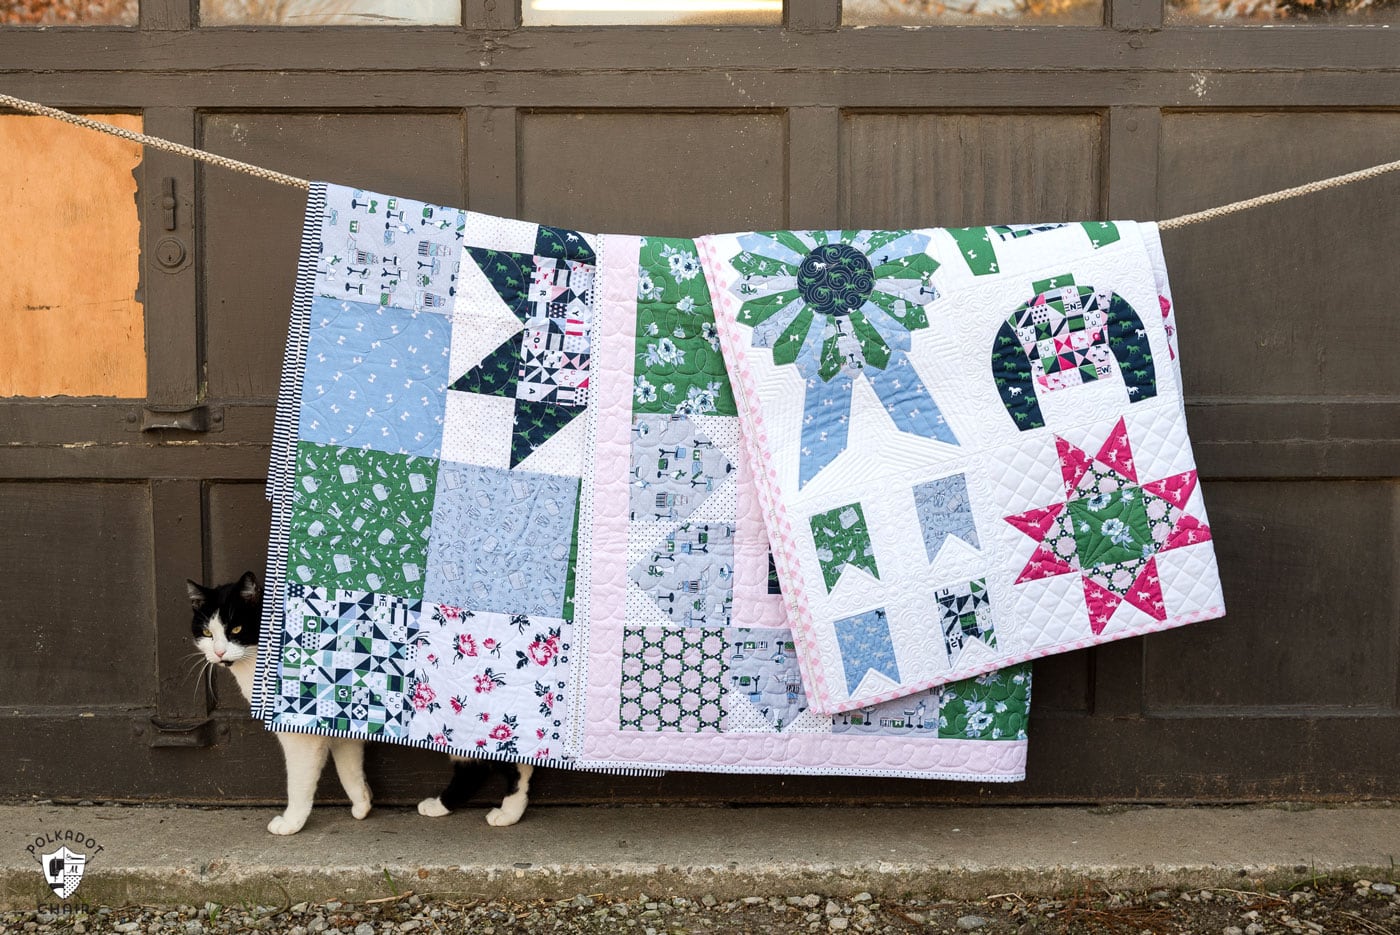
The 3rd quilt in the photo above is a new pattern. It’s called the Derby Sampler, and I think might be one of the quilts that I’ve ever made.
I ended up taking so many photos that day at the farm I’m still sorting through them all. I have one more quilt that I am working on before the Derby fabric release in February. I’m really excited about how it is turning out, and I think another trip to the farm will be called for when it’s done!

