DIY Washi Tape Letters for Sewing Room Decor
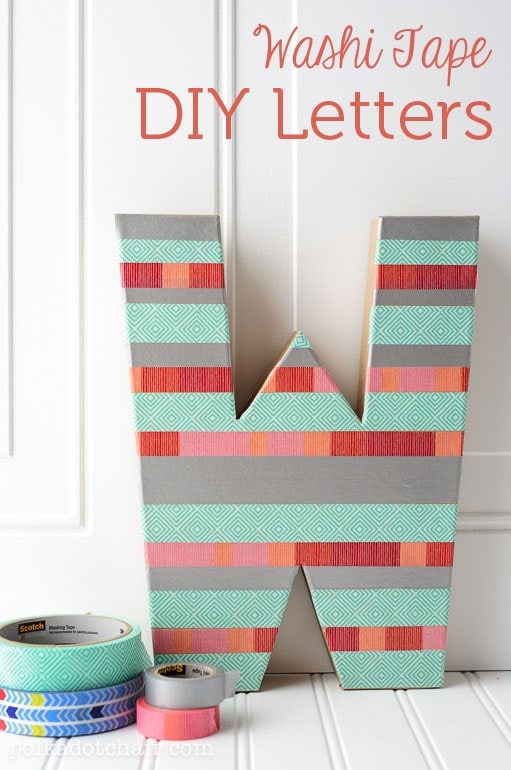
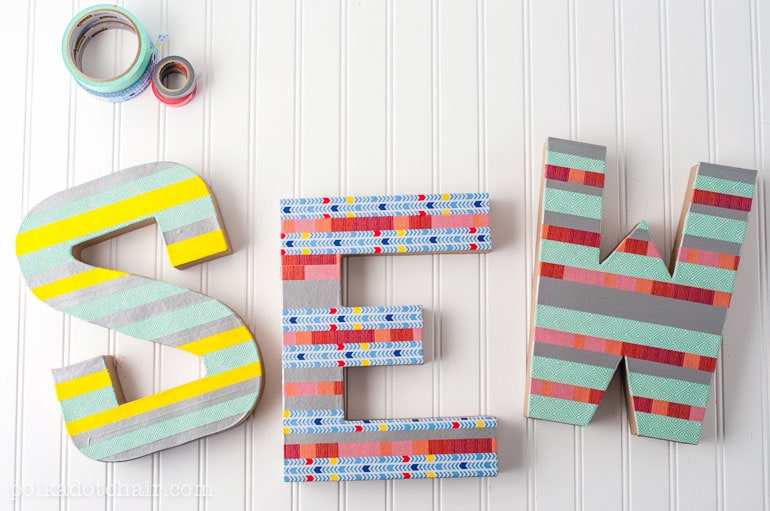
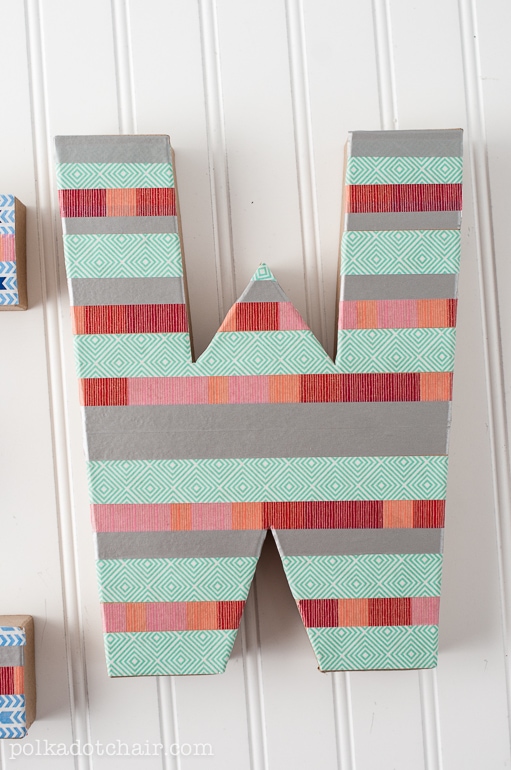
You may be wondering to yourself “whats with the big W”? (btw… can anyone name that movie…. the one where they all try to find the big W?). Well you see I decided to make a Washi Tape Craft to make some decor for my Sewing Room…. and W is the last letter in… sew!
Silly I know….
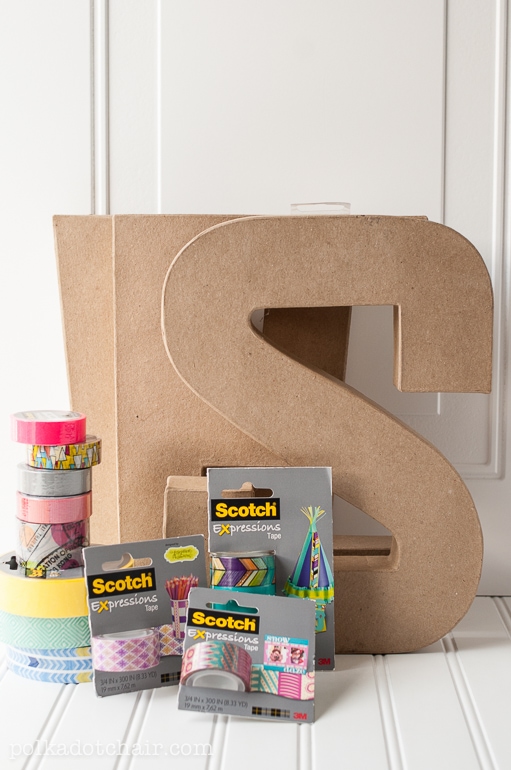
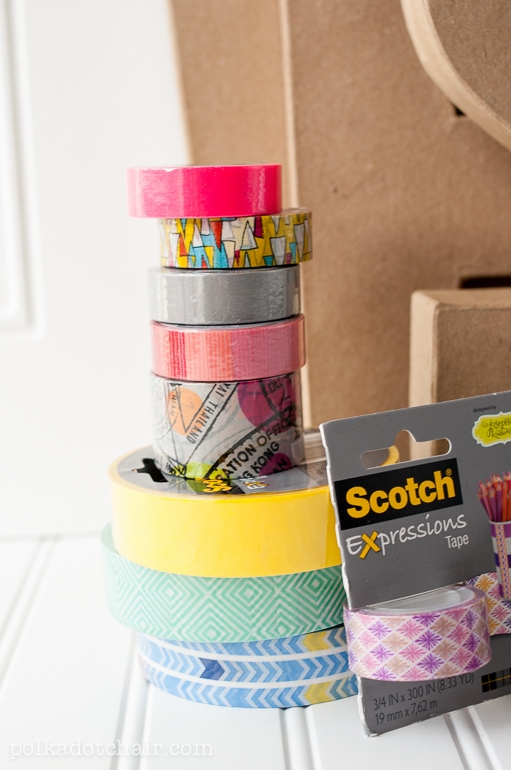
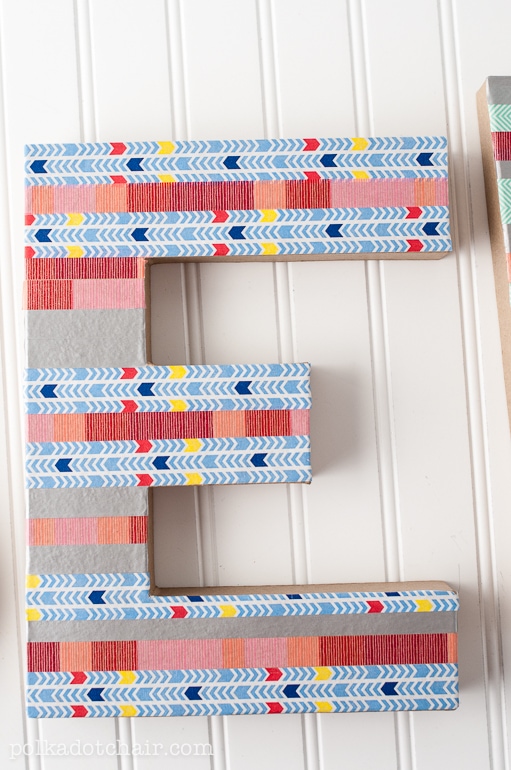
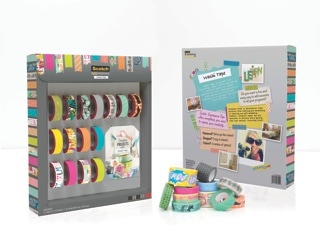
The kind folks at Scotch sent me a fun package of their new Expressions Tapes to play with! They have over 100 colors of Expressions Tapes in 4 types including Washi tapes, Masking tapes, Packing tape and Magic tape. I decided to combine the great colors and prints from their tapes with some craft letters that I picked up at the store to make some wall art for my Sewing Room. I think that this project would also be a lot of fun for a kids room.
Let me show you how to do it… it was soooo easy! No special tools required just some scissors.
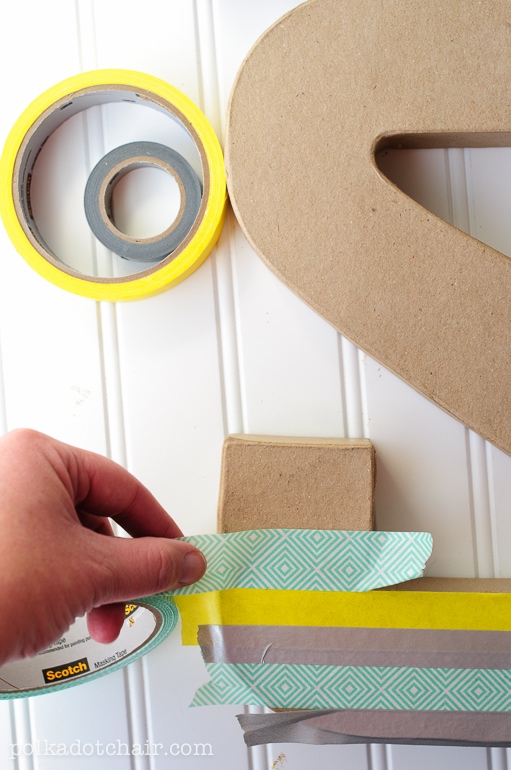
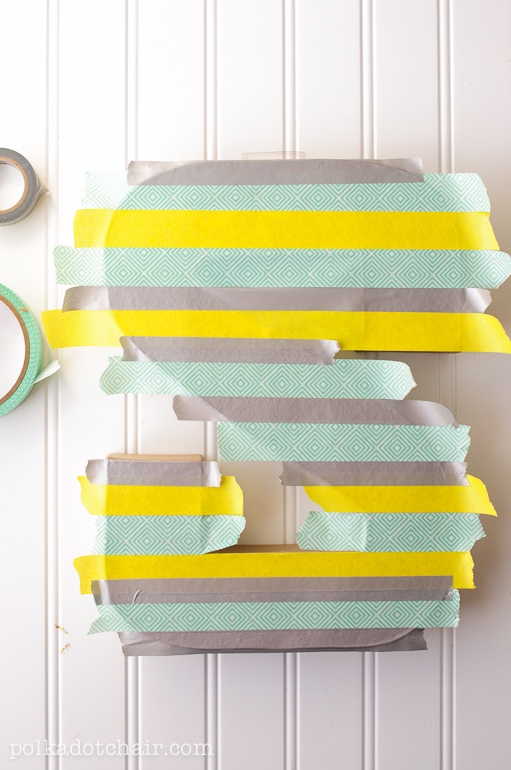
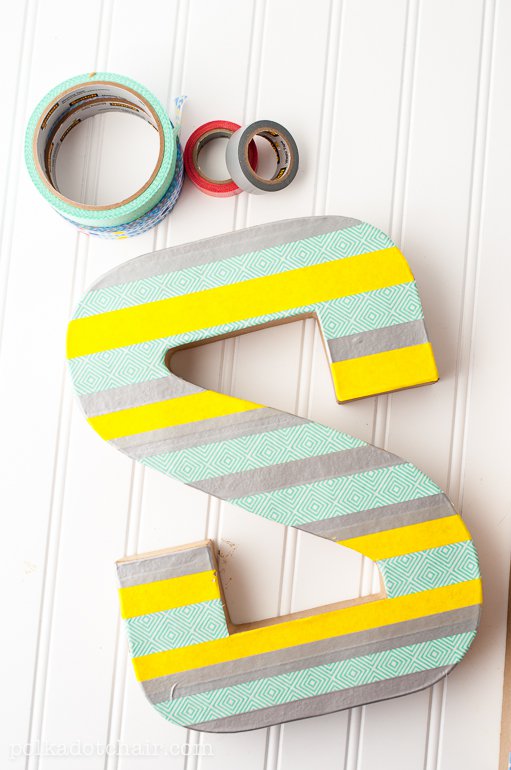
Start by covering the front of your letters with a combination of the tapes. I used both Washi tape and printed masking tape.
Keep the tapes going straight across the letter even if there is a space in the middle. After you’ve covered the entire letter, trim down the tape with your scissors. I chose to leave the sides of my letters natural for pop, but you could easily paint them if you like.
Would you like to play around with some Scotch Expressions tape yourself?
Just leave a comment on this post and tell me what you’d make! You’ll be entered to win a jumbo prize pack of Washi tape! Enter until Midnight Eastern on October 14th. Full giveaway guidelines here.
**Disclosure: I was provided with product by Scotch to create the crafts in this post. All opinions and ideas are 100% mine.
Connect with me:

