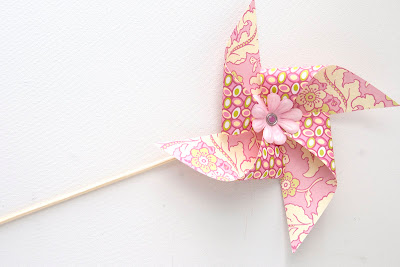
Easy Pinwheel Tutorial
I’m completely obsessed with pinwheels right now. I blame it entirely on Pinterest…. For a visual person like me, that has got to be one of this decades greatest inventions!
Last Saturday I was in charge of a church picnic for 500 people… (I’m still recovering). It turned out to be a fun party, I have no photos of it though- too busy running around like a crazy person that day!
For the picnic, I needed to think of something cheap and easy for 30+ table centerpieces. It had to be little to no cost, and I had to be able to make them in an afternoon.
I’d been obsessing over pinwheels and thought it would be so cute to have pinwheels in buckets for the centerpieces…. Last week I shared this instagram photo of my progress:
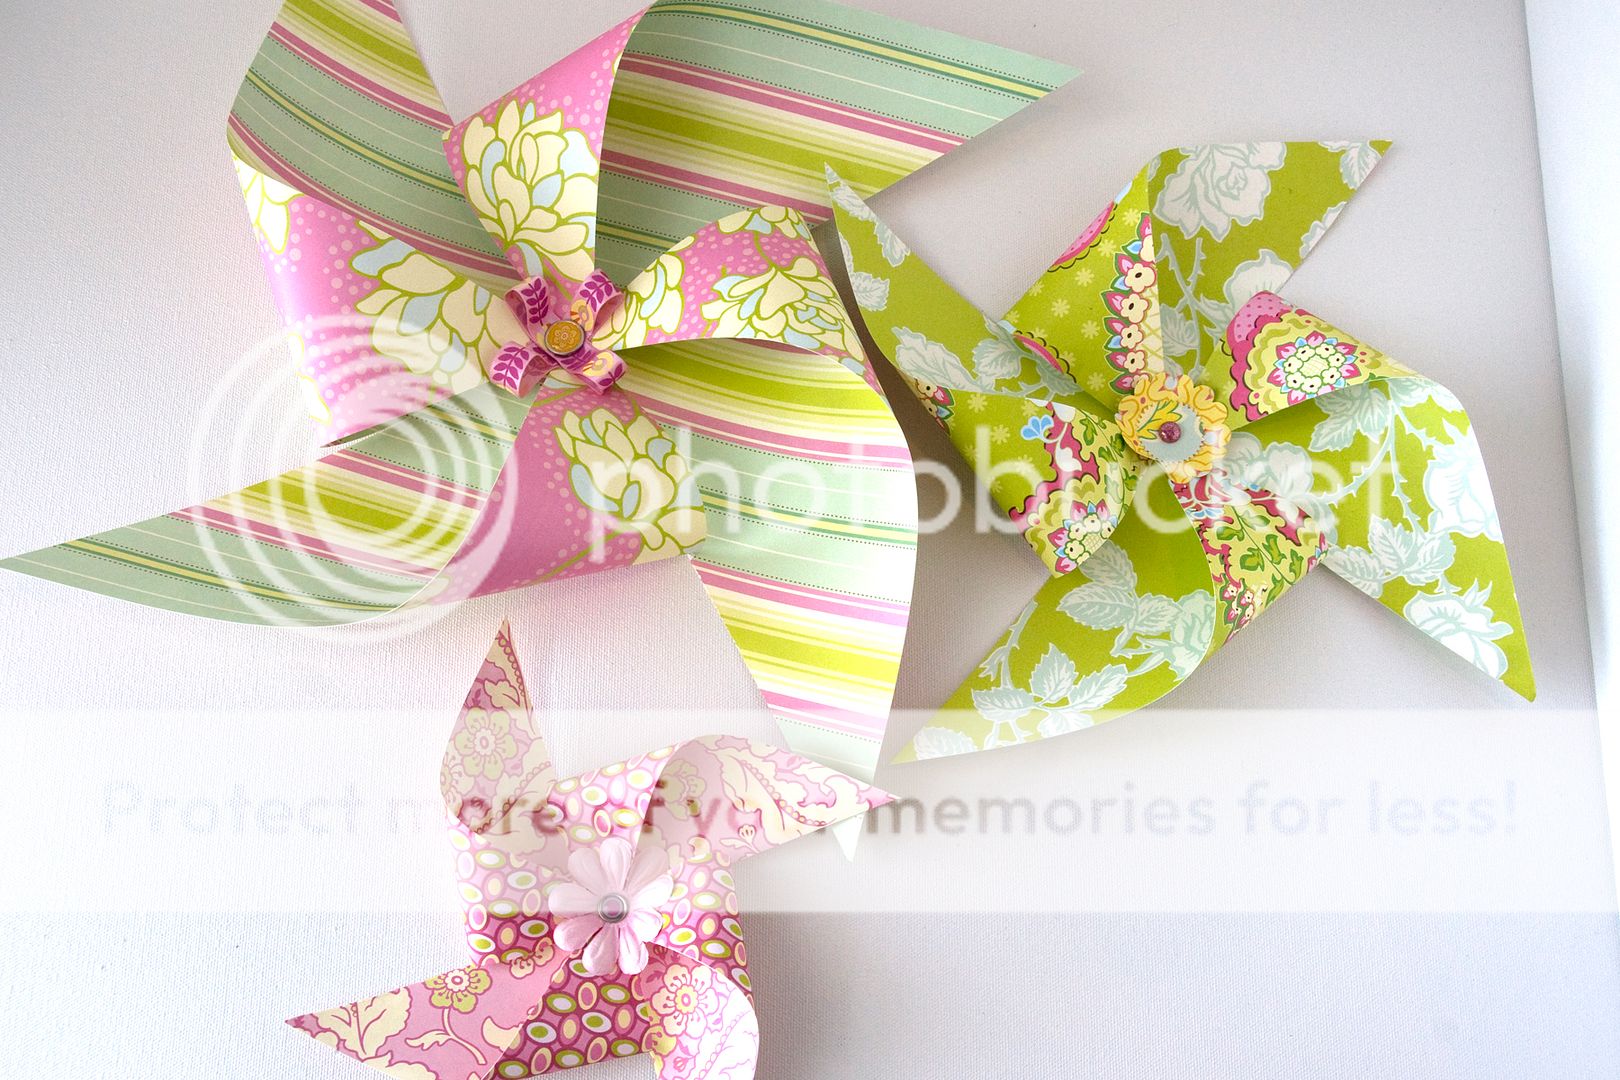
I ended up making 90 pinwheels in ALL!! Using scrapbook paper I already owned (no cost)… Now, before you think that I have LOST MY MIND I wanted to share with you how I did it…
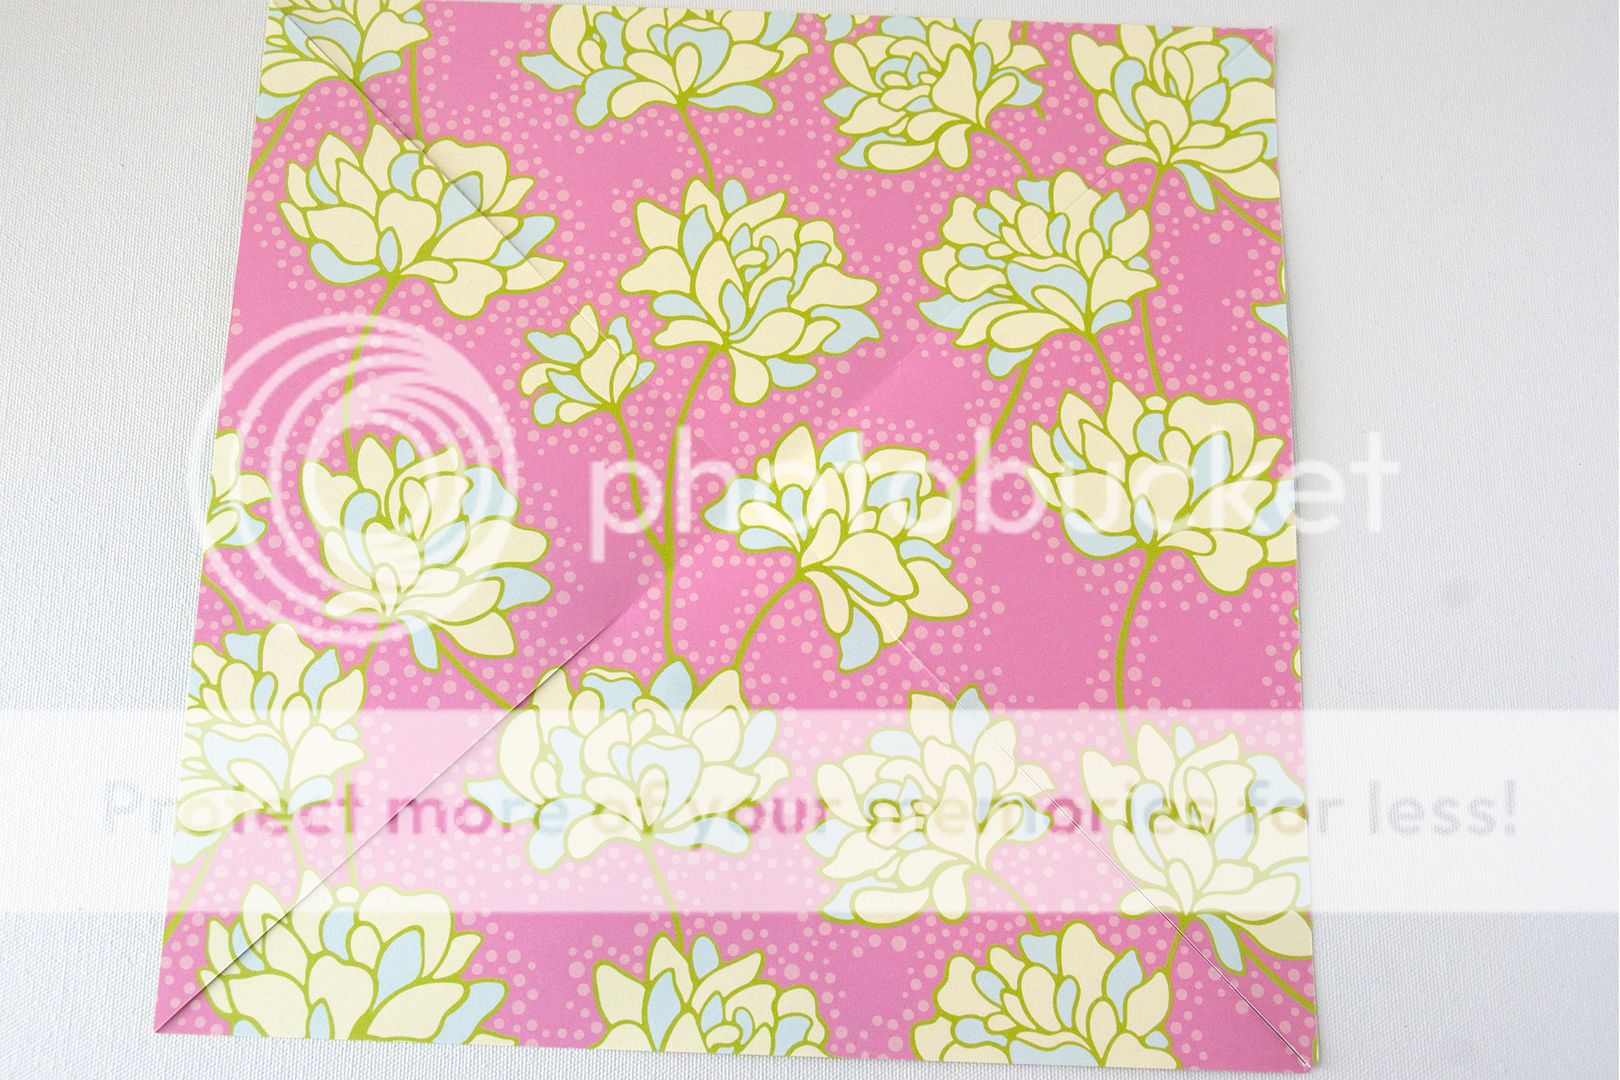
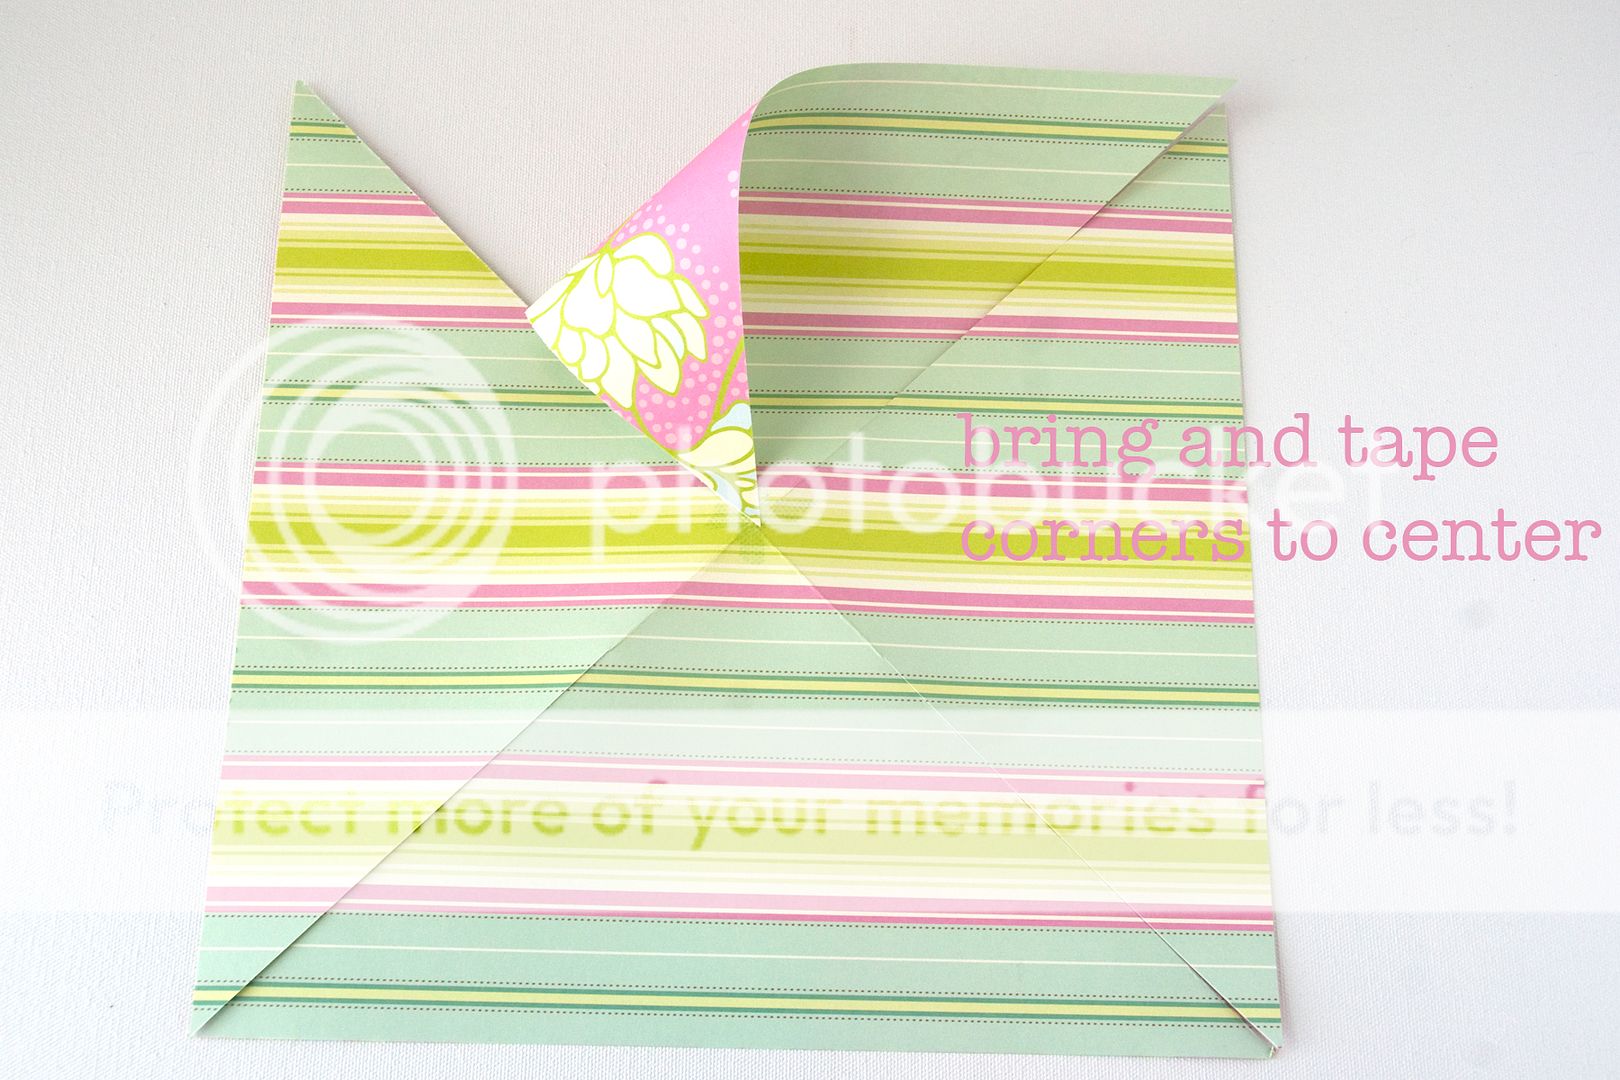
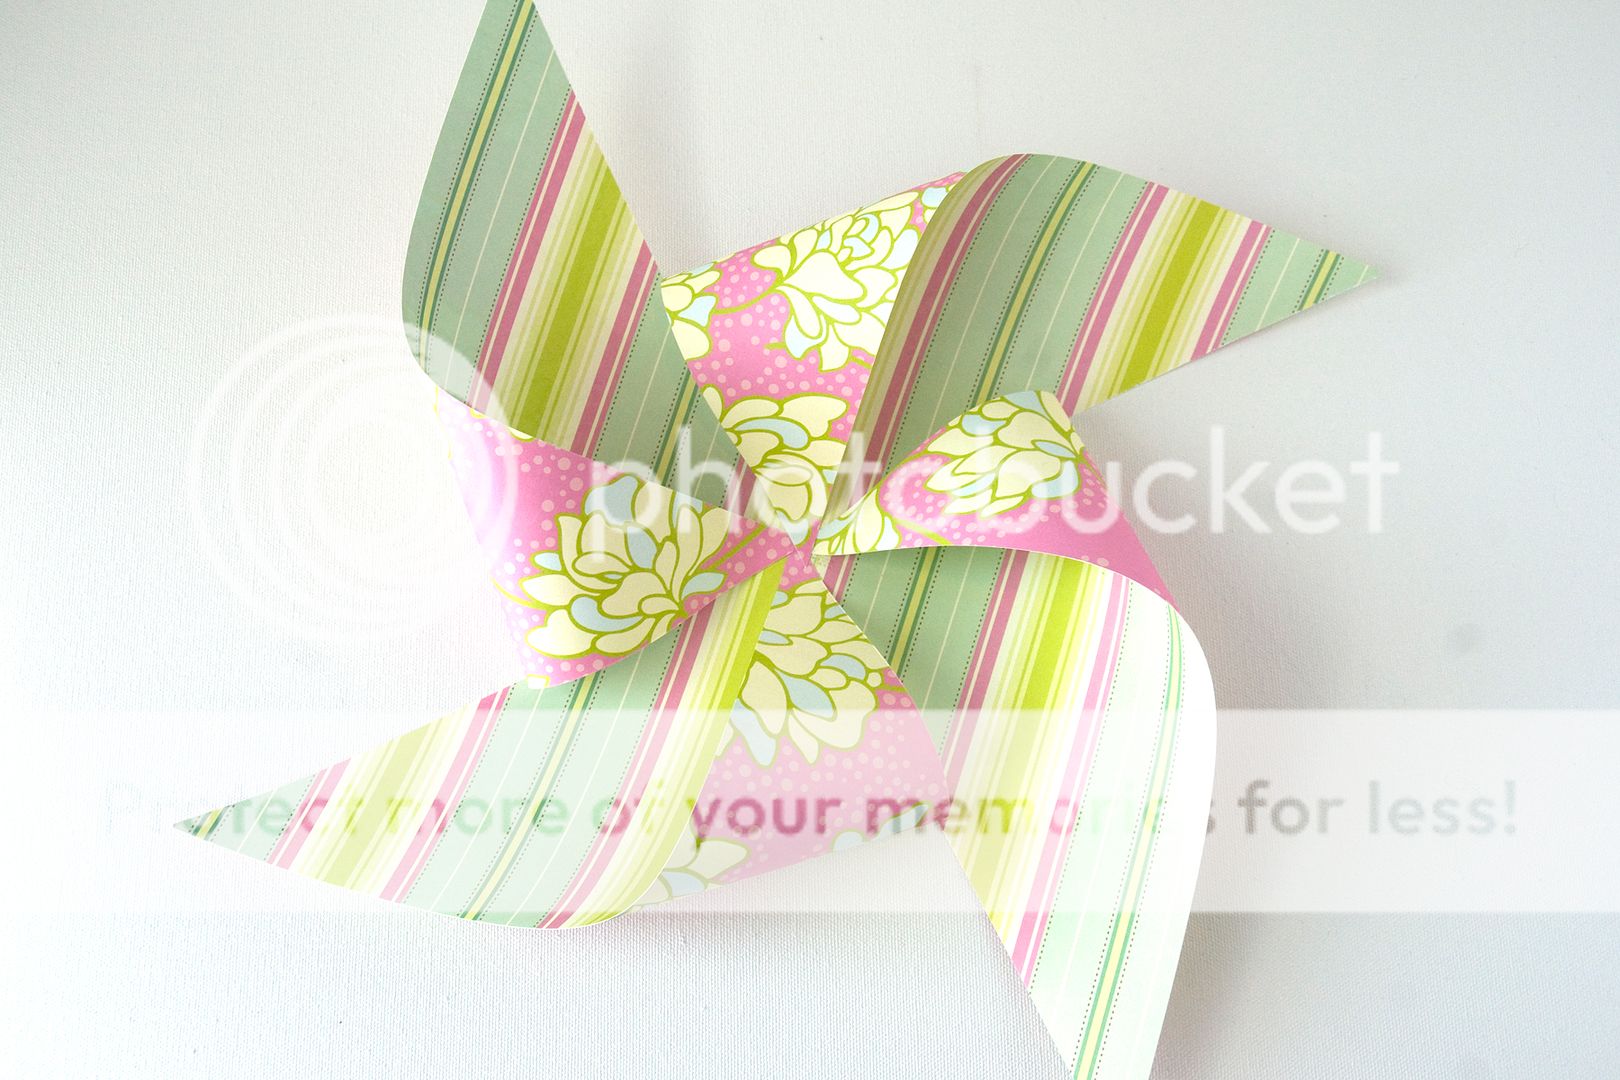
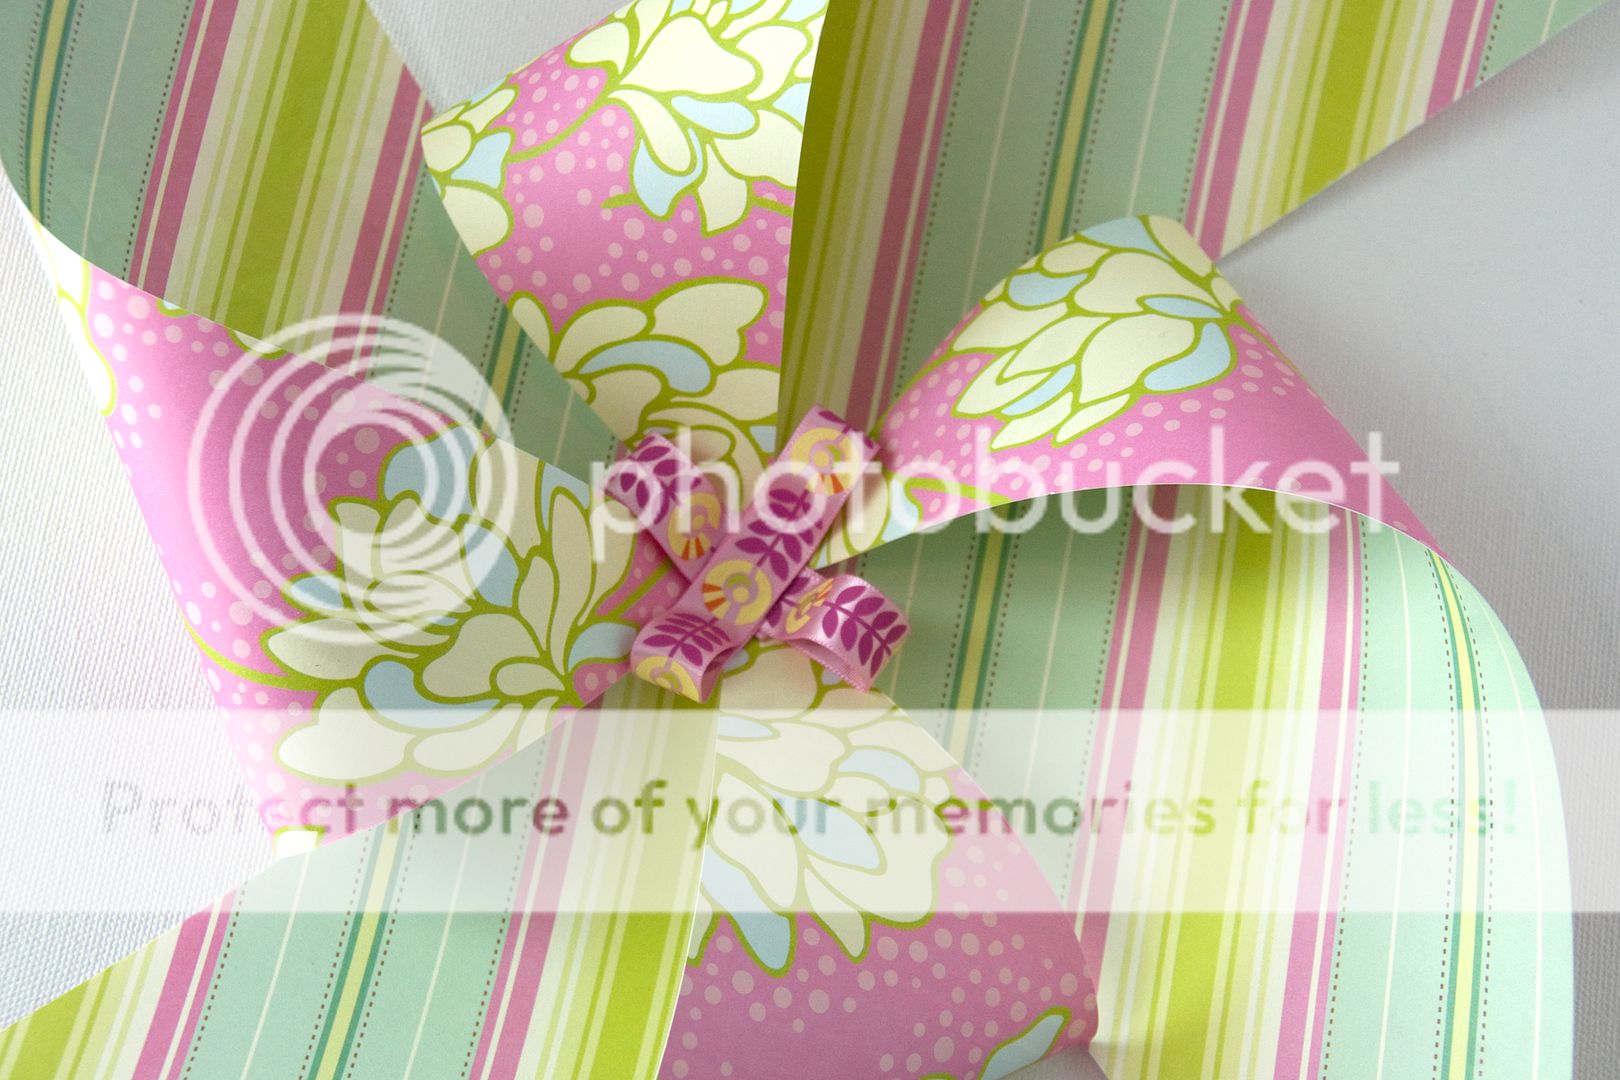
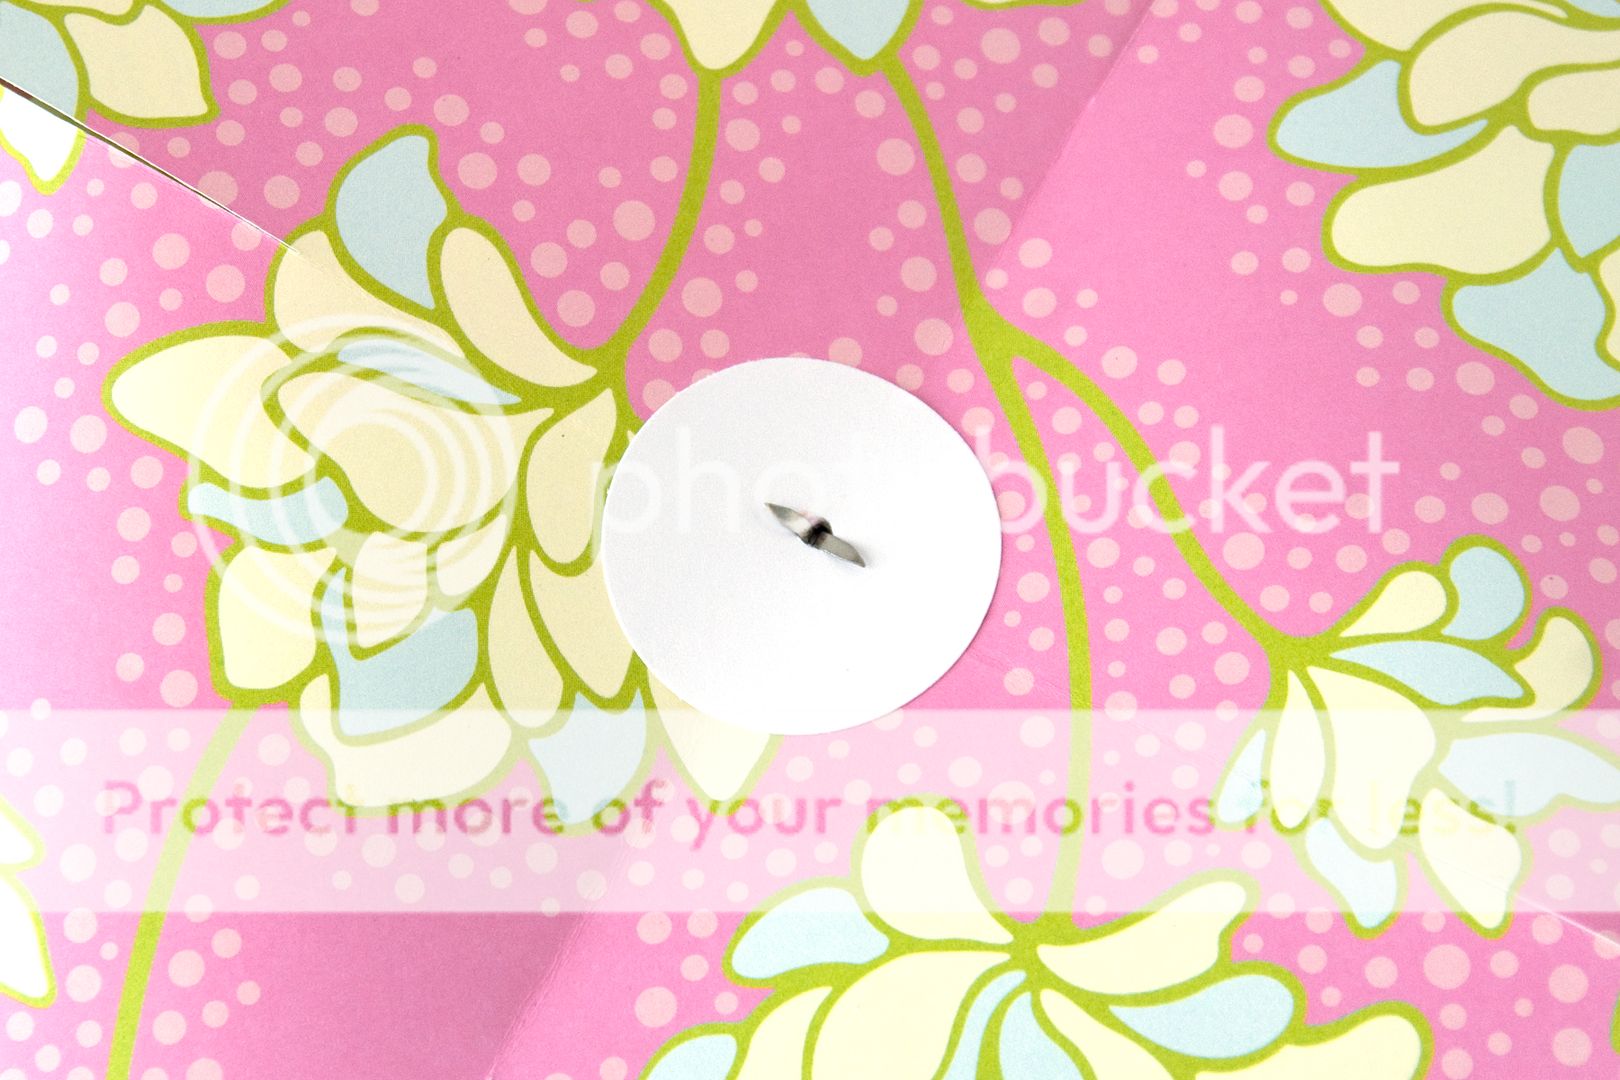
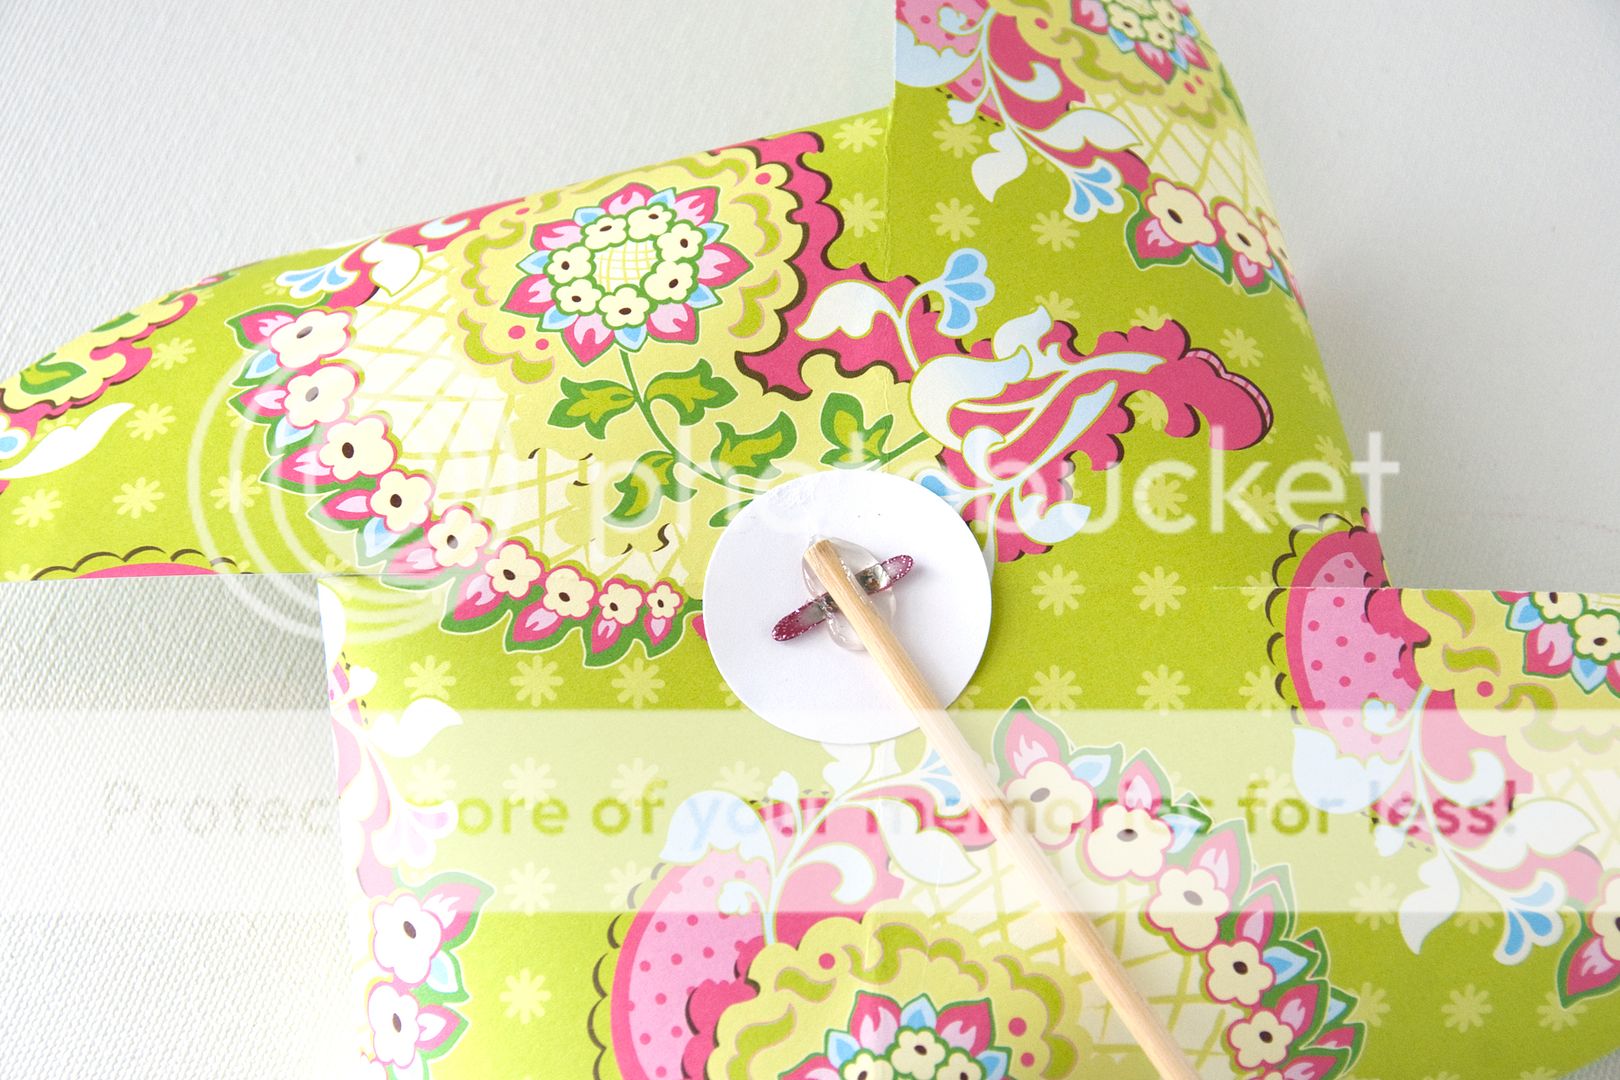
Here is how to make a pinwheel:
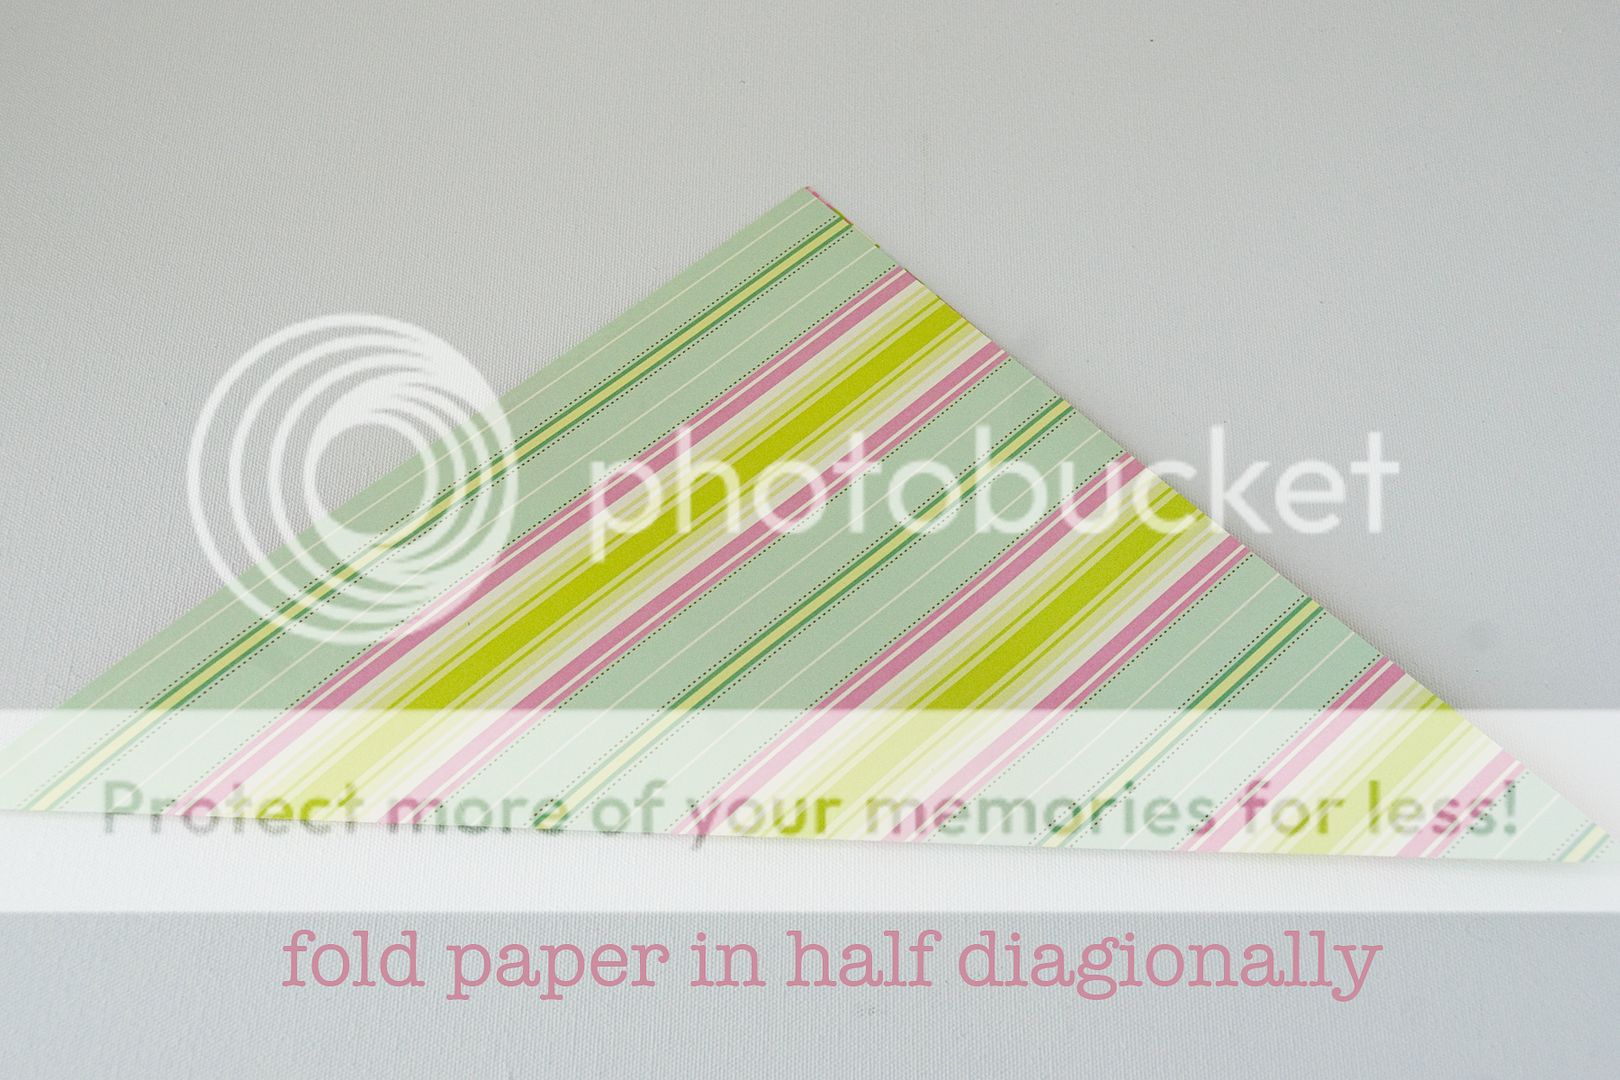
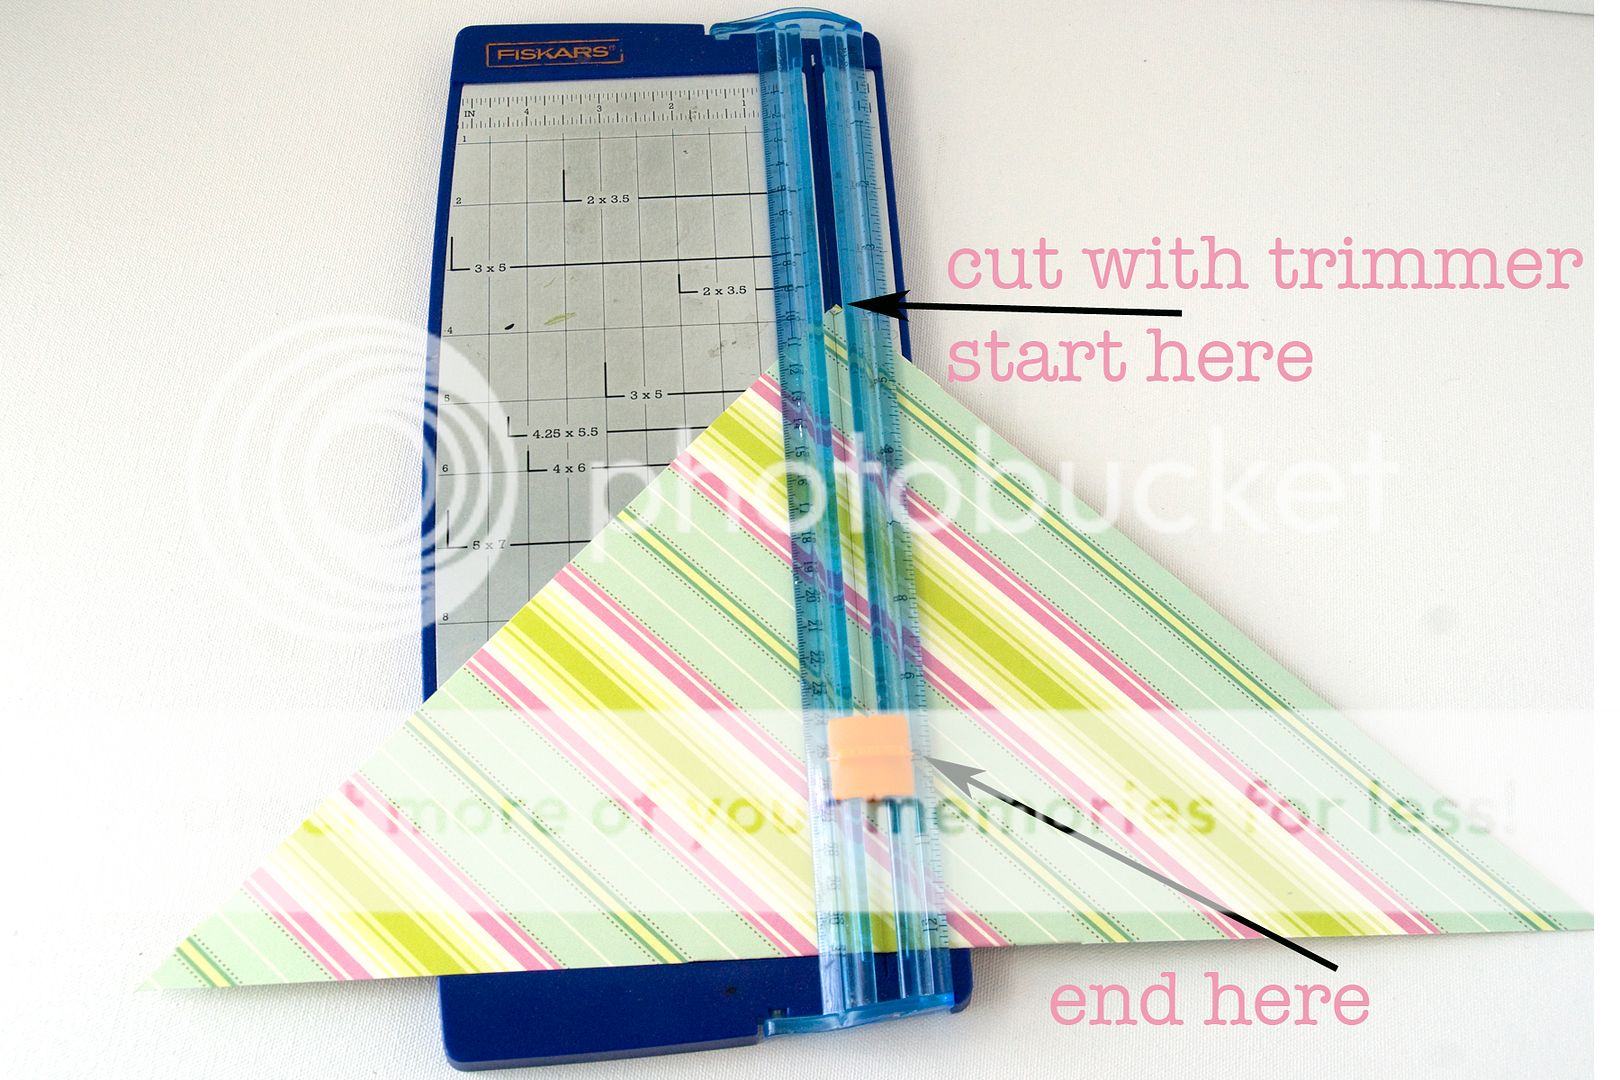
The trick I realized was working with 12×12 scrapbook paper- which eliminated cutting out squares, and using my paper trimmer (no measuring). There are many many pinwheel tutorials out there, most require a pattern (if you want an AWESOME one check out this one at Heather Bailey blog)… This one does not require a pattern- it’s a cheater pinwheel!
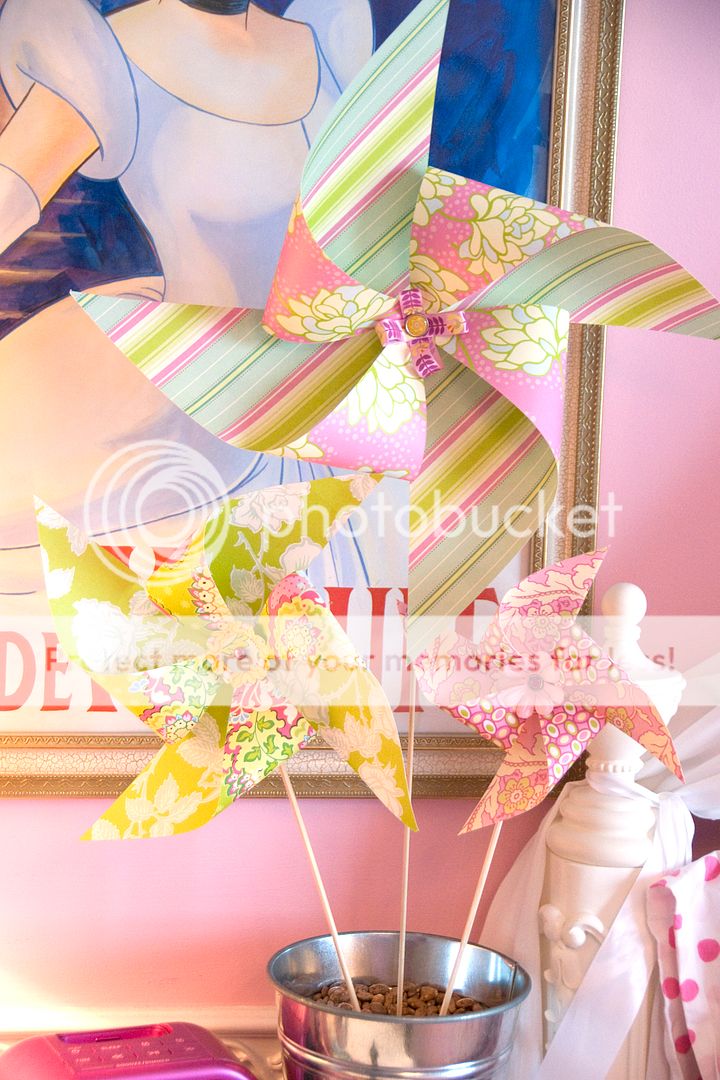
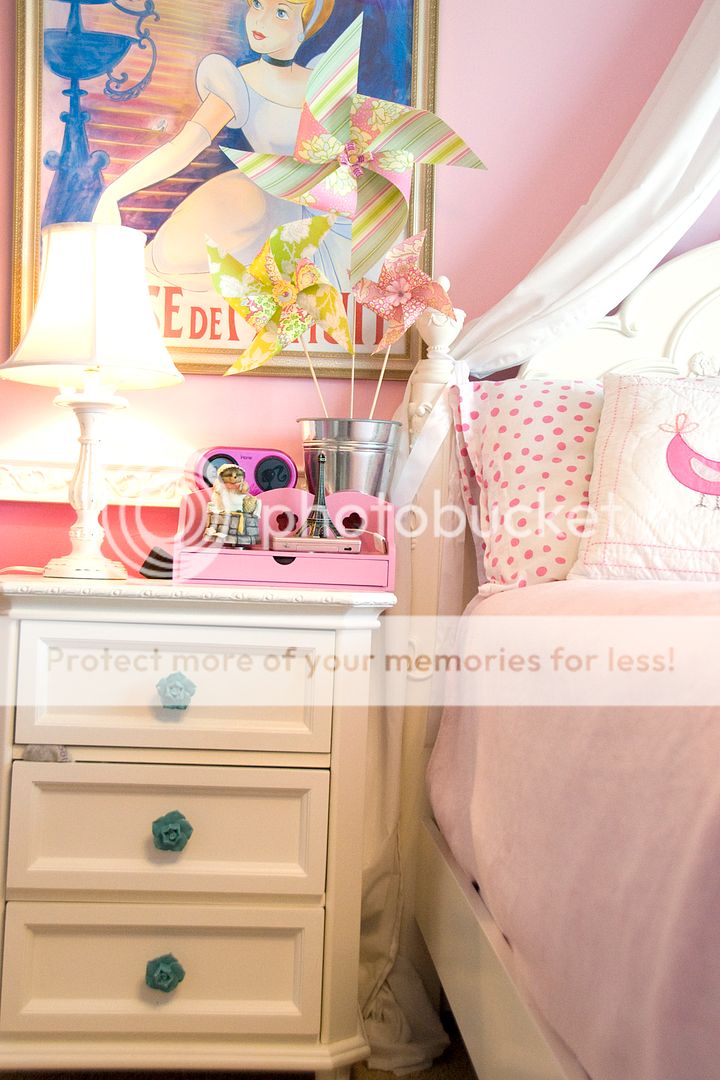
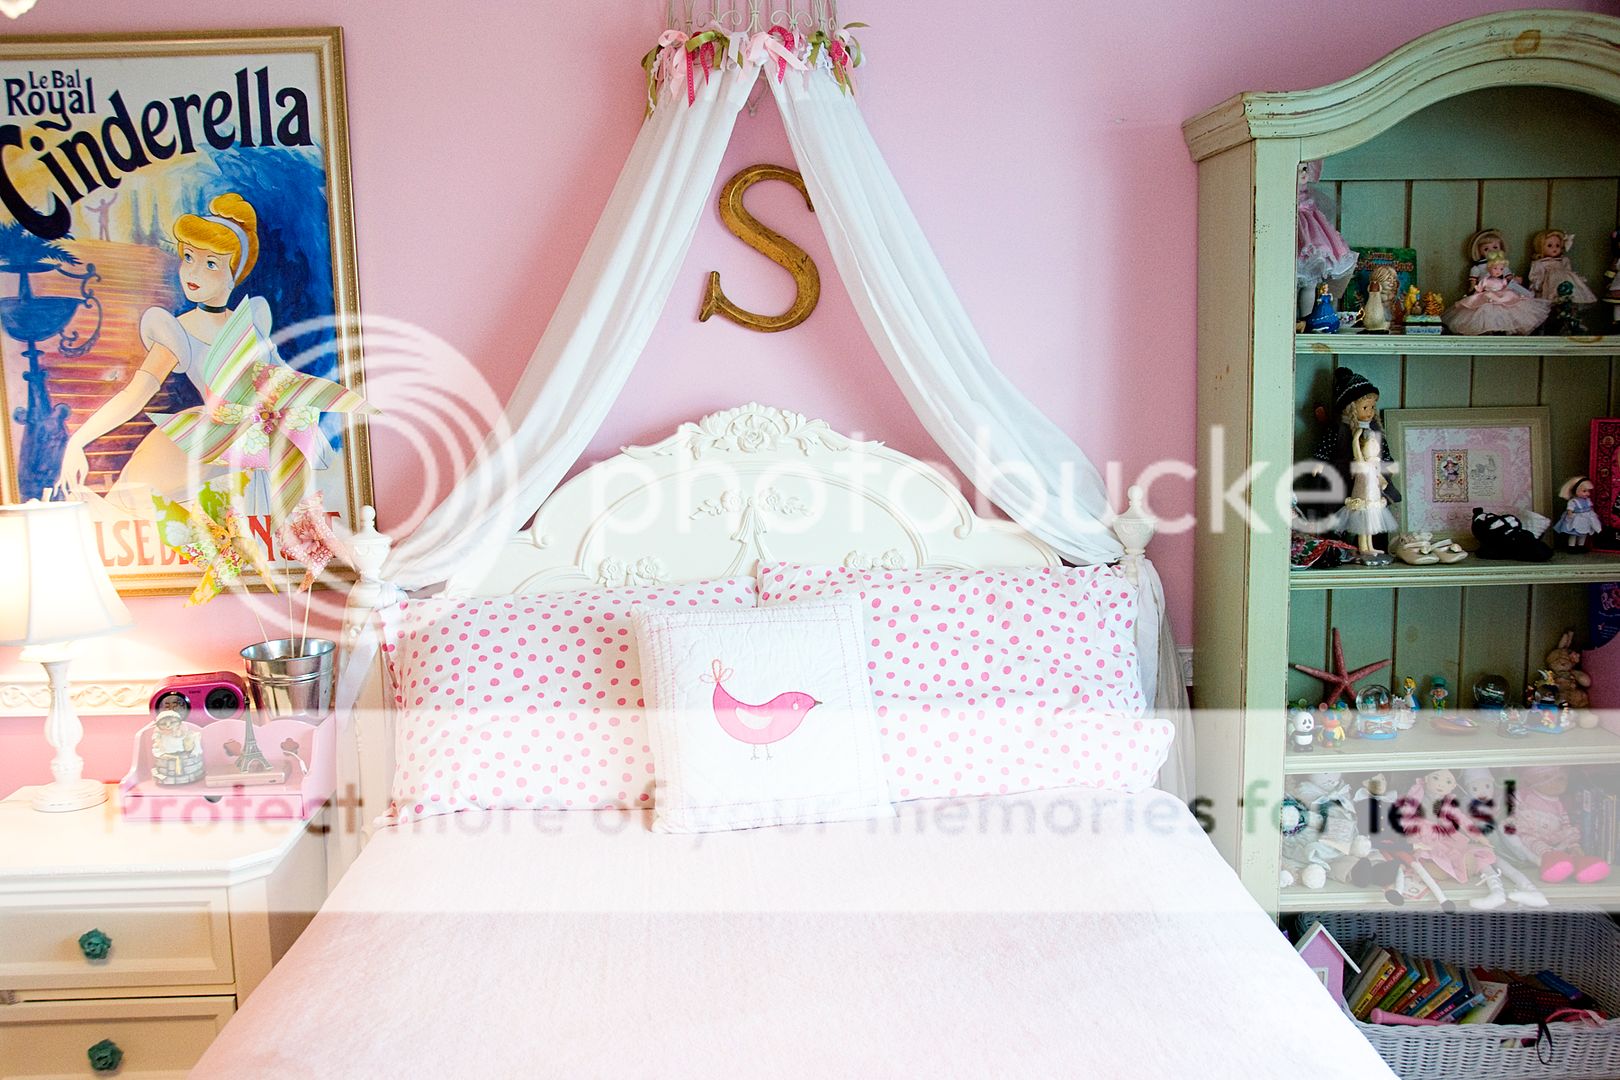
I loved the centerpieces and decided to make a similar one for my daughters bedroom. Her room is a work in progress, still no quilt on her bed (I’ve been making one… for the last year), but I thought the pinwheels would add a bit of charm to the room!
Okay, here’s how you do it!

