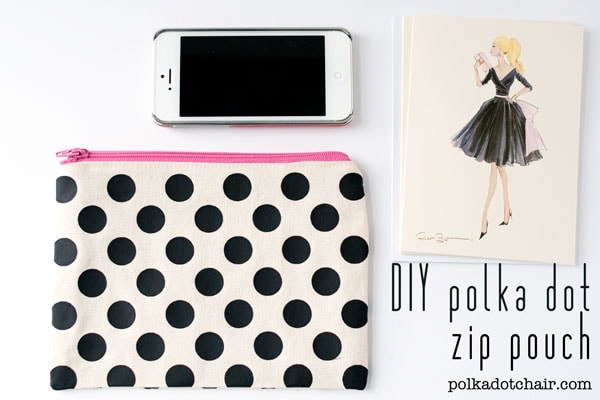
DIY Polka Dot Zip Pouch
Last year Kate Spade did a line of clothing and accessories inspired by the “Art of the Dot”. I think she’s probably responsible for the recent resurgence in the popularity of polka dots, the creative genius that she is.
I was inspired by a polka dot pouch she had in her line last year. I thought it would be fun to take the idea of black polka dots mixed with pink and make a simple zip pouch. To add a little twist I decided to make my own polka dot fabric.
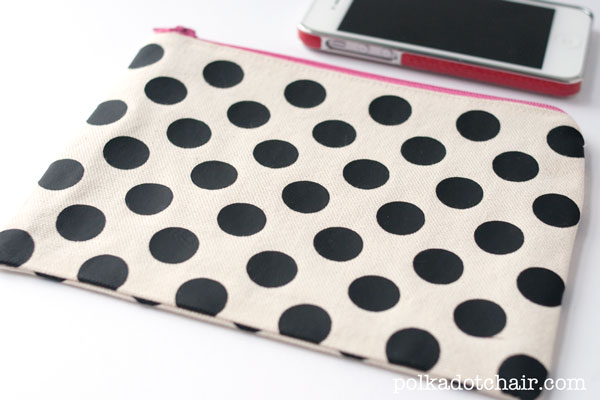
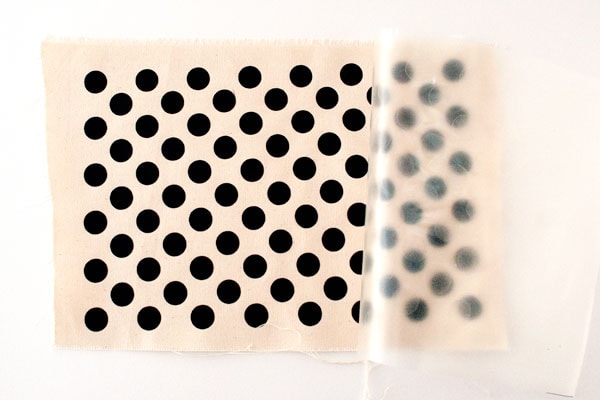
I used my silhouette to cut out dots out of their smooth heat transfer material. I ironed the dots onto canvas to give the pouch a bit of texture.
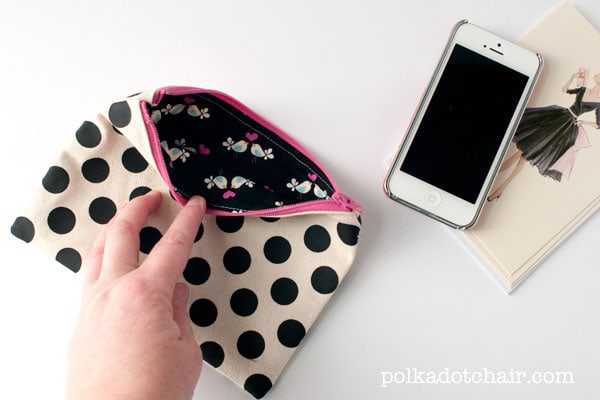
I added a pink zipper for a little pop and lined the pouch with some cute fabric I had in my stash.
Here’s how you can make one:
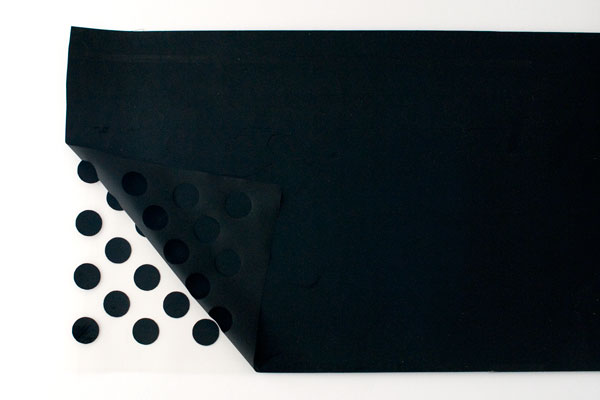
Cut out a polka dot pattern (there are several in the silhouette store) out of the heat set vinyl. I messed up my first cut, to avoid this, just set your machine to cut 2 notches slower than is recommended. My cut size was 8.5 x 12.
Peel back the vinyl to reveal the dots.
Press the dots onto a piece of canvas.
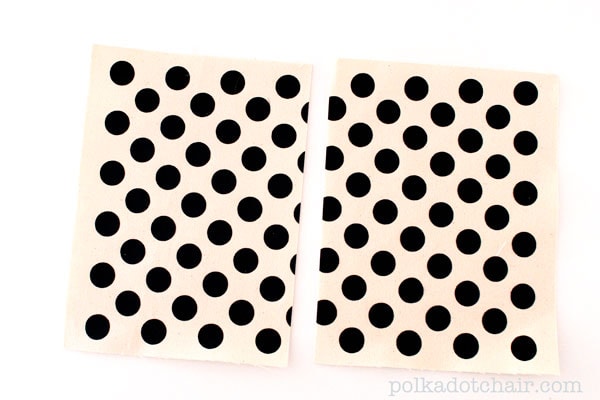
Using your rotary tool and a ruler, square up the fabric with the dots. Leaving a 1/2″ border all the way around.
Cut your piece in half lengthwise.
Cut 2 pieces of fabric the same size for the lining. You will also need a 7″ zipper to complete your pouch. You do not need to add interfacing to your lining or outside fabric pieces.
Sew together your pouch. If you need a tutorial, you can use this one that I posted last month. Just leave off the step where you pinch the corners of the pouch to make the box pleat.
Enjoy!!
Make sure you come back this week for more Project Polka Dot Posts.

