Fun Fabric Luggage Tags
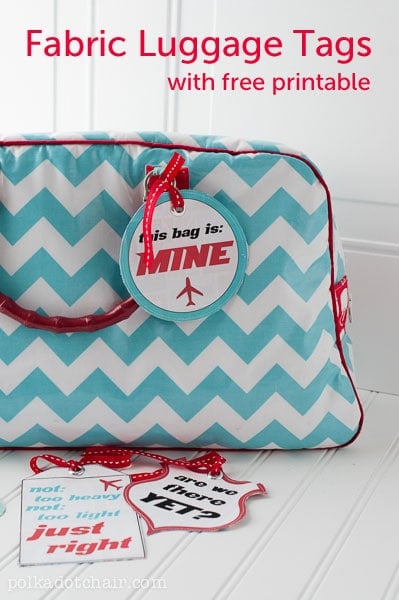
Are you or someone you know traveling this summer? Want your bag to stand out in the luggage pick up at the airport? Why not make some fun and unique luggage tags? (You can find the pattern for the bag in the photo here)
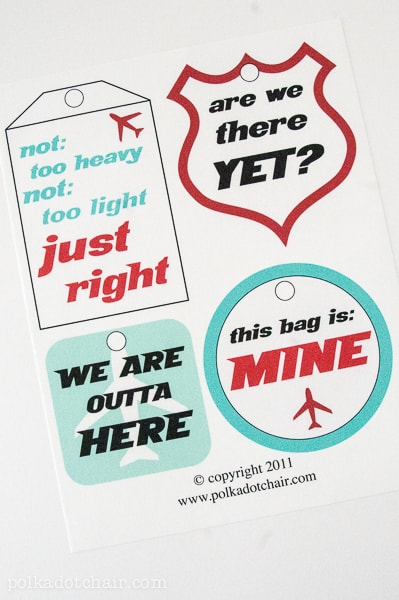
I actually shared the free printable for these luggage tags a year ago. At the time I printed them on paper and laminated them to use. Then I got the idea this month to print them on fabric!
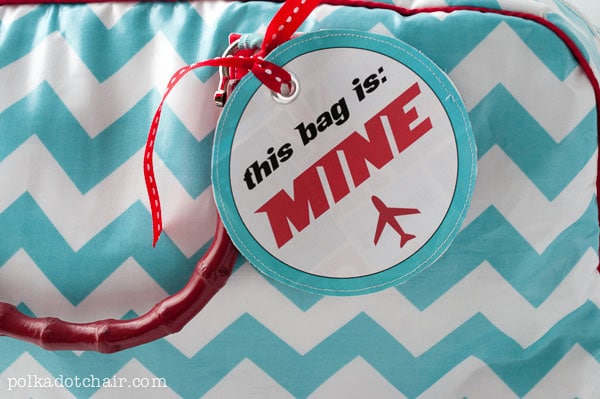
The fabric gave them some fun texture and made them more durable.
Want to learn how to make them?? Here’s the DIY:
You’ll need:
1 sheet of FUSIBLE printable fabric (get it at your local fabric store)
1 sheet of fabric
1/2” eyelets
Ribbon
To begin, download the printable and print onto fabric. Follow the instructions on the package for specifics with you printer.
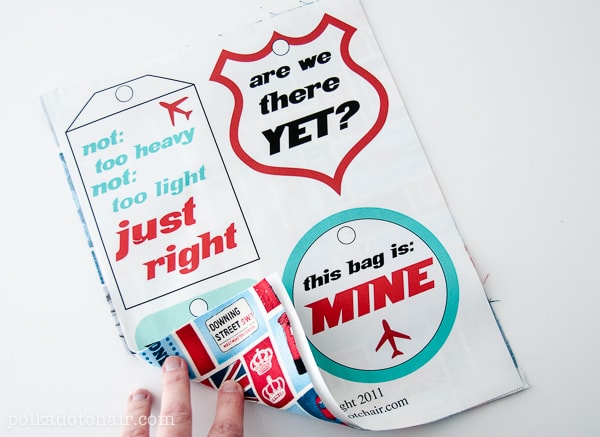
Cut a piece of fabric to 8 1/2” x 11”. Press the wrong side of the fabric on to the wrong side of the luggage page.
Using a straight stitch on your sewing machine, stitch around the edge of each of the tags. You can skip this step if you don’t have a sewing machine. I just like the added touch that the stitching adds.
Cut out around the edge of each tag. Set an eyelet into the top of each tag according to the directions on the box. Tie some ribbon on and you’re done!
If you’d like to add your address to the back of the tag, then print a second sheet of printable fusible fabric with you address on it. Cut it out and simply iron it onto the back of your tag.
View other Travel related DIY’s here

