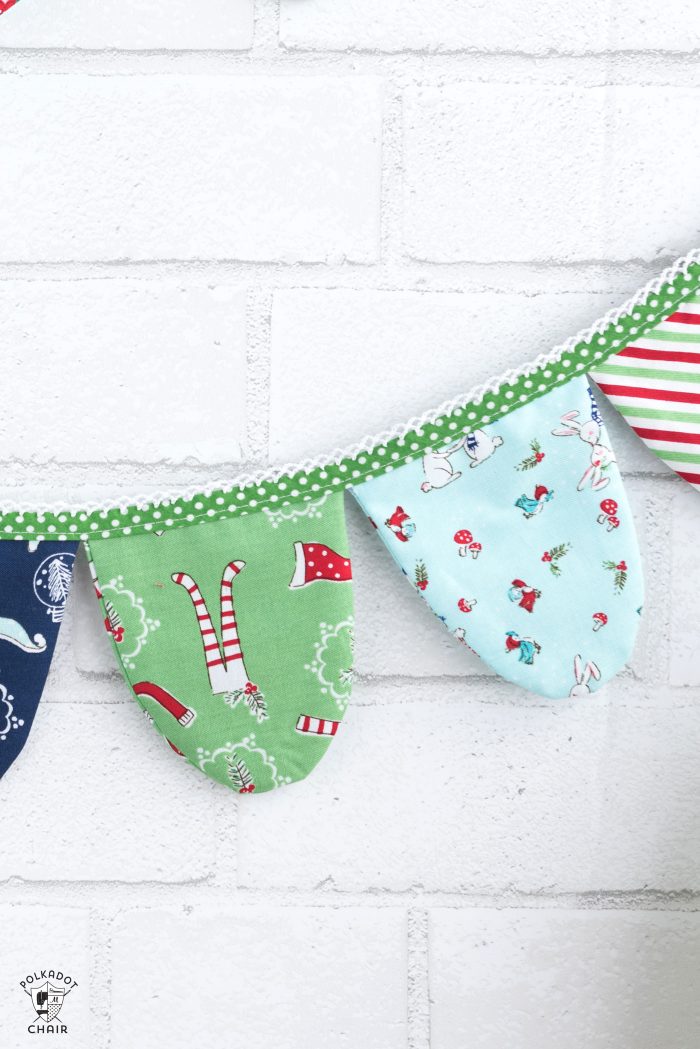
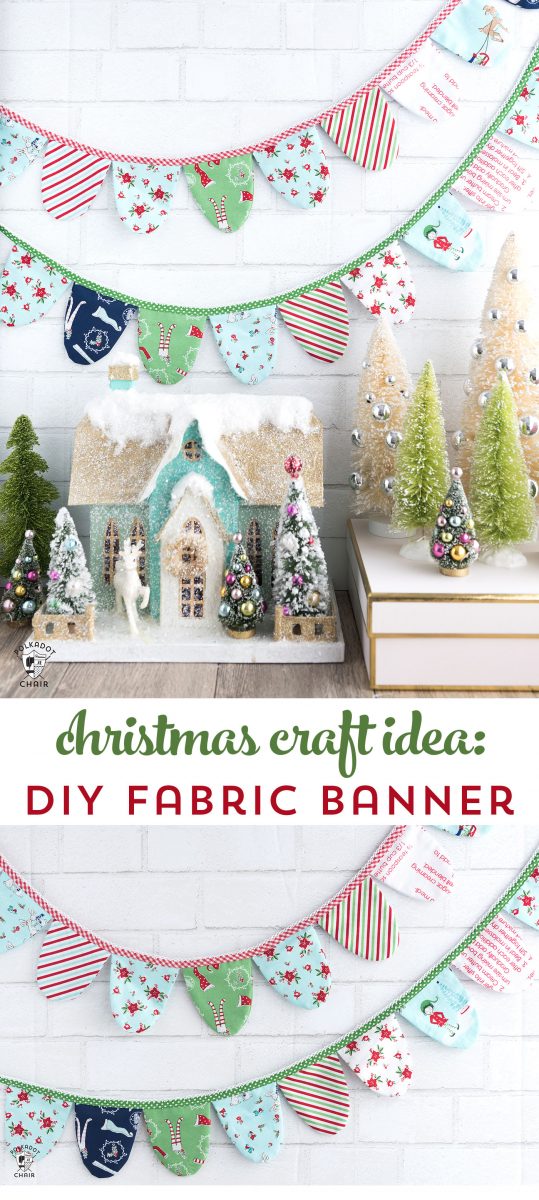
DIY Scallop Fabric Banner; a Cricut Project
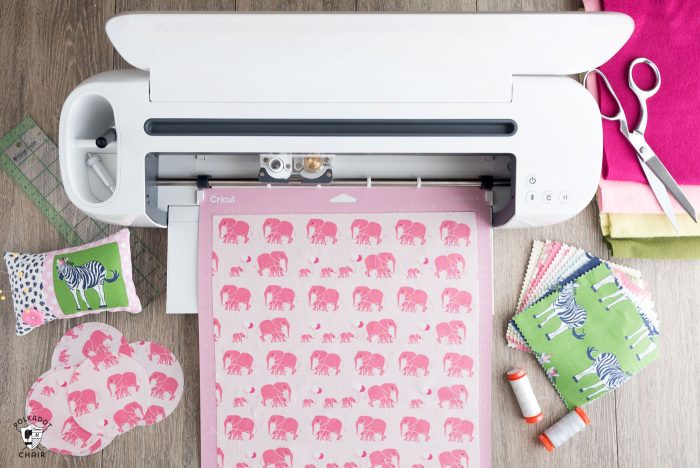
Today I have a fun Christmas craft idea for you, a DIY Scallop Fabric Banner. I made it using my new Cricut Maker machine AND guess what? I’m giving away a machine to one lucky reader! Keep reading to find out more. Disclosure: I work as a Brand Ambassador for Cricut and this post contains affiliate links.

Last month I briefly introduced you to the Cricut Maker machine. Today I’m going to “dive” in a bit deeper into how the machine works. If you’d like to read my intro post you can do it by CLICKING HERE.
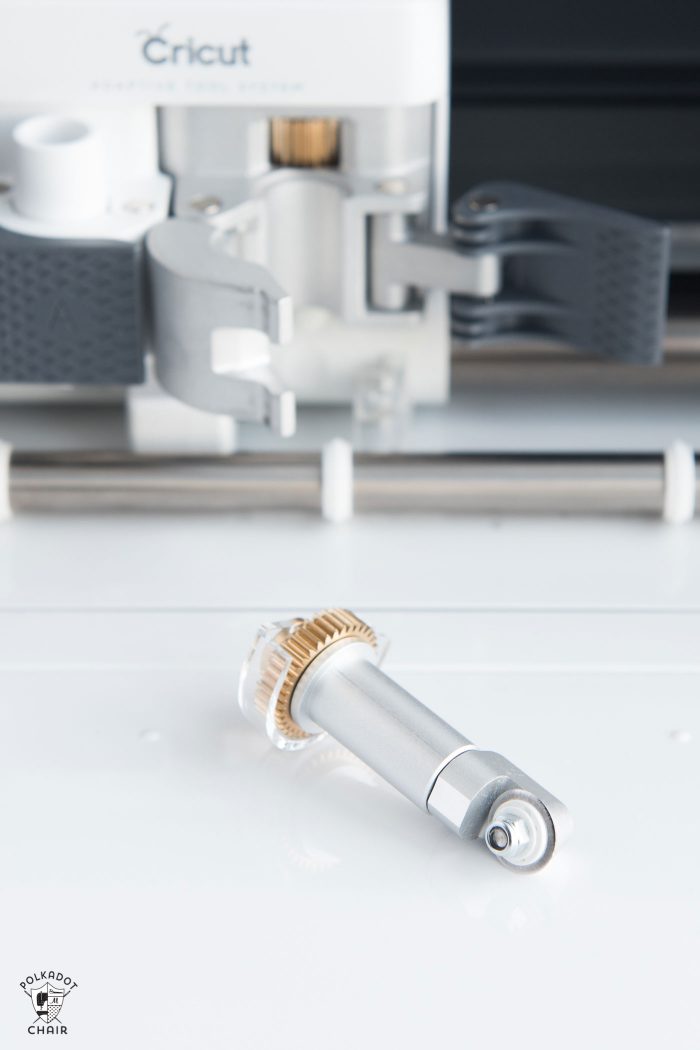
If you don’t want to read it let me “sum up” *wink*. The new Cricut Maker machine has a rotary blade attachment and can CUT FABRIC!
How does it work?
If you buy a Cricut Maker machine one of the first things you will notice is that there are two “basic” ways to use it. The first way is to design your own project either using their library of images, fonts on your computer or images that you upload. The second way is to make a pre-designed project that is available in the Cricut Design Space. These types of projects are called Make it Now Projects. They vary from Halloween t-shirts to Christmas pillows to Birthday cards.
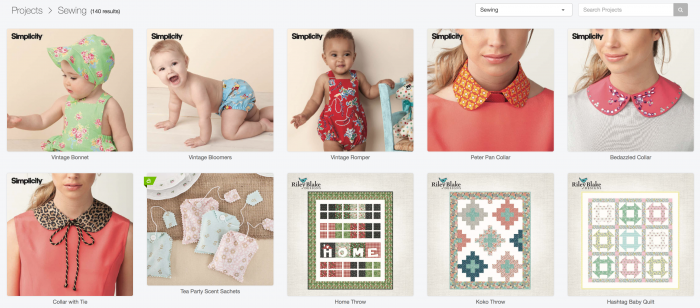
Make it Now projects have done all the work for you. All you do is click “make it”. Then follow the prompts on the screen. You don’t have to mess with the software at all.
There are HUNDREDS of Make it Now projects, and guess what? A lot of them are FREE!
When the Cricut Maker was released they added a bunch of new Make it Now projects to the Design space that was specifically designed to work with the new Maker machine. I got together with a group of over 50 bloggers and we each decided to “try out” one of the FREE Make it Now projects! Each blogger is making the project, sharing their thoughts on the project and offering you a few fun tips if you decide to make it yourself. How cool is that?
As a part of this project, we’ve also teamed up to giveaway a Maker machine! You can enter by following the directions at the bottom of this post. You can also see the links to ALL 50+ projects there as well.
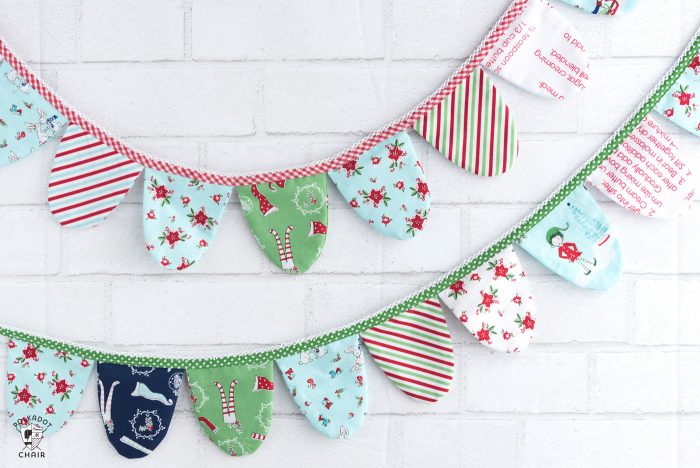
The project I chose to make was this fun Vintage Fabric Bunting Banner. If you have Cricut Design space account you can see this project in detail by CLICKING HERE.
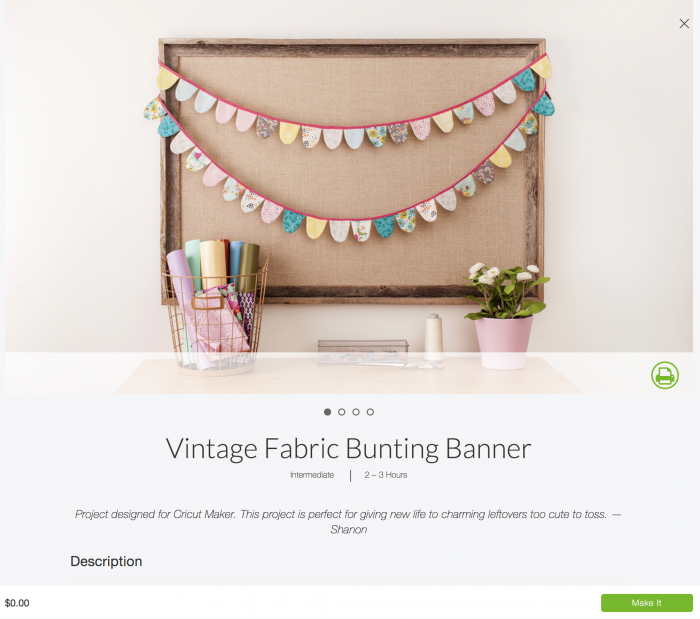
Before I started I made a note of the required materials, then clicked “Make it” just to get a general idea of how the project worked. I noticed when looking at the project the cuts needed for the project were less than 10×10. Immediately I knew that I could use a pre-cut 10″ stacker of fabric for the project!
Last Christmas I bought a 10″ stacker of Pixie Noel and I knew that it would be perfect for this project.
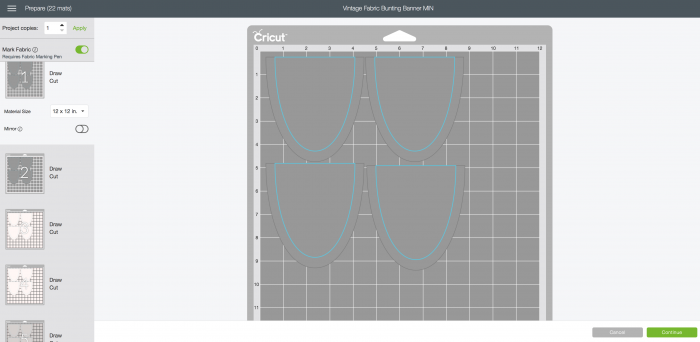
After I gathered my supplies I opened the design space again and clicked “Make it Now”. It brought me to the screen above. That screen told me that I’d need 22 squares of fabric and a Cricut Fabric Marking Pen. Guess what? If you’re new to sewing and have no idea what a seam allowance is, the machine has done the work for you and will DRAW the stitching line onto your project for you! So all of you that email me and say that you could NEVER sew, well guess what you can, just cut it out with the machine and sew ON THE LINE!
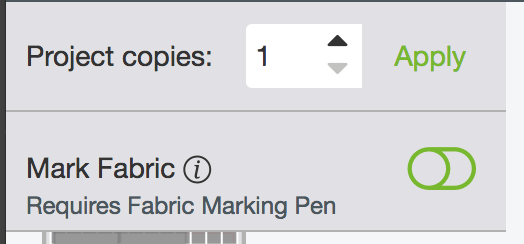
If you’re more experienced or don’t want to use that feature, just unclick the “mark fabric” button on that screen.
I loaded my first 10″ square onto the fabric mat, right side down, then told the machine what type of fabric I was using (I used the “Medium Fabric, like cotton” setting). The machine the prompted me to load my mat, install the rotary blade and fabric pen.
After I loaded the mat, I hit the blinking light and it started to work!
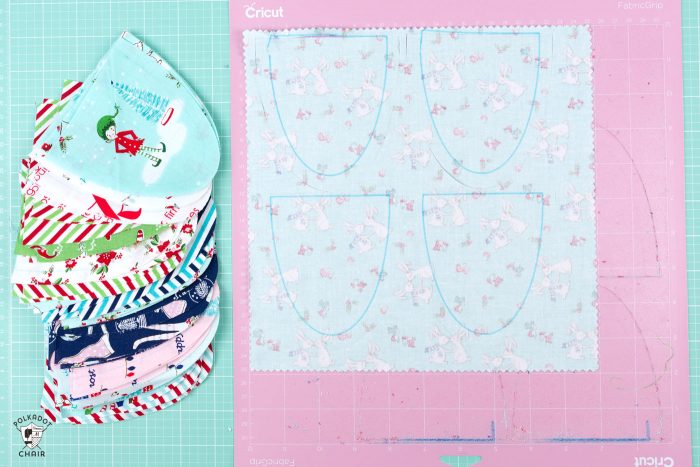
Each time it finished cutting it prompted me when to remove the mat, and when to put in a new mat. All in all, I cut 88 pieces of fabric in a short amount of time. As you can see from the photo below the shape is not one that can easily be cut with a rotary cutter and I would have NEVER tried this project otherwise. Too much cutting.
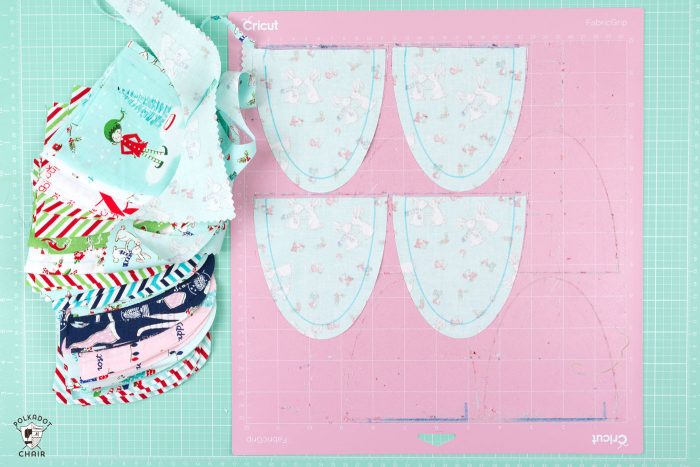
One thing to note, it looks like it doesn’t cut anything at first, then you peel the fabric away and you can see that it did! Also, you’ll notice that I have a lot of fibers on my mat. That’s okay. You don’t have to clean the mat between cuts. Just put the next piece of fabric down and keep cutting.
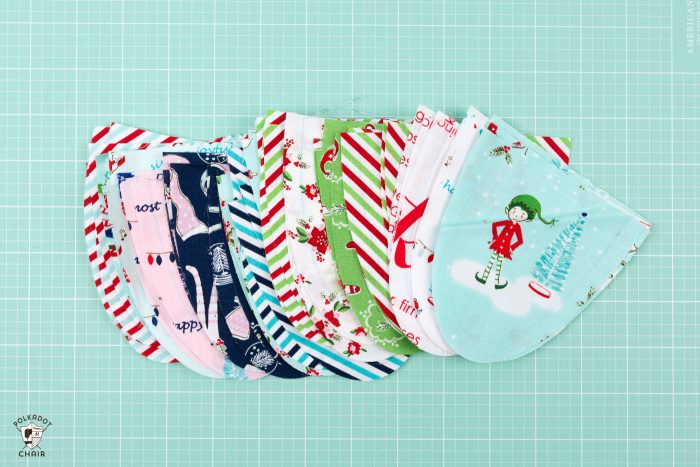
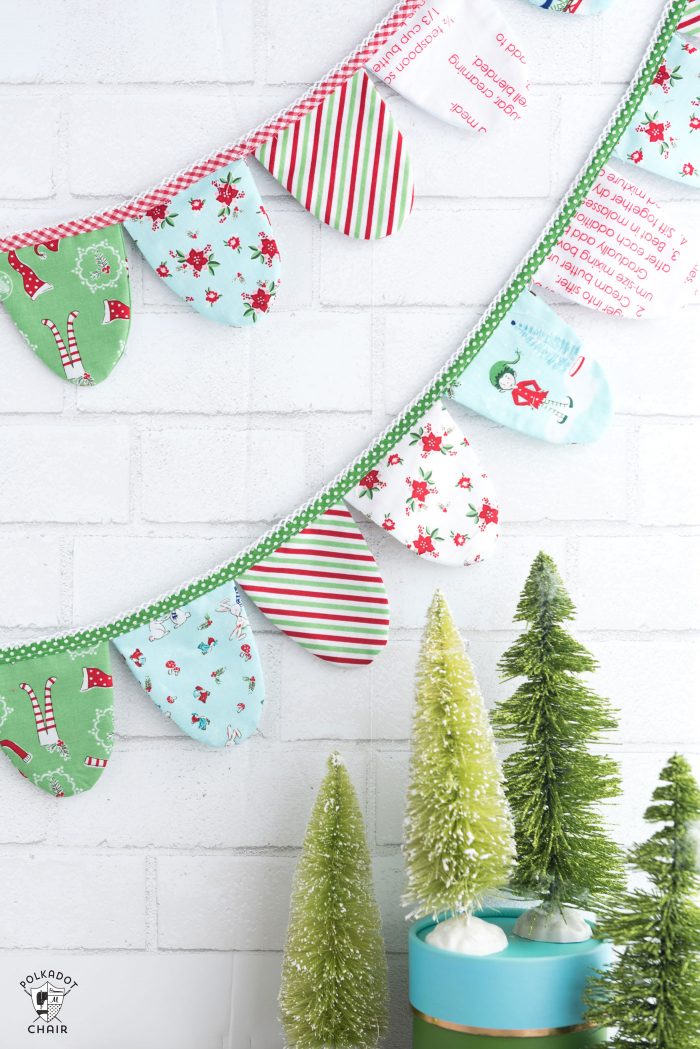
In the end, I had 88 pieces cut. Enough for two banners with 22 scallops per banner. I decided to instead make 4 banners with 11 scallops per banner. Doing it that way each banner was about 1 yard long. I think these cute little banners would make adorable Christmas gifts!
After I finished cutting, I simply stitched the pieces together then turned them right side out, and stitched them to the bias tape. All of the instructions for the “sewing” part of the project are included as well!
A few tips:
Since it’s cutting 22 mats of the same shape, flip your mat as you cut so you don’t wear a certain section out too much. Also, you can manually move the scallops around on the mat, just click on them and drag them. I’d move them around a bit just to keep the cutting lines varied as well.
If you don’t want to cut SO many scallops, just click CANCEL when you’ve got as many as you need. Each scallop takes 2 pieces, one for the front and one for the back.
Personally, I can’t believe that I ACTUALLY made something for Christmas before December 15th! I’m the worst at leaving things to the last minute at Christmas.
If you’re interested in a Cricut Maker machine, you purchase them online at Cricut.com
If you’re looking for the fabric I used today, it’s called Pixie Noel and you can buy it on etsy.

Now for the Giveaway!
Want to check out the other 49 FREE projects included with your Cricut Maker?! Click the pictures below to see how some of my blog buddies created these projects with their Maker!
Want to make these projects but don’t have a Maker yet? Enter through the widget below to not only win the new Cricut Maker but also the HSN bundle being released tonight at midnight!
Giveaway open to residents in the US and Canada ages 18 years and older. Giveaway runs from 10/2/17-10/9/17 and winner will be notified by email no later than 10/10/17. Winner will have 48 hours to respond or a new winner will be chosen.
The banner is so good. I would love to buy a cutting machine as i have been planning to buy since last year. Would love to win circuit 🙂
I have the ecraft for all th reasons that they put into the new cricut maker. The cricut maker sounds much easier to use. Would love to win and give an honest review. My ecraft can cut some pretty intricate designs but set up can take a lot of tinkering with settings to get it ro cut right, would love to compare to cricut maker!
Wonderful projects and very good instructions
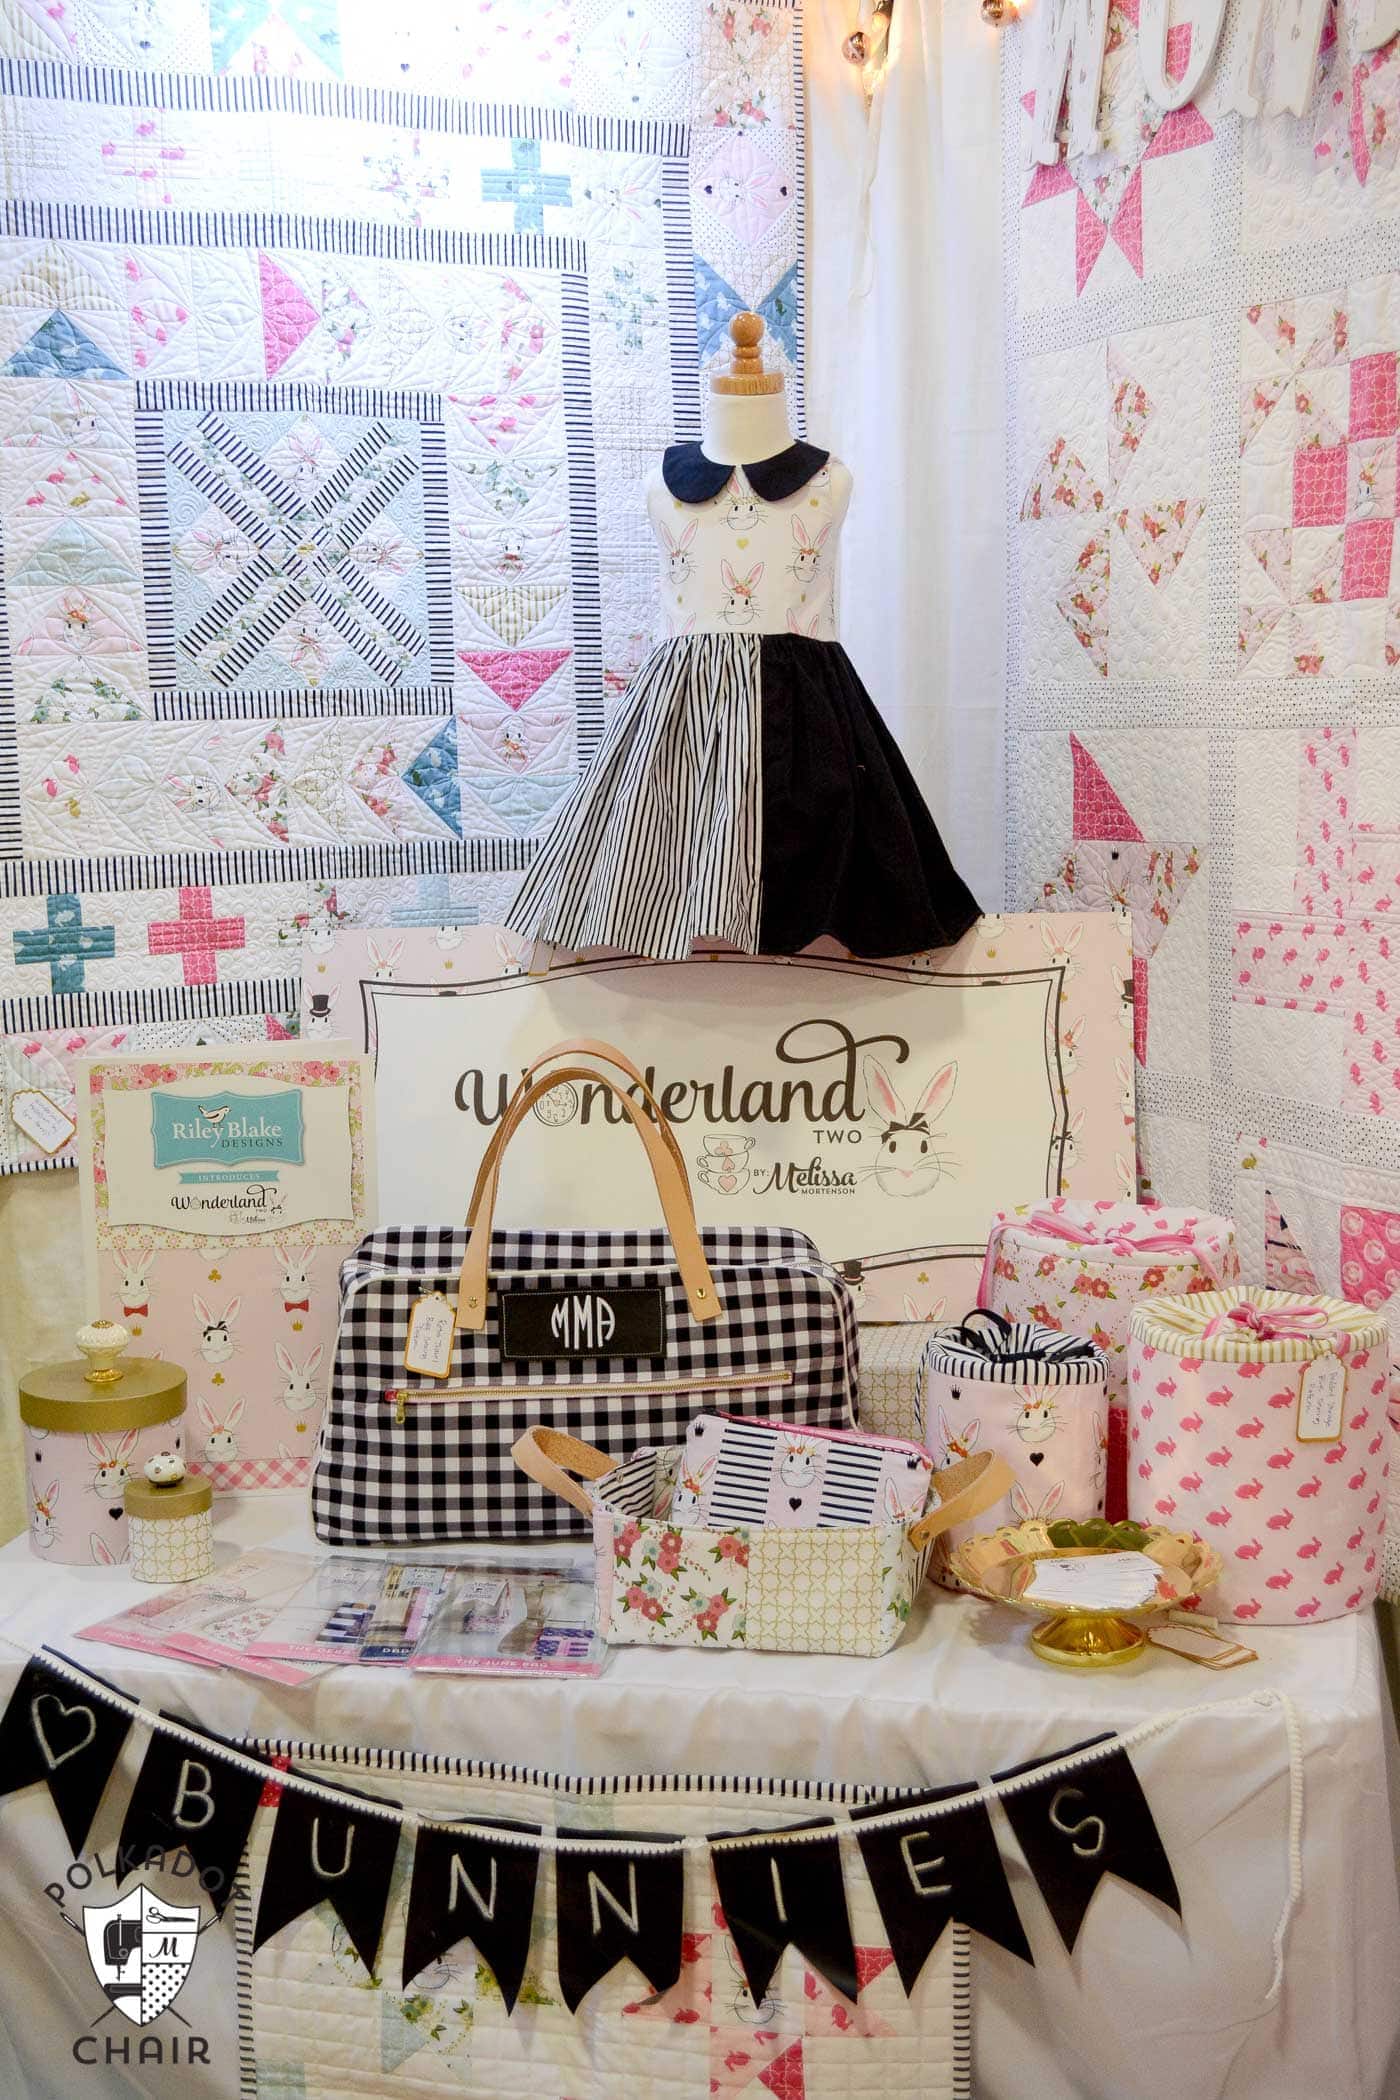
you should make some for your market booth! cute!!!
Love the banner! I don’t have a cutting machine but have been looking at them lately. Thanks for a great giveaway!
Thank you for sharing. The possibilities are endless. Would love to win!
I have the Cricut Explore Air, but I would really really love to have the Cricut Maker.
This banner is so cute. I would LOVE to win the Cricuit, but with no Instagram account it greatly decreases my chances. 🙁
Just started learning to quilt and winning the new Cricut maker would surely help with me cutting my fabric and other projects I’ve been wanted to learn to do. I’m hoping I’m the lucky winner!!!
I’m amazed at what the machine can do. It would make a great addition to any craft room, maybe mine!
Thank you for the opportunity to win! Your banner is adorable.
I watched your preview last month of the Cricut and have wanted one for over a year. I re-purpose dolls to gift to kids that may never have otherwise and could use this for so many projects with my dolls; such as shoes, clothing, purses. Also, my daughter is constantly purchasing banners. How great it would be to make them for her. Would definitely love to win this amazing Cricut.
I have been looking at a circuit cutter for a while, I would love to win one
This really is an adorable simple project. Great for gifts or my house. Thanks for sharing. What a time saver. I love all the collaboration with so many projects and possibilities.