How to Quilt Quarter Inch Foam for Sewing or Quilting Projects
Learn how to quilt quarter-inch foam for your sewing and quilting projects with our free step-by-step guide and tutorial!
Quilting with quarter-inch foam can add structure and a professional finish to sewing projects, such as bags, pouches, or other items needing extra stability. It also allows your quilted projects to hold their shape better than quilt batting or fusible fleece.
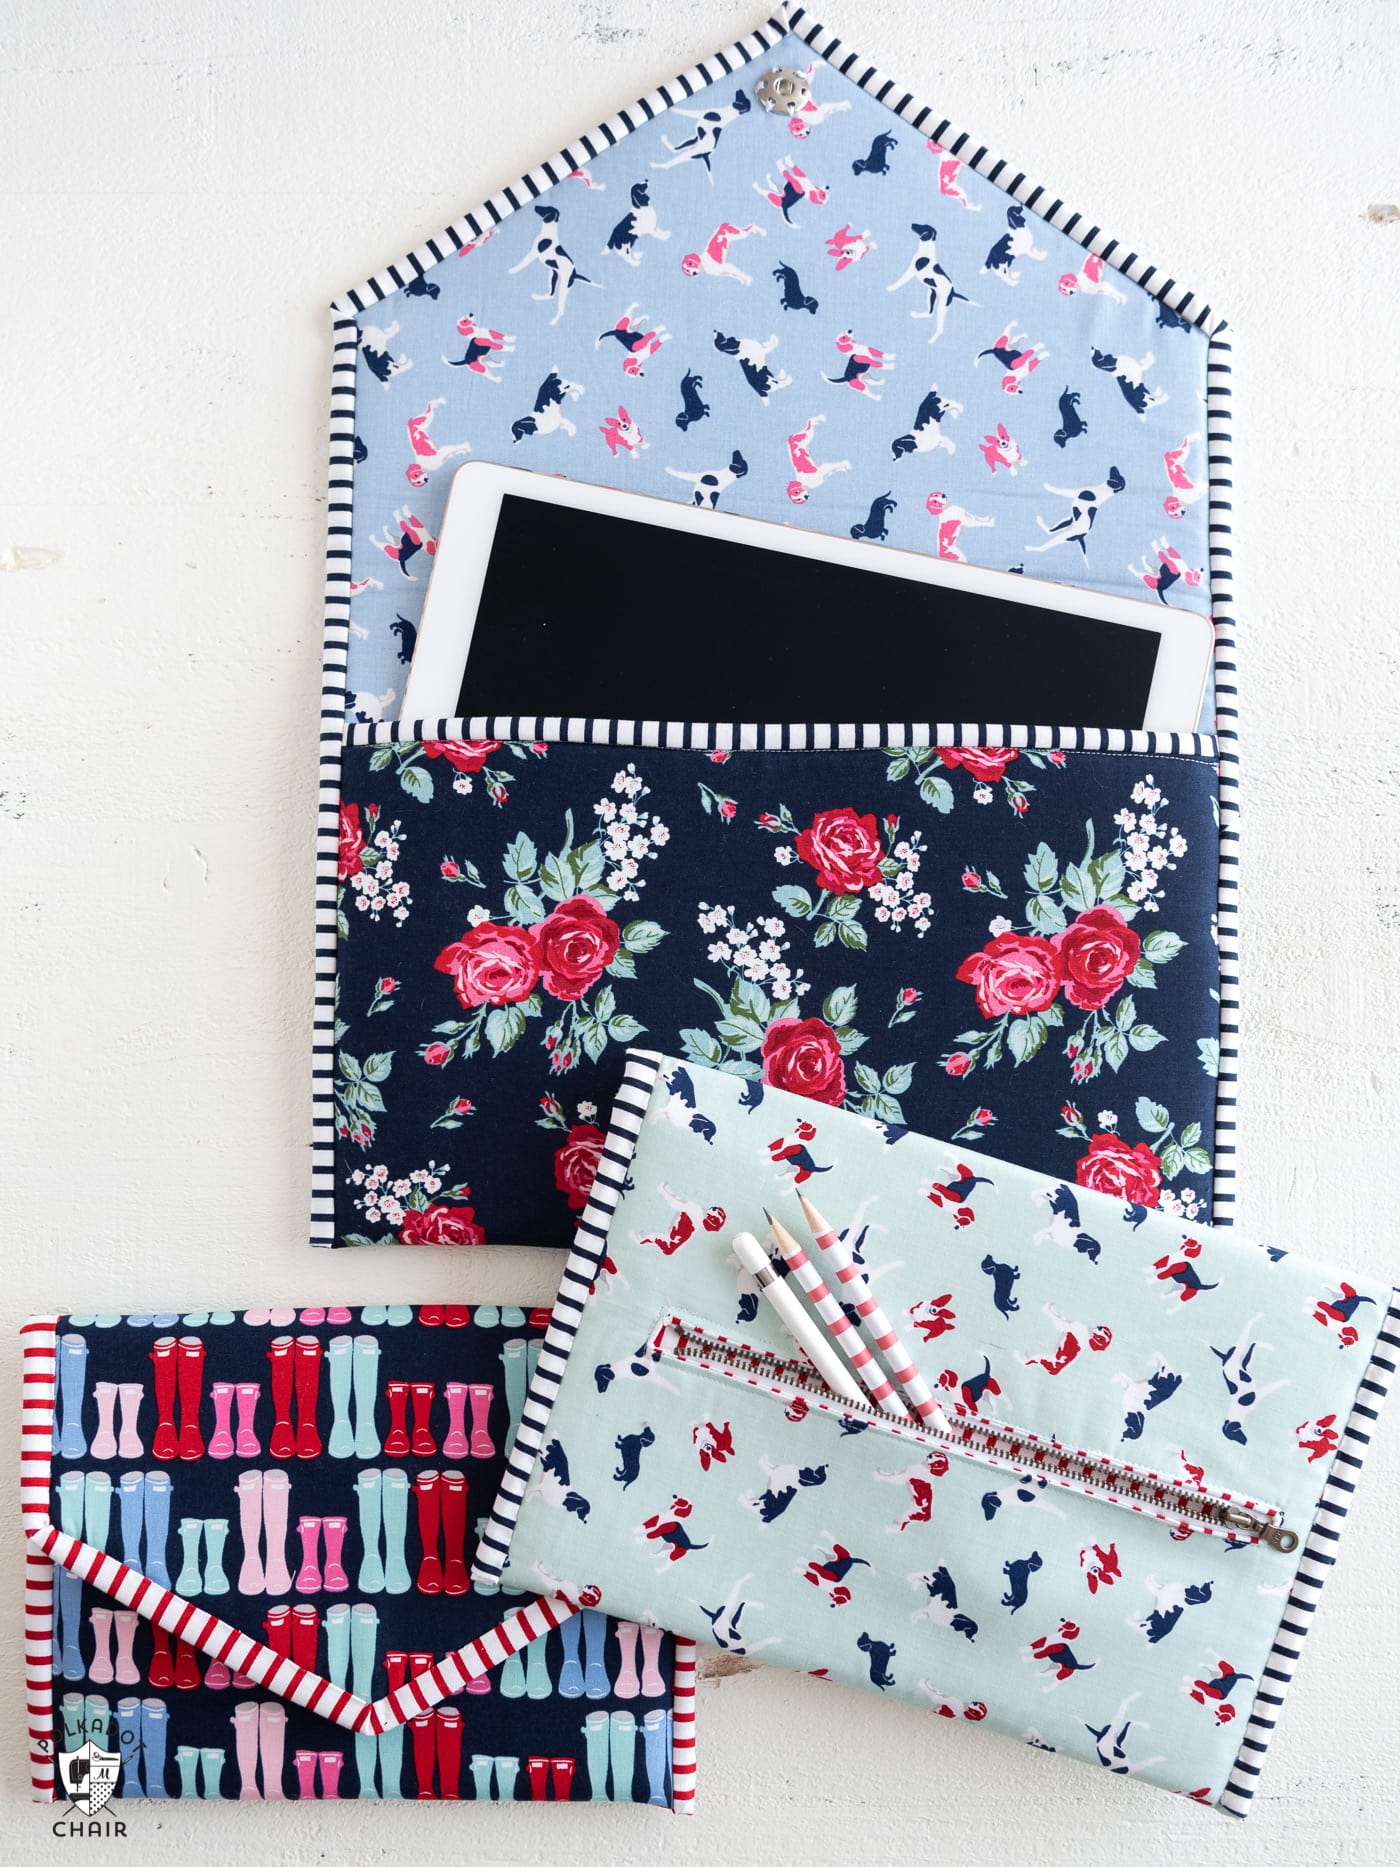
It’s one of my favorite substrates to work with when sewing. I’ve been sewing with it for years (this iPad case was made with quarter-inch auto-liner foam).
What is Quarter Inch Foam?
When I began sewing with foam, I could only find quarter-inch auto-liner foam at a big-box fabric store. It’s what they use to line the interior roofs of cars!
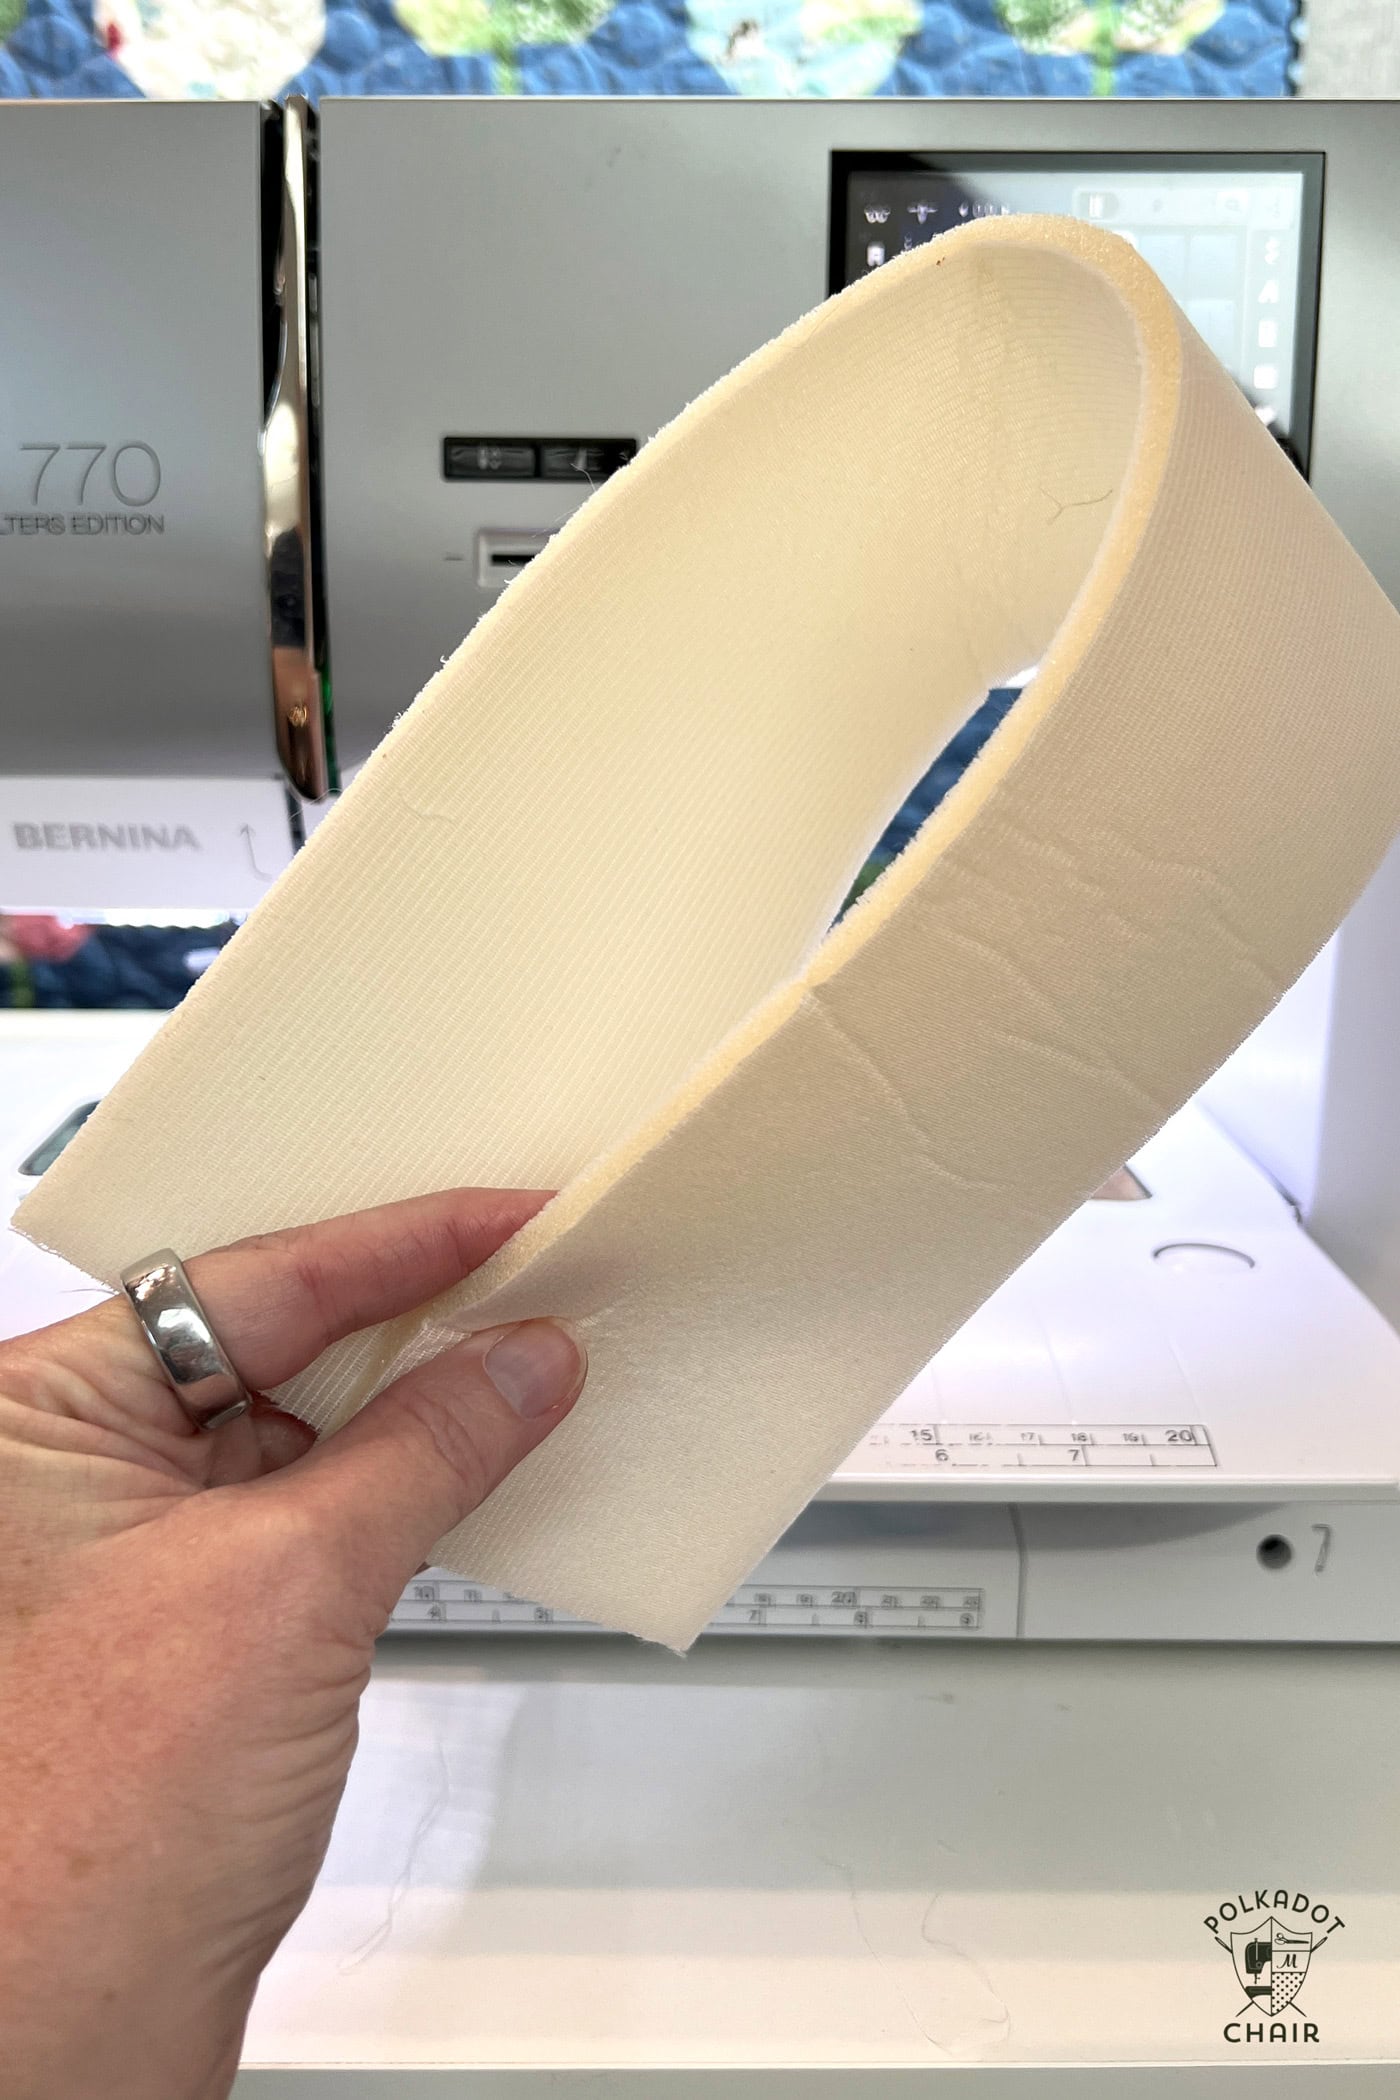
Several brands and variations of sewable foam are now on the market. The most notable brands are Bosal, Pellon and Annies. It comes in one-sided fusible, two-sided fusible, and non-fusible versions.
When I quilt with this material, I always prefer the nonfusible version.
How to Quilt Flex Foam
Supplies
You will need a few specific supplies. Here’s what you need:
- Quarter-inch foam (non-fusible, soft, and flexible, designed for sewing)
- Quilting fabric (cotton is a great option)
- Basting spray or pins (to secure the fabric to the foam)
- Sewing machine with a walking foot (highly recommended)
- Thread (to match or contrast your fabric, depending on the desired look)
- Rotary cutter, mat, and ruler for accurate cutting
- Chalk or fabric marking pen for marking quilting lines
- Iron
Video Instructions
You can find a video tutorial on our YouTube channel if you prefer video instructions.
Step One: Cut the Foam and Fabric
Cut the foam to the roughly desired size for your project. Add an extra inch to all sides to account for quilting shrinkage; you can trim it down to the final size after quilting. You don’t need to be precise with this measurement, as your piece will be trimmed before sewn into the final project.
Cut your backing fabric slightly larger than the foam. Cut your top fabric slightly smaller than the foam. Add at least an extra inch on all sides! For example, if your finished foam piece needs to be 5″ x 5″, cut your backing fabric to 7″ x 7″, the foam to 6 1/2″ x 6 1/2″, and the top fabric to 6″ x 6″.
Step Two: Make a Quilt Sandwich
Place the backing piece of fabric on a flat surface with the wrong side facing up.
Position the foam on top of the fabric, aligning it as best as possible.
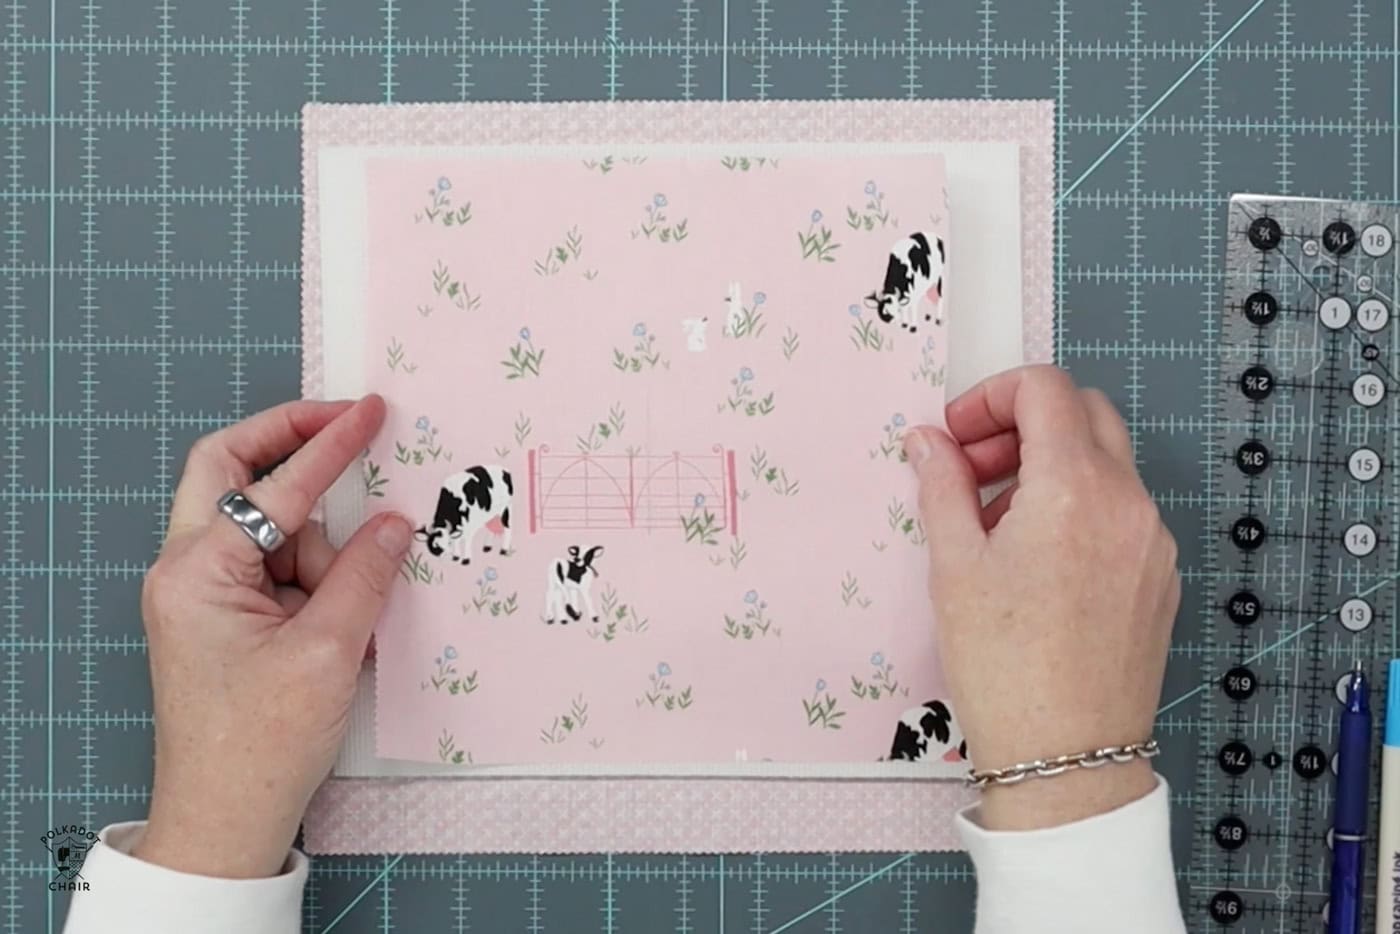
Lay the second piece of fabric on the foam, with the right side facing out. You now have a fabric-foam-fabric sandwich.
Smooth out any wrinkles in the fabric layers.
Use basting spray or pins to keep the layers in place while quilting. Spray a light coat of basting spray on the foam, then gently press the fabric layers into place. If you prefer pins, place them evenly across the top of the pieces. If you use pins, you’ll need to readjust them frequently as you quilt.
Step Three: Mark the Quilting Lines
Mark the quilting lines on the top fabric with a fabric marking pen or chalk. Common quilting patterns include diagonal lines, grids, or free-motion designs.
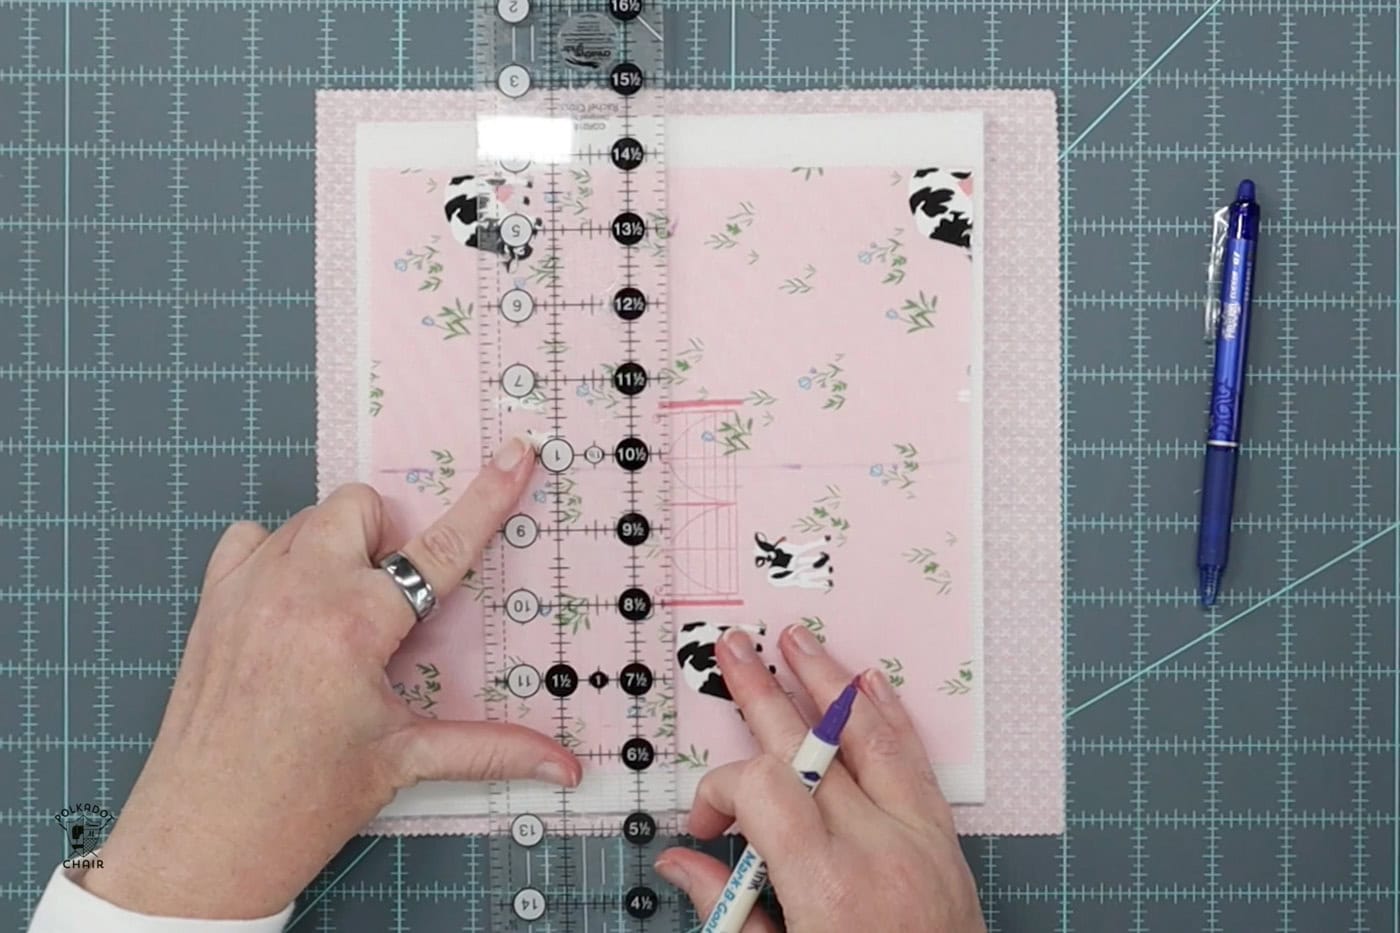
If this is your first time quilting foam, a simple grid pattern (lines spaced 1-2 inches apart) is a good starting point. Use a ruler to ensure your lines are straight and evenly spaced.
If you have a guide arm on your Walking Foot, set it to 1″ from the needle. This feature can keep your quilting lines straight as you work, and you don’t need to mark all of the lines on your piece, just the centers.
Step Four: Sewing Machine Setup
Install a walking foot on your sewing machine. This foot is essential for quilting foam, as it evenly feeds all the layers through the machine, preventing shifting or puckering. Walking feet are machine-specific. If you don’t already own one, you’ll need to find one made specifically for your machine brand and model.
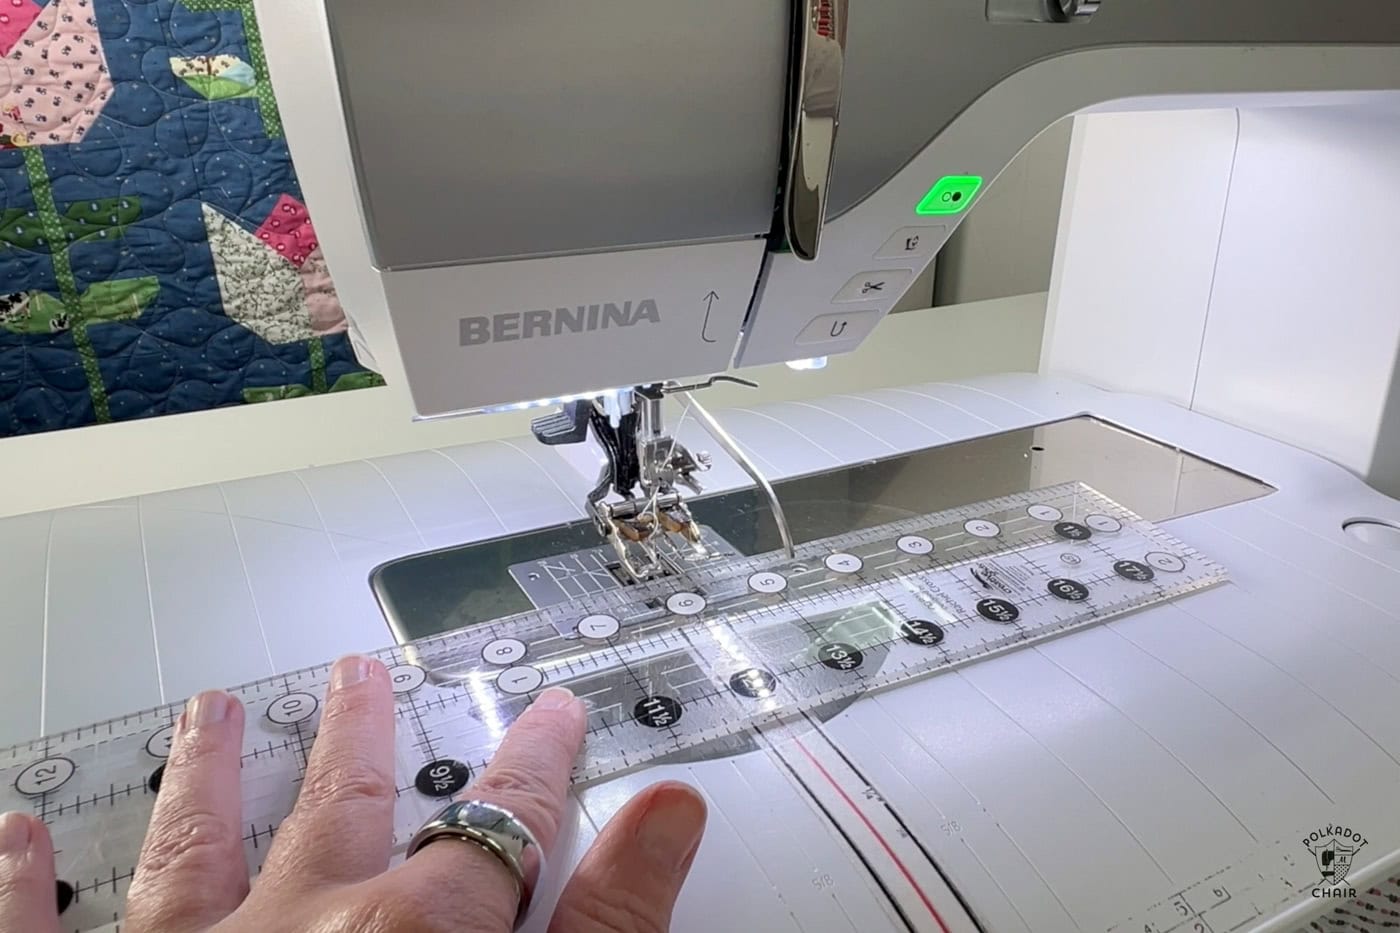
Adjust the stitch length slightly longer than usual (3.0–3.5 mm). The thicker foam can handle a longer stitch, making the quilting more visible.
If your walking foot as a guide attachment, adjust it so it’s the desired length from the needle. In my example, it’s 1″, as I’m quilting a 1″ grid on my sample fabric.
Step Five: Quilt
Begin quilting along the lines you marked. To prevent fabric from bunching, start from the center and work your way out. Quilt in the same direction as much as possible.
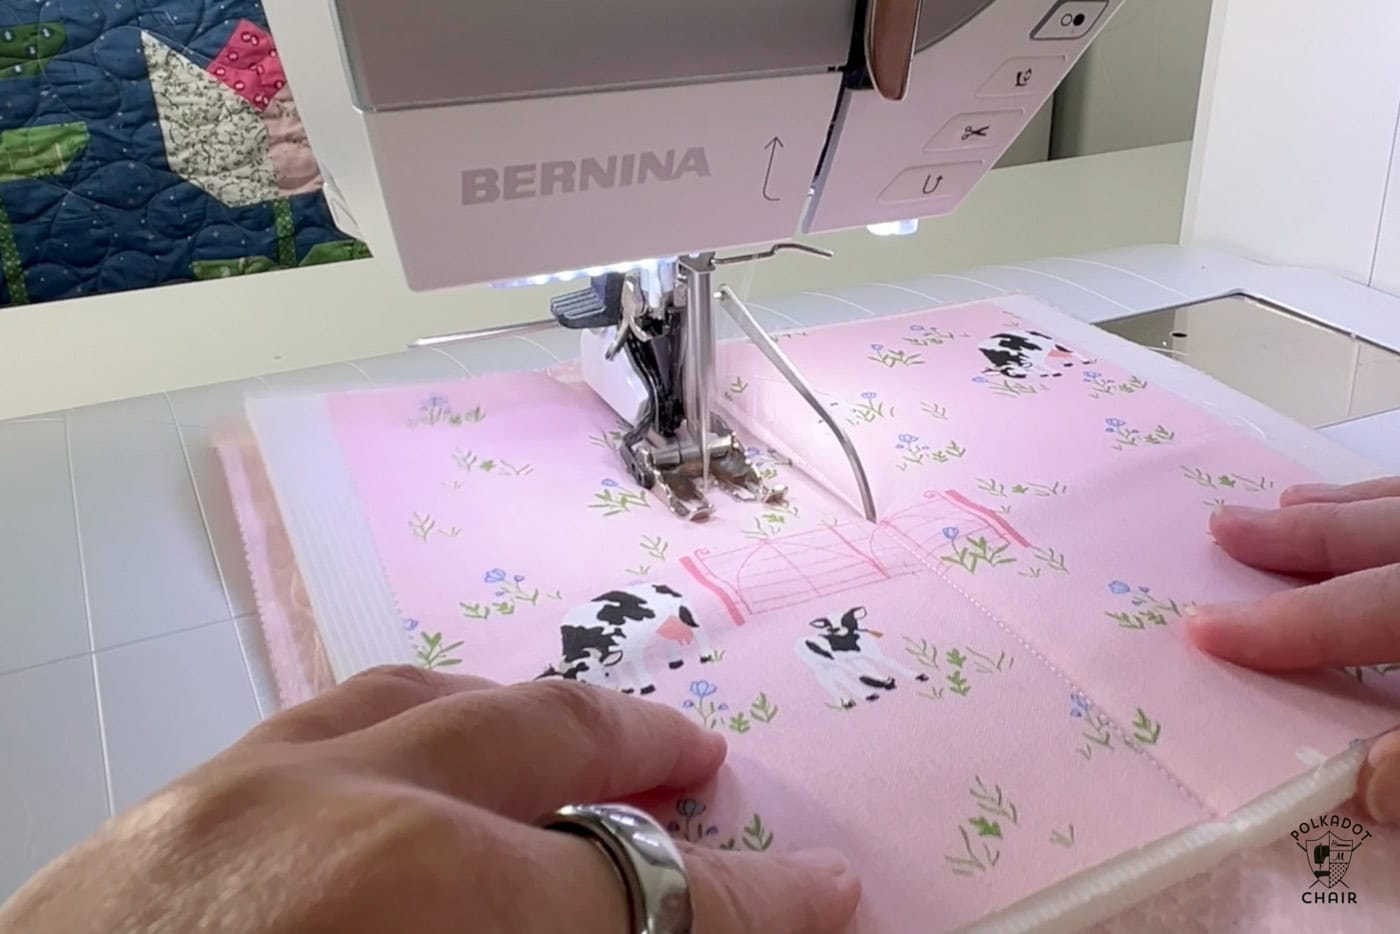
Sew slowly and steadily, keeping the foam layers aligned. Use your hands to gently guide the fabric and foam through the machine.
If you notice any puckering or uneven feeding, pause and smooth out the layers before continuing.
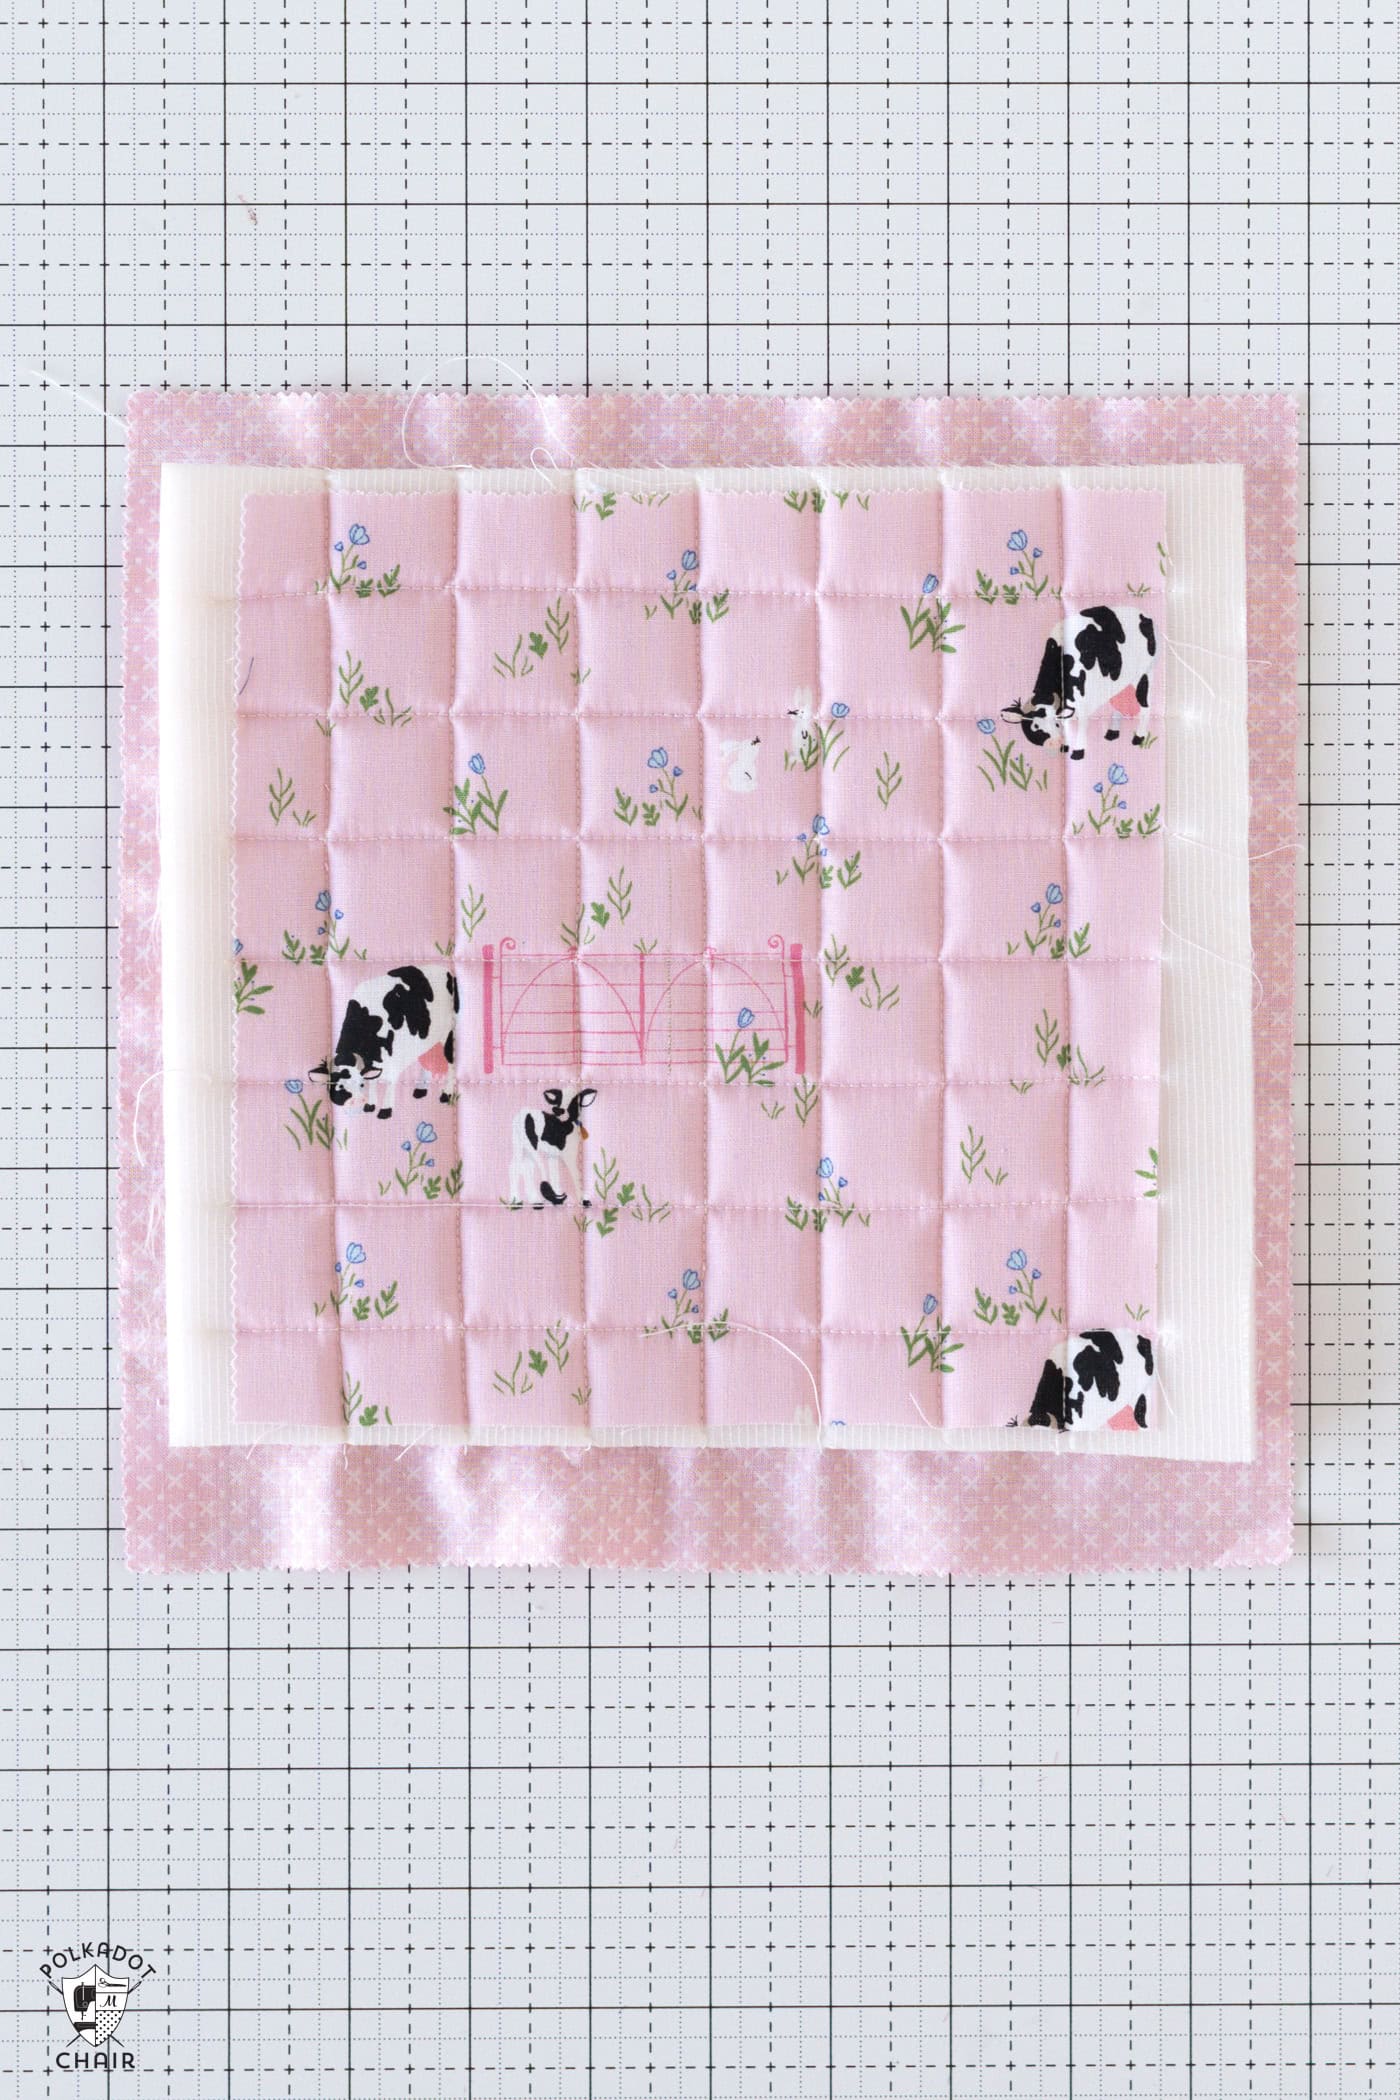
Front Finished
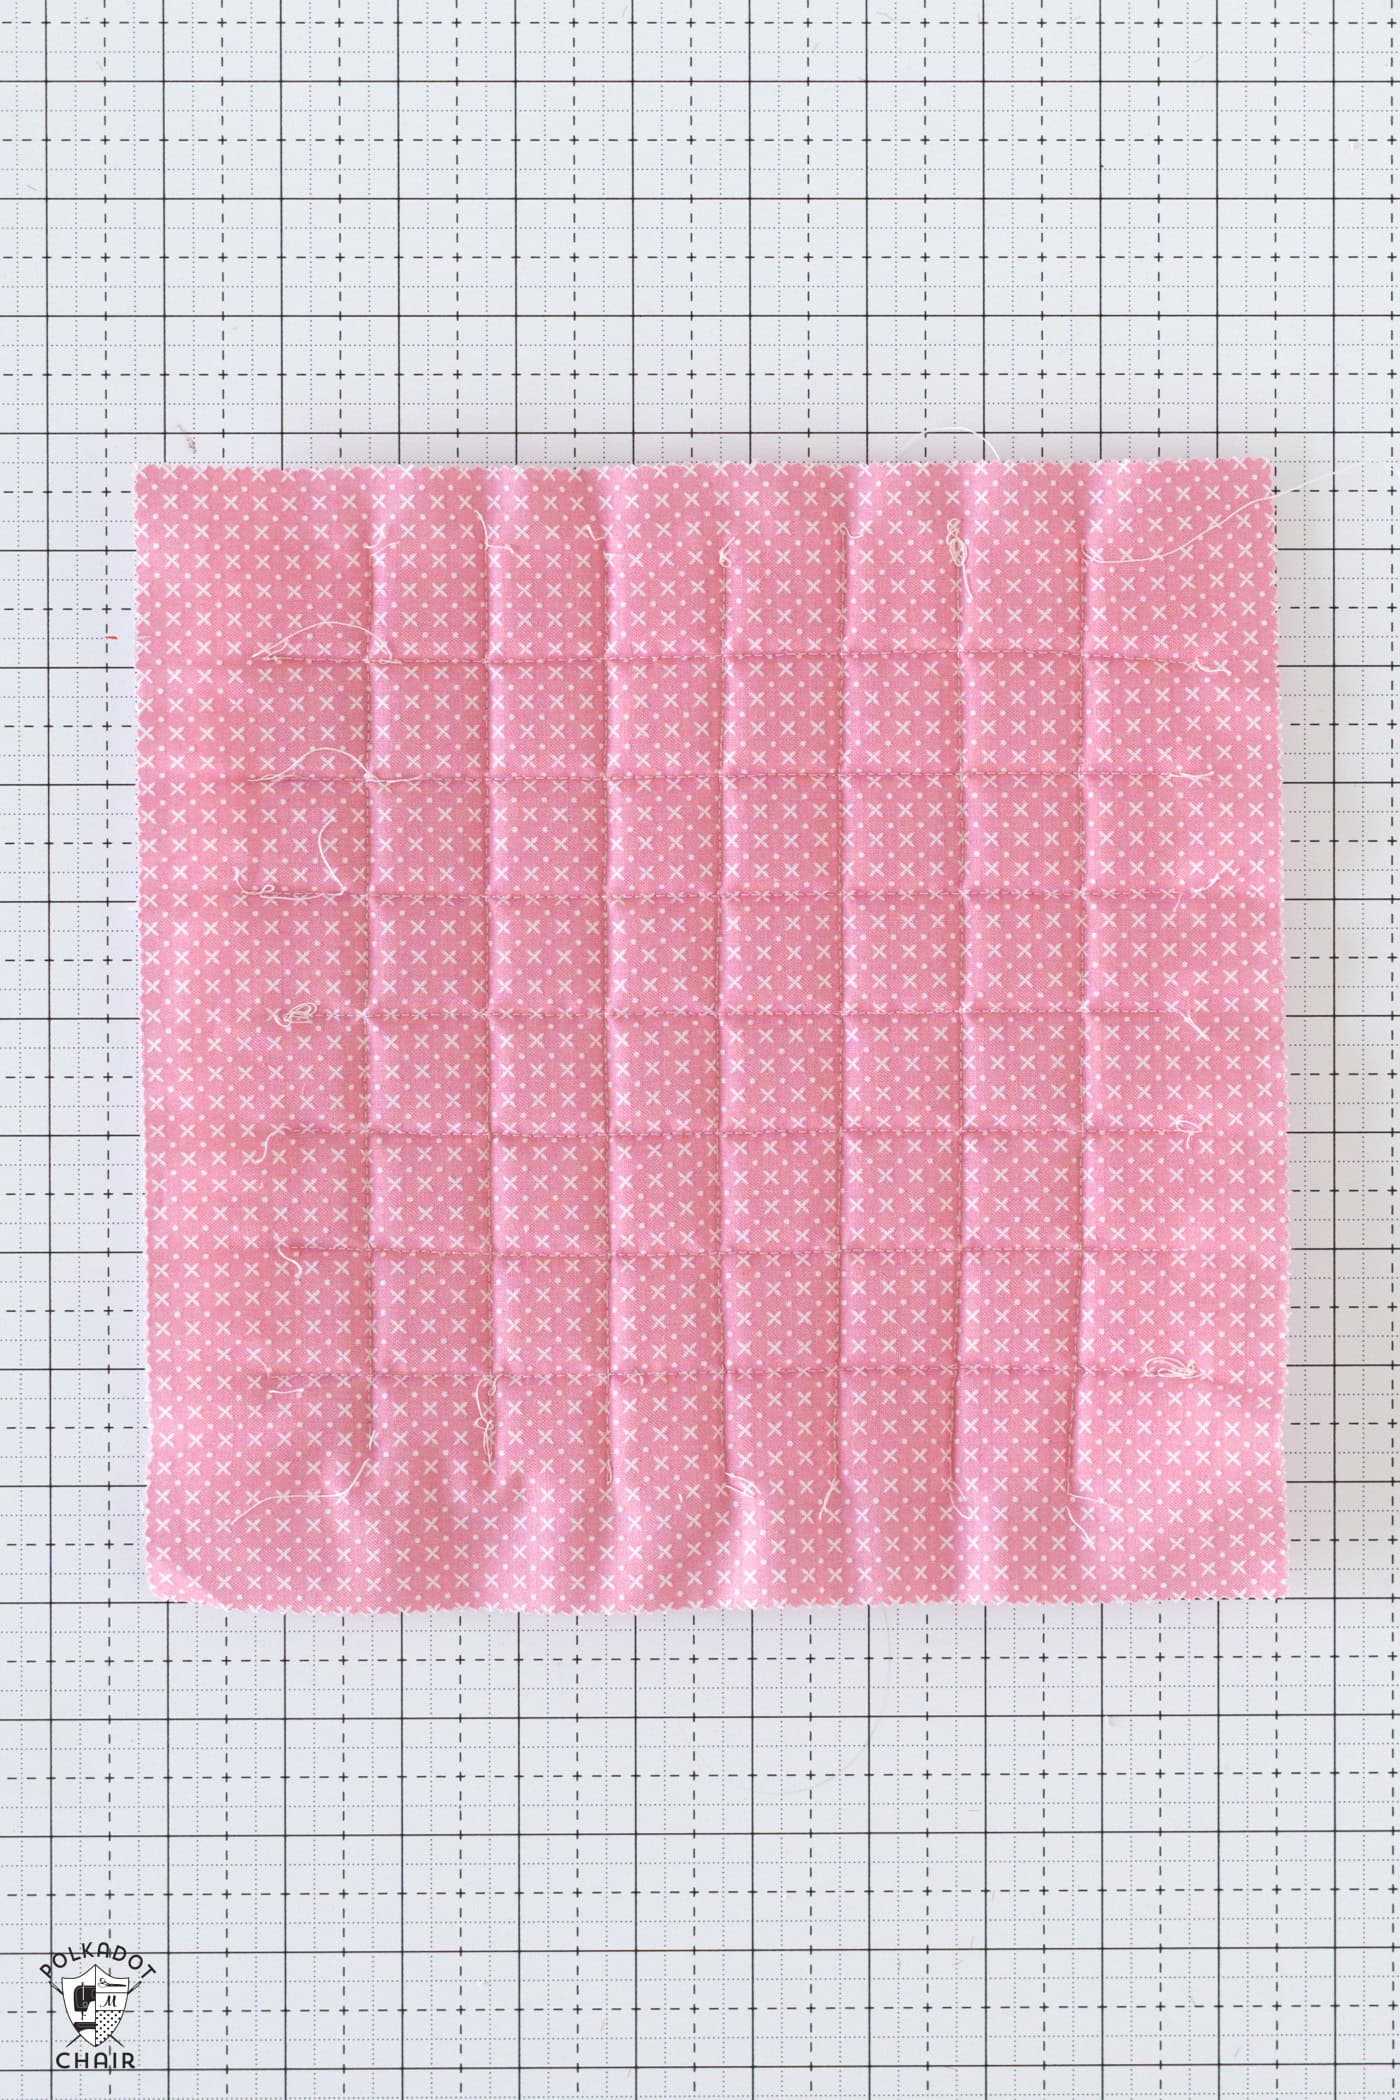
Back Finished
Finishing
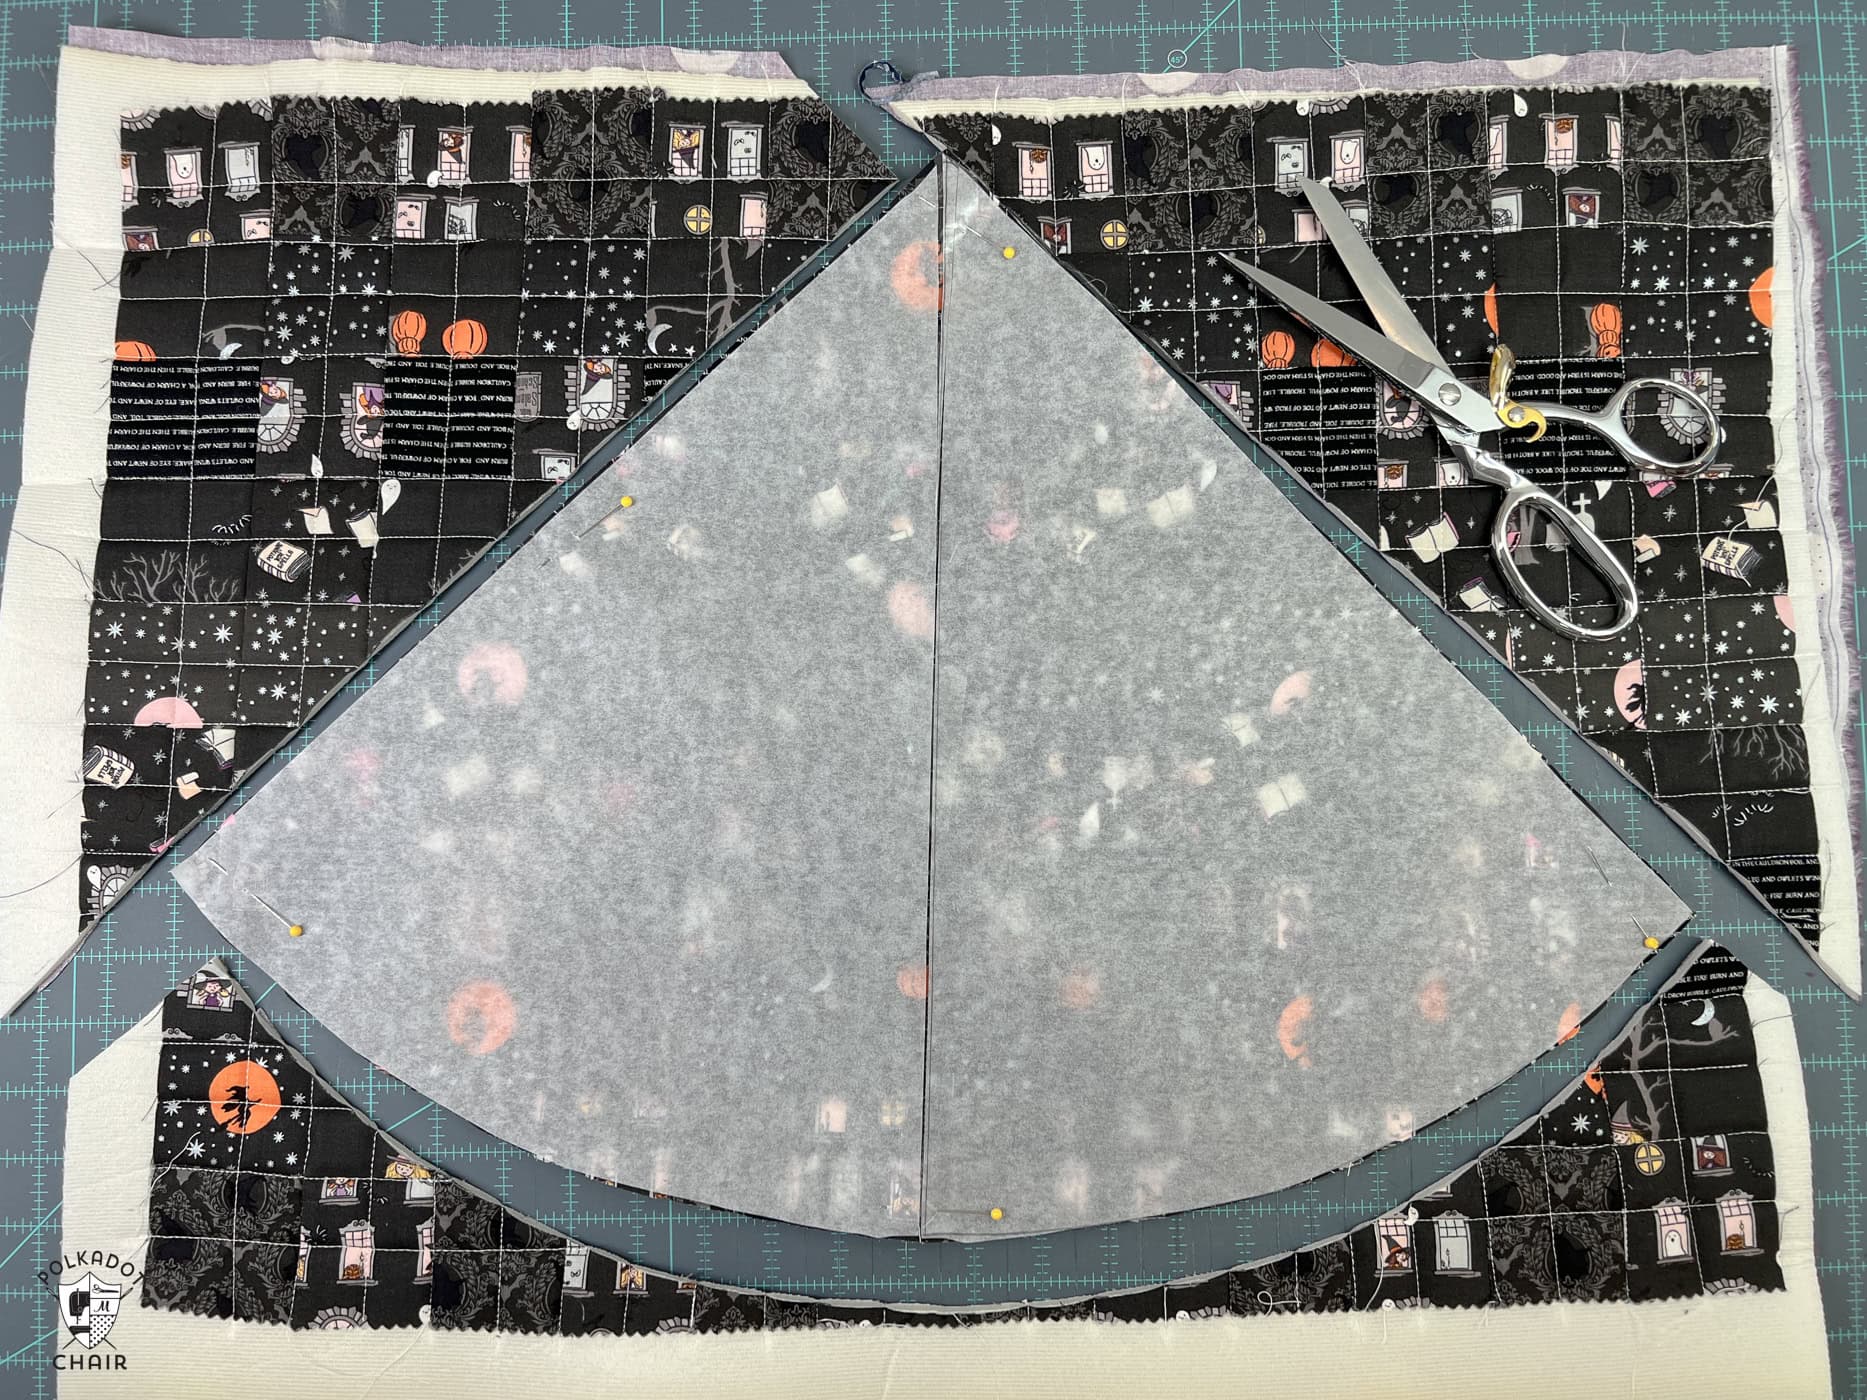
Once you’ve finished quilting, trim the fabric and foam down to the desired size (or use your pattern piece to cut out a specific shape) for your project using a rotary cutter and ruler. This step will give you clean edges and ensure your quilted piece is the right size.
Sewing Tips
- Test your stitches: Before starting the quilting, make a small test piece with the foam and fabric to ensure your machine settings are correct.
- Press gently: If your fabric becomes wrinkled during quilting, use a warm iron to press it. Avoid pressing directly on the foam; use a pressing cloth and light pressure.
- Check your needle: When sewing the quilted foam into your project, use a strong needle (like a size 90/14) to handle the thickness.
Once you get the hang of it, you’ll find endless ways to incorporate quilted foam into your projects.
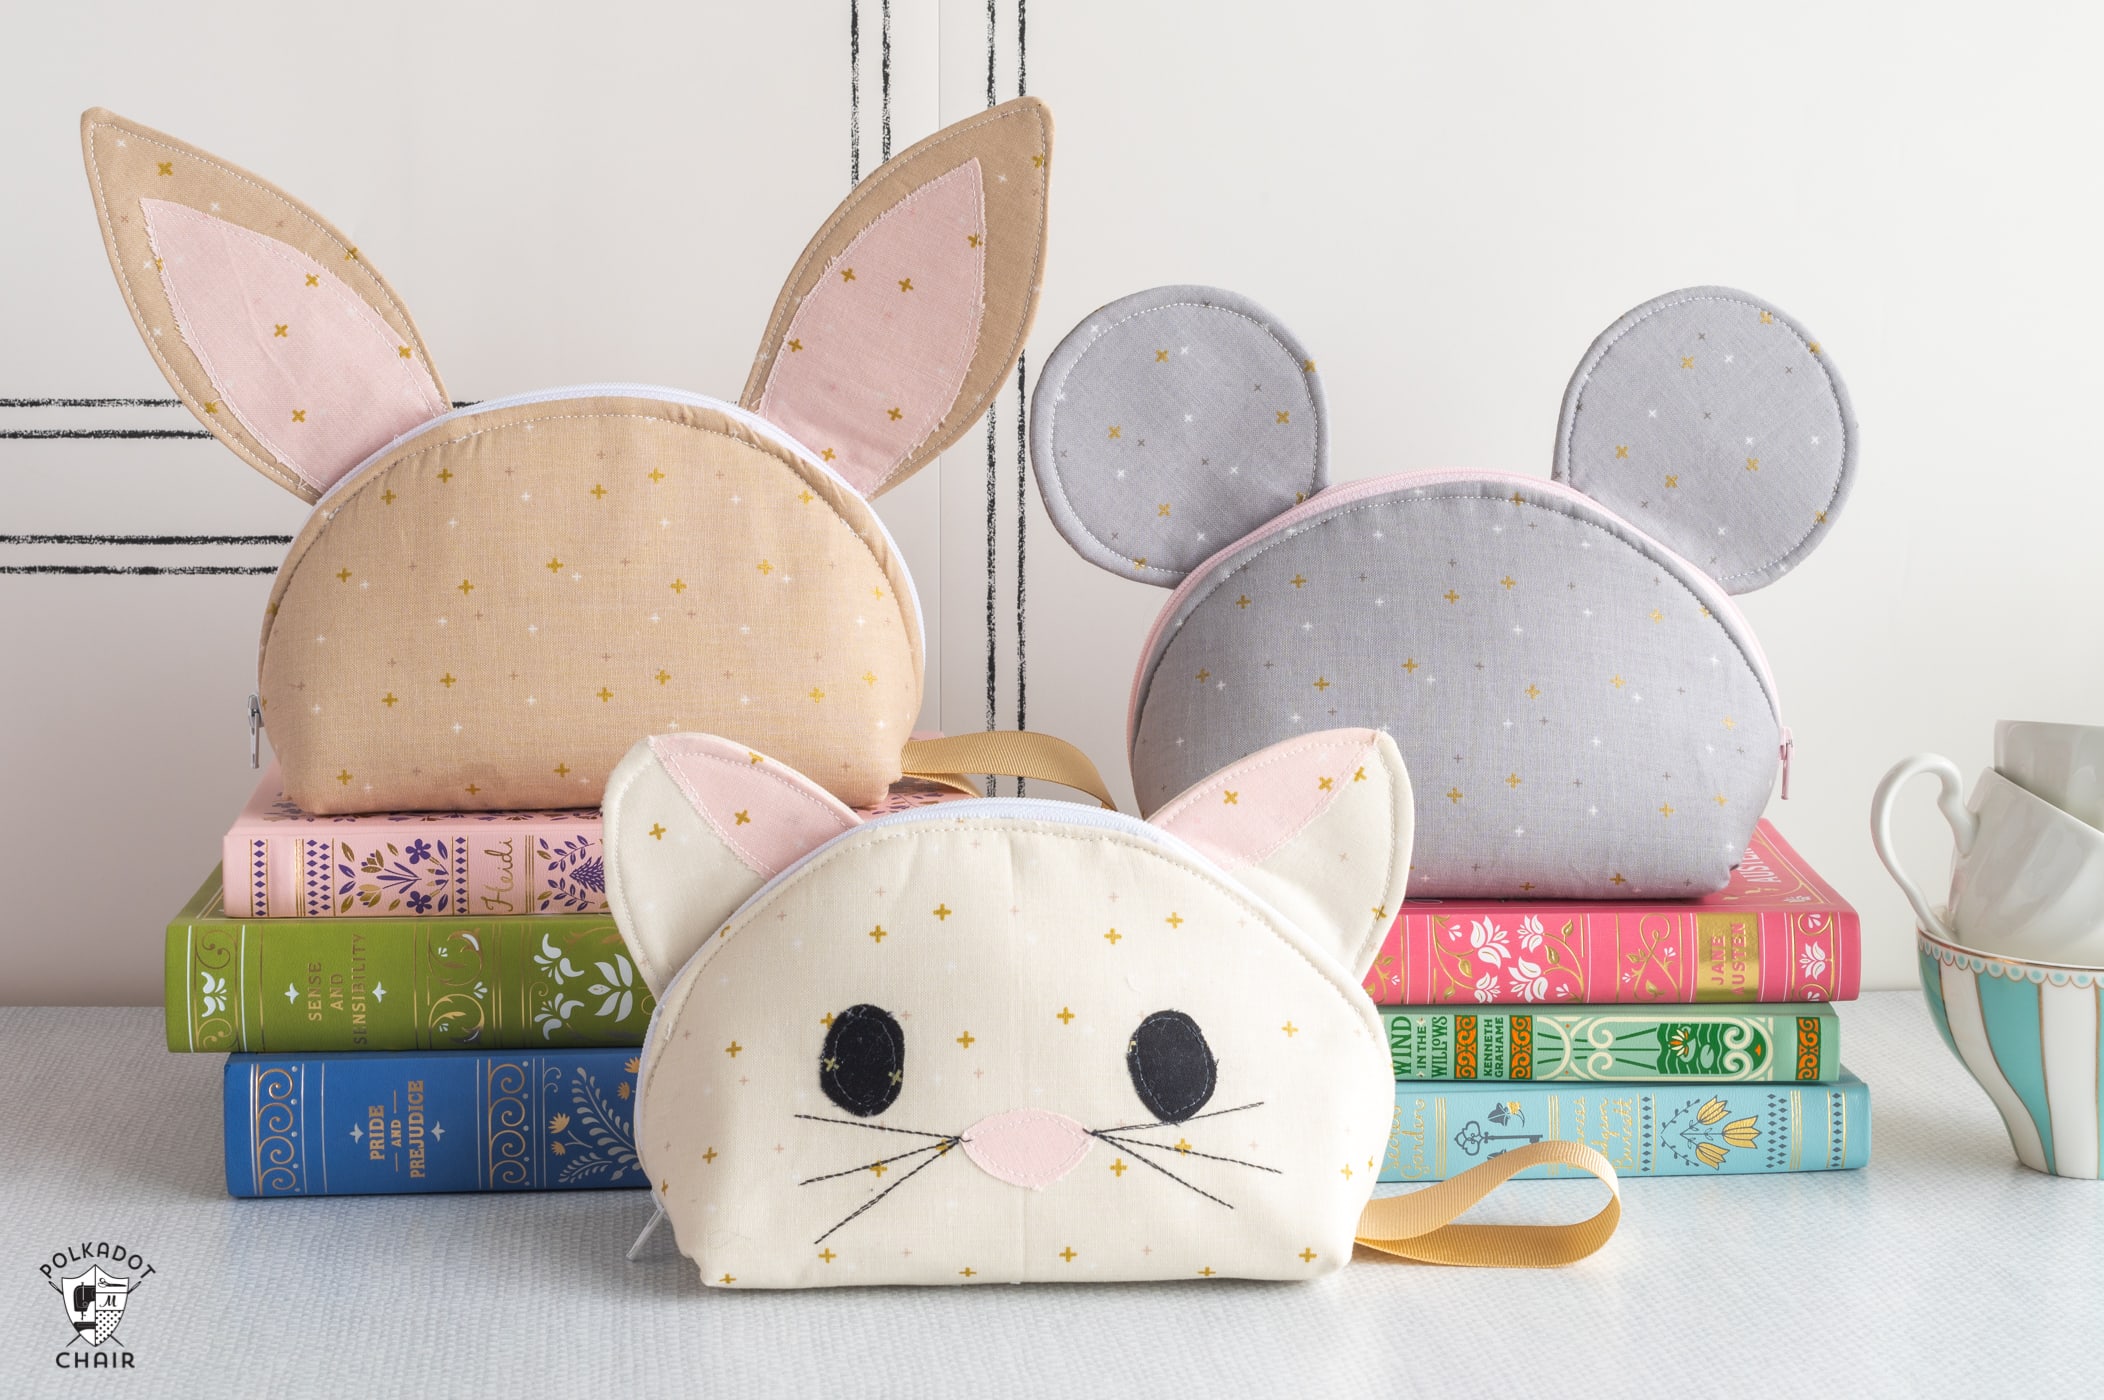
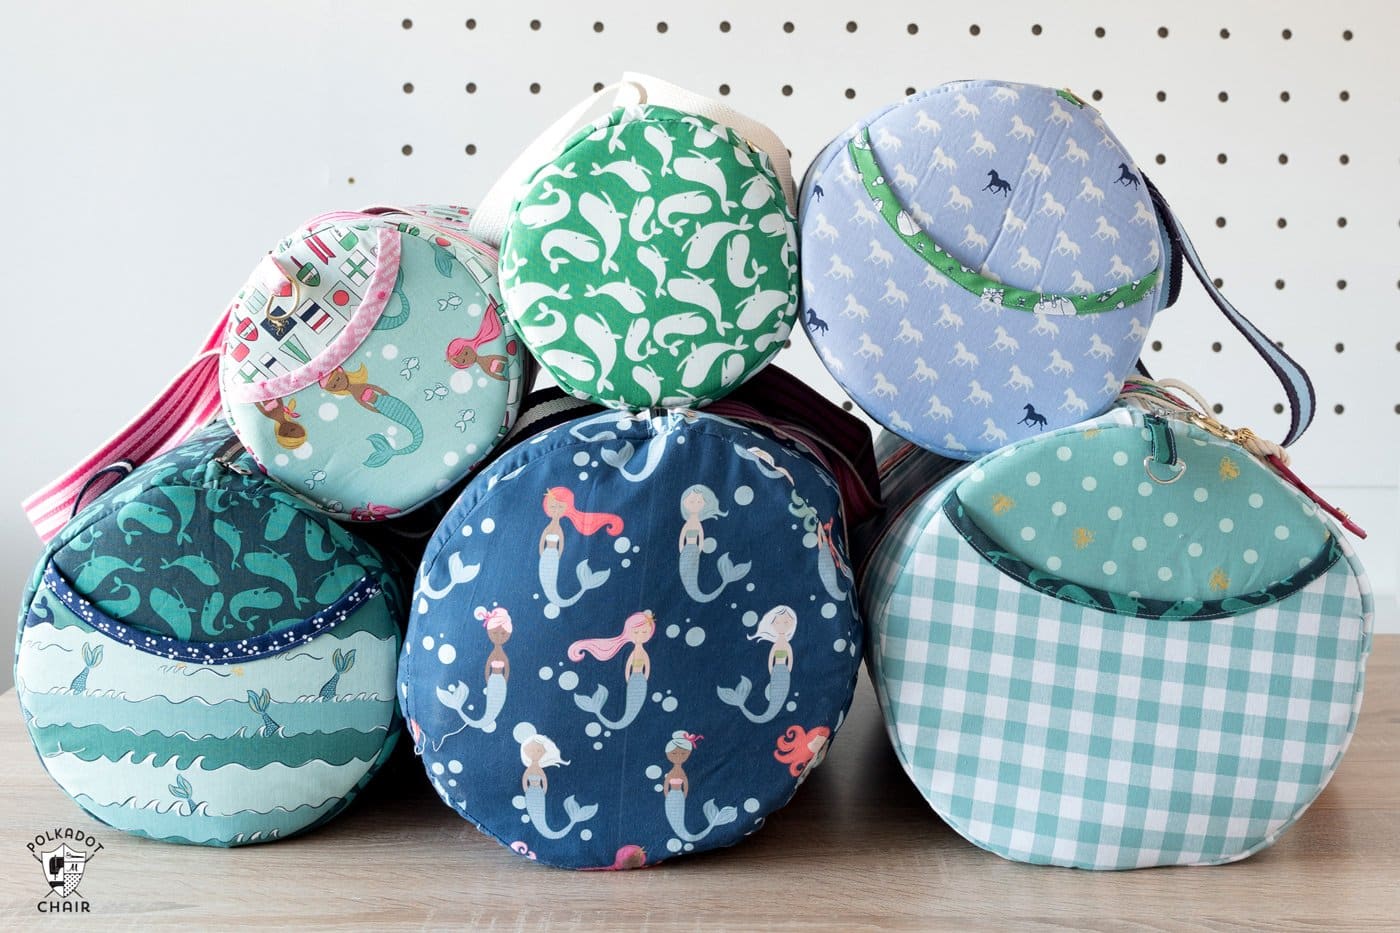
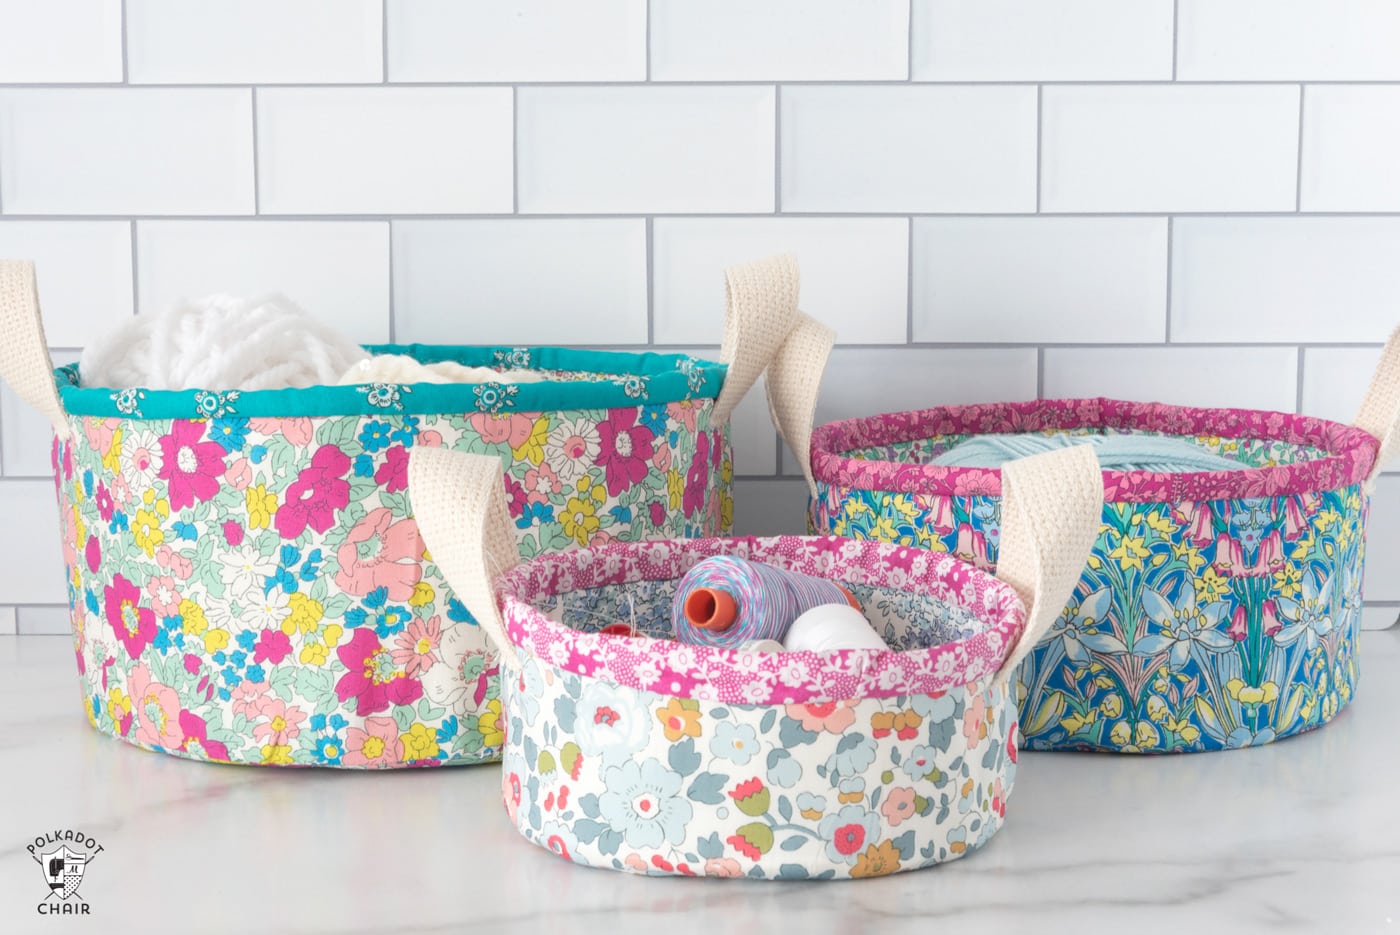
Looking for ideas? Here are a few projects made with Flex Foam!
Quilted Foam Projects
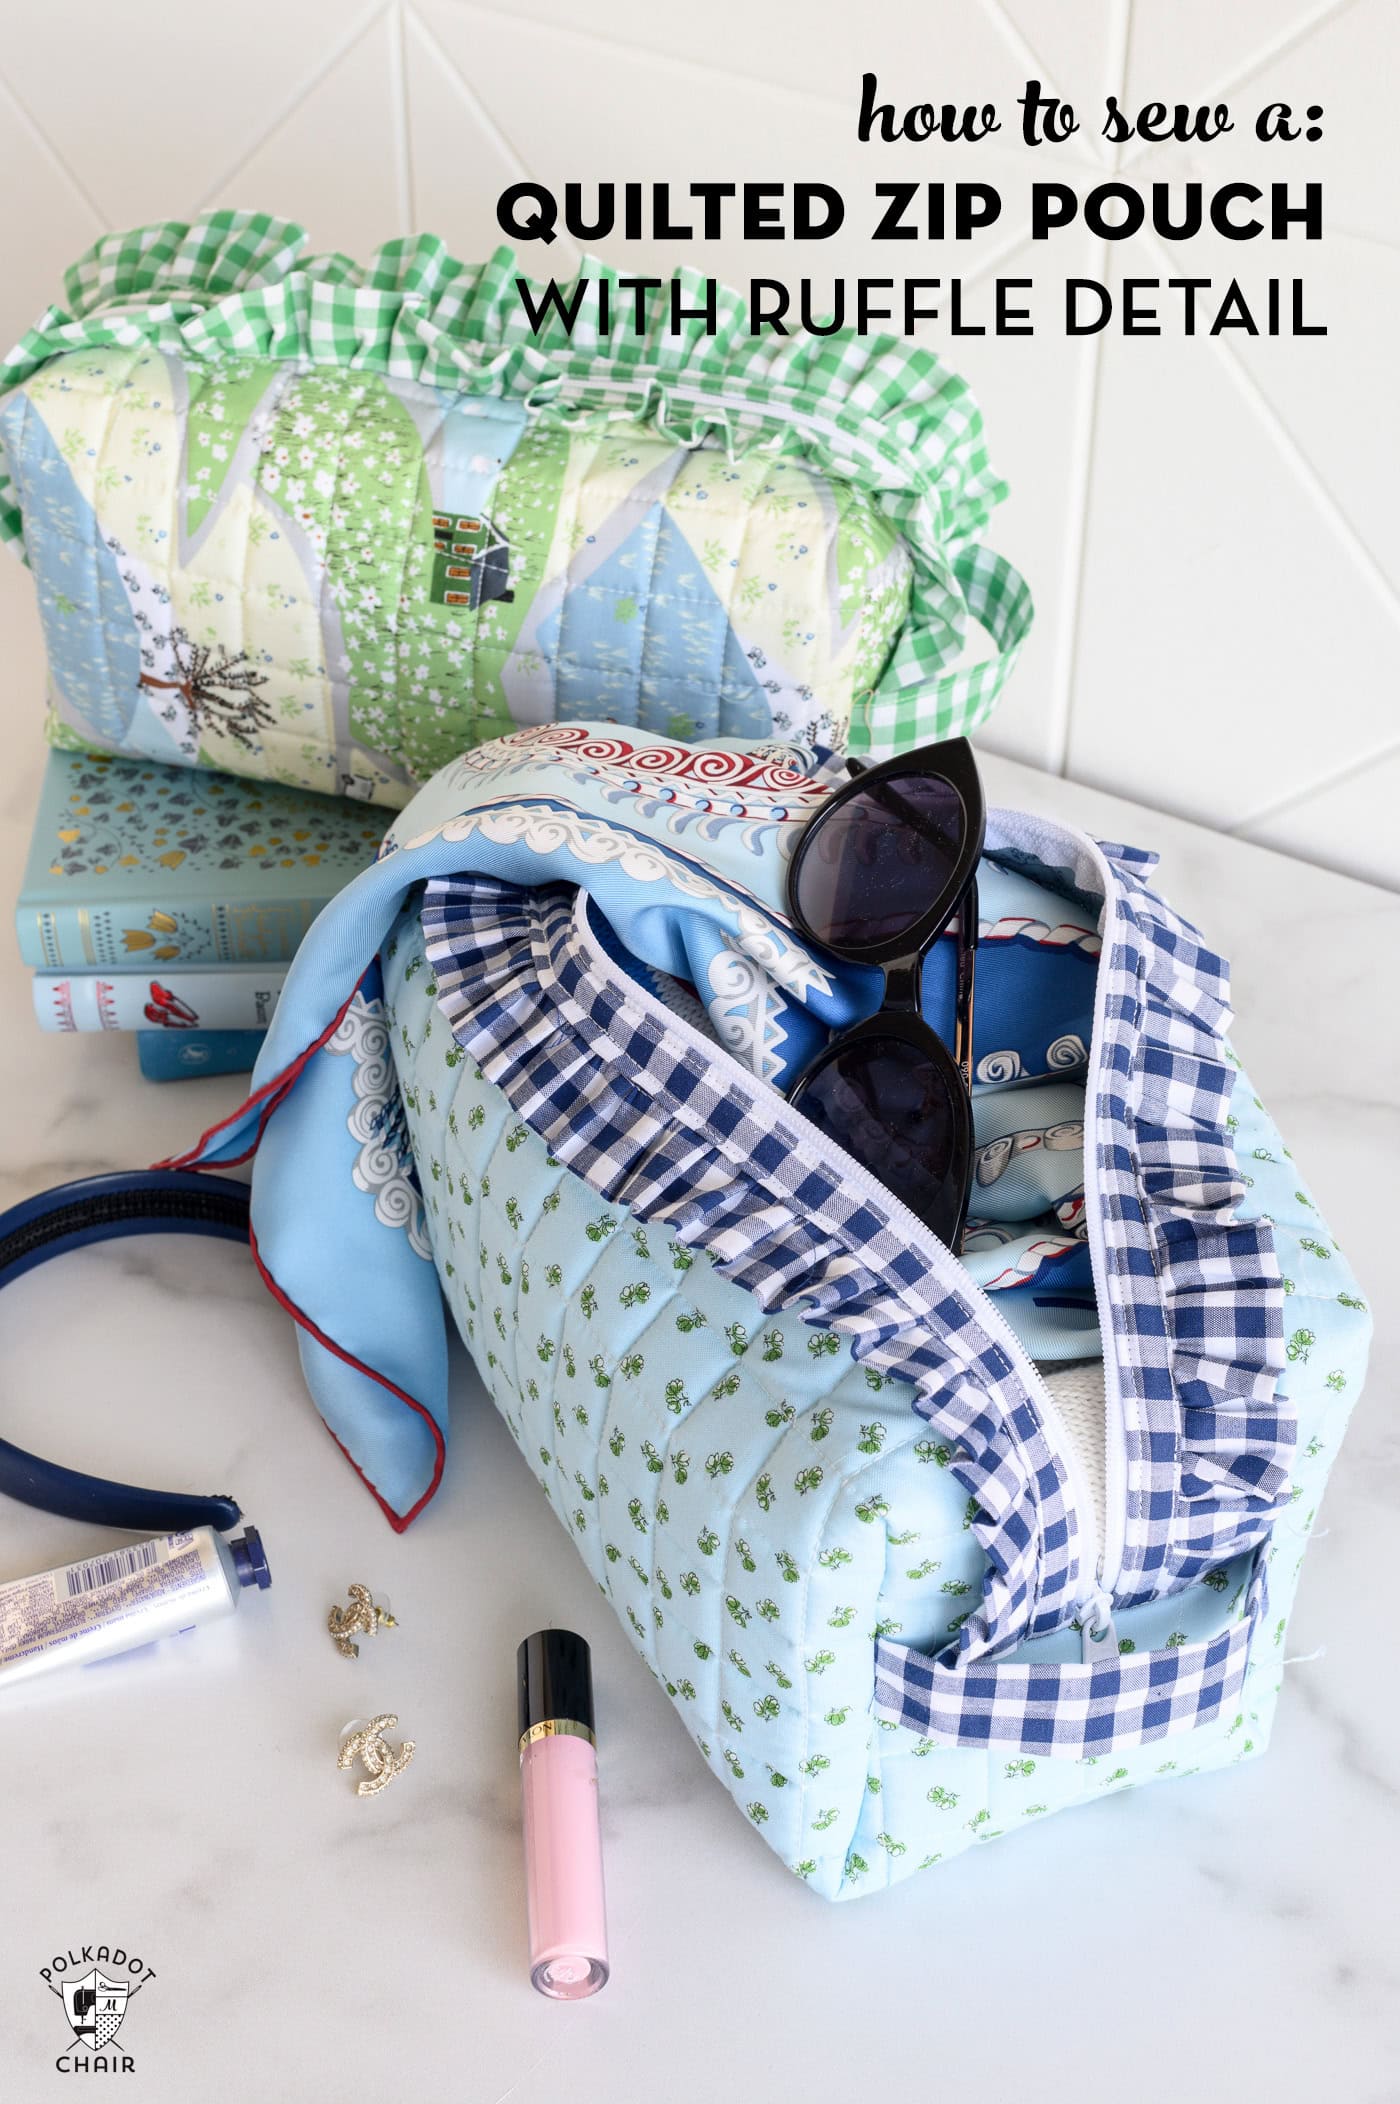
1. Quilted Ruffle Box Zip Pouch Tutorial
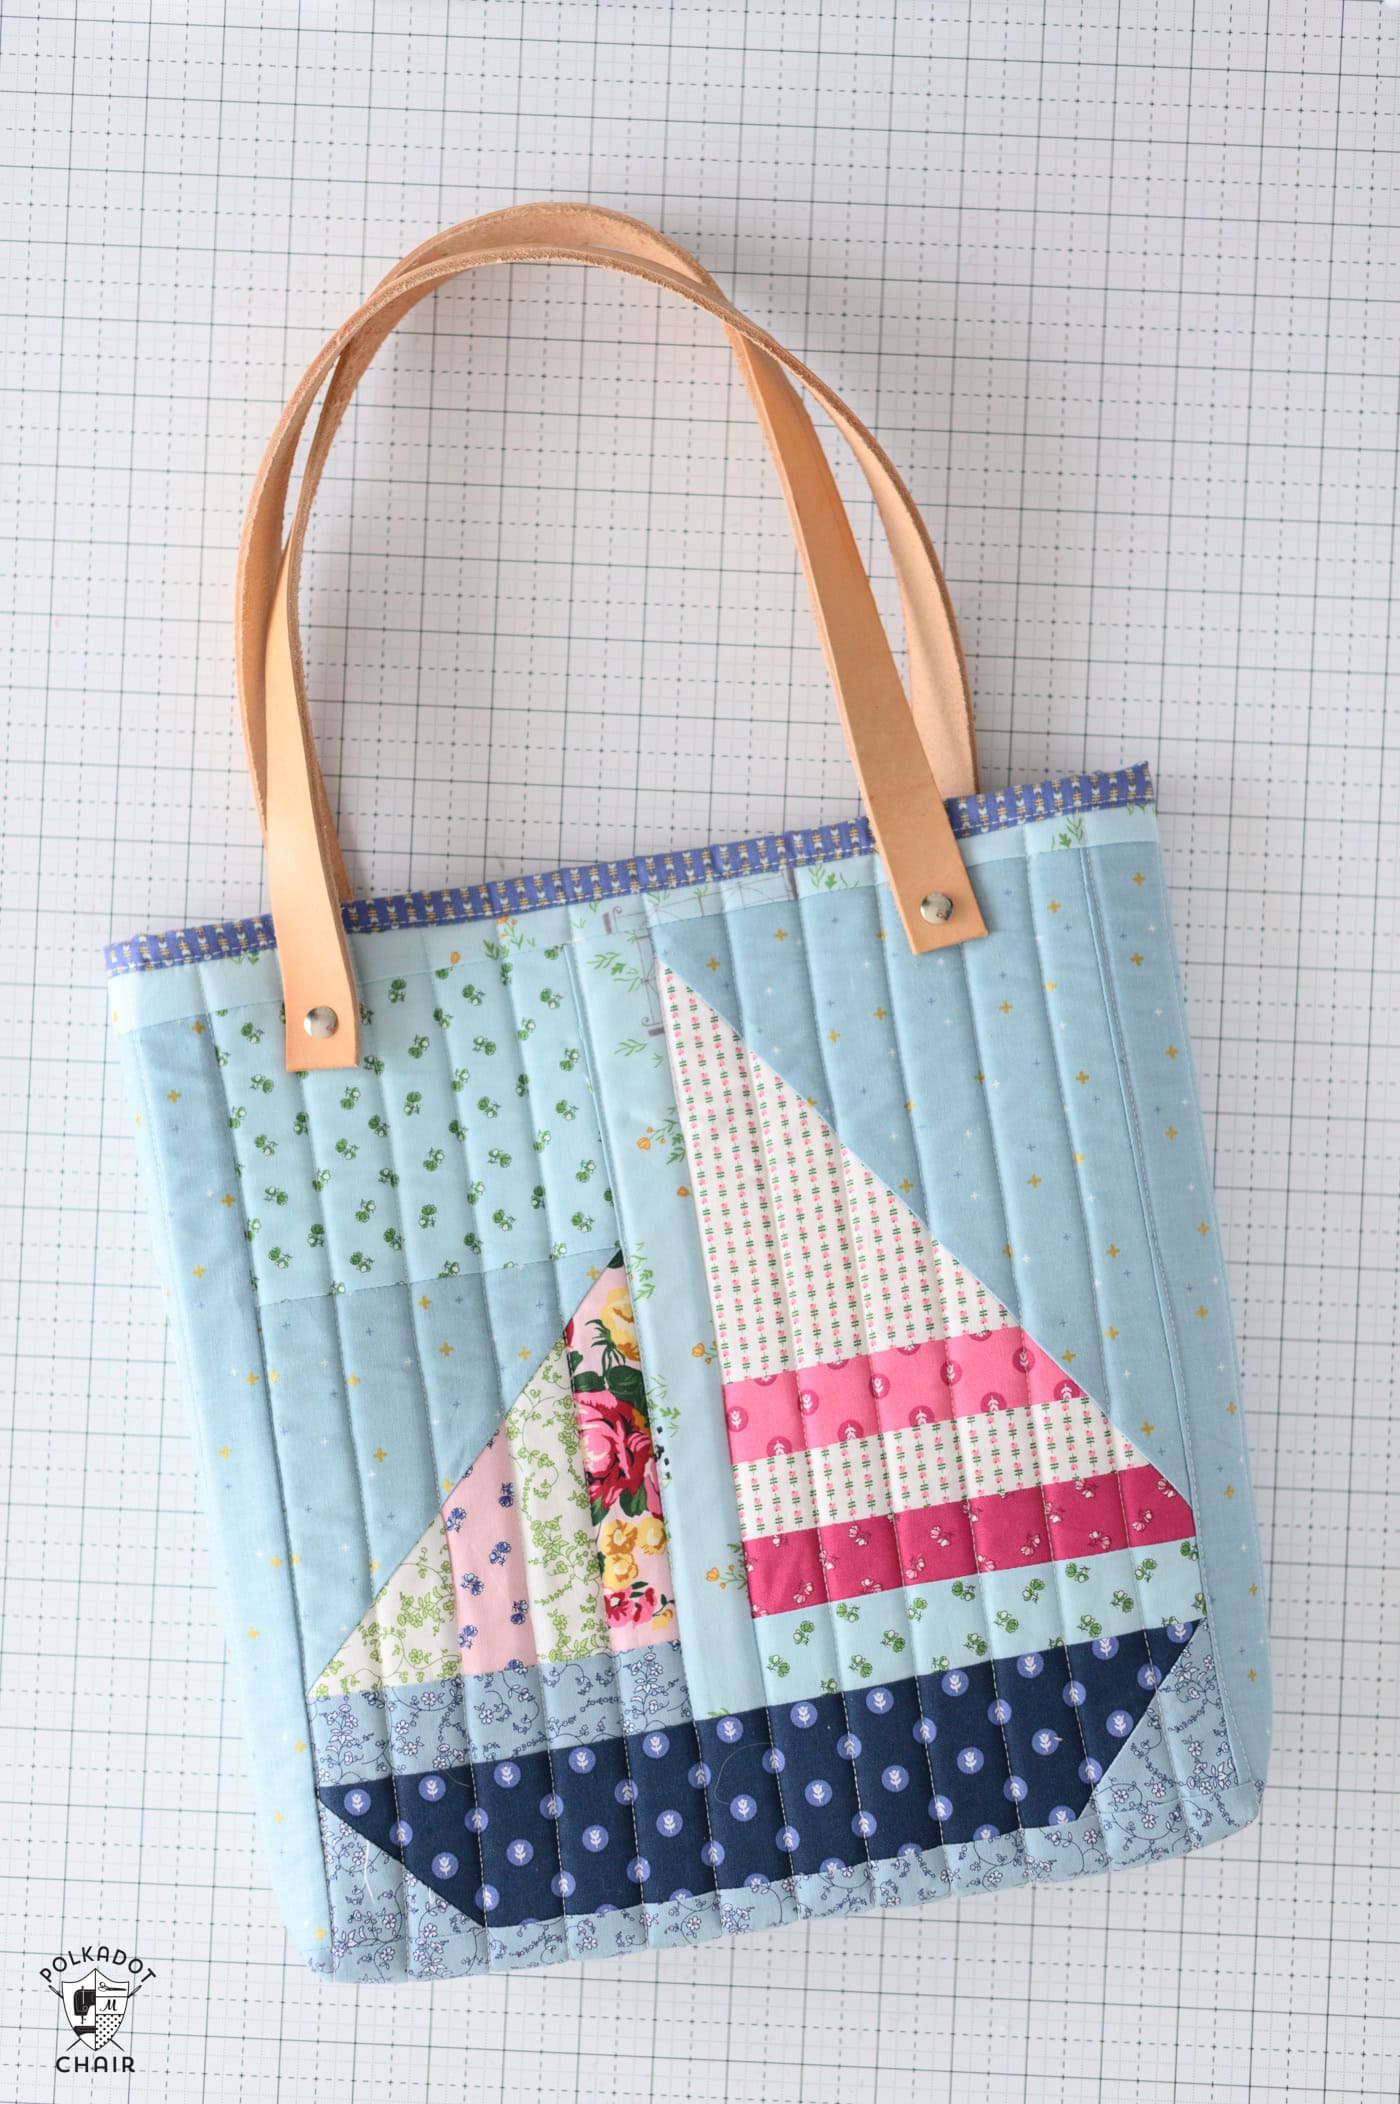
2. Quilt Block Tote Bag with Leather Handles

3. Spellbound Quilted Witches Hat

Projects Using Foam That Can Be Quilted
Using the above steps as a guide, you could add quilting details to any of the following projects. Just ensure you cut out your pattern pieces AFTER you quilt the foam.


Thank you for this tutorial, it will be so helpful in the very near future!
Question — when you make your ‘sandwich’ do you want the backing right side facing up or wrong side facing up? It says right side, but that doesn’t seem correct. Thanks.
Right side facing out – so the wrong sides of the two fabrics are facing each other. I’ll double check the verbiage to make sure it’s clear.
Wrong side should be facing up I think she meant for the backing fabric.
So, are these items washable? What happens if you do wash and the cotton fabric shrinks?
I would not recommend drying it, but it can be washed in the gentle cycle.