Mickey Mouse Inspired Earbud Pouch Sewing Pattern
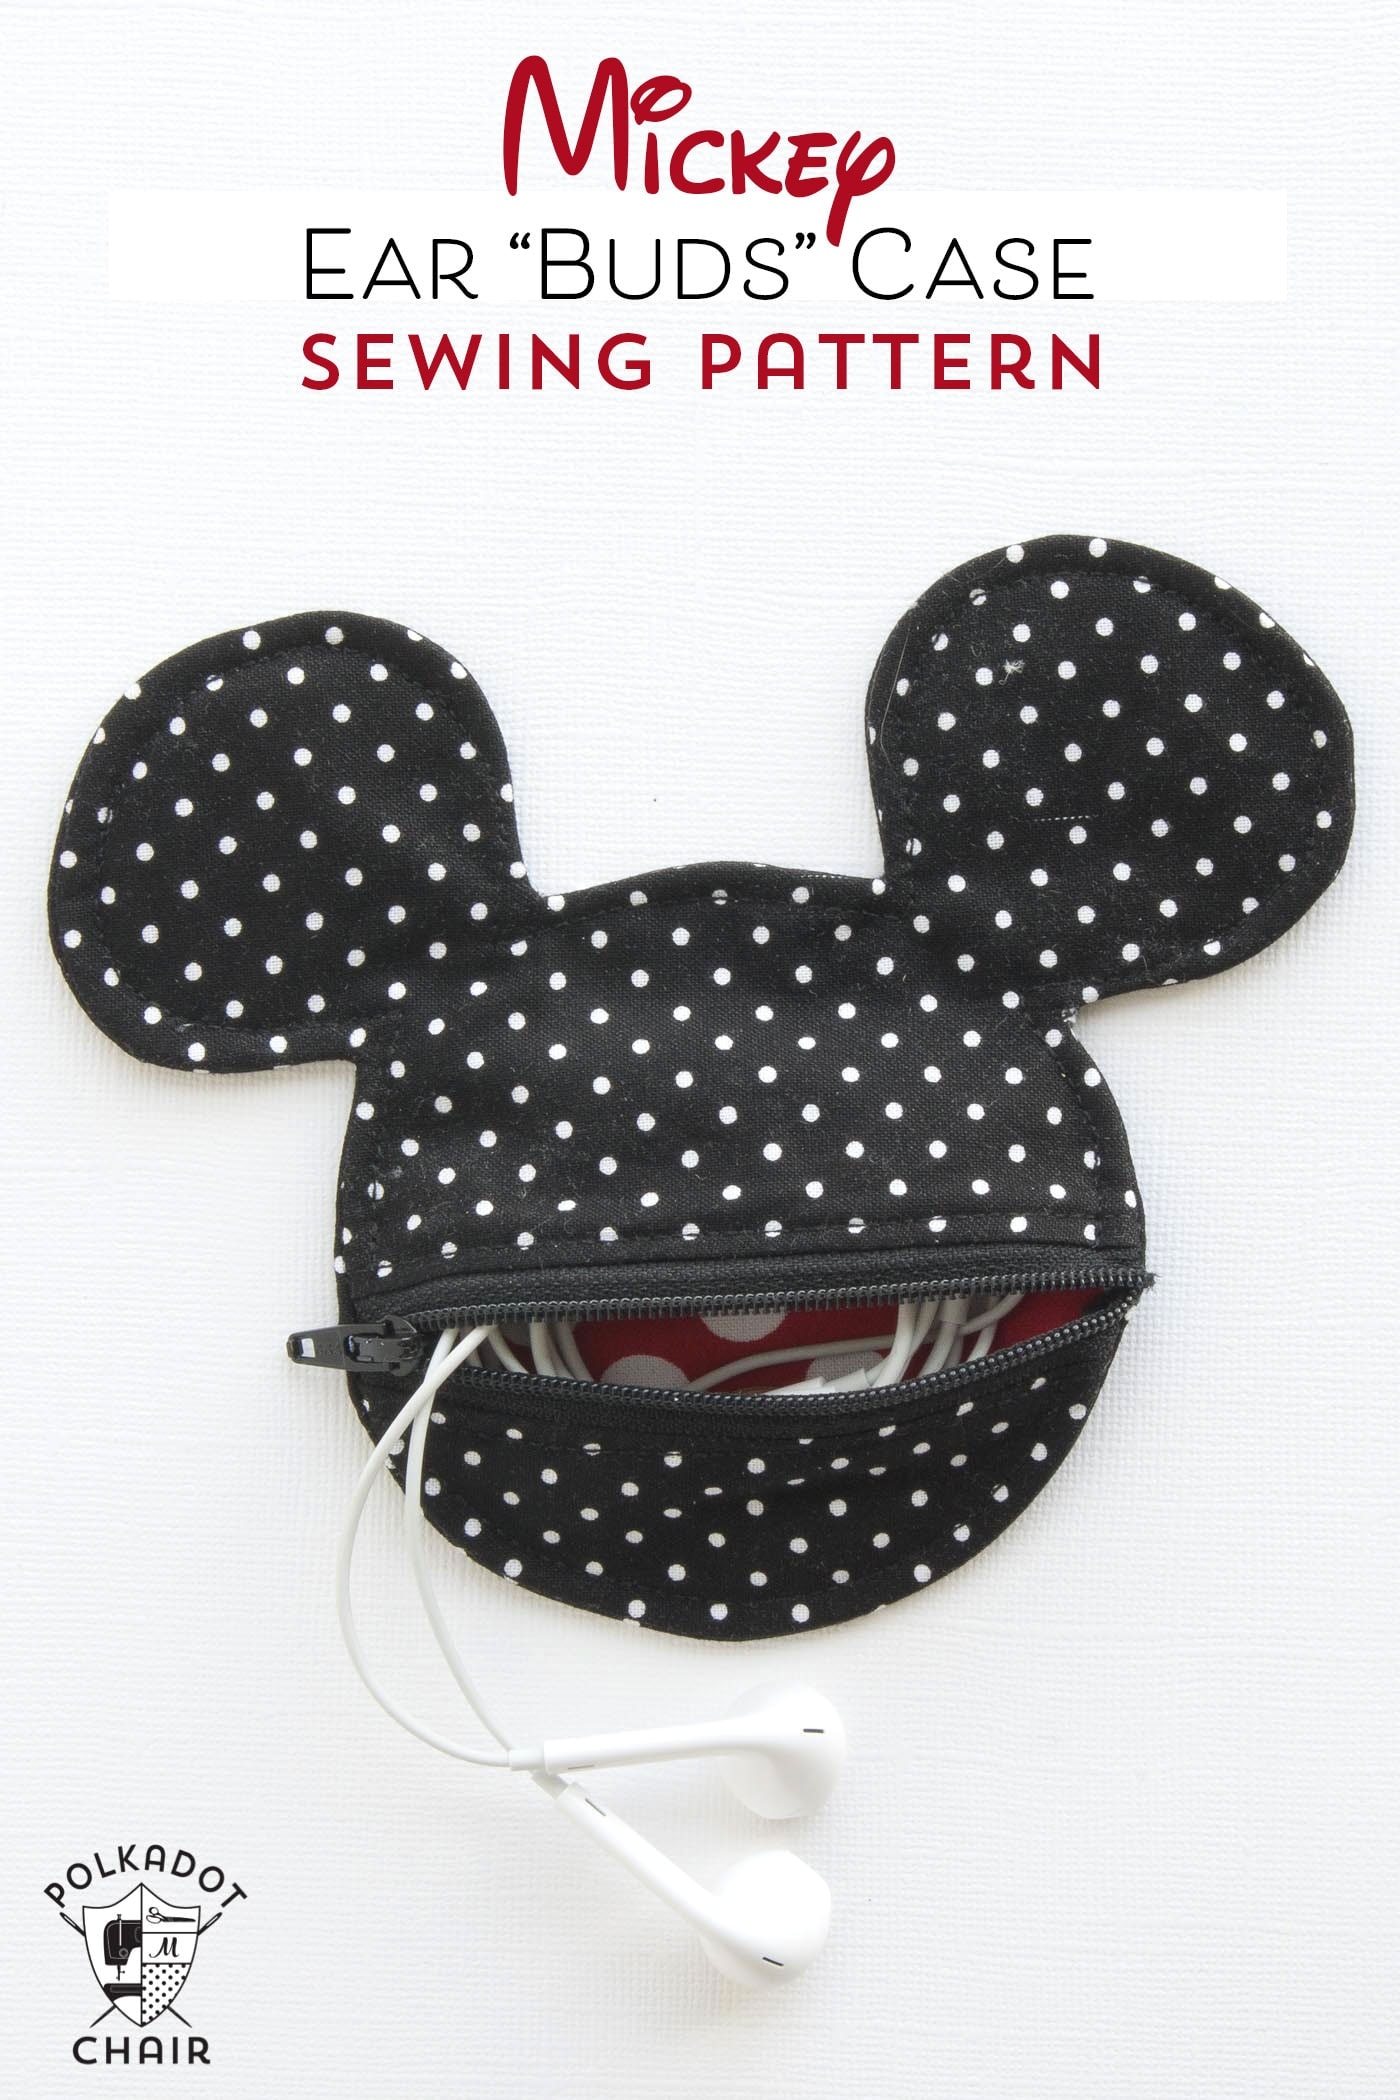
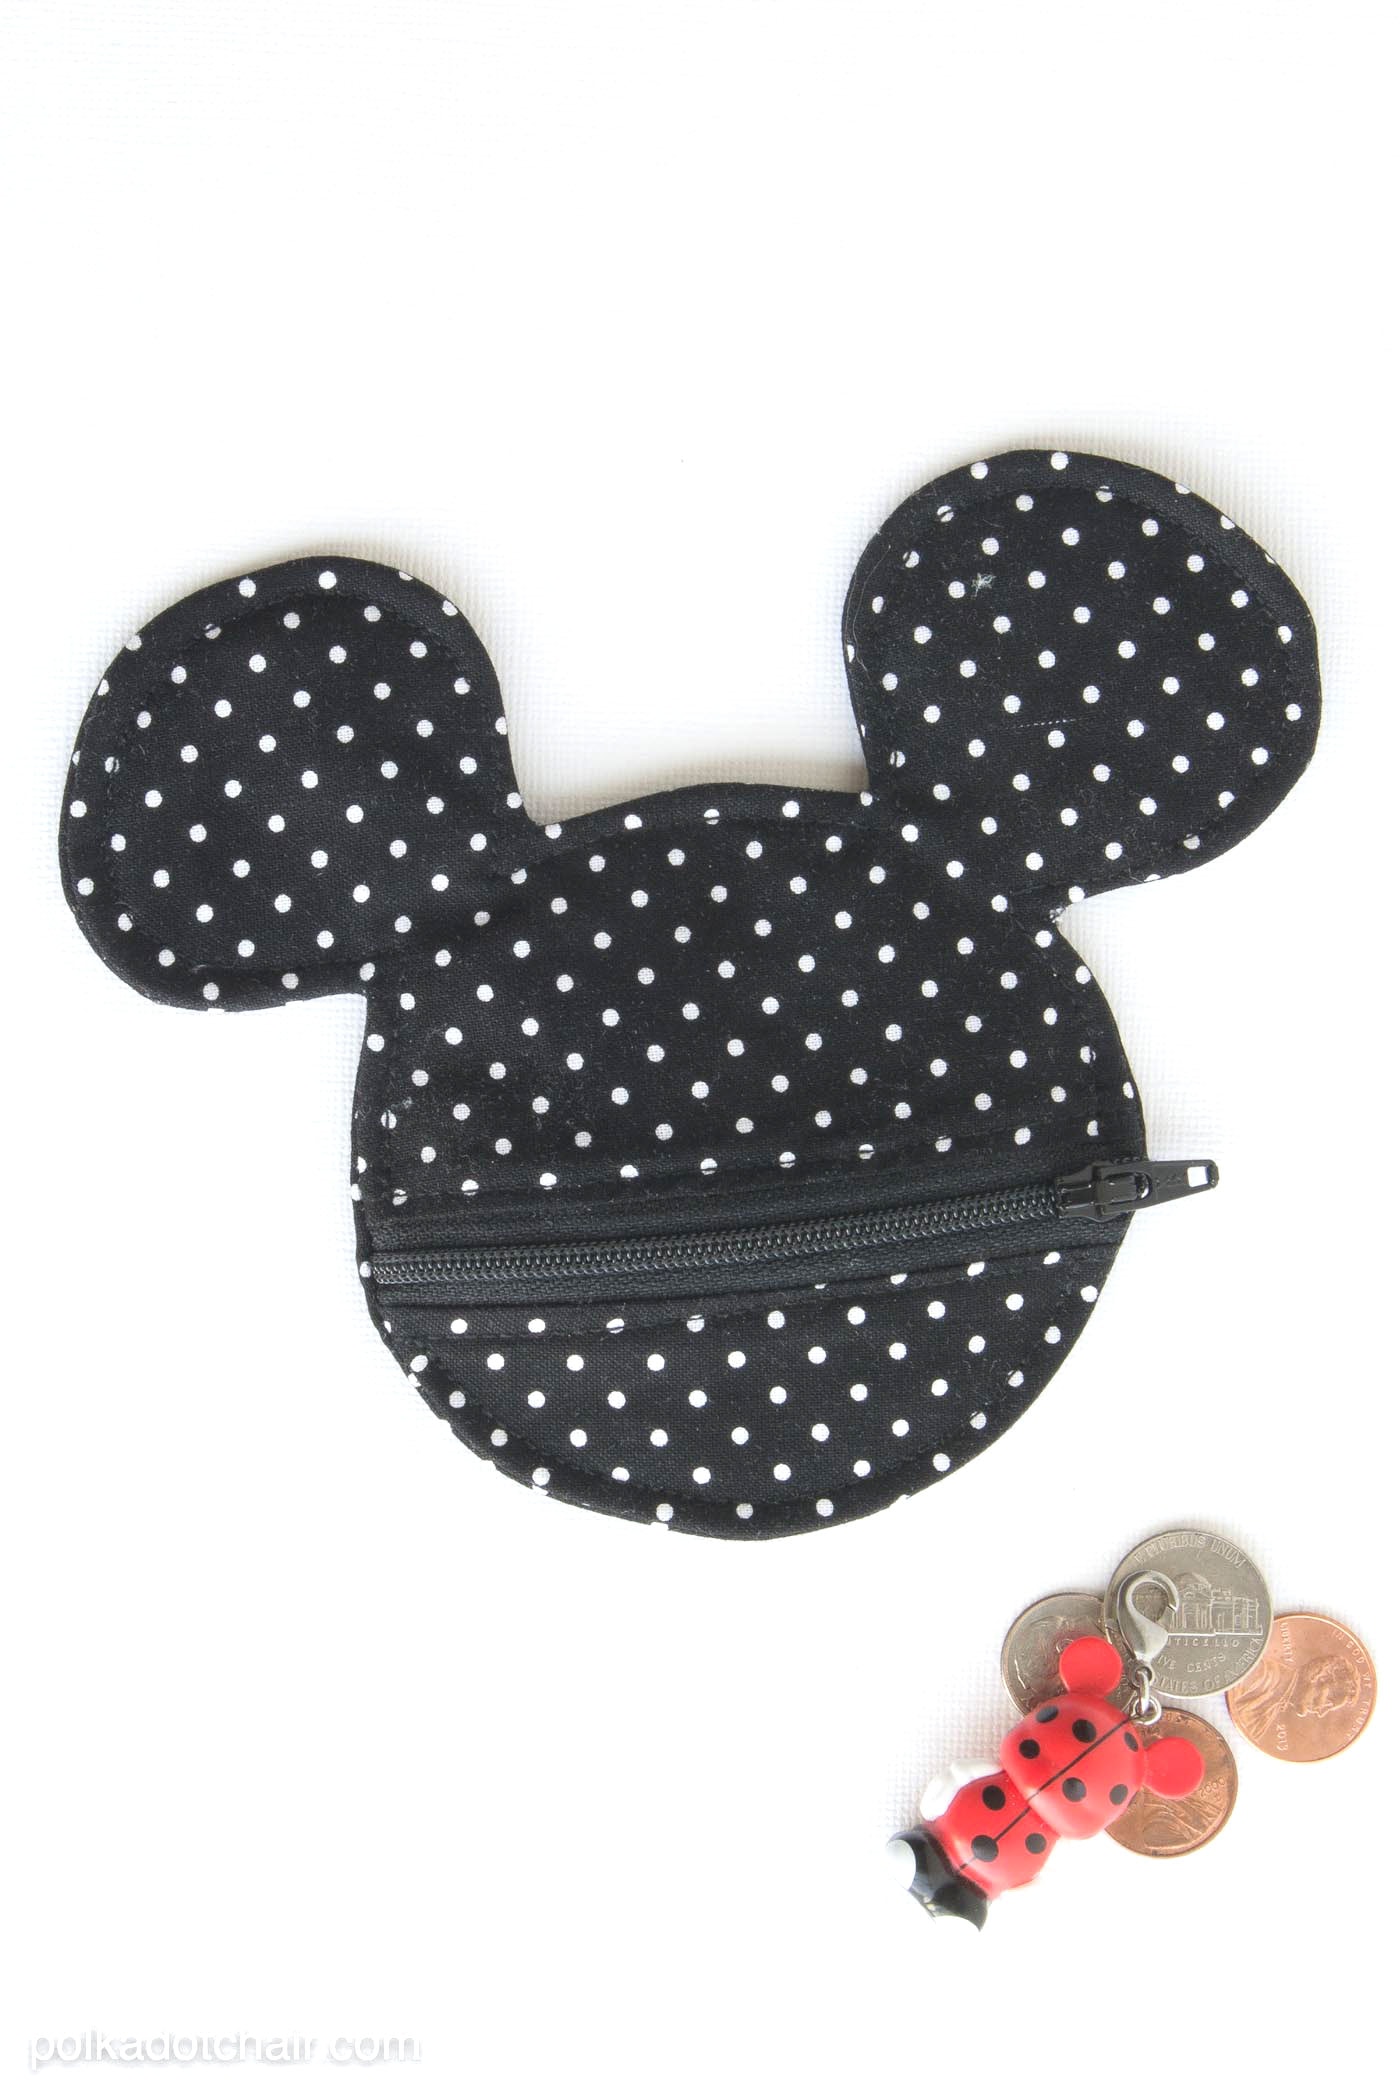
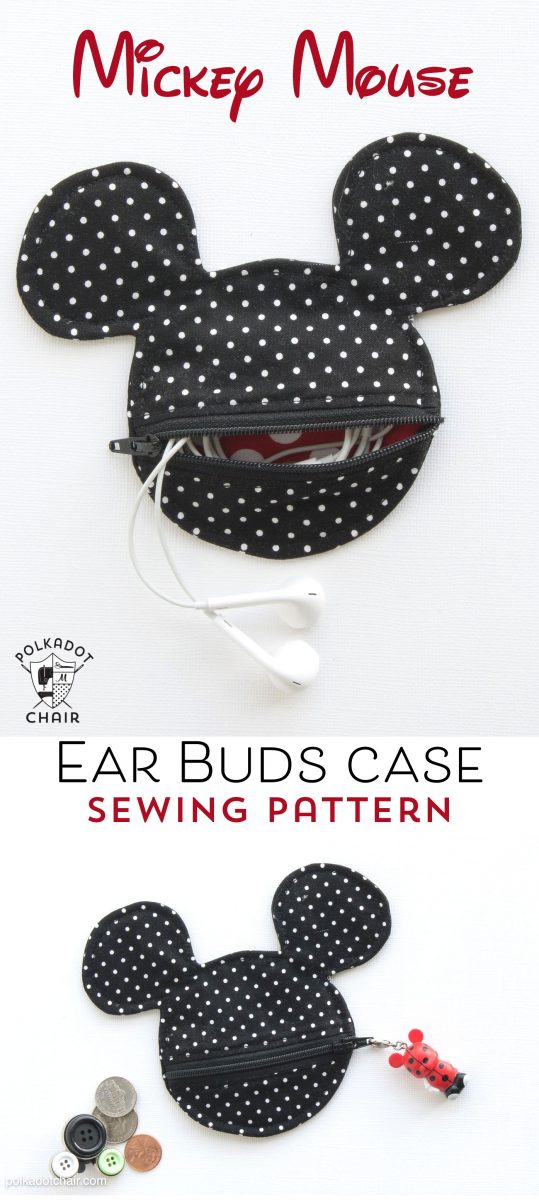
This Mickey Mouse Earbud Pouch Sewing Pattern would be fun to make to tote with you on your next Disney Vacation! It’s simple to sew and can be used to hold earbuds, coins or other goodies! If you like this project you may also like the other Disney Inspired DIY Projects that I’ve posted over the years!
Mickey Mouse Earbud Pouch Sewing Tutorial:
Right now it’s 19 degrees outside and my entire front yard is covered with ice and snow (actually more ice than snow). As much as I dislike the cold, I’m enjoying having a great excuse to stay inside and get some long past due sewing projects checked off my list.
This little Mickey Mouse Earbud pouch has been on my “to sew” list ever since our last trip to Disney World in 2014! I sat in the car and sketched it on my drive home from Orlando. The project just kept getting bumped lower down on my “list” until a few weeks ago. I have a dear friend who I dare say might just love Disney a bit more than I do, (it’s debatable, we frequently try to scheme our way into a last-minute weekend trip to Disney but never seem to be able to make it materialize).
We’ve been lucky enough to have our families together at Disney World a few times and those are some of my fondest memories. Our kids all get along so well that last time that we went without them we hardly knew what to do with ourselves.
Some of my Disney Travel Tips:
On a side note: Disney World is a GREAT place to go with a group of friends. There is a TON to do and it’s easy to split up for a little bit then meet back up later. Usually, everyone gets to do what they like and you can combine forces if you have kids that don’t want to ride certain rides.
Plus as with any family vacation, a little bit of time apart is always a good idea. We would frequently split up into smaller groups to make it less overwhelming and it gave everyone a chance to spend time with other people for a little bit. If you do decide to go with another family or as a big group, my advice would be not to try to spend the entire time together. It’s too hard to wrangle a big group of people and someone might not get to do what they like.
Best to split up your time since each family different priorities when visiting the parks. (i.e. some may want to meet characters while others just want to ride rides). We would frequently split up for a few hours then meet somewhere for lunch. If you like you can read this post that I typed up with 15 of my favorite simple tips to make Disney World a little bit easier to navigate (it was even pinned by Disney! total fan girl moment!!)
(my kids with my brother in 2014, he’s in his 30’s and has Autism, and Disney is one of his favorite places)
Okay, back to the project. As you all know I LOVE making zippered pouches. I think I should probably count some time how many zip pouches I’ve posted on this blog over the years, I know it would be quite a few. I finished this project a few weeks ago just in time to gift it to my friend for her birthday this year. She said she’s taking it along with her next time she visits Disney later this Spring. Now I just need to make one for myself too!!
Supplies to Make the Earbud Pouch & Mickey Ear Template:
Do you want to make one here’s what you’ll need: (supply list includes affiliate links)
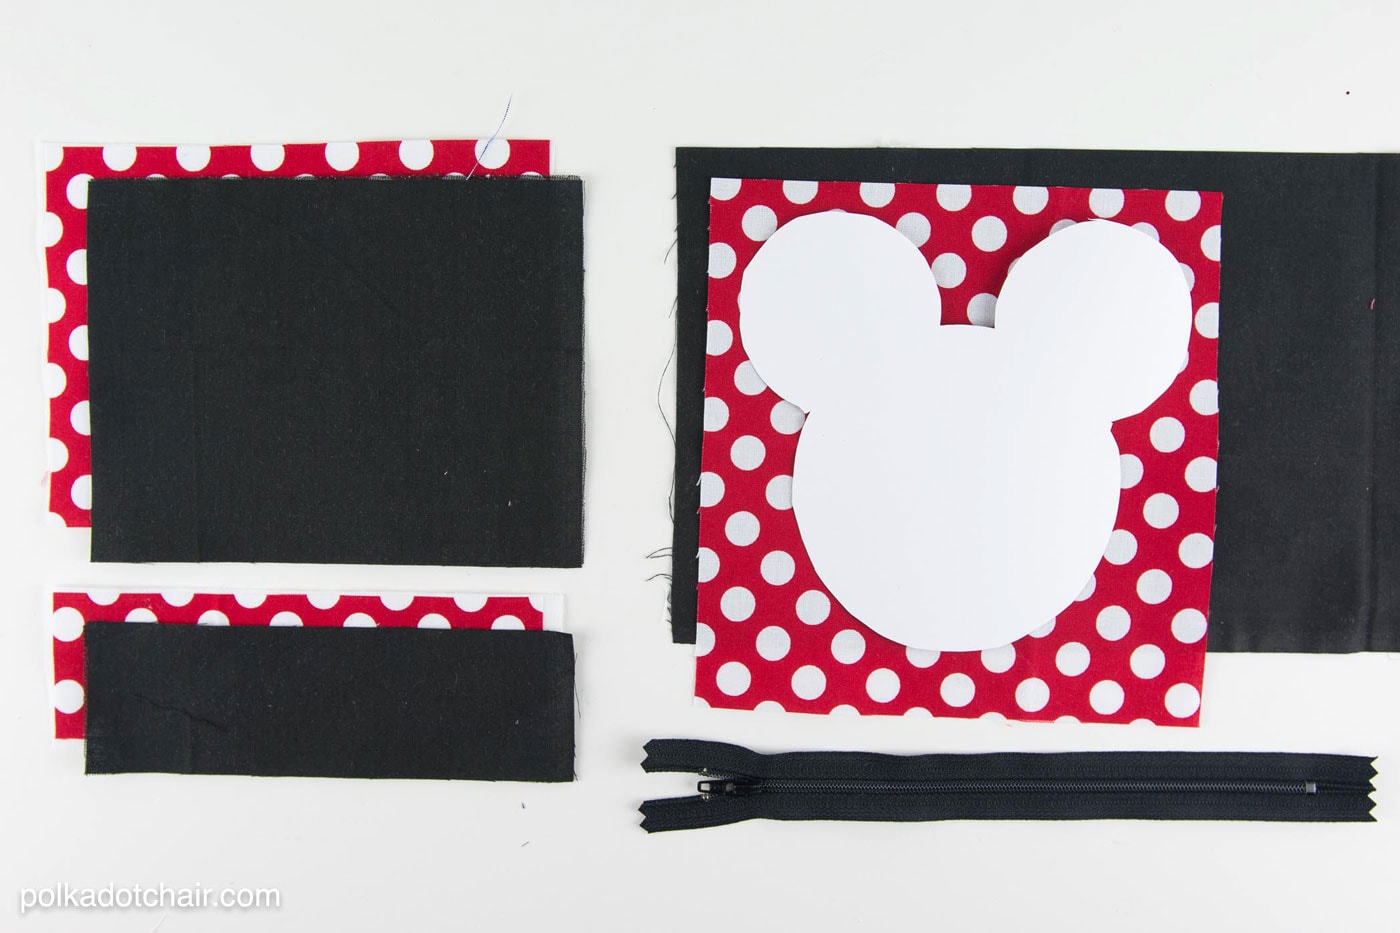
9″ polyester zipper (can be longer)
7 1/2″ x 2″ piece of black fabric
7 1/2″ x 5″ piece of black fabric
8″ x 8″ piece of black fabric
7 1/2″ x 2″ piece of lining fabric
7 1/2″ x 5″ piece of lining fabric
8″ x 8″ piece of lining fabric
7 1/2″ x 2″ piece of Shape Flex Interfacing
7 1/2″ x 5″ piece of Shape Flex Interfacing
8″ x 8″ piece of Shape Flex Interfacing
Sharp Small scissors (these are my favorite)
Pattern Piece (download for free on TEMPLATES page)
Thread
Sewing Instructions for the Mickey Mouse Coin Purse / Earbud Pouch:
From the 8″ x 8″ black, lining and interfacing pieces cut out the Mickey head shape using the template.
Iron the interfacing onto the wrong side of all of the lining pieces.
Your zipper is longer than your fabric pieces. That is OK.
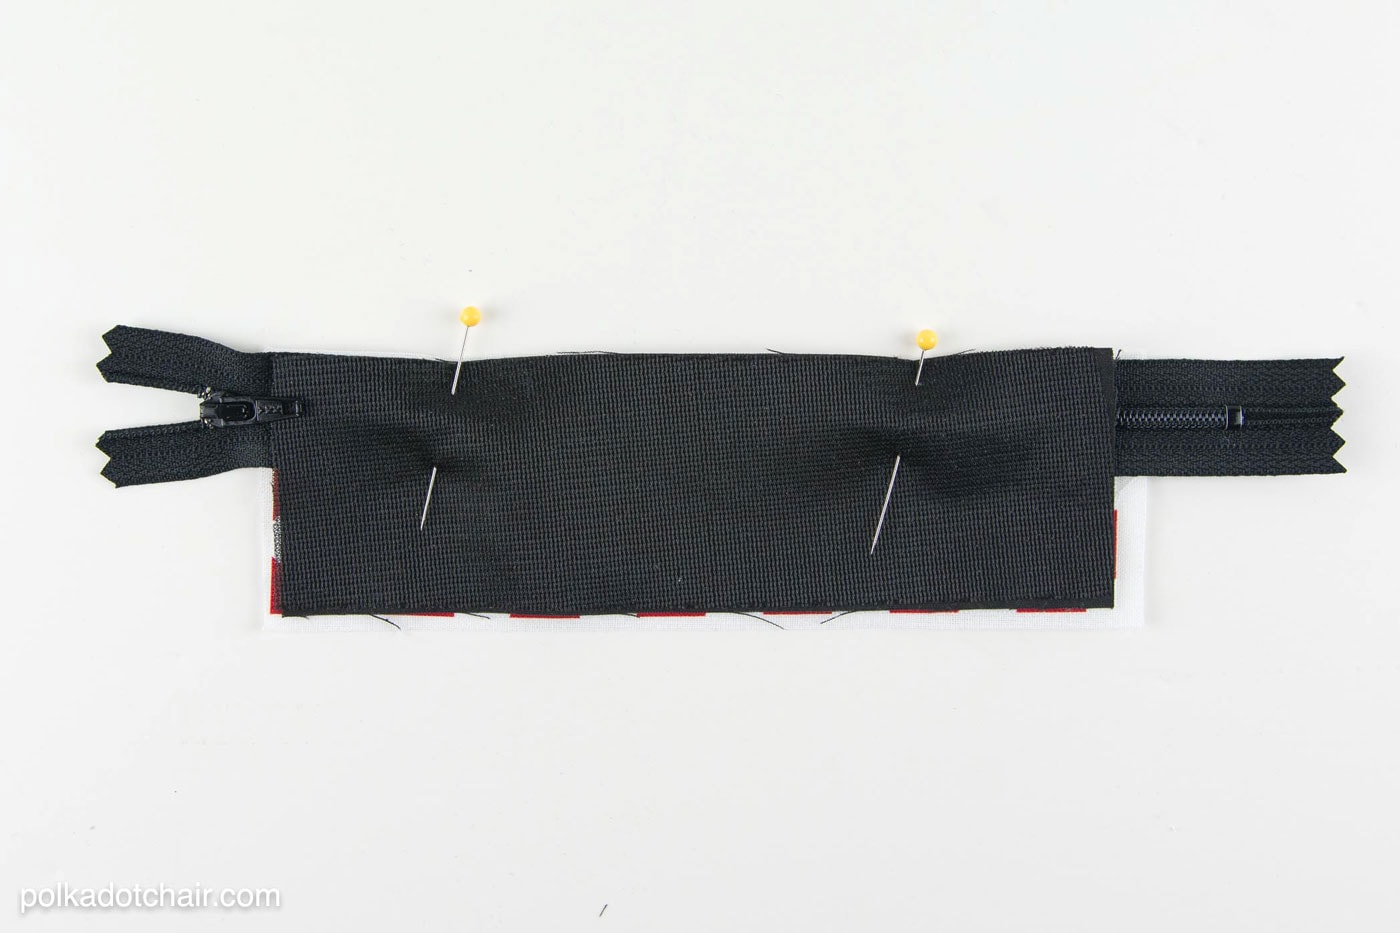
Pin the right side of your zipper to the right side of your 7 1/2″ x 2″ black fabric. Center the fabric over the zipper.
Pin the right side of the lining fabric to the wrong side of the zipper.
Stitch using a zipper foot.
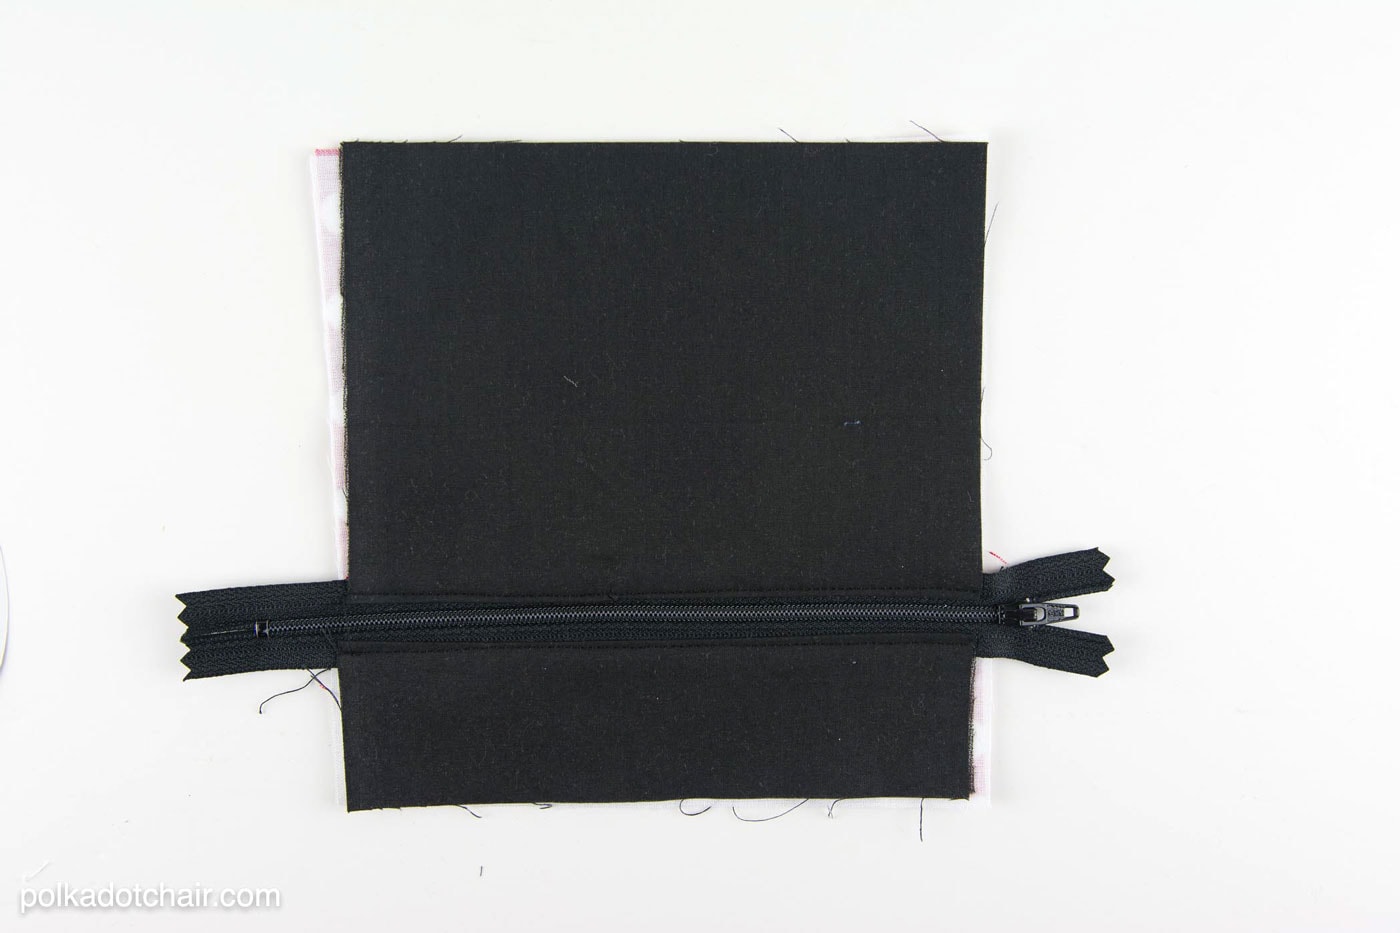
Repeat steps on the other side of the zipper using the 7 1/2″ x 5″ pieces of fabric.
Press seams away from zipper and top stitch along both sides of the zipper.
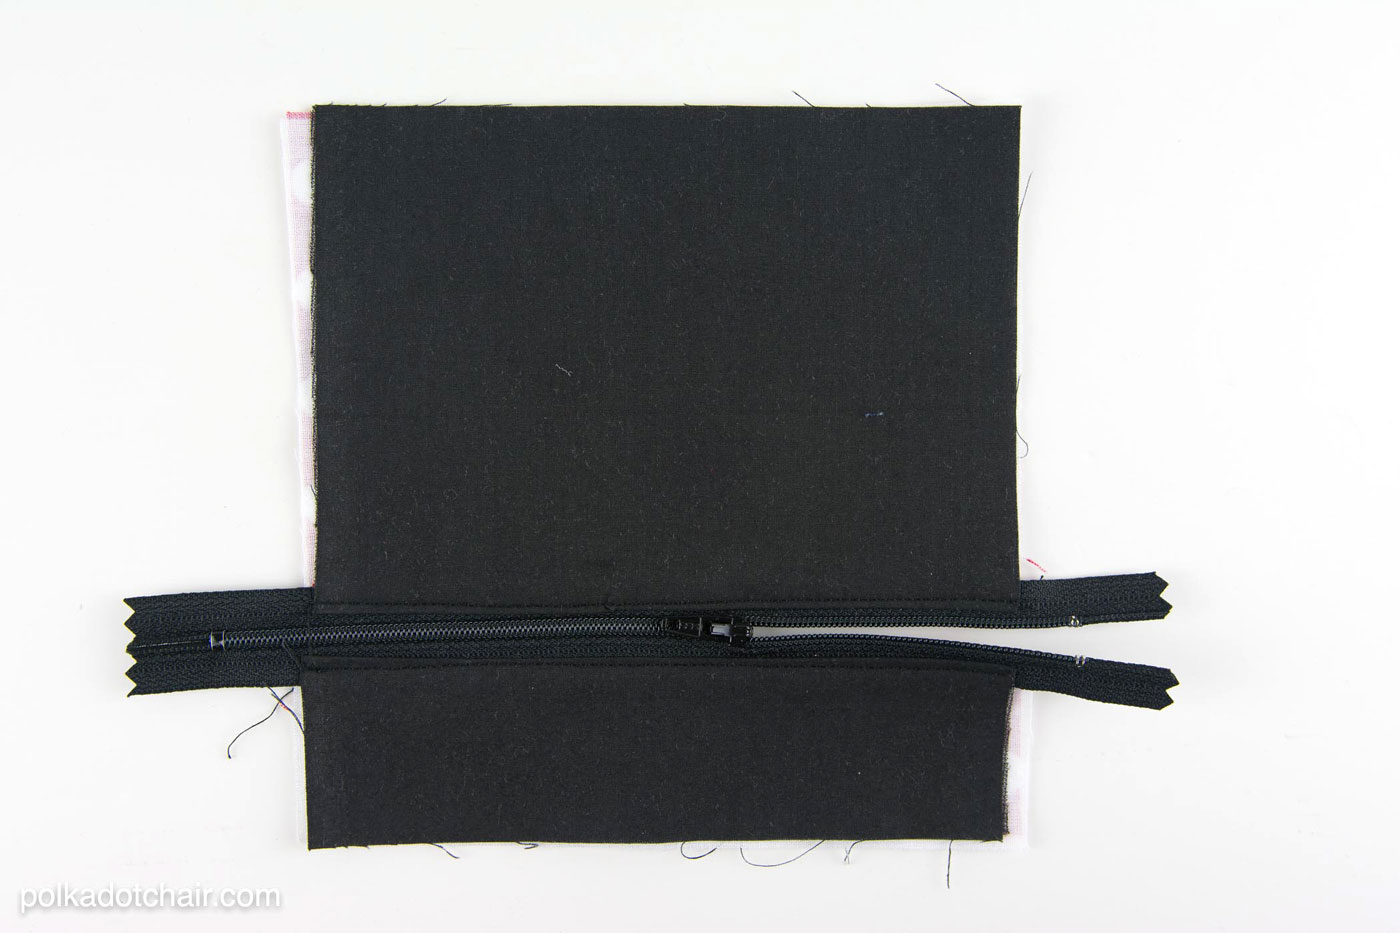
Unzip the zipper half way.
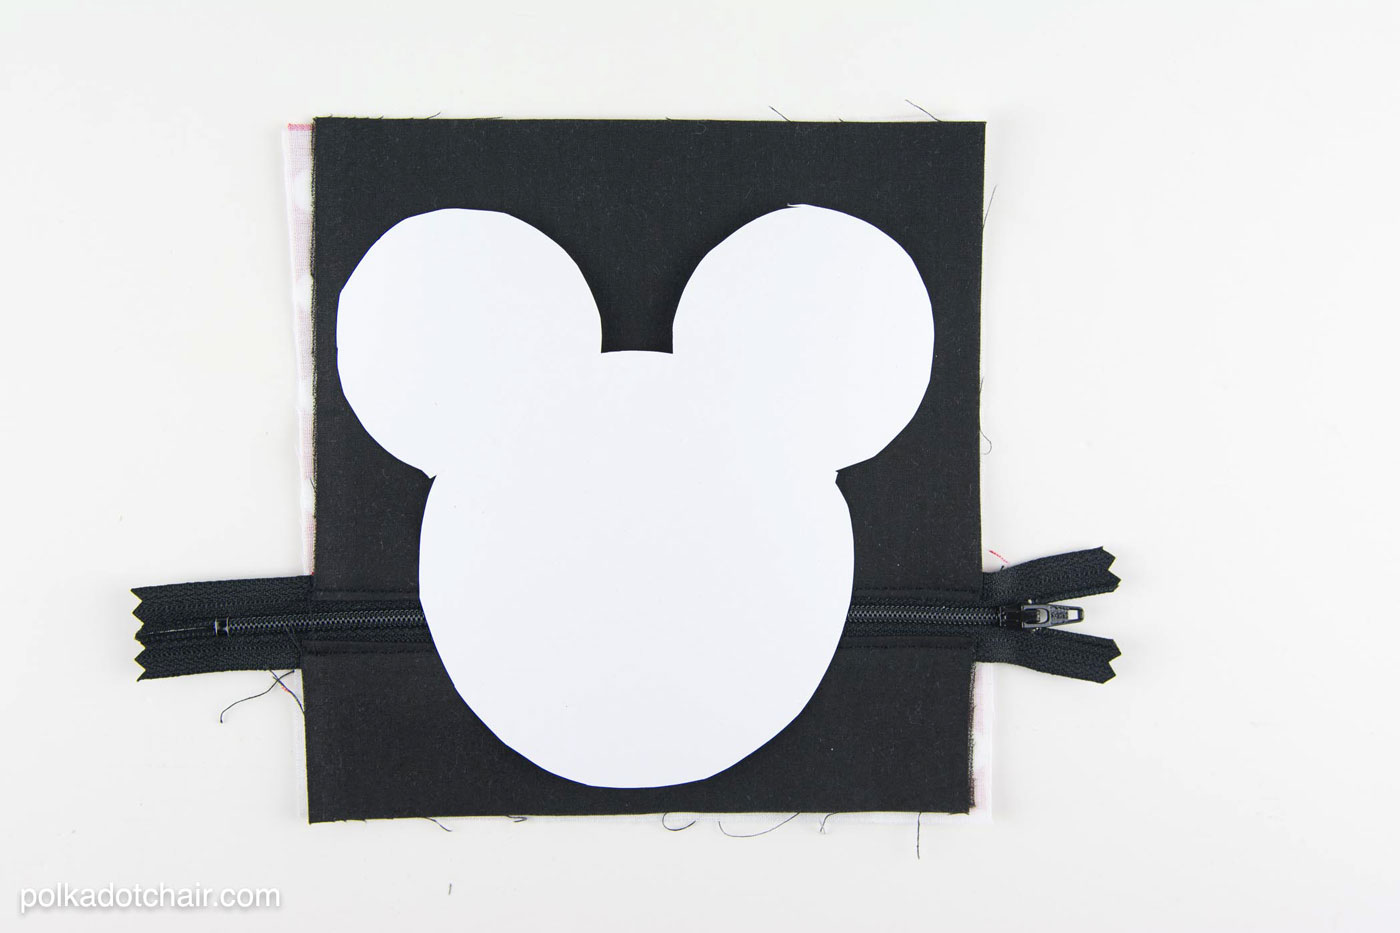
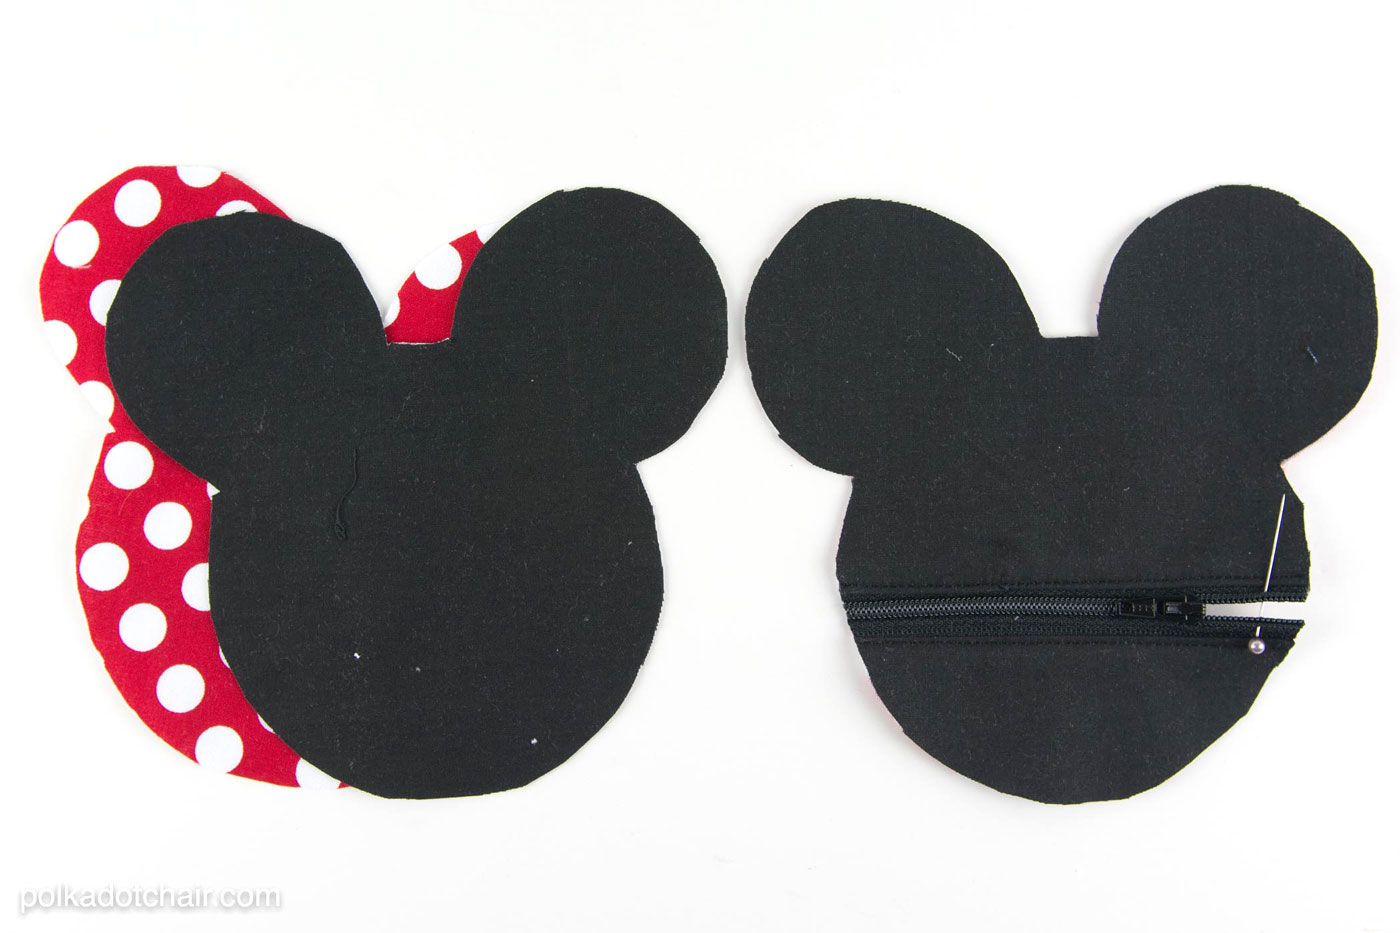
Place your pattern piece over the top of the sewn piece. Make sure that the zipper pull is covered by the pattern piece.
(it’s not in the photo below, I realized my mistake and corrected it before I cut out the piece)
Trace the pattern onto the sewn piece and cut out. You will cut off the excess zipper.
Place a pin over the end of the zipper just to keep it from accidentally pulling off before it’s sewn.
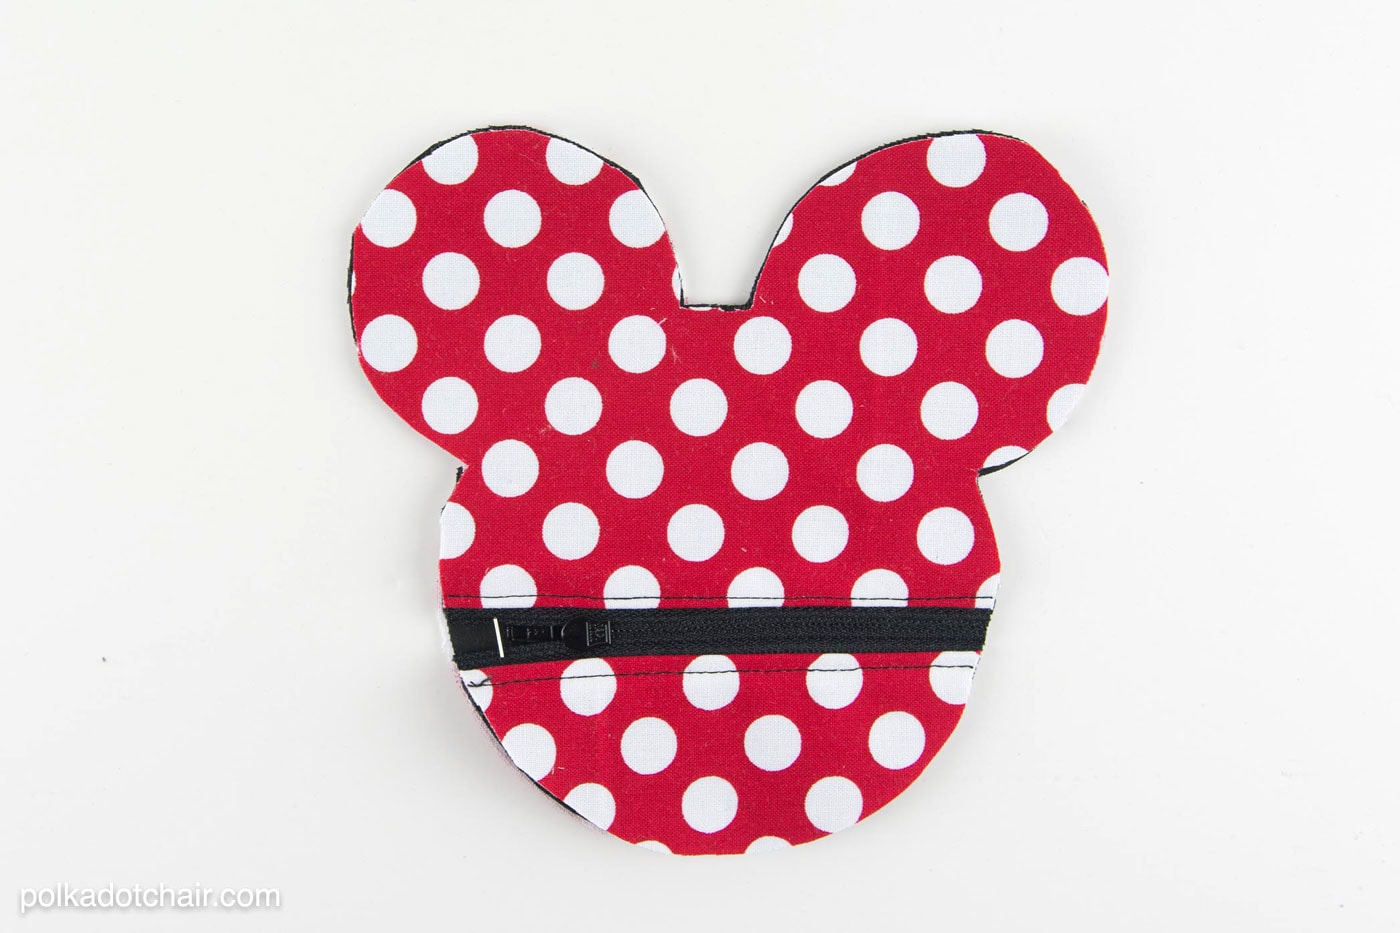
Make a “sandwich”. The right side of the lining will be facing the wrong side of the black fabric and the right side of the black fabric will be facing the right side of the piece with the zipper inserted.
Pin well, leave zipper unzipped at least 1/2 way.
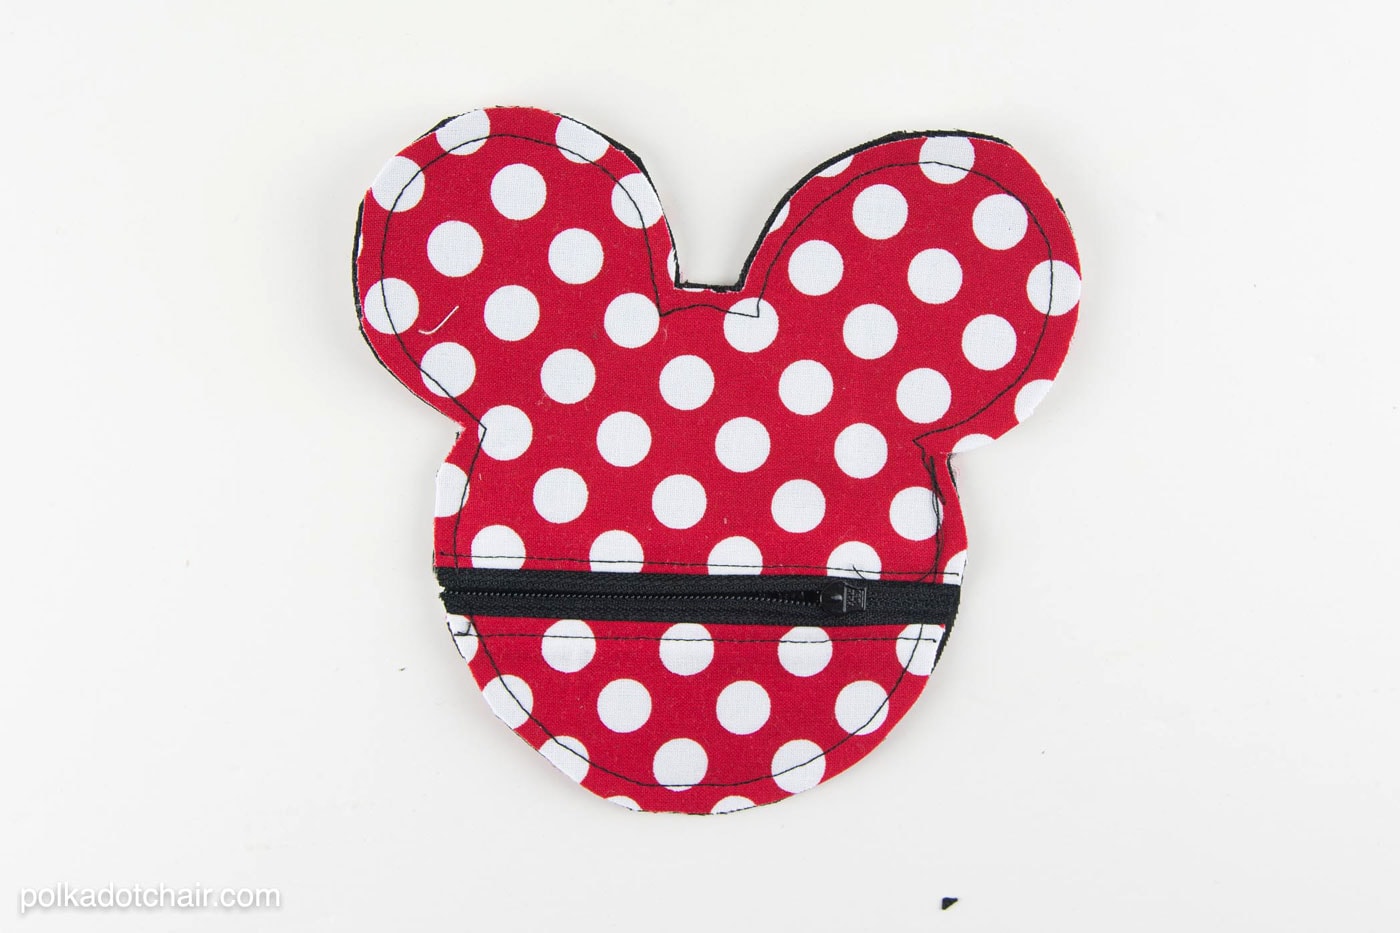
After you have sewn the perimeter, trim all of the seam allowances down to 1/8″. Be careful NOT to cut the seam. Clip the corners where the ears meet the head.
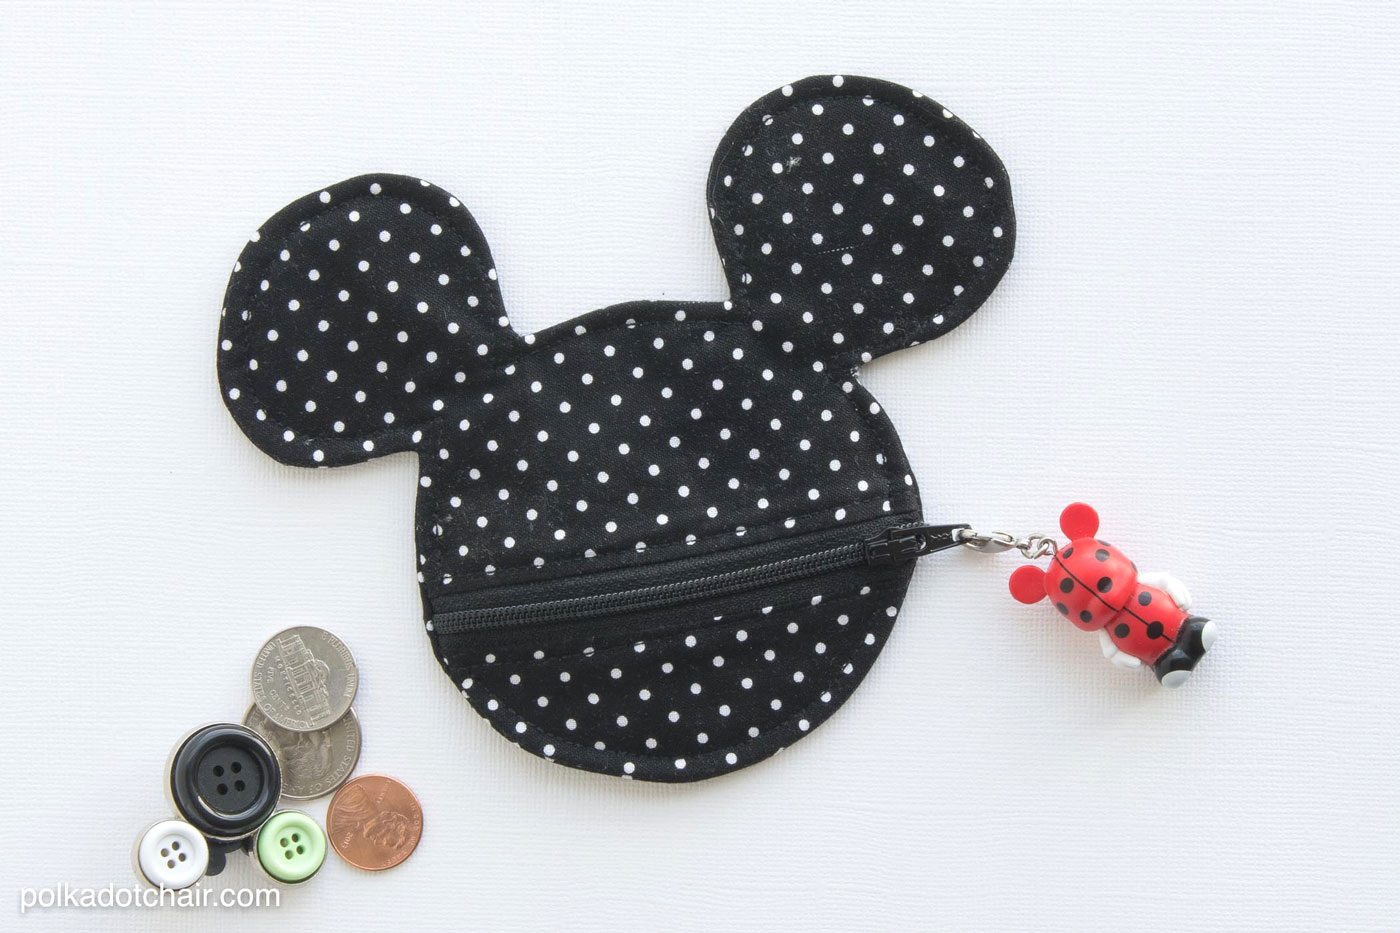
Turn the pouch right side out. Press. To finish, top stitch around the perimeter of the case 1/4″ in from the outside edge (don’t top stitch the zipper).
You’re done!!

