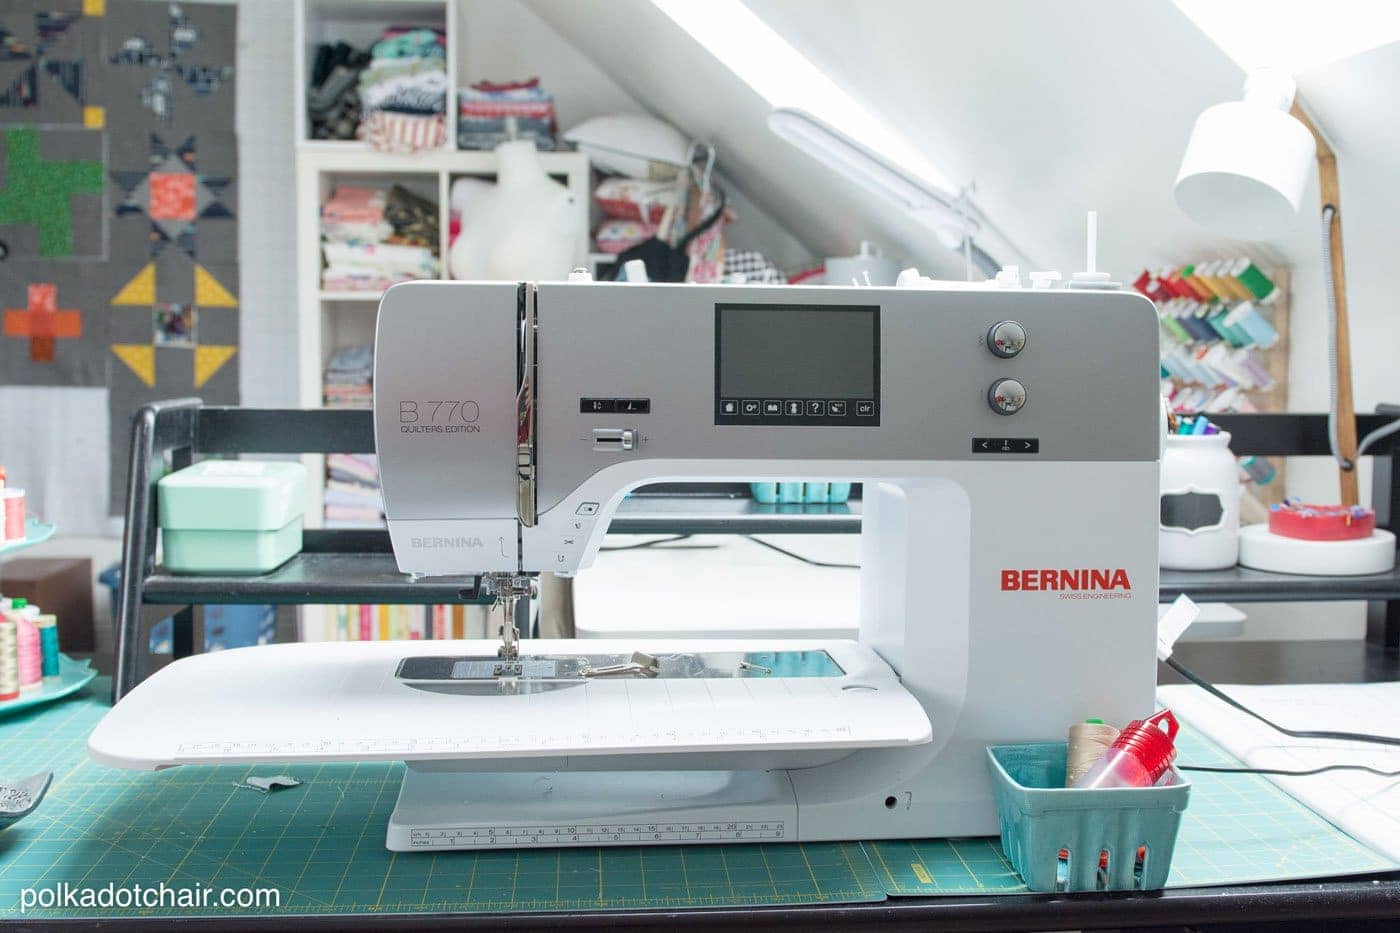
Sewing Machine Feet for Machine Quilting
Choosing the right sewing machine foot for machine quilting can significantly impact your quilting results. In this guide, we’ll explain the most common types of quilting feet (the walking foot and free-motion foot) and help you understand when to use each one. Whether you’re quilting straight lines, curves, or free-motion designs, selecting the correct presser foot will help you get smoother stitches and better control. Keep reading for tips on picking the best sewing machine foot for your quilting projects!
We’re back with another post about sewing machine feet. Last time I looked at feet for patchwork piecing, and now the focus turns to machine quilting.
It feels like there are numerous options for different types of machine quilting, and choosing one over another can be primarily a matter of personal preference rather than how well they perform at the task.
This time, I’m going to tell you about the sewing machine feet you can use for straight-line quilting and free-motion quilting, and I’ll explain some of the pros and cons of each.
This article is written by me (Melissa) and Amy Ball. We each own different brands of sewing machines, and I’m excited to offer you a couple of options and perspectives when it comes to choosing a foot for your sewing machine.
Now, back to the quilting feet. There are two main types of quilting you can do on a sewing machine (with lots of varieties within each one), and they are straight line quilting, also known as walking foot quilting, and free motion quilting.
Sewing Machine Feet for Straight Line Quilting
I always use a walking foot for straight-line quilting. The teeth on a walking foot help work with your machine’s feed dogs (and teeth in the needle plate) to move the quilt more easily through your sewing machine.
This generally makes it easier to maneuver the bulk of the quilt and will also help keep your stitches at an even length, as there’s less drag.
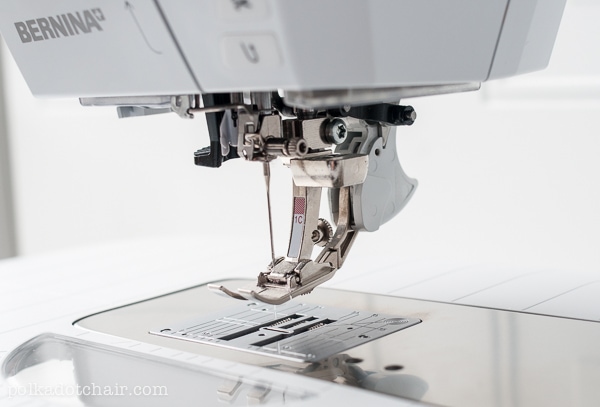
I’d encourage you to use a walking foot for straight-line quilting. Personally, I use the BERNINA walking foot, which has interchangeable plates that attach to the foot.
Some machines, however, only have the option of a regular walking foot (you can’t change the foot plate); If you are only able to use a regular version of the following feet, then I would try that out and compare it to a regular style walking foot and see which pros and cons are more important to you and your style of quilting.

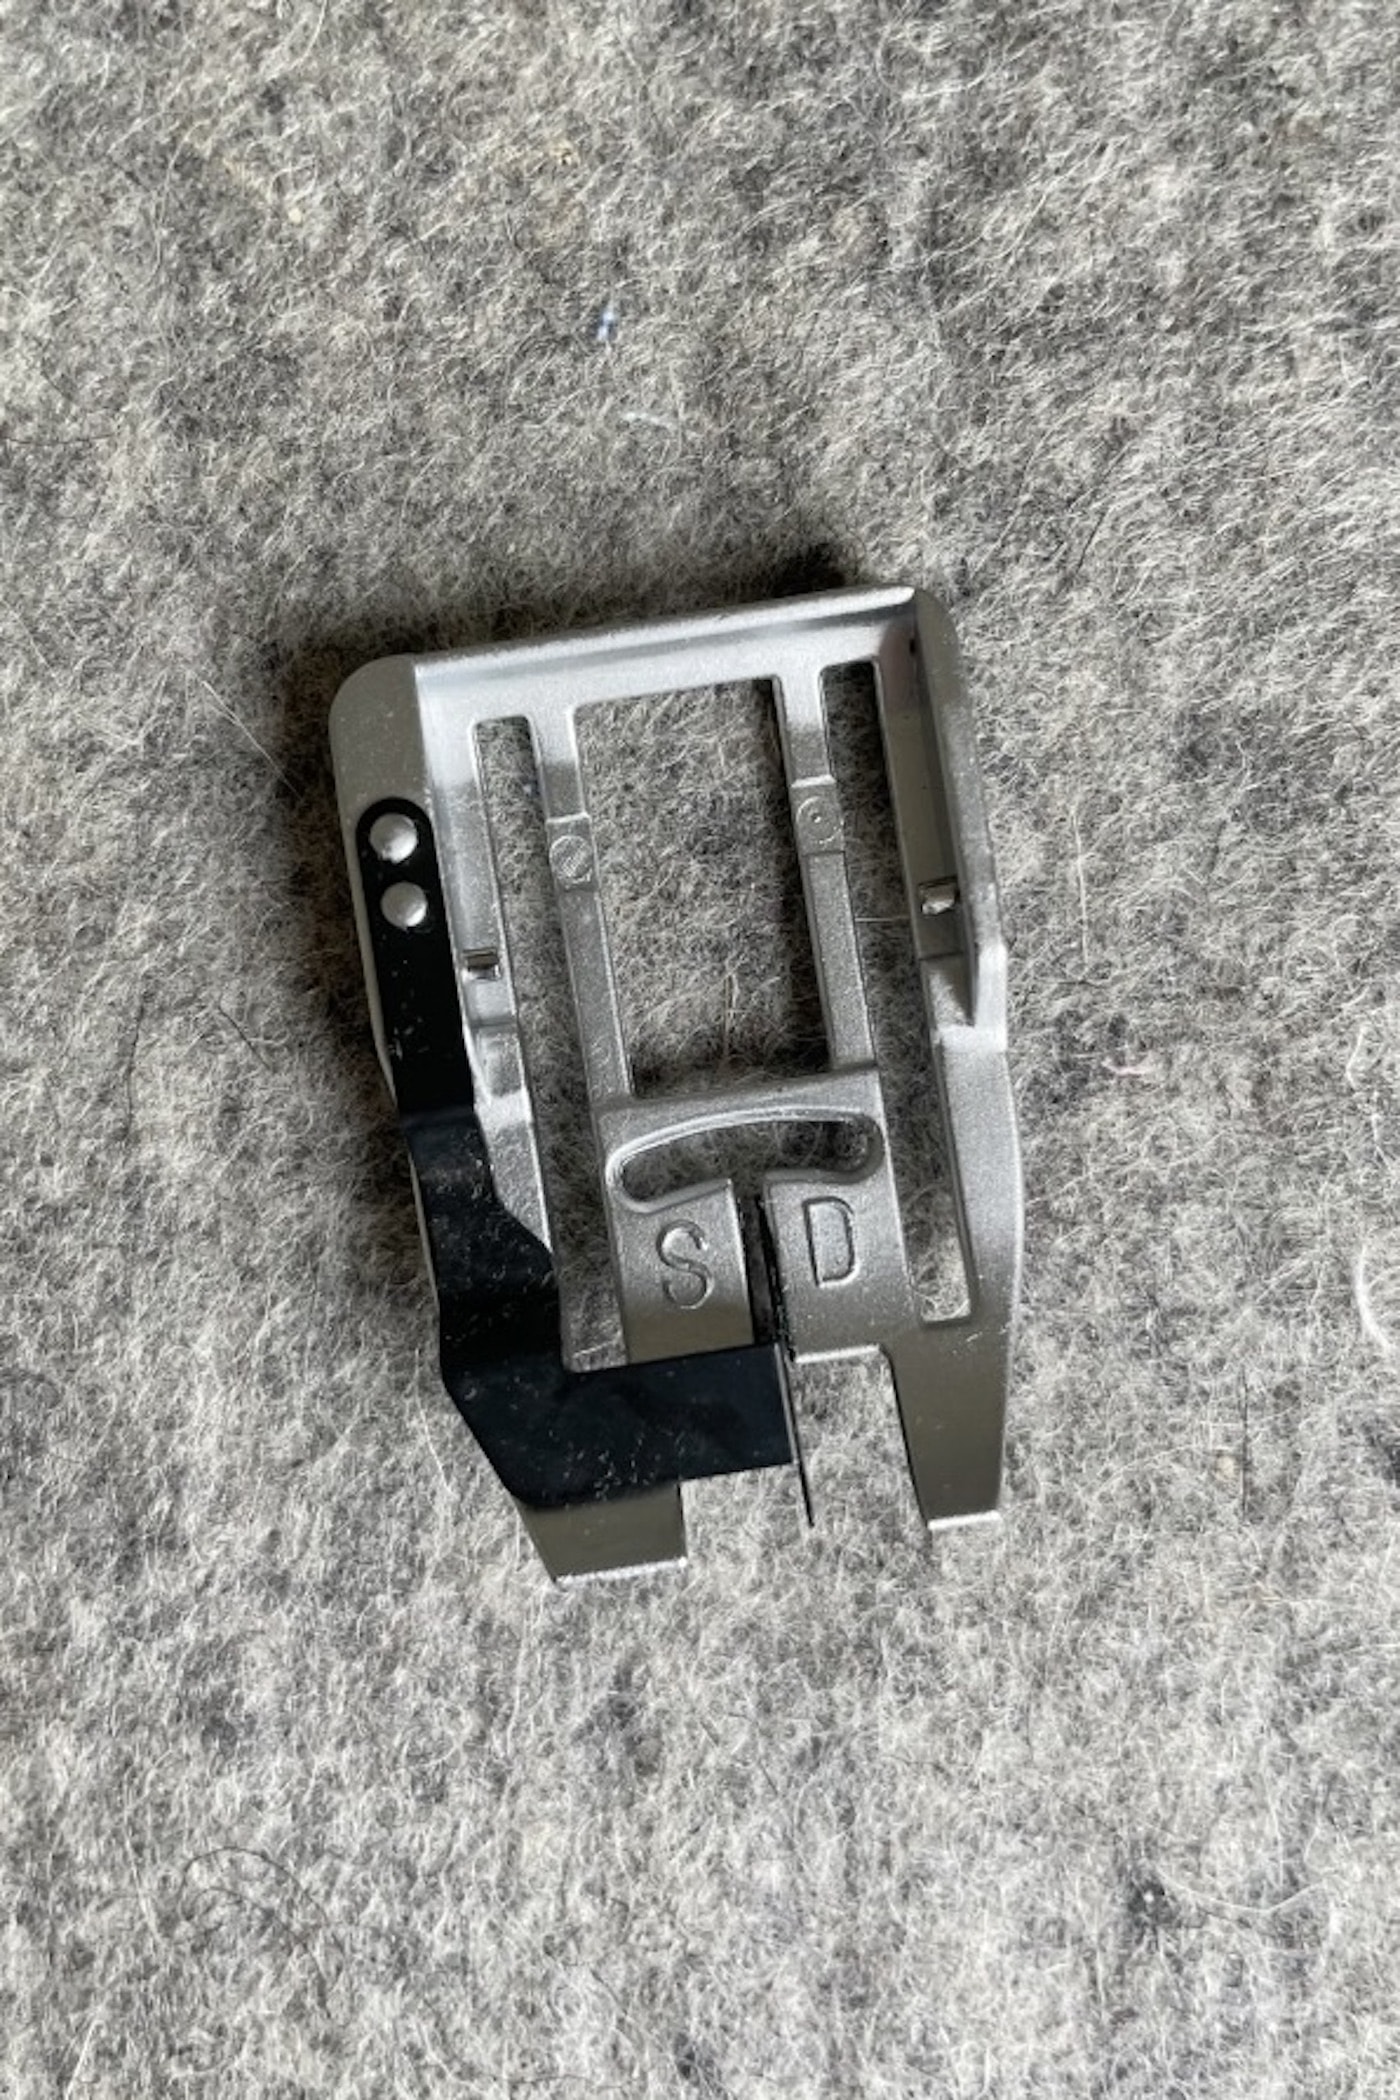
Open-Toe Foot Attachment for Walking Foot
As the name suggests, this foot has a large open area in the centre of the foot. This is great for straight-line quilting, as it provides a clear view of the guidelines or seams you are following for your quilting design.
The downside of the open-toe foot is that it doesn’t really have any guides on the foot itself, so you’ll need to either mark your quilt (try a Clover Hera Marker, a Frixion Pen, or Chalk).
You can also use the adjustable guide bar (pictured above), which can be inserted into the back of a walking foot, to follow an existing line of quilting/seam line/guide line and stitch parallel at a set distance. This is the method I use most often.
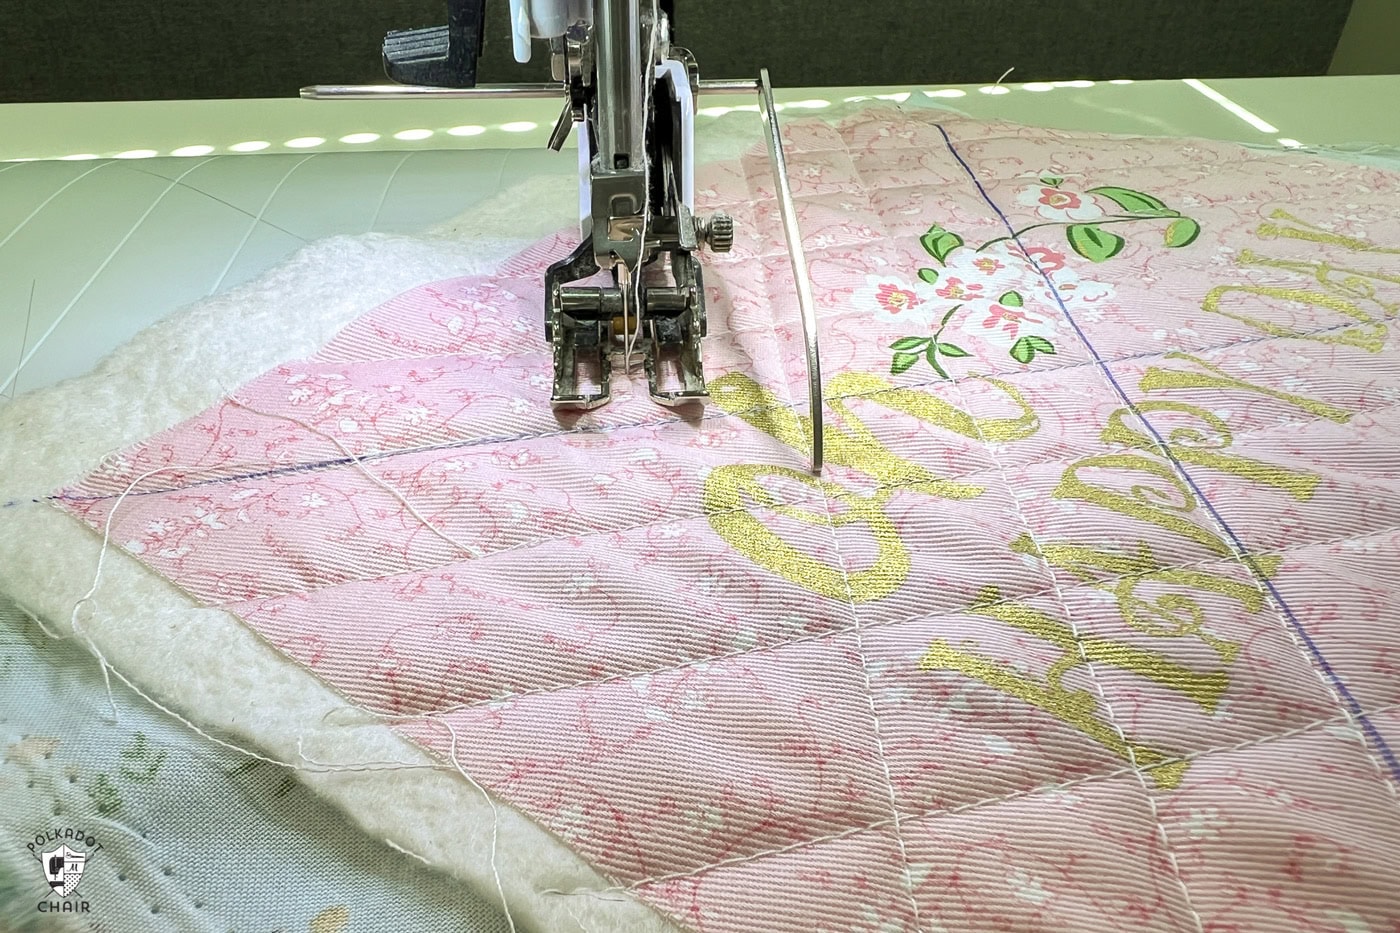
Stitch in the Ditch Plate for Walking Foot

This foot features a guide bar in the center and is ideal for quilting lines that follow seam lines. The combination of the guide bar and your needle position (which is the tiniest bit to the side of the guide bar) means your line of quilting will go right next to the seam.
The guide bar helps gently push the seam to the right, allowing the stitches to line up next to it.
You can use this foot to stitch in the ditch on a pressed-open patchwork seam, but I’d highly recommend only using it for pressed seams; it makes it easier to use the guide bar and get the line of quilting accurately positioned, and there’s no risk that you might weaken your patchwork seams with the quilting stitches.
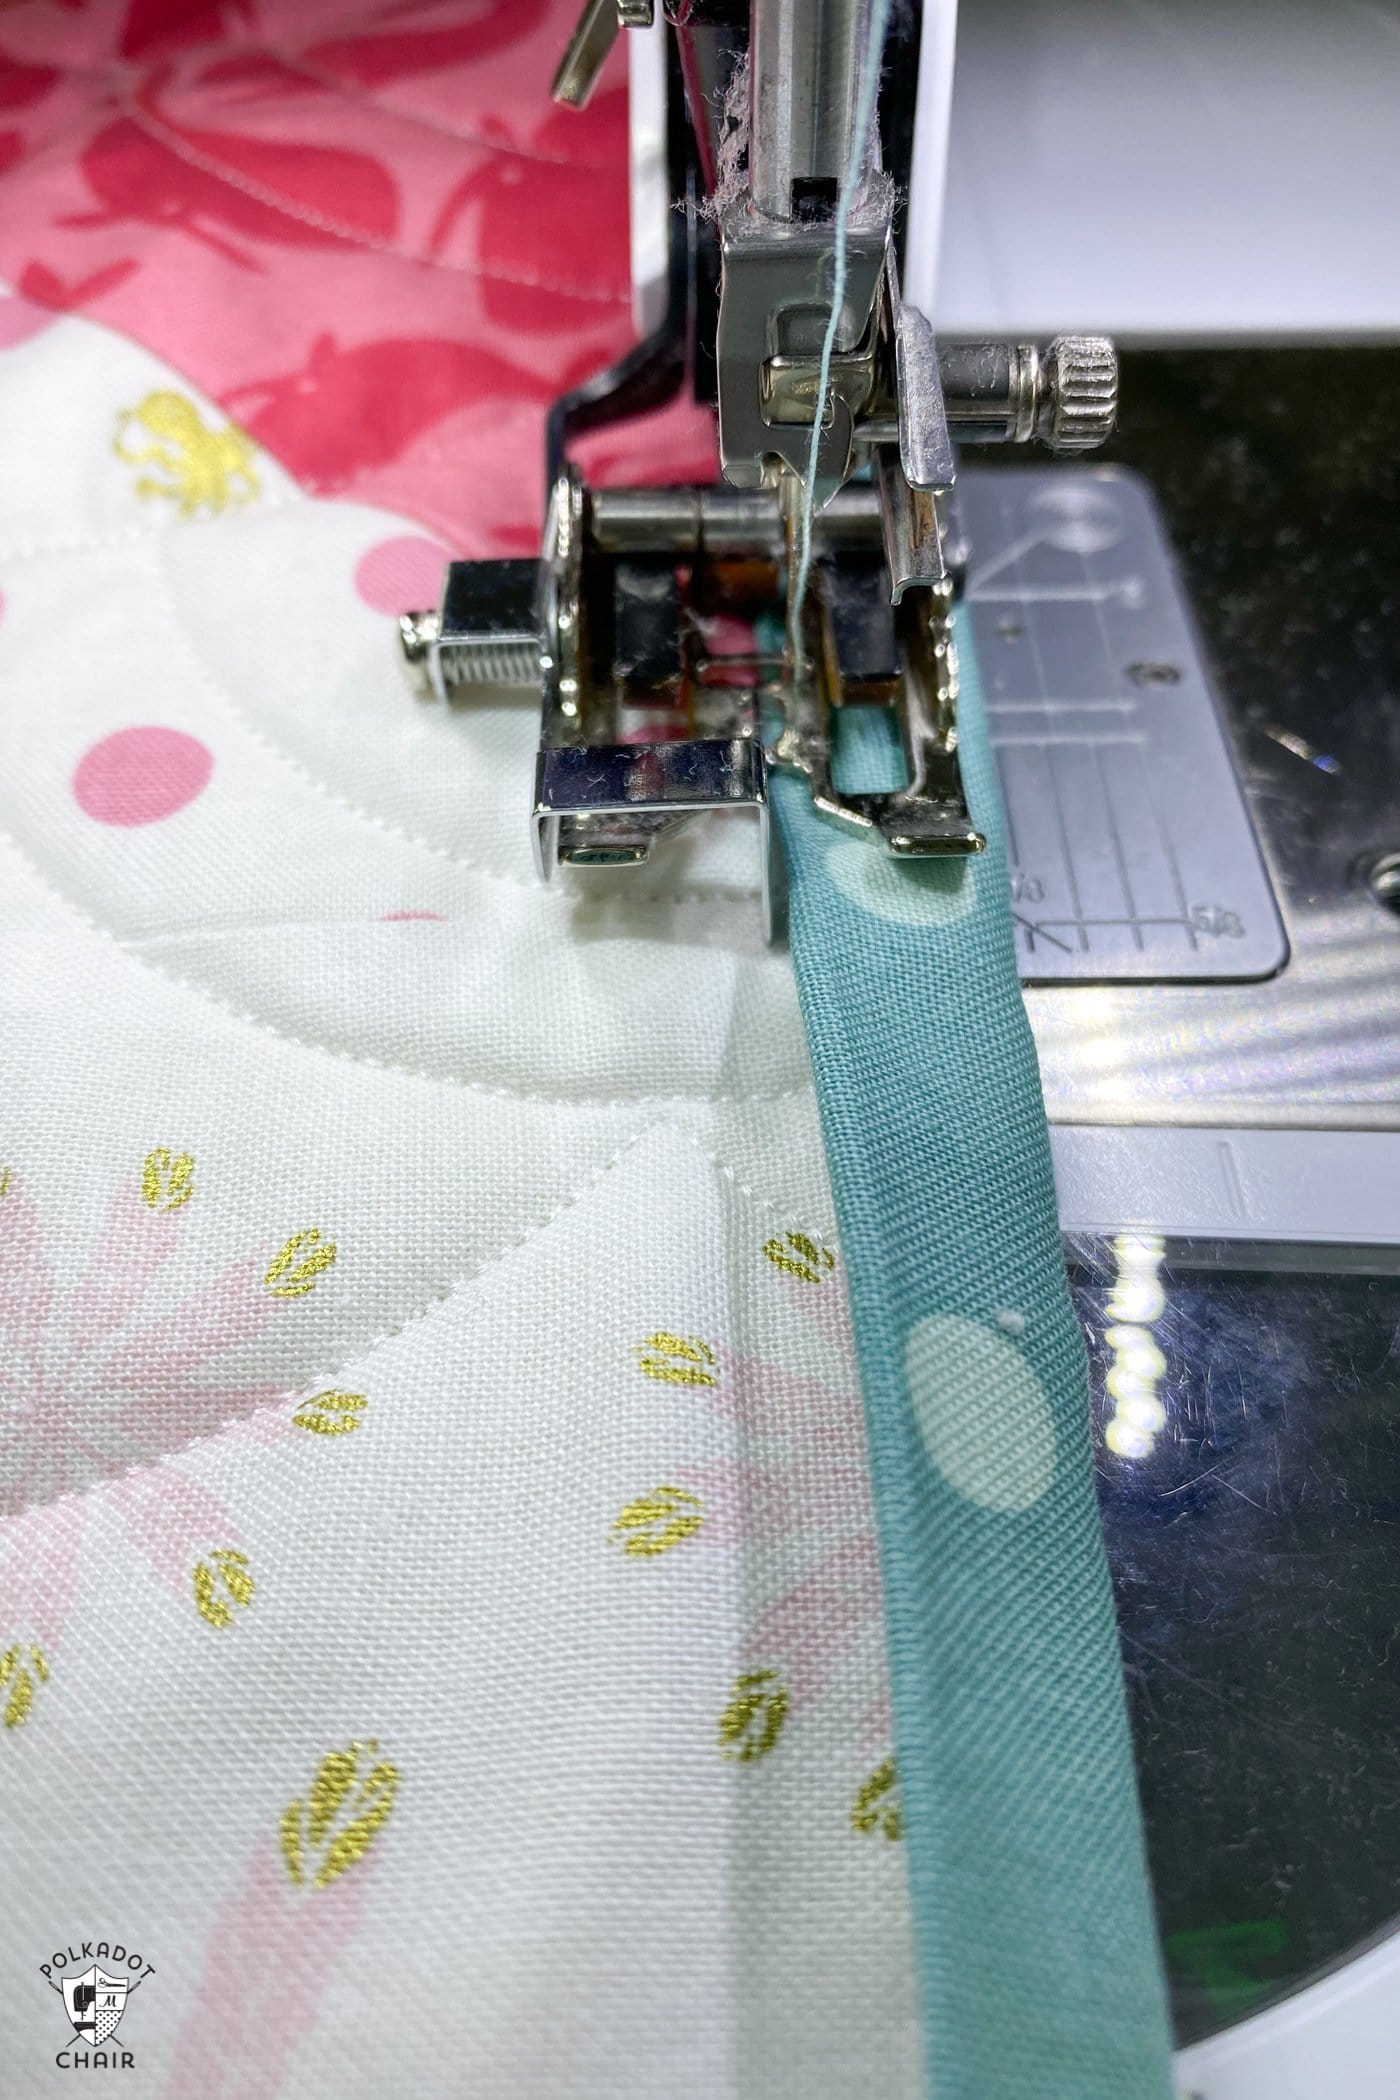
I use this walking foot plate attachment to machine sew my quilt binding. I line up the fold in the binding with the guide on the foot, then move my needle to the right a few clicks. The result is a perfectly stitched binding each time!
TIP
If you’re interested in quilting on your home machine, be sure to check out our guide to Straight Line Quilting.
Sewing Machine Feet Free Motion Quilting
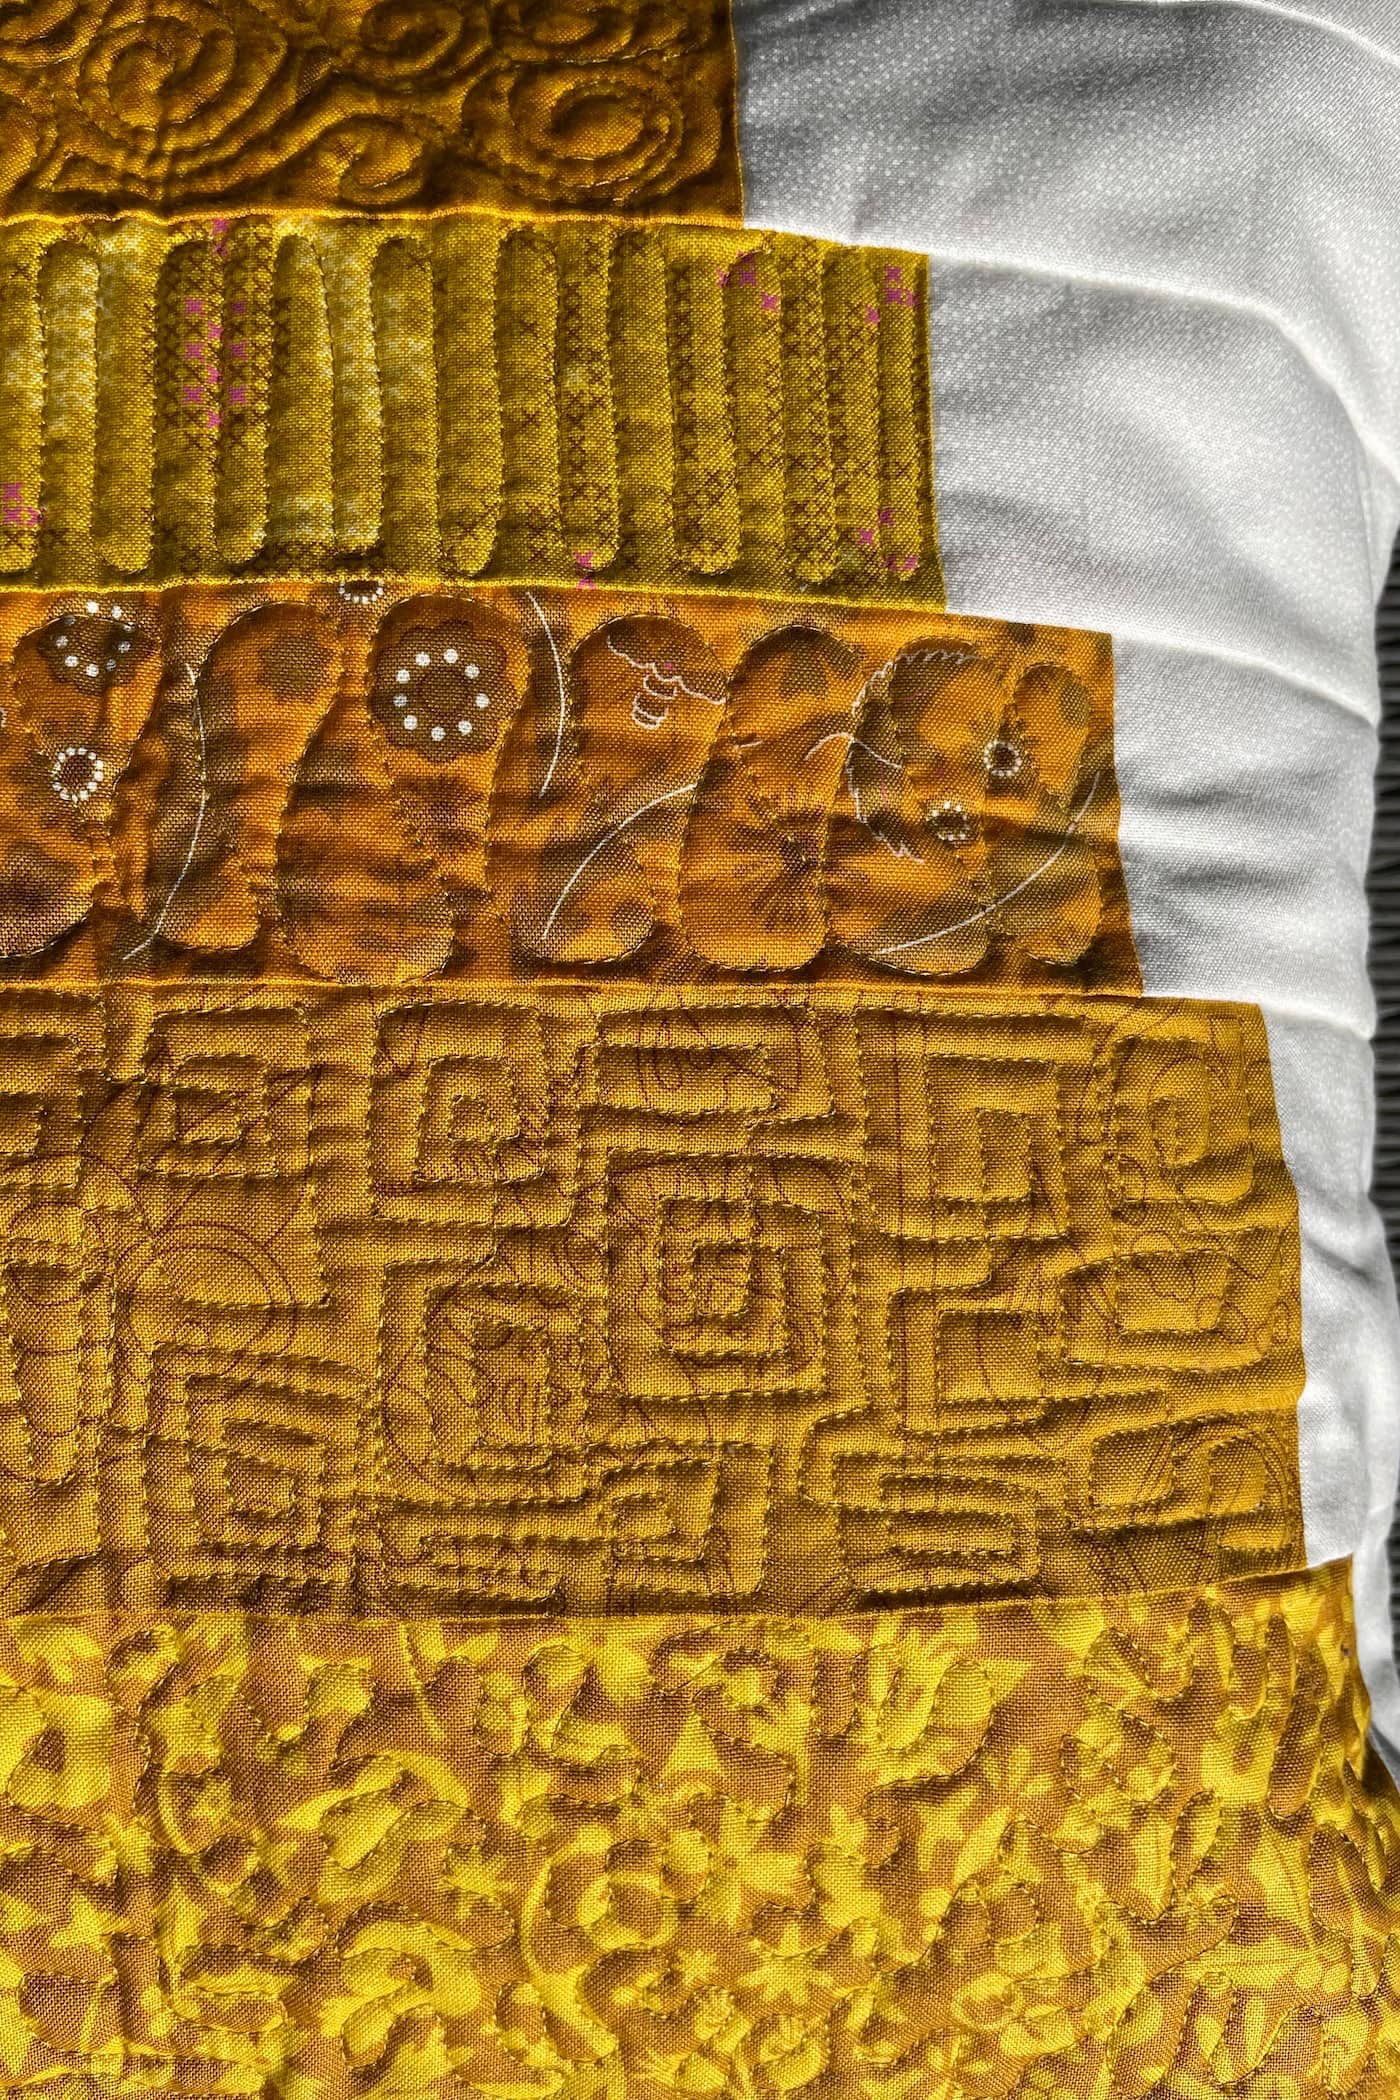
[This section is written from Amy’s perspective exclusively, as I do not generally free-motion quilt on my home machine]
When I first started free-motion quilting, the main problems I had (thread breakage and uneven motifs) were caused by my choice of machine foot. I mentioned at the beginning that quilting feet can come down to personal preference, and I think this is even more true when it comes to free motion quilting.
I didn’t like the feet I started out using, but I know plenty of excellent free-motion quilters who love them and use them with great success. I’ll tell you the reasons I like the following two feet; they may seem like reasons you’d agree with, but they may also seem like “problems” that wouldn’t be a problem for you at all!
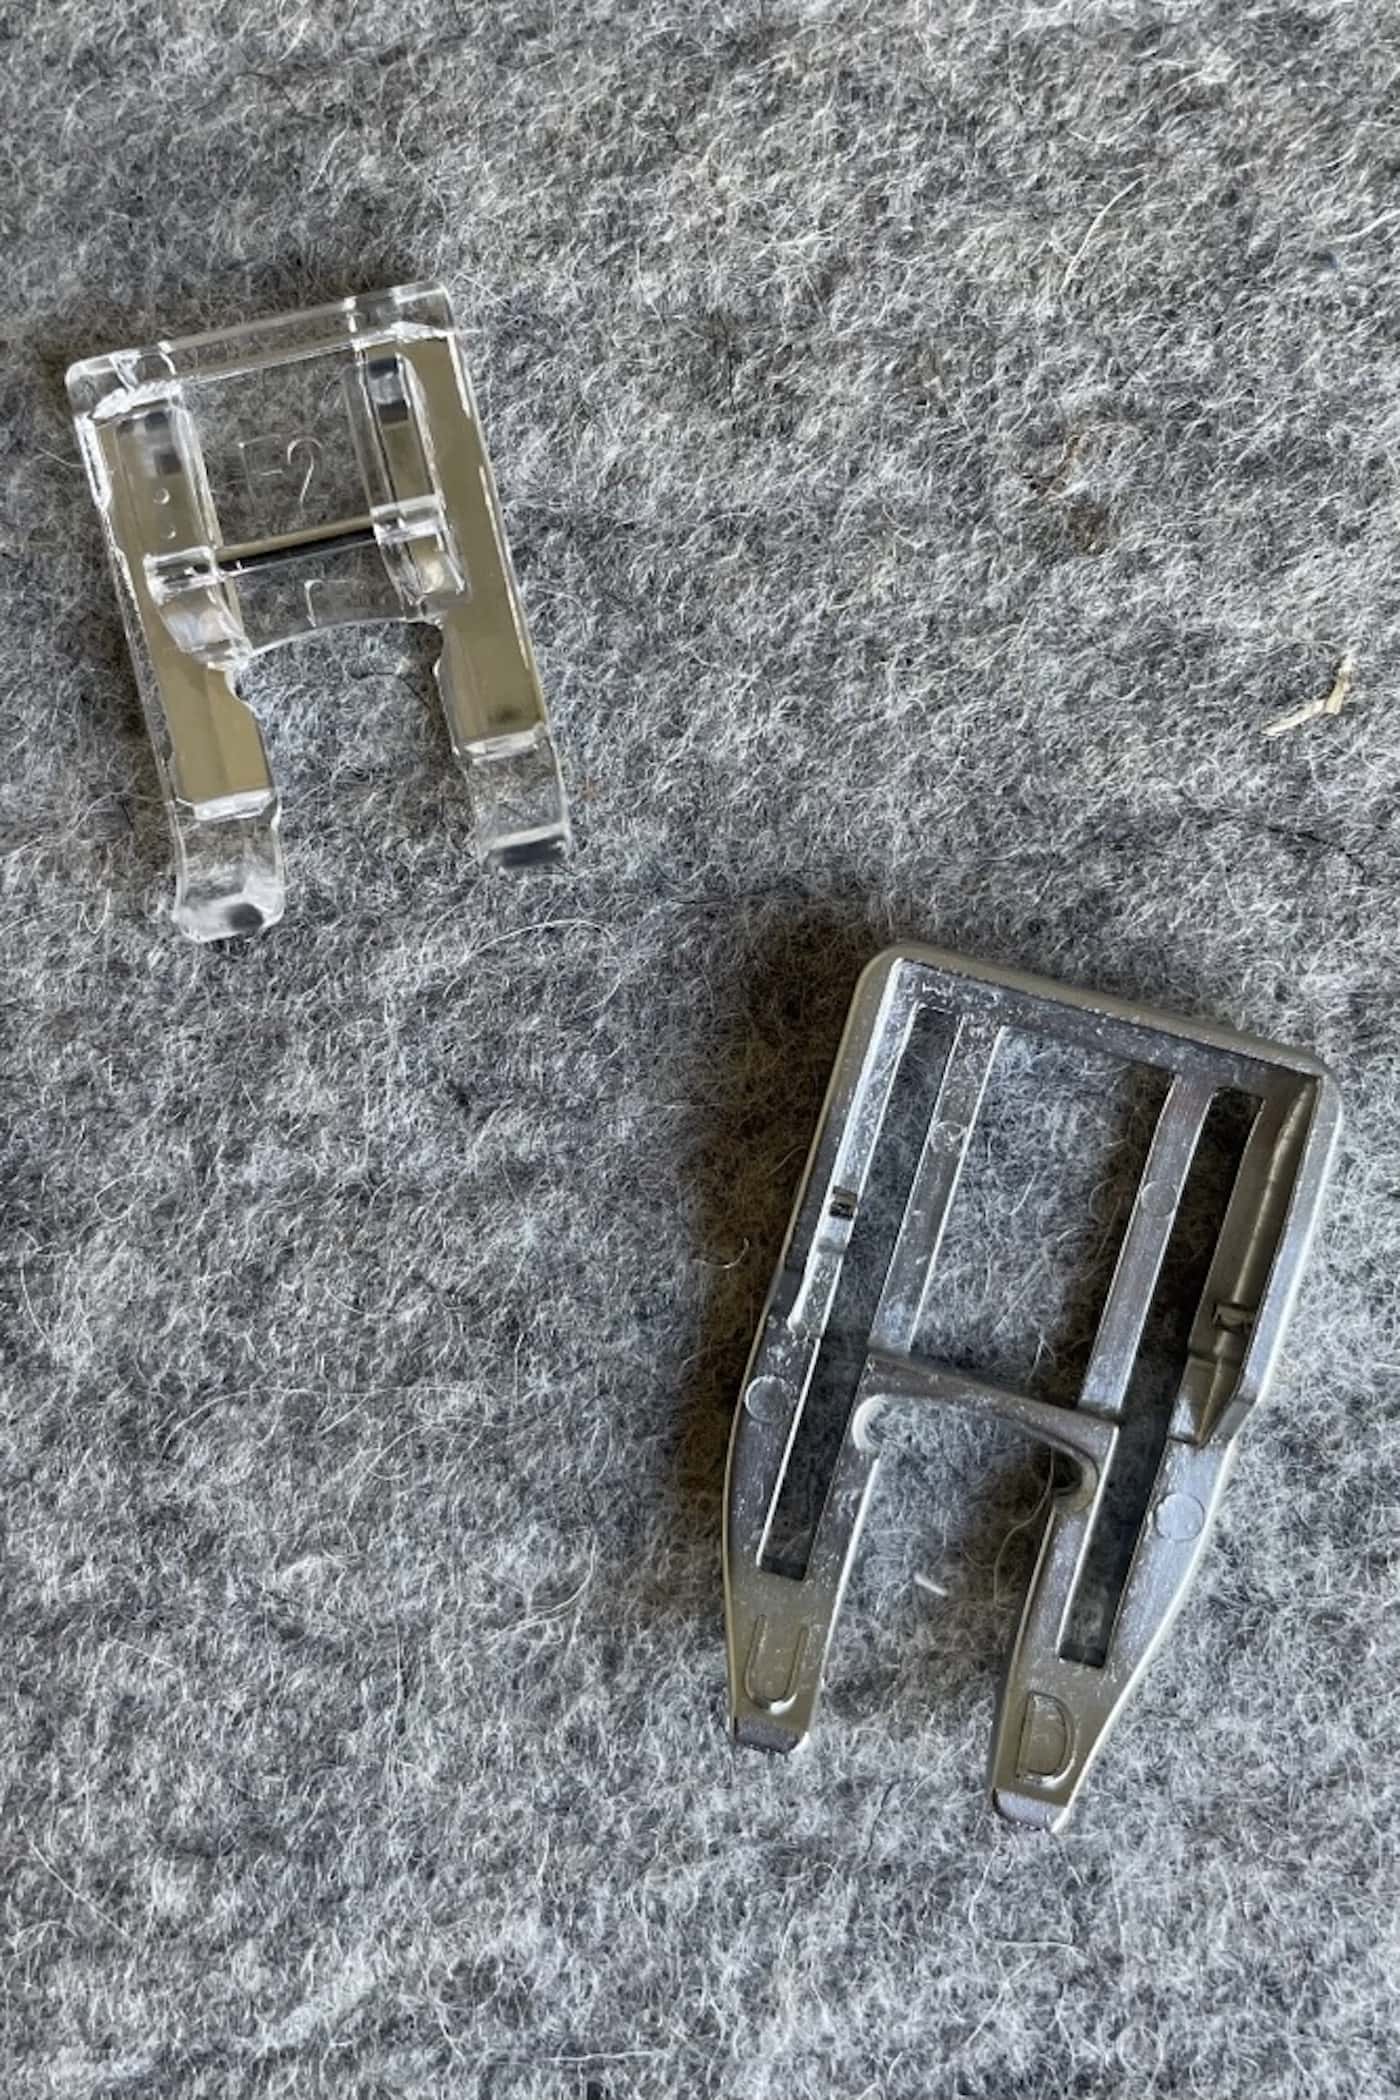
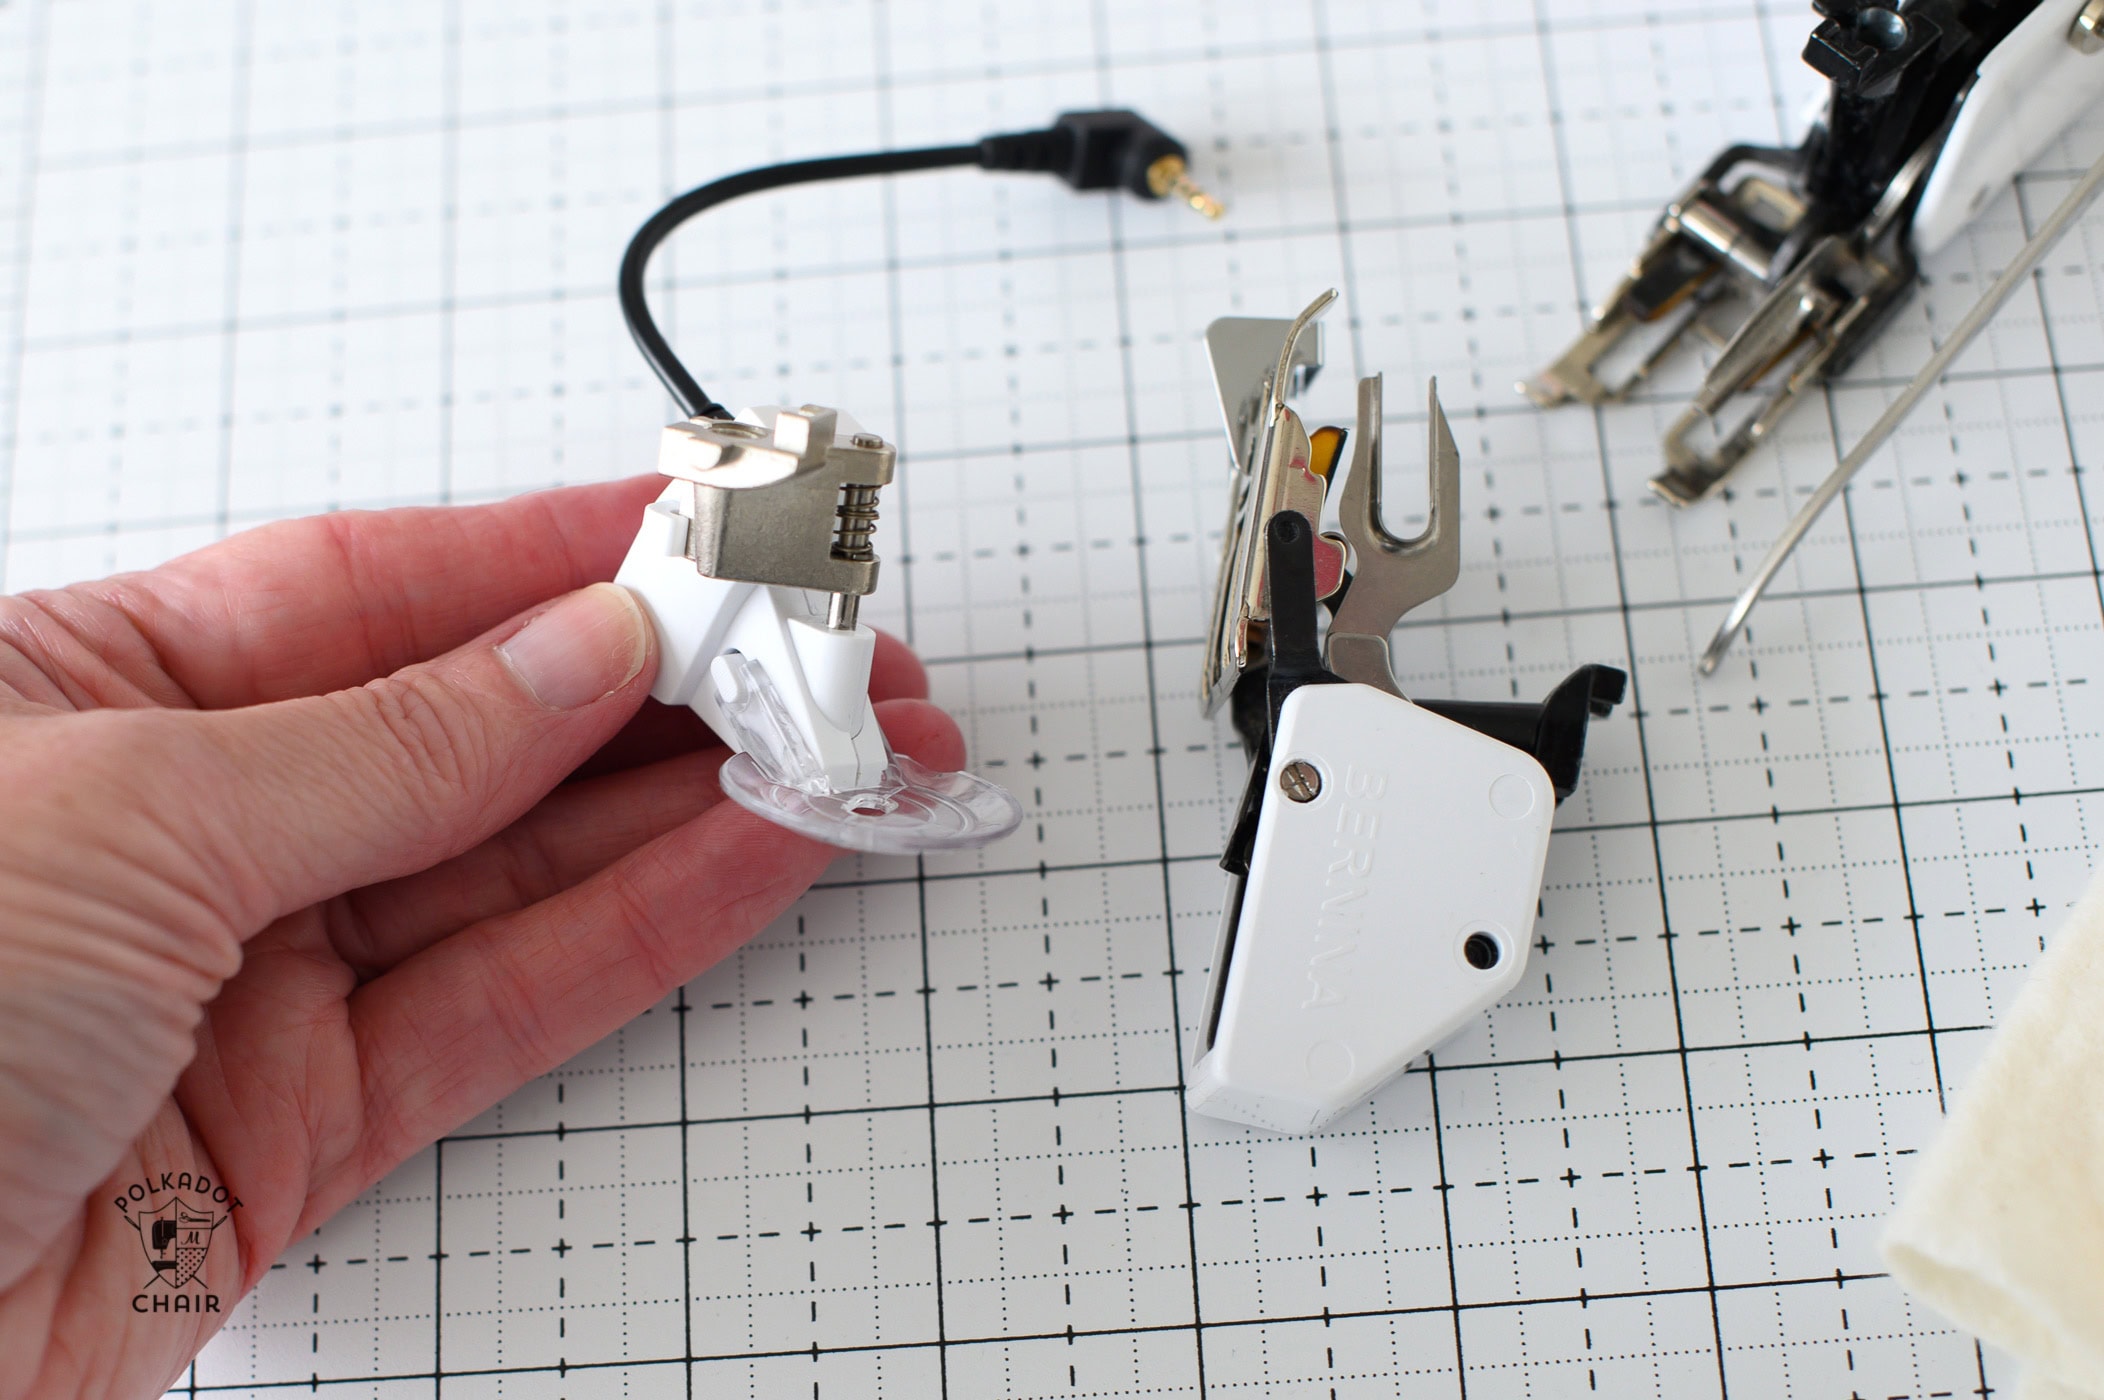
I use a convertible FMQ (Free Motion Quilting) foot that came with four different feet, of which I use two. In the photos, all the bulk on the right of the foot is the part that fits around my machine (and means the foot is height adjustable), the actual foot where the needles go is at the bottom left on both examples.
Closed FMQ Foot Pros & Cons
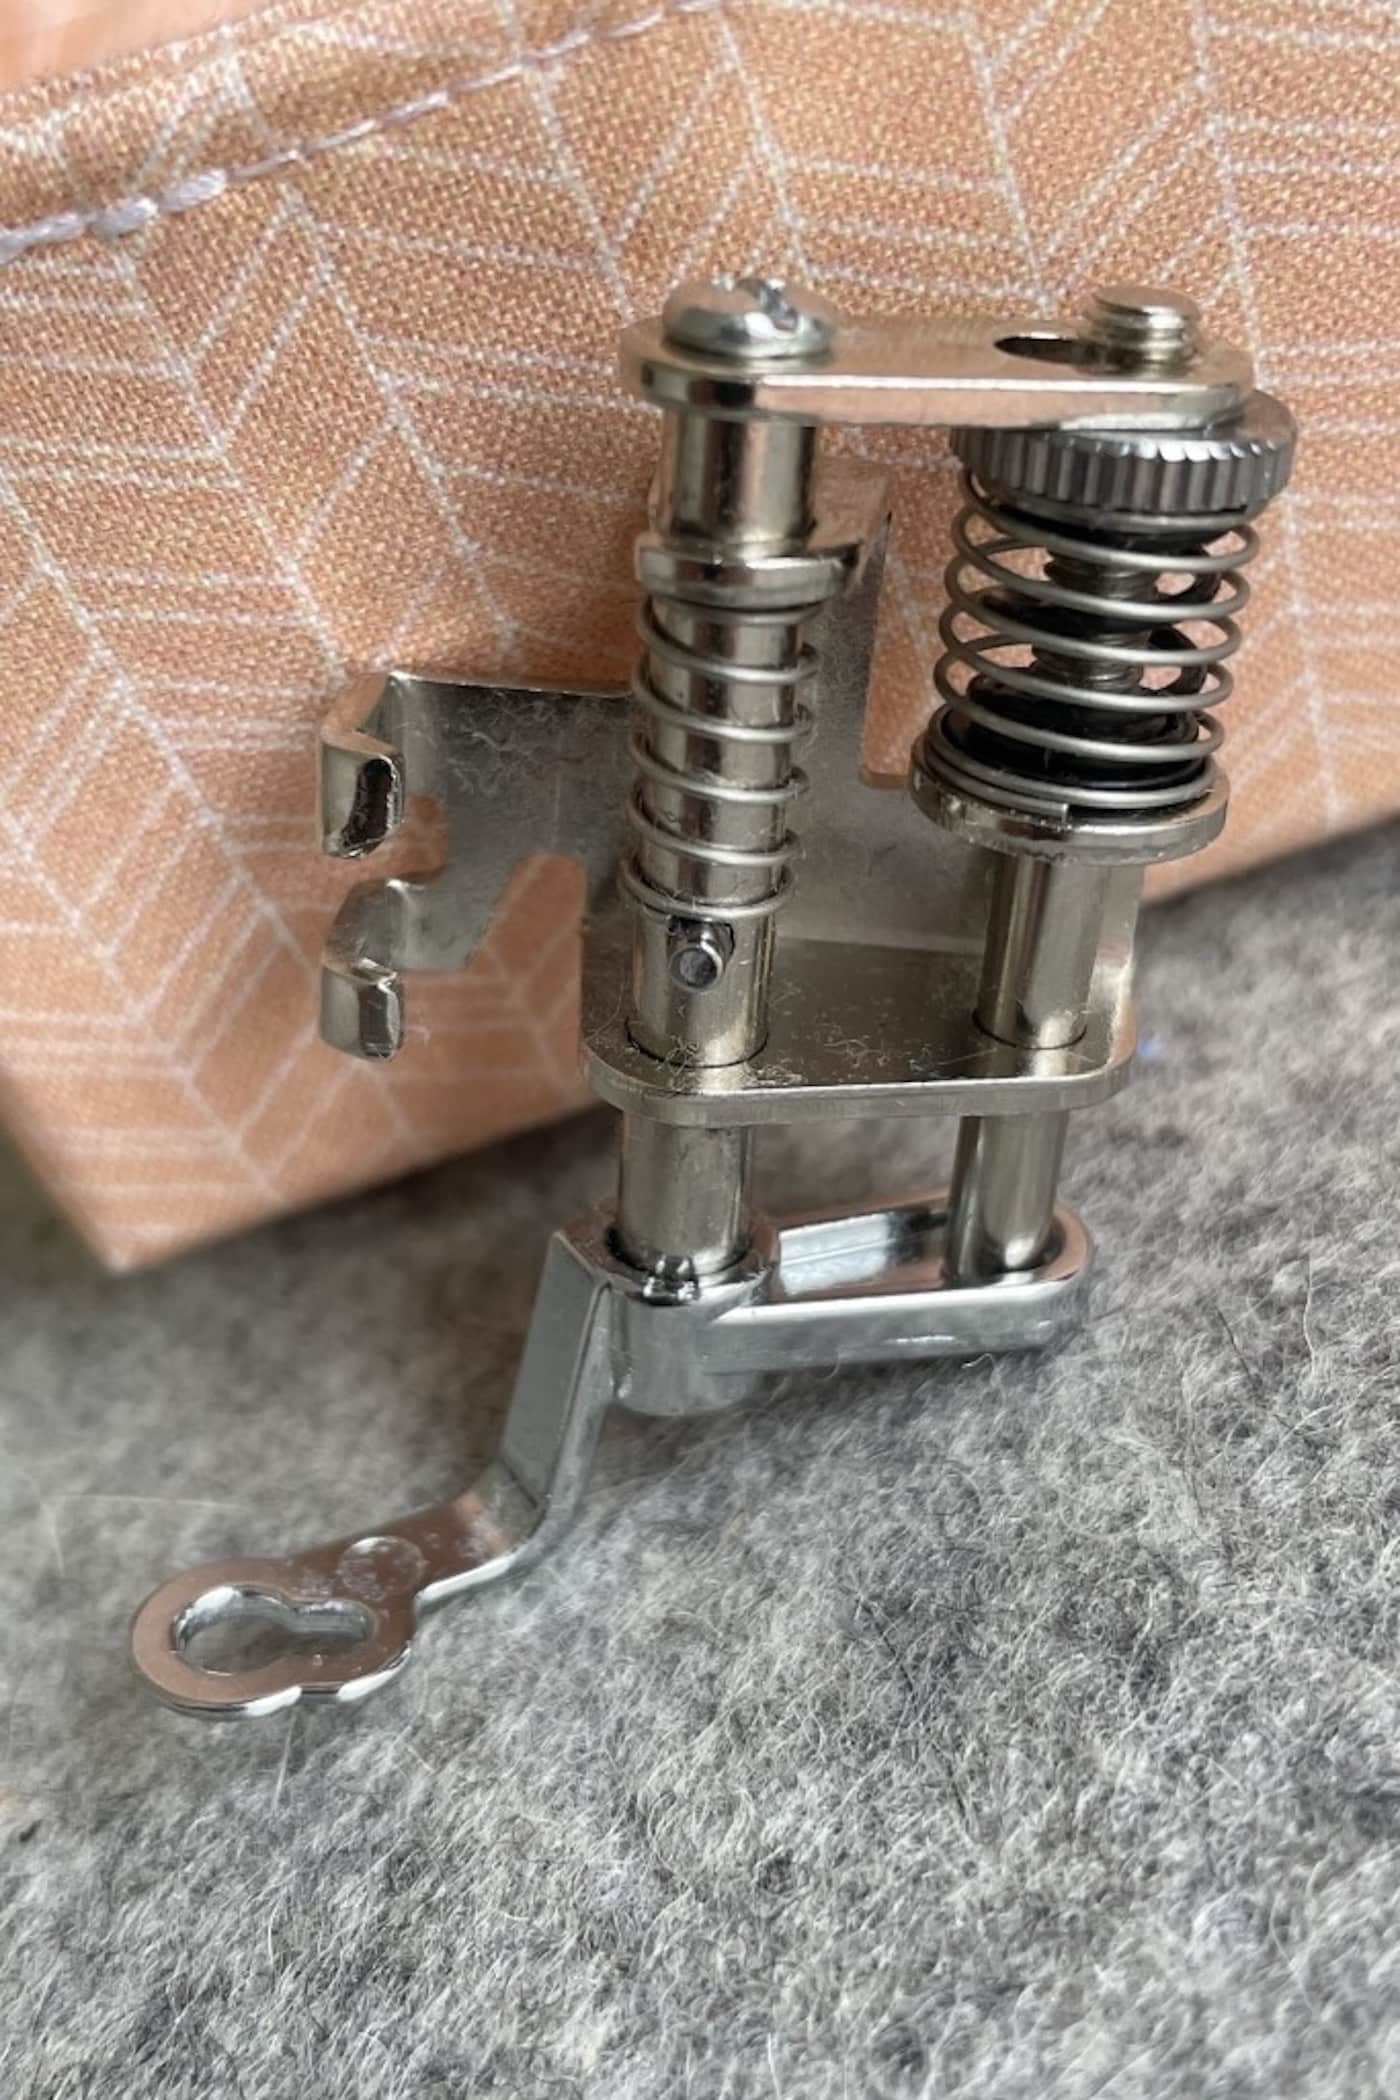
This foot doesn’t bounce. Some types of feet that are used for free-motion quilting (like a darning foot) bounce as they move across the quilt.
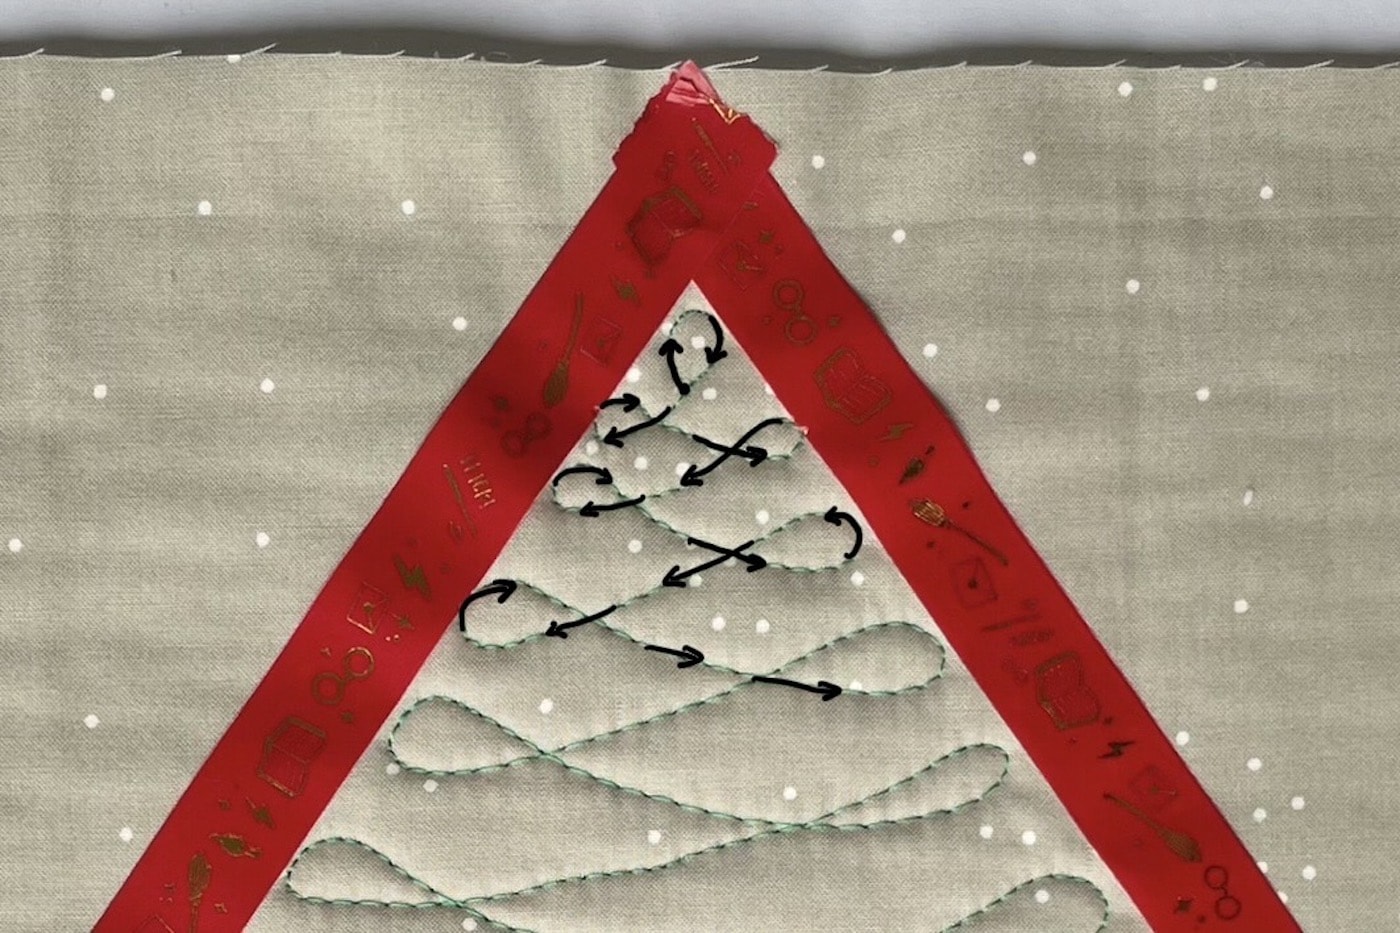
I find this very distracting and don’t get on with any feet that bounce! The closed foot style gives you a small circle in which the needle is going, but when you’re free motion quilting, you’re looking at the area of quilting you are working on more than the foot itself, so this small size doesn’t cause me any issues with having a good view of the quilting.
I actually like the small size as it means I can use the outer edge as a spacing guide for motifs like swirls and switchbacks.
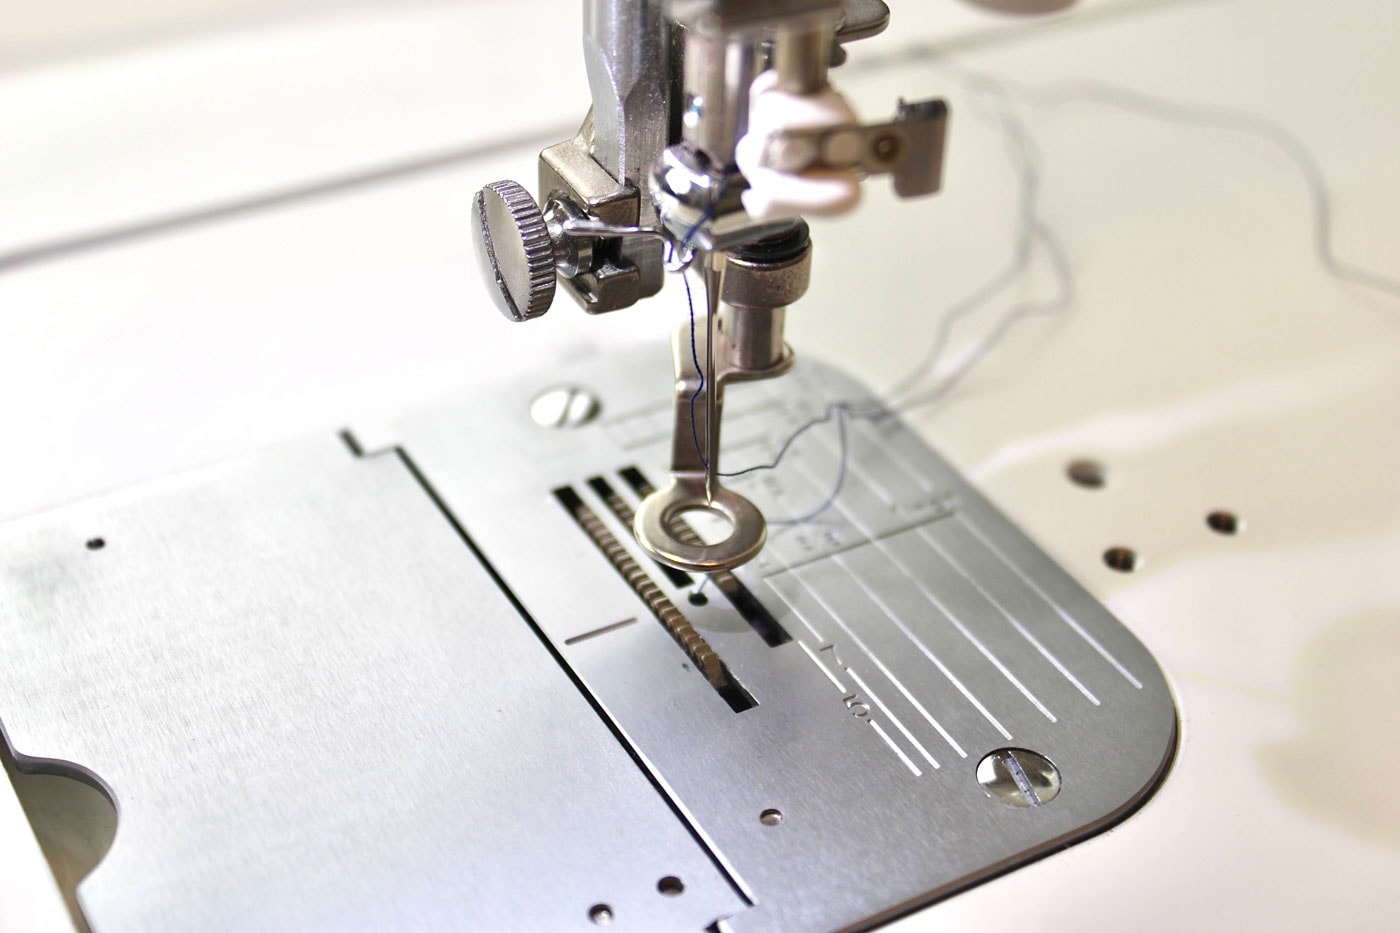
Clear View FMQ foot Pros & Cons
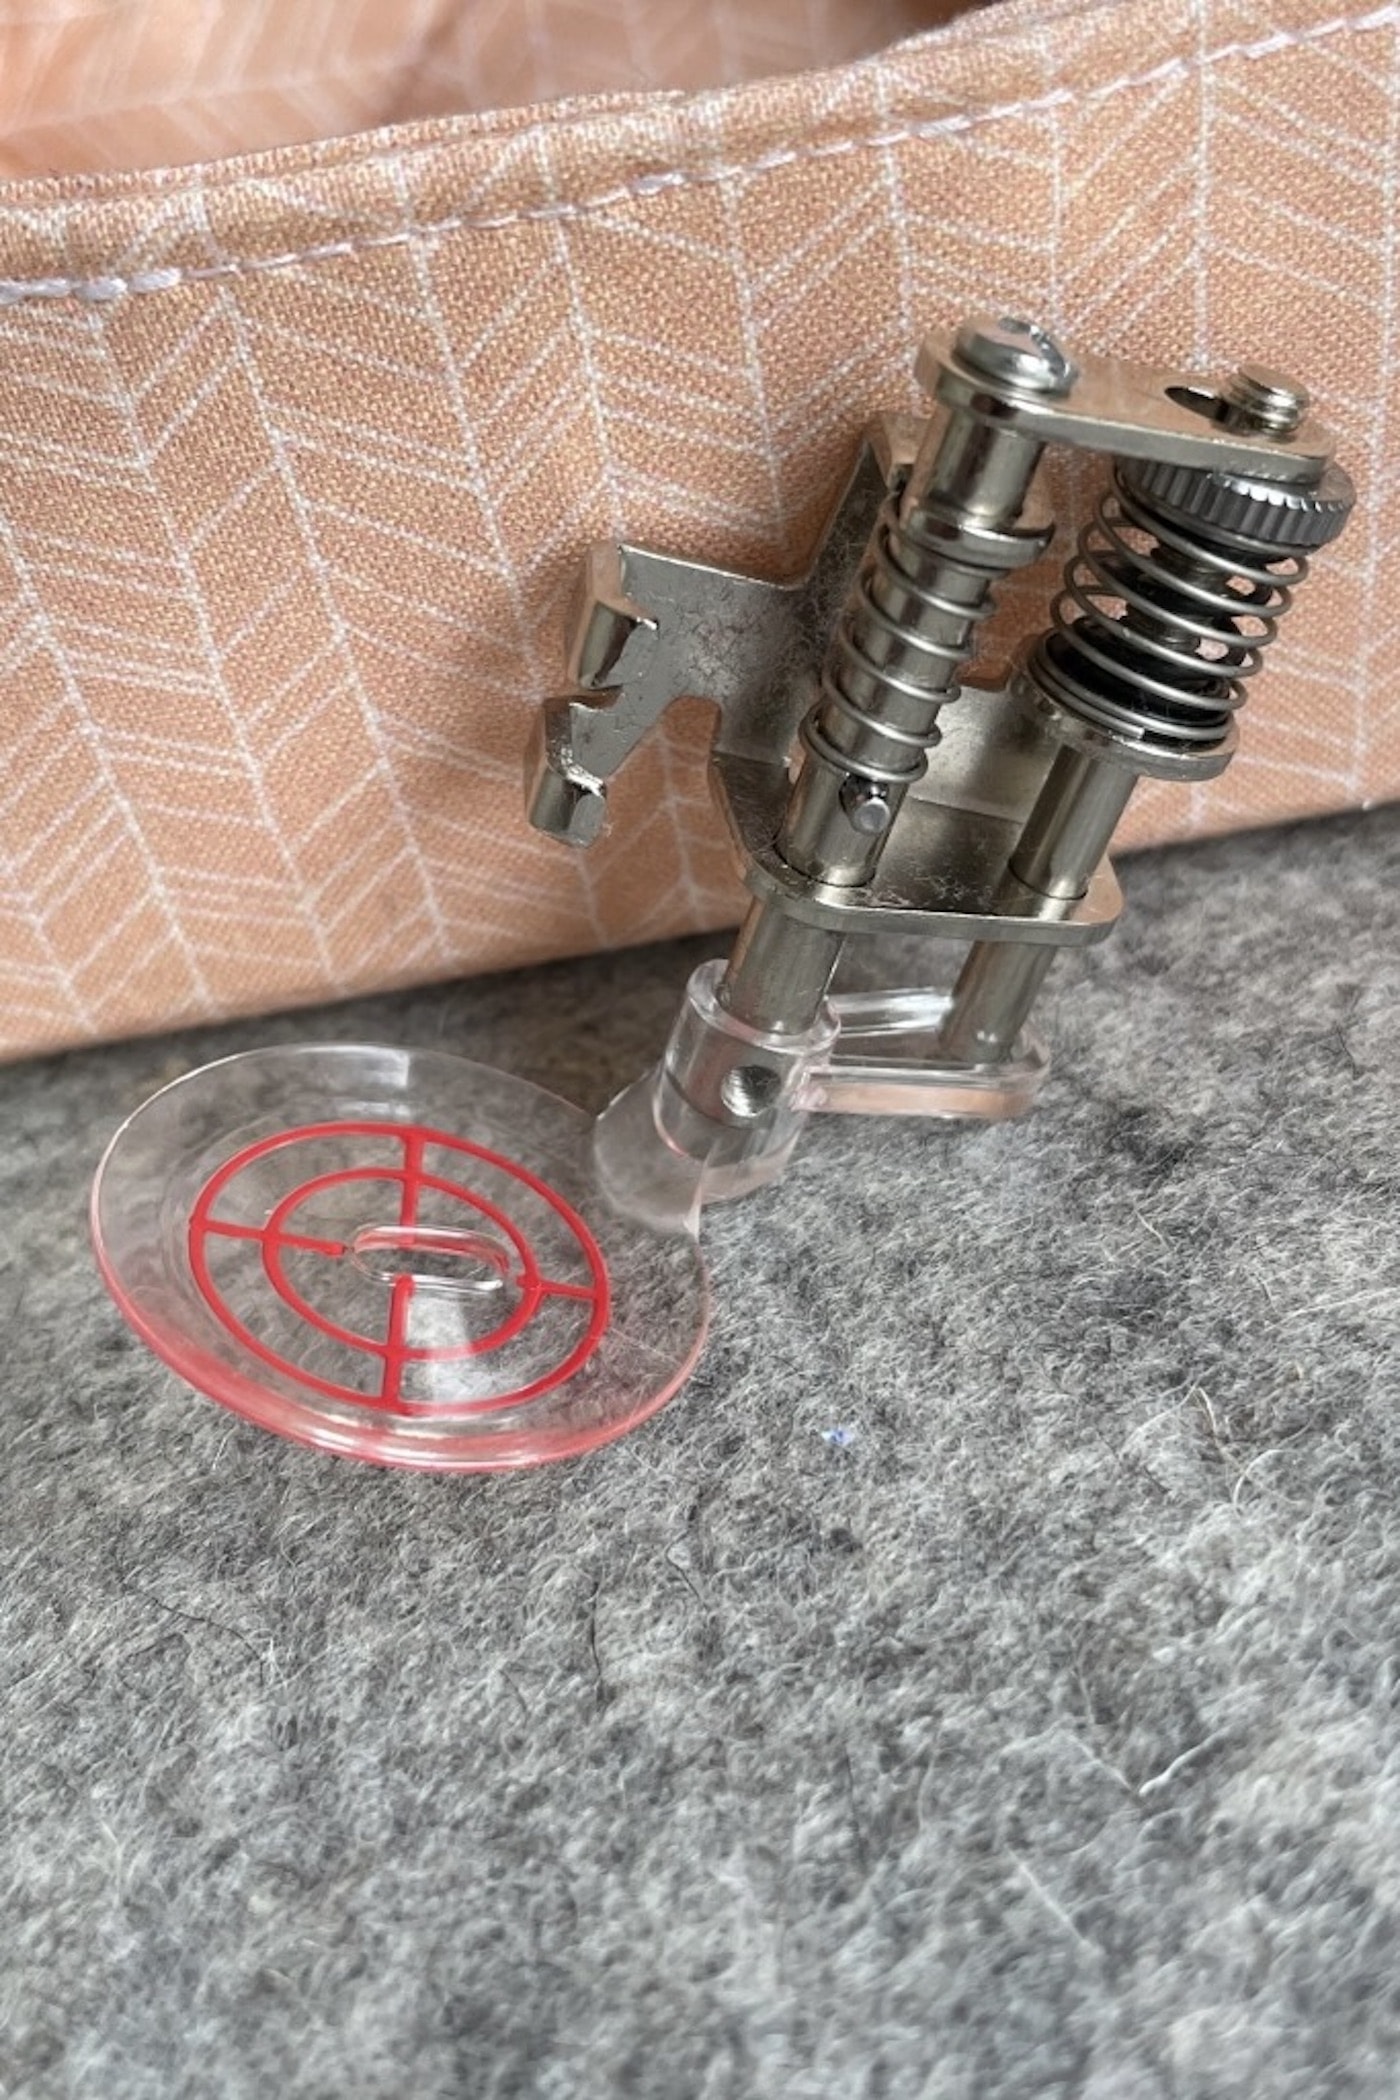
This foot also doesn’t bounce; a big bonus for me. This is a larger foot overall compared to the closed foot and curves up at the edges like a plate. Although it is larger, being clear means it doesn’t obstruct your view of the quilt top.
And the addition of the red lines can be used as spacing guides etc. Personally, I prefer to use the solid edge of the closed foot as my spacing guide over the red lines on this one; again, that is purely a matter of personal preference.
For me, the significant benefit of this foot is the fact that it’s larger and curves up at the edges; this makes it a great choice if you are quilting over bulkier seams, as the design of the foot glides more easily over these and is much less likely to get caught on any bulk.
So, which of these four feet have you used for quilting? Is there a feature on one of these that you hadn’t thought about? For straight-line quilting, I mostly reach for the Open Toe walking foot, and for free-motion quilting, my favourite is the Closed FMQ foot.
How can you tell if your machine is capable of machine quilting, especially free motion? I have a Pfaff Performance 5.2. I have done straight line quilting on it, but am fearful of trying free motion.
You can try it on a scrap of fabric and batting first. But generally if you are able to lower the feed dogs on your sewing machine you can free motion quilt. I’m not really an expert at it, but there are some really great tutorials on YouTube that you can check out!