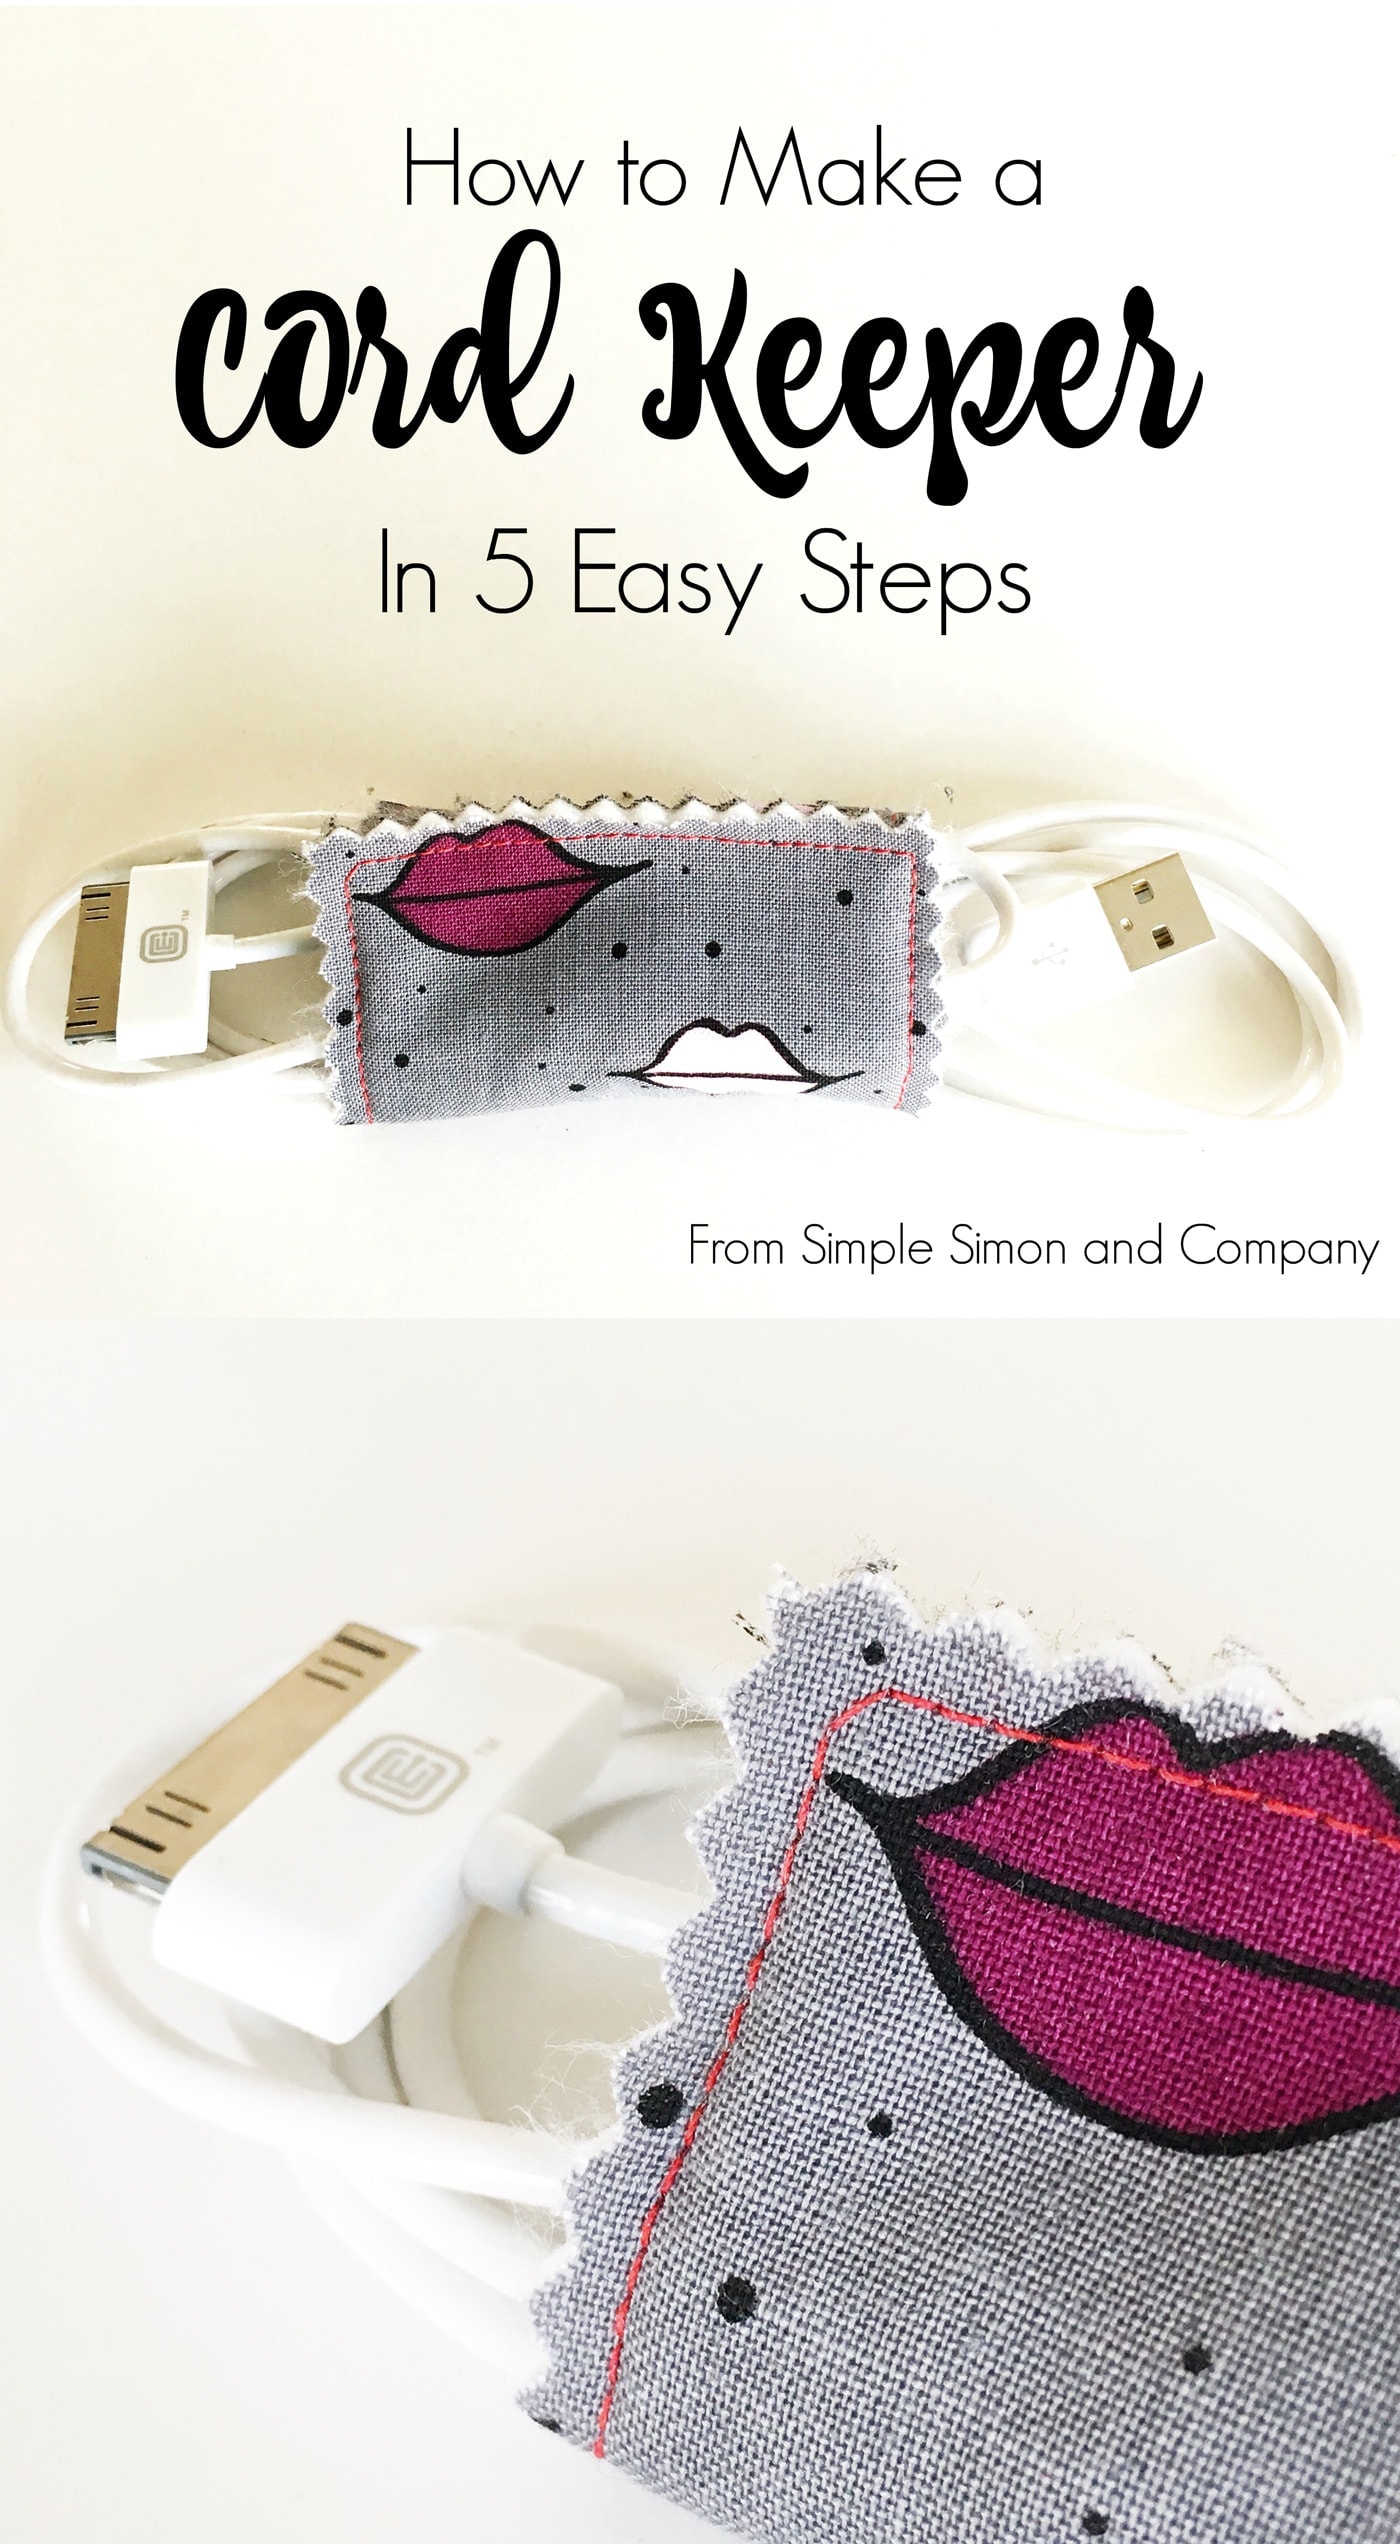
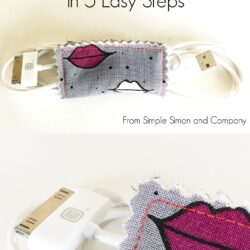
Simple DIY Cord Keeper Tutorial
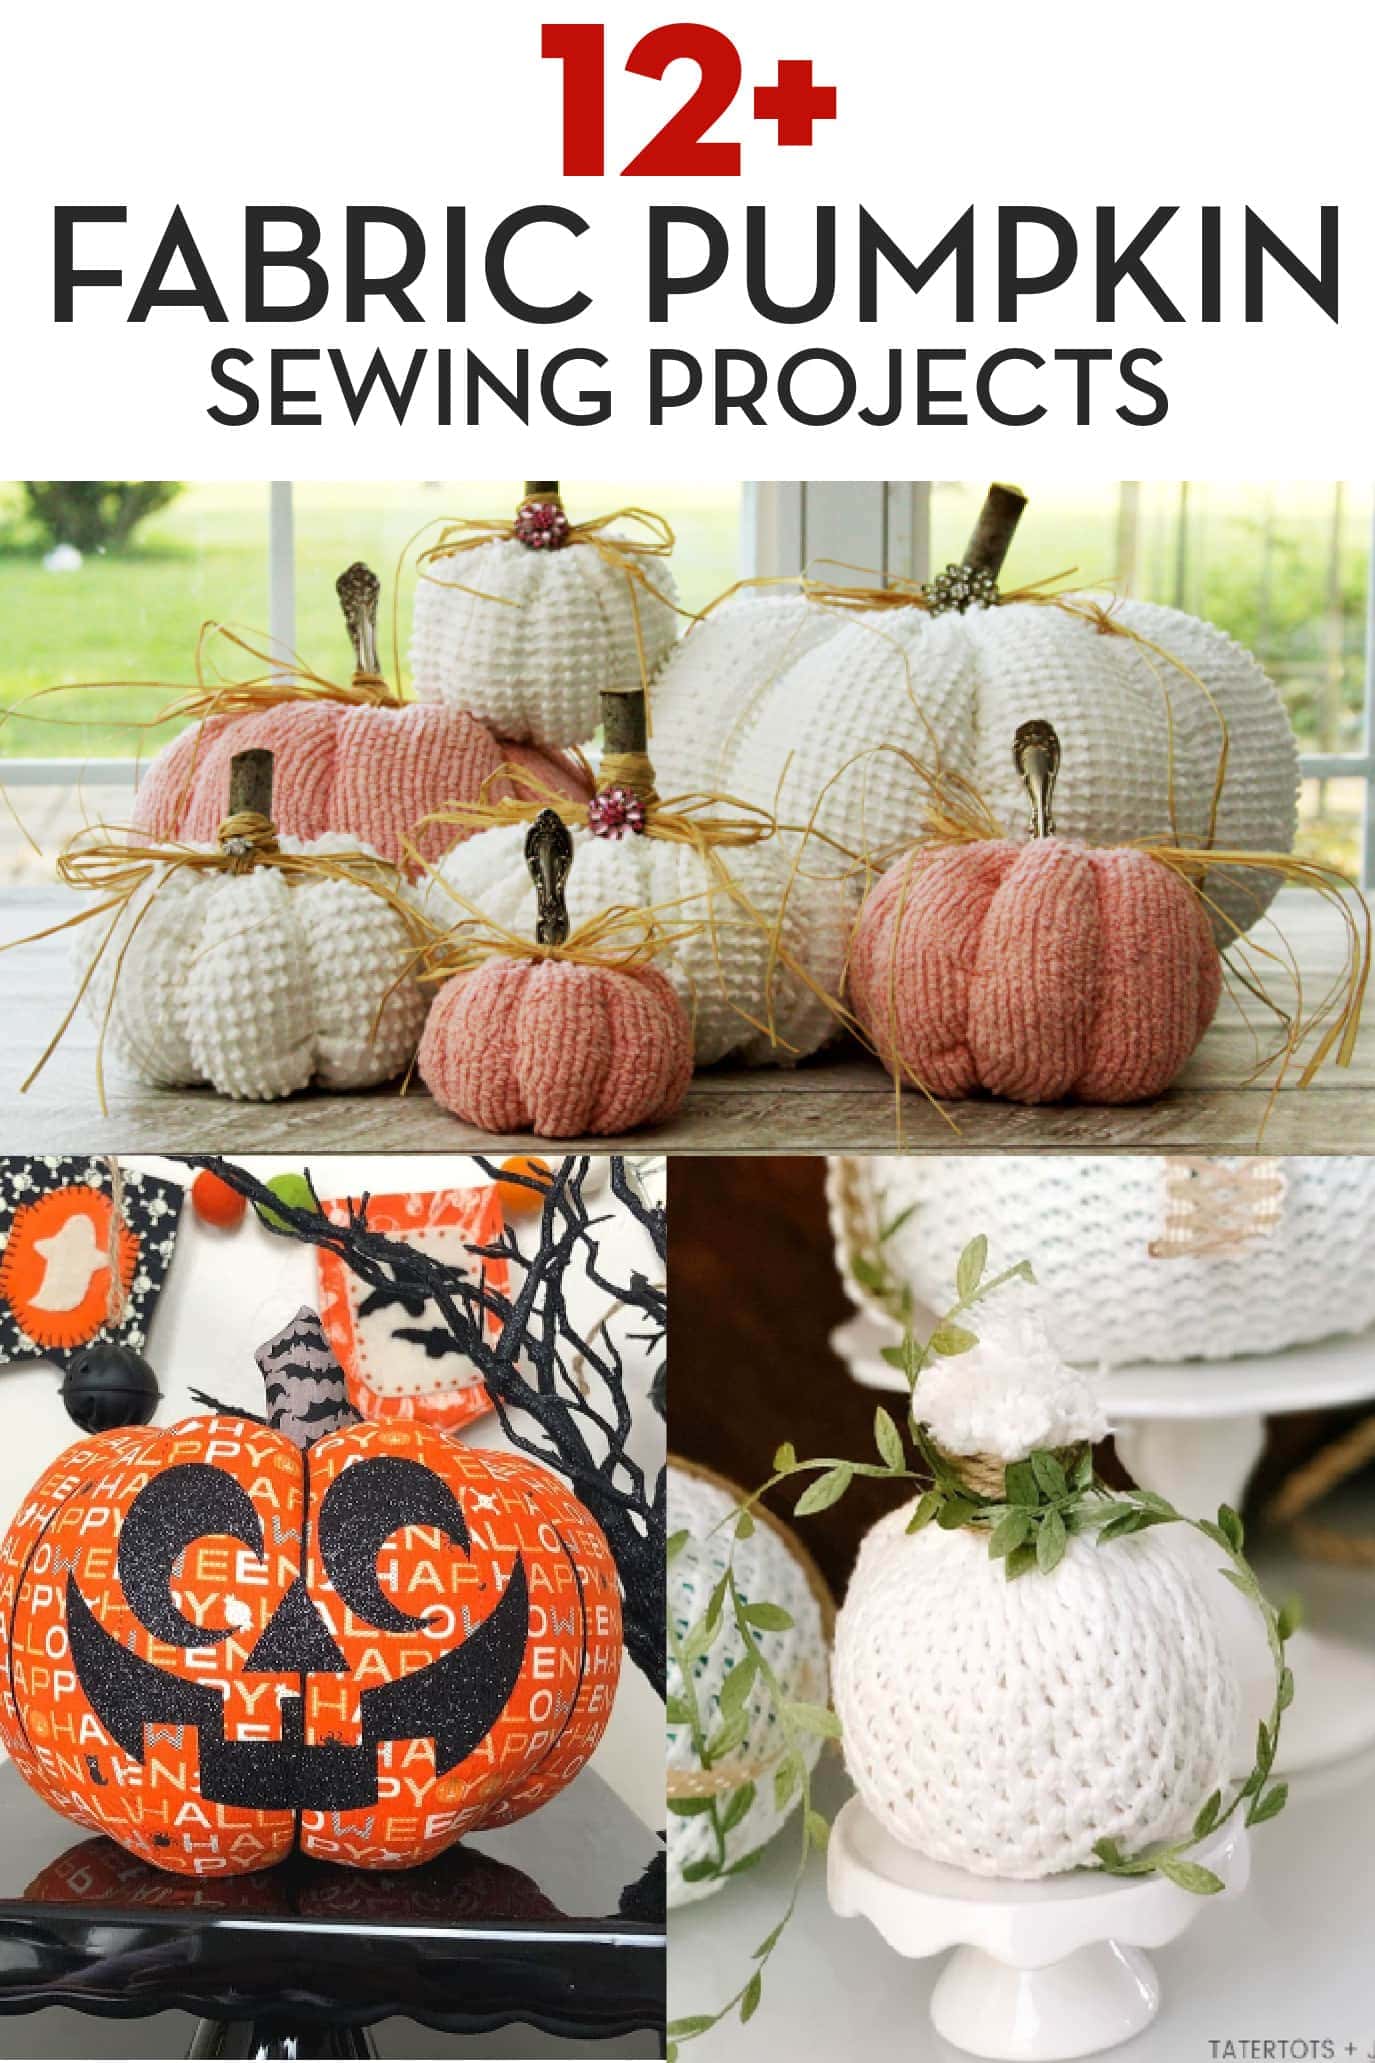
A free sewing pattern for a fabric travel cable organizer! These cute little cord keepers are great stash busters and make wonderful gifts!
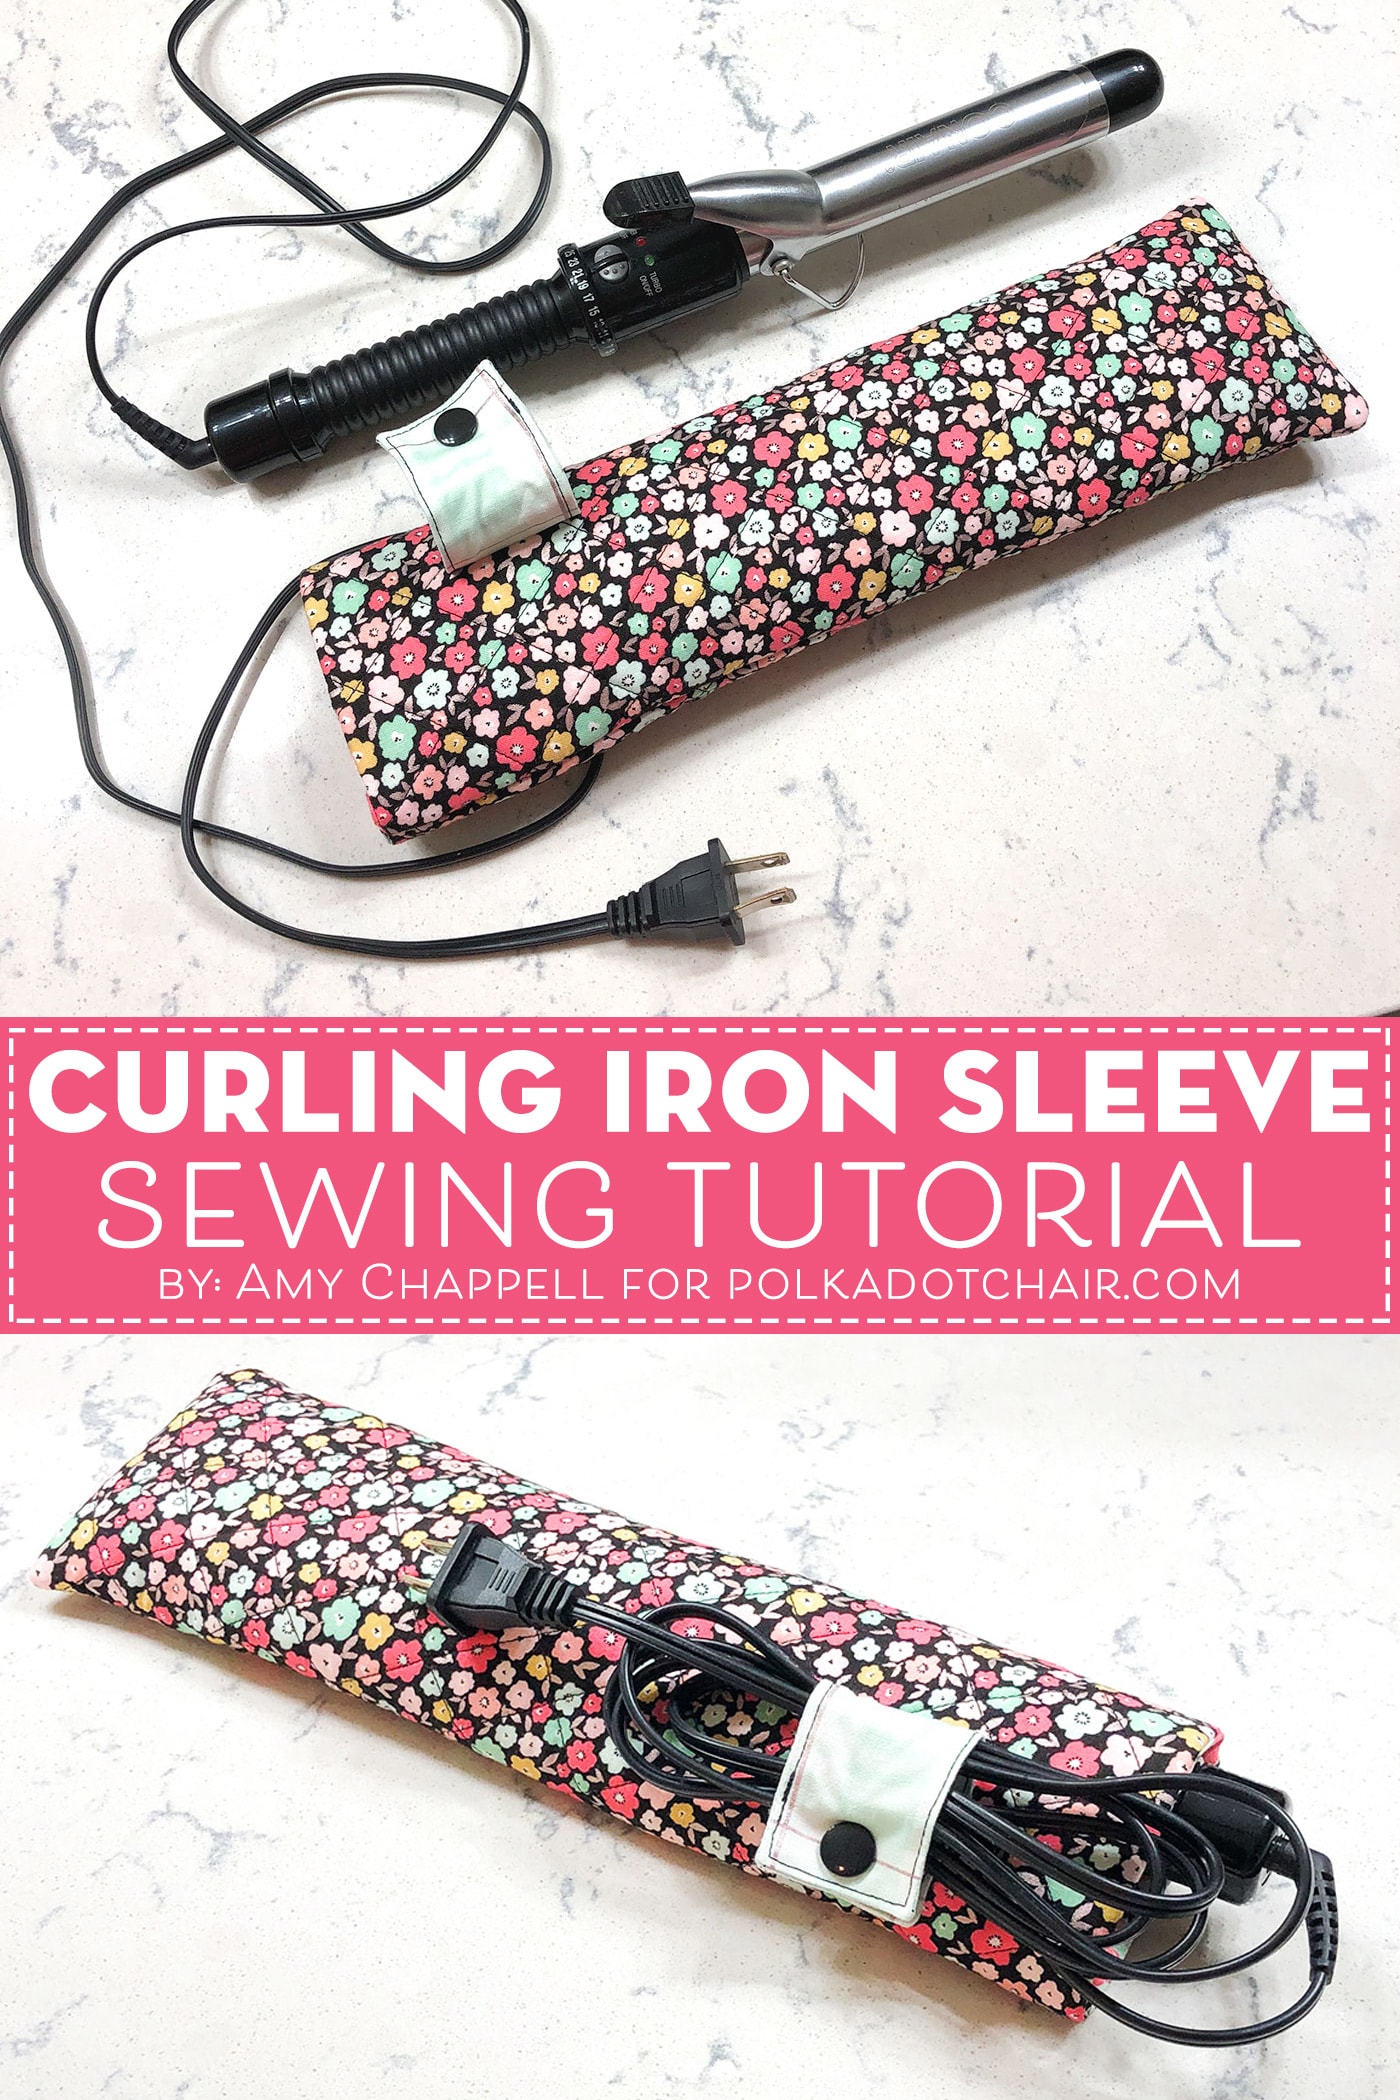
Whenever I travel, I always end up with tangled cords in my bag. It drives me crazy! I have meant to make a cord keeper to take with me when I travel for a while now.
This fun and simple DIY cord organizer sewing tutorial by Simple Simon & Co. might be just the excuse that I need to go ahead and make one for myself! The tutorial is so quick and easy that you can whip up many of them in an afternoon.
Hello! liZ here from Simple Simon and Company. Today, I’m excited to share a super simple Cord Keeper tutorial.
Simple DIY Cord Organizer Tutorial:
I don’t know about you, but between my husband, my kids, and myself, we have many cords for every device…and they are always tangled!
So with back to school coming (and trying to organize my life before it gets here) I dipped into my scrap bin and whipped up a little army of DIY cord organizers to make our supply drawers useable again.
Simple DIY Cord Keeper Tutorial
Ingredients
- 2 pieces quilting cotton each cut at 3″ X 5″
- 1 piece felt cut at 3″ X 5″
- 1 set velcro “buttons” – you can also cut a 1″ square of velcro tape.
- Thread
Instructions
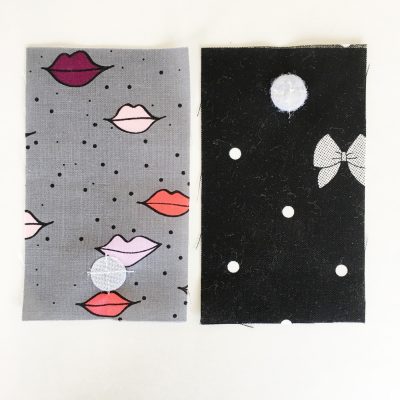
First:
- Cut two pieces of fabric and one piece of felt into rectangles that each measure 3″ X 5″

Second:
- Place one side of your Velcro button in the center of your outside fabric a scant 1/2″ from the bottom and the other side in the center of your inside fabric a scant 1/2″ from the top. Stitch in place.


Third:
- Place your felt between the outside and inside fabrics…like a sandwich. Align all the sides. The right side of the fabric should be facing out.
Fourth:
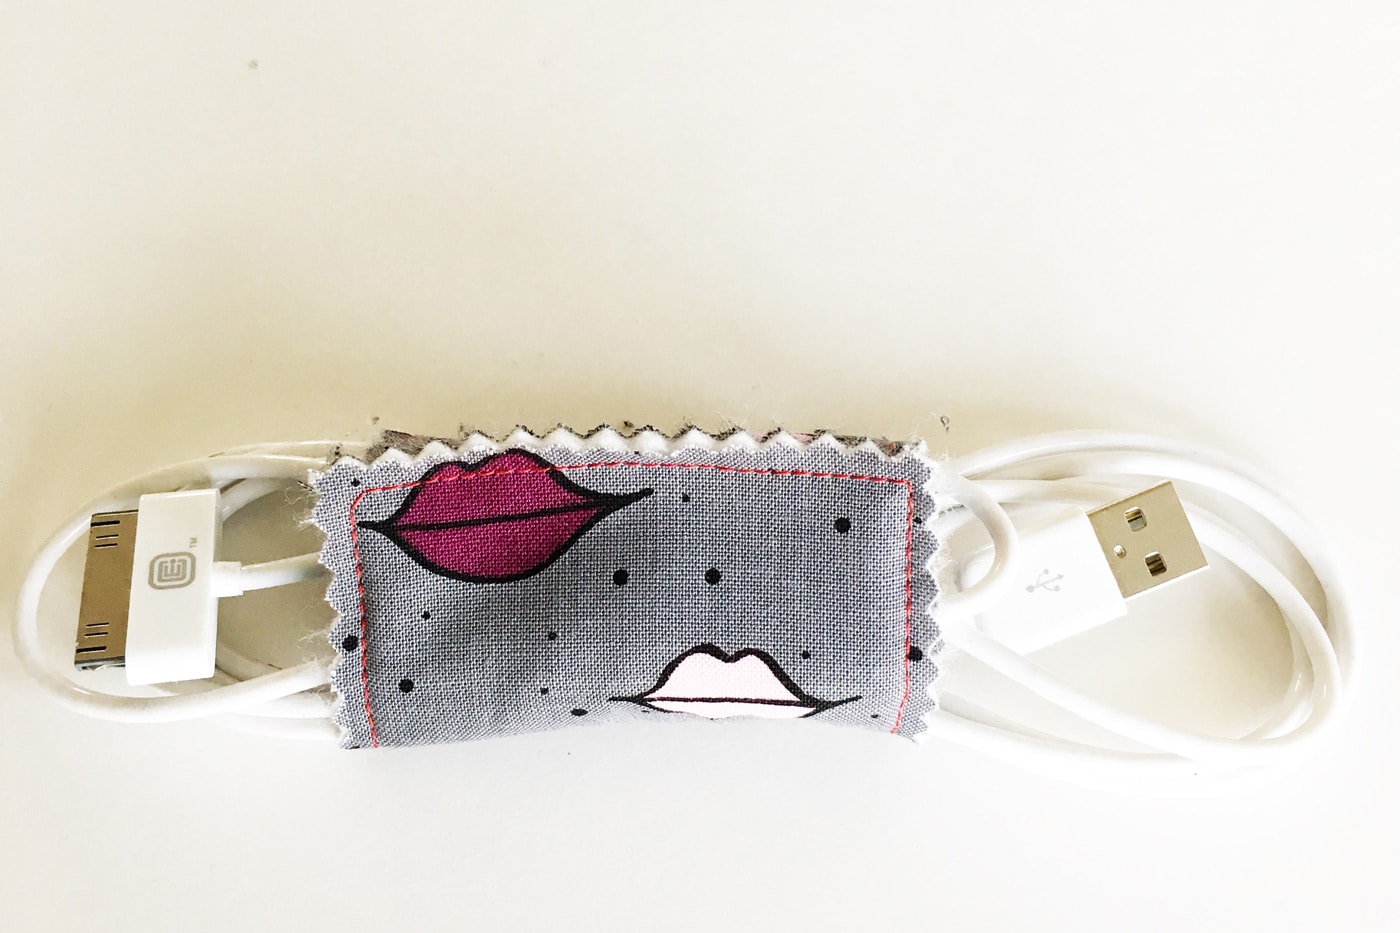
- Using a generous 1/4″ seam allowance, sew around the entire perimeter of your cord keeper.
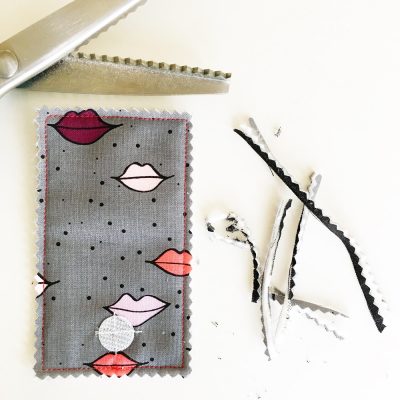
Fith:
- Using your pinking shears, cut around all four sides.
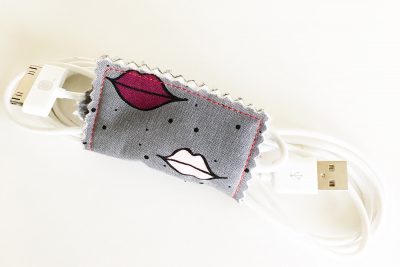
- And you are done!
- Easy peasy.

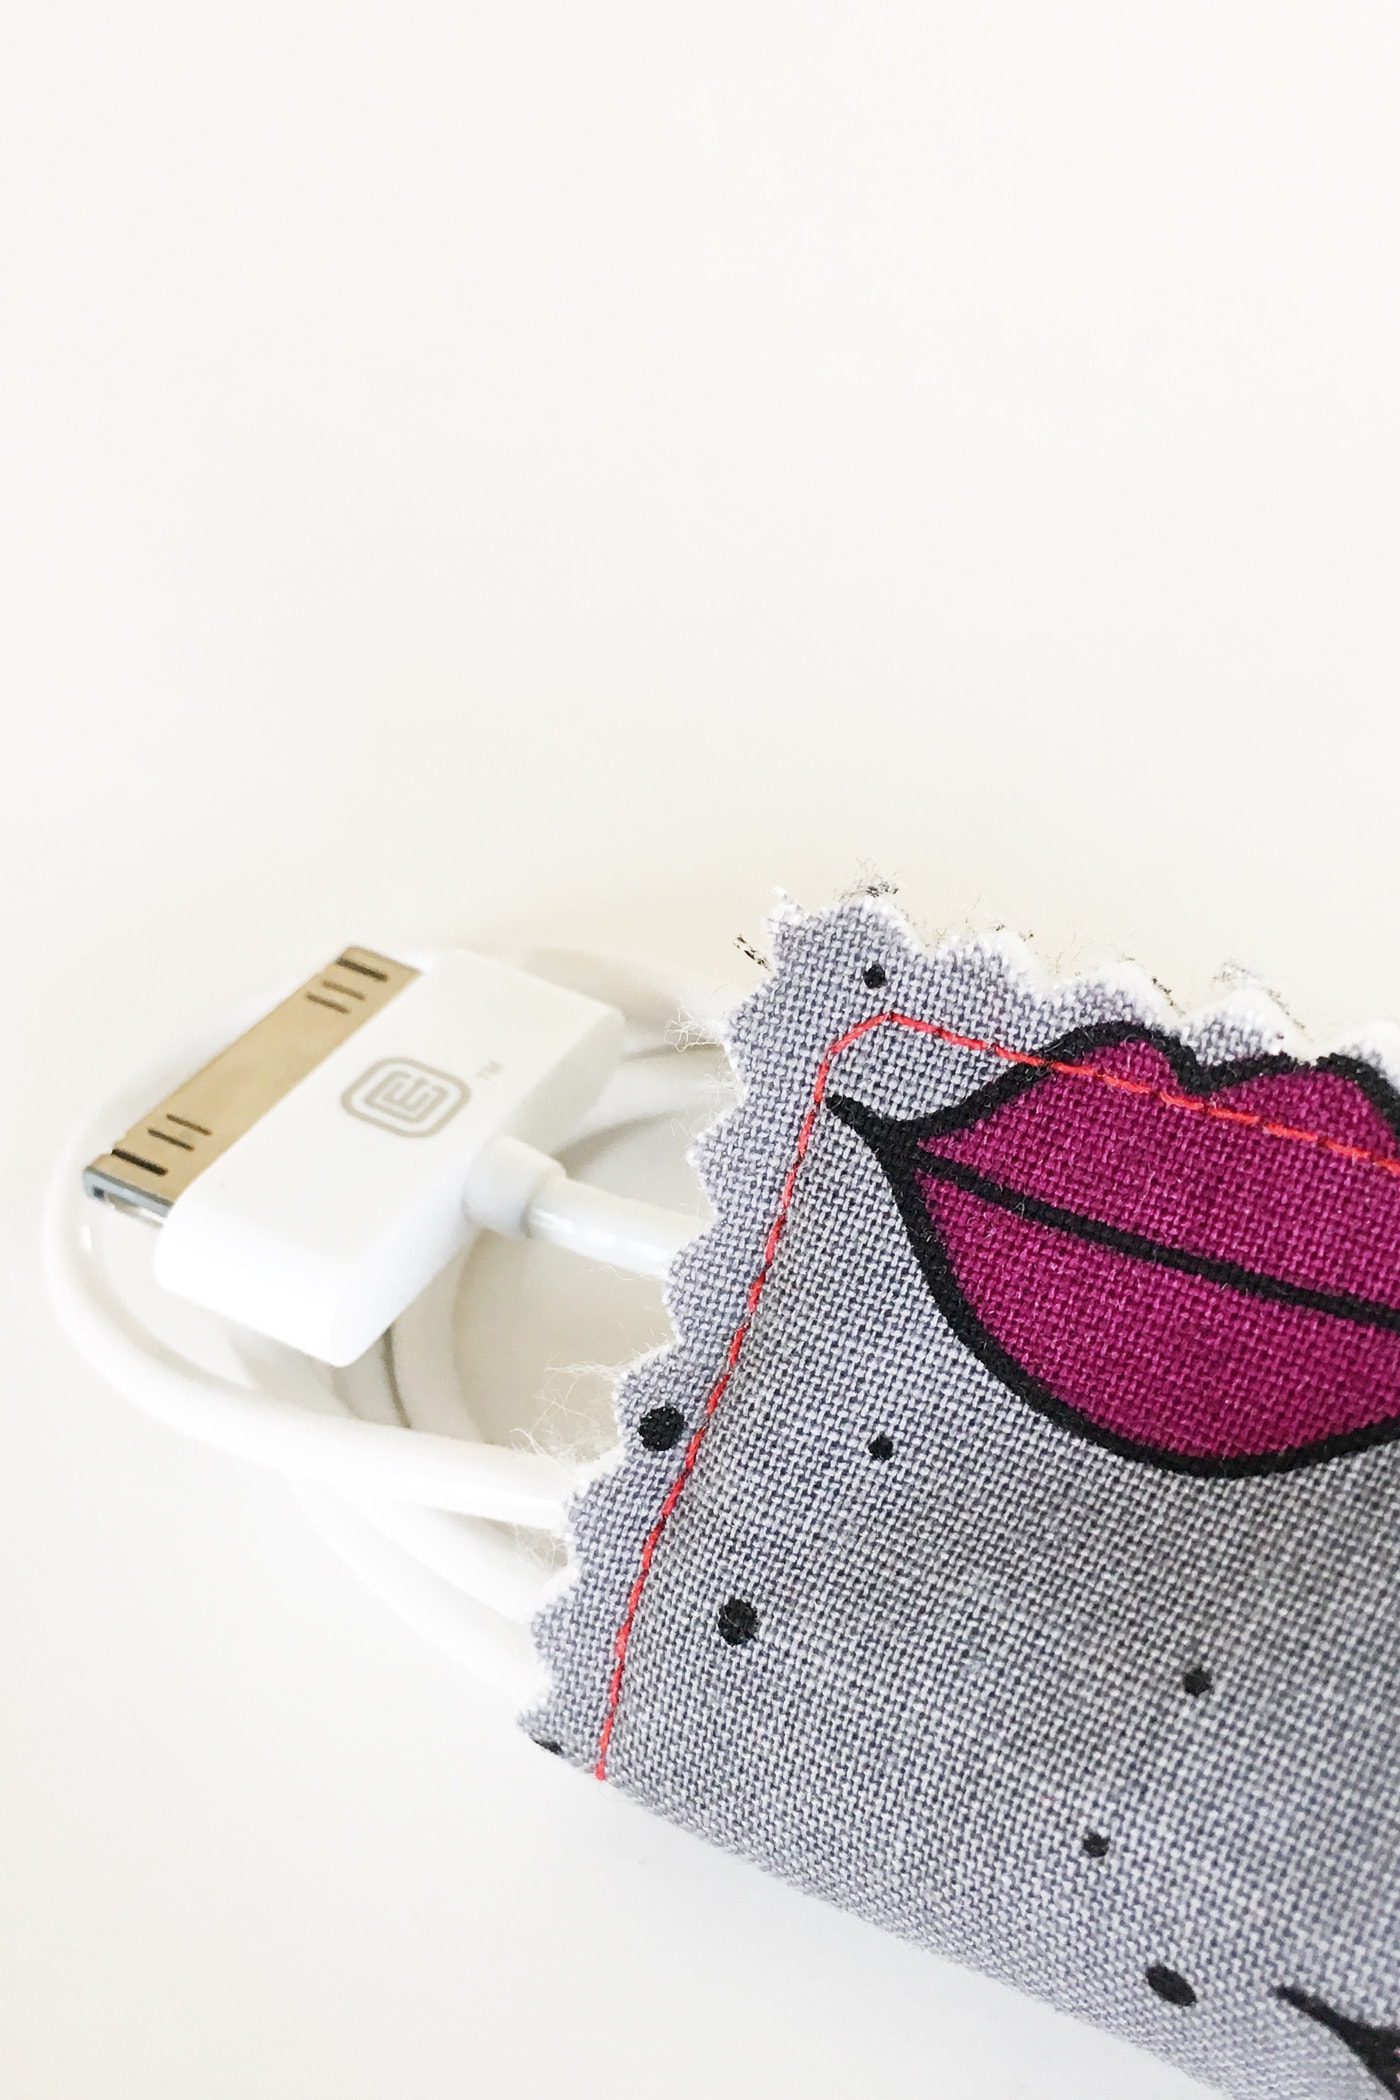
- All that’s left now is to untangle your cords and wrap them up!
About The Maker:

We are Elizabeth and Elizabeth, two girls who married brothers and ended up with the same name. We are also the same age, both former school teachers, have the same number of children, live in the same county, have dogs rescued from the pound, and share a love for sewing, quilting, and the art of homemaking.
Together, we blog over at Simple Simon and Company, where we get the opportunity to share tips, tricks, tutorials, recipes, and thoughts with our readership.
More Simple Sewing Projects by Simple Simon & Co.
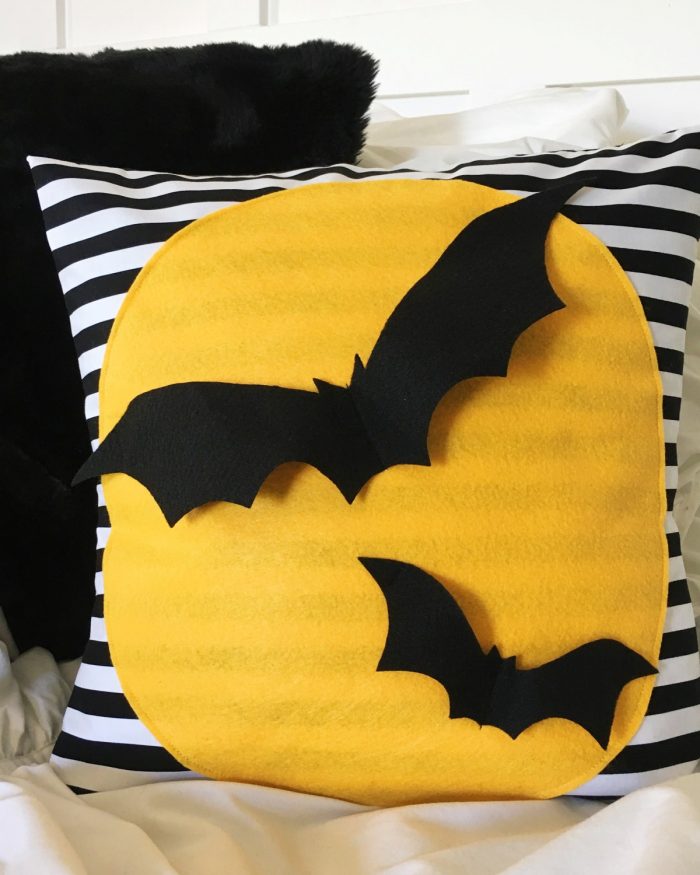
Halloween Bats Pillow Tutorial
You May Also Like:
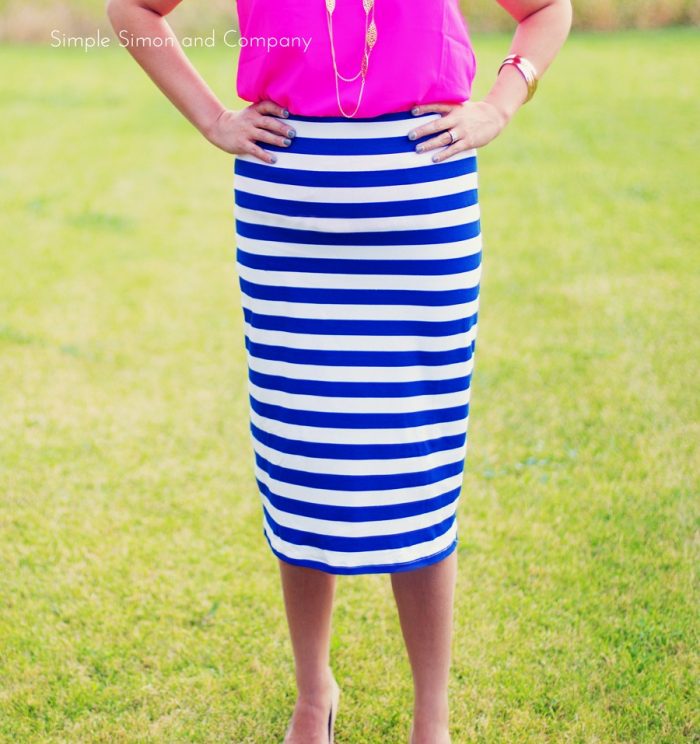
How to Sew Simple Summer Skirts