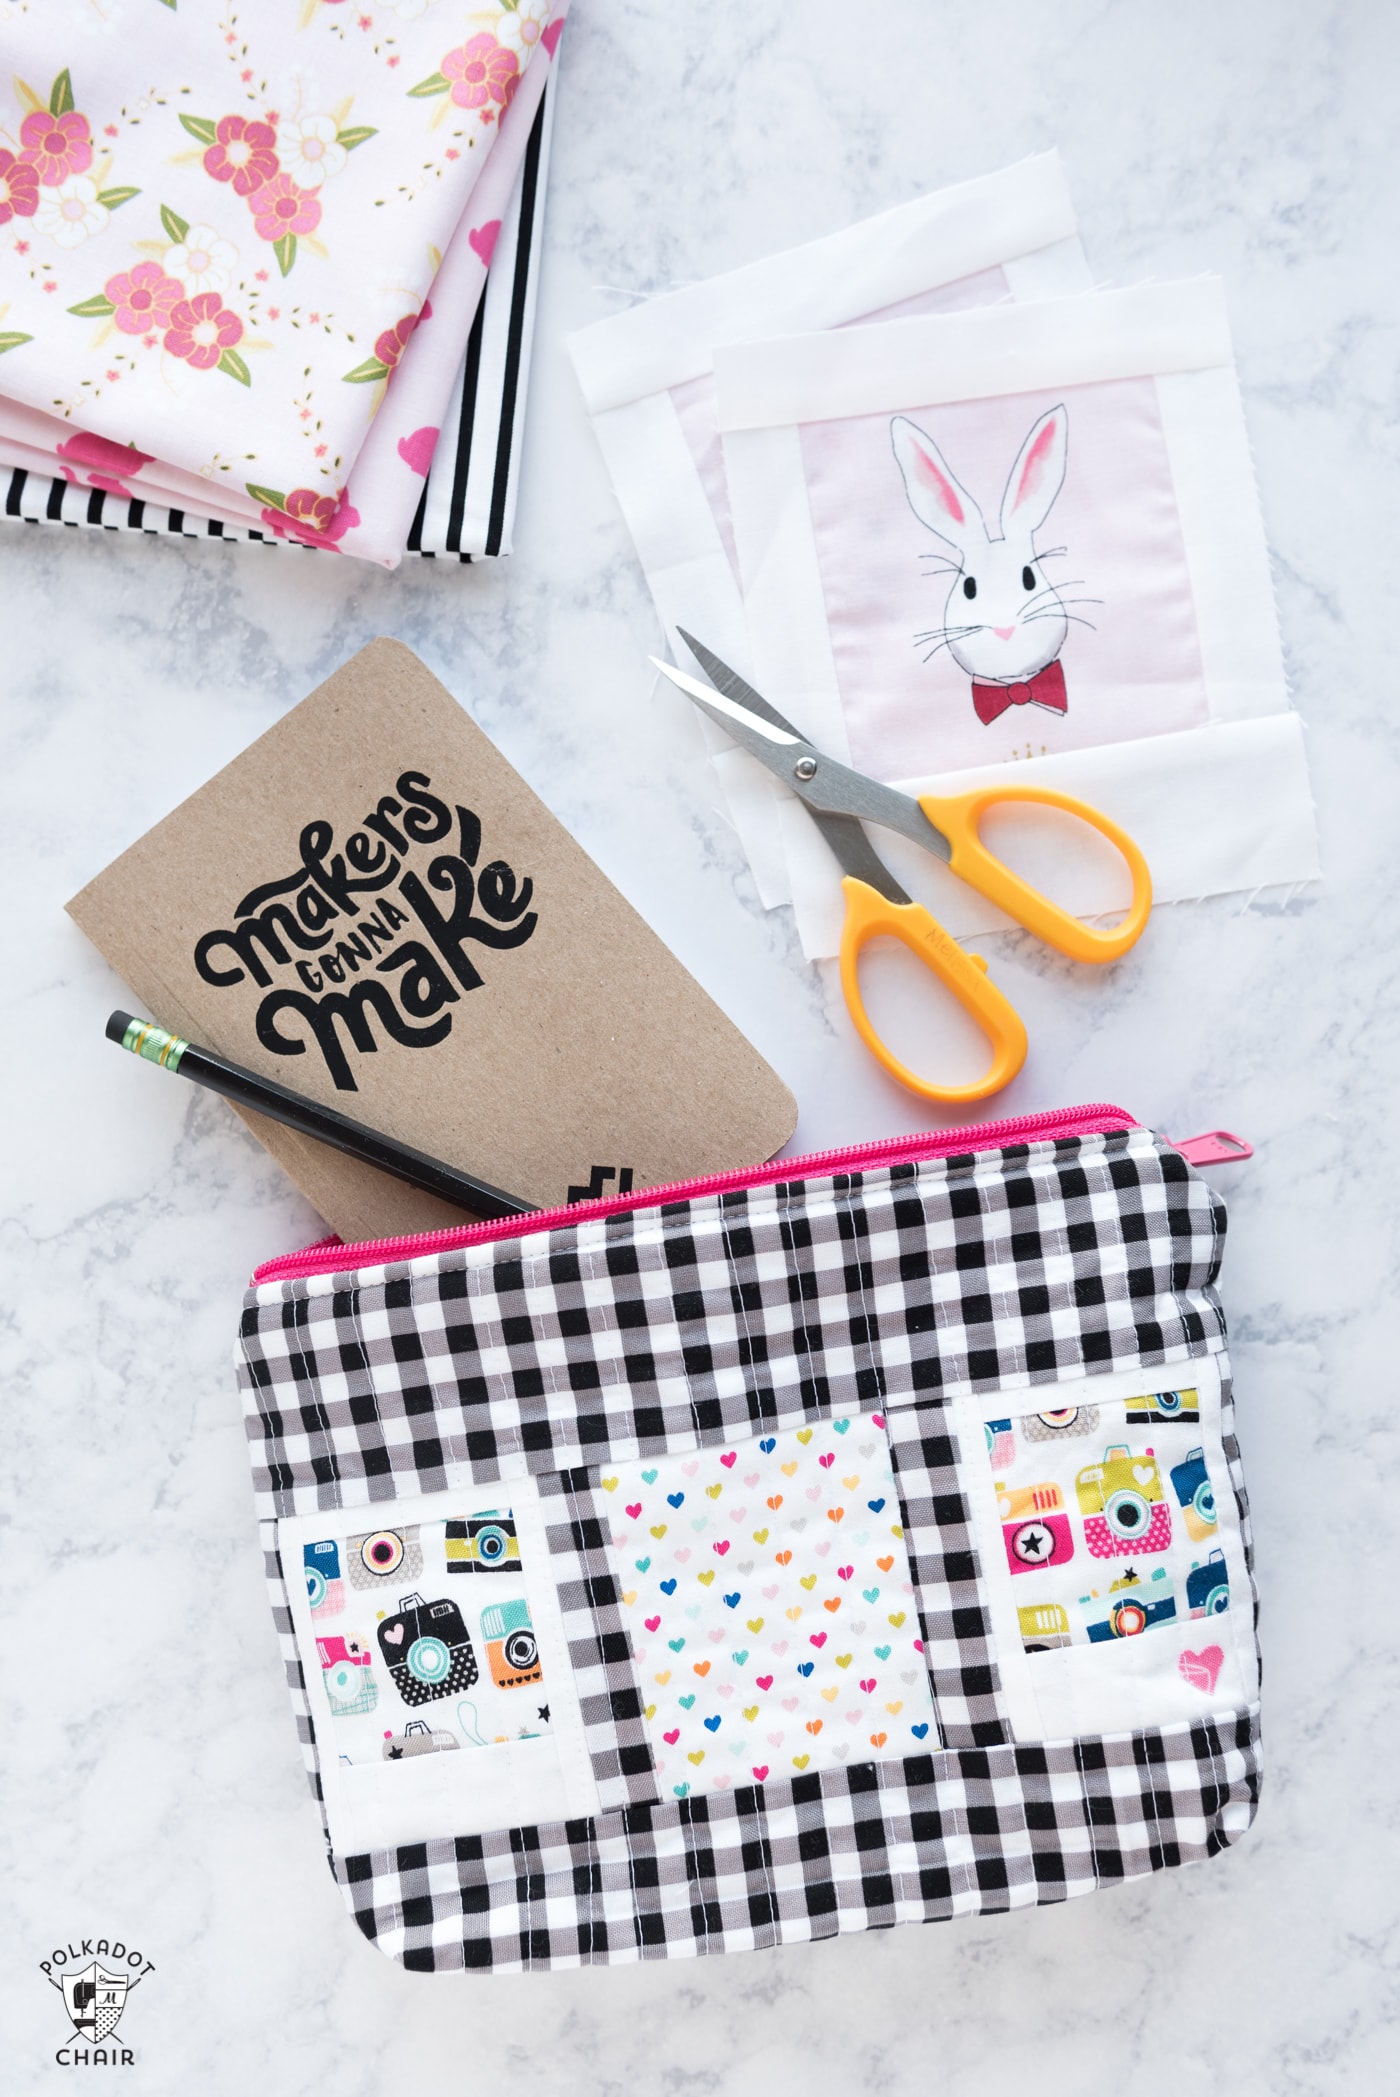
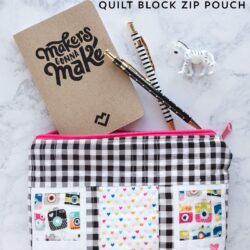
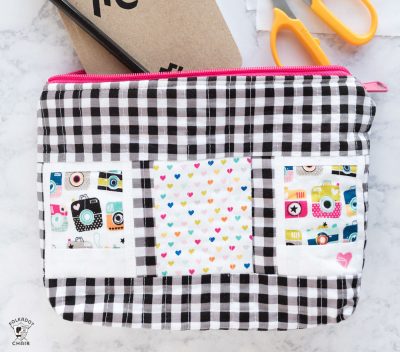
Polaroid Quilt Block Zip Pouch Tutorial
Today, I’m going to show you how to turn a few quilt blocks into a quilt block zip pouch. I used polaroid quilt blocks, but you could easily use this method to create a zip pouch from any type of quilt block!

In this tutorial, I’ll share with you how to create a simple Polaroid quilt block zip pouch. I want to inform you before we begin that this tutorial does not provide exact measurements. I’m taking the “teach a man to fish” approach to this tutorial and trying to convince you to create something that is slightly improvisational, rather than following an exact pattern.
If that bothers you, then this tutorial may not be for you. I ask you to give it a chance, though. Once you try it and see that it works, I think you’ll like it. I think you’ll especially like the fact that, using this method, you can make a zip pouch of any size you want with any small quilt block. You’re not restricted to only the sizes offered on a specific sewing pattern.
Last week, I shared with you how to make ‘no math’ polaroid quilt blocks. Today, I’m going to share with you one idea of what to do with your completed blocks.
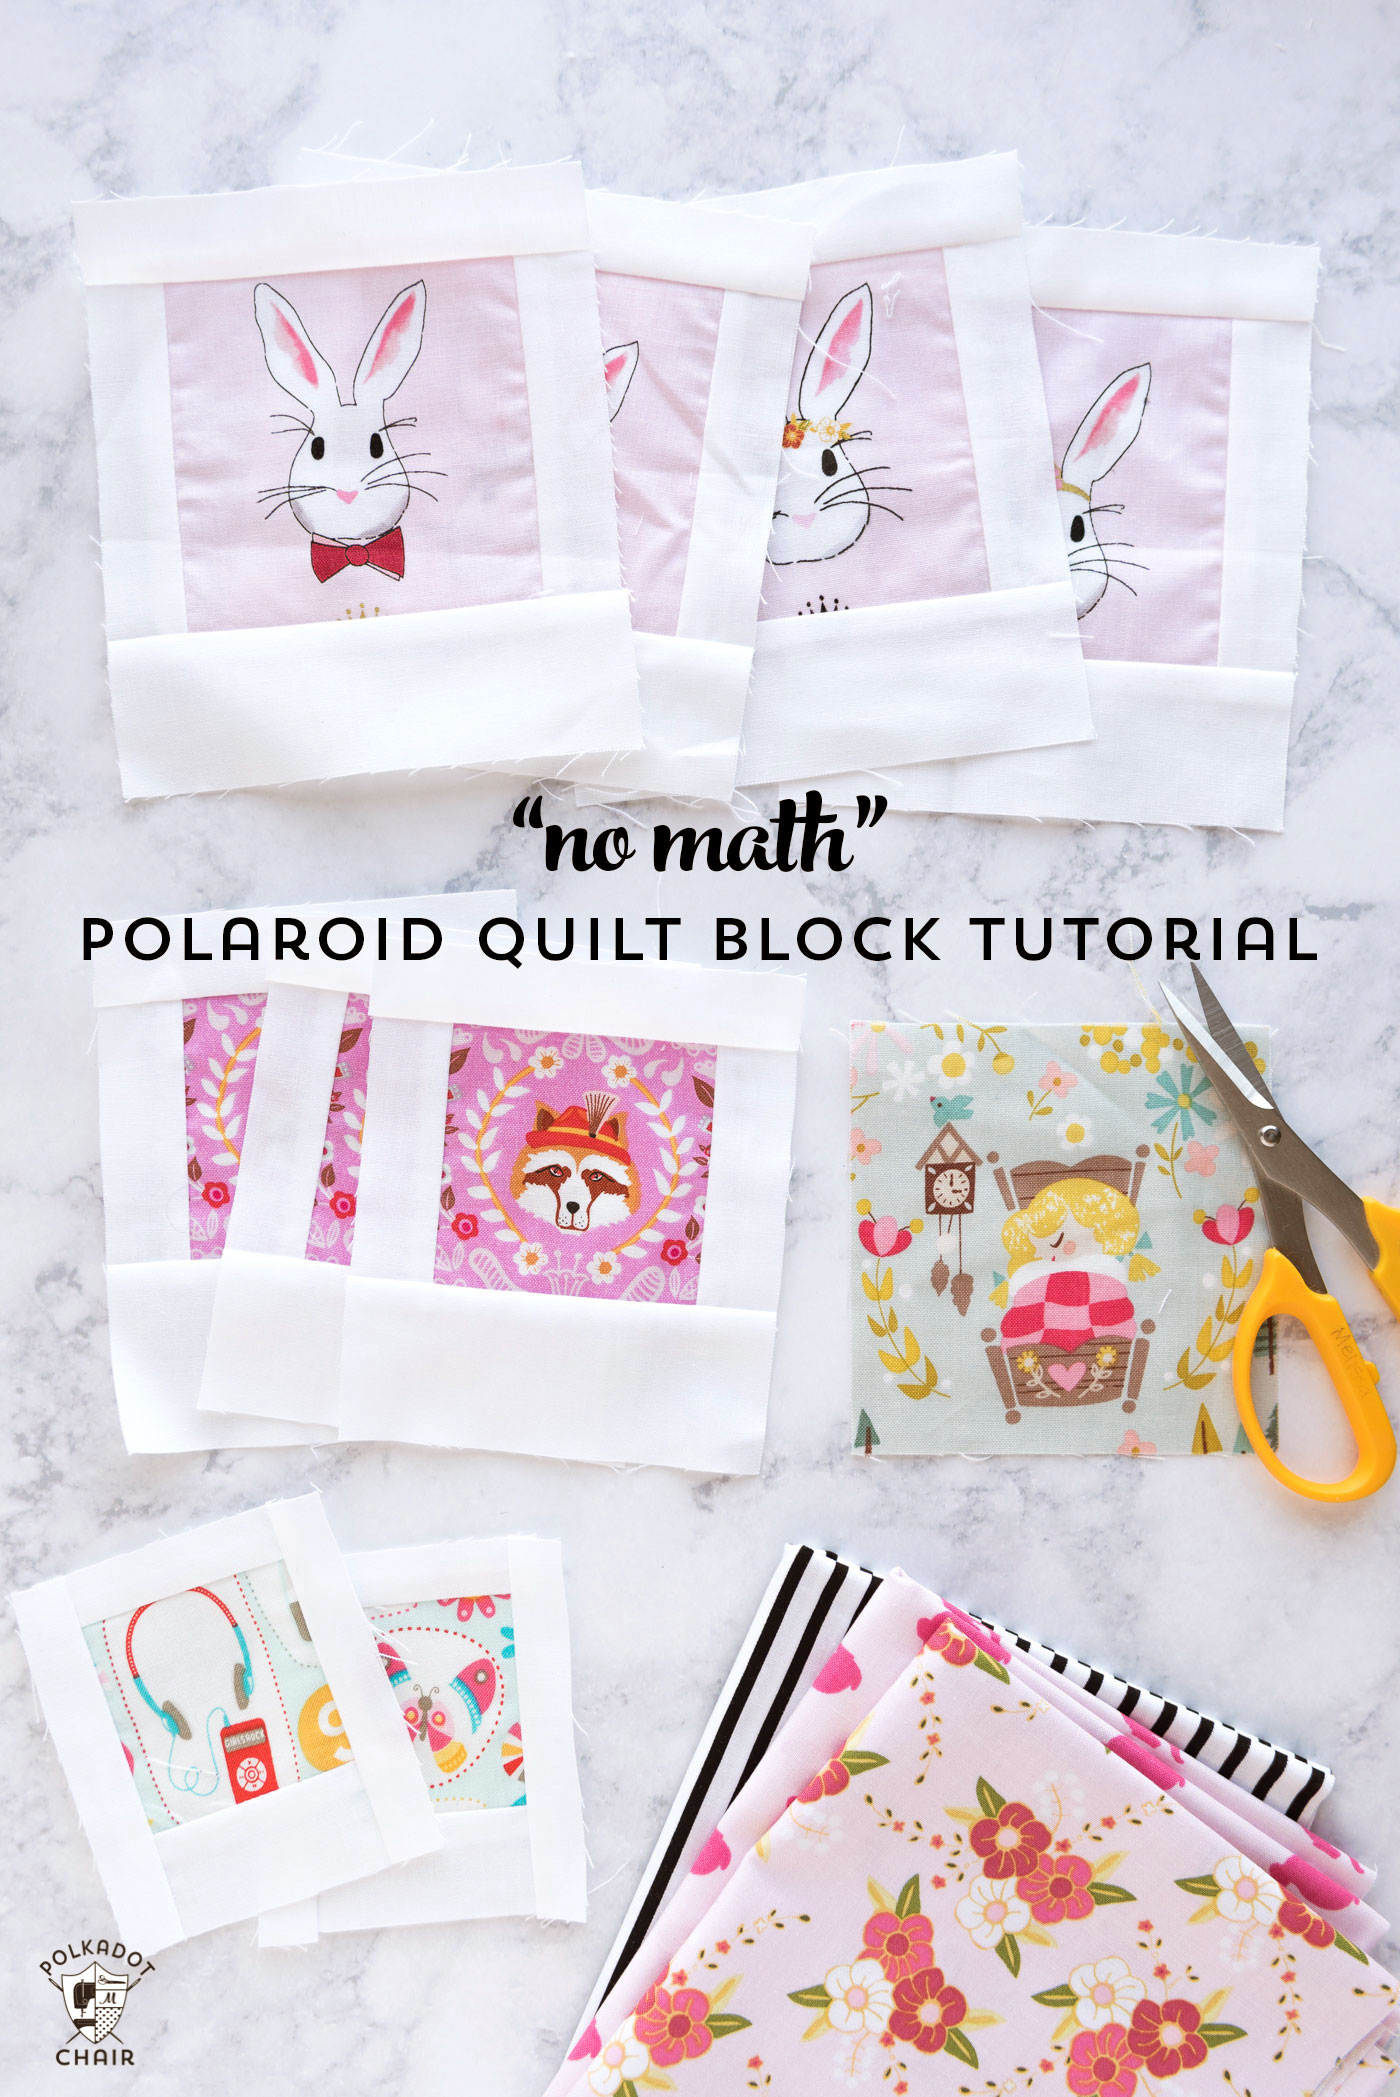
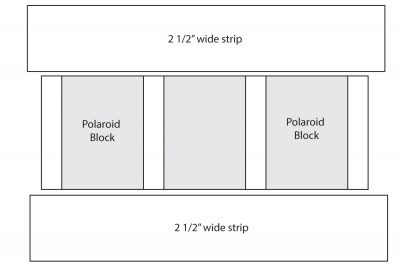
The blocks I used for this pouch started with a 2 1/2″ center square, 1″ top and side borders, and a 2″ bottom border.
I used two quilt blocks and one scrap of fabric for this project; you can easily use three quilt blocks if you like.
Ready to make one?
All seam allowances are 1/4″
Polaroid Quilt Block Zip Pouch Tutorial
Equipment
supplies
- 3 quilt small quilt blocks
- 1 Fat Quarter Fabric for the Background of Blocks
- 1 Fat Quarter Fabric for Zip Pouch Back
- 1 Fat Quarter Fabric for Zip Pouch lining
- 1 Polyester Zipper
- Fusible Fleece
Instructions
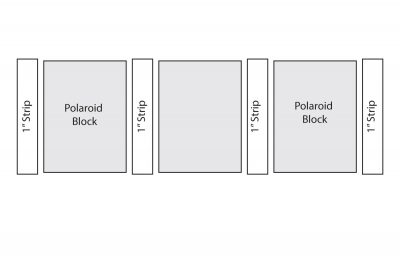
- To begin, cut four strips of fabric, each at least as long as your quilt blocks are tall.

- Stitch the quilt blocks to the strips as shown in the photo above.
- Press all seams to one side, then trim the strips so that they are all flush with the top and bottom of your quilt blocks.
- Next, cut two strips that are 2 1/2 inches wide (you can make them wider if you like!) and an inch or so longer than your sewn quilt block/strip piece.
- Stitch the strips to the top and bottom of your quilt blocks. Press seams to one side and trim so that all of your edges are even.
- Using this sewn piece as a pattern, cut out one more piece of fabric for the back of your zip pouch and two pieces of fabric for your lining pieces.
- You also need to cut two pieces of fusible fleece the same size.
- Press the fusible fleece to the wrong side of the zip pouch outside pieces.
- Using your machine, quilt the outside of your pouch. My quilting lines were 1/2″ apart.

- Find a polyester zipper that is at least as long as your zip pouch is wide. If the zipper is longer than your pouch, that’s ok. Just cut the extra zipper off so that it’s the same size. You can ONLY do this if you have a polyester zipper.
- To finish constructing your zip pouch, follow the instructions on this ZIP POUCH SEWING TUTORIAL. (Note: you will not attach cork strips to this pouch, just skip that part of the tutorial.)

I currently own two of these and like both. Just wish they were a lil bit bigger and offered an outside zippered pocket on it for storing scissors sticky note n such.