How to Print Two Photos on 4×6
Today I was getting ready to share with you how I quickly scrapbooked all of our photos from our Spring Break trip last year. While I was writing the tutorial I realized that I had a few “tricks” that I could share with you when it comes to printing out photos for a scrapbook. Even though I live so much of my life “online” these days I still make a conscious effort to print out photos to keep on a regular basis. If you haven’t done it in a while, you should think about doing it.. these “digi” files might not be here forever, even the Google CEO agrees with me. *wink*
(This post contains affiliate links)
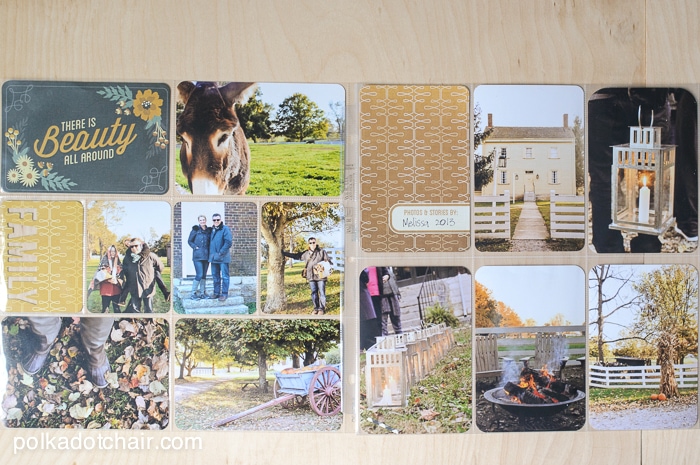
The last few years I’ve been using a scrapbooking method called Project Life. Becky Higgins is credited for inventing this method of scrapbooking which utilizes pocket pages for scrapbook albums. You simply print your photos then slip them into an album.
Easy peasy lemon squeezy… You can read more about it on her blog.
Anyway, the method uses many 4″ x 3″ photos. A lot of times you can just crop your photos down to 4×3 (especially if there is a lot of background you don’t need), but I don’t like doing that. You can print 4×3 photos at home easily but if you’re going to be printing a lot of photos it’s a lot more economical to print them at a photo lab.
So the question becomes… How do you print two photos on one 4×6 photo?
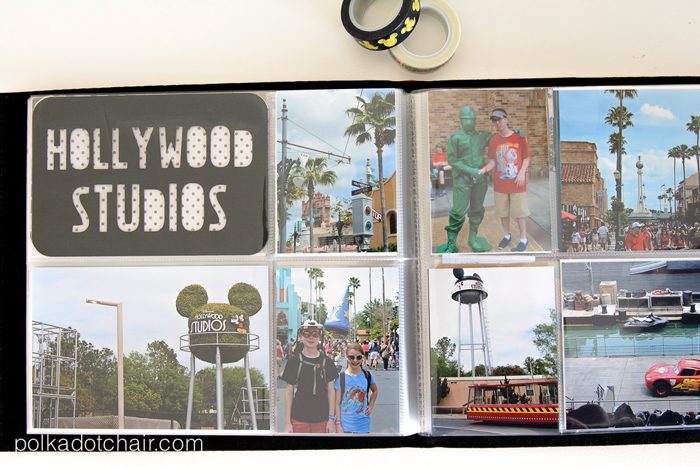
The photo album I chose to use was pre bound and featured 2 4×6 horizontal photo slots and 2 4×3 vertical photo slots on each page. I had a lot of printed cards for the 4×3 photos but it still didn’t solve the problem for me of what to do with my pictures that were oriented vertically.
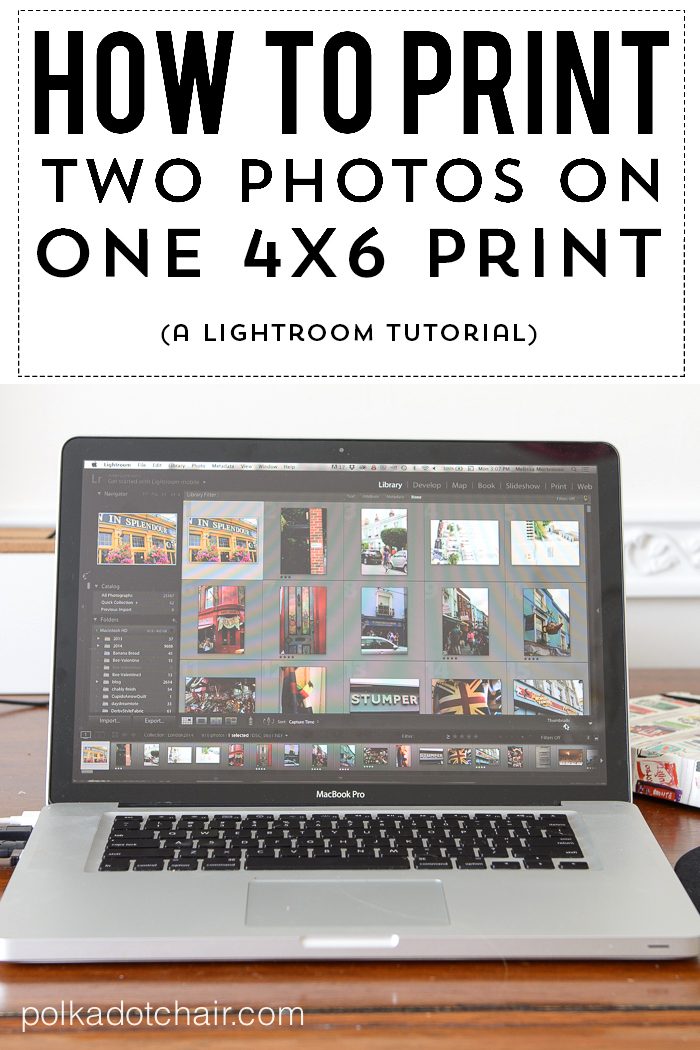
So what I did is figure out a way to print 2, 4×3 photos on one picture. This method uses Lightroom. I know that not everyone has Lightroom, but as Adobe programs go it’s not very expensive and very easy to learn. You can edit and organize all of your photos in batches. It has absolutely changed how I “work” when it comes to photographs. I have THOUSANDS of photos and it keeps them all very organized for me. I can also make photo books right from the program… there are many other benefits, if you’re looking for a new photo program, I’d recommend checking it out.
I plan on making a similar album of our trip to London last summer, so I’ll show you how to do this using those photos.
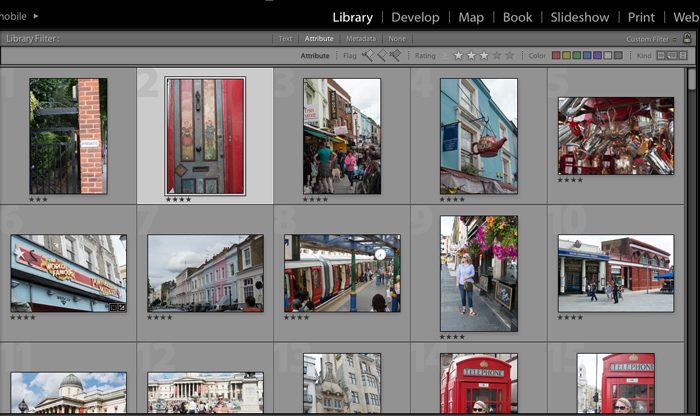
In Lightroom make a collection of ALL of your vacation photos. Go through and rate them 1-5. I chose to print all of my photos rated 3 and above. So using the tool bar on the bottom, filter so that all of your 3 + photos are showing. Edit your photos so that they are ready to print.
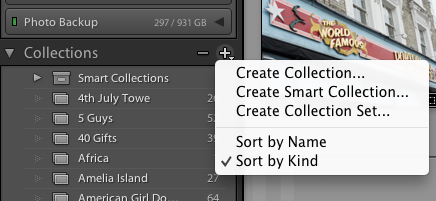
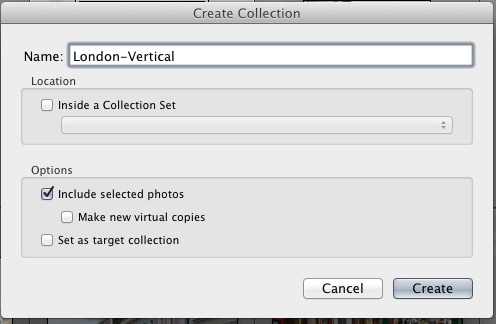
In the Library module, create another collection. This will hold all of your vertical photos (photos can be in more than one collection, don’t worry you won’t mess anything up).
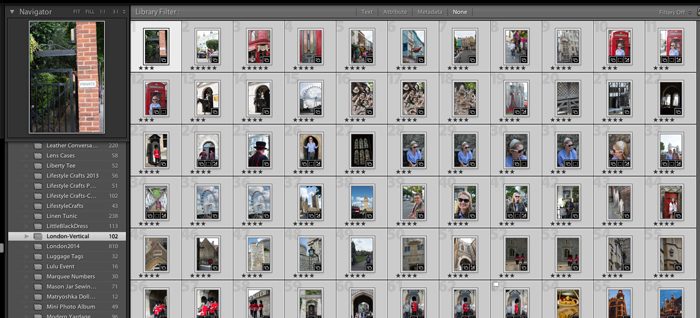
I called my London Vertical – (hint… collections are alphabetical, name it the same as your original collection with an extension so that it shows up right under it when you’re viewing your collections).
In the Library module select each photo that is oriented vertically. Hold down the control/command key as you go so that you can select multiple photos.
Now, click on one of the photos ON THE PHOTO and pick up and drag the photos you selected into the collection you created.
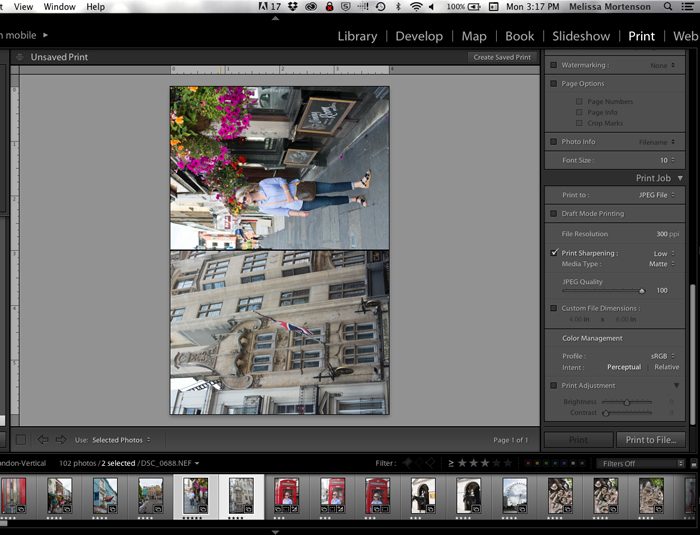
On the top left, click on the Print module. Select the two photos you want on the same sheet. They will show up next to each other (I usually go in order so I don’t mess up and miss a photo).
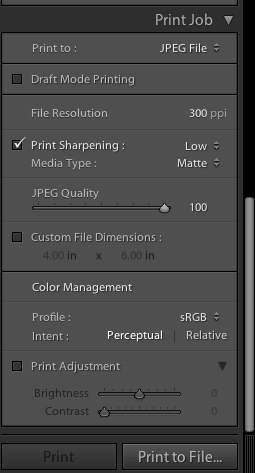
On the far left scroll down to the Print Job callout box. Make sure your resolution is 300 ppi and your image quality is correct.
Then click PRINT TO FILE
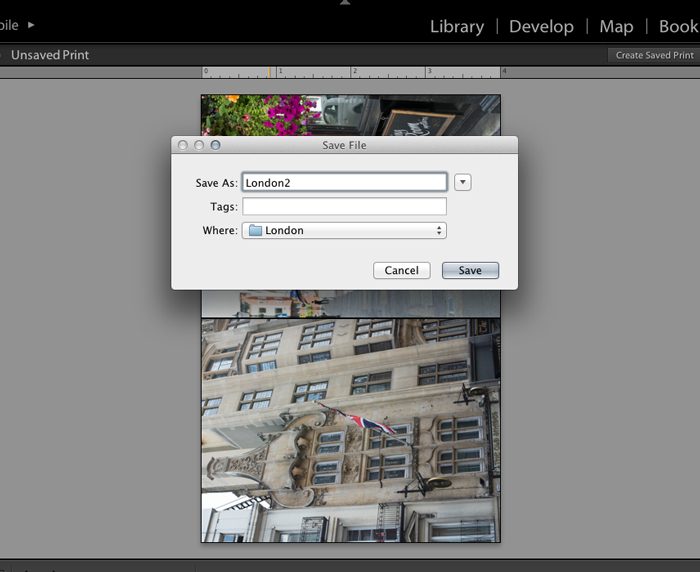
This dialog box will pop up. Name the photo (I go in order) and place it in a designated folder. I make a new folder on my desktop to make uploading to a photo site easier.
Then click save.
You now have a new .jpg file that has 2 photos on it. All you have to do is now upload those .jpg files to your preferred photo printing service. They will see the photos as a standard 4×6 print. After you get them back, simply cut them in half!
I know that this tutorial is a bit more “techy” that what I normally share, but I always get loads of emails about how to do certain things, I thought this might help some of you guys out! I will say I don’t know how to do the same thing in iPhoto.. I do know how to in Photoshop but it takes sooo long, you won’t want to do it that way.
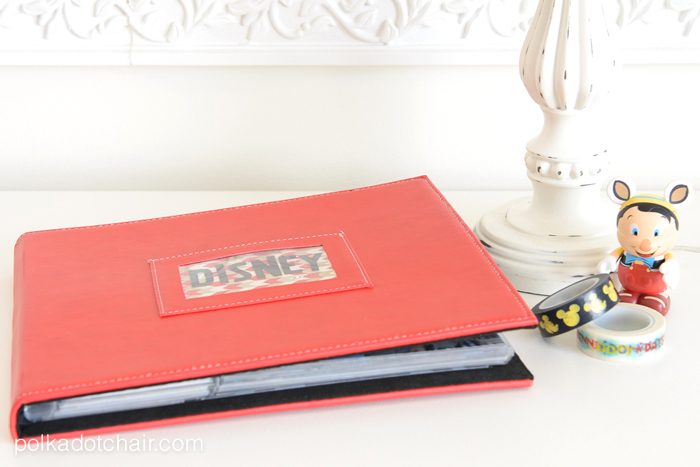
Next week I’ll share with you more about the Disney photo album, for now, if you’re interested you can pick up the scrapbook albums on Amazon.

