How to Make a Yarn Pom Pom
Learn how to use a Pom Pom Maker to create cute yarn pom poms!
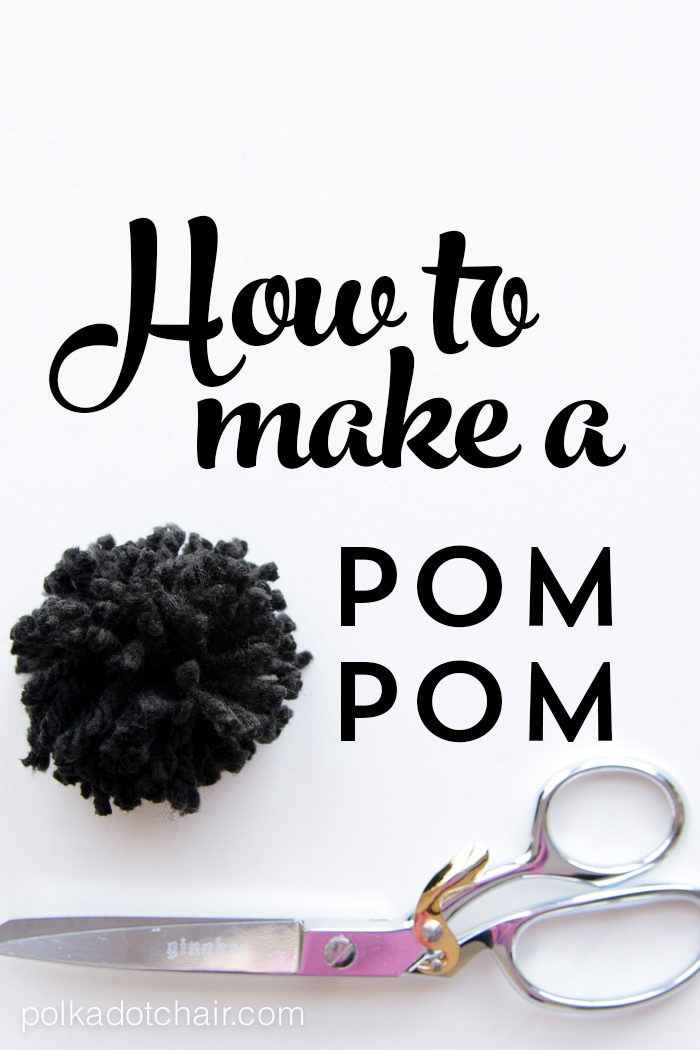
Hey there!! Today is 10 Minute Tuesday!! Today’s project is pretty simple but is something that can so easily be used as the perfect finishing touch for a project.
I’m sharing a tutorial to make this Pom Pom pillow over at Tatertots and Jello today and thought that some of you might be interested in how to make the big yarn pom poms that are attached to the pillow.
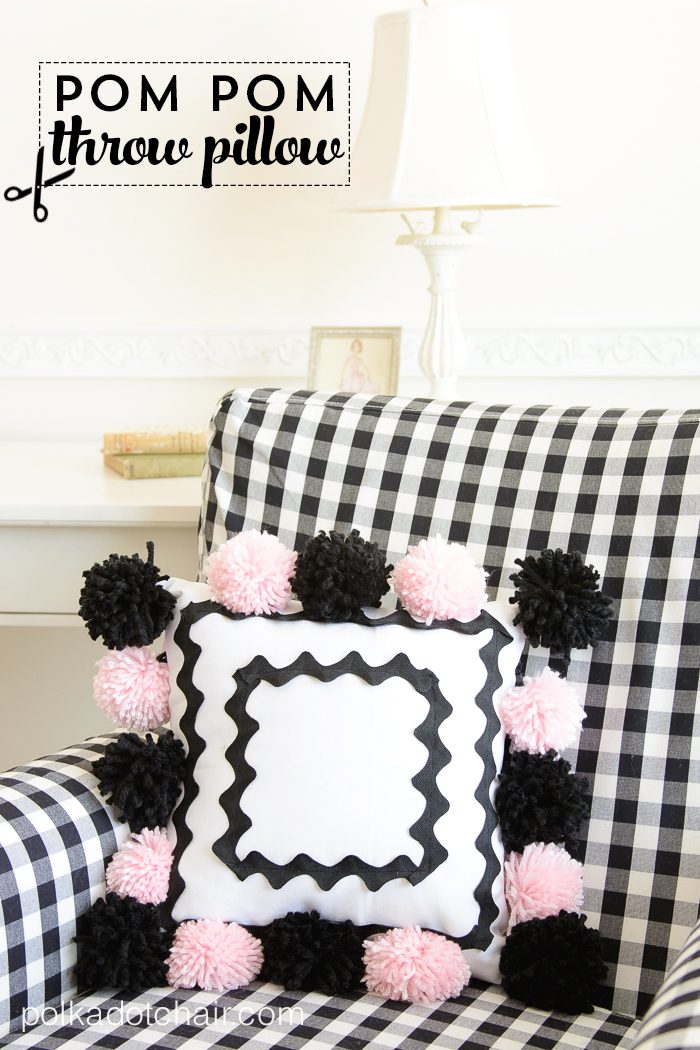
For the full sewing tutorial for the pillow hop on over to Tatertots and Jello.
Yarn Pom Pom Uses
These pom poms are so easy to make and are really fun too! They are a also great project if you’re looking for something to do with your kids. You can add them to pillows, banners, party decorations,signs, clothing or zippered pouches as I did here with my pom pom zipper pulls.
How to Make a Yarn Pom Pom
There are several ways to make a pom pom but my favorite is to use a pom pom maker. I bought it several years ago and it has more than paid for itself since then. They carry them on Amazon if you’d like to pick one up for yourself.
What Type of Yarn to Use
As I’ve been making the pom poms I’ve come to realize that the yarn that you make the pom pom with is very important. For a tight and symmetrical pom pom use standard weight yarn. If you want something bigger with more “poof” use a fun textured yarn.
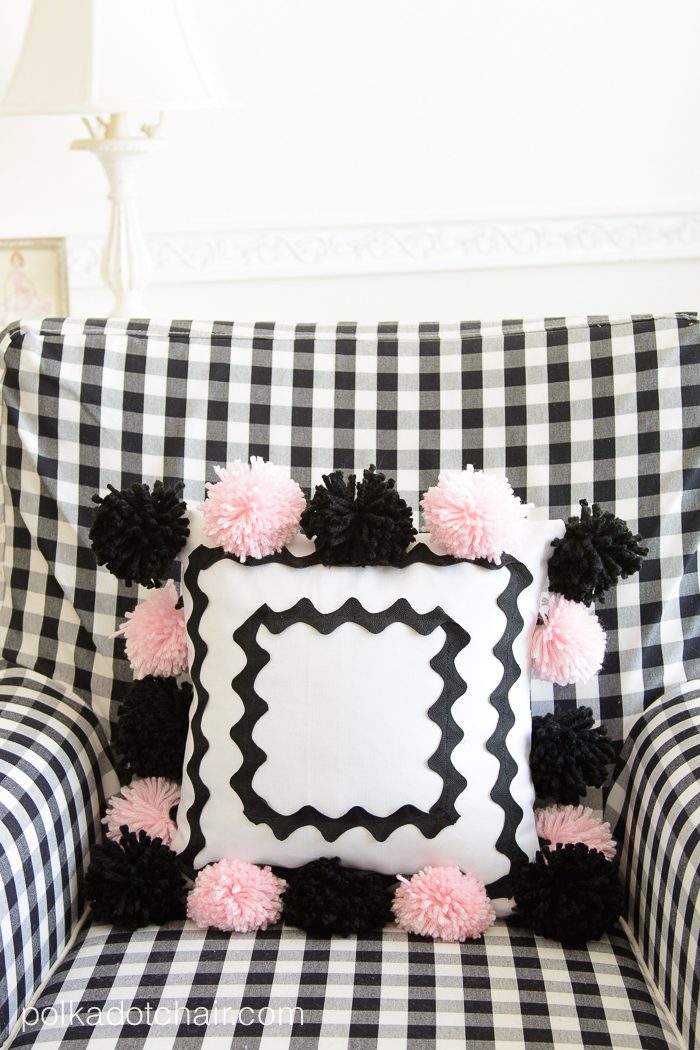
The pillow I made uses a combination of the two for a bit of variety.
Okay,
Are you ready to make one??
Supplies
Instructions
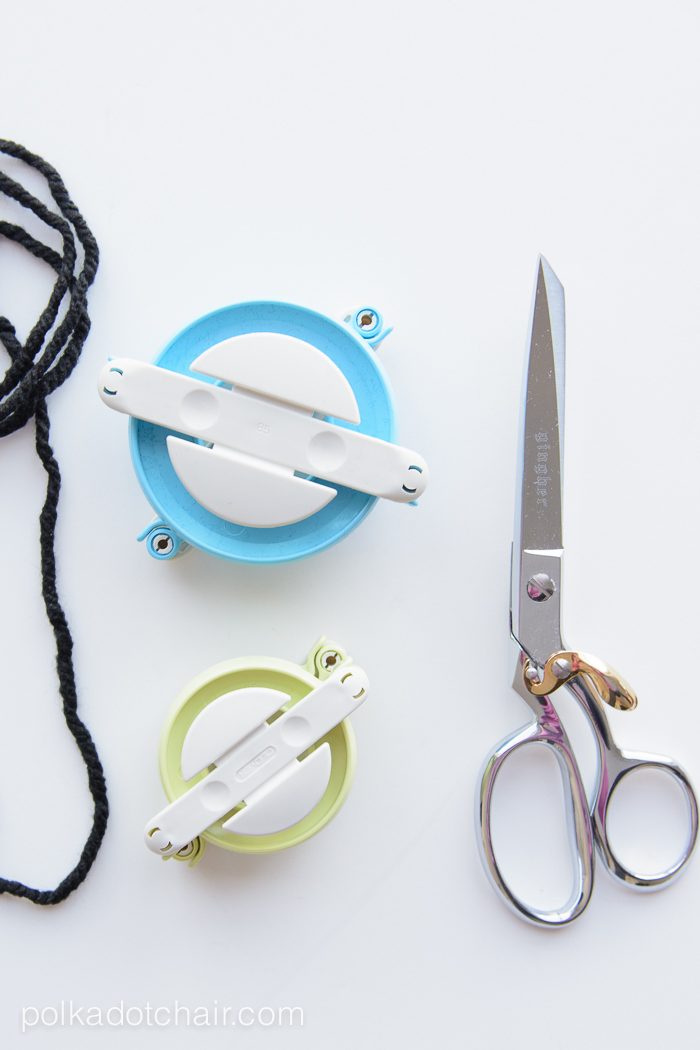
The pom pom maker comes with 2 sizes of pom pom tools we are going to use the larger of the two.
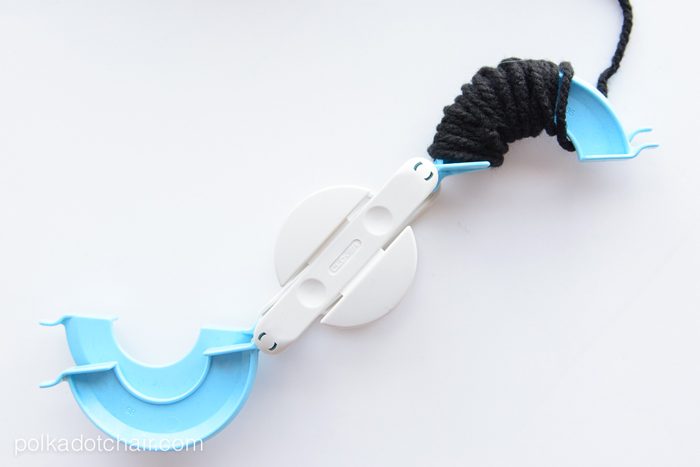
Start out by folding the arms of the pom pom tool out and begin wrapping the yarn around one of the U shaped extensions.
Keep wrapping until it’s completely covered.
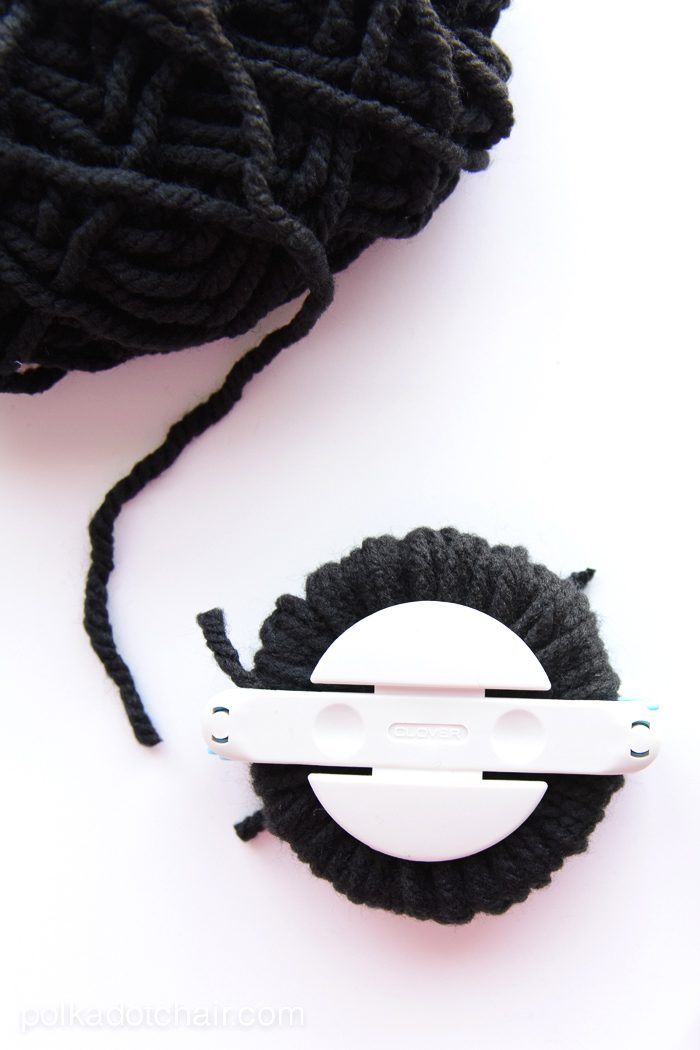
Repeat for the other side then fold the U shaped extensions back into the center of the tool.
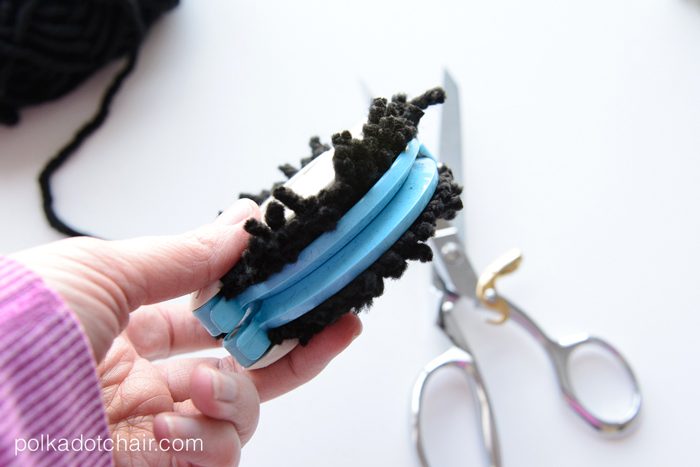
Using good sharp scissors trim the yarn along the valley of the two U shaped arms.
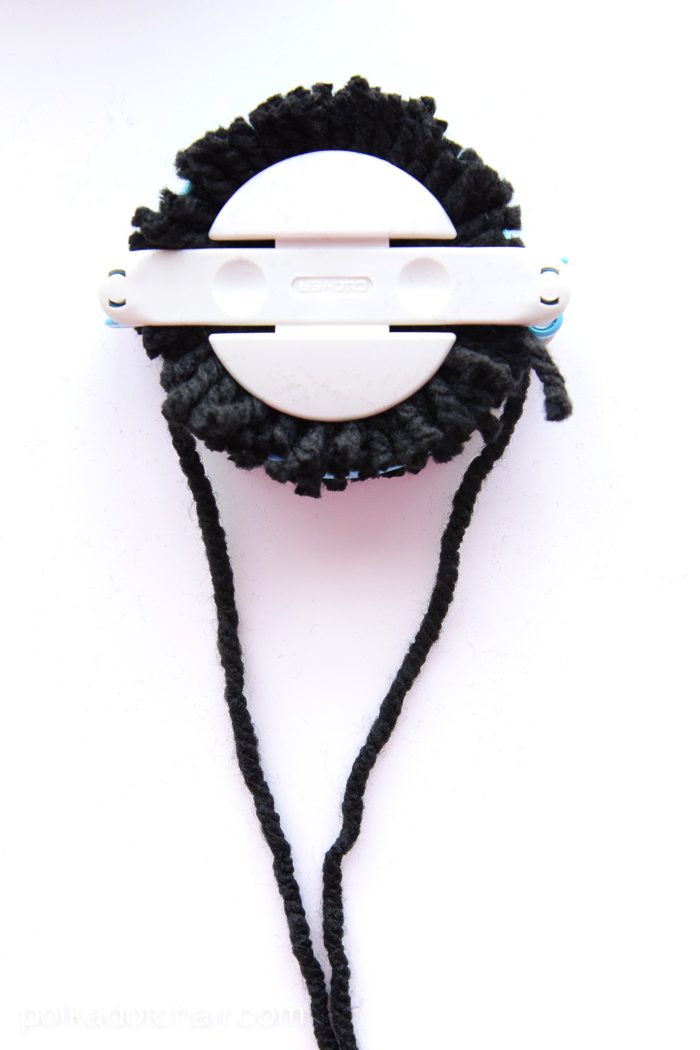
Next take a very long piece of yarn and wrap it around the tool. It will slide through the valleys in the U shaped arms.
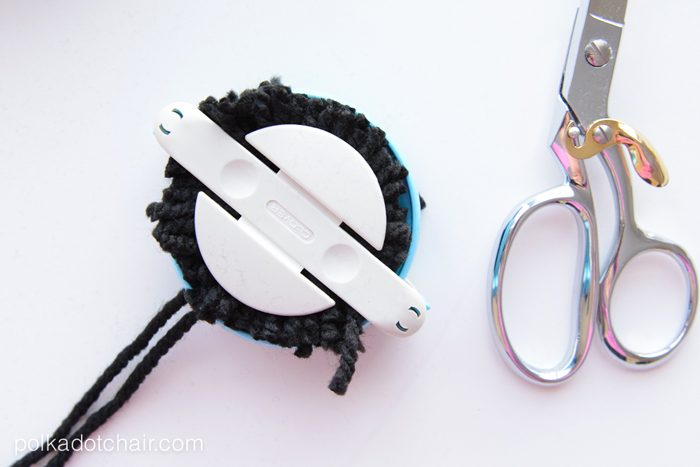
Tighten as much as you can without breaking the yarn (if you are using a very delicate yarn you might want to do this step with string instead).
Tie a knot.
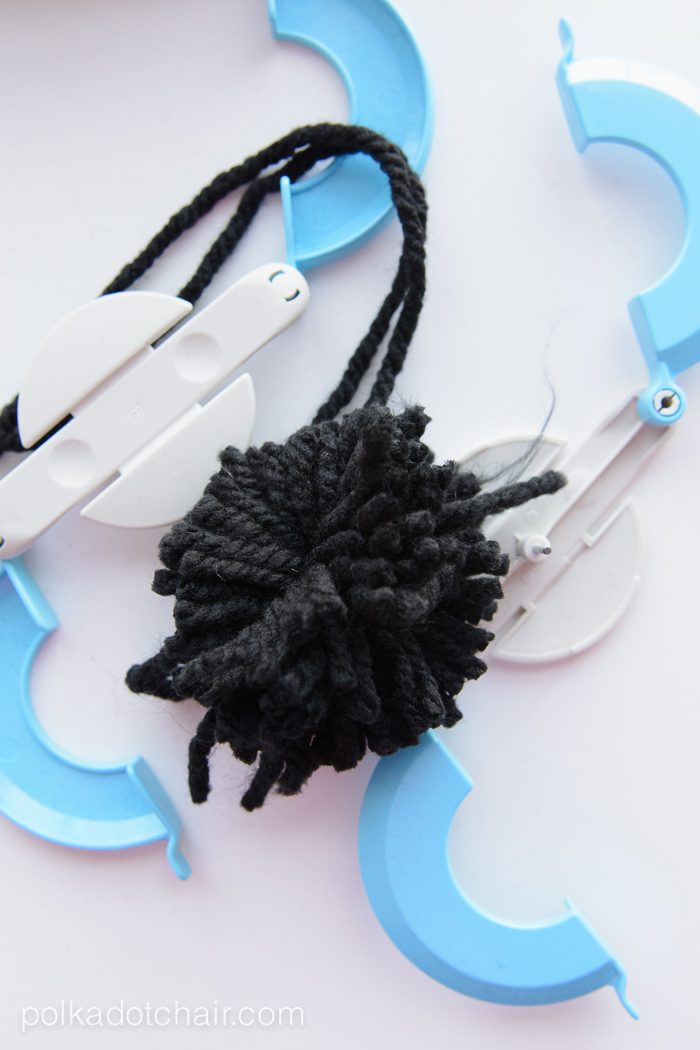
Open the arms and pull the tool apart.
Fluff and trim the pom pom.
If you’re making the pillow, leave the tails on the pom pom, otherwise, trim the tails even.
You May Also Like:
20+ Projects to Make with Pom Poms


