DIY Butterfly Art
If you like this DIY Paper Butterfly Artwork project you may also enjoy this My Old Kentucky Home Gold Foil project or this post with girls bedroom decorating ideas. This project is sponsored by American Crafts and #HSMinc
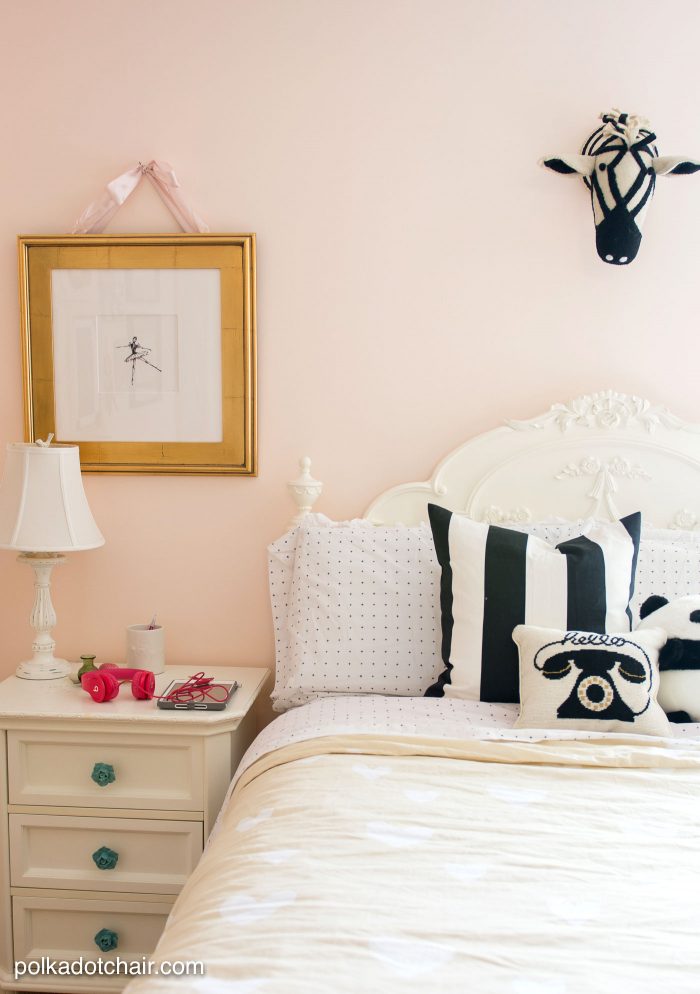
Last winter we began switching all of our kids rooms around. This process involved lots of purging of stuff we didn’t need anymore, moving furniture and painting many, many walls. My youngest daughters room had always been pink, she adores the color (you can see photos of her old room here). When we moved her into a different room she still wanted a pink room but a softer ballet pink. She also wanted to accent the room with pops of black, white and gold.
Since she has grown up quite a bit since we decorated her room the first time (she’s a teenager now) I donated a lot of the decor in her old room and started pulling items together for her new room.
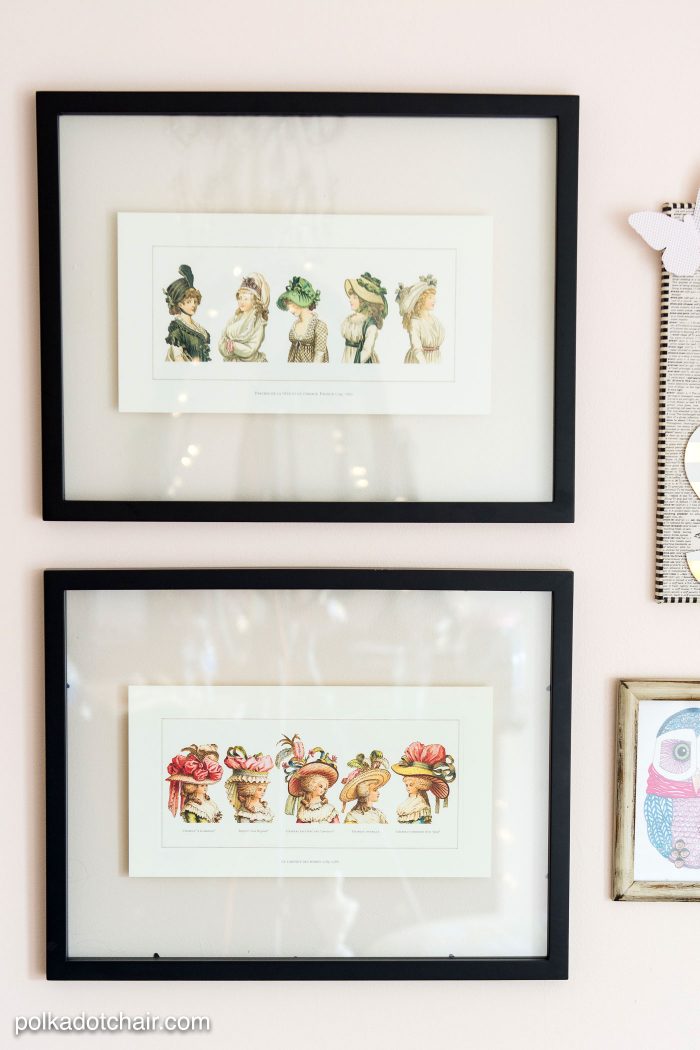
I’ve sewn a few things for her room (you can see the pom pom pillow I made her here) and pulled items from other parts of our house. I also framed a few prints that I picked up when we were in France a few years ago.
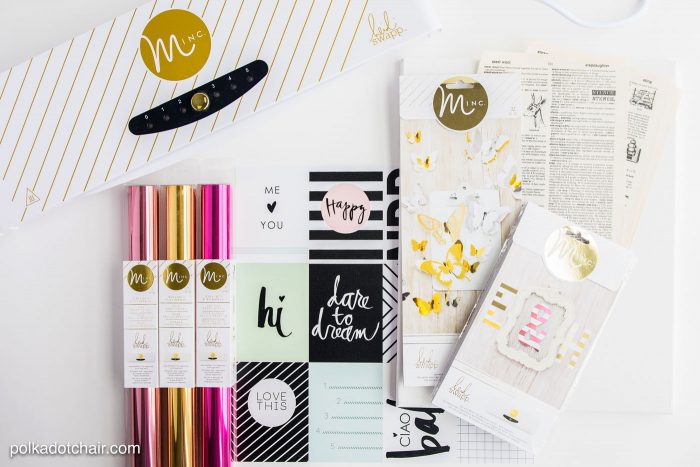
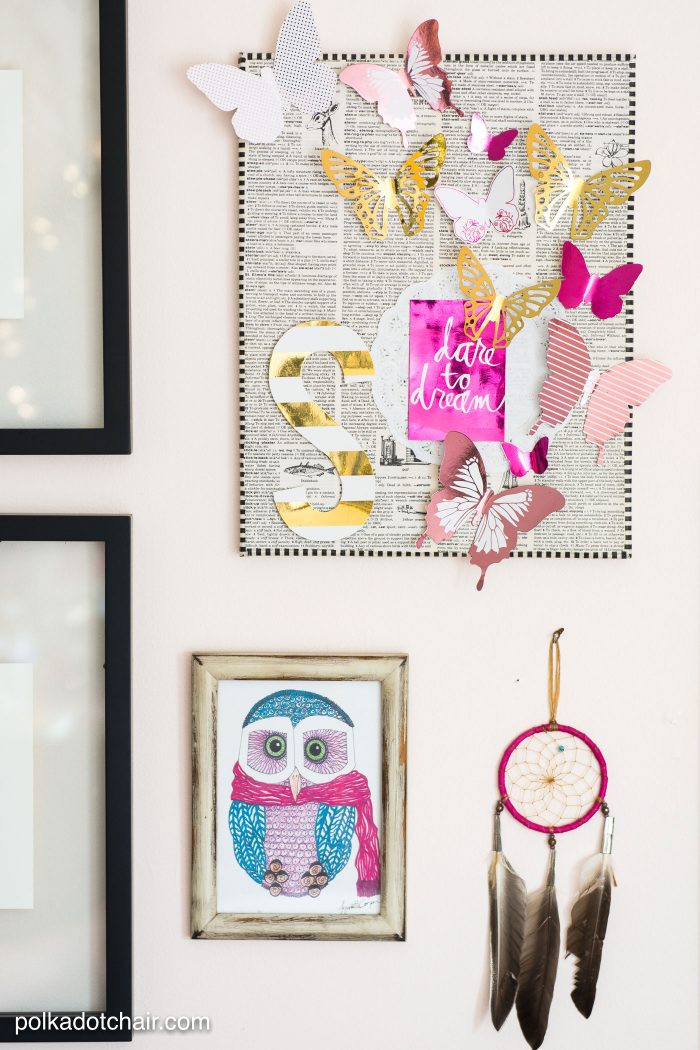
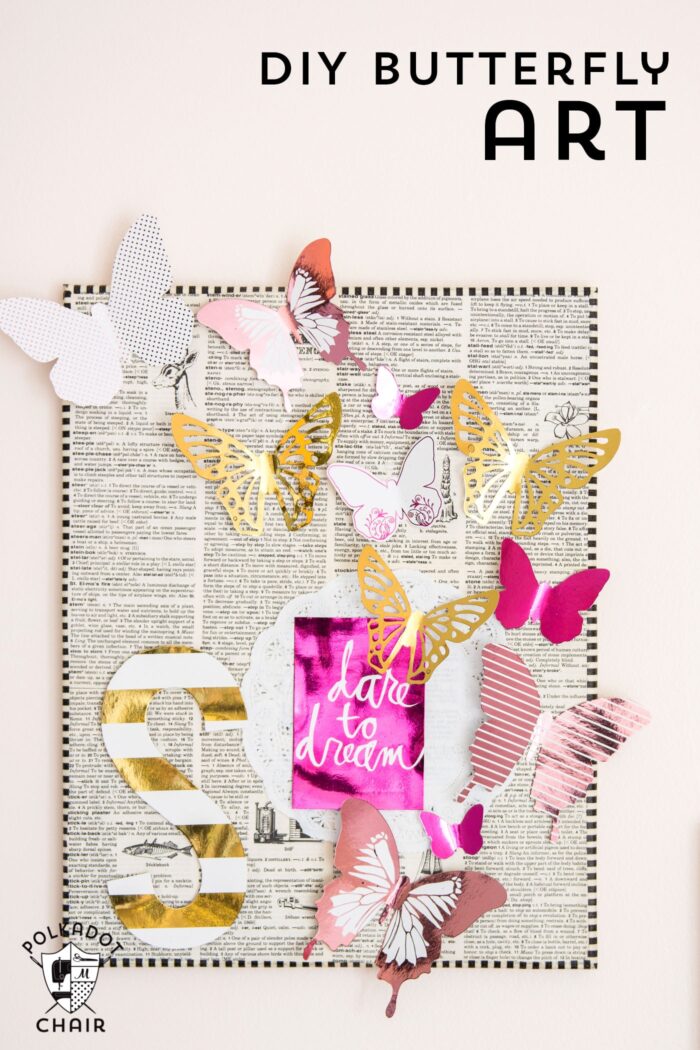
As I was pulling items together to create a gallery wall in her room, I noticed that I need a little bit more color on the wall and decided that I’d make a piece of artwork. I wanted a little bit of sparkle and shine and ended up using the Minc. foil applicator machine and a few of the Heidi Swapp Minc. paper products.
If you’d like to make a piece of artwork for yourself here’s what you’ll need:
- Heidi Swapp Minc. Foil Applicator Machine
- Gold, Pink and Hot Pink Foils
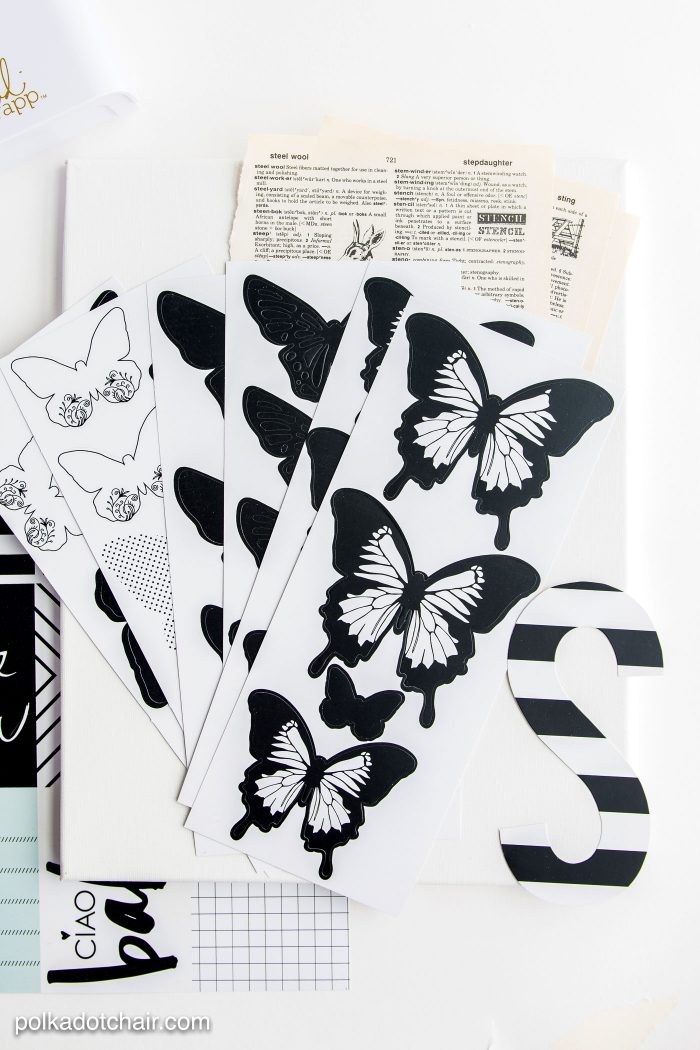
- Minc. Butterfly Package
- Minc. Jumbo Alphabet
- Doily
- Canvas
- Washi Tape (wide enough to cover the edge of the canvas)
- Old Book
- Glue Stick
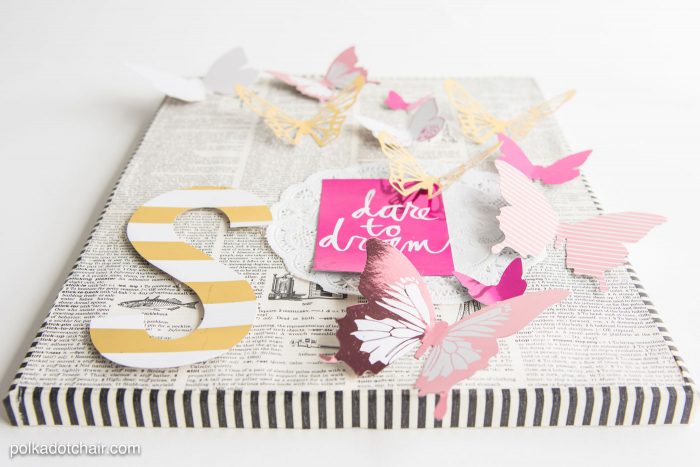
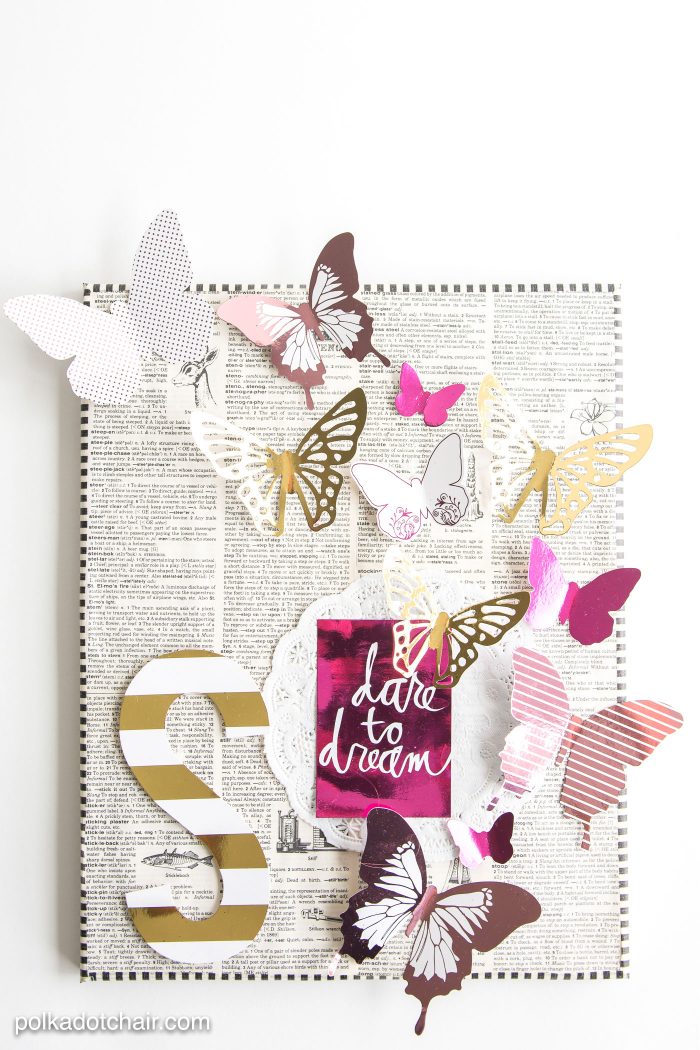
To make the art all you need to do is cover the canvas with old book pages. I just used a glue stick to attach the pages to the canvas.
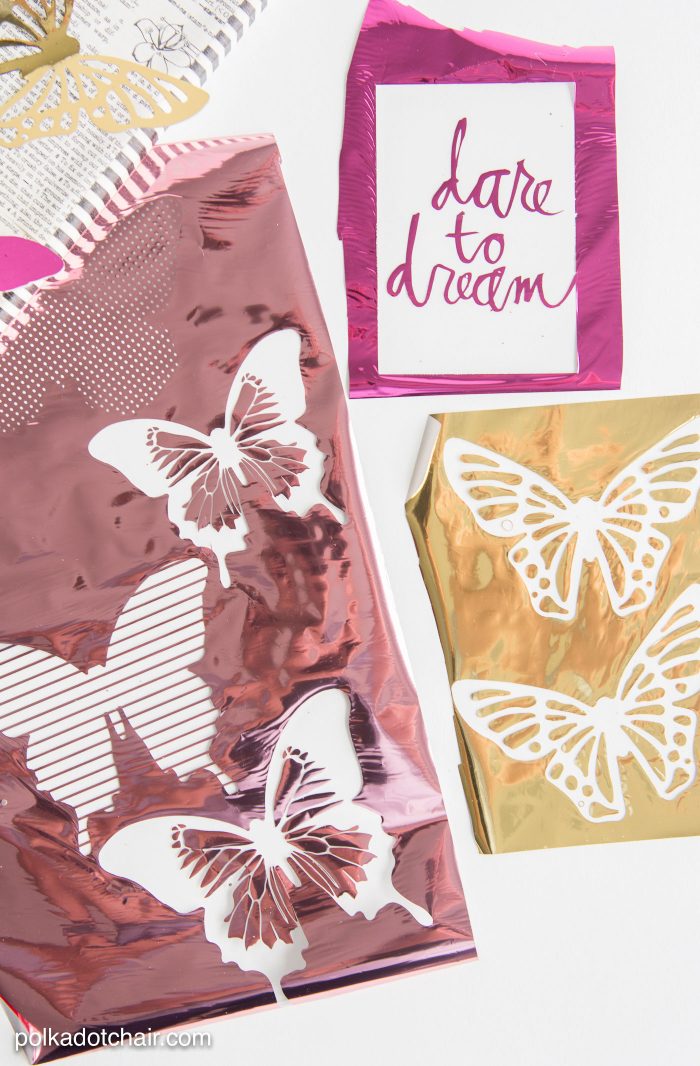
Next pass your butterflies through the Minc. machine using the 3 colors of the foil, you want a few butterflies in each color of foil. If you need a more indepth tutorial on using the Minc. machine you can click here for more information.
(even the leftovers from the foil are pretty)
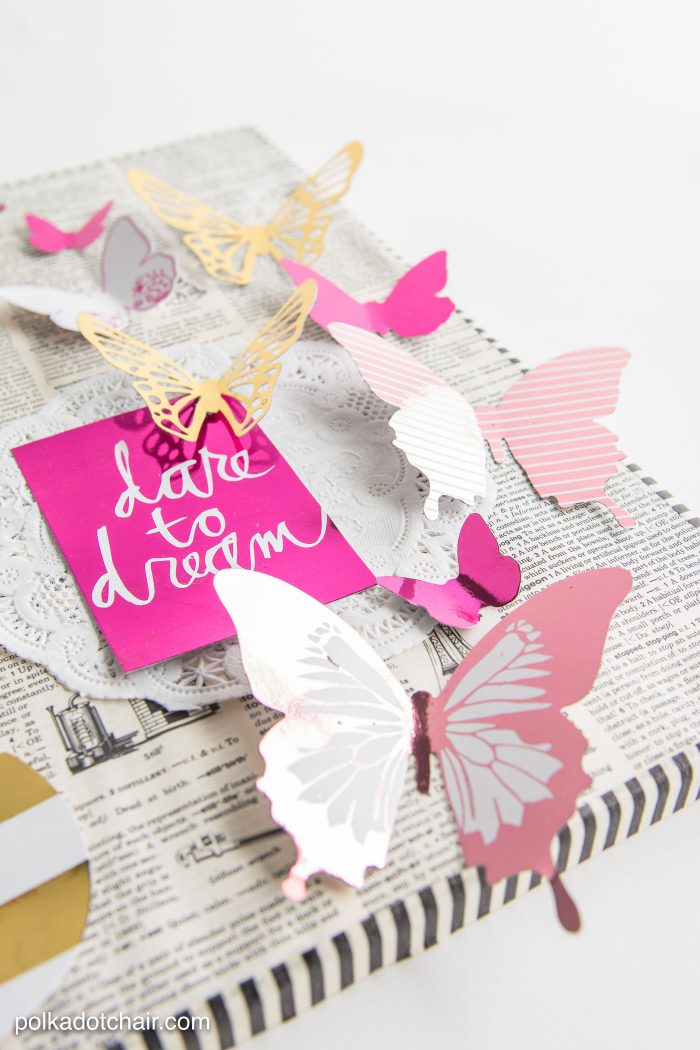
After that simply tape the butterflies to the canvas in the spots that you’d like them (I used strong double sided tape). Fold the wings so that they have some dimension.
Finish it off by applying washi tape to the edges of the canvas.
You’re done!! I also added one of the striped jumbo letters to my canvas, you can add elements as you like to personalize the artwork for your family.
When I did my reader survey last winter one of the requests I got the most was “more decorating posts and photos of the house”. I realized soon after, that the reason that I don’t share many house projects is that I’m always waiting for the rooms to be DONE before I share them….and as many of you know, rooms are seldom “done” they are usually always a work in progress.
I wasn’t going to share completed photos of the room yet because the pillow shams for her bed are on backorder (and there are still a lot of little projects to tackle in there, like recovering a bench and painting a nightstand)… then I just decided that I’d share a few photos anyway because otherwise I might not ever do it.
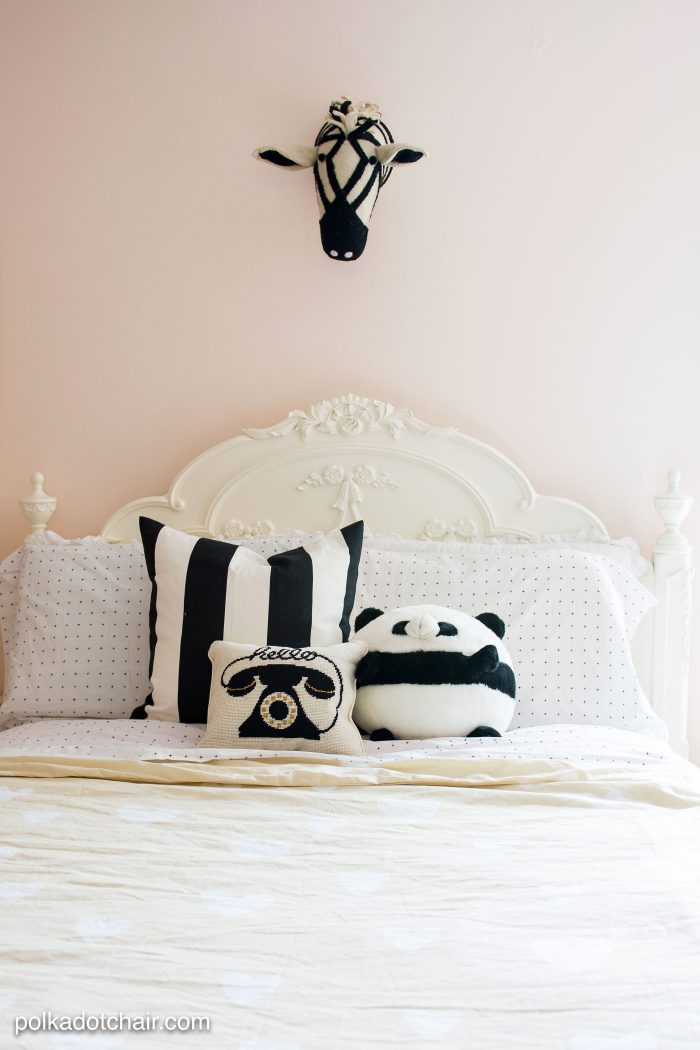
Here you can see her bed with the black and white accents that she requested. I about flipped when I found that zebra head at a local shop. I love the touch of whimsy it adds to the room.
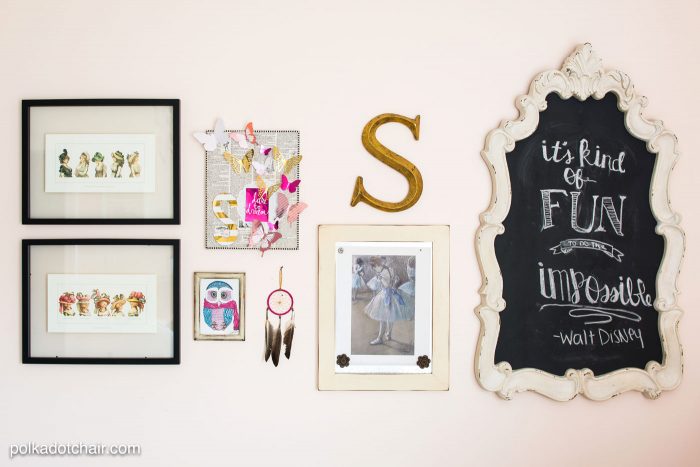
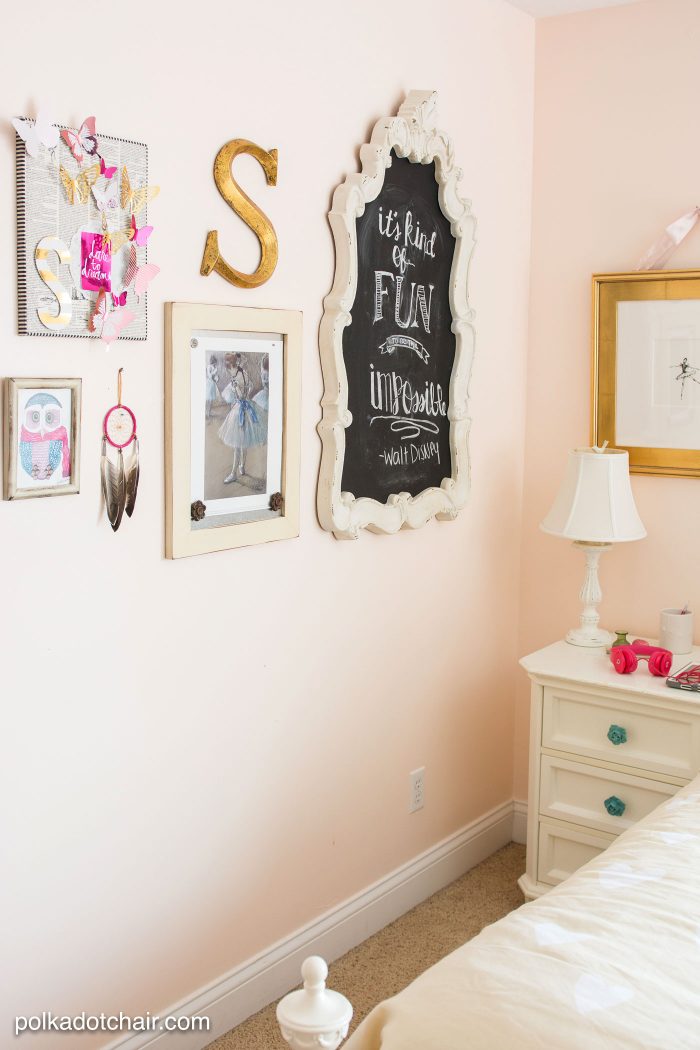
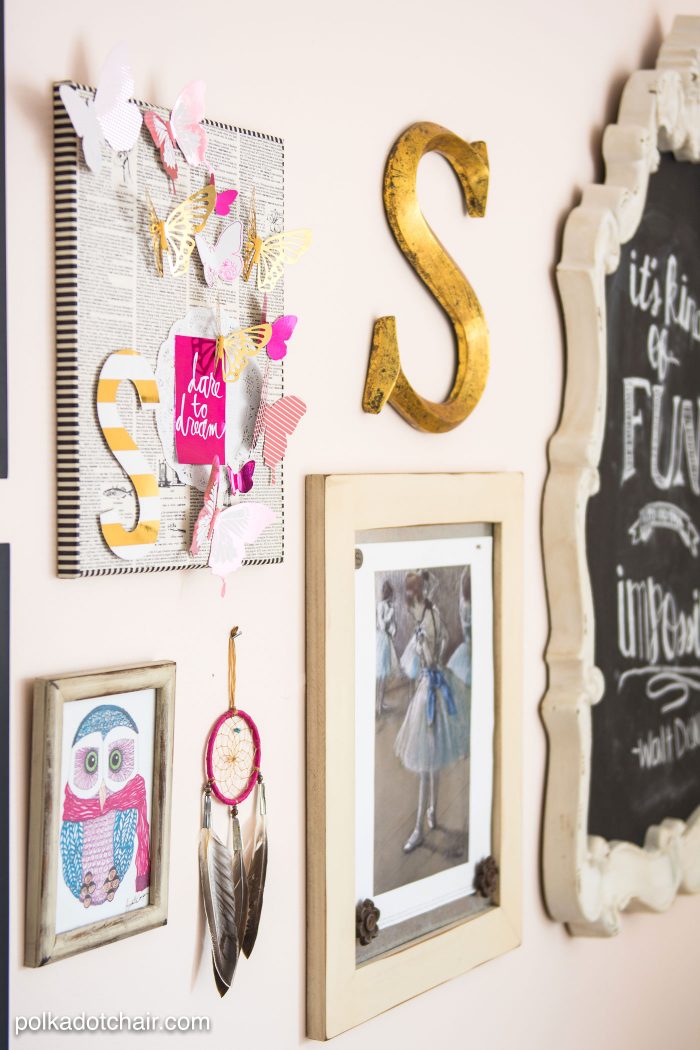
The gallery wall is to the side of her bed. She LOVES writing on the chalkboard and changes out the message on a weekly basis.
The dreamcatcher is from a Native American reservation in Arizona and the Owl artwork is something I picked up for her on a trip a few years ago. I love finding random things to really pull a room together, I think it makes it look so much more personal and unique.
Here are a few more photos of the room:

